It's the same bumper since i got it!It's ridiculas, You would never have thought it from the outside. I do to.
I am still shocked when i see this considering i was driving arround in her with a baby! The mini company i bought her from must of been bodgers because they said lots of work had been done. I hope you make the deadline it will be nice to see her there.
Did you replace the rear bumper?

Gradual Resto Of Our Ritz! Part 2!
#61

Posted 07 April 2013 - 08:15 PM
#62

Posted 07 April 2013 - 08:20 PM
Oh, Thats good, theres a bit of rust on the inside, I couldn't remember if you got a new one or not.It's the same bumper since i got it!
It's ridiculas, You would never have thought it from the outside. I do to.
I am still shocked when i see this considering i was driving arround in her with a baby! The mini company i bought her from must of been bodgers because they said lots of work had been done. I hope you make the deadline it will be nice to see her there.
Did you replace the rear bumper?
#63

Posted 12 April 2013 - 07:53 PM
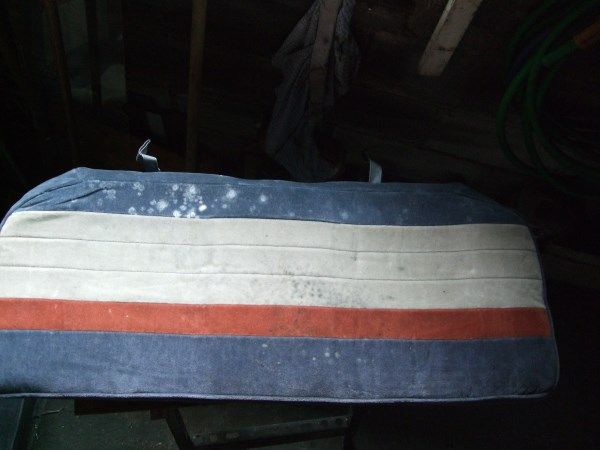
before
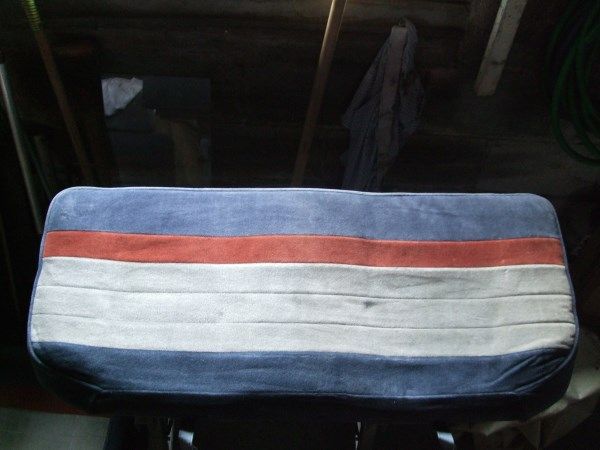
After
And today we started on the other floor.
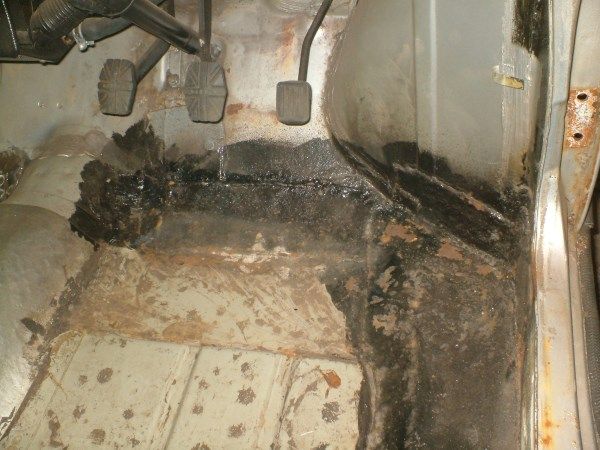
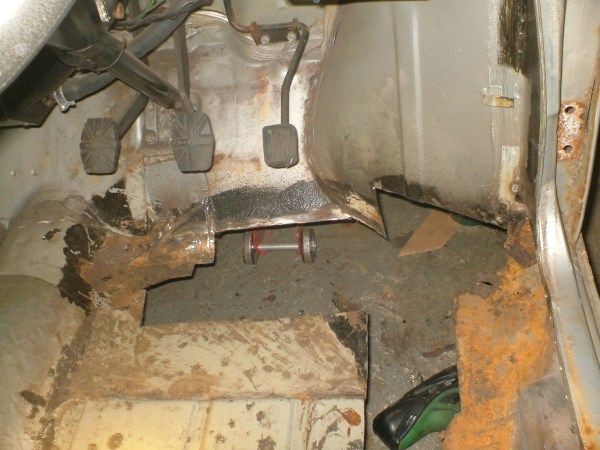
Cut it out
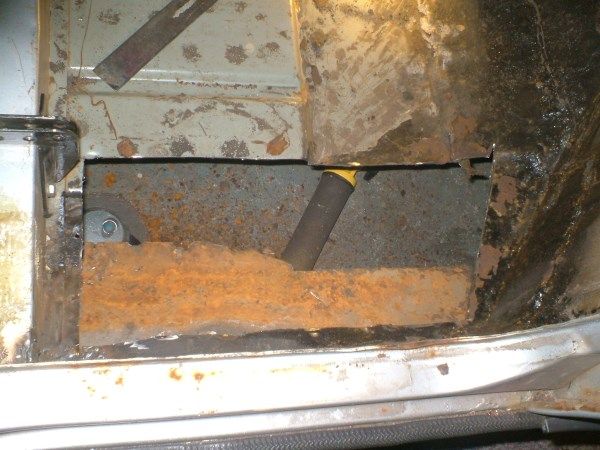
Rusty toeboard
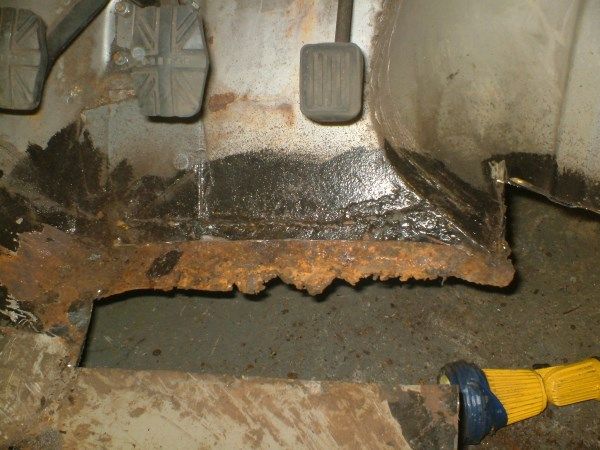
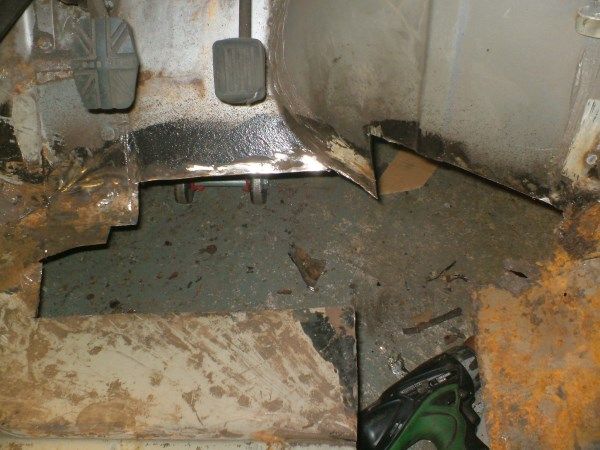
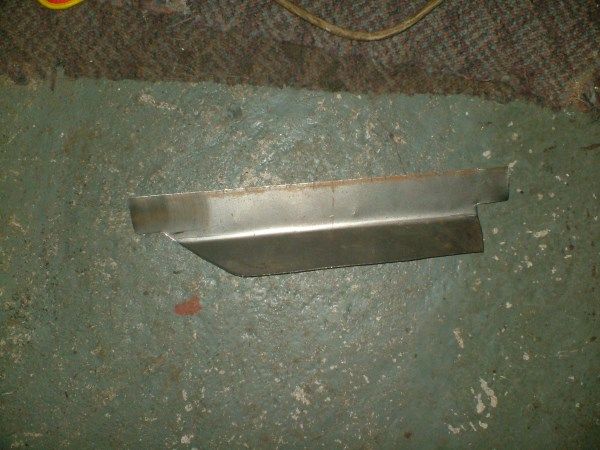
Made a new piece for the toeboard
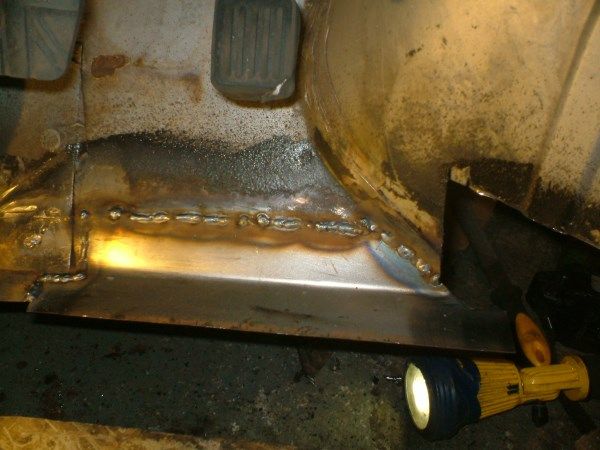
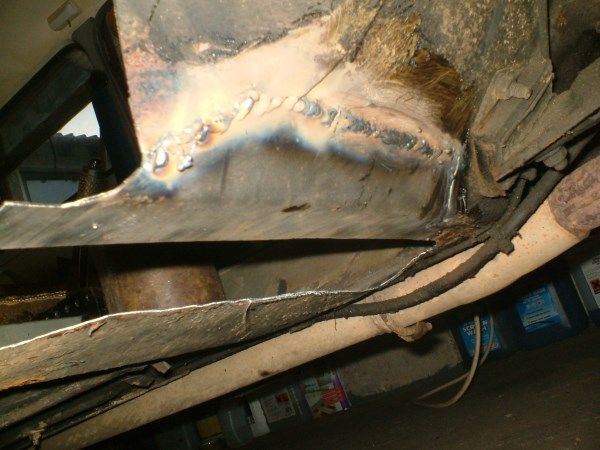
Welded it on both sides for more strength.
Then we went out and picked up a front floor and Cut it to fit. no pictures.
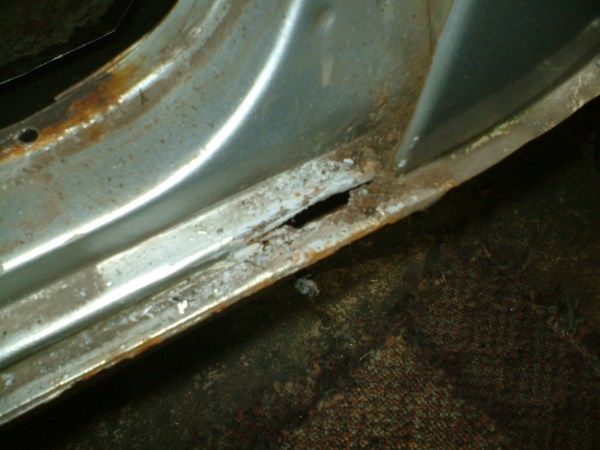
Then I decided to look at the patch on the flitch, There was a bit of mud in the seam so dug it out ....
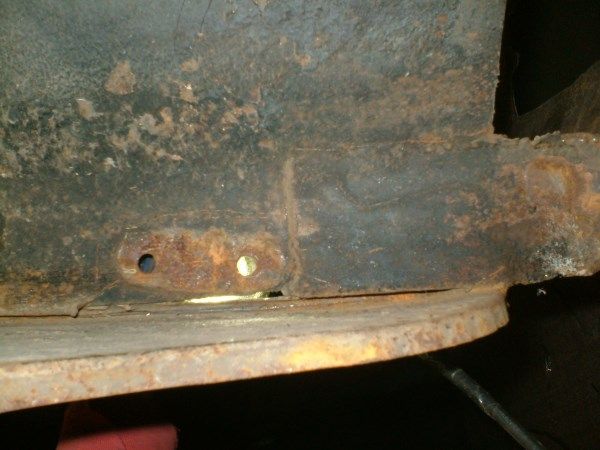
It looks like a new a-panel has been welded on and crimped without the flitch being repaired. I'm surprised it wasn't full of seam sealer, they must have run out while they "repairing the floors and this...
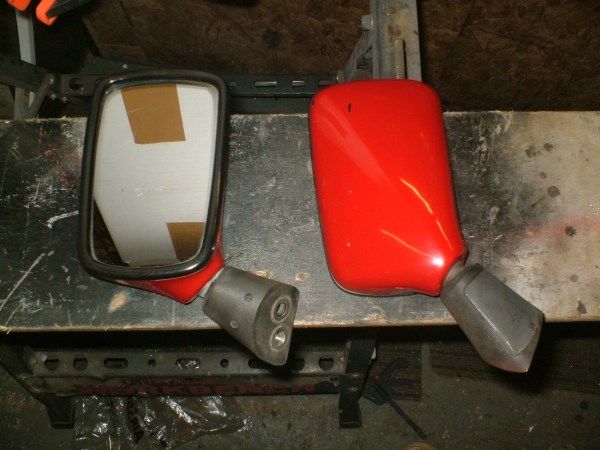
Also The new mirrors arrived today, just need painting black.
Alex
#64

Posted 13 April 2013 - 09:12 PM
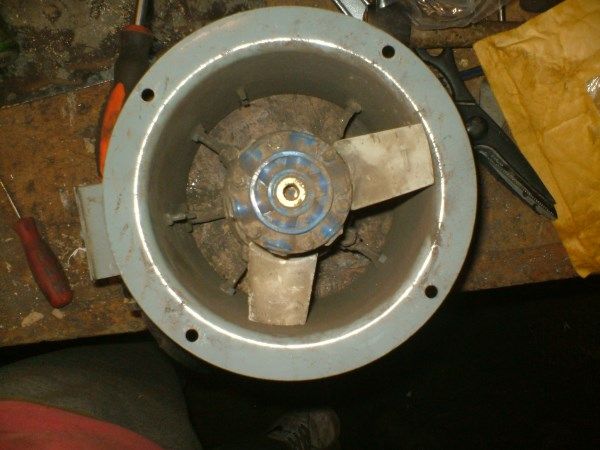
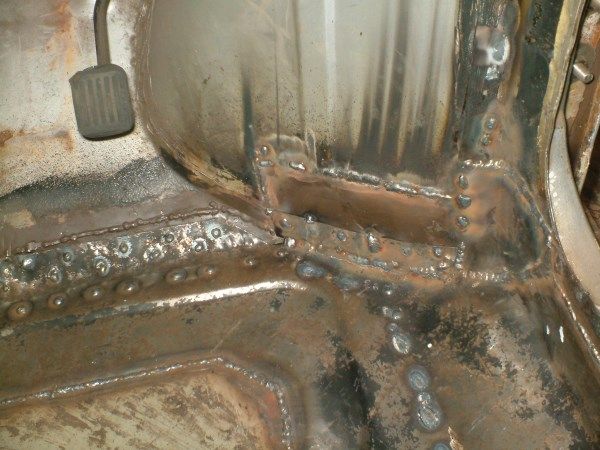
Then we set about finalising the floor, cut the front lip a bit a cut out a notch for the subframe bolt. Then cut it out th fit as we left a bit of metal around the edge just in case. I had to weld a strip of metal along the top of the inner sill as it was short
http://www.theminifo...__fromsearch__1
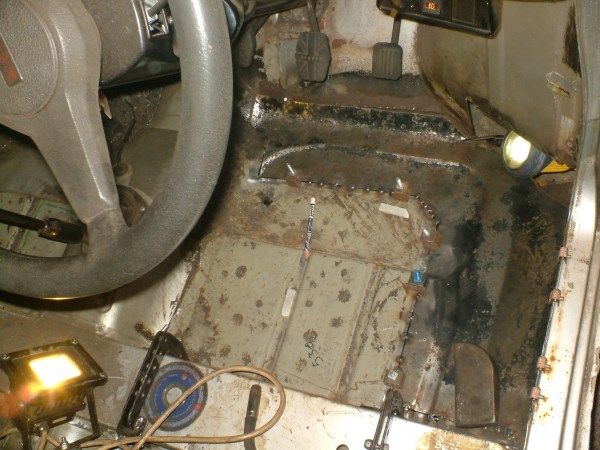
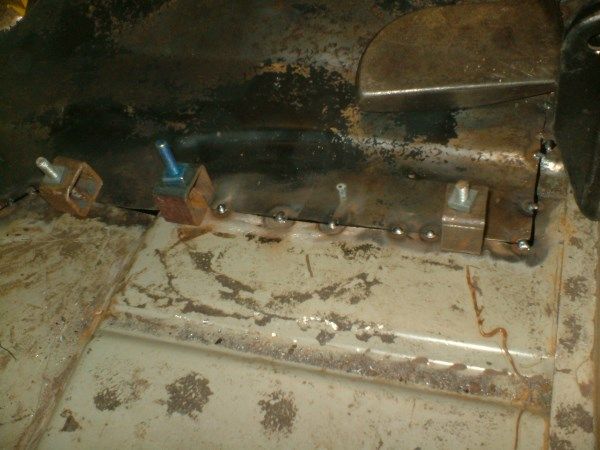
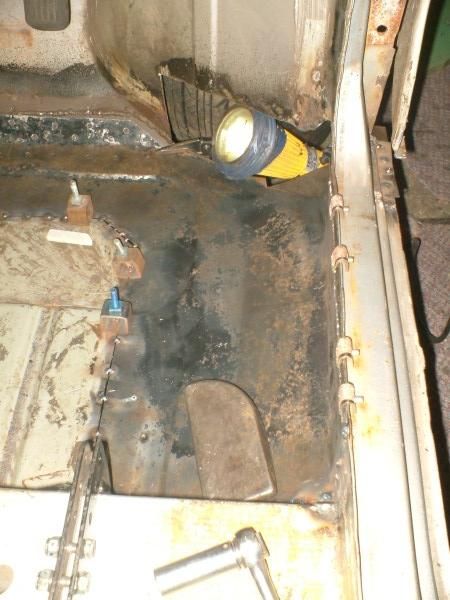
Tacked it in
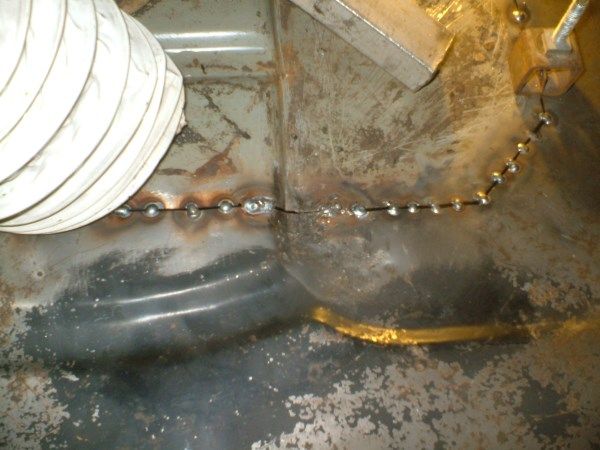
We had to make a panel to fit on the front/corner of the inner sill as I think it had been cut as it's a second hand panel.
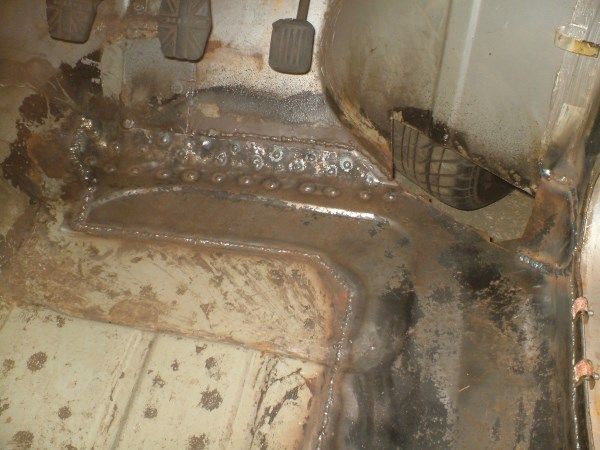
And mostly welded it in.
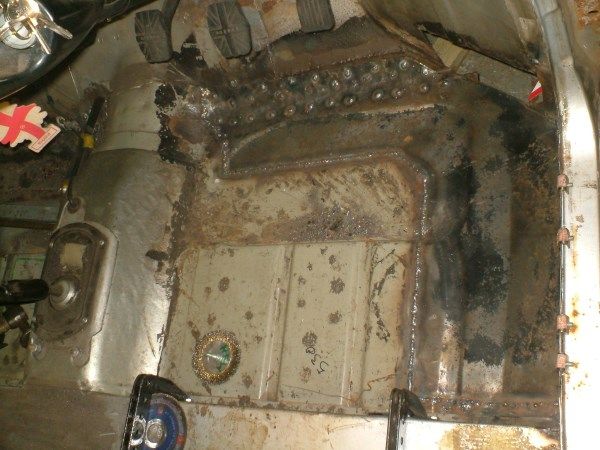
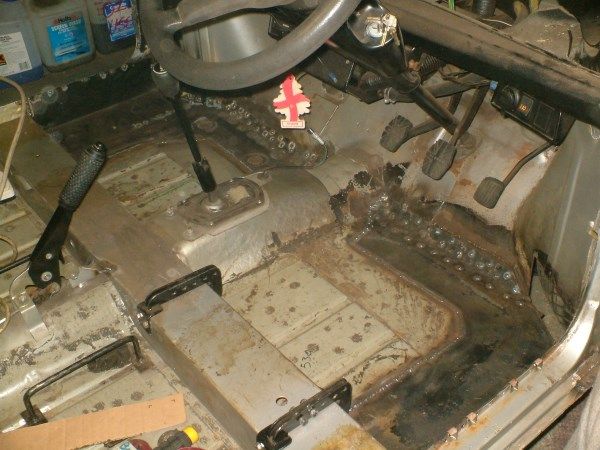
Not that much welding left ... hopefully
Any comments welcome ...
Alex
#65

Posted 14 April 2013 - 06:17 PM
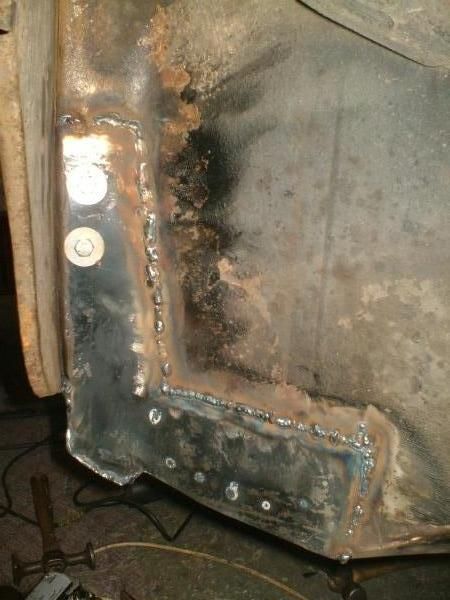
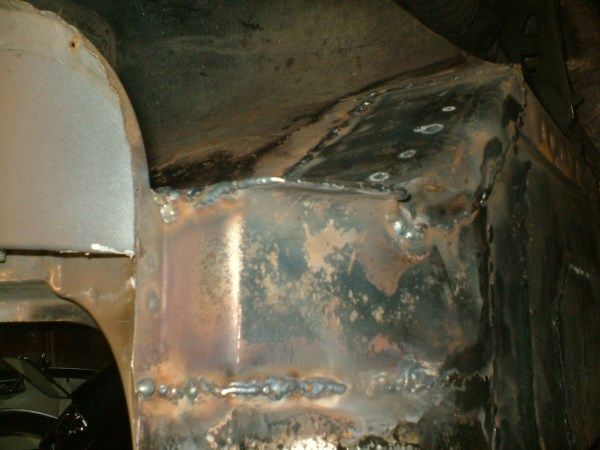
new piece of sill that we welded on yesterday.
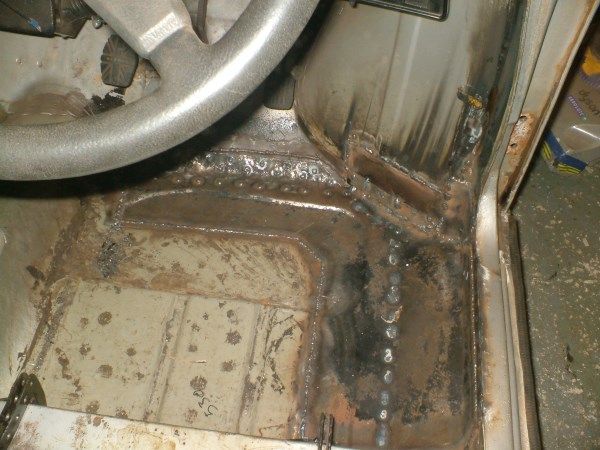
Thats it for today, we have 3 weeks left till the riv run
#66

Posted 28 April 2013 - 08:15 PM
An update
I fitted 4mm rivnuts to fit the grille, much better than the self tappers
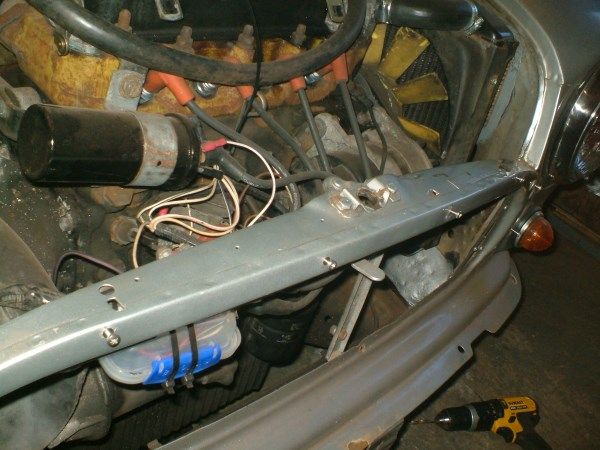
painted the floors
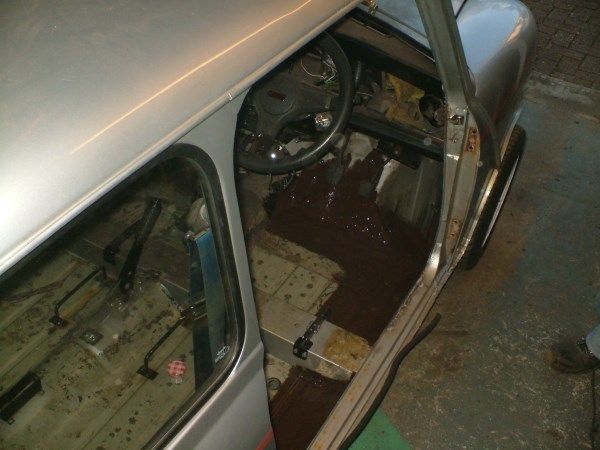
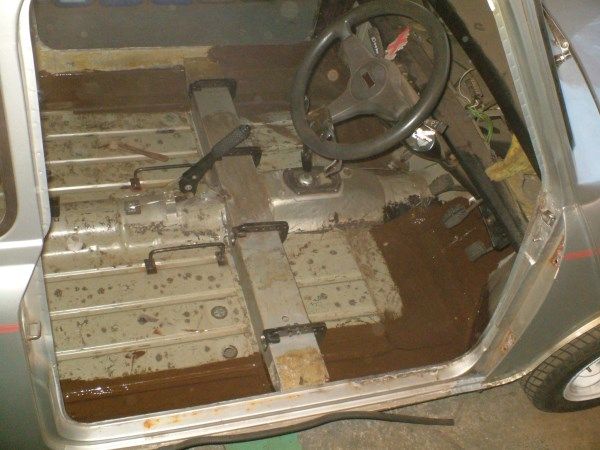
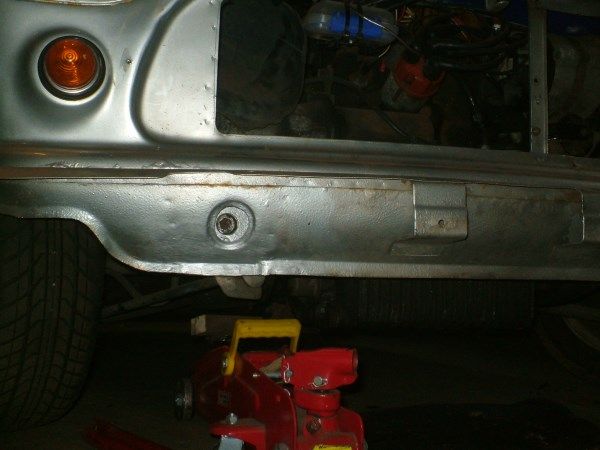
painted the front with silver hammerite, not to bad of colour.
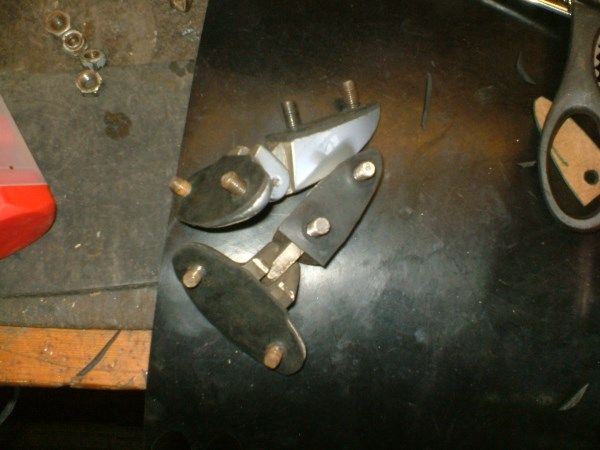
made some gaskets for the boot hinges out of 2mm rubber.
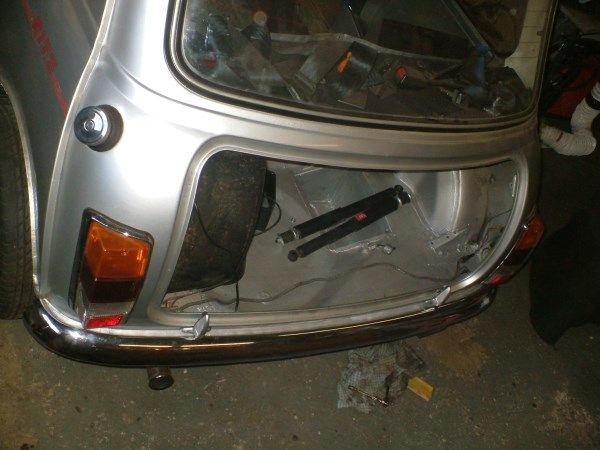
fitted new shocks.
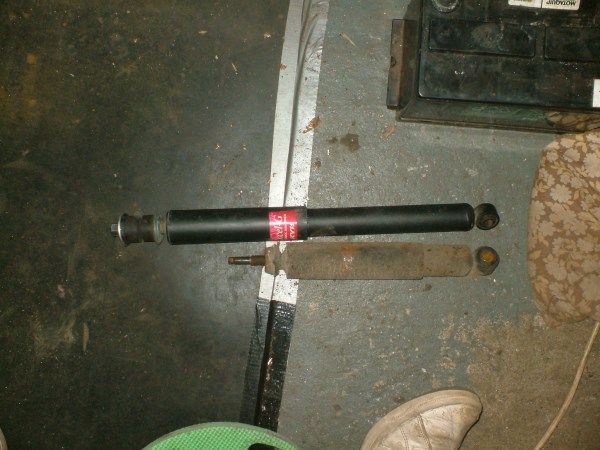
I fitted the bumpers, boot, speedo bracket and a couple of other parts.
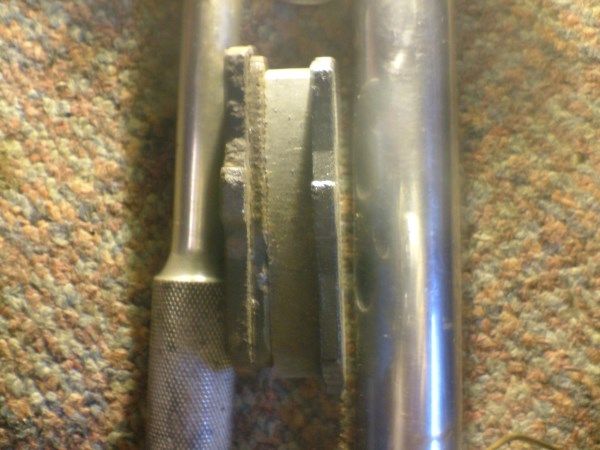
And today we fitted new ball joints and wheel bearings to the passengers side and new brake pads to both sides.
Old and New pads
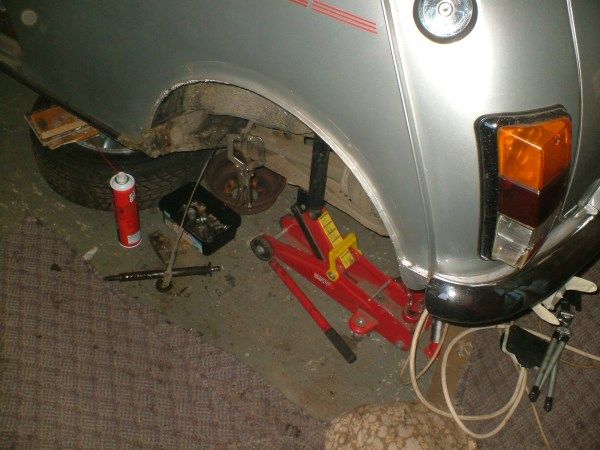
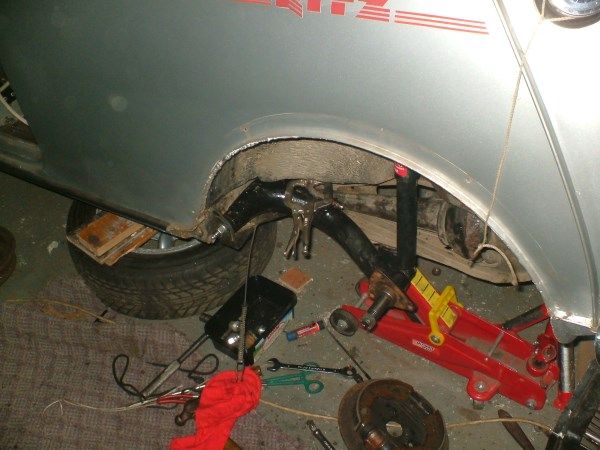
And the last thing we did to night was to take the radius arm off as it was wobbling, When we got it off the needle bearing had colapsed and the pin had worn so we're going to fit a new radius arm repair kit.
Only got a week till the riv run and and not many days left to work on it so it's going to be very tight.
Cheer's Alex ![]()
#67

Posted 29 April 2013 - 08:47 AM
that is immense! keep up the good work, patchwork is looking good :)
#68

Posted 29 April 2013 - 03:04 PM
that is immense! keep up the good work, patchwork is looking good :)
Cheer's, Glad you like it ![]()
I didn't think anyone was reading for a while.
#69

Posted 29 April 2013 - 08:43 PM
Radius arm reamed and new pin, bearing etc. inserted and fitted back on. Just need to connect the brake and put the hub back on.
#70

Posted 30 April 2013 - 07:06 AM
So close now! Hope it all goes well and you make it to the riv run.
#71

Posted 03 May 2013 - 07:37 PM
So close now! Hope it all goes well and you make it to the riv run.
Only 2 days!!!!!
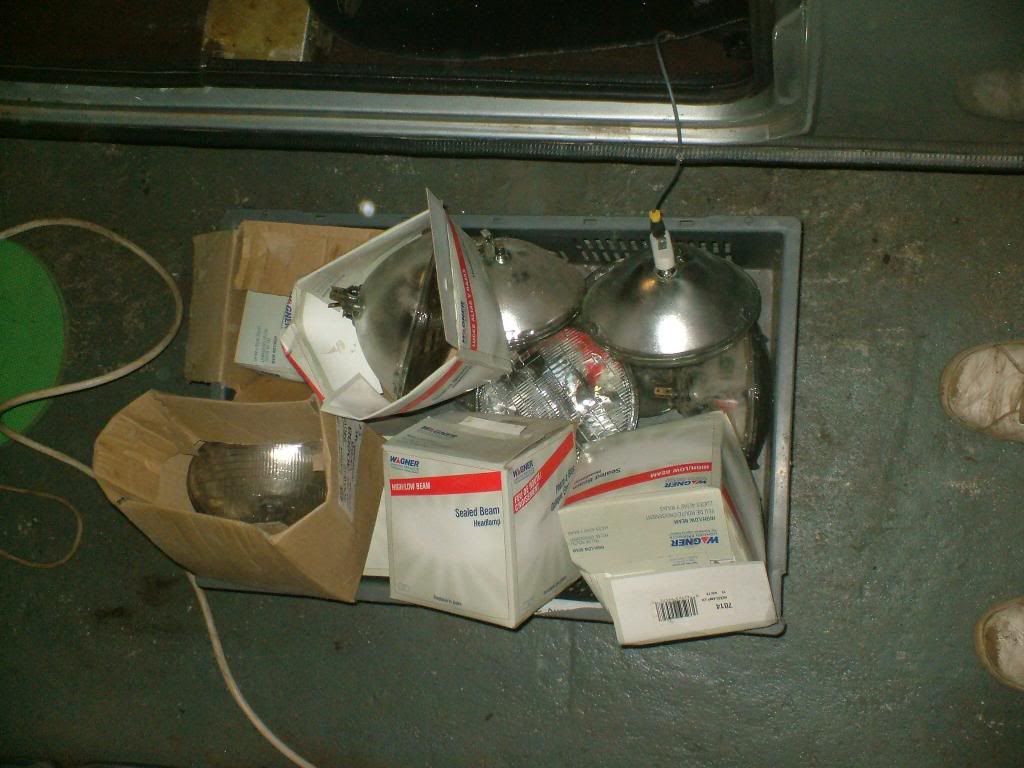
So We've been very busy, Both the headlights needed to be changed as one reflector fell off and one didn't work, so We bought some new ones but they we're flat and not domed so took them back and someone we new gave us a few to fit ![]() .
.
So the past few days we got everything ready for it's MOT Today, Checked the light's, Didn't work so we took off most of the connections and cleaned them and they worked. Got the seats, arches, speedo and other bits on too.
And It Passed. ![]()
ALex
#72

Posted 04 May 2013 - 07:34 AM
Yay congratulations guys she lives for another year! Good on you really happy. ![]()
#73

Posted 04 May 2013 - 07:43 AM
Like you said, from the outside it looked very nice, you wouldn't of thought it needed most of that doing.
Edited by megamini_jb, 04 May 2013 - 07:44 AM.
#74

Posted 04 May 2013 - 08:44 AM
Yay congratulations guys she lives for another year! Good on you really happy.
Phew! Nice one getting it through it's MOT just in time.
Like you said, from the outside it looked very nice, you wouldn't of thought it needed most of that doing.
I really didn't think we'd get it done in time, I'm glad we got it done, First time going to a show in a mini.
The outside is'nt to bad, But Really didn't expect what we found.
#75

Posted 04 May 2013 - 01:18 PM
Did you go down today? We were out earlier will be there all day tommorrow.
1 user(s) are reading this topic
0 members, 1 guests, 0 anonymous users


