Yeah would be really nice to see her again and get some pics!Yep, need to, Not long till riv Run and have a few more bits to do, Hope its ready
Blimey you sure are getting stuck in! I miss lulu!.

Gradual Resto Of Our Ritz! Part 2!
#46

Posted 24 March 2013 - 08:32 PM
#47

Posted 28 March 2013 - 07:10 PM
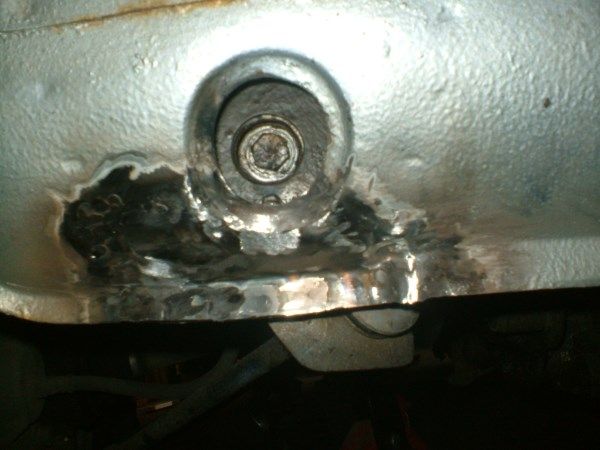
Painted the subframe mount.
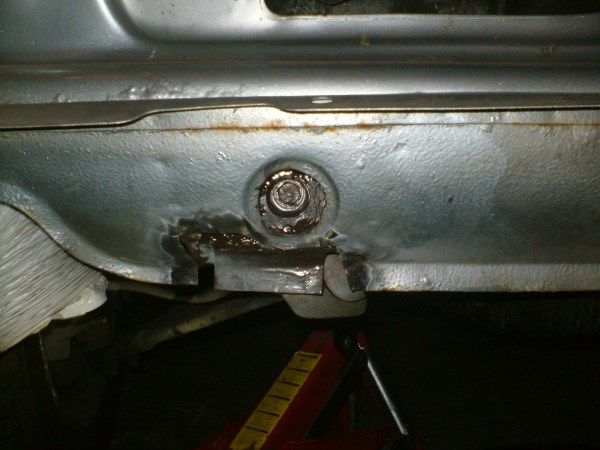
welded it on.
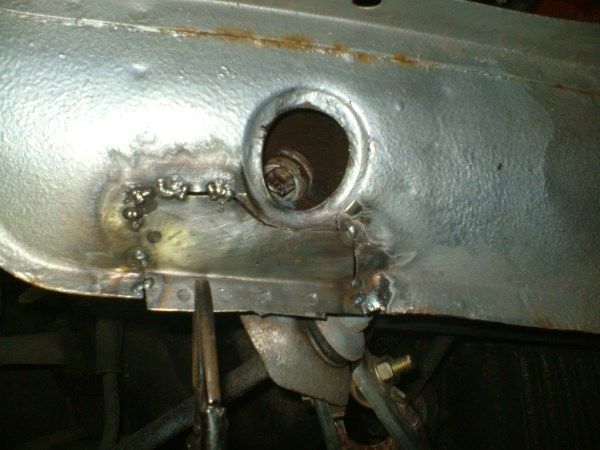
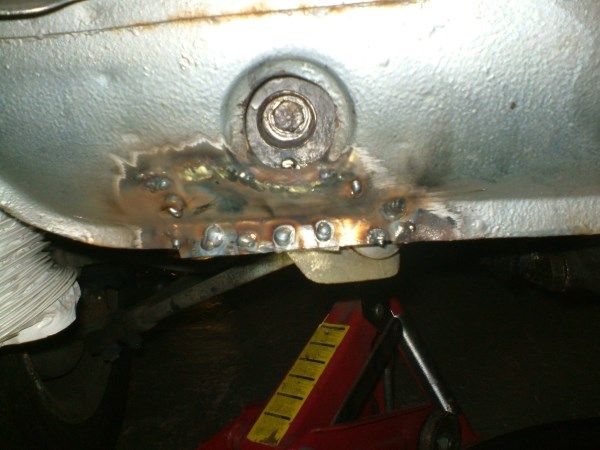
And ground it down.
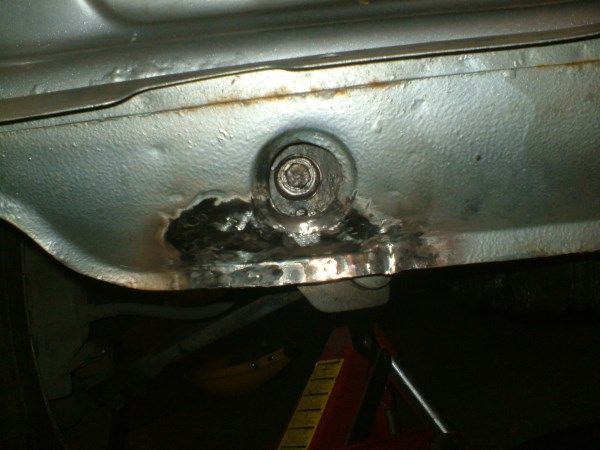
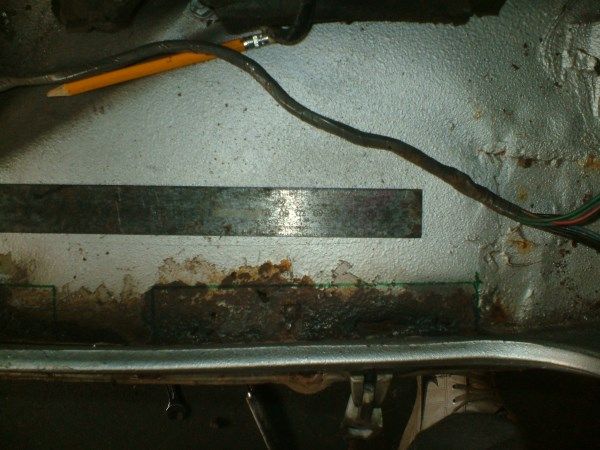
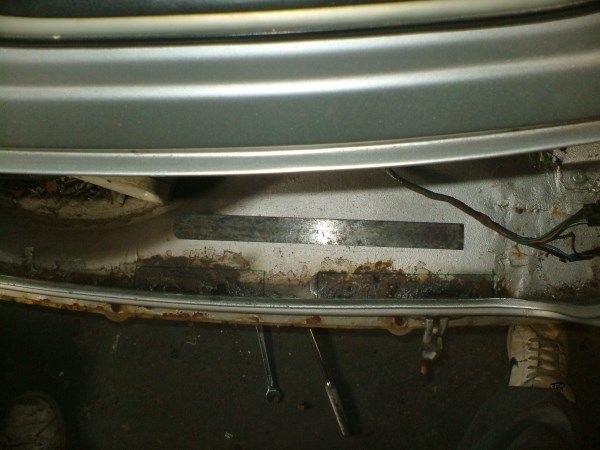
While I was doing that Dad was repairing the rest of the floor. Got it cut out and welded in a peice for the heelboard.
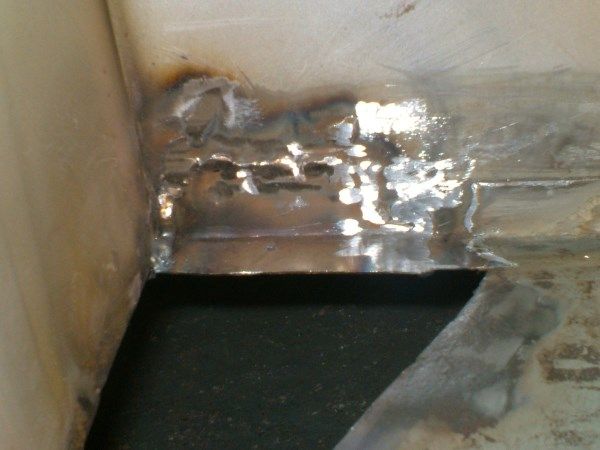
made a new peice and welded that in.
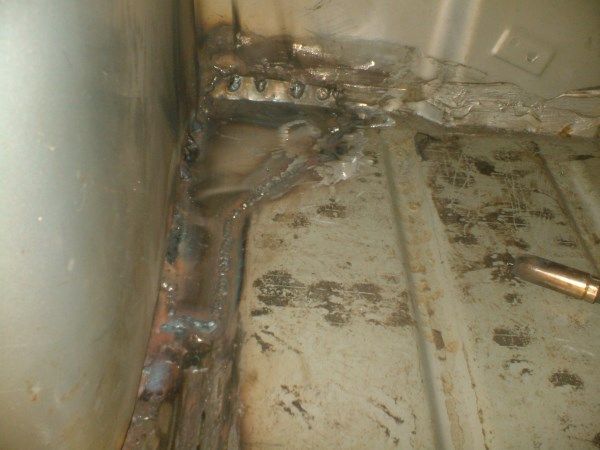
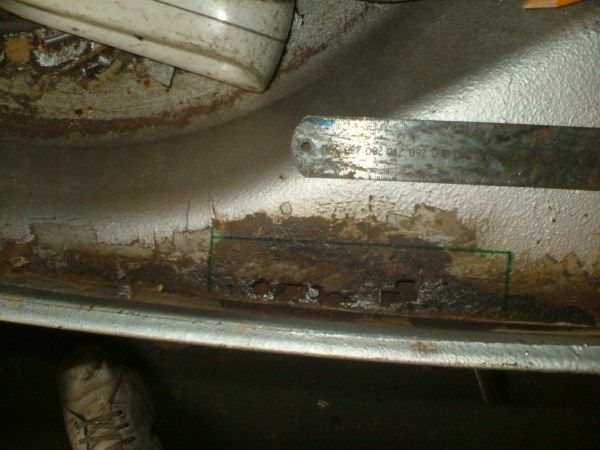
I also had a prod in the boot, Which'll need two patches.
#48

Posted 28 March 2013 - 08:40 PM
#49

Posted 28 March 2013 - 09:40 PM
Cheer's graham, It's not badComing along nicely Alex, your patchwork is getting better and better, how much more bodywork have you got to go ??
#50

Posted 30 March 2013 - 08:35 PM
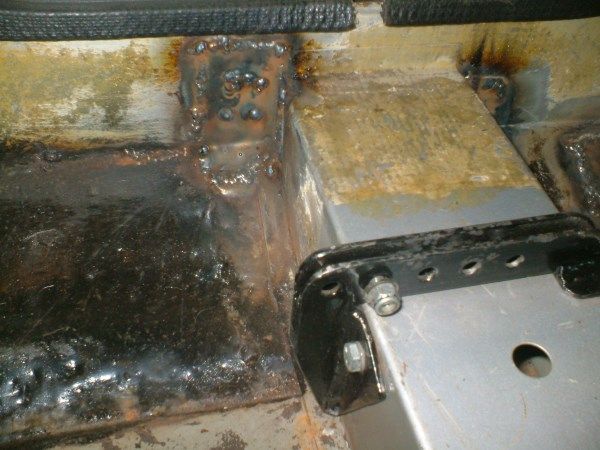
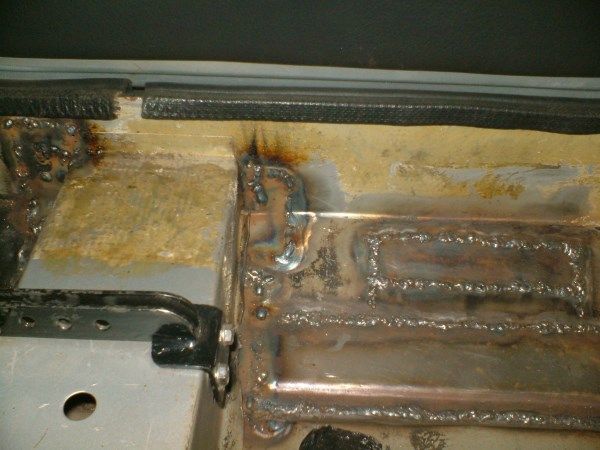
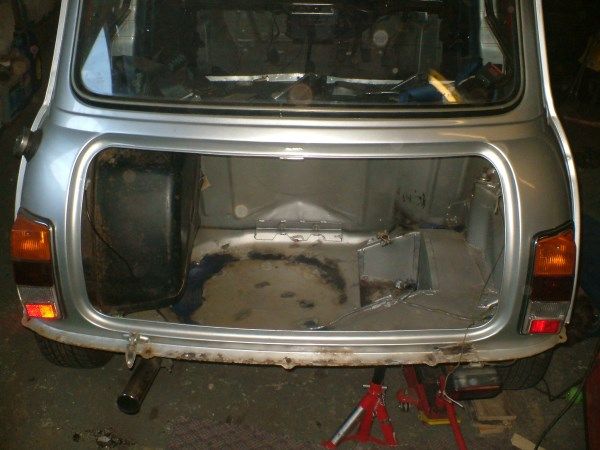
Got the boot floor cut out.
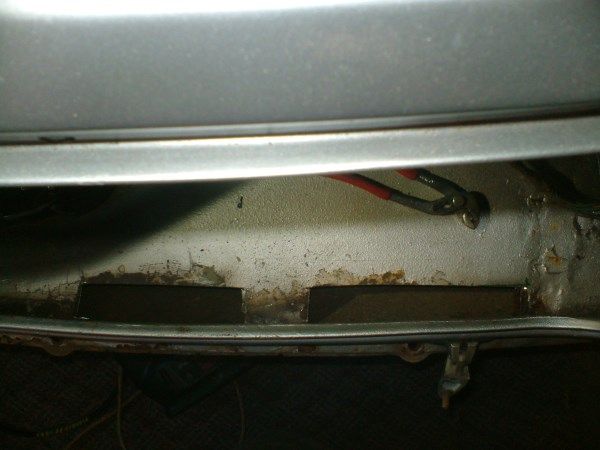
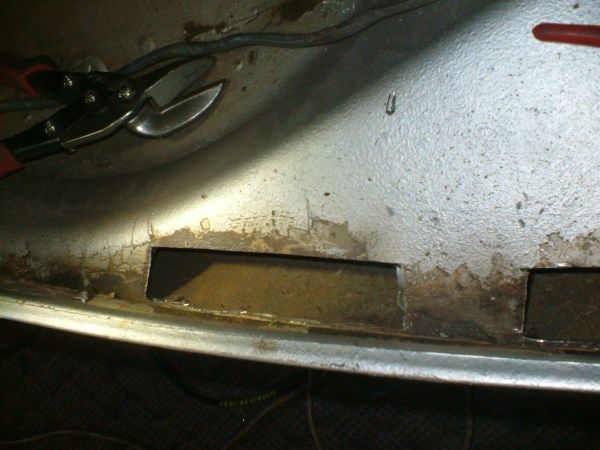
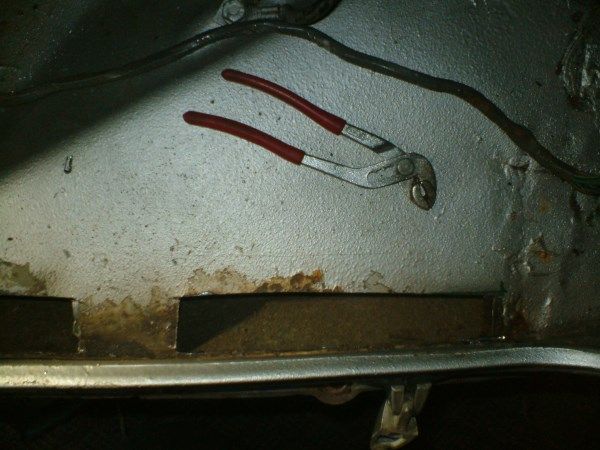
Made new bits and welded them.
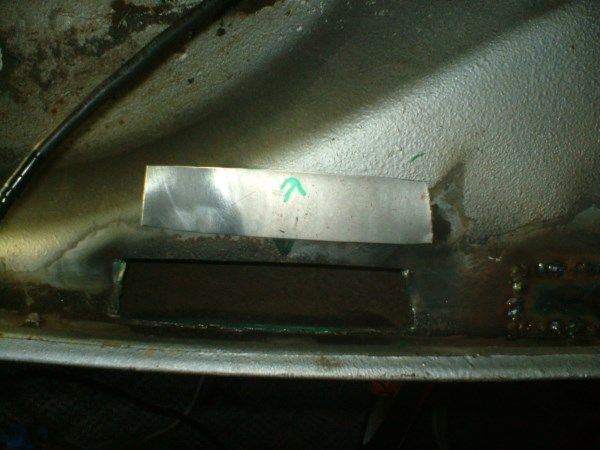
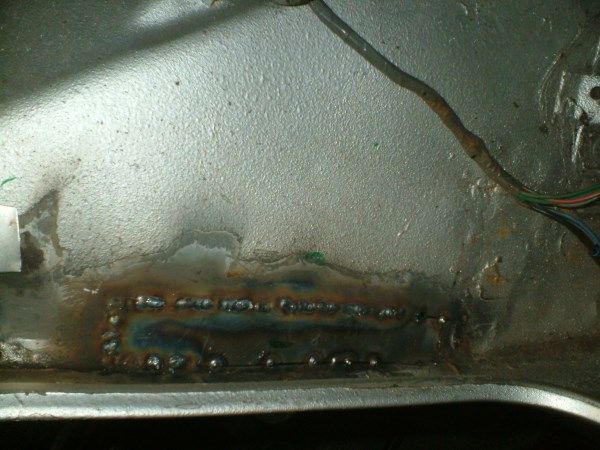
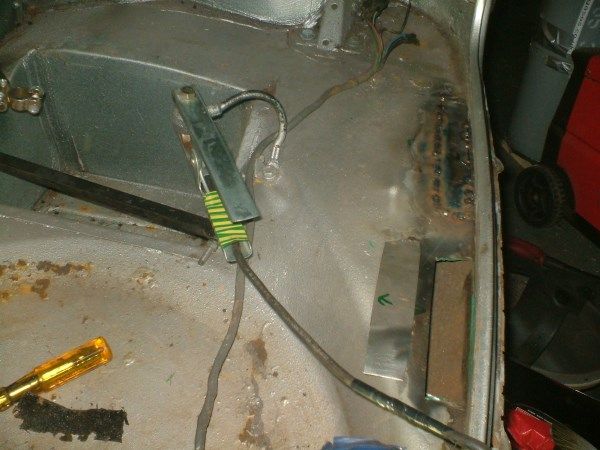
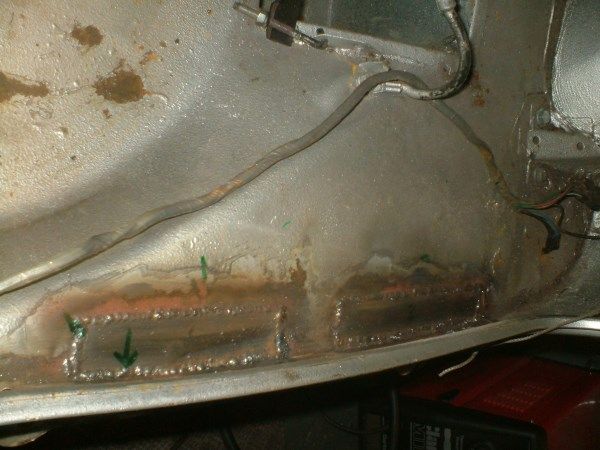
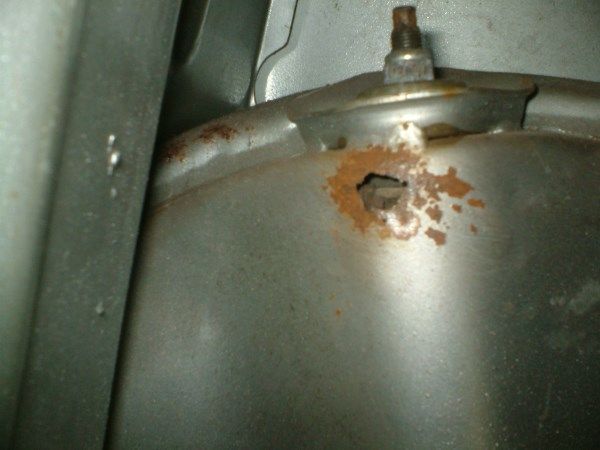
There was a bit of rust on the arch turret bit, so gave it a wire brush. So I cut it out and welded ina new peice, forgot to take pictures.
Under the drivers boot hinge there was a bit of rust so cut it out and welded in new metal.
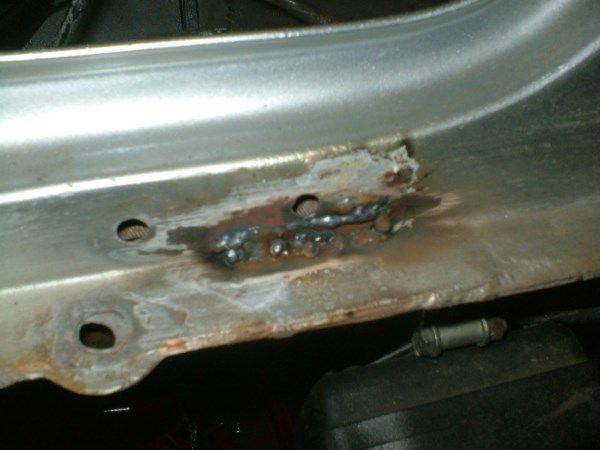
While I was doing that Dad was welding around the cross member rust.
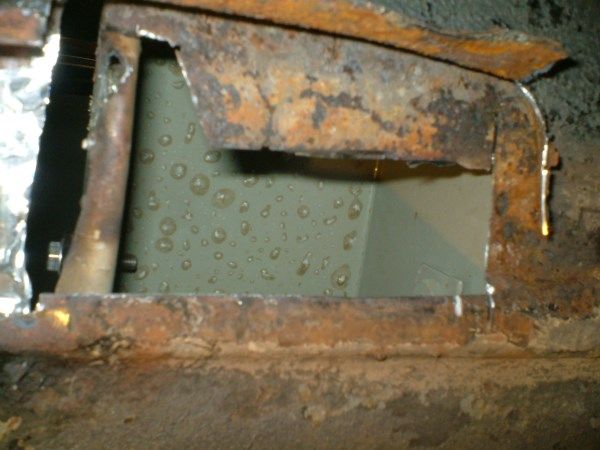
#51

Posted 31 March 2013 - 09:05 AM
#52

Posted 05 April 2013 - 08:23 PM
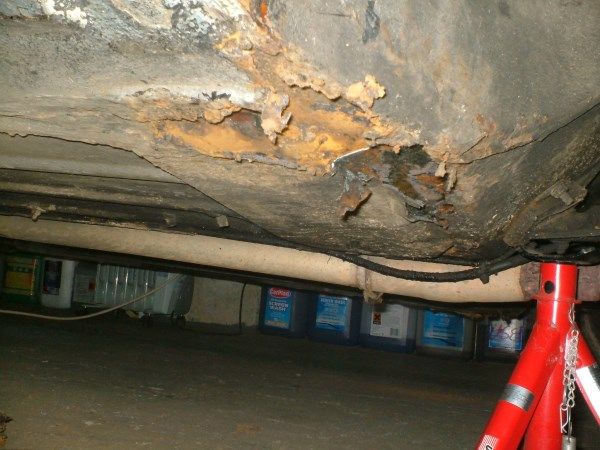
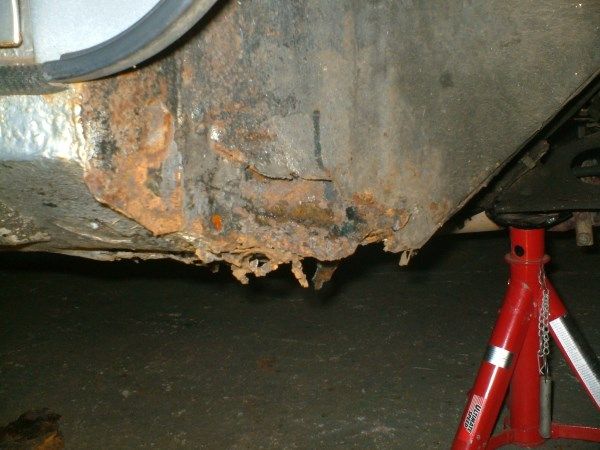
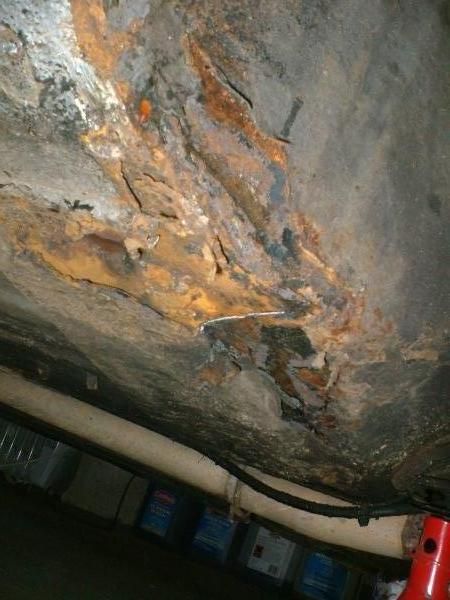
So we're going to put a new floor in there too
While dad was welding the sill on where we made the patch on the drivers side I ground down the visible welds in the boot. and rewelded the pin holes.
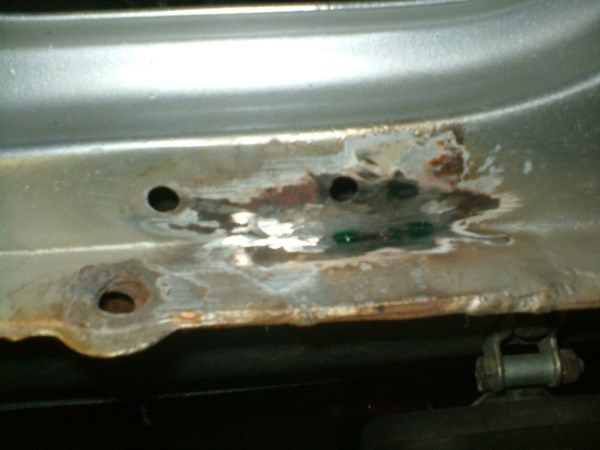
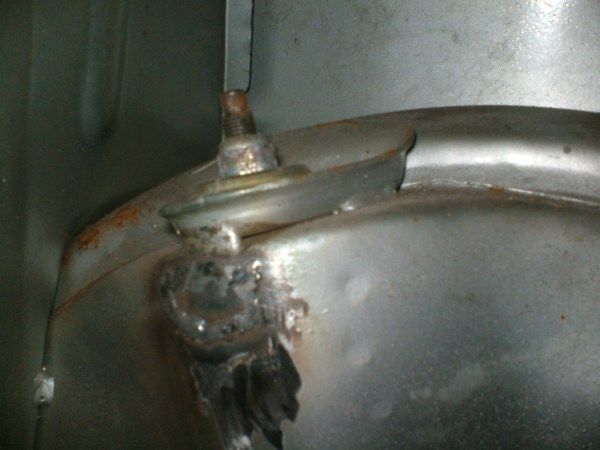
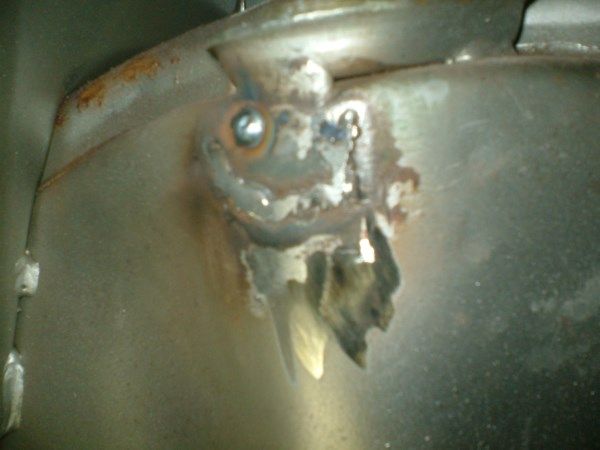
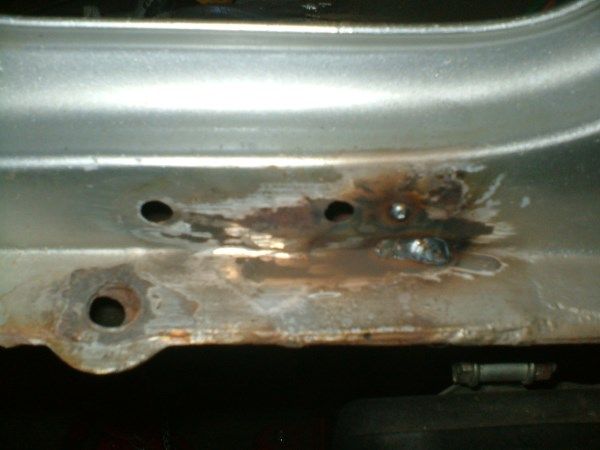
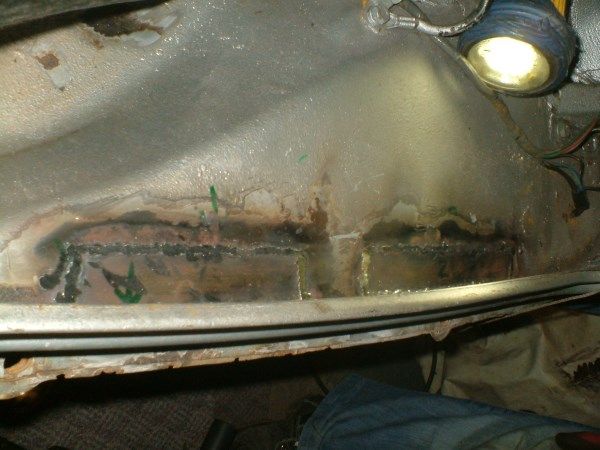
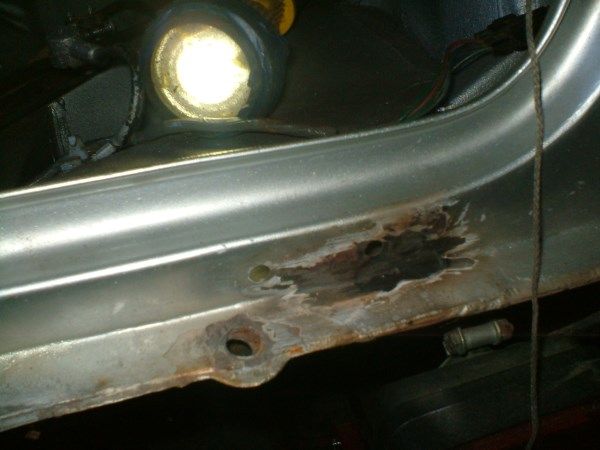
Then I wire brushed the rust on the wheel well area, Which resulted in this:
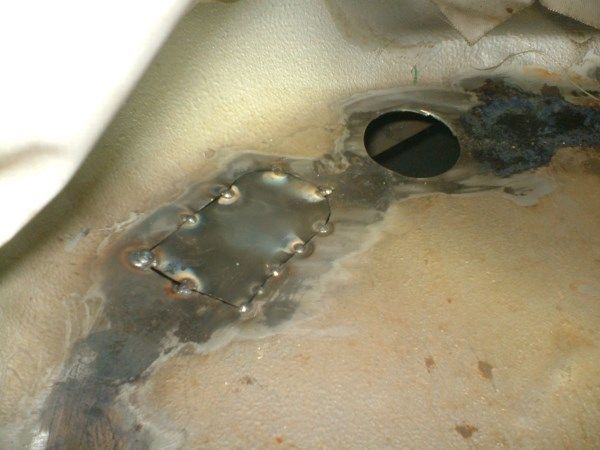
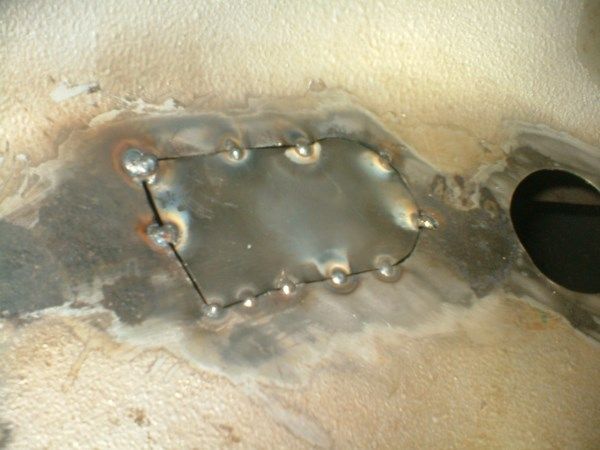
fully welded And I also ground it down withe the B&D powerfile so there was less sparks around the fuel tank
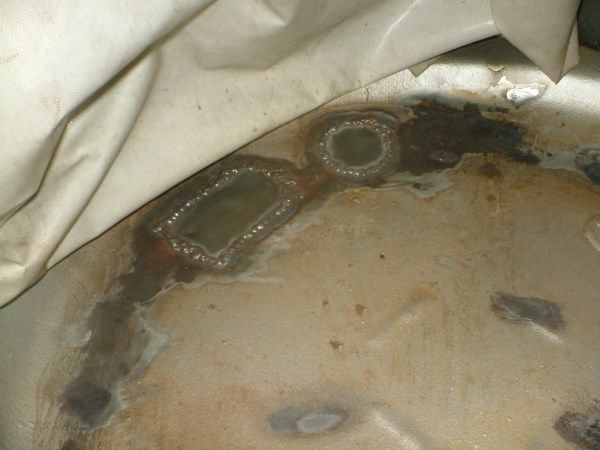
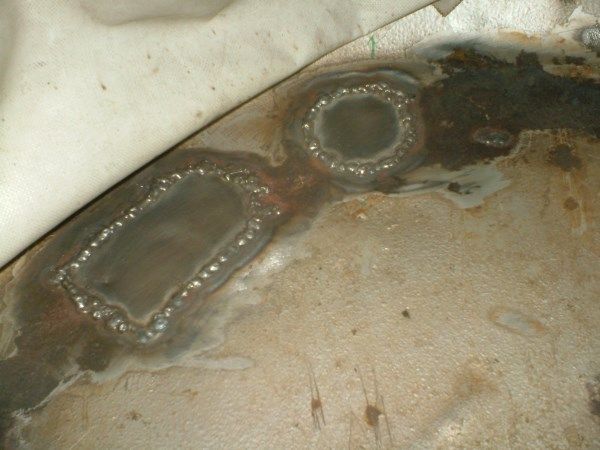
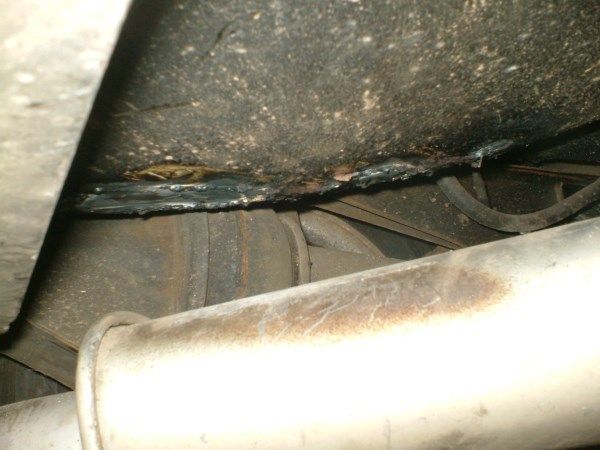
Kurusted the boot
More digging on the front floor.
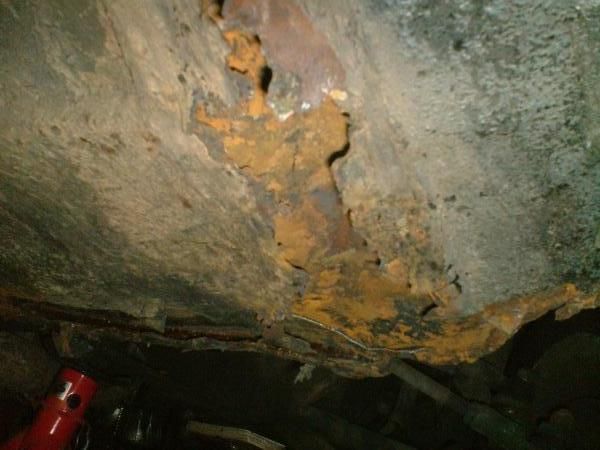
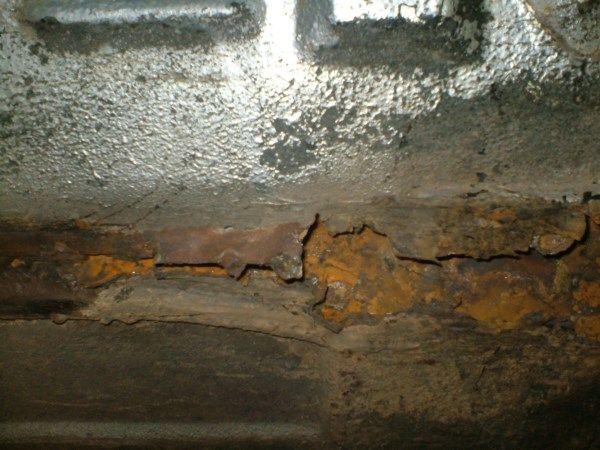
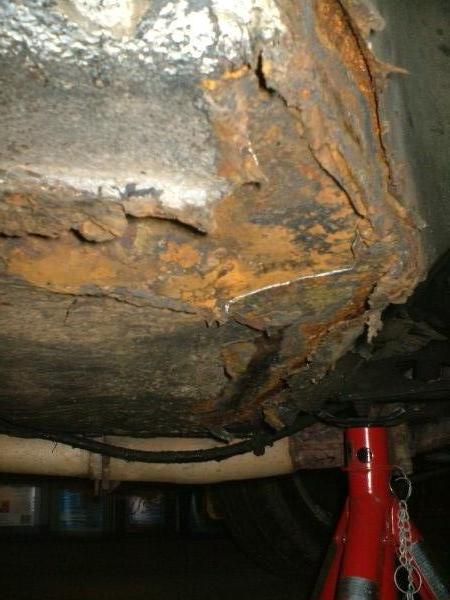
#53

Posted 05 April 2013 - 08:23 PM
Drilled out the spot weld in the toe board. We're not replacing it all just around the line nearest the front the second is where the fuel pipe is.
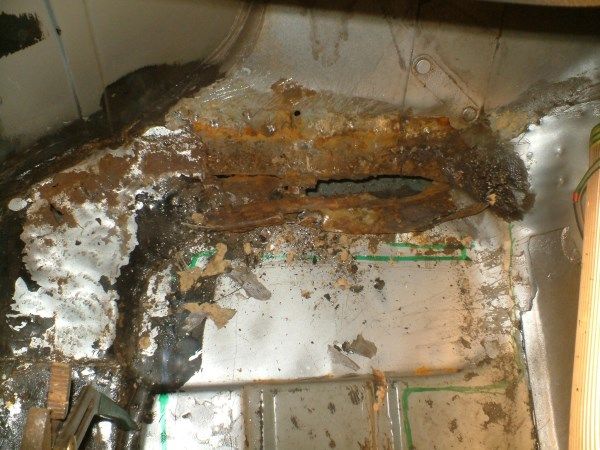
Cut out the patch and flitch.
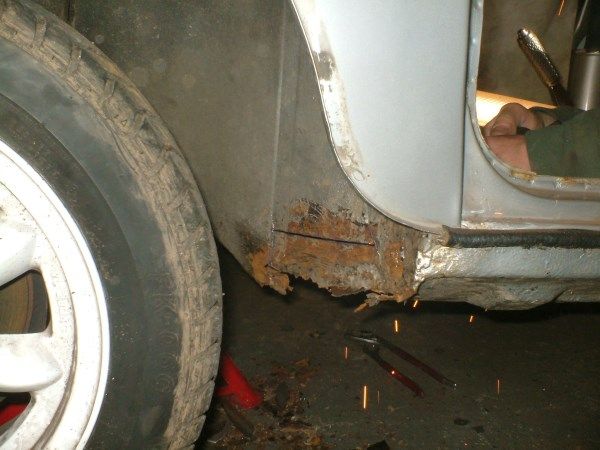
Most of it cut out
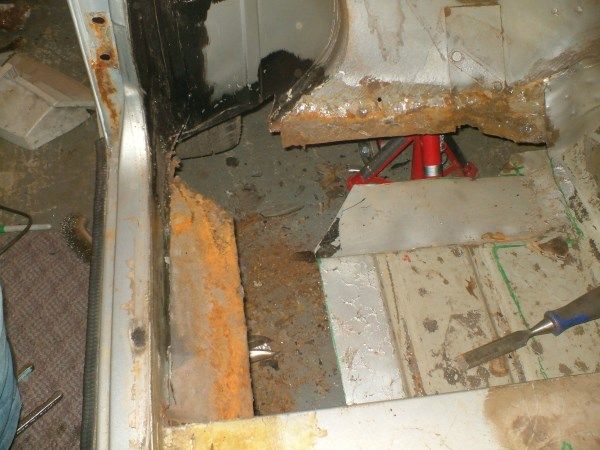
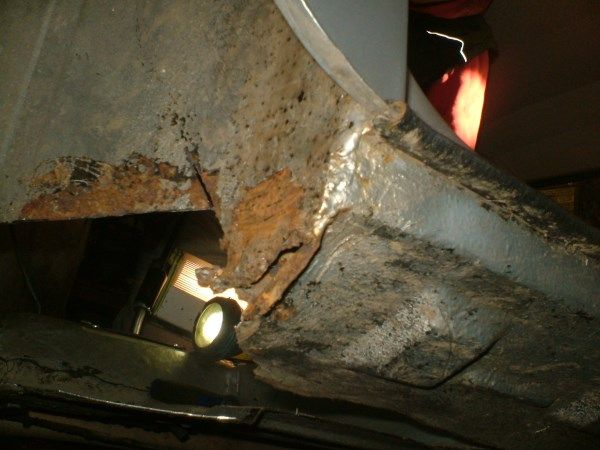
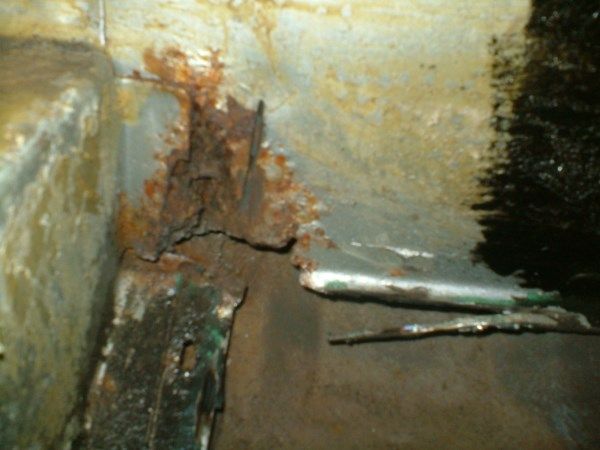
A couple of repairs are need before fitting the floor, the toe board:
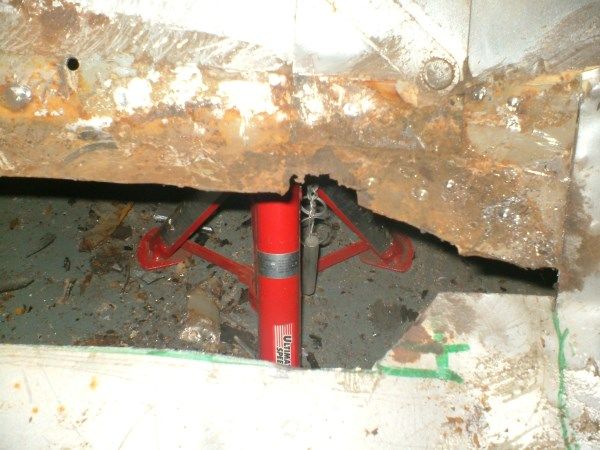
Cross member
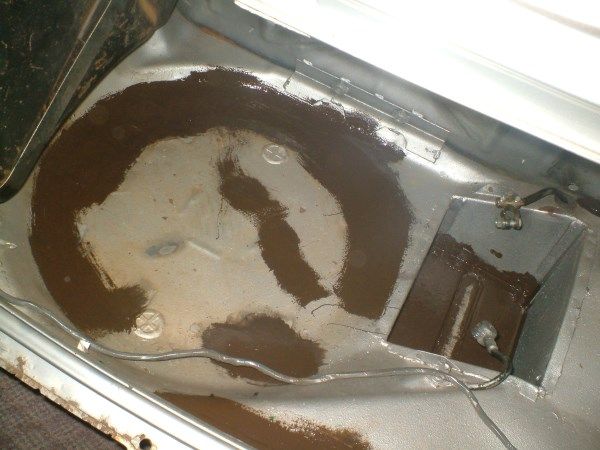
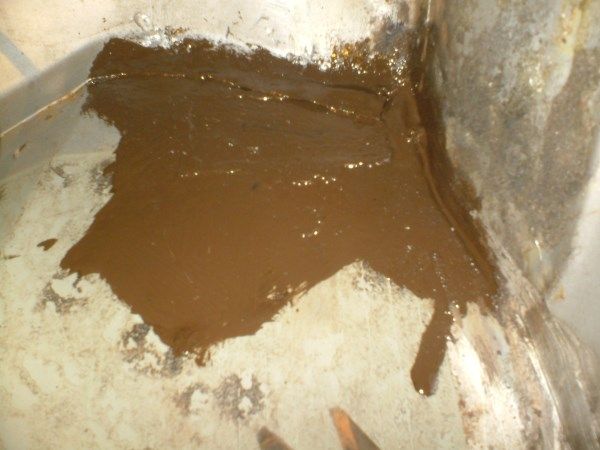
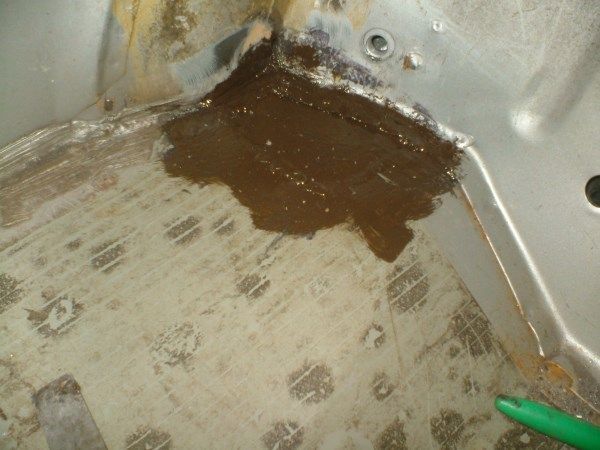
Painted the boot in my favourite paint
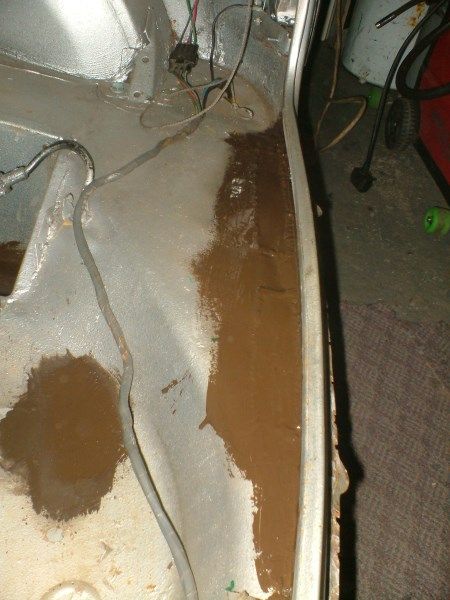
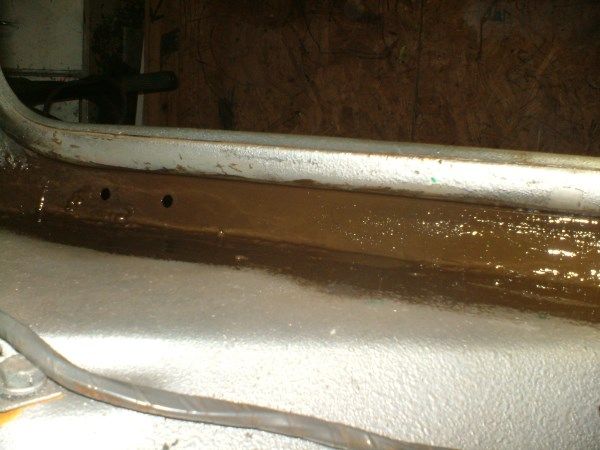
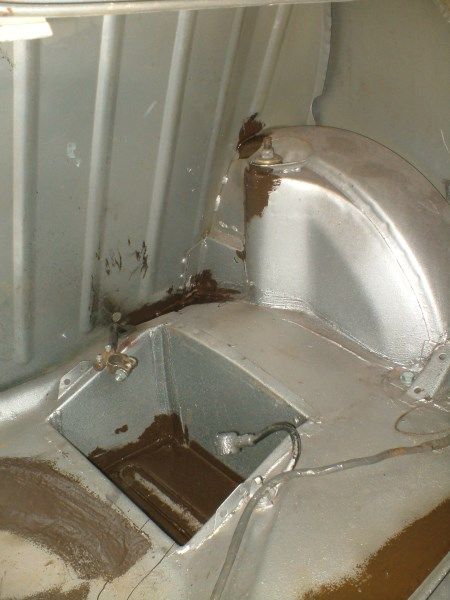
and the front
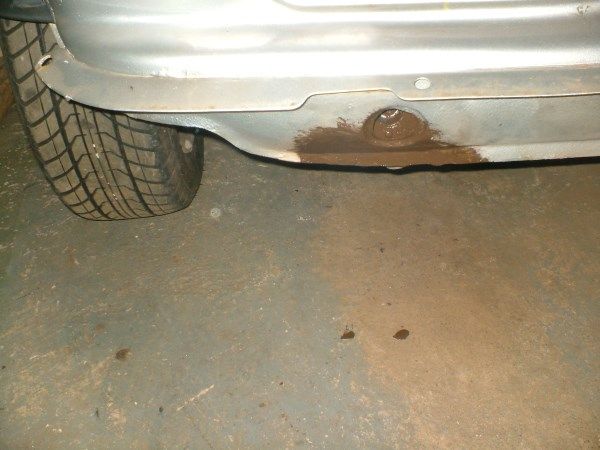
and how we left it until tomorrow.
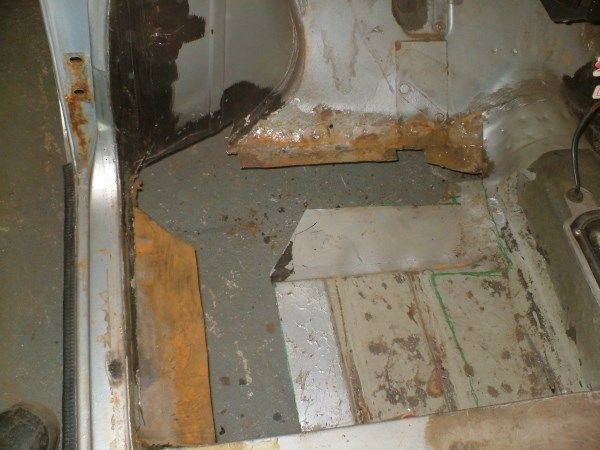
When we went to the garage to paint the boot, there was a nice smell of petrol, As we moved the pipe out the way before we got cutting, the rubber pipe come off without us nowing so it was dripping petrol on the subframe and floor while we were haveing tea, so had to sort that out to.
Comments welcome
Alex
Edited by alex-95, 05 April 2013 - 08:25 PM.
#54

Posted 06 April 2013 - 08:07 AM
Keep up the good work
Edited by Minidarren83, 06 April 2013 - 08:07 AM.
#55

Posted 06 April 2013 - 08:36 PM
Cheer's Darren, I was surprised to, All we were going to do was the front pass' floor, I'm surprised it passed the mots like it, but then it is covered in a very thick layer of sealentGot to say Alex for a car that looked fairly clean on the outside its pretty crusty in places and do I spy oversills rotting your floor away?
Keep up the good work
Cut out the rest of the floor/inner sill and wire brushed the rust
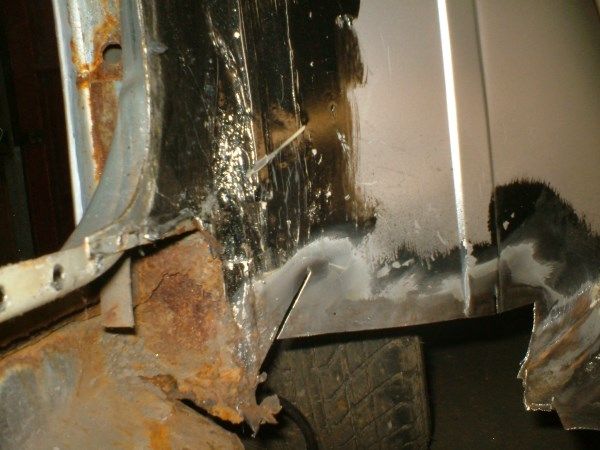
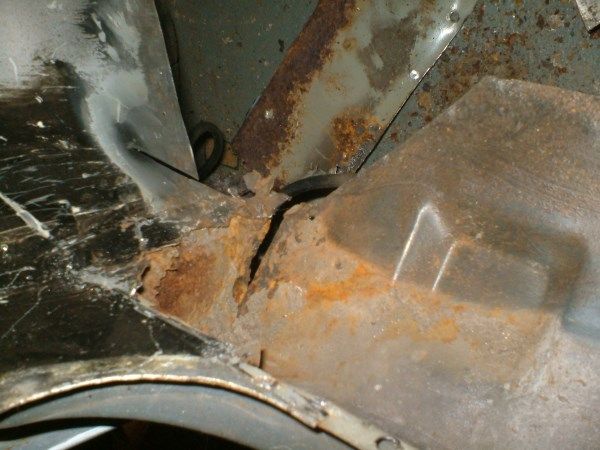
Rust on the door step lip, Cut it out and welded in a new bit.
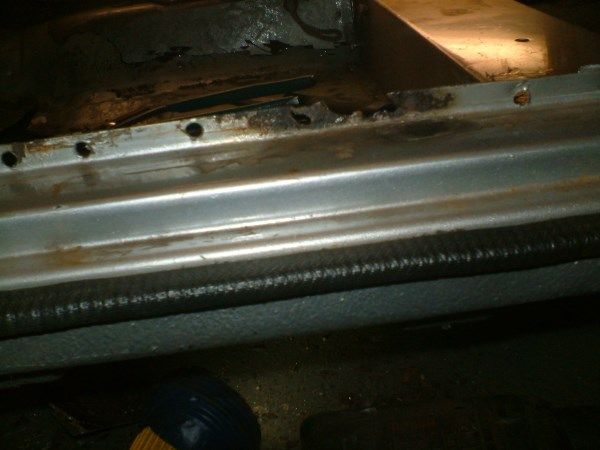
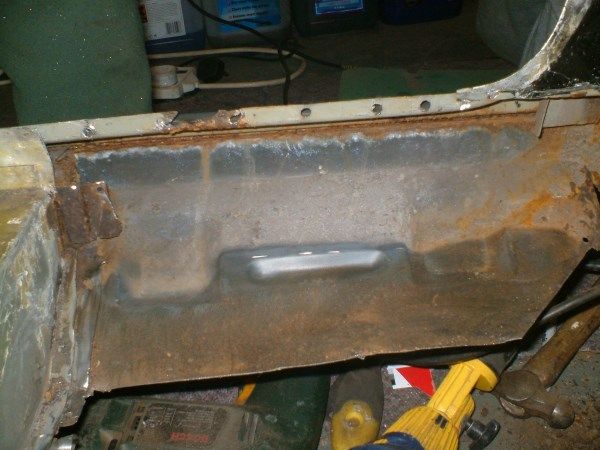
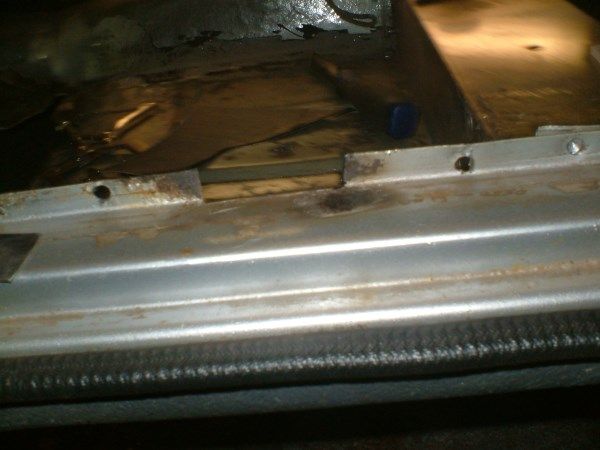
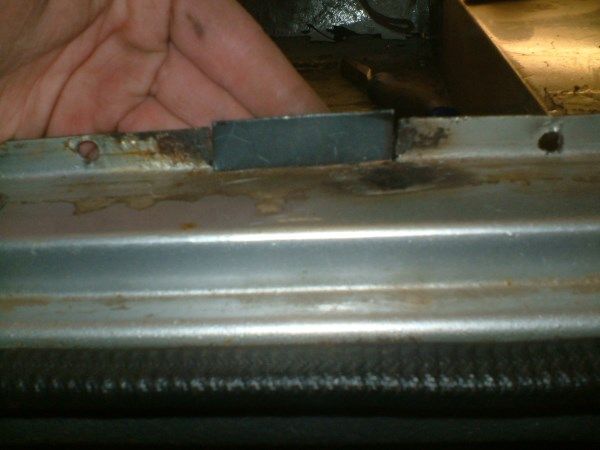
Then We made a peice for the end of the sill as it was a bit thin and welded that in and also welded the toe board peices.
We had to add bits to the new floor as it didn't go high enough up the toe board/tunnel.
Test Fit
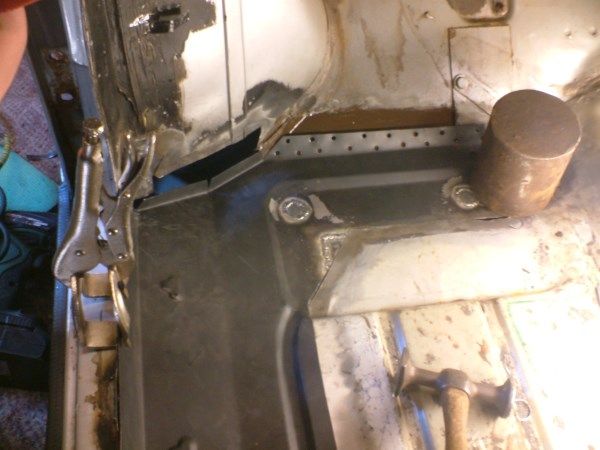
tacked in and plug welded the front and inner sill
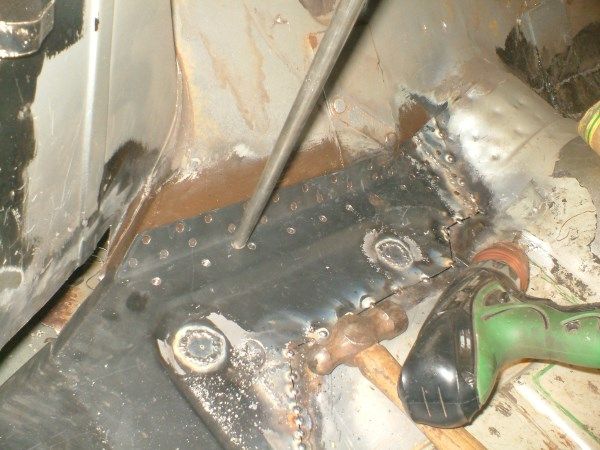
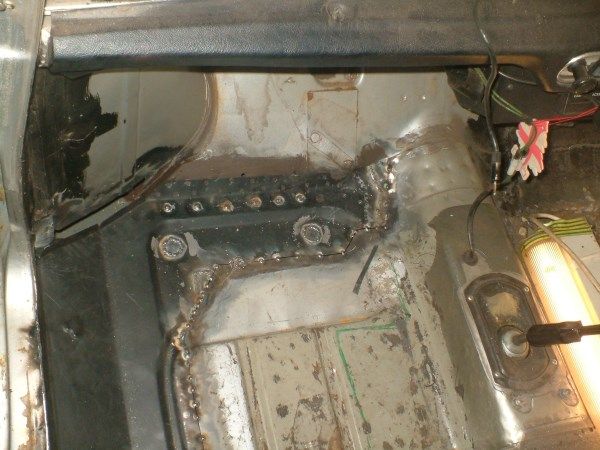
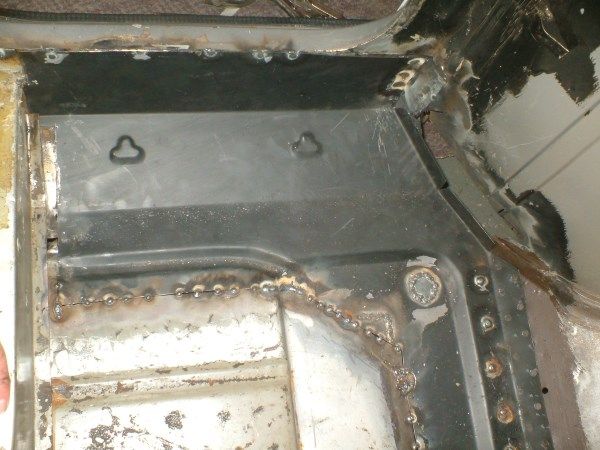
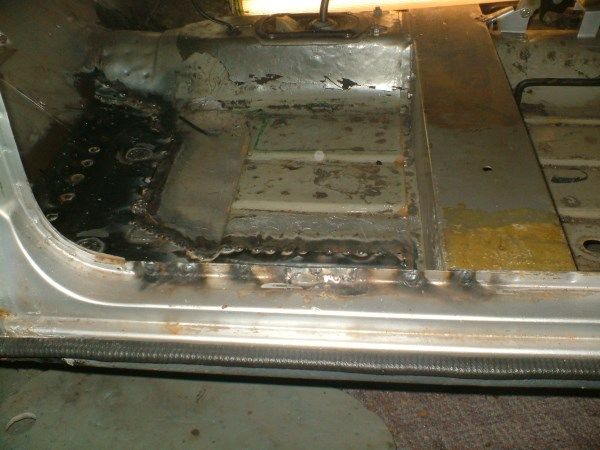
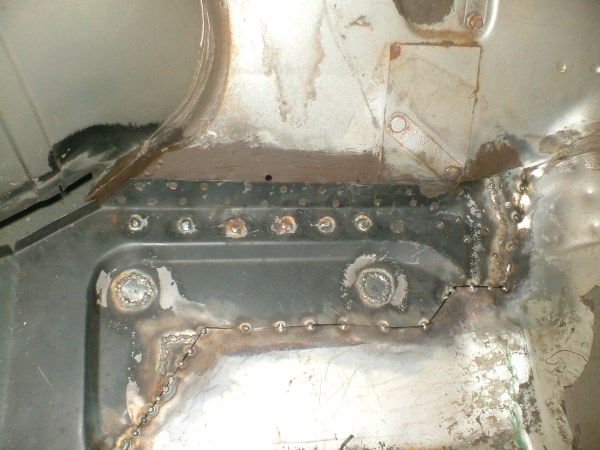
Then We fixed the 2 boot hinges as the nuts didn't want to come but the bar did, so We threaded a bolt with a 1/4 unf and put them back in.
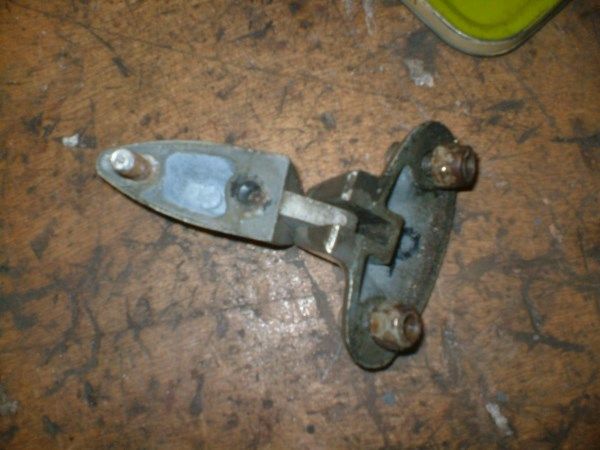
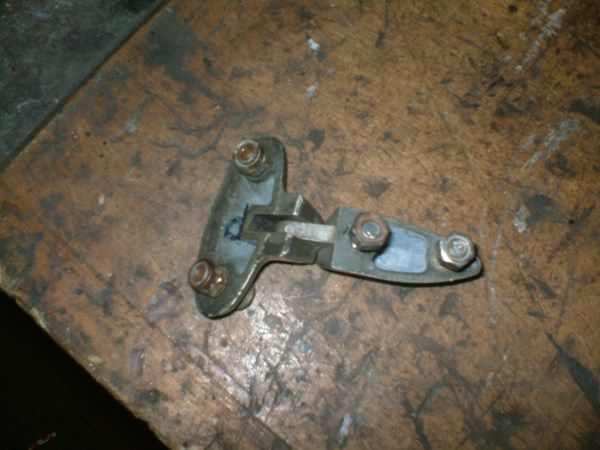
That's it for today, Alex
#56

Posted 06 April 2013 - 09:46 PM
Graham
#57

Posted 06 April 2013 - 10:10 PM
Thanks Graham, I'll say not that much but I don't know what the drivers floor is going to be hiding I think a new toe board lip is needed. So "just" the front floors and a bit in the back bins to sort, Then a bit of grinding, painting and putting back together, I think we're going to be tight on time for the Riv Run on the 5th mayLovely neat work as usual Alex, can't be many bits left needing welding now?? Keep going,
Graham
#58

Posted 07 April 2013 - 07:04 AM
#59

Posted 07 April 2013 - 07:36 PM
It's ridiculas, You would never have thought it from the outside. I do to.I am still shocked when i see this considering i was driving arround in her with a baby! The mini company i bought her from must of been bodgers because they said lots of work had been done. I hope you make the deadline it will be nice to see her there.
Did you replace the rear bumper?
#60

Posted 07 April 2013 - 07:38 PM
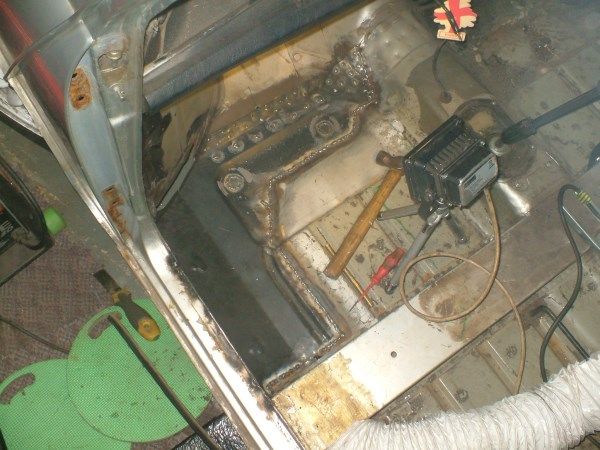
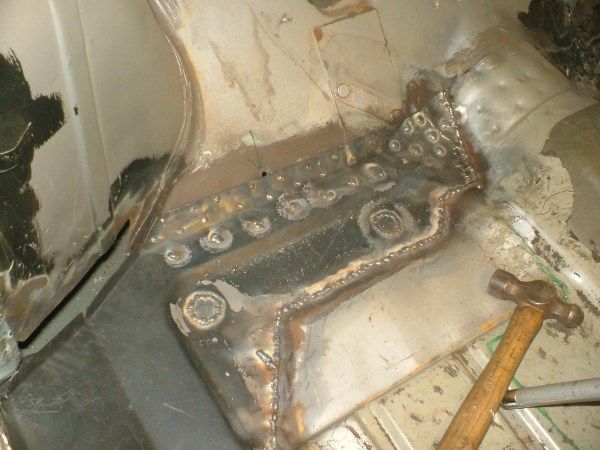
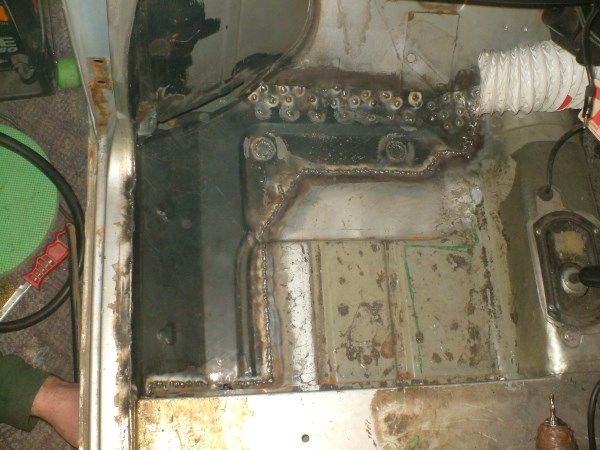
Made and welded in a piece for the flitch.
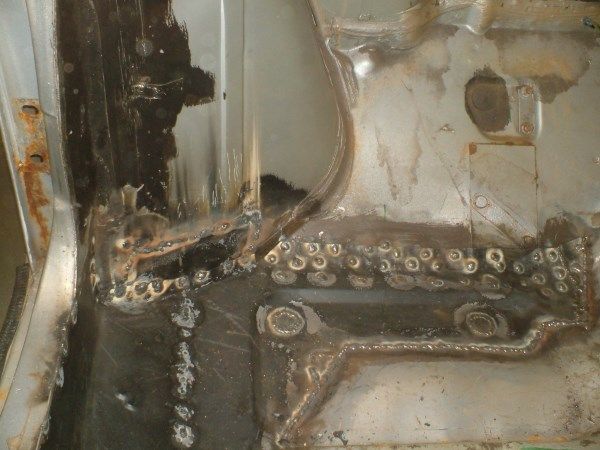
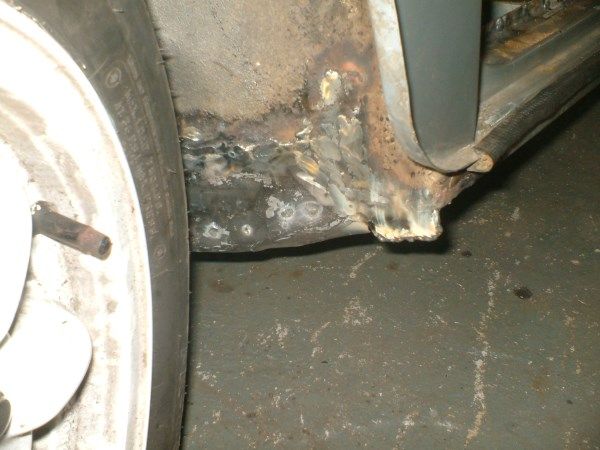
Dad painted the boot with hamerite, not brown unfortuantly
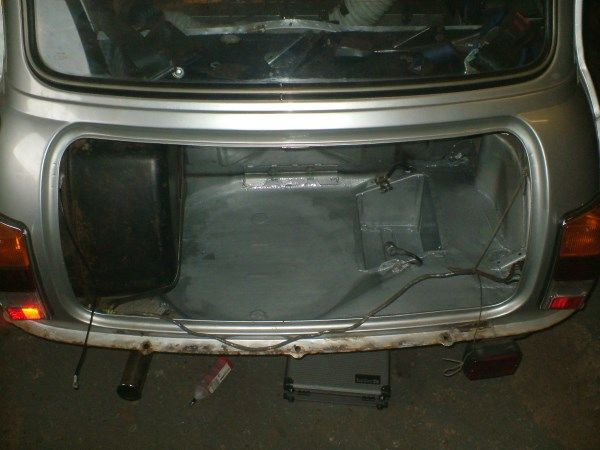
I ground down the welds in the rear seat pan repairs, gave them a coat of hammerite
1 user(s) are reading this topic
0 members, 1 guests, 0 anonymous users


