Mini Cooper 998 Screamer Nut And Bolt Rebuild
#1021

Posted 11 July 2015 - 09:34 AM
#1022

Posted 11 July 2015 - 10:12 PM
Look like tweeters.
Yep, those are the tweeters.
Pete
#1023

Posted 12 July 2015 - 08:45 AM
#1024

Posted 12 July 2015 - 08:57 AM
Those tweeters are neat, where did you get them from? what are you doing about midrange speakers?
#1025

Posted 14 July 2015 - 10:00 PM
The front speakers are Genesis Profile 6" and come with those tweeters. The crossover networks are fitted behind the dashboard and the mid range speakers will be pod mounted under the dash rail.
The spotlight brackets weren't hacking it as there was too much flexing in them. Nothing worse than spots vibrating up and down so the solution is V2 shown on the right
These are twice as thick
Trial fit and problem solved
Bit tight through the grill though!
I need to strap some air horns on to these brackets somehow
Also done a bit of carbon wrapping on the center console. This is the upright part
Pic from back, holes are for sub controller, 2X gauges, 12V power socket X2 and USB power adapter.
Pete
#1026

Posted 16 July 2015 - 10:35 PM
Hi Pete,
I bought the same pins after seeing your post many months ago, I am also having a terrible time getting them to work effectively. I'm also toying with the idea of standard pins.
Thanks, Dave
#1027

Posted 17 July 2015 - 07:03 PM
Hi Pete,
I bought the same pins after seeing your post many months ago, I am also having a terrible time getting them to work effectively. I'm also toying with the idea of standard pins.
Thanks, Dave
Hi Dave,
I have decided to do the same. You need 2 hands to press the buttons and another pair of hands to lift the bonnet. I bought these pins from Minisport which will cover the hole
Can't say I particularly like em but it's better than damaging the bodywork
Fitted the switch panel and lower dash rail
Pete
#1028

Posted 17 July 2015 - 07:07 PM
That's a shame, the other ones looked great.
Still, like you said better than damaging the paintwork
#1029

Posted 17 July 2015 - 07:47 PM
#1030

Posted 17 July 2015 - 08:12 PM
That's a shame, the other ones looked great.
Still, like you said better than damaging the paintwork
I'm back on it
Colour coded, flush mounted Aerocatches would look much better
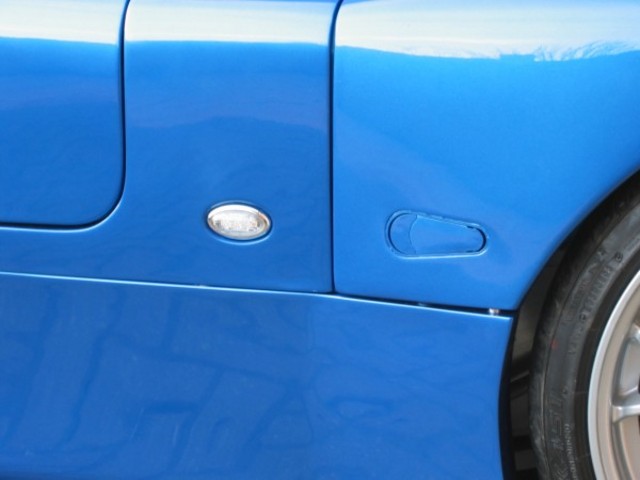
I did think of those but wanted something discrete. I need to get these buttons sorted ![]()
#1031

Posted 17 July 2015 - 08:39 PM
#1032

Posted 17 July 2015 - 09:59 PM
They do look good but are pretty big. I've sorted it now.
On the top of the pins is a ball that compensates for any angle discrepancies.
The problem was the distance between the pins and the buttons.
The ball and socket arrangement won't compensate for this. It took quite a bit of time to sort out but glad I did.
Thanks Graeme for your help. Also thanks Ben for inspiring me ![]()
Pete
#1033

Posted 17 July 2015 - 10:23 PM
Excellent news.
They look so much neater.
#1034

Posted 18 July 2015 - 12:43 PM
Just read through your entire topic, and wow! I never thought a topic of such a 'late' Mini could be so interesting.
Your rust treatment seems more thorough then mine, but I think mine had less rust to begin with. Just hope the rust worm stays away a long time ![]()
Love your eye for detail and your ideas for solutions. Also, your paint job is awesome!
#1035

Posted 19 July 2015 - 10:39 PM
so glad you got the buttons to work (I think) as I thought that was a fantastic idea.
3 user(s) are reading this topic
0 members, 3 guests, 0 anonymous users


