Jump to content


Photo
- - - - -

Bonnet Alignment


  • Please log in to reply
20 replies to this topic

#1 MIGLIACARS

MIGLIACARS

    Up Into Fourth

  • Traders
  • PipPipPipPipPipPipPipPipPip
  • 2,057 posts

Posted 20 October 2012 - 09:32 AM

hello.
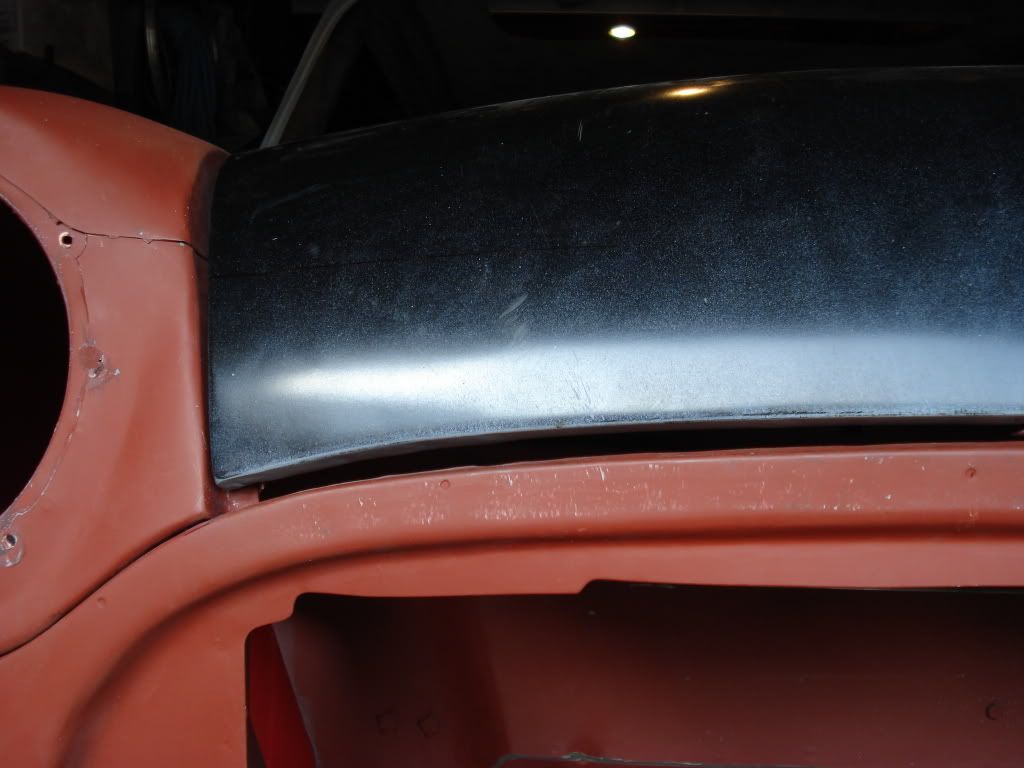
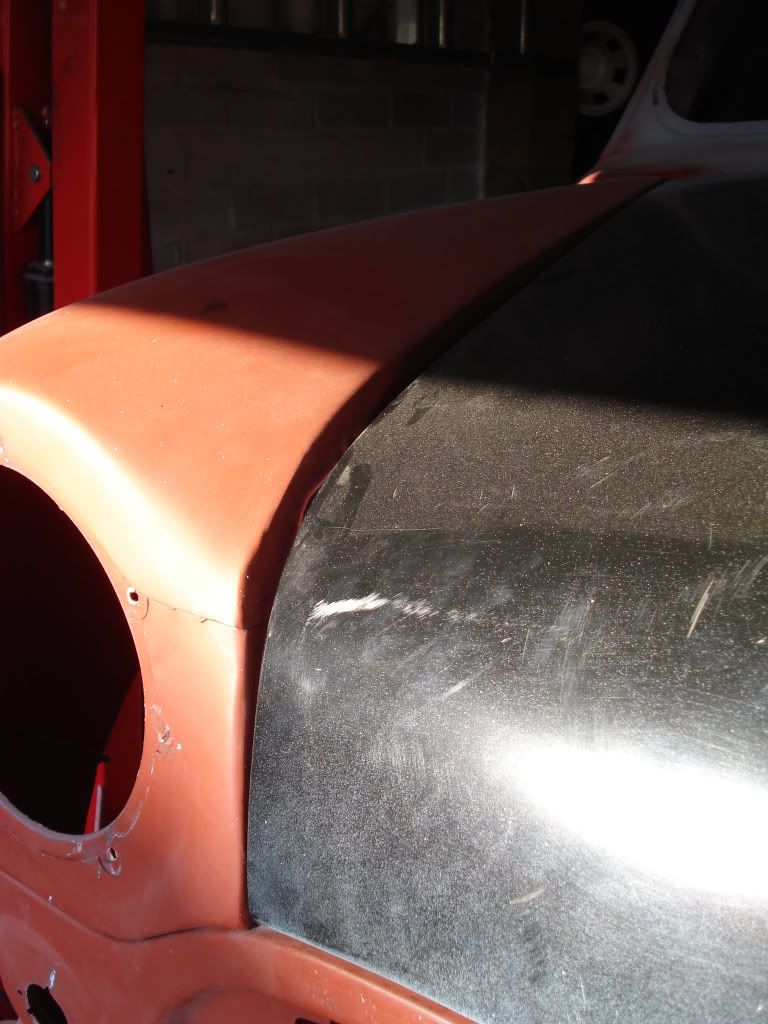
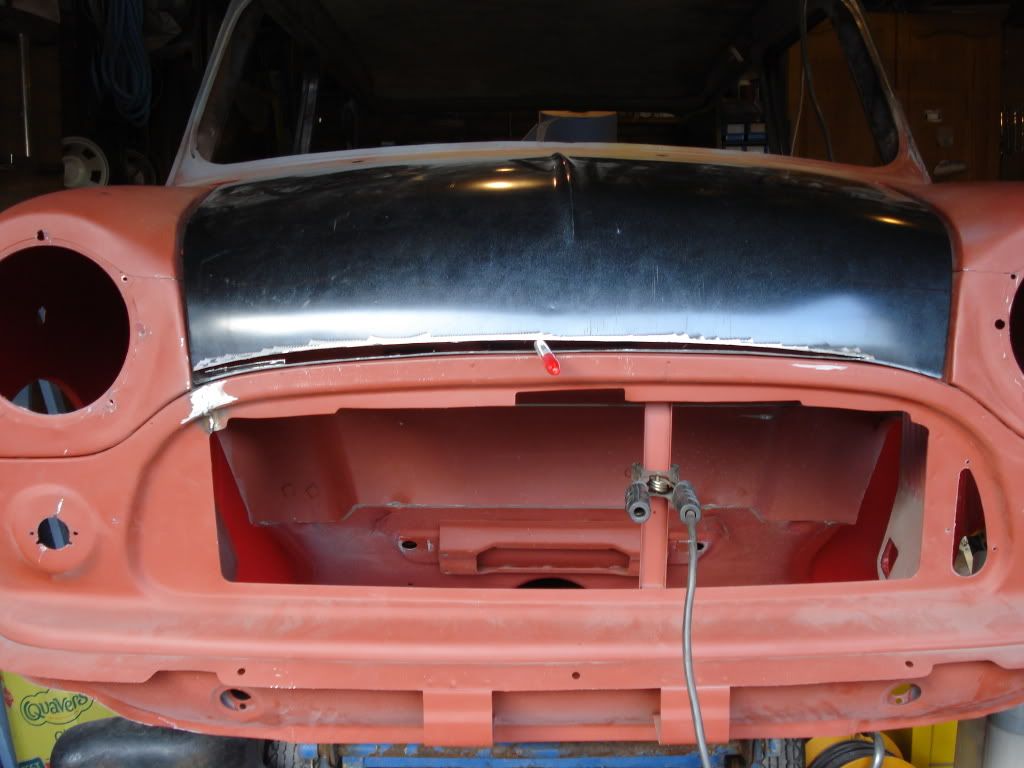
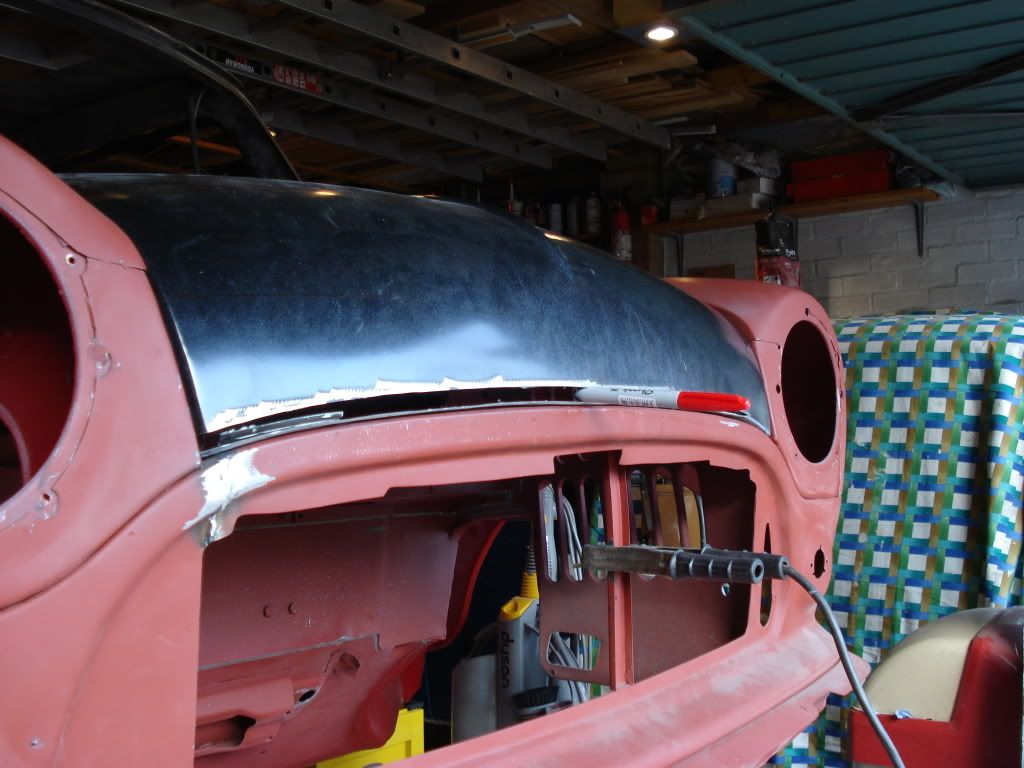
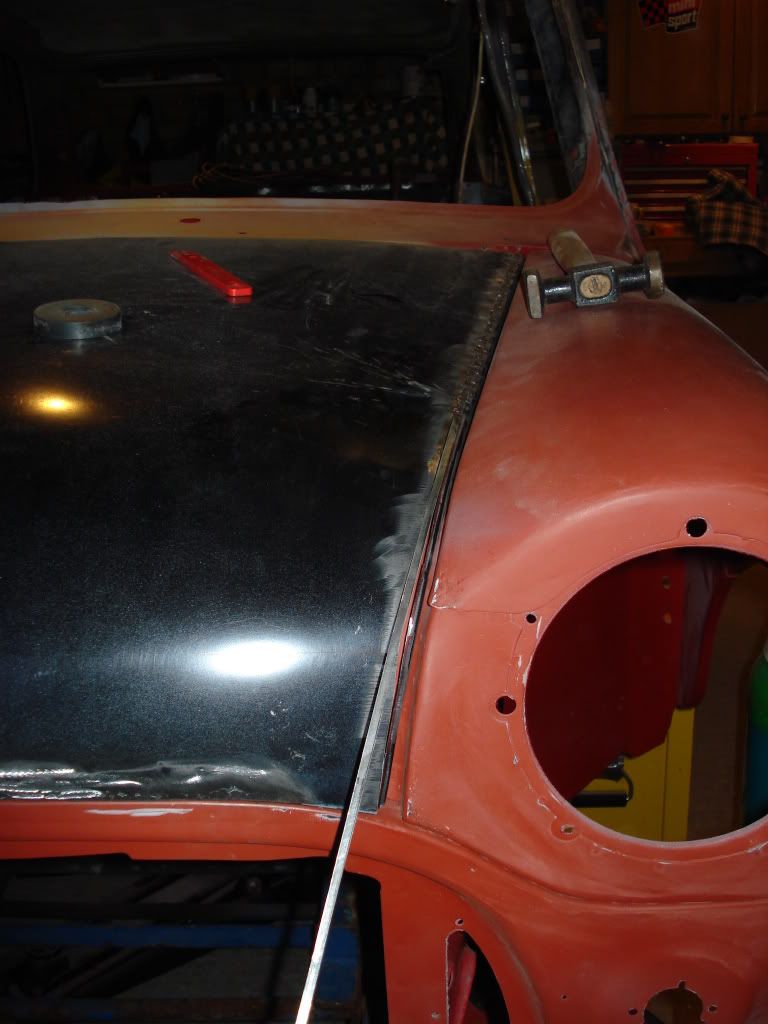
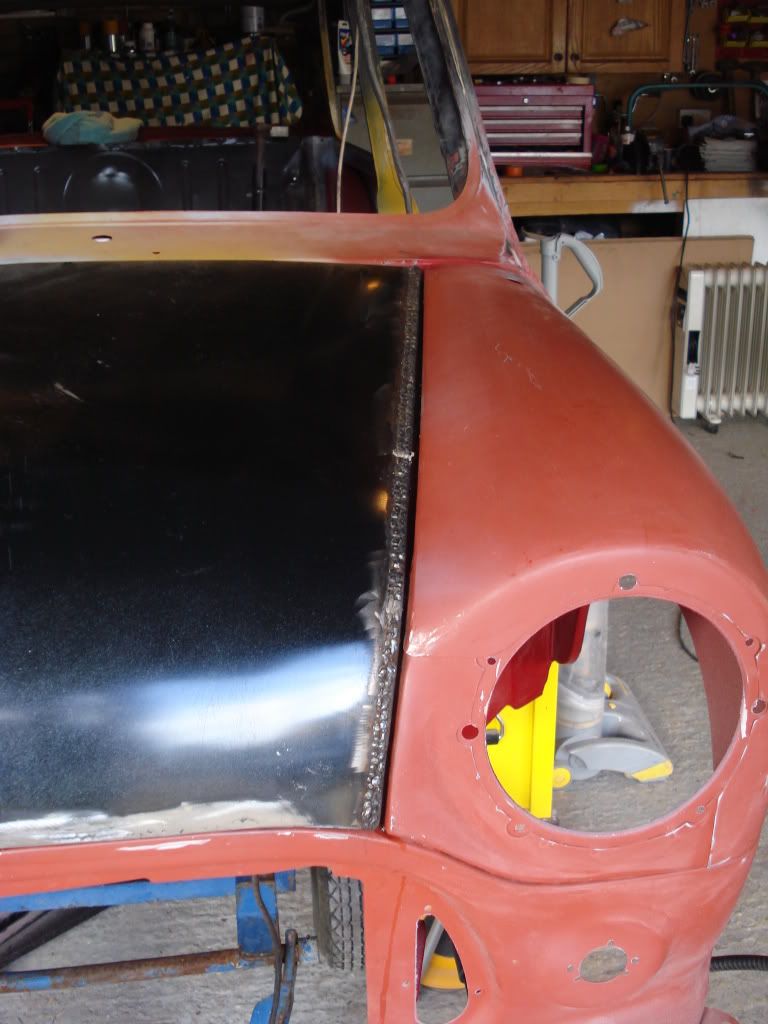
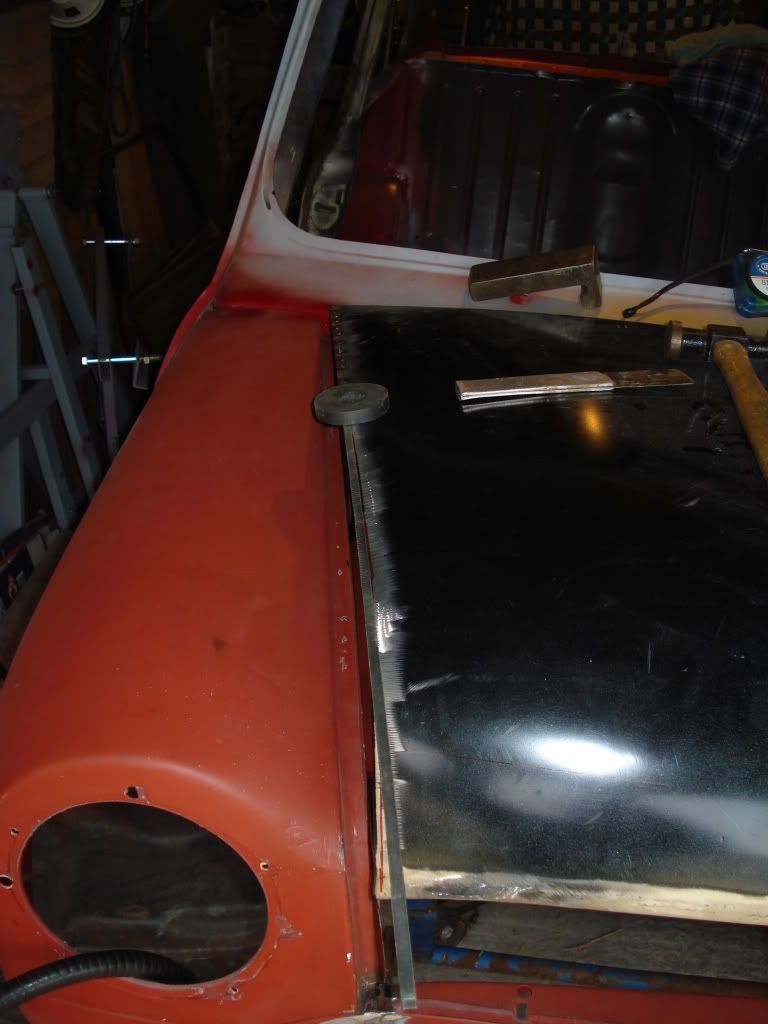
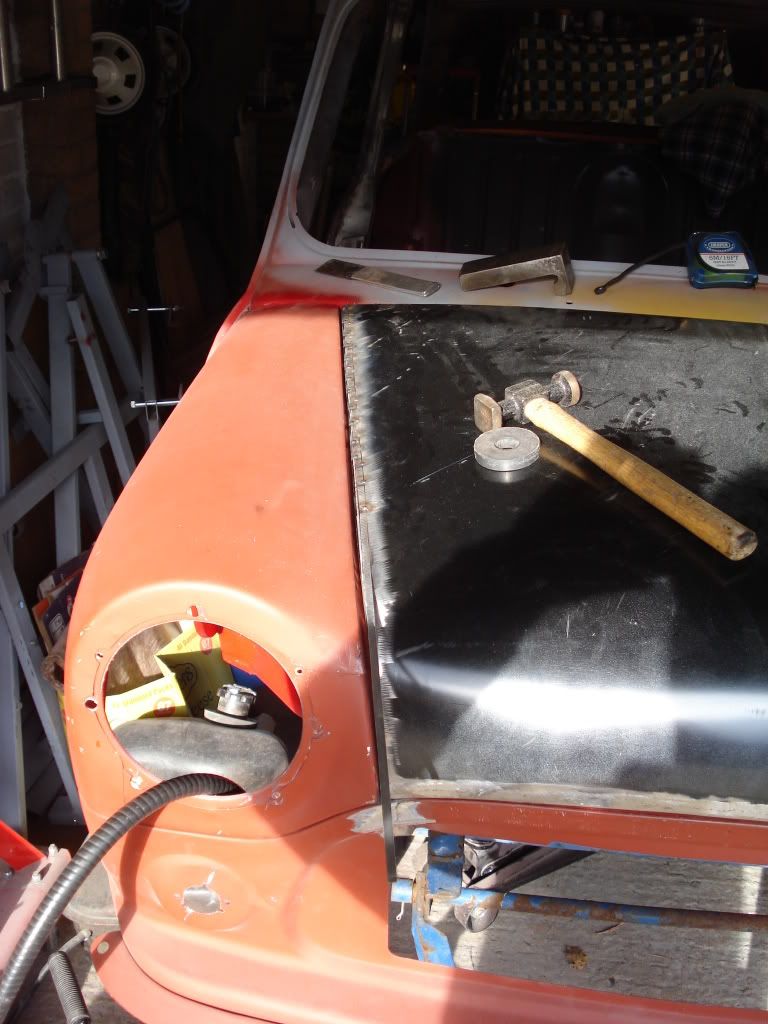
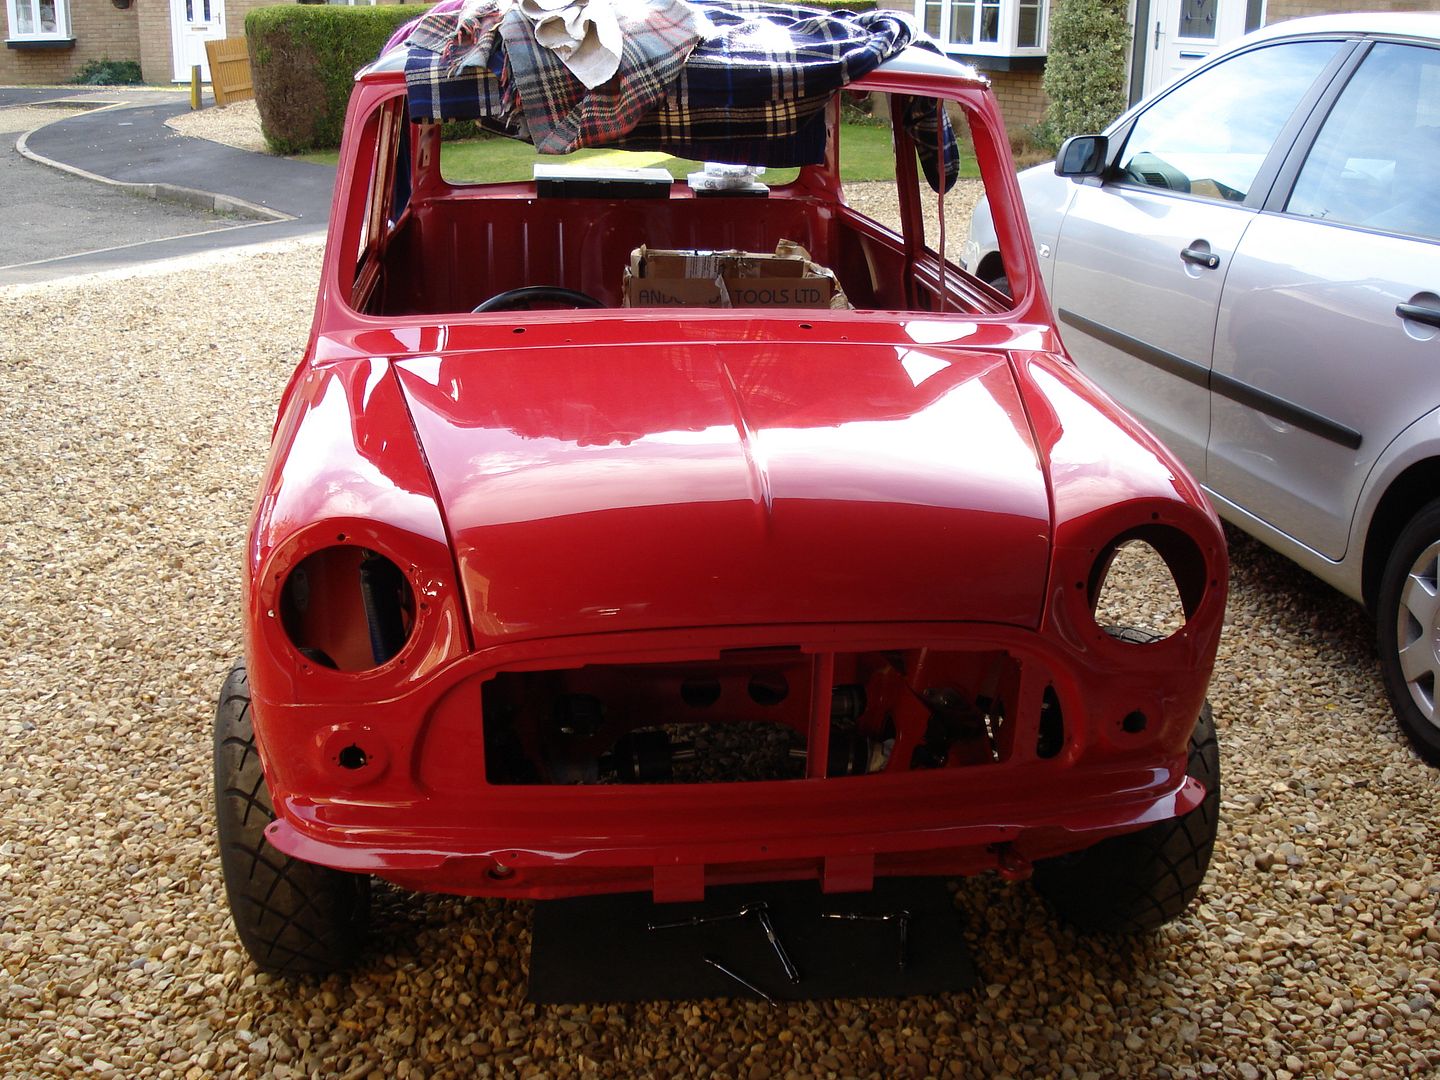
just got a mini project in to complete. its had all its welding done and a new front end, ie wings front panel the bonnet is original. its all painted now.

went to close the bonnet on it and as you look at it from the front there is no gap between the wing and the bonnet. but on the passenger side there is a gap of 18mm. the bonnet is adjusted as far as it can go. so my question is

has the front end been welded on incorrectly is this possible, i have i any options now.

#2 sonikk4

sonikk4

    Twisted Paint Polisher!!!

  • Admin
  • PipPipPipPipPipPipPipPipPipPipPip
  • 15,995 posts
  • Name: Neil
  • Location: Oxfordshire

Posted 20 October 2012 - 12:01 PM

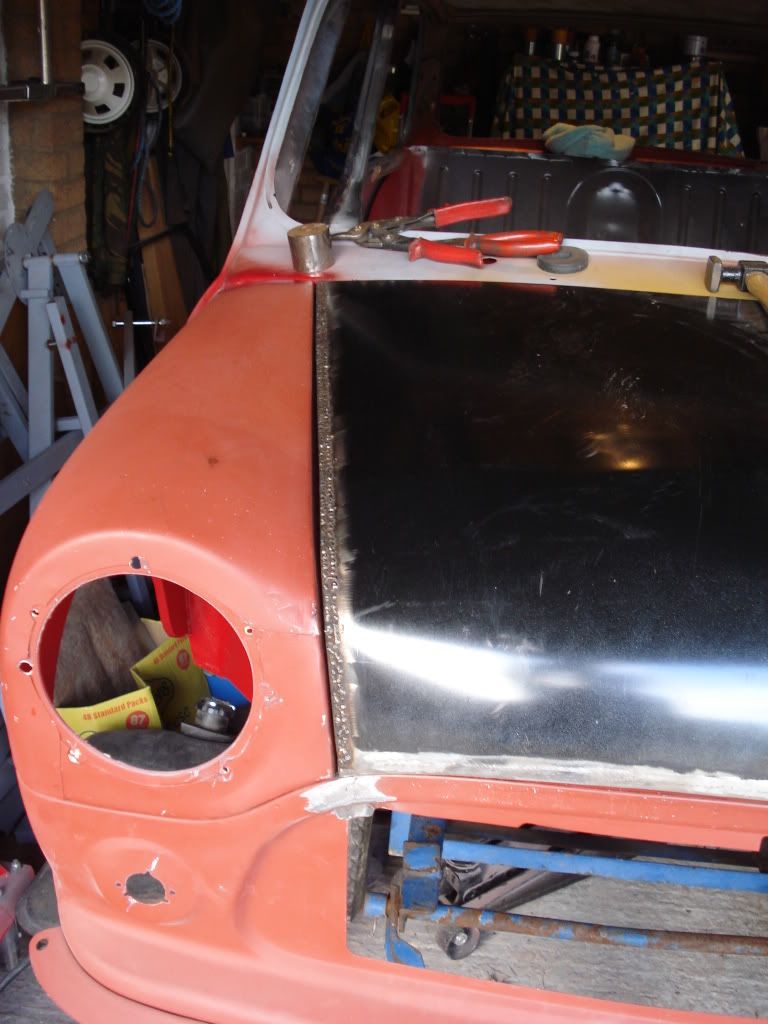
This is not a technical fix more like a cave man approach but as the hinges are flexible you can try and force the bonnet over. Its still quite a large gap so before you move anything have you got the hinges on the same side of the bonnet mounts??? If so then its back to the caveman fix.

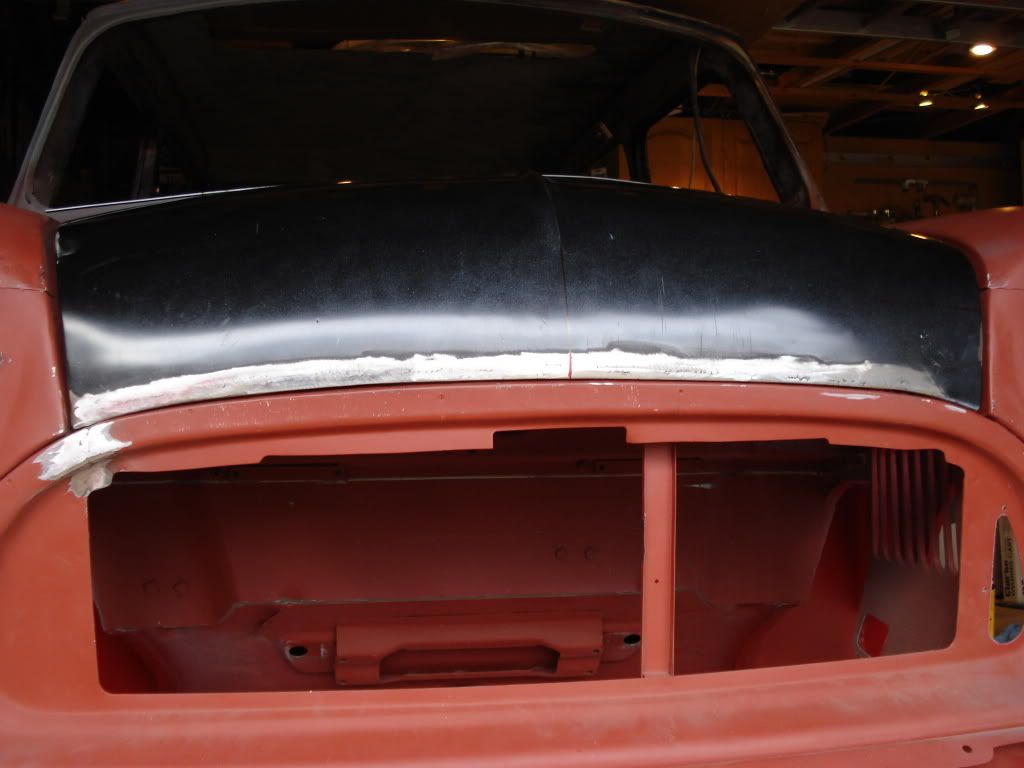
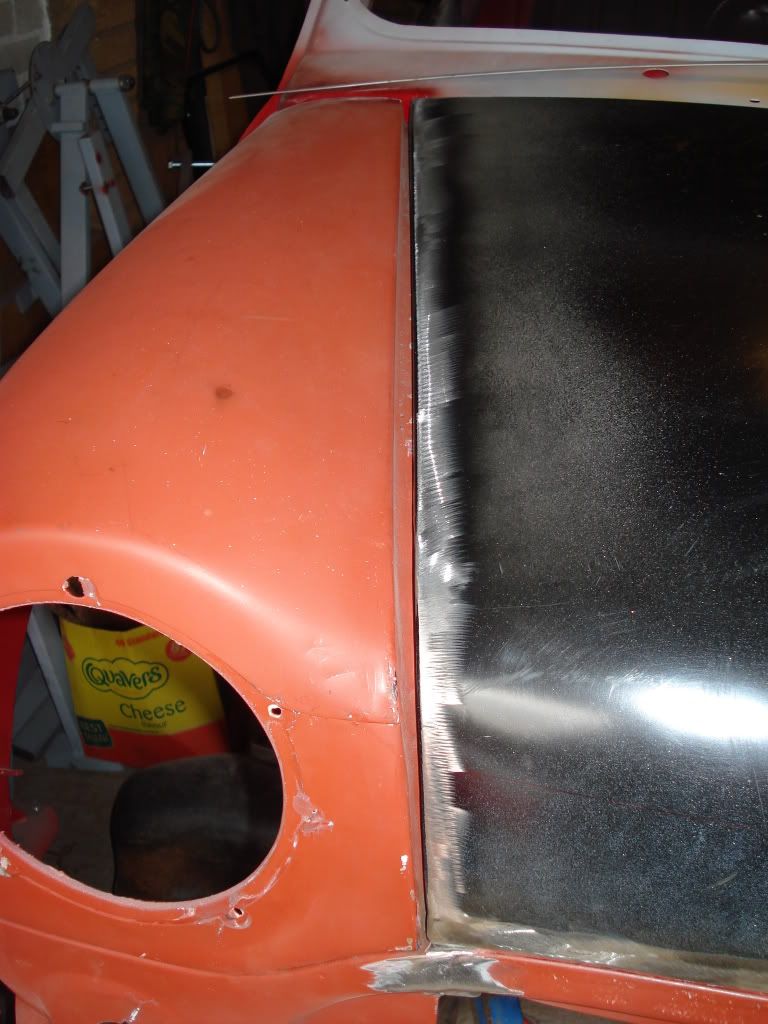
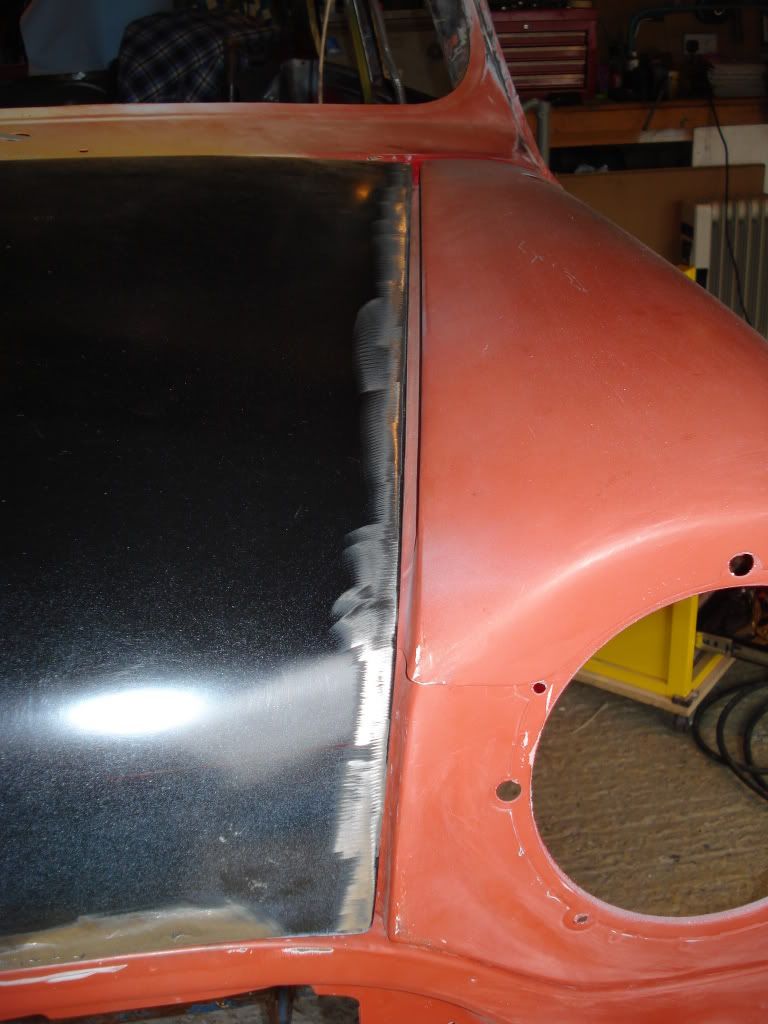
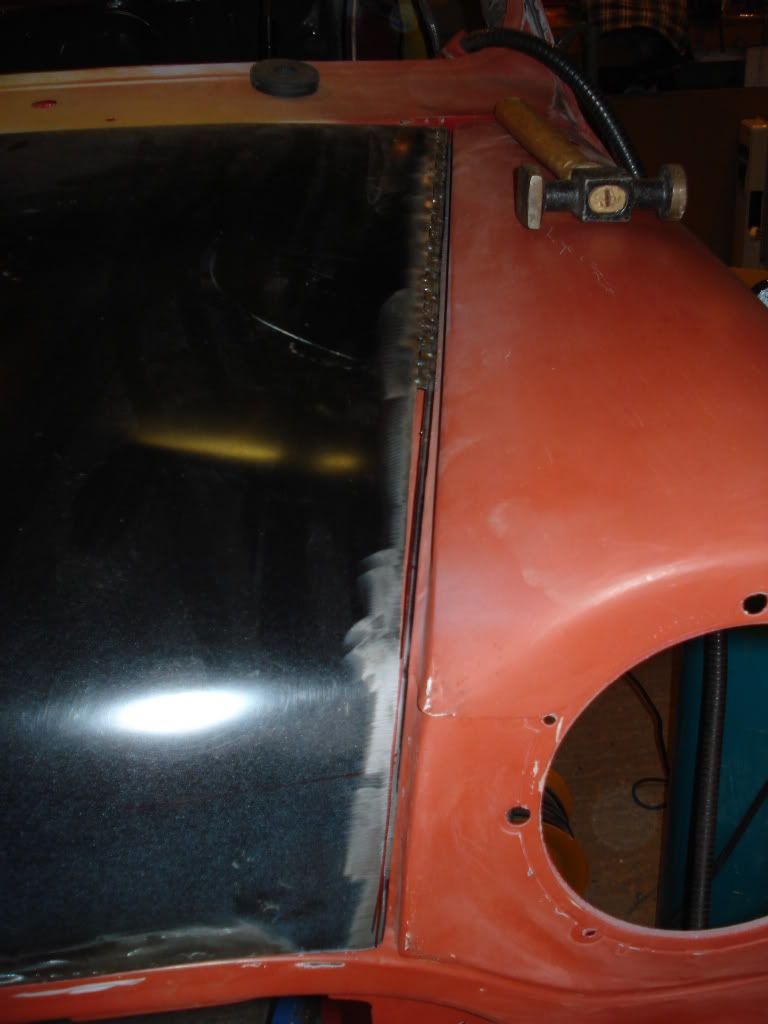
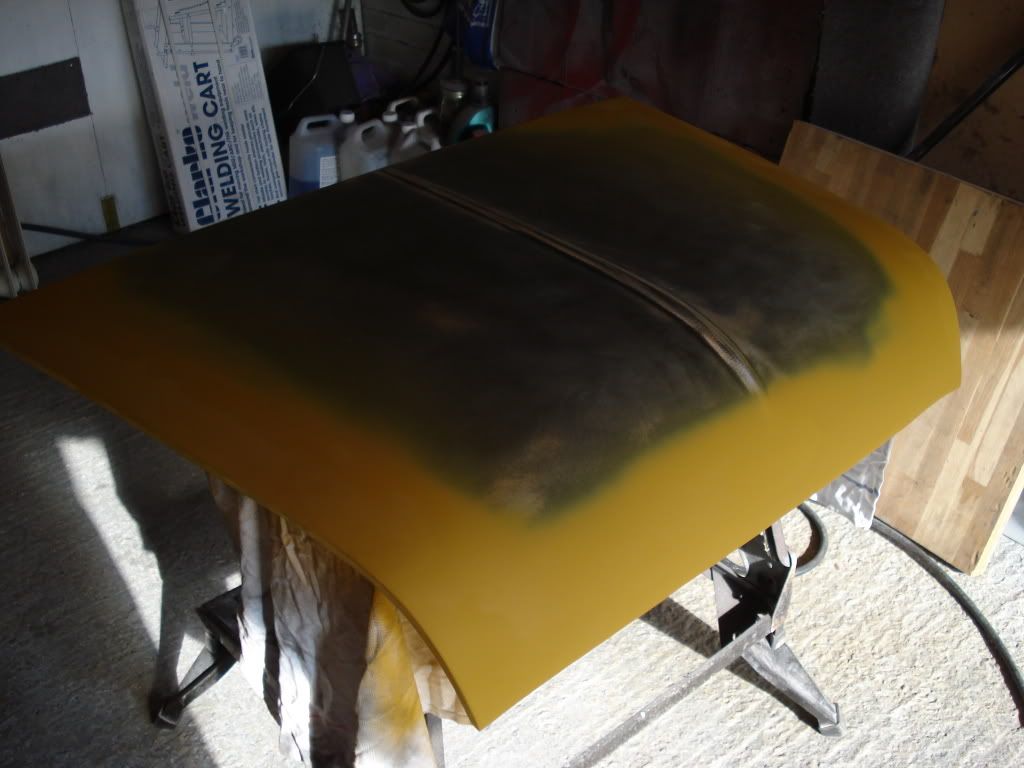
I had to add metal to the bonnet of Project Erm as i had made a boob fitting the wings. Have a look at the Project erm thread and you will see what i did. For the gap you have got when its evened up i would not do that.

#3 skoughi

skoughi

    One Carb Or Two?

  • Members
  • PipPipPipPipPipPipPip
  • 1,199 posts
  • Location: Lerwick
  • Local Club: Shetland classic car club

Posted 20 October 2012 - 12:40 PM

Open the bonnet and check that, as sonic suggests, the hinges are correctly fitted. I f thats fine then remove the bonnet catch from the front panel, so that the bonnet can rest on the stops but won't lock. Then hold the bonnet open and gently give it little pushes in the dirrection it needs to go. Keep doing this and lowering the bonnet onto its rubber stops to keep checking that it's getting closer to even gaps each side. Once you get even gaps then refit the bonnet catch so that it stays in the middle.

#4 Cooperman

Cooperman

    Uncle Cooperman, Voted Mr TMF 2011

  • TMF+ Member
  • PipPipPipPipPipPipPipPipPipPipPip
  • 23,173 posts
  • Location: Cambs.
  • Local Club: MCR, HAMOC, Chelmsford M.C.

Posted 20 October 2012 - 12:53 PM

Most Minis have had the front wings and often the front panel replaced at some time. Thgose that haven't surely will heve sooner or later.
The way to do it is to trial fit wings and front panel, then trial fit the bonnet, adjusting gently (with a mallet!) as necessary. Once the shut lines are acceptable, you'll never get them absolutely right, complete the welding with the confidence that it will be acceptable when all finished.
For the O.P. that is scant help, but when there is a bit of misalignment you just have to nfiddle with the brackets and bonnet until it's as good as you can get it. It's an idea to remove the bonnet from the hinges and see how well you can get it and note the gaps at back and front on each side. Then fit it to the hinges knowing what you need to replicate those gaps when bolted up. Finally fit the lock mechanism.

#5 midridge2

midridge2

    Camshaft & Stage Two Head

  • Members
  • PipPipPipPipPipPipPipPip
  • 1,794 posts
  • Location: north east england

Posted 20 October 2012 - 02:20 PM

if the bonnet catch is across as far as it will go and you still have a wide gap, then no matter how far you push the bonnet across, when you close the bonnet the catch will pull it back into place and still leave you with a wide gap.
the cure, file the hole across on the slam panel so you can move the catch across and readjust the bonnet peg.


#6 MIGLIACARS

MIGLIACARS

    Up Into Fourth

  • Traders
  • PipPipPipPipPipPipPipPipPip
  • 2,057 posts

Posted 20 October 2012 - 05:07 PM

hello and thanks for the response so far. but i have not make myself clear on the issue i have so ill try it again.

looking at the car from the front.

the gap along the back of the bonnet is correct. close but even

the bonnet is pulled down towards the front of the car so is fully adjusted on the brackets.

the gap along the drivers side is close wing to bonnet same all the way up to the scuttle.a bit too close .

passenger side the gap at the top at the scuttle is correct but at the bottom at the front panel end, the gap is 18 mm.

the bonnet needs to come round at the bottem to close the gap

but as the bonnet is fully adjusted i cannot do this.

i hope this helps

#7 skoughi

skoughi

    One Carb Or Two?

  • Members
  • PipPipPipPipPipPipPip
  • 1,199 posts
  • Location: Lerwick
  • Local Club: Shetland classic car club

Posted 20 October 2012 - 09:20 PM

Ahh, I think I see now. Everyone thought that the gaps were parralell to the panel edges but from what I gather the bonnet to scuttle gap is parralell but bonnet to wings is not. I think in my very limited experence that you'll need to get the welder out and do some cutting along the tight edges or do a "sonic" and weld on some sort of filler onto an edge where there's a big gap. I've just done something similar on my clubby. The gap between my reskinned door (heritage skin) to the pattern a-panel was uneven so I fitted the a-panel so the gap was larger than required then tacked on a gas welding rod to even up the gap. Don't know if this is any help though! Can you put up some pics so someone could point out an easy fix?

#8 Cooperman

Cooperman

    Uncle Cooperman, Voted Mr TMF 2011

  • TMF+ Member
  • PipPipPipPipPipPipPipPipPipPipPip
  • 23,173 posts
  • Location: Cambs.
  • Local Club: MCR, HAMOC, Chelmsford M.C.

Posted 20 October 2012 - 11:36 PM

It sounds as though the wings have not been welded on symetrically each side. I've seen this before and there was no easy solution. The guy doing it got a 'Porta-Power' out and pushed the wing across a few mm. It seemed like a bit of a 'bodge' to me, but then I don't do bodywork every day. It seemed to work though. Not something I would want to try, which is why, with hindsight, trial builds are good at all stages of body re-building.

#9 sonikk4

sonikk4

    Twisted Paint Polisher!!!

  • Admin
  • PipPipPipPipPipPipPipPipPipPipPip
  • 15,995 posts
  • Name: Neil
  • Location: Oxfordshire

Posted 21 October 2012 - 12:40 AM

Have a look at the Project Erm link and you will see what i had to do to sort that problem out.

#10 MIGLIACARS

MIGLIACARS

    Up Into Fourth

  • Traders
  • PipPipPipPipPipPipPipPipPip
  • 2,057 posts

Posted 21 October 2012 - 12:05 PM

It sounds as though the wings have not been welded on symetrically each side. I've seen this before and there was no easy solution. The guy doing it got a 'Porta-Power' out and pushed the wing across a few mm. It seemed like a bit of a 'bodge' to me, but then I don't do bodywork every day. It seemed to work though. Not something I would want to try, which is why, with hindsight, trial builds are good at all stages of body re-building.


ive thought about portapower, im pretty sure it would come across but wits were to fix it to.
also i dont want to disturb the seams as it painted.

going to take a look at project erm now.

the man i bought it from is a c ck

#11 sonikk4

sonikk4

    Twisted Paint Polisher!!!

  • Admin
  • PipPipPipPipPipPipPipPipPipPipPip
  • 15,995 posts
  • Name: Neil
  • Location: Oxfordshire

Posted 21 October 2012 - 12:47 PM

On the Project Erm thread go from page 30 onwards.

#12 MIGLIACARS

MIGLIACARS

    Up Into Fourth

  • Traders
  • PipPipPipPipPipPipPipPipPip
  • 2,057 posts

Posted 21 October 2012 - 03:10 PM

On the Project Erm thread go from page 30 onwards.


cannot find it

#13 sonikk4

sonikk4

    Twisted Paint Polisher!!!

  • Admin
  • PipPipPipPipPipPipPipPipPipPipPip
  • 15,995 posts
  • Name: Neil
  • Location: Oxfordshire

Posted 21 October 2012 - 05:05 PM
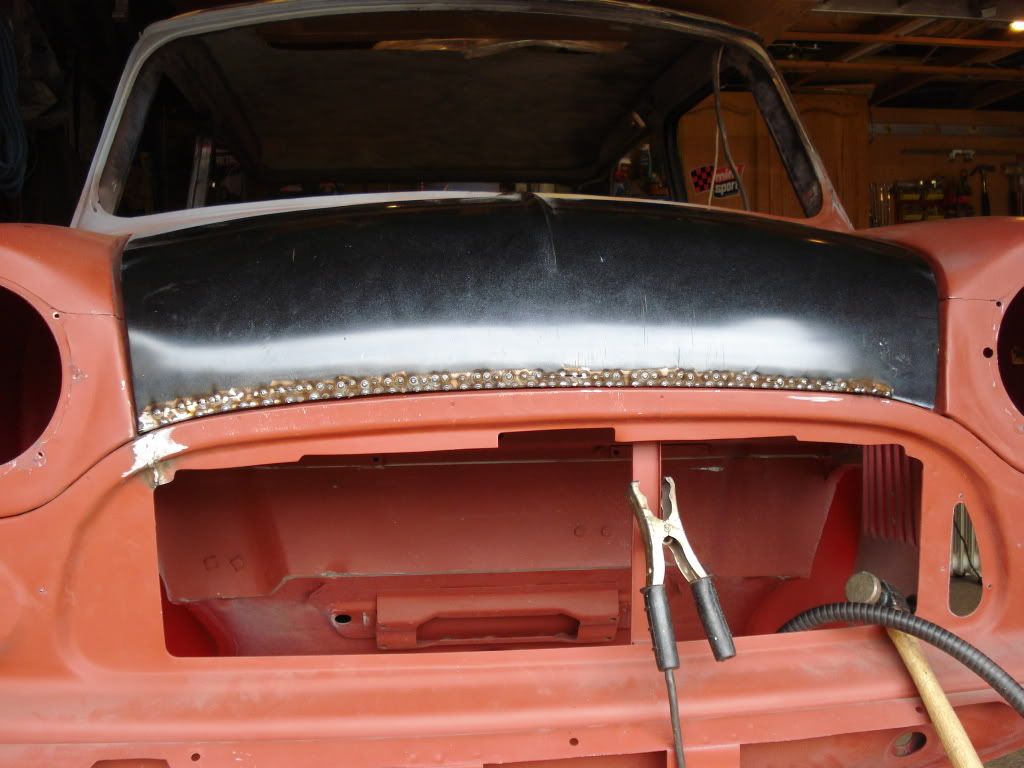
here you go
Posted Image
Posted Image
Posted Image
Posted Image
Posted Image
Posted Image
Posted Image
Posted ImagePosted ImagePosted Image
Posted Image
Posted Image
Posted Image
Posted Image

#14 sonikk4

sonikk4

    Twisted Paint Polisher!!!

  • Admin
  • PipPipPipPipPipPipPipPipPipPipPip
  • 15,995 posts
  • Name: Neil
  • Location: Oxfordshire

Posted 21 October 2012 - 05:12 PM

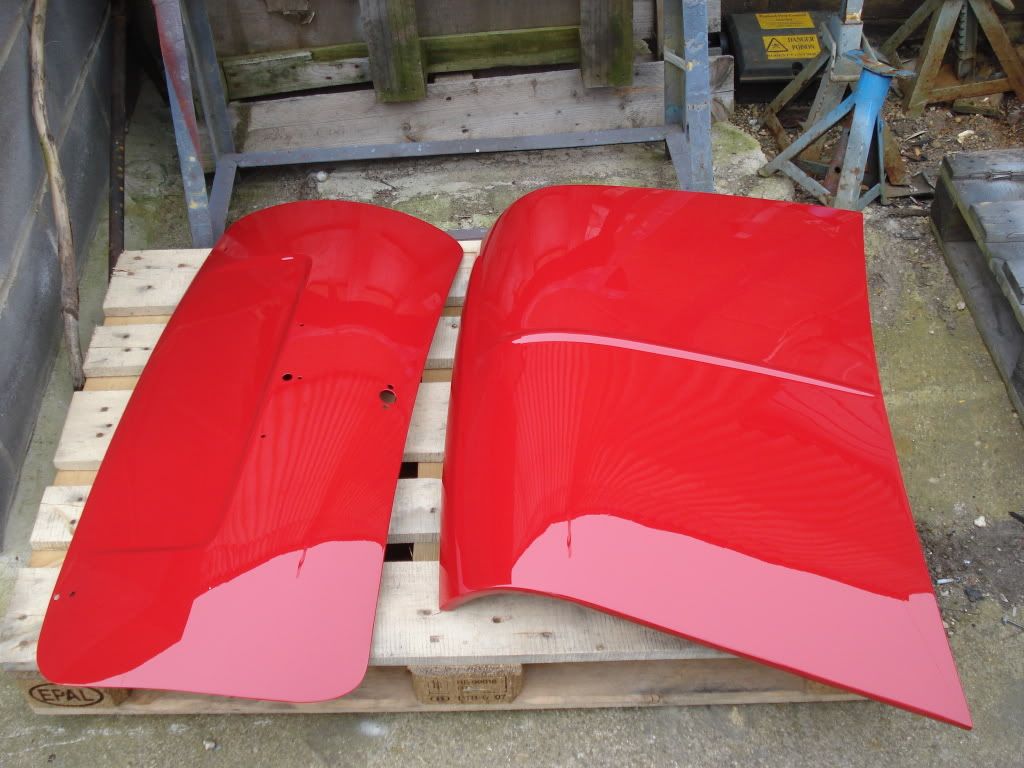
Finished result after some more fettling
Posted Image
It takes time and patience but in the end the final result when painted was spot on
Posted Image
Posted Image

#15 MIGLIACARS

MIGLIACARS

    Up Into Fourth

  • Traders
  • PipPipPipPipPipPipPipPipPip
  • 2,057 posts

Posted 21 October 2012 - 05:59 PM

hey thanks for this


1 user(s) are reading this topic

0 members, 1 guests, 0 anonymous users