No problem it happens sometimes like that.


Not Really A Complete Rebuild But.....
Started by
playdays2k1
, Oct 09 2012 09:16 PM
25 replies to this topic
#16

sonikk4
-

- Admin
-

- 16,033 posts
Twisted Paint Polisher!!!
- Name: Neil
- Location: Oxfordshire
Posted 10 October 2012 - 08:44 PM
#17
playdays2k1
-
- Noobies
-
- 31 posts
Passed Test
- Location: brecon
Posted 10 October 2012 - 08:54 PM
going by your pics i have overcills fitted but not knowing what is under the good cill can be a little bit daunting if i remove it and find nothing i will feel gutted and if i remove it and find rot i will feel gutted lol.... if i remove both and replace with short cills will there be any problems where the the longer overcills where welded?
#18
sonikk4
-
- Admin
-
- 16,033 posts
Twisted Paint Polisher!!!
- Name: Neil
- Location: Oxfordshire
Posted 10 October 2012 - 09:10 PM
If you look at my pictures i removed the old over sills and cleaned up the bottom edge with no issues. That's the problem with over sills its not knowing what's under them. They need to come off mainly because if the old sills are under it the rust will spread and create more problems.
#19
Shifty
-

- Admin
-
- 13,138 posts
Sponsored by Fosters (tm)
- Name: Sean
- Location: Shropshire(sunny)
- Local Club: TMF
Posted 10 October 2012 - 09:17 PM
#20
playdays2k1
-
- Noobies
-
- 31 posts
Passed Test
- Location: brecon
Posted 10 October 2012 - 09:51 PM
thanx shifty just read right through that entire thread that you linked to .....looks like both overcills are coming off and lets keep fingers crossed unfortunately being in full time work and no garage to work in the dry or light (dark nights) it may be a week or so before i cut them off and show pics then we can move on to PROBLEM 2 also i havn't welded anything for about ten years so i am gonna have to practice practice and practice before i put the torch head to the mini
also thanx sonikk4 for your input up to now hopefully both of you can guide me as i go along
also thanx sonikk4 for your input up to now hopefully both of you can guide me as i go along
#21
joezone2001
-
- Members
-
- 332 posts
Speeding Along Now
- Location: kirkby in ashfield
Posted 11 October 2012 - 03:42 AM
Hi again... There's allot of swearing going on in this topic today... 'Oversills' ewwww.. They should be made illegal lol.. Mine had them...
http://www.mini30.in...0201_153515.jpg
I ended up sweeping my original sills into a dustpan. I have no idea how the car was held together.. Shocking she had an MOT....
Anyway.. You CAN get new sills so don't worry....
http://www.mini30.info/P1010072.JPG
Wow.... I can't believe how bad my car used to look... Lol.. Not looked at the pics in a while...
Joe
#22
sonikk4
-
- Admin
-
- 16,033 posts
Twisted Paint Polisher!!!
- Name: Neil
- Location: Oxfordshire
Posted 11 October 2012 - 10:33 AM
For the outer sills you need these from M machine, highly recommended
14.32.00.01 Sill, LH, Mk3-4 £21.60 the price is including VAT
14.32.00.02 Sill, RH, Mk3-4 £21.60.
These are the ones you see on my Clubman in the picture i posted. They make a lot of their own panels as well. They are not always the cheapest but you pay for what you get.
I will be using their complete inner sill sections and outer sills again when i restore Paddy in the near future.
If you are unsure about what panels you need and their availability then download the M Machine panel PDF or there is the Somerford website as well. There is a very strong panel supplier market out there covering virtually every panel you could need on a mini.
If you have a small budget then use the likes of Magnum or Hadrian panels. These two companies supply most of the cheap pattern panels you find on websites like Minispares, Minisport, SC Parts etc. They do fit but can sometimes need some extra work to get them to fit very well.
#23
playdays2k1
-
- Noobies
-
- 31 posts
Passed Test
- Location: brecon
Posted 12 October 2012 - 05:49 PM
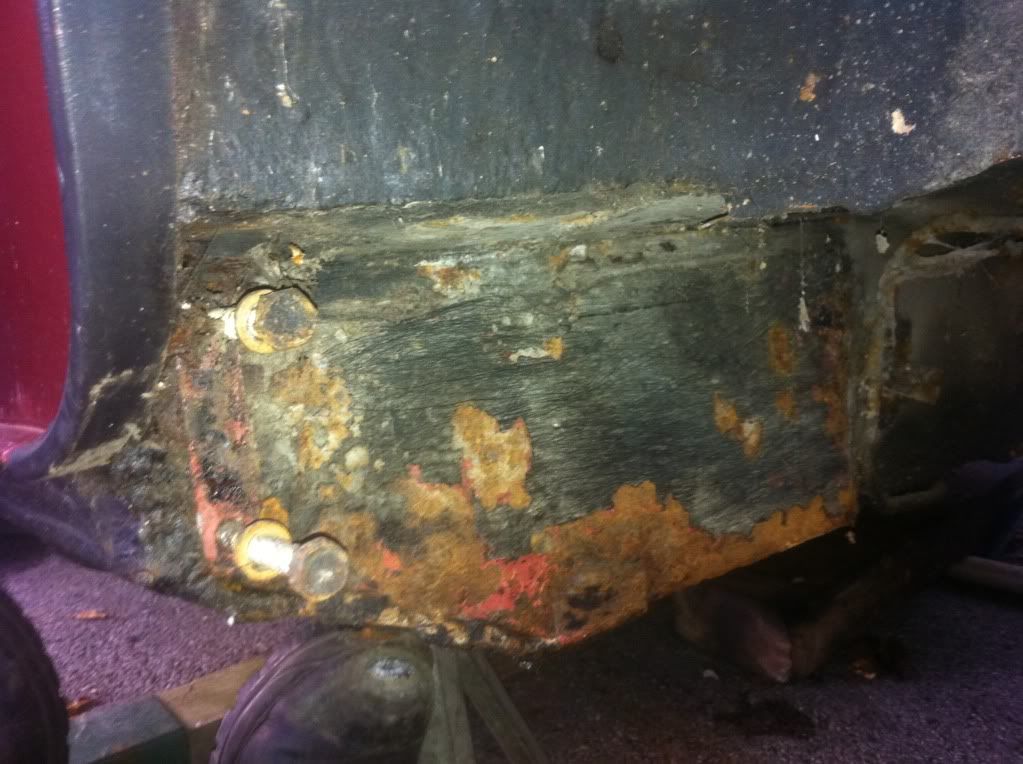
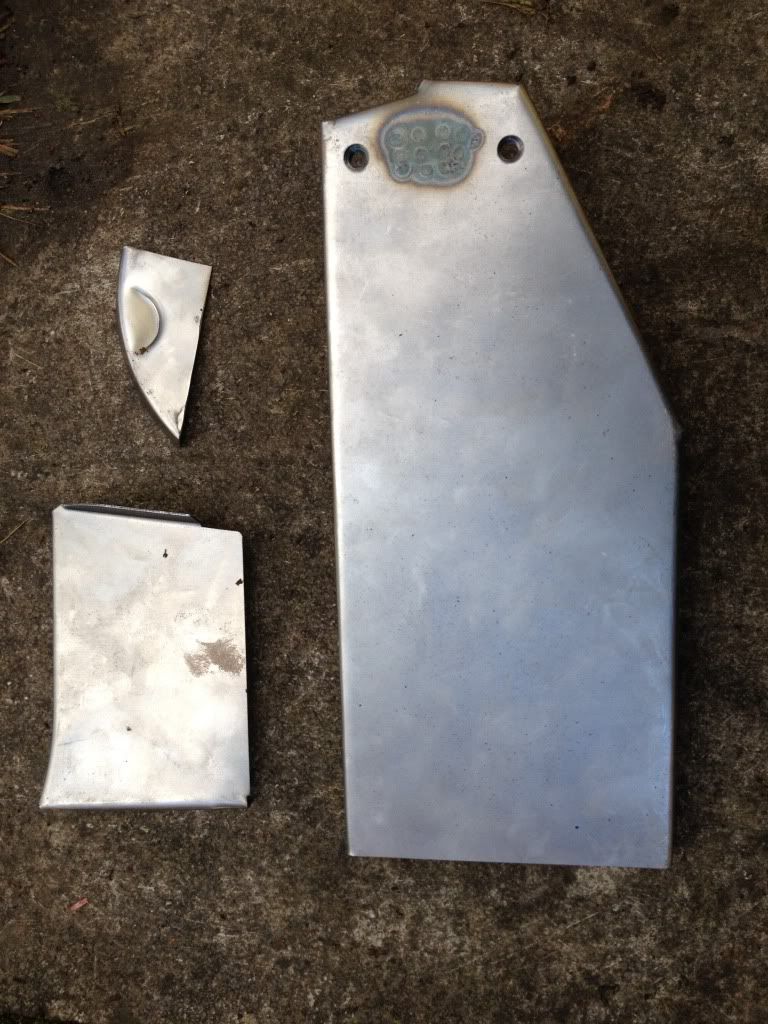
Ok removed offside outer overcill today (the rotten one)left me with a few problems but not as bad as it could have been
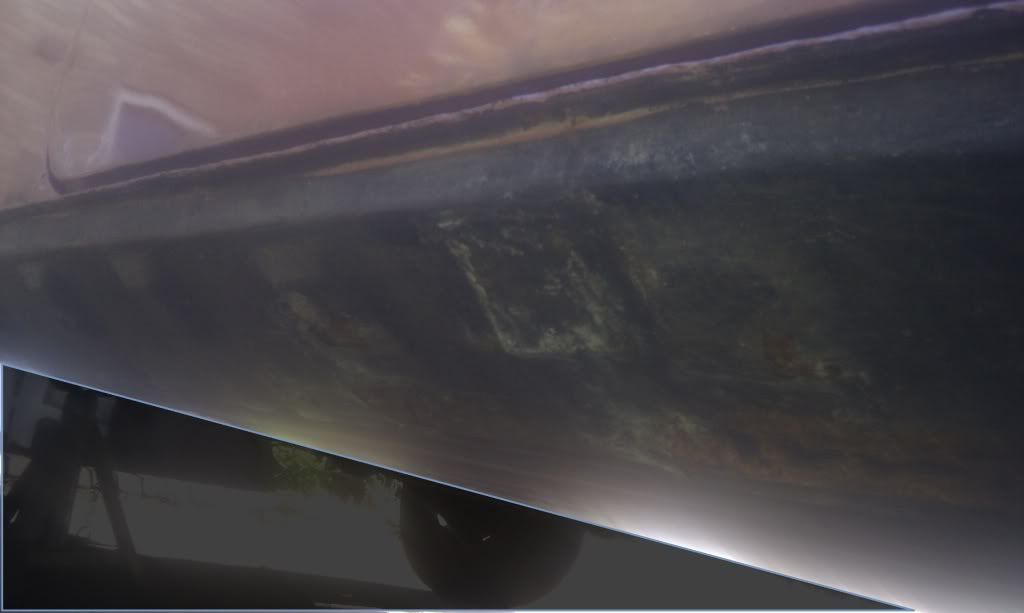
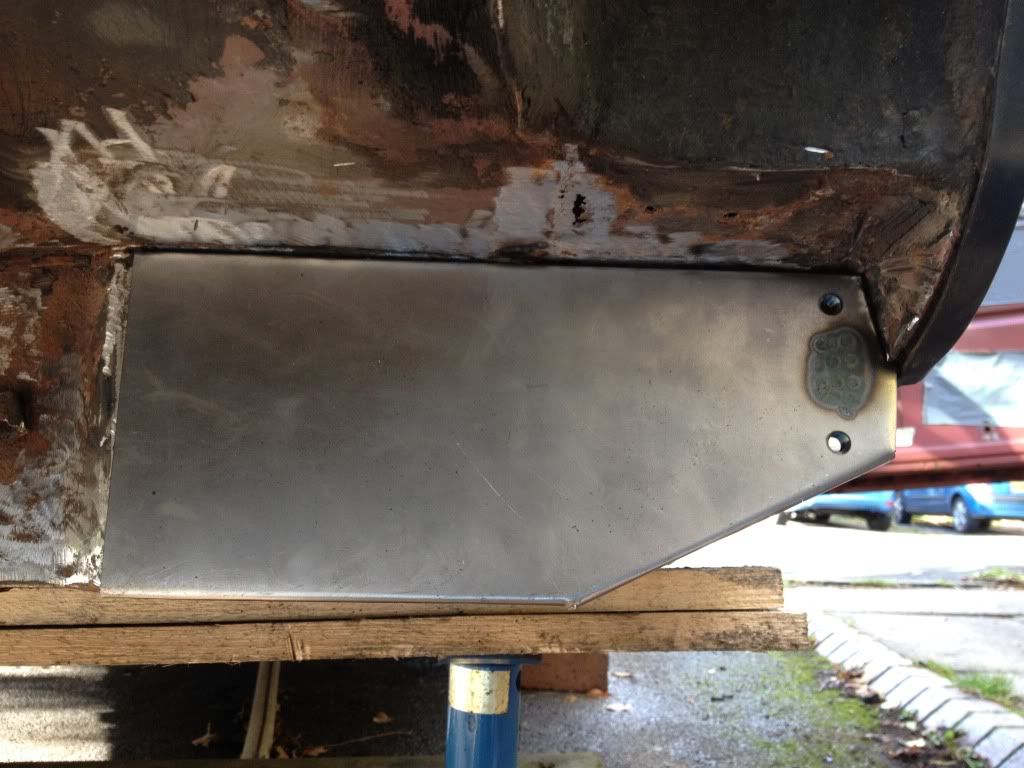
as was before i started
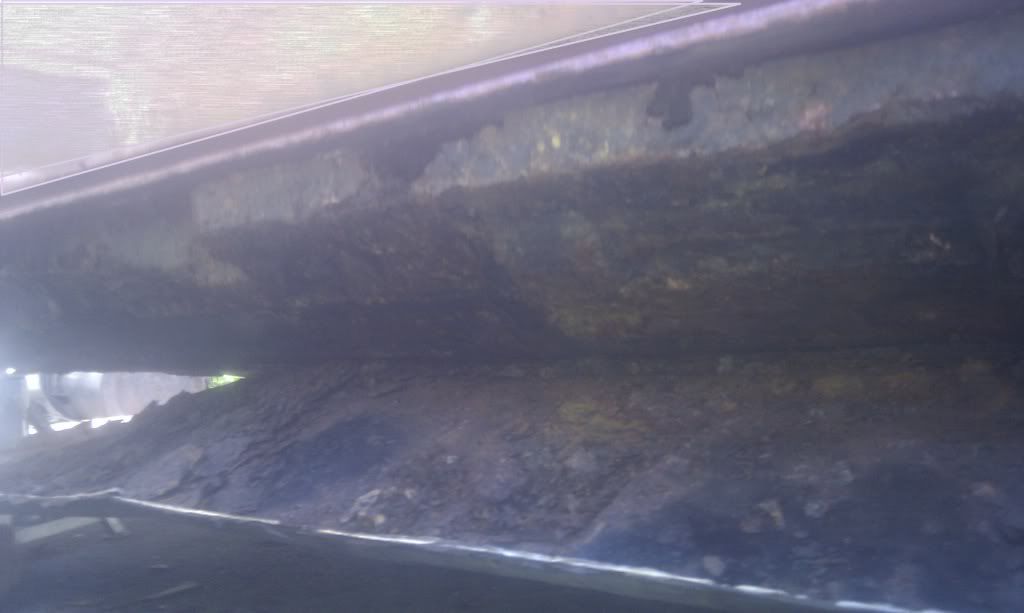
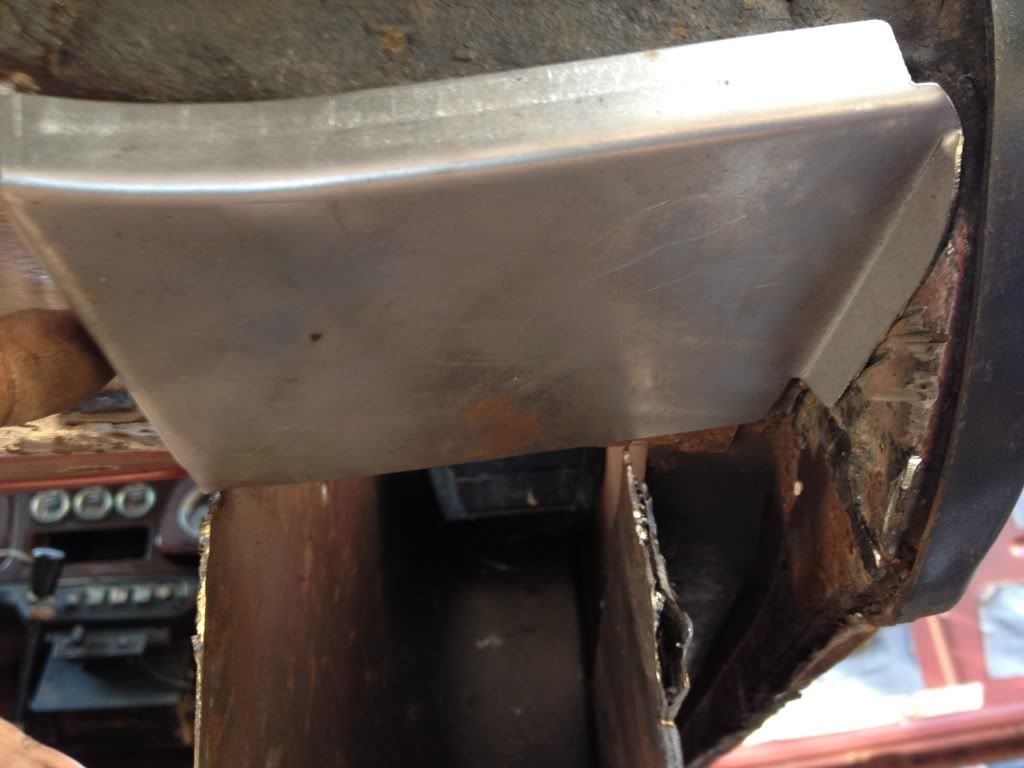
folded back showing remains of original cill
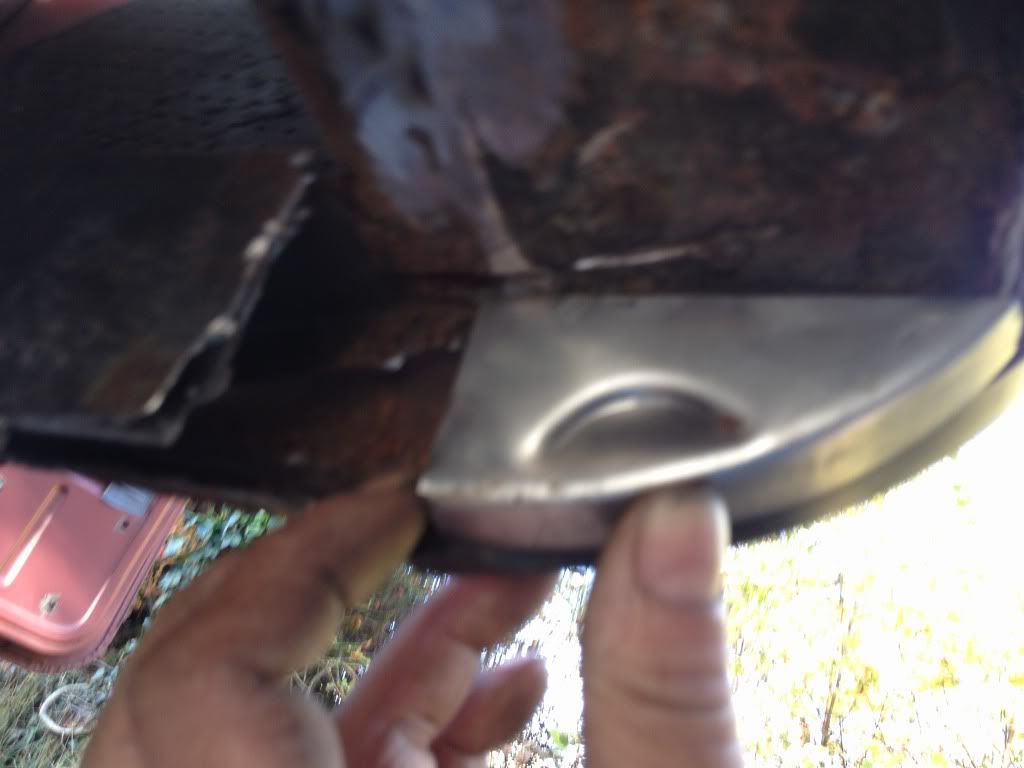
original cill removed 3/4 is very salvageable the remaining 1/4 needs plating replacing in an area i knew needs attention (PROBLEM 2 later)
I had loads of photos but the sun was out (lol) and piccies were over bright ....however the description is as follows ... the inner cill from the front wheel arch right up to the companion box is surface rust that a quick surface grind back to bear metal ,treated and waxiol will negate changing entire inner cill, however inner cill from the companion box back (including sub frame mount area heel board lower companion box and floor... PROBLEM 2) will need repair/replacment. Also jacking point is corroded badly i would like to replace and plate around inner cill about 2" where corrosion as got to inner cill i would also like to plate around seat belt mount .....with those small repairs in mind do you think i am correct in not replacing whole inner cill?
as was before i started
folded back showing remains of original cill
original cill removed 3/4 is very salvageable the remaining 1/4 needs plating replacing in an area i knew needs attention (PROBLEM 2 later)
I had loads of photos but the sun was out (lol) and piccies were over bright ....however the description is as follows ... the inner cill from the front wheel arch right up to the companion box is surface rust that a quick surface grind back to bear metal ,treated and waxiol will negate changing entire inner cill, however inner cill from the companion box back (including sub frame mount area heel board lower companion box and floor... PROBLEM 2) will need repair/replacment. Also jacking point is corroded badly i would like to replace and plate around inner cill about 2" where corrosion as got to inner cill i would also like to plate around seat belt mount .....with those small repairs in mind do you think i am correct in not replacing whole inner cill?
#24
sonikk4
-
- Admin
-
- 16,033 posts
Twisted Paint Polisher!!!
- Name: Neil
- Location: Oxfordshire
Posted 12 October 2012 - 06:41 PM
Its up to you but if there is any pitting in the remaining metal it will start to rust again causing you more grief further down the road.
Do not sandwich any metal that is pitted, that is just a pointless exercise. If you have any concerns at all then replace the complete item, that way you will know 100% its all gone and providing you protect the new metal before fitting a new outer sill it will last a very long time.
Do not sandwich any metal that is pitted, that is just a pointless exercise. If you have any concerns at all then replace the complete item, that way you will know 100% its all gone and providing you protect the new metal before fitting a new outer sill it will last a very long time.
#25
playdays2k1
-
- Noobies
-
- 31 posts
Passed Test
- Location: brecon
Posted 23 October 2012 - 08:06 PM
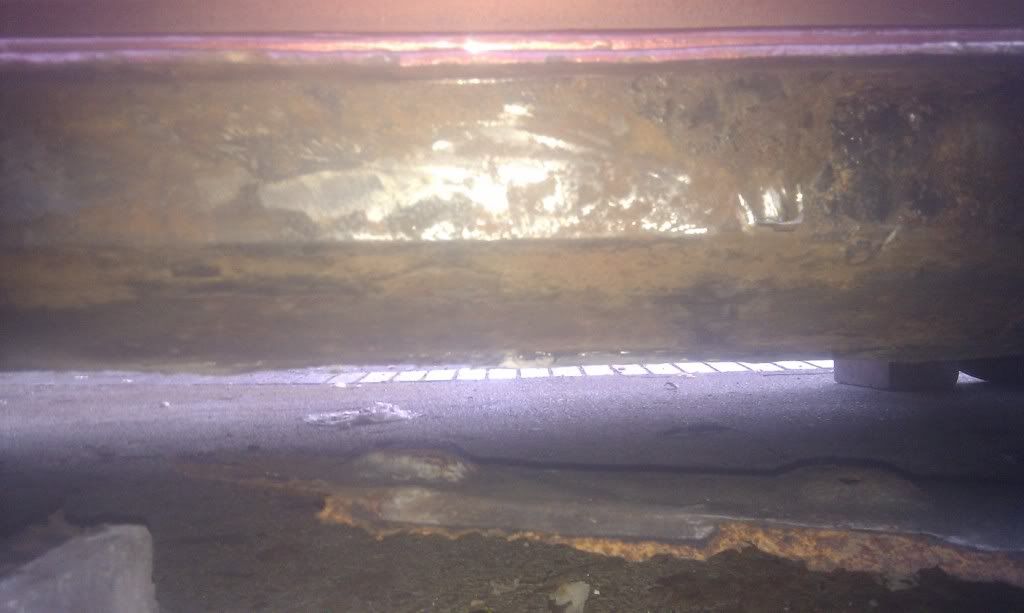
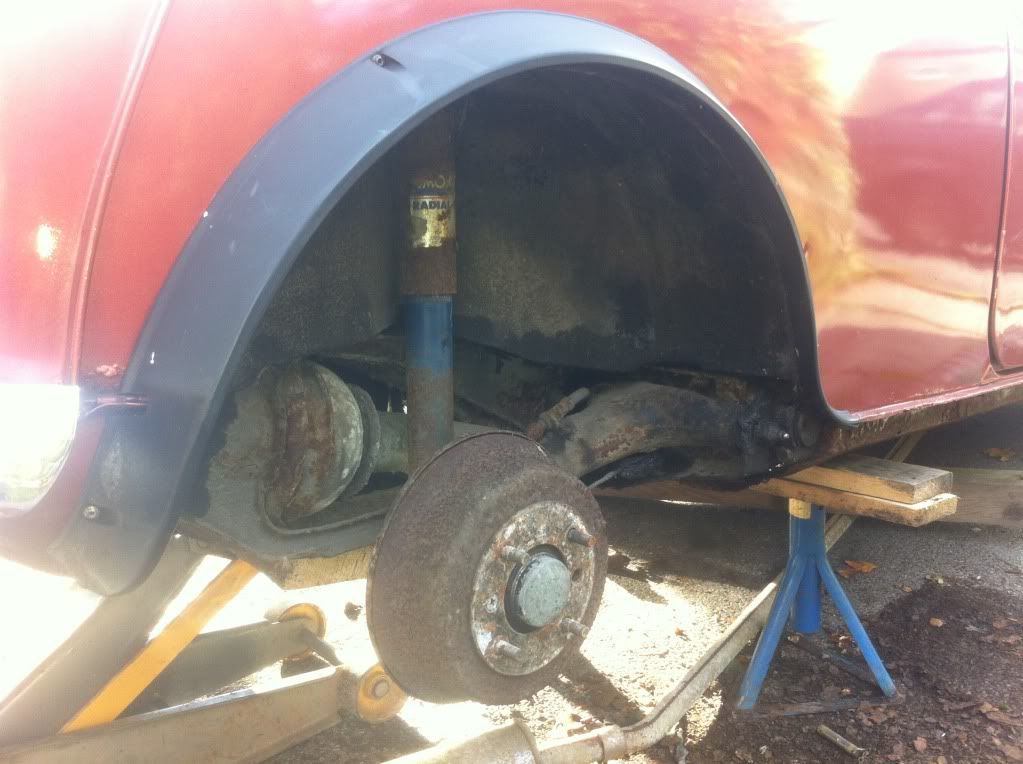
OK finally got some decent weather so i have removed rear sub frame (which is in surprisingly good condition) ready to weld some repair panels from M Machine in place (thanks sonnik for the pointers)

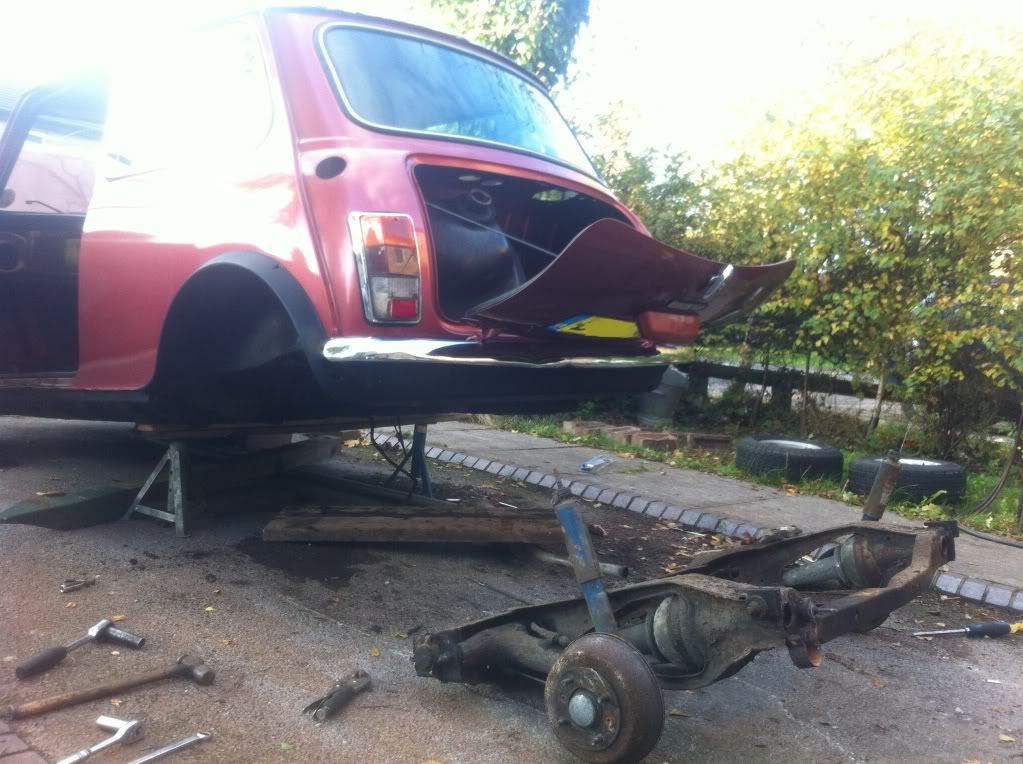

just a few thoughts, questions, query's would it be better to lift/bolt the rear sub frame in place tack mount panel in place remove sub frame and seem weld panel or just go straight ahead and rely on remaining solid structure to allow correct alignment of sub frame mount bolts
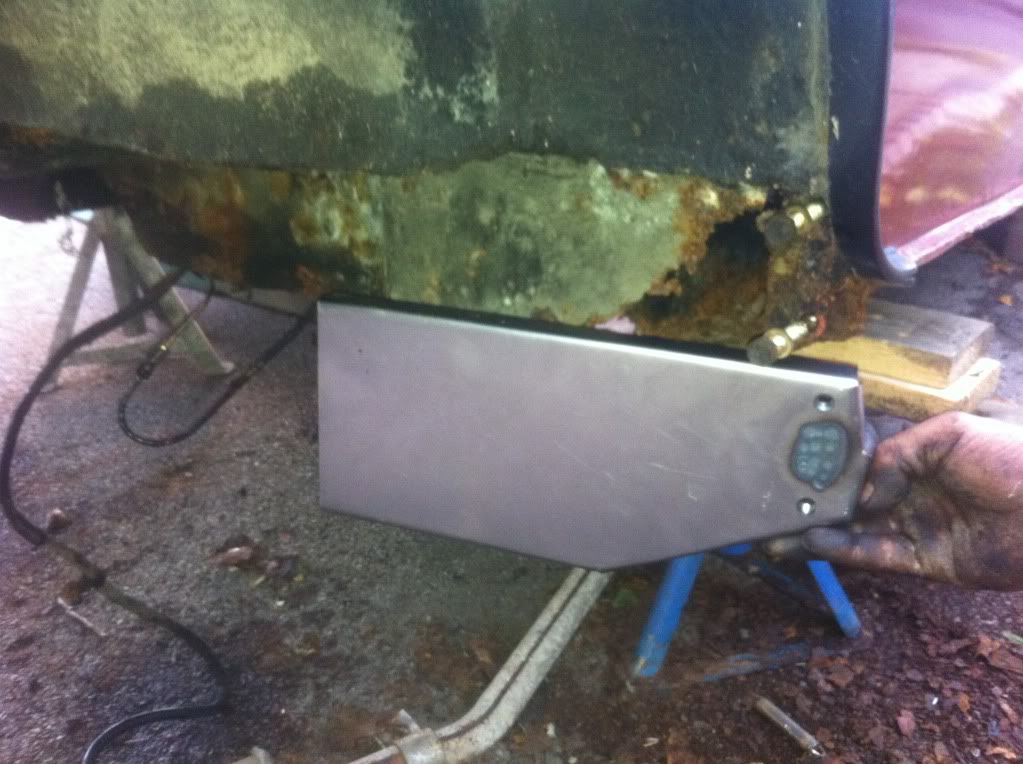
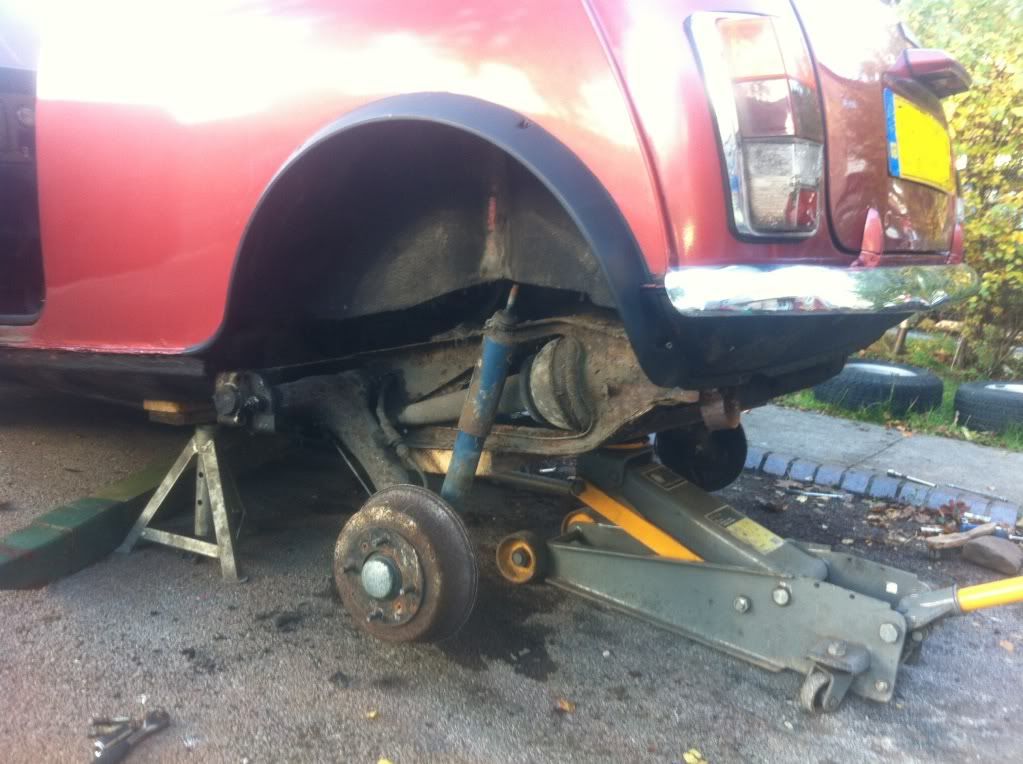
and just to confirm my description of "GAME OF TWO HALVES" just look at the opposite side sub frame mount where it is absolutely solid and the original paint colour can be seen under the underseal
however there is the issue of an overcill on this side (lol)
just a few thoughts, questions, query's would it be better to lift/bolt the rear sub frame in place tack mount panel in place remove sub frame and seem weld panel or just go straight ahead and rely on remaining solid structure to allow correct alignment of sub frame mount bolts
and just to confirm my description of "GAME OF TWO HALVES" just look at the opposite side sub frame mount where it is absolutely solid and the original paint colour can be seen under the underseal
however there is the issue of an overcill on this side (lol)
#26
playdays2k1
-
- Noobies
-
- 31 posts
Passed Test
- Location: brecon
Posted 01 November 2012 - 04:14 PM
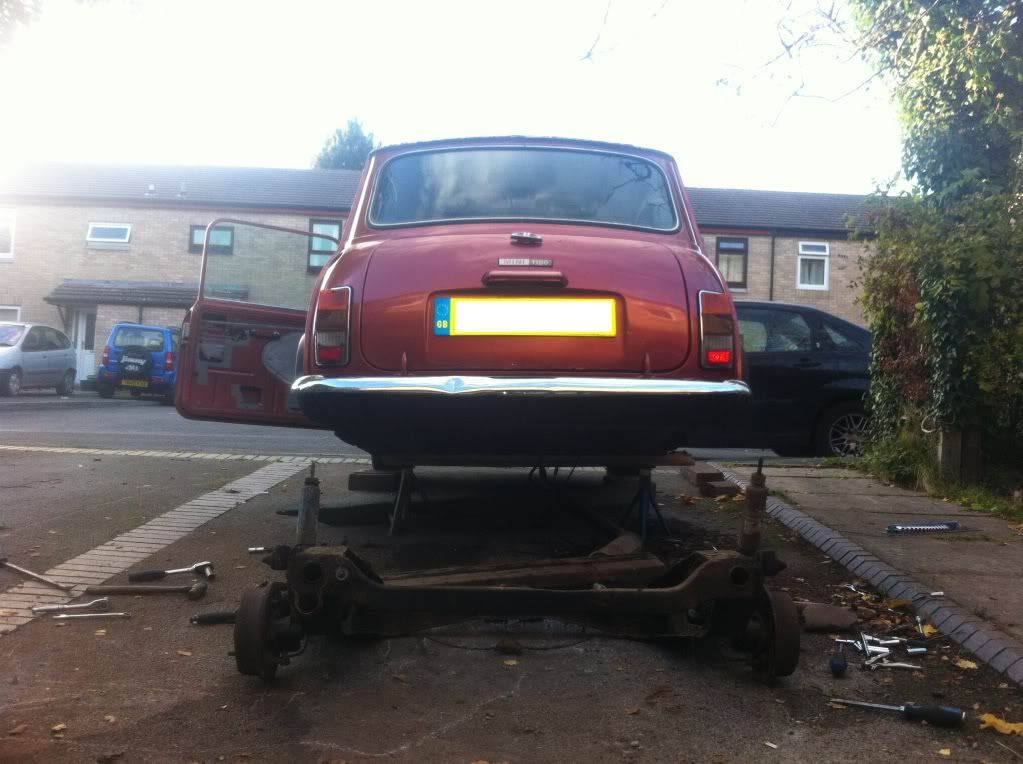
whhhheeeyyyy sun came out today so i managed to get underneath and cut the rot from around rear sub frame mount and floor

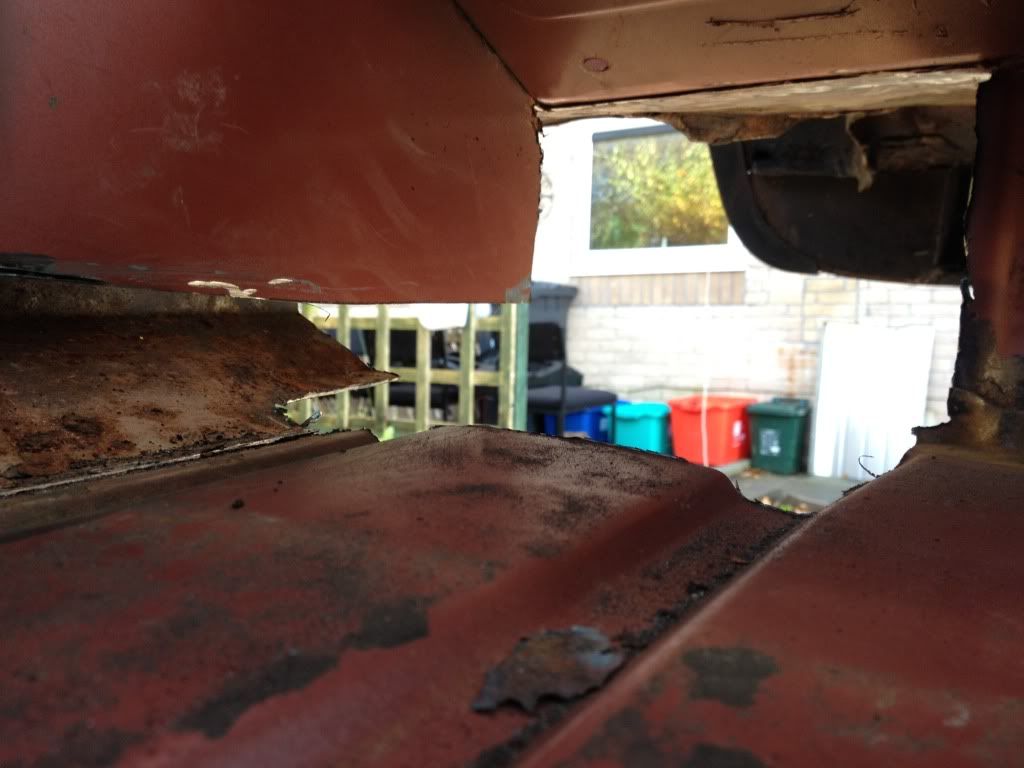
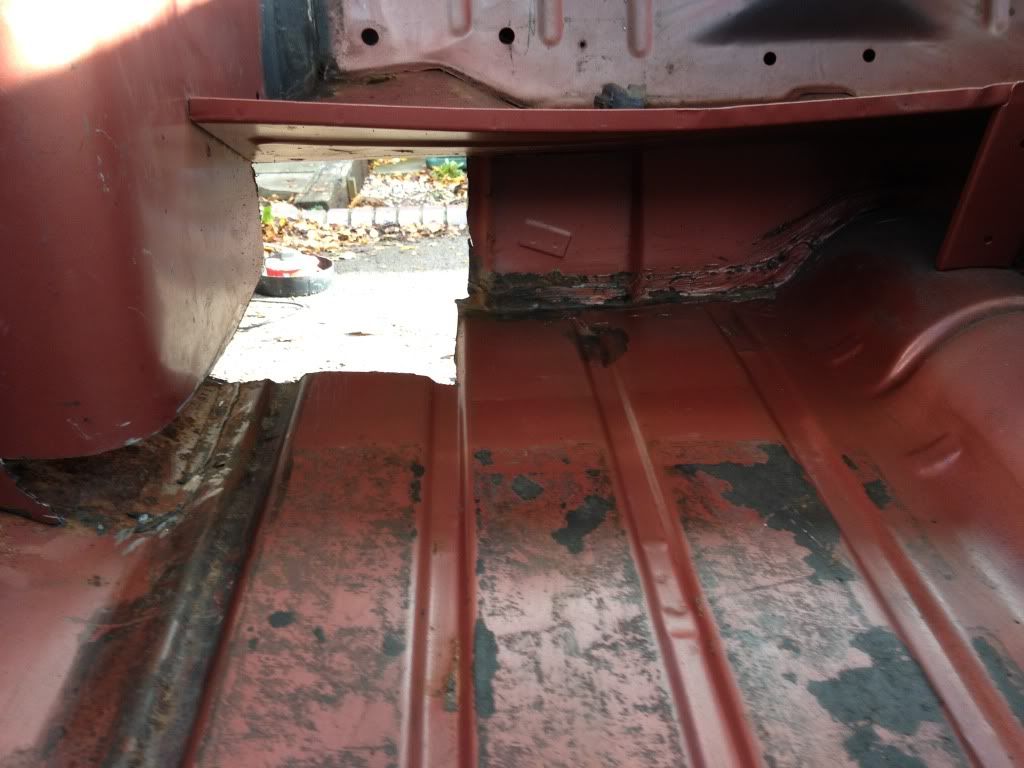
got some panels to replace
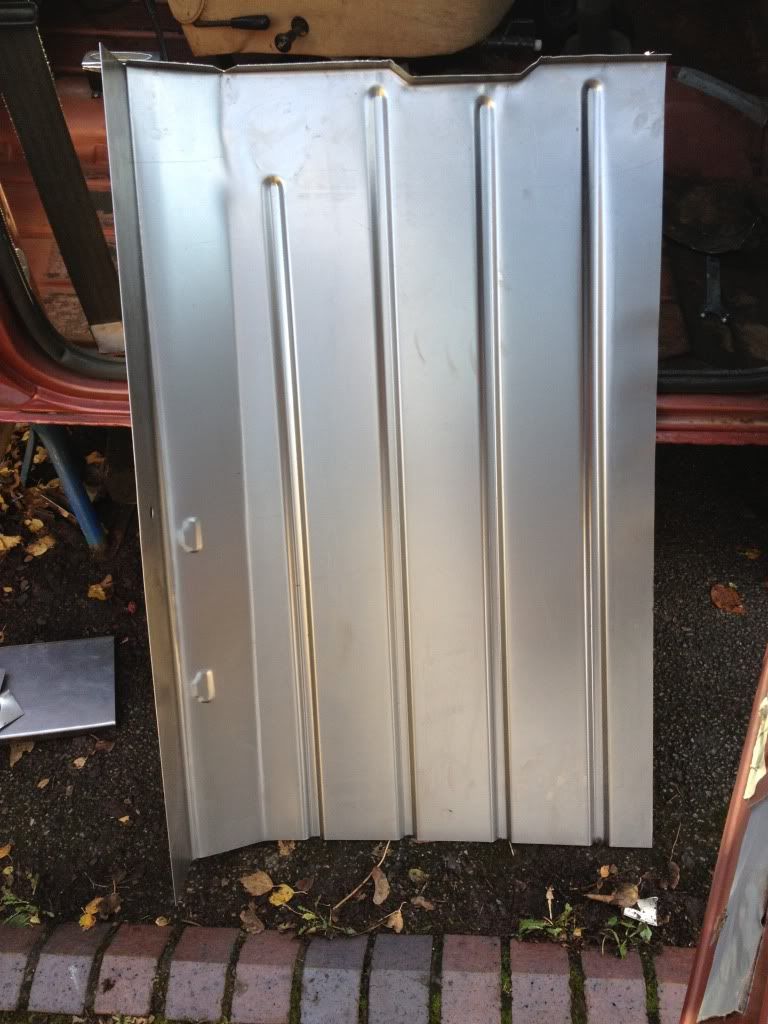
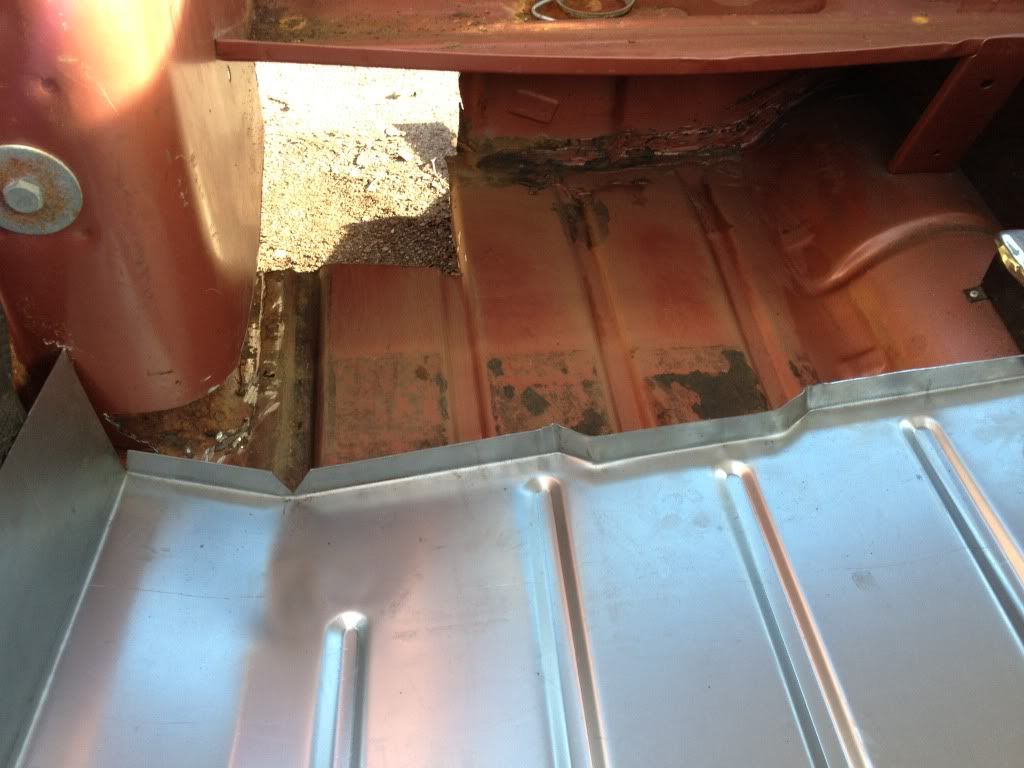
just need another day of sun to weld them in place
got some panels to replace
just need another day of sun to weld them in place
Edited by playdays2k1, 01 November 2012 - 04:25 PM.


1 user(s) are reading this topic
0 members, 1 guests, 0 anonymous users


