Jump to content


Photo

Pro Refurb Of Rover Minilite Alloys ....by A Complete Amateur!


  • Please log in to reply
7 replies to this topic

#1 AVV IT

AVV IT

    I am a shed dragger.

  • TMF+ Member
  • PipPipPipPipPipPipPipPipPipPip
  • 6,122 posts
  • Name: Dave
  • Location: Cambridgeshire
  • Local Club: Nobody will have me!!

Posted 20 September 2012 - 09:04 PM

OK so one of my standard Rover minilites was leaking and I couldn't be bothered to do a refurb on it, so I figured I'd just buy another one instead. Then I discovered that I could probably get a used set of four of them with tyres, for little more than the price of just one!! ...... So I tracked down a reasonable set of four with tyres for the bargain price of £60!! :D

Posted Image

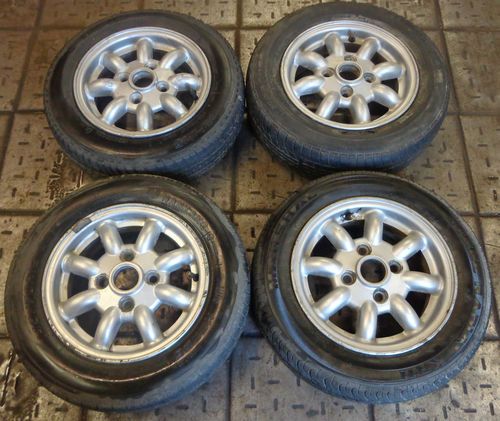
.... Except after a few days I noticed they were all leaking!!! ..... Not such a bargain after all then!! >_<

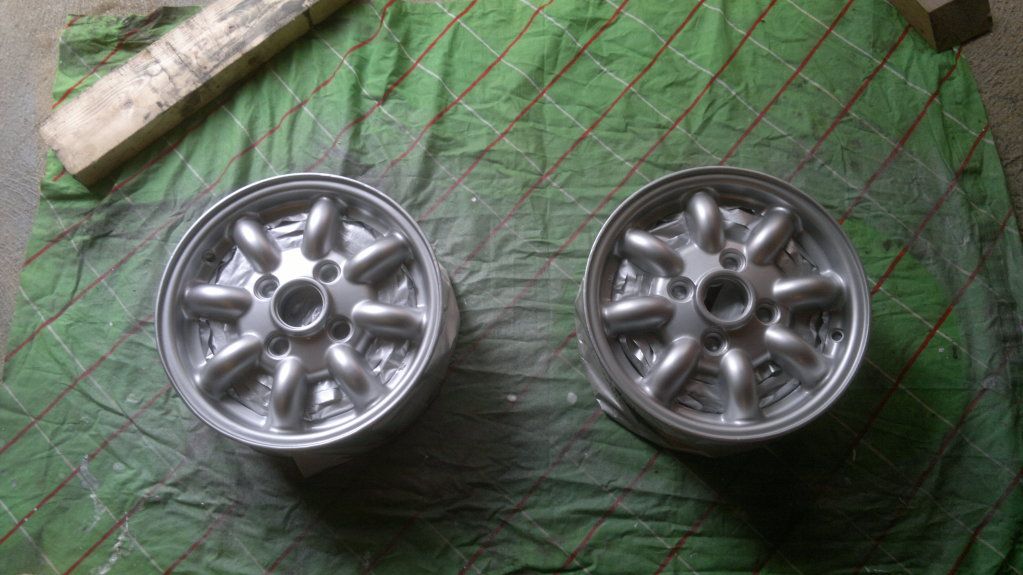
So I set about doing a refurb after all!! :thumbsup:

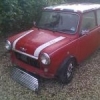
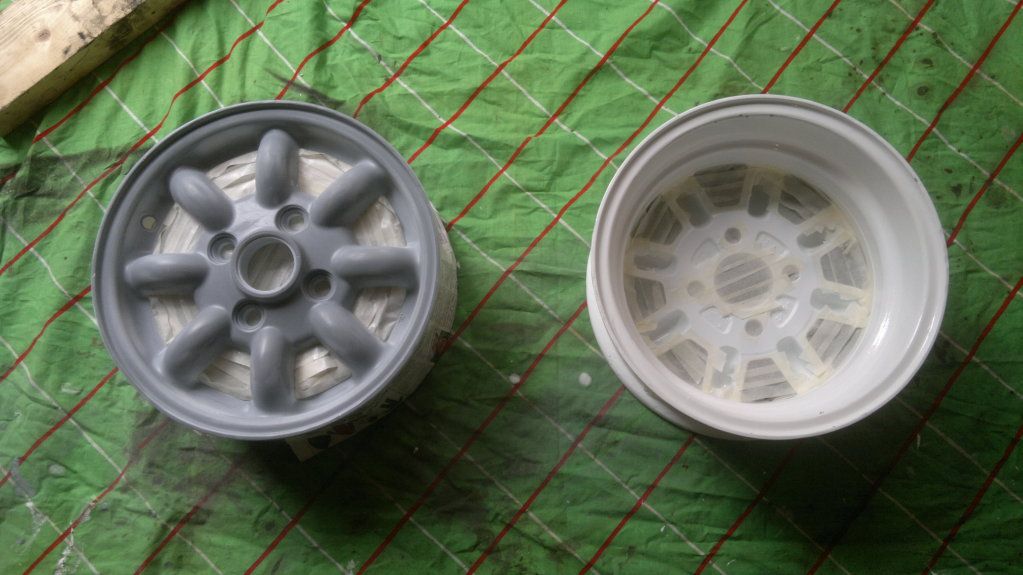
.... Now the usual way to do a DIY refurb is to spruce up your old rims by rubbing the fronts down, masking off your tyres and then spraying them with rattle cans!! (like this)
Posted Image

I've never been keen on this method though, mainly because alloys tend to corrode more on the rear side and then the corrosion creeps forward to the front side that you can see. Also old ones tend to have a habit of corroding underneath the tyre, which then causes problems with tyre sealing against the rim, so I'm going to do it properly...ish!!

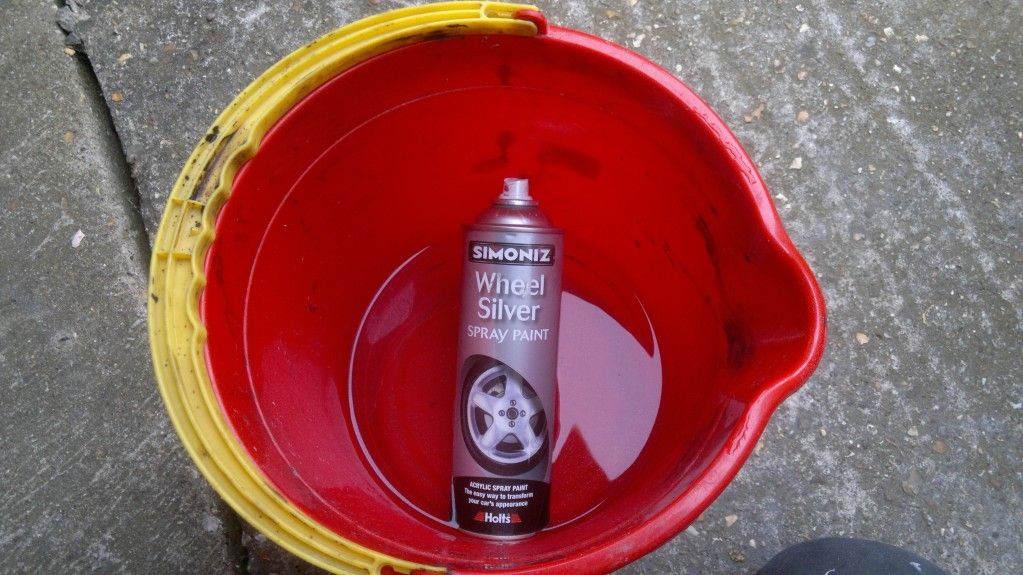
First thing to do is to find out where each wheel is leaking from, after all it could be a puncture, a poorly seated valve, the valve itself, or it might be the rim itself. Doing this is just like finding a puncture on a bicycle inner tube, just stick it in a bowl of water and look for the bubbles, except you need a much bigger bowl of water!! (I tried using the family bath, but the missus went completely ape about it!!....can't think why!! :blink: )

A 5 year olds paddling pool therefore comes in handy for this (as does the 5 year old for that matter!! ;D )
Posted Image

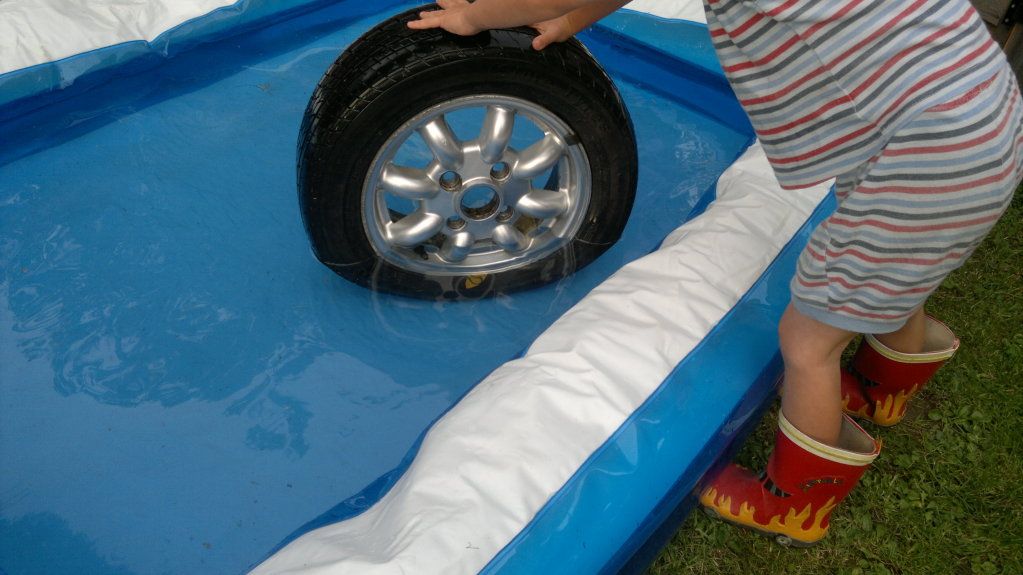
As suspected this one (and the others) are all leaking from around the rim, meaning there is probably corrosion under there. At this point I can either get handy with a set of tyre levers, maim myself in the process and damage the rims beyond repair, or I can take them all down the local tyre fitters and bung the lads a few quid to remove the tyres for me whilst I pop in the pub down the road and wait!!.... Hmmm now which to choose?? :unsure:
Posted Image

.....So a swift pint later then and the tyres are off...
Posted Image

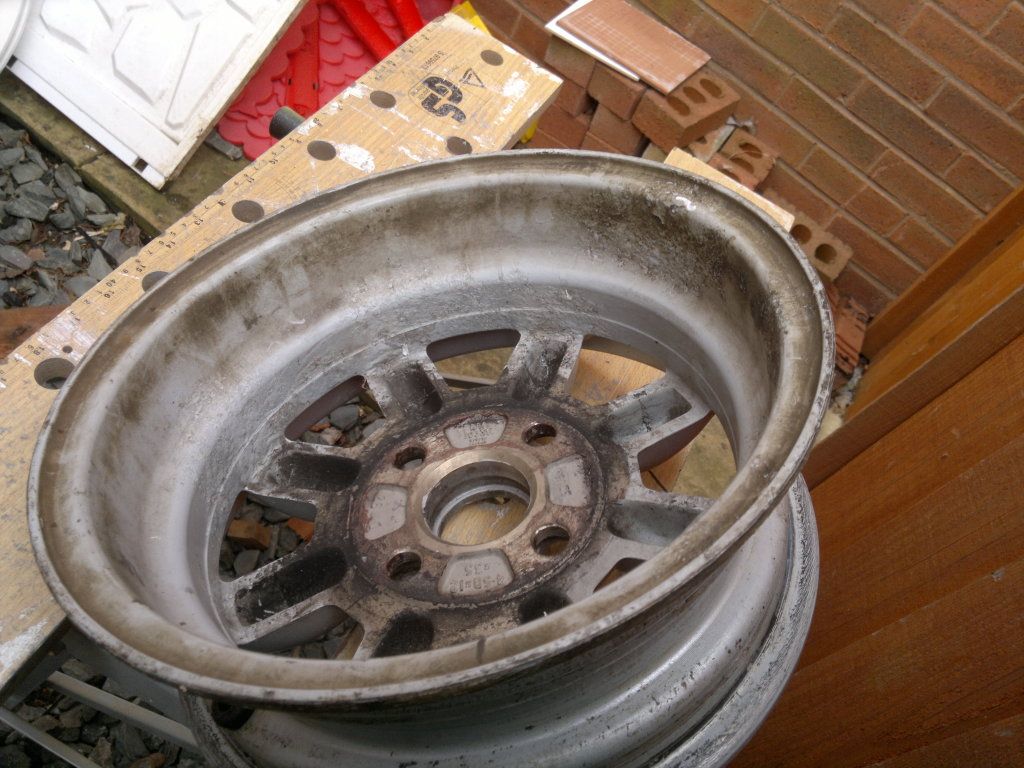
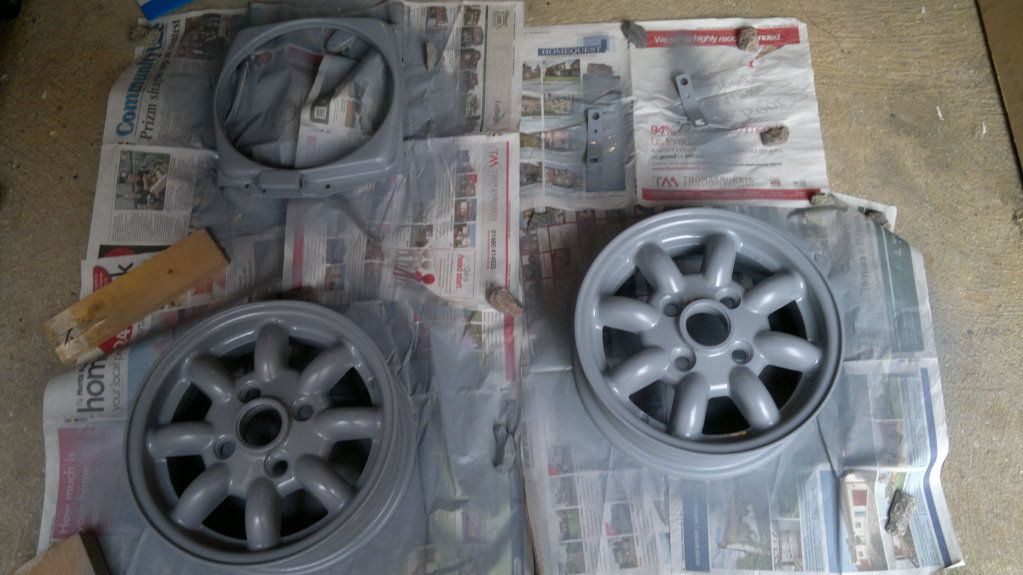
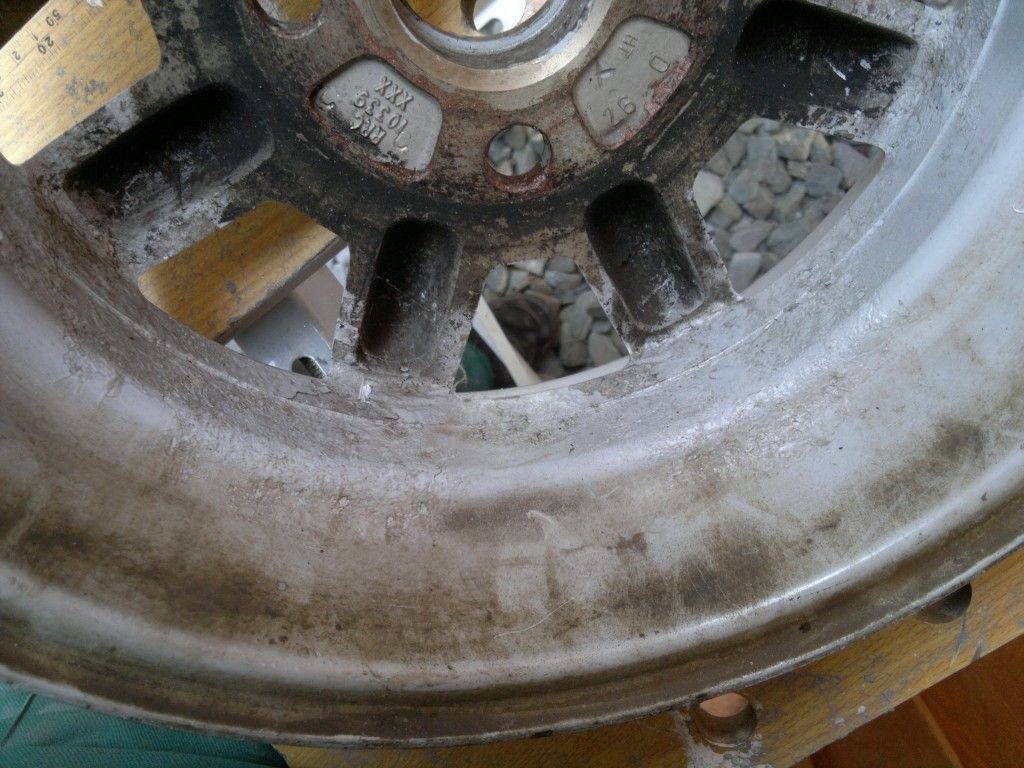
.....a quick inspection and this seems to be the problem:
Posted Image

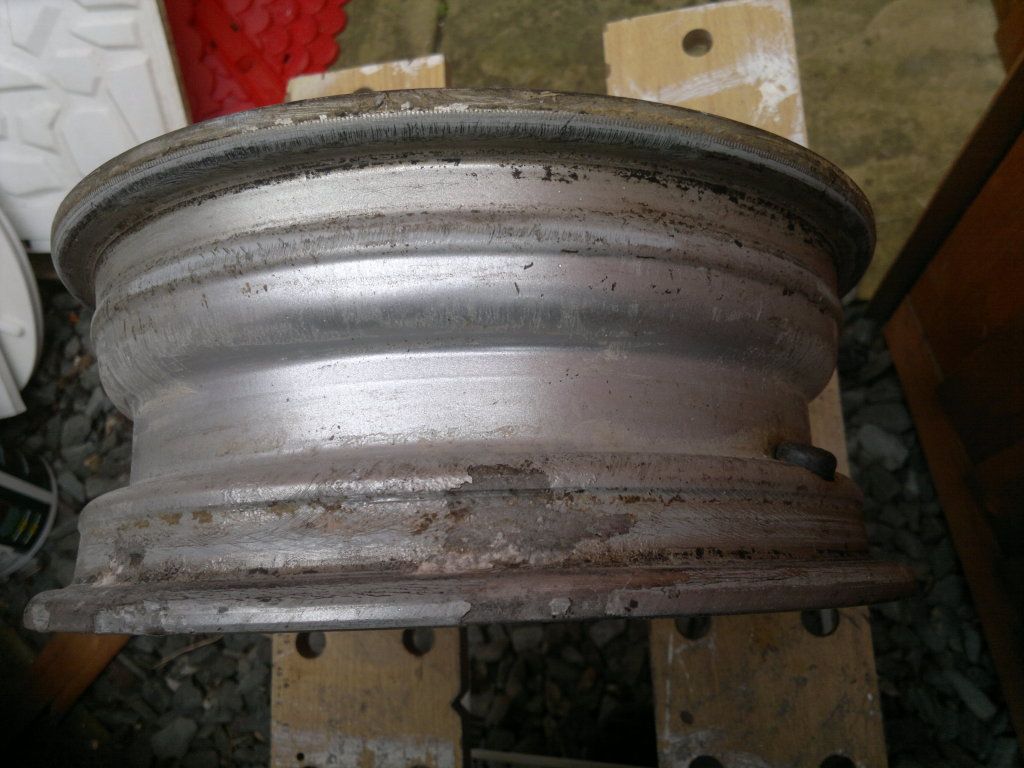
.....The rear sides of the wheels are in a bit of a state too!!
Posted Image

So time to get busy with a drill and a wire wool attachment!!

...and 10 minutes later we have this!!
Posted Image

Still a fair bit of corrosion remaining though, so we need to be a little more aggressive here.....

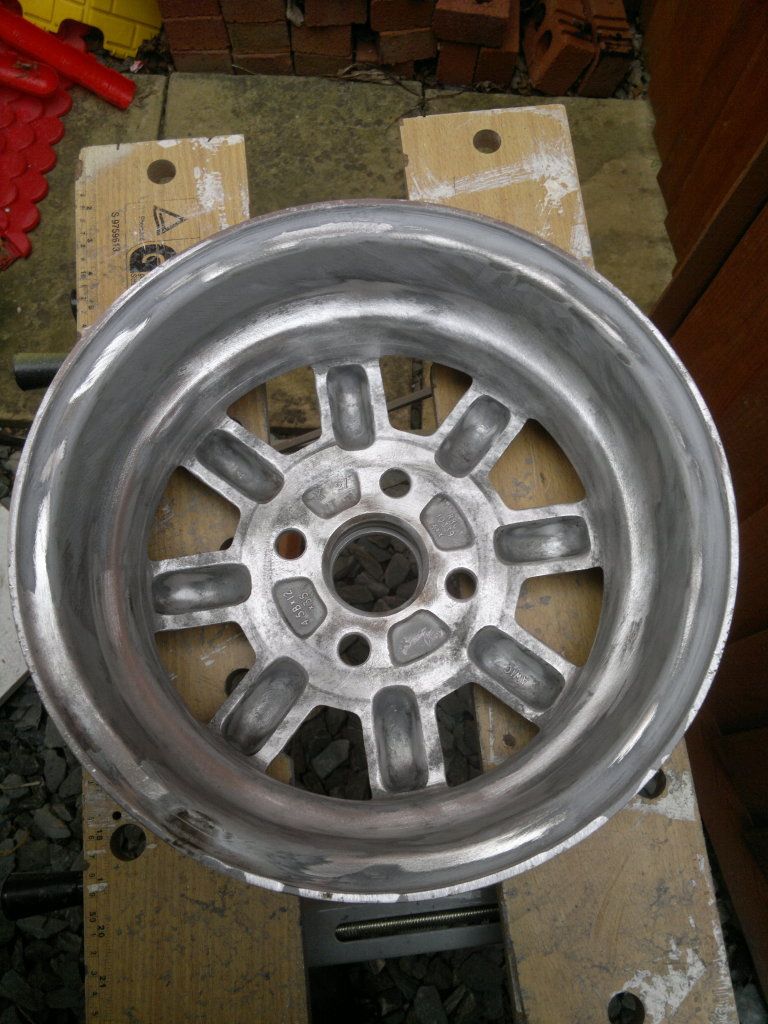
..... and after 5 further minutes with an angle grinder & a flap wheel we have this!!
Posted Image

Now to get busy with the wet & dry paper to get the last of the paint off & smooth it all down (I just love this bit....NOT!! :()

Edited by AVV IT, 20 September 2012 - 09:12 PM.


#2 mini-luke

mini-luke

    Postman Pat

  • Traders
  • PipPipPipPipPipPipPipPipPip
  • 2,362 posts
  • Location: Hereford

Posted 20 September 2012 - 09:14 PM

Don't worry too much about the paint left inside where the tyre sits as so long as it's not flaking and the paint sticks it won't leak. I'm was doing the same thing a few hours ago with the advantage of a sand blaster.

#3 OllieTheWelder

OllieTheWelder

    Super Mini Mad

  • Members
  • PipPipPipPipPipPip
  • 636 posts
  • Location: York, North Yorkshire

Posted 20 September 2012 - 09:44 PM

I did this but sanded them by hand, my god it took hours to do one wheel. Also it didn't help that they had polished rims so I had to be extra careful!

#4 AVV IT

AVV IT

    I am a shed dragger.

  • TMF+ Member
  • PipPipPipPipPipPipPipPipPipPip
  • 6,122 posts
  • Name: Dave
  • Location: Cambridgeshire
  • Local Club: Nobody will have me!!

Posted 20 September 2012 - 10:03 PM

....God I hate rubbing stuff down!! .....Half an hour later and I was very bored and had sore fingers so ended up here!!:
Posted Image

.....A few weeks later and I thought I had better probably get on with the refurb, so I finished off the rubbing down and got busy with the primer.

Etch primer first from a rattle can, then zinc based primer thinned down with celly thinners and sprayed with compressor & gun, followed by standard primer. (these wheels won't be corroding a second time, if I have my way!! :shifty: )
Posted Image

Next comes the top coat, for some reason Rover minilites were white on the rear and silver on the front, so for authenticity I'll be keeping the rear sides white. (Also handy because my car happens to be white & therefore I have lots of celly paint left over in white!! ;D )

At this point, I realise that I actually forgot to take a picture of the rear side of my freshly painted white wheels, so here's a picture of Kate Middletons rear in a white bikini instead!! :gimme:

Posted Image

....So, with freshly painted white rears, it's time to concentrate on the silver fronts......

.....Before that I need to do a bit of masking off to cover up the white bits though (covering up your white bits is always important, just ask Kate Middleton!! :lol: )
Posted Image

On with the silver then, I'm using a rattle can for this, which isn't ideal but I'm not paying out for half a litre of silver in celly that I'm never going to use up, so it will have to do.

Here's a little tip I picked up when working with rattle cans though....

When the can gets about half way down and starts to loose pressure, try immersing it in a bucket of hot water for a few minutes (hot water though not boiling!!), this raises the pressure inside the can and allows you to carry on with almost full spraying pressure. Re-immersing the can in hot water every couple of minutes lets you use every last drop of paint in the can too!! :thumbsup:

Posted Image

And there we have it shiny shiny silver!! :mrcool:
Posted Image

Edited by AVV IT, 20 September 2012 - 10:06 PM.


#5 jaydee

jaydee

    Crazy About Mini's

  • Members
  • PipPipPipPipPipPipPipPipPipPip
  • 8,565 posts

Posted 20 September 2012 - 10:43 PM

I wish i had the patience to do that.
I would have ended up laying drunk in the pub with kate's pic in front of me.

#6 AVV IT

AVV IT

    I am a shed dragger.

  • TMF+ Member
  • PipPipPipPipPipPipPipPipPipPip
  • 6,122 posts
  • Name: Dave
  • Location: Cambridgeshire
  • Local Club: Nobody will have me!!

Posted 21 September 2012 - 12:31 PM

I wish i had the patience to do that.
I would have ended up laying drunk in the pub with kate's pic in front of me.


Why do you think it took me so long between starting this little project and finishing it months later?? :shifty:


.....A bit more progress this morning...... masking all removed and rims given a few coats of lacquer to give them a bit more protection from the tyre monkeys down the fitting centre and the wifes driving!! :P
Posted Image

Now eagle eyed purists amongst you might notice that I've actualy painted the part of the rim that sits under the tyre white, where as it should actually be silver. This is because I had oodles of celly white paint and just a single rattle can of silver. So I decided to go for decent paint coverage under the tyres to prevent future corrosion issues and further leaks.

...... So we're pretty much all done here now, just need to pop the tyres back on, which I can either try and do with myself, or pop back down the tyre fitters (the one near the pub ;D) and get them to do it for me!!....... Hmmmm.... "....decisions ...decisions" !! :unsure:

Edited by AVV IT, 21 September 2012 - 12:40 PM.


#7 minimissionary

minimissionary

    One Carb Or Two?

  • Members
  • PipPipPipPipPipPipPip
  • 999 posts
  • Location: Edge of my nerves.
  • Local Club: Fylde Mini Club

Posted 21 September 2012 - 01:42 PM

Just make sure the tyre fitters don't mangle the new paintwork, like they did with mine!
Very nice job, anyway.

Edited by minimissionary, 21 September 2012 - 01:43 PM.


#8 AVV IT

AVV IT

    I am a shed dragger.

  • TMF+ Member
  • PipPipPipPipPipPipPipPipPipPip
  • 6,122 posts
  • Name: Dave
  • Location: Cambridgeshire
  • Local Club: Nobody will have me!!

Posted 21 September 2012 - 03:04 PM

Just make sure the tyre fitters don't mangle the new paintwork, like they did with mine!
Very nice job, anyway.


Thanks!! ;D

..... & yes it's the tyre monkeys scratching my new paint that I fear the most!!! :cry: ..... that and the missus kerbing them!! :crazy:


1 user(s) are reading this topic

0 members, 1 guests, 0 anonymous users