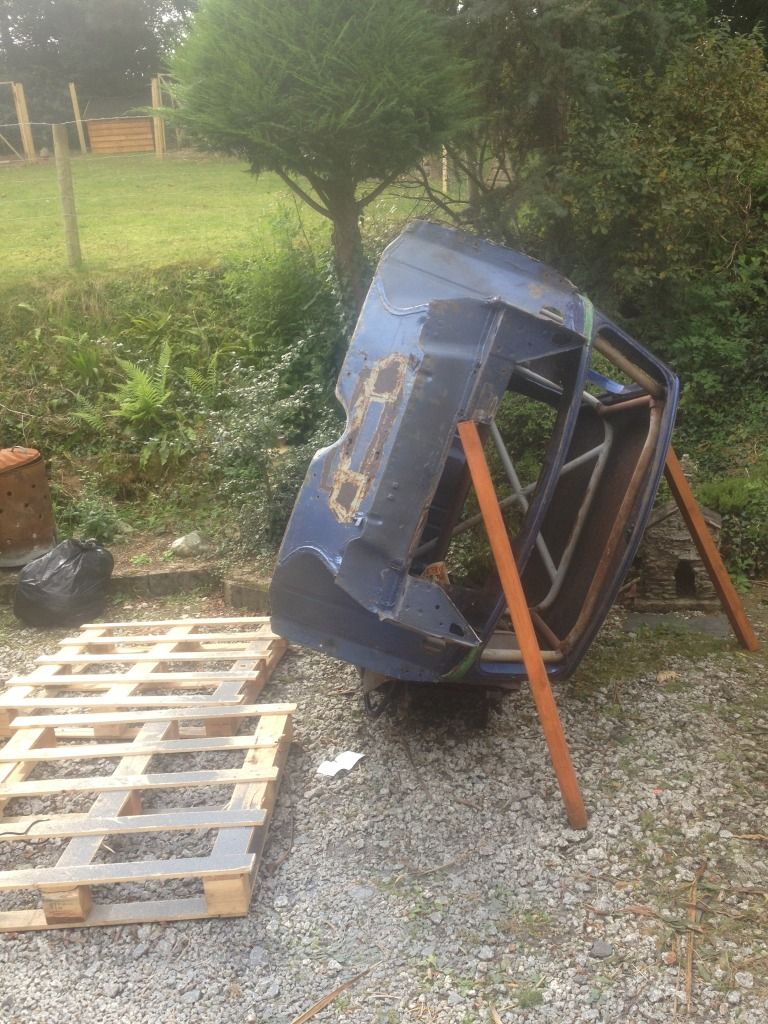
Yeah I'm prityy happy with it to be honest once I've cleaned it up and done the repair sections to both rear arches it can be rolled back down, could of been so much worse, but then the shell was dry stores for at least 5 years :)


Rally Car Build
Started by
danny1
, Sep 13 2012 08:19 PM
304 replies to this topic
#16

danny1
-
- Members
-

- 1,321 posts
In the navy you can sail 7 peas
- Local Club: bumpstart
Posted 19 September 2012 - 08:37 PM
#17
danny1
-
- Members
-
- 1,321 posts
In the navy you can sail 7 peas
- Local Club: bumpstart
Posted 19 September 2012 - 08:37 PM
Yeah I'm prityy happy with it to be honest once I've cleaned it up and done the repair sections to both rear arches it can be rolled back down, could of been so much worse, but then the shell was dry stores for at least 5 years :)
#18
stretters
-

- Noobies
-
- 71 posts
Stage One Kit Fitted
- Location: Sunny Suffolk
- Local Club: Ipswich MOC, AMC, CMC, MCR.
Posted 19 September 2012 - 09:36 PM
Hi Danny, you should drill some holes into the oversills where the raised sections are to let the sills breathe and also to squirt some waxoil in and let water out.
Also check that the aforementioned oversills are welded to the inner sill, you may need to plug weld along the join from the outside to make it extra solid.
Good luck with the project.
Also check that the aforementioned oversills are welded to the inner sill, you may need to plug weld along the join from the outside to make it extra solid.
Good luck with the project.
#19
danny1
-
- Members
-
- 1,321 posts
In the navy you can sail 7 peas
- Local Club: bumpstart
Posted 20 September 2012 - 05:49 PM
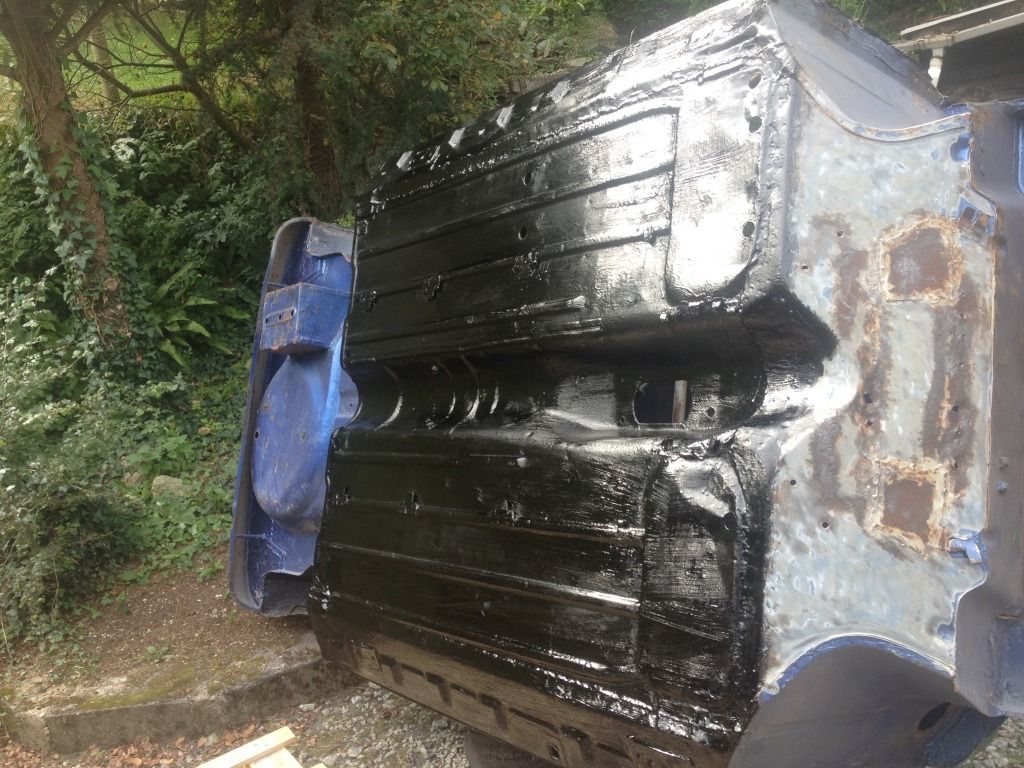
right well managed to get some more work done on the shell today
had to flip it a tiny bit more as i couldnt get the outher side
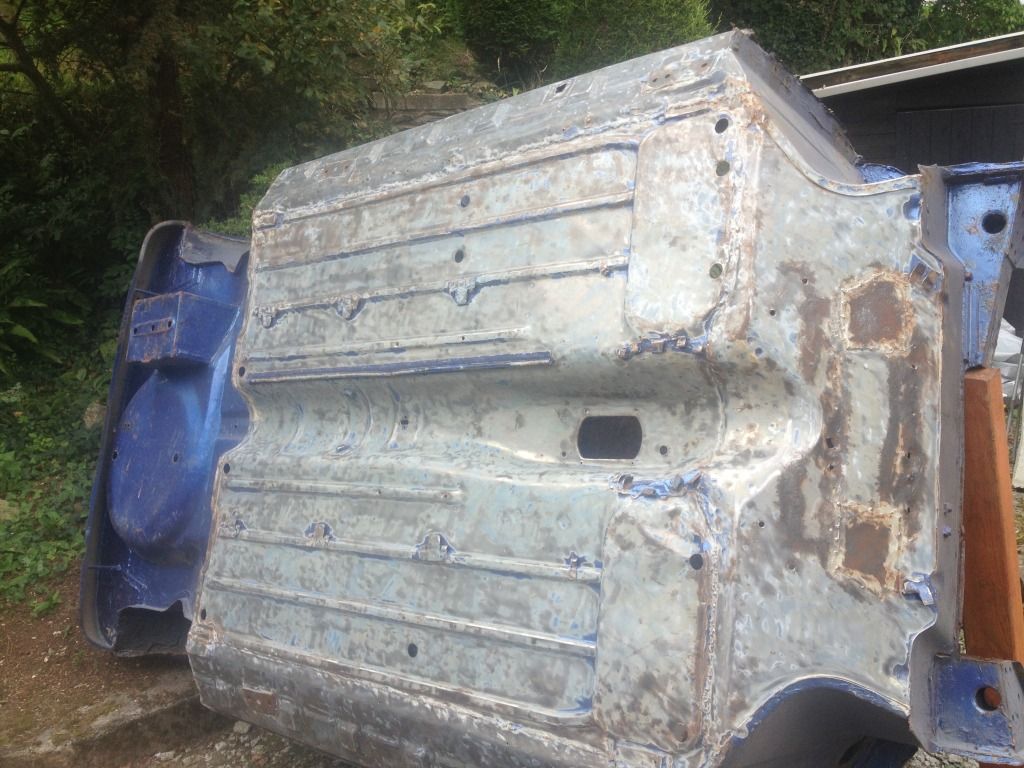
but managed to get most of it ground of and painted black got 2 coats on it gonna put a 3rd one on tommorrow, and then put some underseal on it :)
hope you like
oh also got the bualkhead reapir panle i needed :)
had to flip it a tiny bit more as i couldnt get the outher side
but managed to get most of it ground of and painted black got 2 coats on it gonna put a 3rd one on tommorrow, and then put some underseal on it :)
hope you like
oh also got the bualkhead reapir panle i needed :)
Edited by danny1, 20 September 2012 - 05:50 PM.
#20
danny1
-
- Members
-
- 1,321 posts
In the navy you can sail 7 peas
- Local Club: bumpstart
Posted 22 September 2012 - 05:30 PM
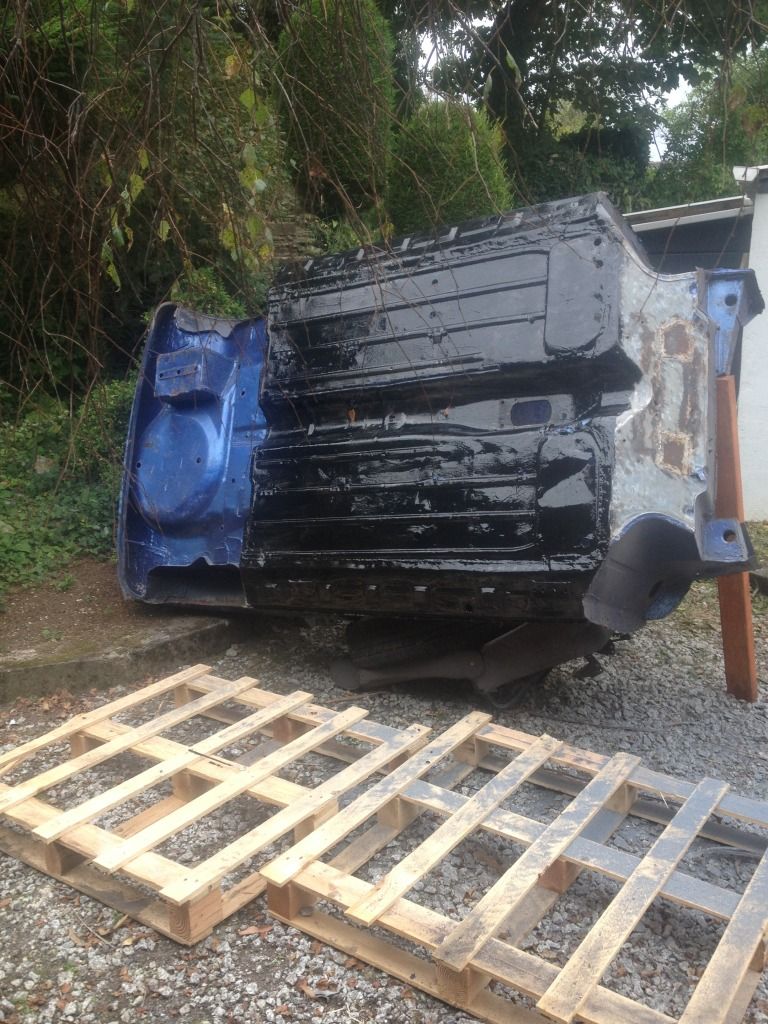
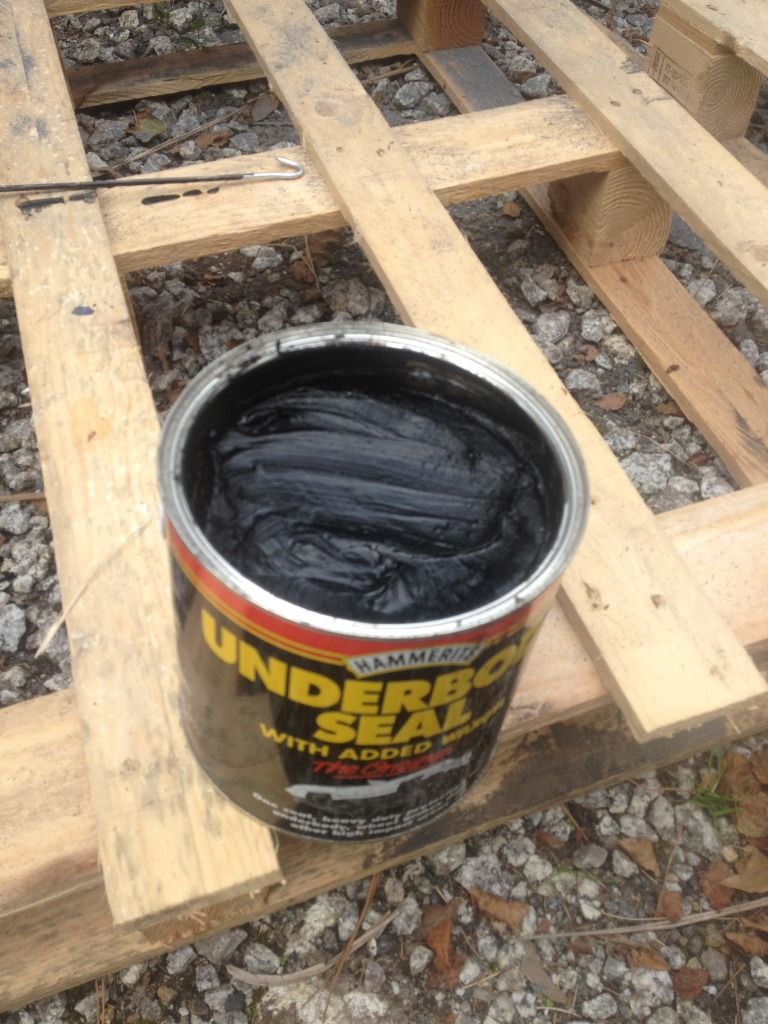
well managed to get 3 coats on to the car of paint , looks pritty good, seen as no ones gonna see it outher than the mot man and the road lol
used soem of this to protect the underneath was intresting to try and apply, stole my dads masionry brush seemed to do the job
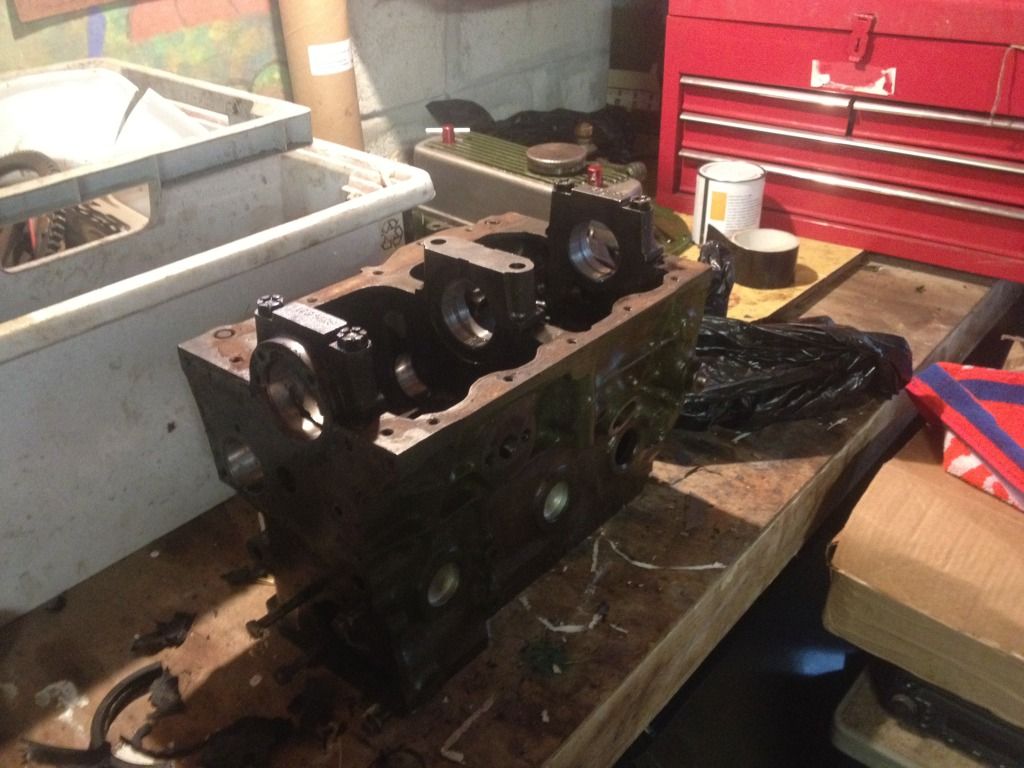
oh this is one of my engine blocks, its bored to 1293 but needs a rebore, had the center srap done, has new cam bearings, looks ok but dunno if im gonna use it or not :/
also found my cibie oscar plus lights, did have a pic but cant find it
any way just a small update
Danny
used soem of this to protect the underneath was intresting to try and apply, stole my dads masionry brush seemed to do the job
oh this is one of my engine blocks, its bored to 1293 but needs a rebore, had the center srap done, has new cam bearings, looks ok but dunno if im gonna use it or not :/
also found my cibie oscar plus lights, did have a pic but cant find it
any way just a small update
Danny
#21
danny1
-
- Members
-
- 1,321 posts
In the navy you can sail 7 peas
- Local Club: bumpstart
Posted 06 October 2012 - 01:07 PM
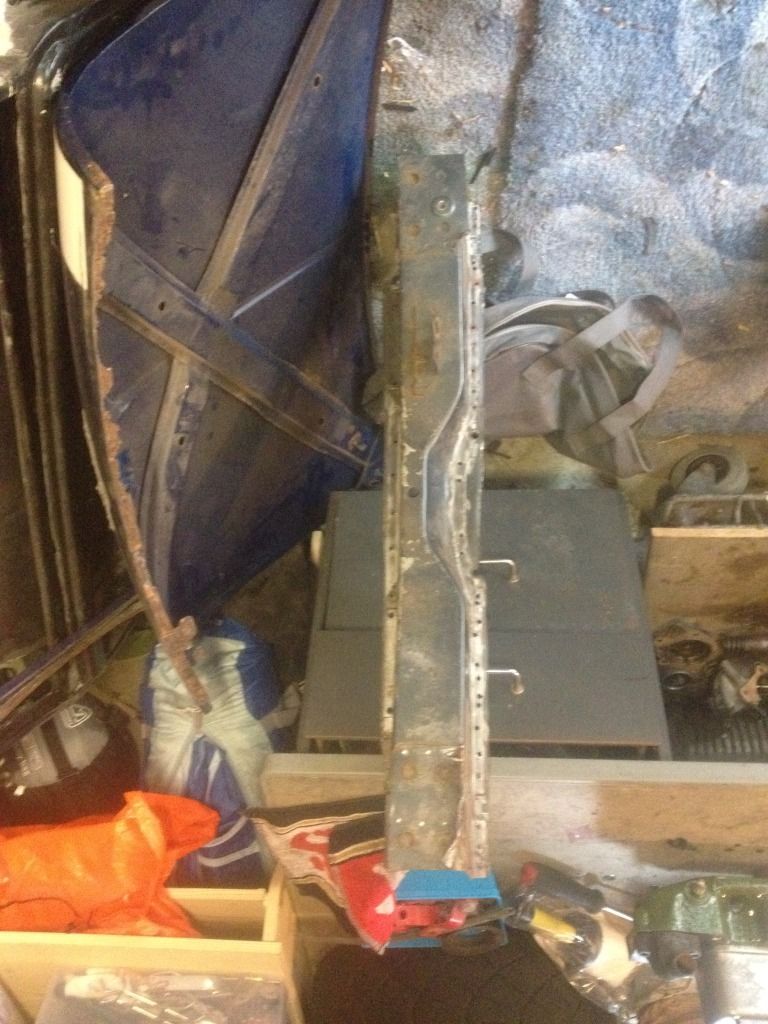
well ive managed to pick up a rear subframe for £70 and its in really good condition, came with hi lo's and did have gaz shocks on it but the previous owner in a rush to get it off for me collecting it didnt have any spanners so used his angle grinder and ended up chopping one of the shocks off :/
ive got it stripped , and my radius repair arm kits, ready to go but just a little confused about how to do them
any suggestions
ive got it stripped , and my radius repair arm kits, ready to go but just a little confused about how to do them
any suggestions
#22
danny1
-
- Members
-
- 1,321 posts
In the navy you can sail 7 peas
- Local Club: bumpstart
Posted 12 October 2012 - 09:21 PM
well id liek to say ive been doign loads to this mini but well that would be a lie, november will be my month to crack on and get it on 4 wheels, i promise.
although if anyones intrested heres what i do for a job
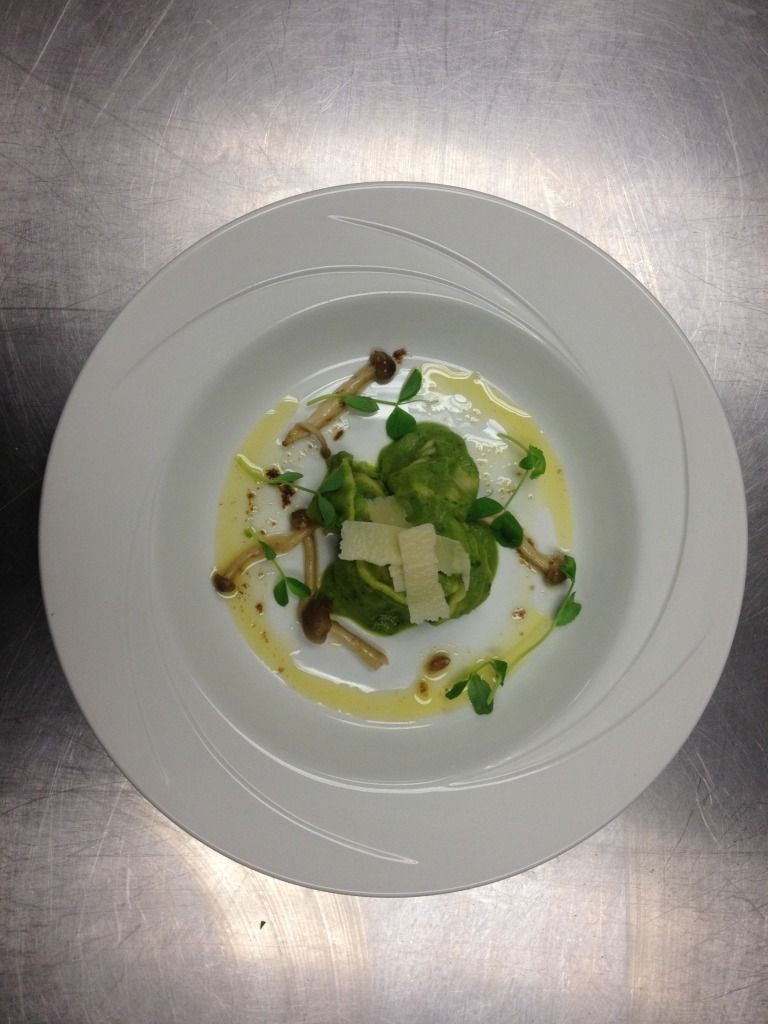
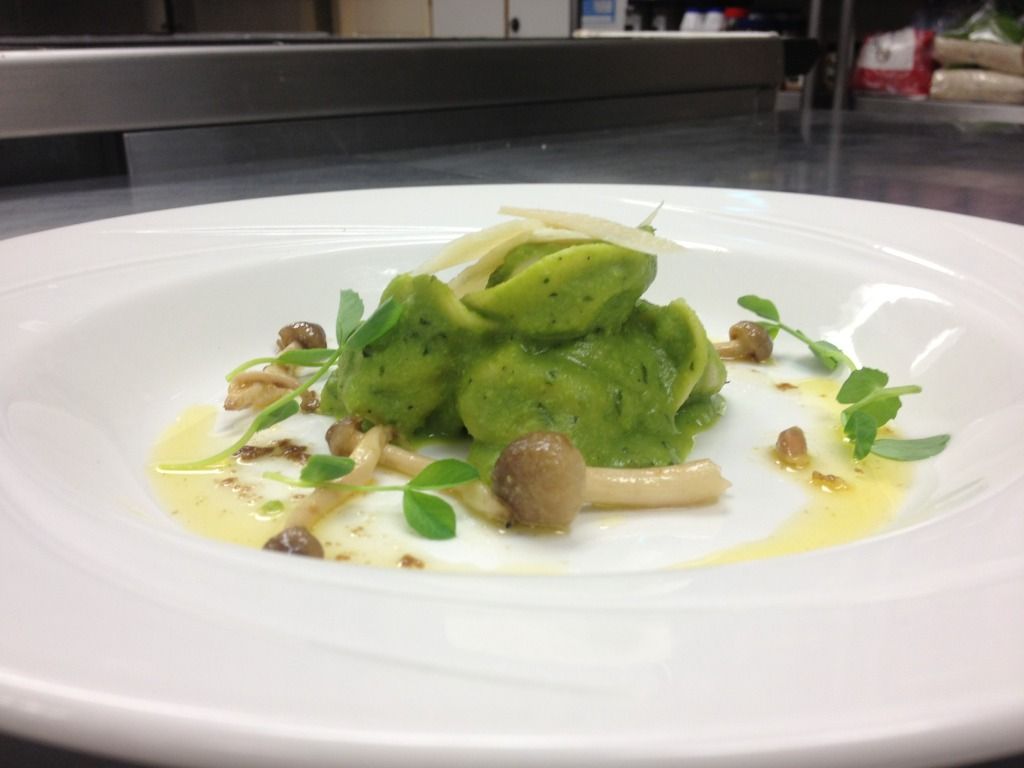
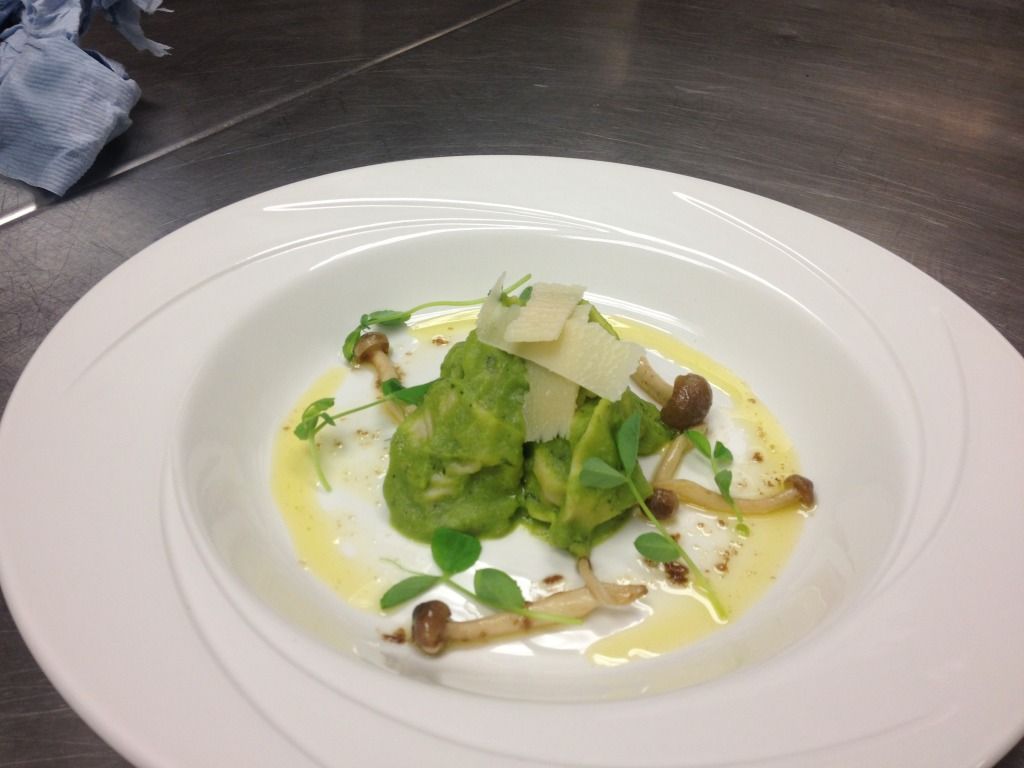
this is my dish which i will be entering into my up and coming cooking compertition for the royal navy, if any ones intrested in comign along to it, its on the 23, 24th and 25th, loads of free food and lots of intresting things happening.
its at sandown race course, pop along see if you can find me, im one of the first chefs to cook on the event
hope you like
although if anyones intrested heres what i do for a job
this is my dish which i will be entering into my up and coming cooking compertition for the royal navy, if any ones intrested in comign along to it, its on the 23, 24th and 25th, loads of free food and lots of intresting things happening.
its at sandown race course, pop along see if you can find me, im one of the first chefs to cook on the event
hope you like
#23
brad-the-bear
-

- Members
-
- 1,114 posts
One Carb Or Two?
- Location: under the bonnet
Posted 12 October 2012 - 09:56 PM
mmm that looks nice ![=]](https://www.theminiforum.co.uk/forums/public/style_emoticons/default/sideways.gif)
maybe i should enter my pizza i tried to cook...
am not the best in the world but i think i might just have a chance of winning!!

no one was in to cook me anything so i thought hey it can't be that hard
it was i bit crunchy tho.
maybe i should enter my pizza i tried to cook...
am not the best in the world but i think i might just have a chance of winning!!
no one was in to cook me anything so i thought hey it can't be that hard
it was i bit crunchy tho.
#24
danny1
-
- Members
-
- 1,321 posts
In the navy you can sail 7 peas
- Local Club: bumpstart
Posted 12 October 2012 - 10:07 PM
id give that some points for erm..... presentation? lol
i wouldnt worry mine looked like a bowl of dog sick at the begging of the week, and now its starting to look pritty decent
i wouldnt worry mine looked like a bowl of dog sick at the begging of the week, and now its starting to look pritty decent
#25
brad-the-bear
-
- Members
-
- 1,114 posts
One Carb Or Two?
- Location: under the bonnet
Posted 12 October 2012 - 10:13 PM
good luck pal!
oh and for the record this is as far as my abilities go


fancy coming round and cooking me my tea?
EDIT: just encase you wondered how i created this master piece:
1) open tin of spaghetti letters and empty into bowl
2) open tin of sausages in brine
3) cutt up sausages and add to bowl
4) place into microwave for 2 mins
5) stir and cook for another 2 mins
6) enjoy
oh and for the record this is as far as my abilities go
fancy coming round and cooking me my tea?
EDIT: just encase you wondered how i created this master piece:
1) open tin of spaghetti letters and empty into bowl
2) open tin of sausages in brine
3) cutt up sausages and add to bowl
4) place into microwave for 2 mins
5) stir and cook for another 2 mins
6) enjoy
Edited by brad-the-bear, 12 October 2012 - 10:18 PM.
#26
danny1
-
- Members
-
- 1,321 posts
In the navy you can sail 7 peas
- Local Club: bumpstart
Posted 12 October 2012 - 10:16 PM
mmm thats looks tasty to me :)
i only cook like that for compertitions, rest of the time i eat propper quick easy food, bacon wrapped chicken and bangers and mash pie, mmm thats deffently the best dinner at home for the lads :)
i only cook like that for compertitions, rest of the time i eat propper quick easy food, bacon wrapped chicken and bangers and mash pie, mmm thats deffently the best dinner at home for the lads :)
#27
Artful Dodger
-

- Members
-
- 4,435 posts
" I AM THE SPECIAL ONE"
- Local Club: aint no body got time fo dat
Posted 12 October 2012 - 10:18 PM
Looking good!!
If you don't want that block PM me:) il have it off you
If you don't want that block PM me:) il have it off you
#28
danny1
-
- Members
-
- 1,321 posts
In the navy you can sail 7 peas
- Local Club: bumpstart
Posted 12 October 2012 - 10:26 PM
EDIT: just encase you wondered how i created this master piece:
1) open tin of spaghetti letters and empty into bowl
2) open tin of sausages in brine
3) cutt up sausages and add to bowl
4) place into microwave for 2 mins
5) stir and cook for another 2 mins
6) enjoy
ahaha i love this
#29
jaydee
-

- Members
-
- 8,565 posts
Crazy About Mini's
Posted 13 October 2012 - 11:35 AM
OOhhhh its cooking time!! 
#30
l_jonez
-
- Members
-
- 1,453 posts
One Carb Or Two?
- Local Club: south wales mini club
Posted 13 October 2012 - 11:49 AM
Hi Danny, you should drill some holes into the oversills where the raised sections are to let the sills breathe and also to squirt some waxoil in and let water out.
Also check that the aforementioned oversills are welded to the inner sill, you may need to plug weld along the join from the outside to make it extra solid.
Good luck with the project.
Or do it properly and cut them off and fit proper sills


1 user(s) are reading this topic
0 members, 1 guests, 0 anonymous users


