Jump to content


Photo
- - - - -

Ogy The Autocar!


  • Please log in to reply
193 replies to this topic

#46 Skortchio

Skortchio

    Camshaft & Stage Two Head

  • Members
  • PipPipPipPipPipPipPipPip
  • 1,596 posts
  • Location: Basildon
  • Local Club: EMC

Posted 26 August 2012 - 11:06 PM

Still painting! :P

Also had a sizable delivery from Minispares including some new wheelstuds, pressure relief valve, LCB and... I forget the rest :P

Paint coats are going on well, the first coat was a little thick (combined with poor technique) so I swapped to a 50:50 mix, which made for easy coats and very level finish but I felt it left the coat a bit thin,
I've adjusted it each coat, with light sanding inbetween just to remove dust and bugs and a more thorough flatting back after 4 coats.
Last coat was thinned to 25% and I'm using more paint per application, it's a tricky balance to not overload the coat and end up with too much to work with but not put on so little you just wet the surface and don't really add anything.

The car (supposedly being) my daily transport I've got to get a shift on and finish the painting.
Hoping to finish the blue this week and get the glass back in, will have Ogy almost back and running again.

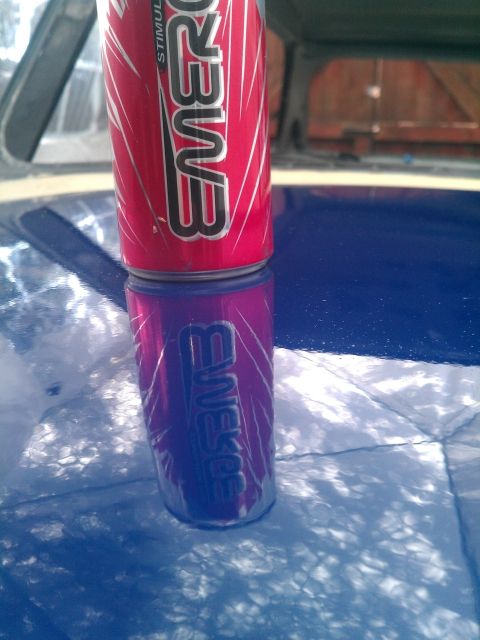
Oh, also figured a cunning way to get the roof painted ;-)

Some pics:

2nd coat dry on the bonnet:
Posted Image

Paint on roof!
Posted Image

Another day, another coat.
Posted Image

#47 Brams96

Brams96

    Up Into Fourth

  • Members
  • PipPipPipPipPipPipPipPipPip
  • 2,308 posts
  • Local Club: Kentish Mini Club

Posted 27 August 2012 - 05:15 AM

Looking good, it's going to be a really nice colour when finished.

#48 grahama

grahama

    Up Into Fourth

  • Members
  • PipPipPipPipPipPipPipPipPip
  • 2,442 posts
  • Location: Warrington
  • Local Club: None in my area !!

Posted 27 August 2012 - 07:41 AM

Looking really good, followed the bodywork thread on this too. Is that last pic a wet coat or after drying as the shine is great.

Graham

#49 Skortchio

Skortchio

    Camshaft & Stage Two Head

  • Members
  • PipPipPipPipPipPipPipPip
  • 1,596 posts
  • Location: Basildon
  • Local Club: EMC

Posted 27 August 2012 - 08:57 AM

Cheers chaps! :D

All the pics were at the same time (ish) so the roof is fresh and tacky but the blue parts have all had a day + to dry.

#50 hughJ

hughJ

    Soldiering Along

  • Members
  • PipPipPipPipPipPipPip
  • 727 posts
  • Location: Highlands, Scotland

Posted 27 August 2012 - 07:58 PM

It does look great. Far better than my rattle can job. Next time its a roller!!

Hugh

#51 LittleBecky

LittleBecky

    Learner Driver

  • Noobies
  • PipPip
  • 18 posts
  • Location: Kent

Posted 28 August 2012 - 01:44 PM

looks good =]

when can i come and steal Ogy??

Becky x

#52 Skortchio

Skortchio

    Camshaft & Stage Two Head

  • Members
  • PipPipPipPipPipPipPipPip
  • 1,596 posts
  • Location: Basildon
  • Local Club: EMC

Posted 28 August 2012 - 01:50 PM

Borrow, you can borrow :P

And once I finish the bulk of the painting (with a bit of luck this week) I'll be putting him back together again, along with a couple of extras that seem to have appeared in the meantime.

#53 LittleBecky

LittleBecky

    Learner Driver

  • Noobies
  • PipPip
  • 18 posts
  • Location: Kent

Posted 28 August 2012 - 01:54 PM

yeah ''borrow'' :shifty: :shifty:

lol wicked! bet you cant wait!

Becky x

#54 Jasonc

Jasonc

    Mini Mad

  • Members
  • PipPipPipPip
  • 183 posts
  • Location: Hampshire

Posted 03 September 2012 - 09:08 AM

Looking really good! Keep up the good work!

#55 Skortchio

Skortchio

    Camshaft & Stage Two Head

  • Members
  • PipPipPipPipPipPipPipPip
  • 1,596 posts
  • Location: Basildon
  • Local Club: EMC

Posted 03 September 2012 - 04:54 PM

Looking really good! Keep up the good work!


Cheers fella,

Had a bit of a frustrating week but it turned out okay in the end.
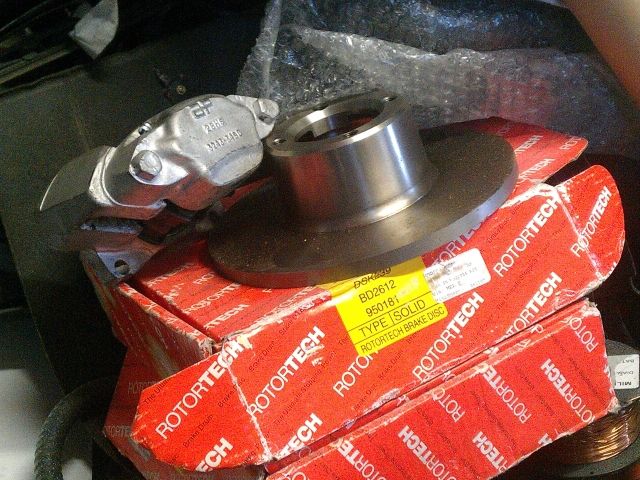
It all started with fitting new wheel studs to accomodate the spacers and my machined discs / calipers in preparation for finding some amazingly cheap 10" wheels for sale :P
Posted Image

When going to remove the disc guard, finding the track rod end top thread was spinning freely - which resulted in initially cutting the disc guard off but also having to buy some track rod ends too.

Then the wheel studs (which as it happens were the wrong length, mix up at the distributors) being made of cheese not metal and going all kinds of funny shapes. A quick chat with Simon@Minispares had matters resolved and some new correctly sized studs being thrown in with my track rod ends and other goodies.

The week was mostly full of sanding and painting, it's a slow ass process but I said I'd try it and I'm too stubborn to stop now! :D

So onto this weekend, new studs and stuff to go on.
Drivers side, all off and replaced in short order, all good!
Onto the passenger side: Track rod end, done. Disc guard off, castle nut... Nope it didn't want to leave the flange, I can understand why, it's a nice flange :P
We tried several techniques ranging from sound principle to black magic and ending with a fat ginger guy jumping on it, but alas it didn't want to budge.
The list of things that didn't work were:

Heat
Penetrant spray
Torque wrench
Lever bar 4'
Lever bar 6'
More heat plus lever bars
Impact driver - only tried that a couple of times to avoid bearing damage
Air rachet
Stern words
Fat bloke

But still it was sat in place, stoic as the walls of Troy!
It did however reap a few casaulties along the way:
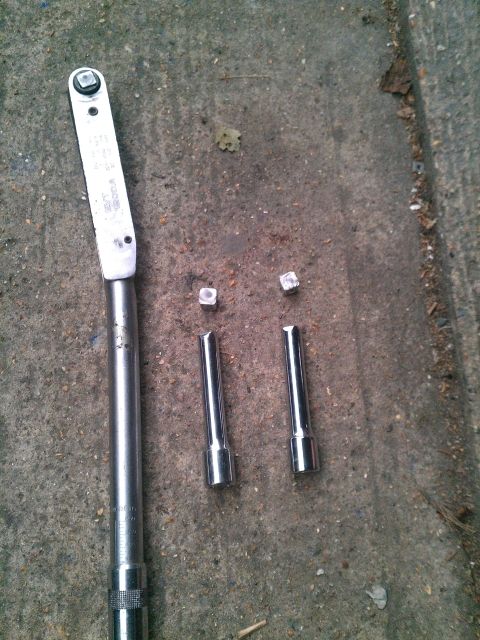
Posted Image

And so as the light faded I was left none the better and the nut was still wedged solid.
A quick txt to Chunky for ideas yielded the answer I was suspecting already - "cut it off"

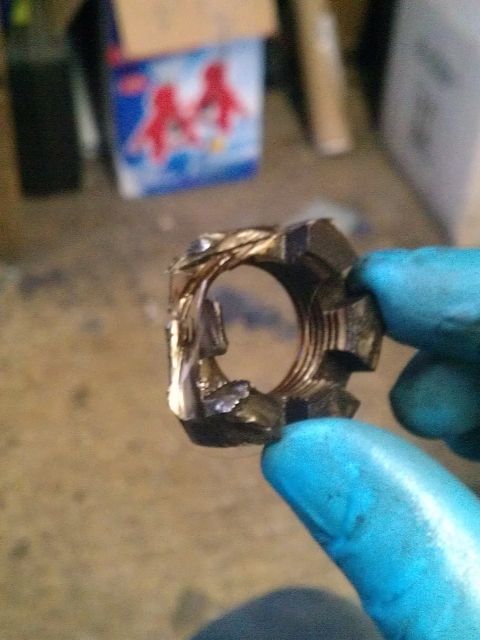
Back again Sunday and that's just what I did, chopped it damn near in half and it still wouldn't come off!
In the end a drift and a hammer got it free but it was a hell of a fight, I dread to think the torque it was done up too but if I see a gorrilla I'll ask him.

Nut:
Posted Image

Have to wait for a new one now to finish the front, which does slow things down a touch as the jack is being employed holding it up. But with a few coats of paint to go, plus window tints, headlight tints, grille to make and a bunch of other things I'm not short of work :P

Getting there though.

Posted Image

#56 Jasonc

Jasonc

    Mini Mad

  • Members
  • PipPipPipPip
  • 183 posts
  • Location: Hampshire

Posted 04 September 2012 - 10:30 AM

Seems like you definatlety had a fight on your hand - When I was rebuilding a bike I had the same sort of casualties along with some knocked and grazed knuckles lol :D

#57 Skortchio

Skortchio

    Camshaft & Stage Two Head

  • Members
  • PipPipPipPipPipPipPipPip
  • 1,596 posts
  • Location: Basildon
  • Local Club: EMC

Posted 04 September 2012 - 11:10 AM

Funny you should say that, the castle nut took pole position in most stuf nut I've found so far. The previous winner being the front sprocket nut on a P7 ZX-6R which was around 180lb, so just a touch over the expected :P

#58 Jasonc

Jasonc

    Mini Mad

  • Members
  • PipPipPipPip
  • 183 posts
  • Location: Hampshire

Posted 06 September 2012 - 09:17 AM

Funny you should say that, the castle nut took pole position in most stuf nut I've found so far. The previous winner being the front sprocket nut on a P7 ZX-6R which was around 180lb, so just a touch over the expected :P


Front sprokets are quite possibly the worst!

Doing a friends of mine chain and sprokets I had to get a scaffold bar attached to my wrench to get the bloody nut off!

All fun and games tho :D

#59 Skortchio

Skortchio

    Camshaft & Stage Two Head

  • Members
  • PipPipPipPipPipPipPipPip
  • 1,596 posts
  • Location: Basildon
  • Local Club: EMC

Posted 03 October 2012 - 10:28 AM

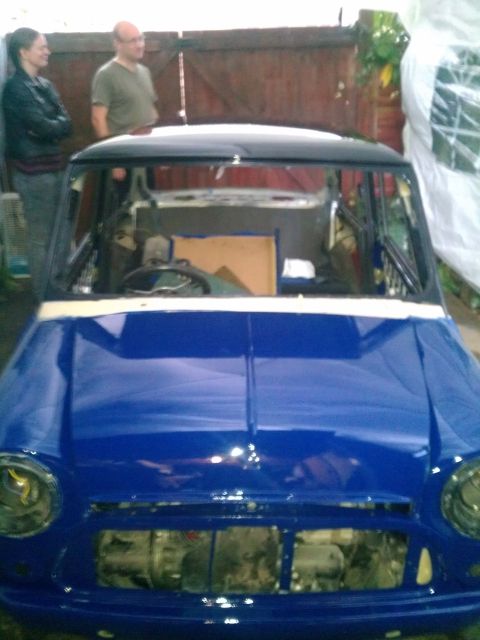
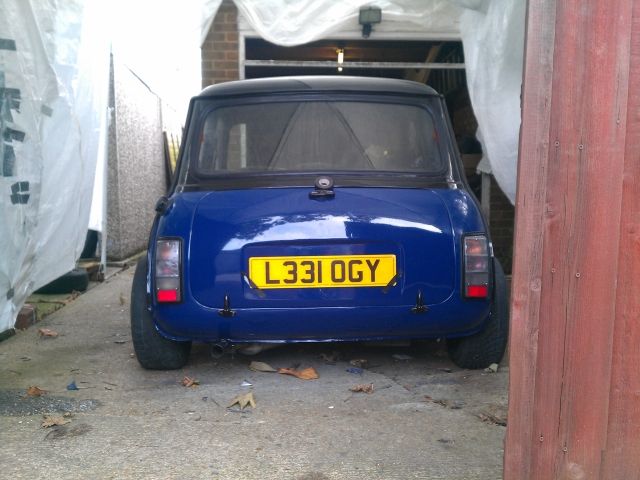
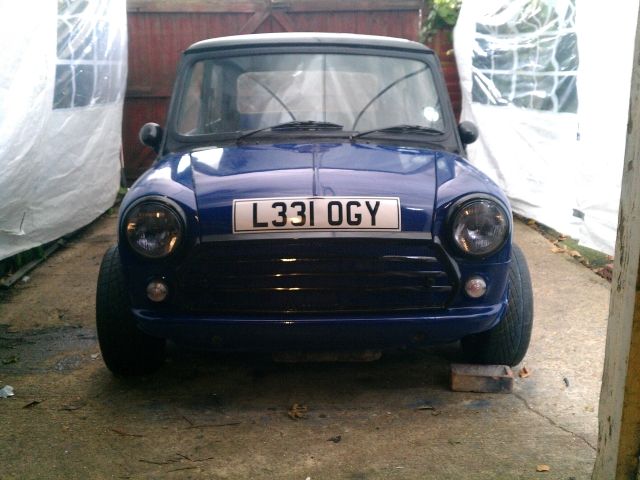
Painting is now complete (until I slip and chip the hell out of it) and is into the curing period before it's final flat and polish.
Looks a bit like this:
Posted Image

Posted Image

Posted Image


In other news, new screen & seals are in place (Thanks Chunky), all the bits and bobs like number plates and mirrors are back on and everything appears to be working.
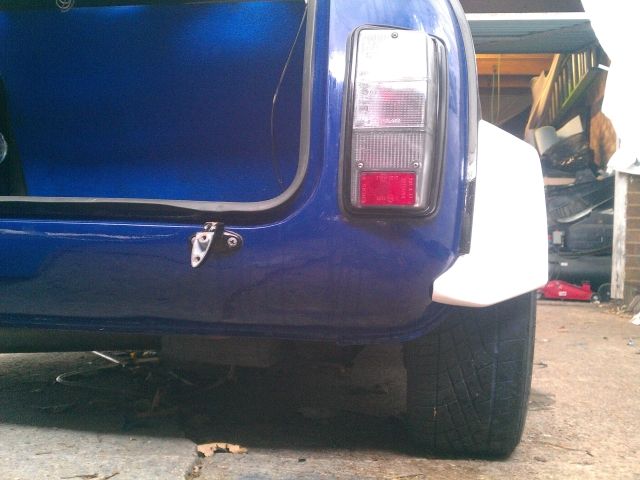
All that remains in the overall is fitting the arches which has become a far bigger issue for me than it really should be, needless to say only having 1 free hand (the other being used to balance) is making matters awkward. At least painting them will be easy :P

Posted Image

#60 Skortchio

Skortchio

    Camshaft & Stage Two Head

  • Members
  • PipPipPipPipPipPipPipPip
  • 1,596 posts
  • Location: Basildon
  • Local Club: EMC

Posted 03 October 2012 - 10:32 AM

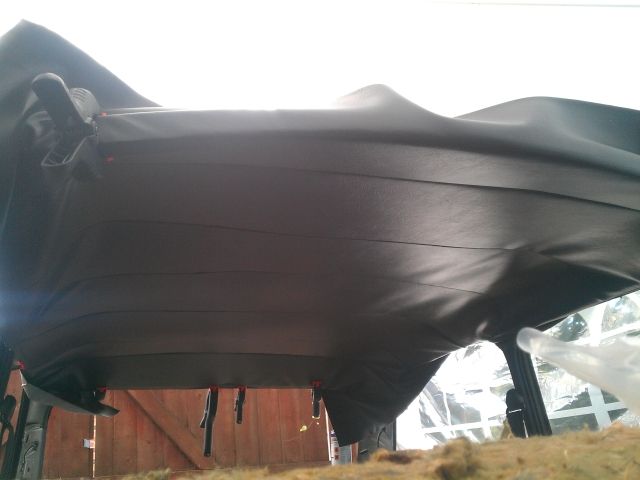
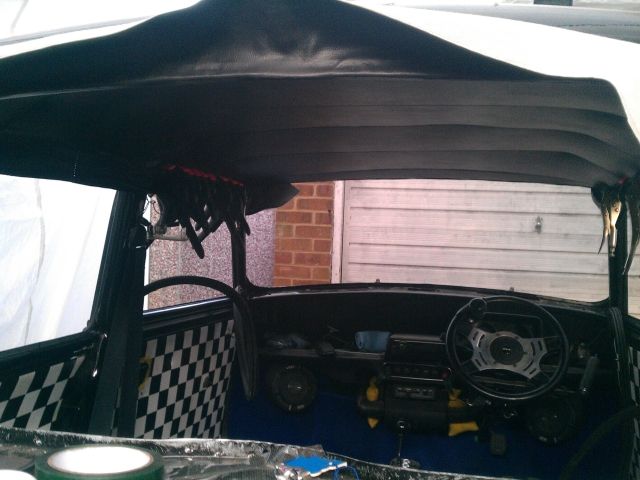
And I couldn't go to all the trouble of making the car pretty only to leave the manky headlining in there and as the screens were out it seemed ideal opportunity. Plus gave me a chance to deaden the roof!

Posted Image

Posted Image

Didn't turn out too bad at all, not to mention being a damn site easier than I was expecting. Now to see if it stays up!

I was a bit puzzled by the included B & C pillar pieces I admit, given they were completely mis sized for either of said pillars and came with no instruction as to how they should look when fitted. So they're in a bag currently until I can figure it out!


1 user(s) are reading this topic

0 members, 1 guests, 0 anonymous users