
Ogy The Autocar!
#16

Posted 09 August 2012 - 07:39 PM
#17

Posted 09 August 2012 - 07:40 PM
the paintjob isnt brilliant but for a daily I am more than happy
#18

Posted 09 August 2012 - 07:46 PM
I've got the equipment to spray but not the space, having only ever needed it for bikes before. Did consider spraying once I've bought a gazebo but this looks as interesting approach and rolling will give a more durable finish (hopefully), which is handy as I tend to beat the cr*p out of my doors with the chair getting in and out.
Assuming it doesn't react I might give it a blast over with clear coat once the Dulux dries well. Just because I have it laying about.
Edited by Skortchio, 09 August 2012 - 07:46 PM.
#19

Posted 09 August 2012 - 07:50 PM
#20

Posted 09 August 2012 - 07:56 PM
I'll be conducting the test panel while I wait the 5hours between coats on the car.
Yeah, for my sins (too pretty) I have to roll around everywhere now. I actually bought the Mini as it was easier to get at the engine bay etc. compared to most cars. But you're right, anything involving lifting or counter balance is a bit of a nightmare. Replacing the upper arms was... testing, shall we say.
I may have to enlist help to swap the cylinder head though, I can lift it fine but holding it out at arms length to fit it without core muscles is asking for trouble
#21

Posted 09 August 2012 - 08:01 PM
#22

Posted 09 August 2012 - 08:34 PM
#23

Posted 09 August 2012 - 08:58 PM
#24

Posted 10 August 2012 - 09:49 PM
Car is sitting in a nice shade of high build yellow currently, the gazebo is on hand for assembly and the rear valence is nearly smooth but not quite. I think I need a certain Mini driver to sort it out for me as I'm not so hot on the arty stuff.
#25

Posted 11 August 2012 - 05:48 PM
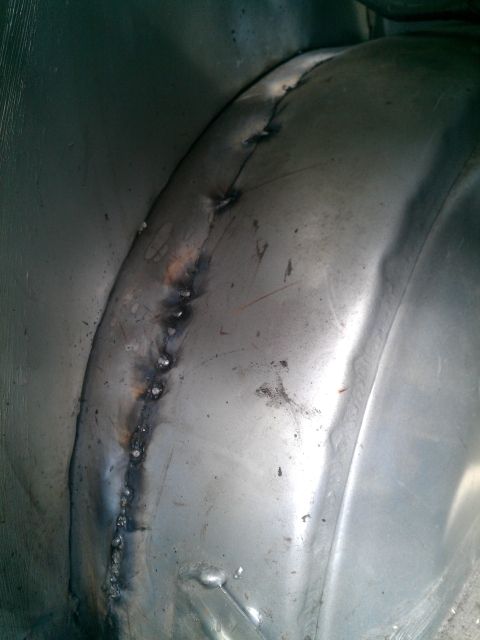
But, I did finally get on with tubbing the arches. Which turns out is a doddle of a job and not so hard at all, once I'd got over the fear of cutting my pristine rear quarter panels.
I did have a bit of a sand and re prime on the bits I wasn't happy with but after a couple of hours reaslied I was unlikely to ever be happy with it. Some imperfections you just have to live with and for a daily drive, spending literally hours trying to get a perfect contour on the bottom edge of the rear valence just isn't sensible.
So no more crazy days spent with the sanding block, I'm going to make it 'good' not perfect and get some paint on!
(Once I've tidied up the welding
Pics:
The first cut is the deepest, actually in my case it was a pretty wimpy shaving at the paint more than a cut but I got there in the end.
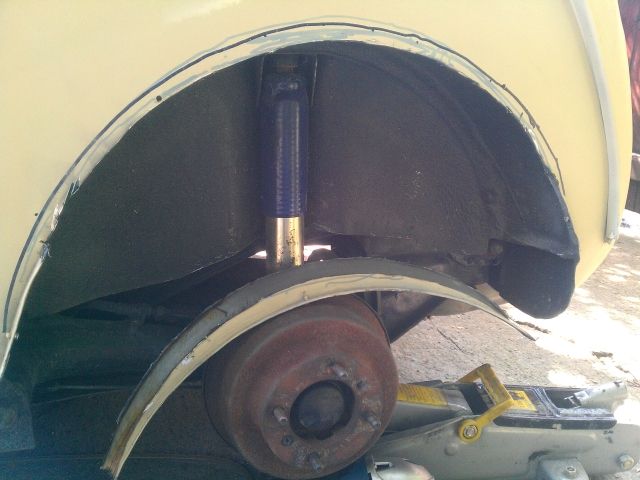
Getting lippy
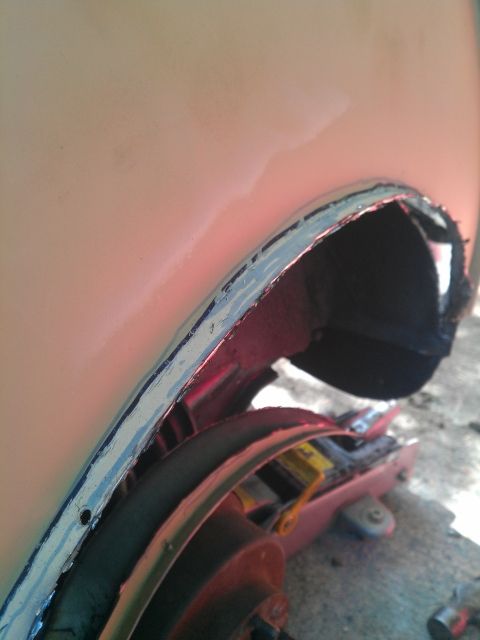
All clamped up and ready for some bzzzzt
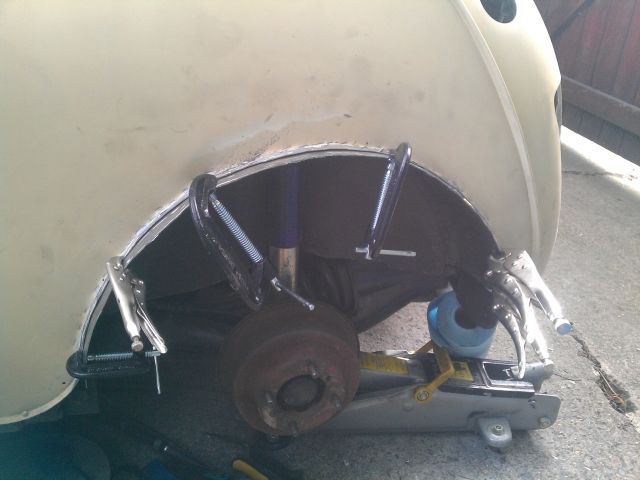
Possibly a tad more welds than it had before and perhaps a mite overkill. But hey, I need the practice.
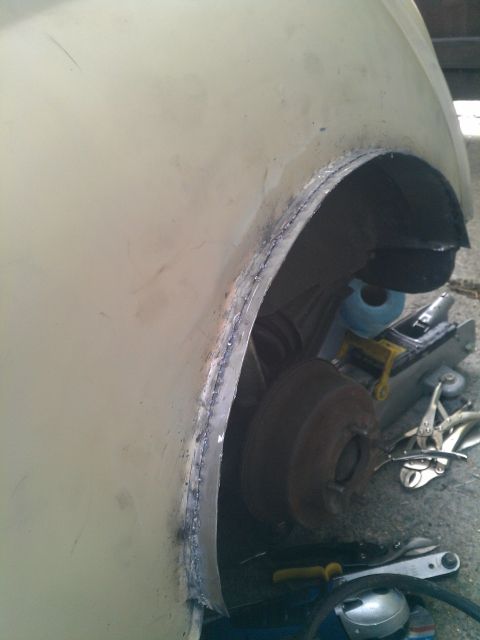
Inside looks nicer, I suppose now I have to kidnap someone so they can see it!
#26

Posted 12 August 2012 - 08:37 AM
#27

Posted 13 August 2012 - 11:43 PM
#28

Posted 15 August 2012 - 02:21 PM
Just a thought but to help with the engine bay work you could use a motorcycle type lift under the rear of the car, that would angle it towards you and it may make it easier. The cheap ones are about £75 and lift pretty high.
#29

Posted 15 August 2012 - 02:37 PM
Nice work, I like what you've done with the sound proofing.
Just a thought but to help with the engine bay work you could use a motorcycle type lift under the rear of the car, that would angle it towards you and it may make it easier. The cheap ones are about £75 and lift pretty high.
Not a bad alternative to using jacking points subframe ect.. might give it a go my self some time ha ha.
#30

Posted 15 August 2012 - 02:38 PM
Thankfully due to the small size of the mini I can reach to the scuttle fuse box so everything is accessible, funny you should suggest lifting the back though. As its on axle stands at the minute from tubbing the arches and I thought to myself earlier "i like the front that height!" But it was followed by swift realisation that I like driving it more
1 user(s) are reading this topic
0 members, 1 guests, 0 anonymous users


