Jump to content


Photo
- - - - -

'cherry' The Red Mini Thirty.


  • Please log in to reply
205 replies to this topic

#106 joezone2001

joezone2001

    Speeding Along Now

  • Members
  • PipPipPipPipPip
  • 332 posts
  • Location: kirkby in ashfield

Posted 08 October 2012 - 02:54 AM

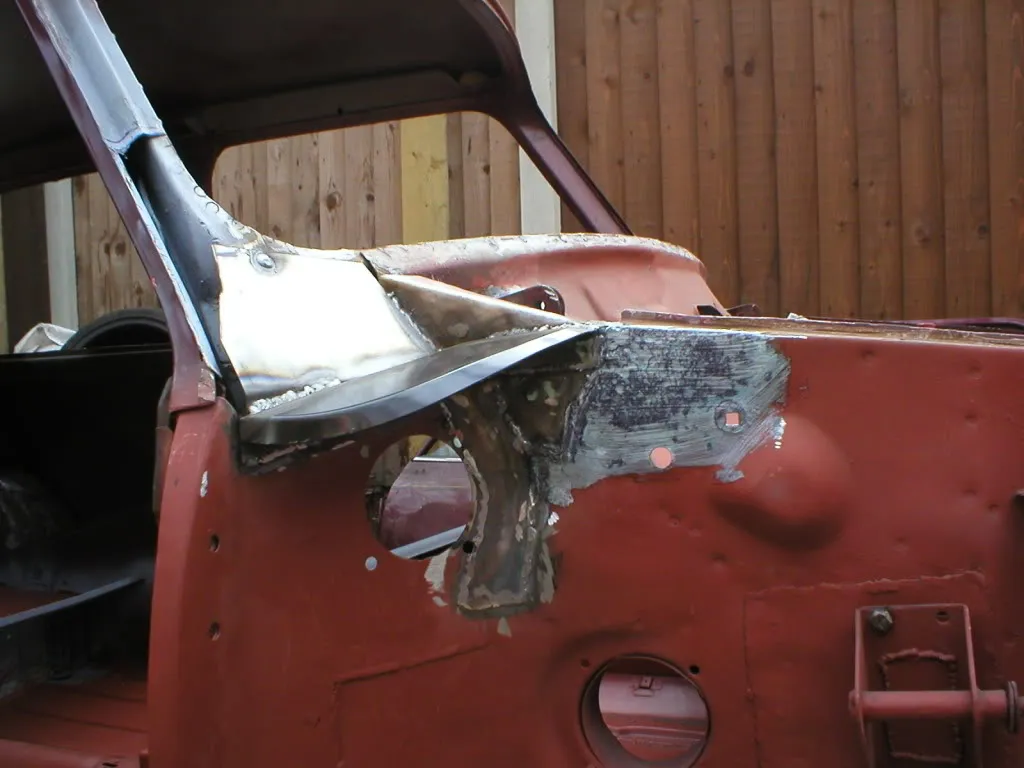
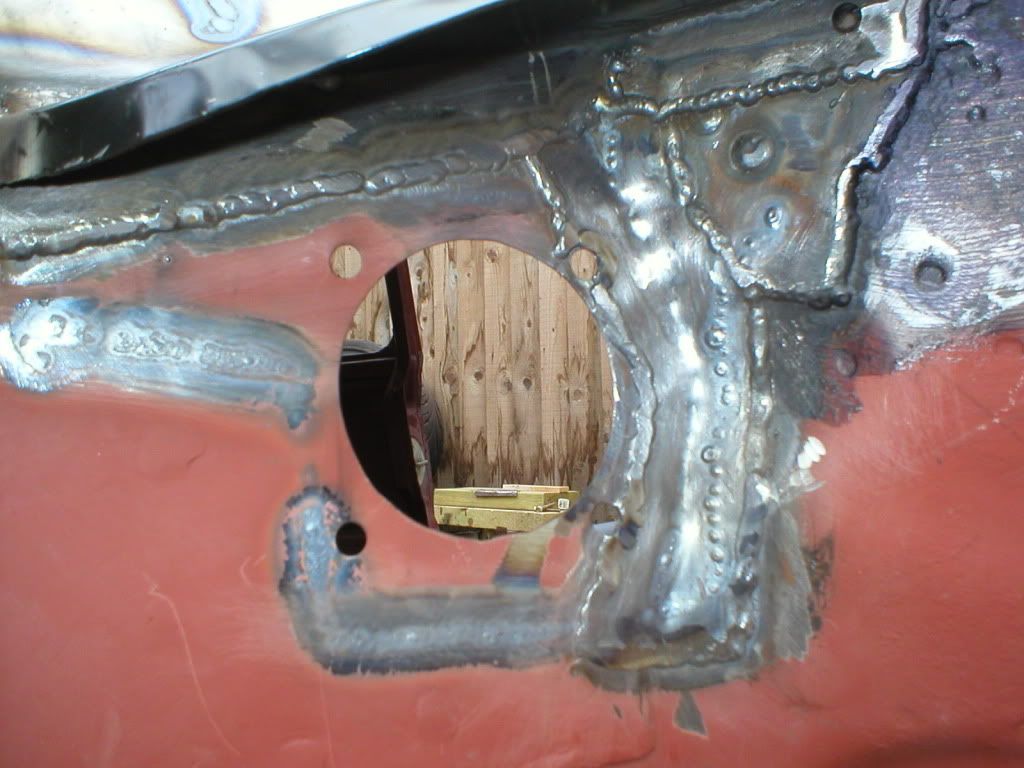
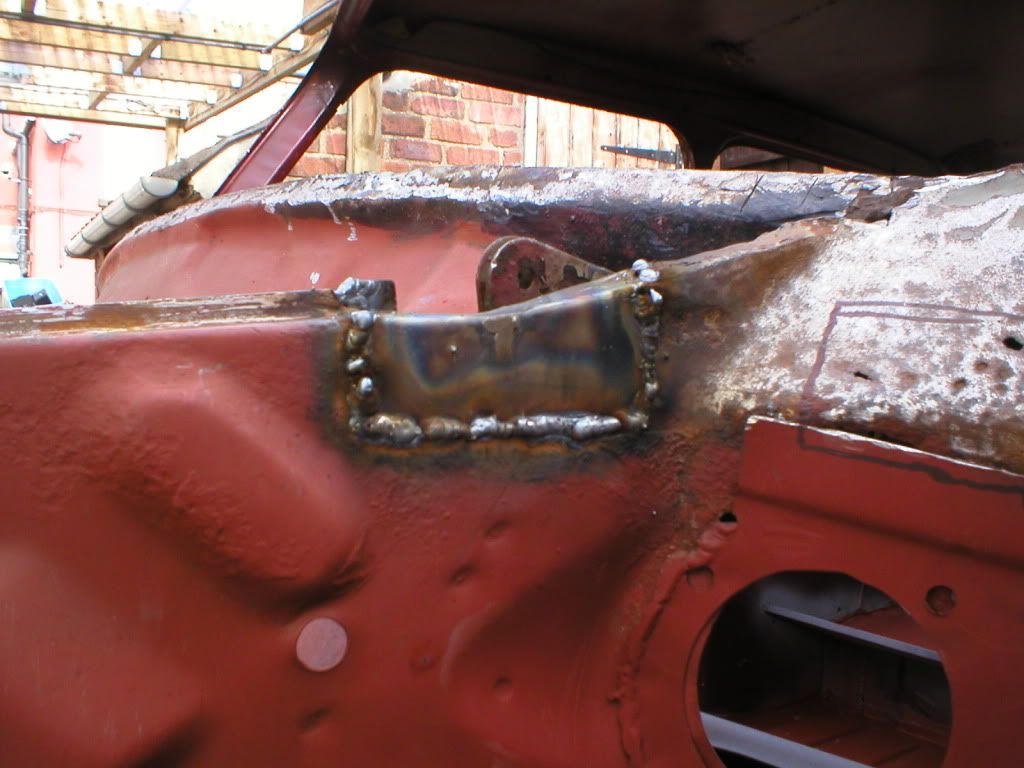
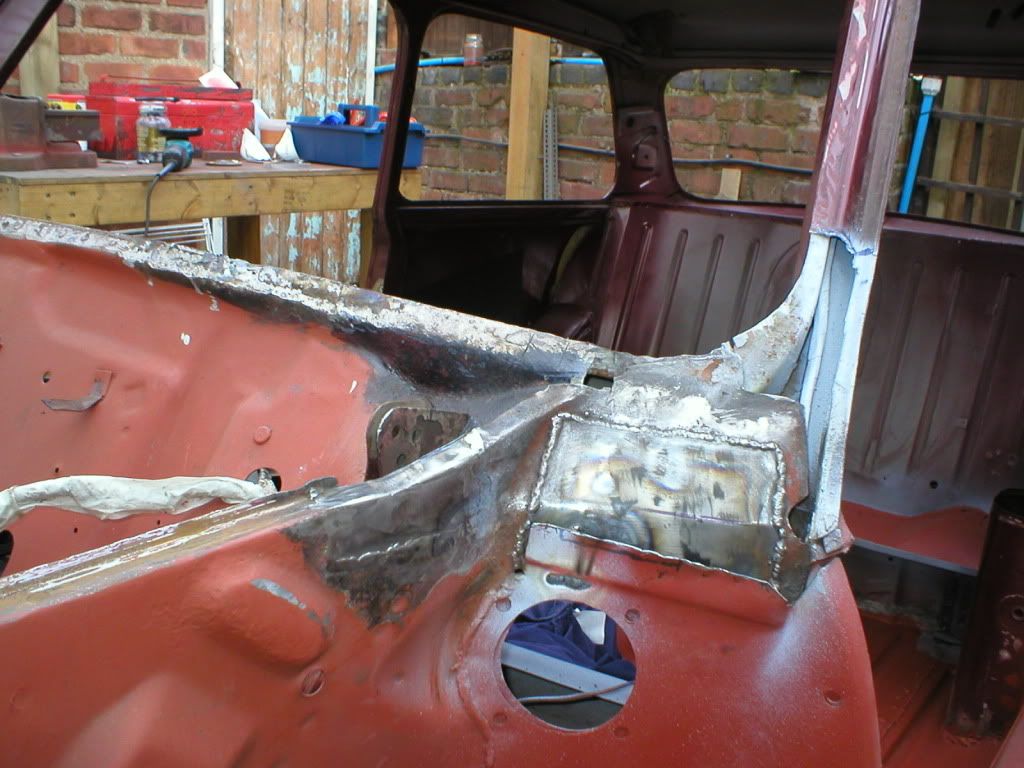
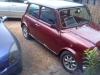
Excellent repairs on the inner wing, bet you are pleased with that. I have noticed a lot of pitting to the right of the repair section, I take it that is strong and yuo are leaving. Only you know the condition of the wing but I'd have a good check over that area just in case. Are you grinding the welds down at all, which are nice and neat by the way.

Graham


Hi Graham.
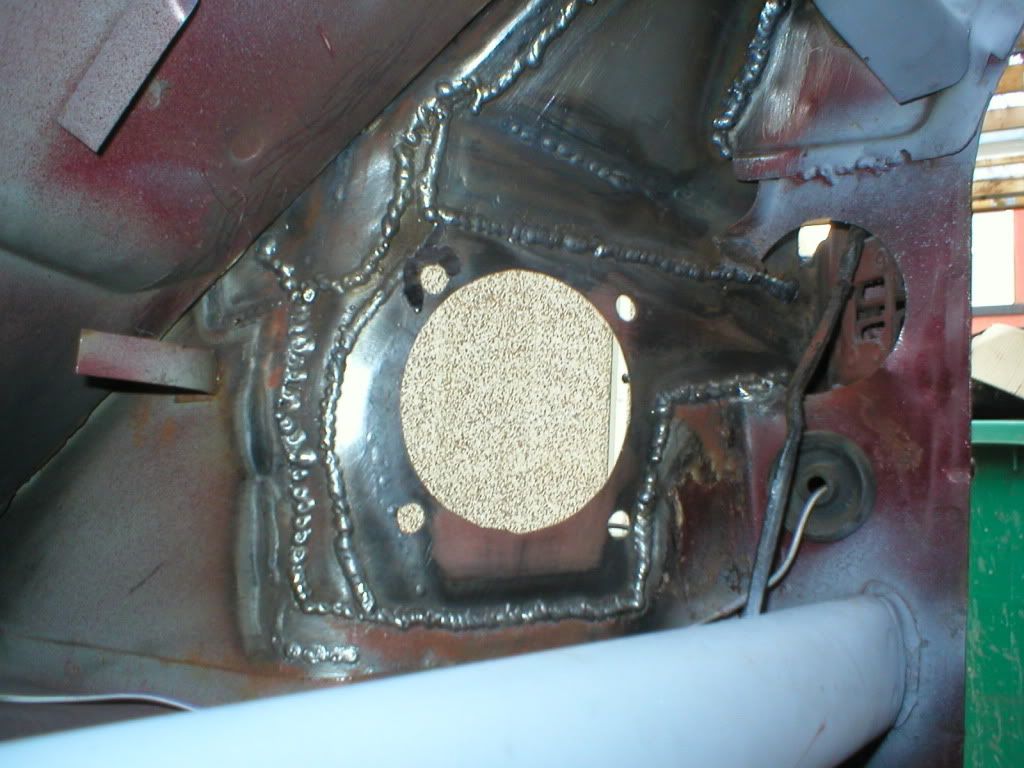
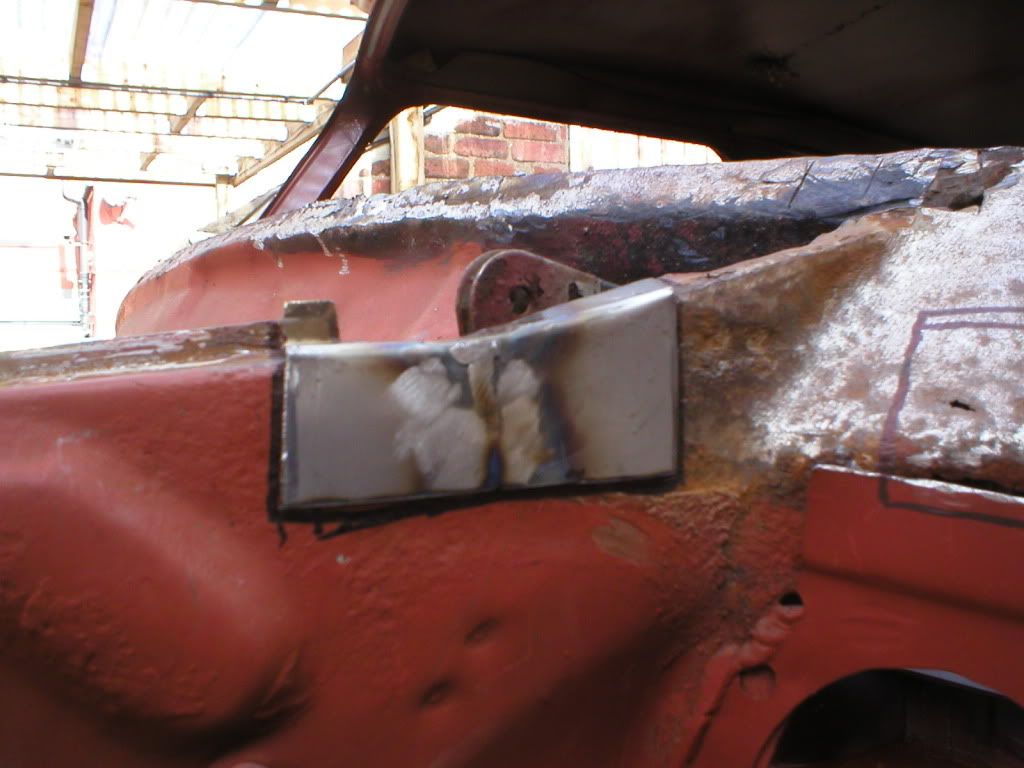
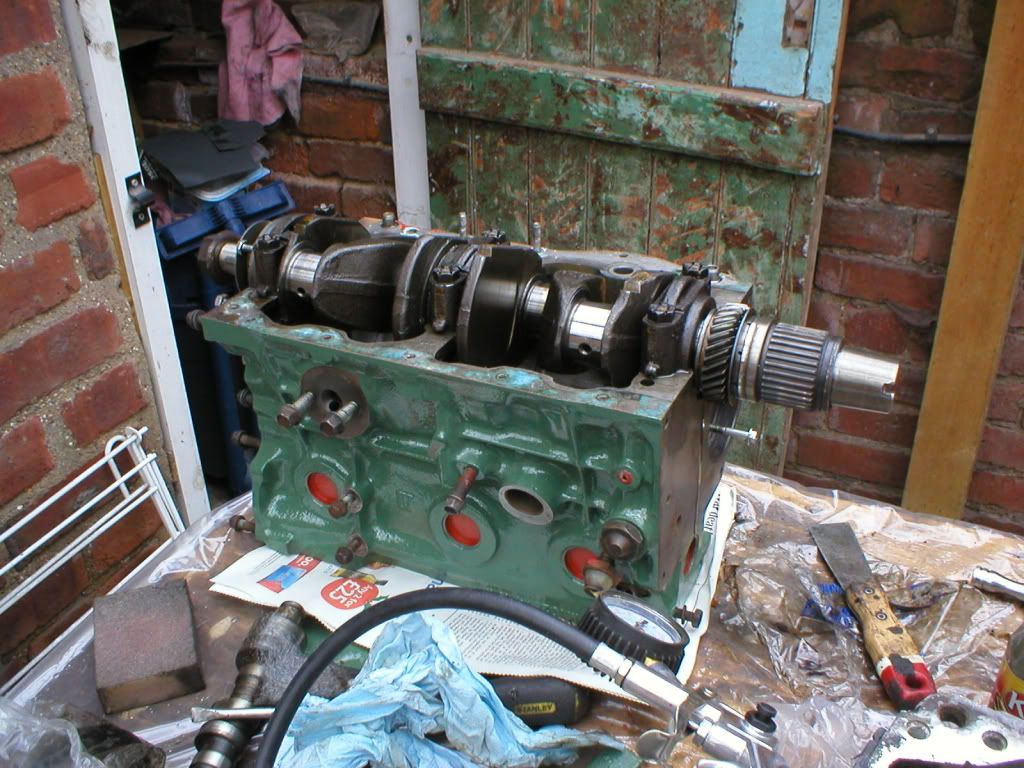
I have a small confession, the repair isn't all my own work. I had someone helping me this weekend. Haha. I was concerned about the pitting too but I am assured the its fine and I'm sure it is. When I removed he wings I stripped the paint and treated it and it was all fine. We had no problems welding either so I am sure it's ok. Thanks for the advice. If I'd have seen it on someone else's thread I would have shared the same concern. I will be grinding the welds down later today as I didn't have the time at the weekend. I bought some sheet metal the other week from Parkside Steel in Annesley and it seems to weld beautifully to be honest. This is my first project and it is the only thing I have ever welded so I'm still learning but I think I'm getting there with it. Some of the welds I did in the boot area were some of my first repairs and I'm not that pleased with them so thankfully my new boot floor panel will replace them.

Thanks for the comment and the advice, I appreciate it. By the way, your car is looking awesome recently. I love the blue paint that you have used underneath and your attention to detail.

Cheers. Joe

#107 joezone2001

joezone2001

    Speeding Along Now

  • Members
  • PipPipPipPipPip
  • 332 posts
  • Location: kirkby in ashfield

Posted 08 October 2012 - 03:07 PM

Hi All.

Today I have lightly ground down some of the welds that we did over the weekend. I'm not that fussed about them as you wont see them. I will also be seam sealing them at some stage. I also welded from the inside of the upper repair that we made. I am a bit proud of my welding here.. haha. I also treated the pitted area at the side of the new repair. We probably should have cut it out but i ground it back to the shiny stuff and it still seems strong so I re-treated with rust converter and etch primed.

Treatment
Posted Image

Light-grinding
Posted Image

Inner welding
Posted Image

Inner welding painted
Posted Image

Thanks for looking. Comments always welcome. Joe

#108 alex-95

alex-95

    I am THE CLAMP MAKER

  • Members
  • PipPipPipPipPipPipPipPipPipPip
  • 6,021 posts
  • Location: l

Posted 08 October 2012 - 03:26 PM

Look's great, you're doing a excelent job on the repairs.

#109 joezone2001

joezone2001

    Speeding Along Now

  • Members
  • PipPipPipPipPip
  • 332 posts
  • Location: kirkby in ashfield

Posted 08 October 2012 - 03:42 PM

Look's great, you're doing a excelent job on the repairs.


Thanks Alex. It's pleasing/encouraging to know that my work it looking good. It's a bit of a learning curve from my night job... ( baking ) haha
Cheers.
Joe

#110 joezone2001

joezone2001

    Speeding Along Now

  • Members
  • PipPipPipPipPip
  • 332 posts
  • Location: kirkby in ashfield

Posted 09 October 2012 - 04:17 PM

Hi All.

Been doing some reconstruction work on the passenger side flitch and inner wing today. It's not finished as I need to position the new scuttle panel in, in order to mark where to weld the new closing plate in. A job for another day.

Made a repair piece

Posted Image

Welded it in

Posted Image

Welded a piece into the top of the flitch panel.

Posted Image

Thanks for looking. Joe

#111 evansisgreat

evansisgreat

    One Carb Or Two?

  • TMF+ Member
  • PipPipPipPipPipPipPip
  • 1,103 posts
  • Local Club: Not yet

Posted 10 October 2012 - 05:26 PM

Solid progress Joe. All looks really good.

#112 joezone2001

joezone2001

    Speeding Along Now

  • Members
  • PipPipPipPipPip
  • 332 posts
  • Location: kirkby in ashfield

Posted 10 October 2012 - 08:25 PM

Solid progress Joe. All looks really good.


thanks. I can see it coming together now. hopefully soon she will be back on the road.
cheers for the comment.
Joe

#113 joezone2001

joezone2001

    Speeding Along Now

  • Members
  • PipPipPipPipPip
  • 332 posts
  • Location: kirkby in ashfield

Posted 17 October 2012 - 01:37 PM

Hi all.
Not a massive update although I have been pottering about with it in between doing various other jobs about the house etc..

I have finished welding the passenger sided door frame where my new sill didn't quite fill the gap and I am ready to put the new scuttle on. I have prepped all the weldable surfaces and covered them in weld through primer ready for spot welding.

Before I started this thread I has done allot of refurbishment work on various mbirs of the car. I am getting to the stage now where I need to think about getting some stuff back together.

I want to start with the engine but, I need some advice. I have stripped, cleaned and painted everything. I have had the internals out and they have all been inspected. There was no wear to speak of on any of the bits so they're being reused. I. Managed to pick an 1100 engine up for £45 from an auto jumble minus the gearbox which seemed to be in good condition. My original intention was to turn my 998 into a 1098 but I have since decided that I am going to keep my 998 and use the head from the 1098 and also the cam shaft from the 1098. The main reason being that the pistons in the 1098 were looking a bit knackered and worn and replacements were fairly expensive and I couldn't justify the expense when I will possibly get a 1380 or something in the future. So, my question is... Which gasket set is the best one to get? I've got no idea to be honest. Haha. Also is there a preference when it comes to gasket paste etc. my original 998 leaked like a sieve and I really done want to have to keep cleaning the drive when I have this car rebuilt.. Lol

Anyway, some pictures of what the engine now looks like.....
Posted Image
Still needing the surfaces cleaning..
Posted Image

Knew the greenhouse was useful for 'something'
Posted Image

I don't know why I did that.. Lol
Posted Image

This is my original starter motor which I painted thrn put the original sticker back on.

Posted Image

Horn

Posted Image

This was all done ages ago but like I say I need to get it back together.. Lol.

Cheers, joe


#114 joezone2001

joezone2001

    Speeding Along Now

  • Members
  • PipPipPipPipPip
  • 332 posts
  • Location: kirkby in ashfield

Posted 17 October 2012 - 01:54 PM

This is the 12g202 head that I have stripped. It needs skimming and rebuilding.. It is a significant upgrade to the original head. Is it worth me spending money having it skimmed and new valves etc when the old head is in good condition?... Decisions, decisions.. Haha

Posted Image
Posted Image

Cheers, comments/advice appreciated.
joe


#115 Minidarren83

Minidarren83

    One Carb Or Two?

  • Members
  • PipPipPipPipPipPipPip
  • 1,207 posts
  • Location: Stanford Le hope

Posted 17 October 2012 - 02:21 PM

Hi joe with the head you can always build your engine back up using the standard head and send the new one away for the work when you can and then just swap them out in your own time it's not that hard of a job on the car and you won't be waiting for it to return before you can use the car
Darren

#116 joezone2001

joezone2001

    Speeding Along Now

  • Members
  • PipPipPipPipPip
  • 332 posts
  • Location: kirkby in ashfield

Posted 17 October 2012 - 04:05 PM

Hi joe with the head you can always build your engine back up using the standard head and send the new one away for the work when you can and then just swap them out in your own time it's not that hard of a job on the car and you won't be waiting for it to return before you can use the car
Darren


Thanks for the reply Darren. I was thinking the same to be honest. I may even decide that it's not worth it in the end. The car did drive ok when I last drove her in 2010.. Hopefully I will be driving her again some time in 2013. I'm getting excited lol and its so far off! I must pull my finger out! Lol
Joe

#117 grahama

grahama

    Up Into Fourth

  • Members
  • PipPipPipPipPipPipPipPipPip
  • 2,442 posts
  • Location: Warrington
  • Local Club: None in my area !!

Posted 17 October 2012 - 06:03 PM

Looks good Joe,

I swapped heads on my 998 for an unleaded one and skimmed both the head and block just to make sure they mate together properly. For an extra £30 it's worth getting it done so you don't have to strip it all out of the car again if you have a problem.

Otherwise nice work !

Graham

#118 stretch tech

stretch tech

    One Carb Or Two?

  • Members
  • PipPipPipPipPipPipPip
  • 1,363 posts
  • Location: Tamwoth
  • Local Club: A5 & Mini Mainiacs

Posted 18 October 2012 - 07:02 PM

Hi joe, I haven't been on here it what seems an age lol your making great progress here bud, it takes me back to doing the repairs to cliff and they are still shockingly similar aha

I was going to go 1130 for cliff but I decided against it mainly because of the insurance aha

Keep up the cracking work mate

Rhys

#119 joezone2001

joezone2001

    Speeding Along Now

  • Members
  • PipPipPipPipPip
  • 332 posts
  • Location: kirkby in ashfield

Posted 20 October 2012 - 08:01 PM

Looks good Joe,

I swapped heads on my 998 for an unleaded one and skimmed both the head and block just to make sure they mate together properly. For an extra £30 it's worth getting it done so you don't have to strip it all out of the car again if you have a problem.

Otherwise nice work !

Graham


Hi Graham.
Thanks for the reply. My original head is unleaded already. Apparently the 30 had one as standard. If I used the 1100 head, that would need converting also would need skimming a fair bit to get the compression right.
Thanks for the advice and the positive comments. I am happy with the colour. It is Bantam Green if anyone was interested. Lol.
Cheers. Joe

#120 joezone2001

joezone2001

    Speeding Along Now

  • Members
  • PipPipPipPipPip
  • 332 posts
  • Location: kirkby in ashfield

Posted 20 October 2012 - 08:11 PM

Hi joe, I haven't been on here it what seems an age lol your making great progress here bud, it takes me back to doing the repairs to cliff and they are still shockingly similar aha

I was going to go 1130 for cliff but I decided against it mainly because of the insurance aha

Keep up the cracking work mate

Rhys


Hi Rhys!
Thanks for the comments. I am almost certain Cherry and Cliff were made next to each other on the production line on the same Sunday afternoon lol. Some of the things that I have uncovered ie, bare metal under the rear bench (from new), missed spot welds round the windscreen etc are shocking. Rover should be ashamed.. Lol. How is Cliff? Has he got a nice new ticket yet?

Cheers. Joe.


1 user(s) are reading this topic

0 members, 1 guests, 0 anonymous users