Jump to content


Photo
- - - - -

'cherry' The Red Mini Thirty.


  • Please log in to reply
205 replies to this topic

#91 joezone2001

joezone2001

    Speeding Along Now

  • Members
  • PipPipPipPipPip
  • 332 posts
  • Location: kirkby in ashfield

Posted 26 September 2012 - 05:53 PM

hi all.
progress on the mini has been slow recently due to other jobs needing doing but today I managed to get some work done on her. I painted the inner front bulkhead and the dash rails. it doesn't look much but there was alot of prep work involved haha.
Posted Image

thanks for looking.
comments always welcome
joe

#92 Jasonc

Jasonc

    Mini Mad

  • Members
  • PipPipPipPip
  • 183 posts
  • Location: Hampshire

Posted 27 September 2012 - 11:40 AM

Some nice work there mate, prep does take a while but more than worth it and you get a better finish for longer.

#93 joezone2001

joezone2001

    Speeding Along Now

  • Members
  • PipPipPipPipPip
  • 332 posts
  • Location: kirkby in ashfield

Posted 27 September 2012 - 09:50 PM

Some nice work there mate, prep does take a while but more than worth it and you get a better finish for longer.

hi. thanks for the reply. good to know someones looking haha. I agree with that. prep work is the key to a good finish. I have done a bit on her today but nothing worthy of an update.
cheers
joe

#94 joezone2001

joezone2001

    Speeding Along Now

  • Members
  • PipPipPipPipPip
  • 332 posts
  • Location: kirkby in ashfield

Posted 01 October 2012 - 03:55 PM

Hi All
Today I have finished painting the inside floor. I am eventually going to cover it with some Epoxy Mastic stuff from www.rust.co.uk . For the time being I am just making it winter proof as the car is outside. Well, under a very large carport anyway.
I am fairly pleased with the result. I have just used brush on weld thru etch primer from Newark Autojumble.

Posted Image
Posted Image
Posted Image
Thanks for looking, Comments always welcome. Cheers, Joe

#95 webby0121

webby0121

    Mini Mad

  • Noobies
  • PipPipPipPip
  • 117 posts
  • Location: westmidlands

Posted 01 October 2012 - 08:00 PM

Looking pretty awesome, just read the whole thing! Keep up the good work! Ashley

#96 joezone2001

joezone2001

    Speeding Along Now

  • Members
  • PipPipPipPipPip
  • 332 posts
  • Location: kirkby in ashfield

Posted 01 October 2012 - 09:38 PM

Looking pretty awesome, just read the whole thing! Keep up the good work! Ashley

thanks mate. I'm 'trying' not quite sure if I'm doing it right but it looks better than it was haha.
cheers. joe

#97 joezone2001

joezone2001

    Speeding Along Now

  • Members
  • PipPipPipPipPip
  • 332 posts
  • Location: kirkby in ashfield

Posted 02 October 2012 - 07:35 PM

hi all.
today I removed the bonnet hinges and drilled out the old studs as they had sheered. I ground the rust back and covered in rust converter.
Posted Image
I will etch prime tomorrow.

I also had a look at tackling the top of the drivers side flitch panel. not quite sure where to start. haha.
Posted Image
can i get a repair section just for this bit? I know its included on the new inner wing panel but my inner wings and front panel are OK so I'm not cutting them off! haha. I've already replaced the flitch panels also.
thanks for looking. joe


#98 Minidarren83

Minidarren83

    One Carb Or Two?

  • Members
  • PipPipPipPipPipPipPip
  • 1,207 posts
  • Location: Stanford Le hope

Posted 02 October 2012 - 07:55 PM

coming along nicley now joe all looks good and with the top of the inner wing im not sure you can buy just that part it may need to be a patchwork job as it is a 3d panel and would be hard to replicate, that red oxide makes it look nice and mini again

darren

#99 joezone2001

joezone2001

    Speeding Along Now

  • Members
  • PipPipPipPipPip
  • 332 posts
  • Location: kirkby in ashfield

Posted 02 October 2012 - 09:10 PM

coming along nicley now joe all looks good and with the top of the inner wing im not sure you can buy just that part it may need to be a patchwork job as it is a 3d panel and would be hard to replicate, that red oxide makes it look nice and mini again

darren


thanks for the reply darren. I thought that to be honest. I wasn't keen on patching it but I think its the only way. I had a go today at bending a piece but it was just a mess so gave up. I think I can do it in 3 pieces. I just need to get my scuttle closing panel to make sure it stays the right shape. I have ordered it but I've had it delivered somewhere else as I wouldn't have been in.
cheers. joe

Edited by joezone2001, 03 October 2012 - 03:58 PM.


#100 joezone2001

joezone2001

    Speeding Along Now

  • Members
  • PipPipPipPipPip
  • 332 posts
  • Location: kirkby in ashfield

Posted 03 October 2012 - 04:11 PM

Hi all.
Today I have started to make the repair piece for the top of the drivers side inner wing. I have decided to make it in sections and weld it together front and back then grind flat. I'm just not good enough at bending complete panels yet. Haha.

Posted Image

This is in no way finished but its getting there.

Then I made a template for the top of the flitch panel. I can't complete this yet until I have my new scuttle panel and scuttle closure panel. I should be getting these Saturday.

Posted Image
Thanks for looking. Comments and suggestions always welcome.
Joe

#101 mackeellan

mackeellan

    On The Road

  • Noobies
  • PipPip
  • 43 posts

Posted 06 October 2012 - 08:38 AM

Hi Joe, great work. I have repaired my panels in a similiar manner, only trouble was when I put the doors back on the driver door 'stopper' caught on my repair. I should have made sure there was clearance when it moved in and out, when the door is opened and closed.....just a thought for you to check. Good luck.

#102 joezone2001

joezone2001

    Speeding Along Now

  • Members
  • PipPipPipPipPip
  • 332 posts
  • Location: kirkby in ashfield

Posted 06 October 2012 - 09:28 PM

<p>

<br />
Hi Joe, great work.  I have repaired my panels in a similiar manner, only trouble was when I put the doors back on the driver door &#39;stopper&#39; caught on my repair.  I should have made sure there was clearance when it moved in and out, when the door is opened and closed.....just a thought for you to check.  Good luck.<br />

<br />
<br />
</p>

Hi, Thanks for the comment. I have had both doors back on and they do actually fit ok. I think they are a bit more snug than before but I don't think they are rubbing. I haven't tried them with the seals on though. Thanks for the advice I will try the doors with the seals.
cheers, Joe

#103 joezone2001

joezone2001

    Speeding Along Now

  • Members
  • PipPipPipPipPip
  • 332 posts
  • Location: kirkby in ashfield

Posted 06 October 2012 - 09:54 PM

Hi all. Today we have reconstructed the top of the drivers side flitch panel. The Scuttle panel and closure panels have also arrived from Somerford Mini. I have had genuine panels as I think the quality and fitment is much better.
Nothing is ground down, painted or sealed yet. I will do that during the week. I will also reconstruct the other side.

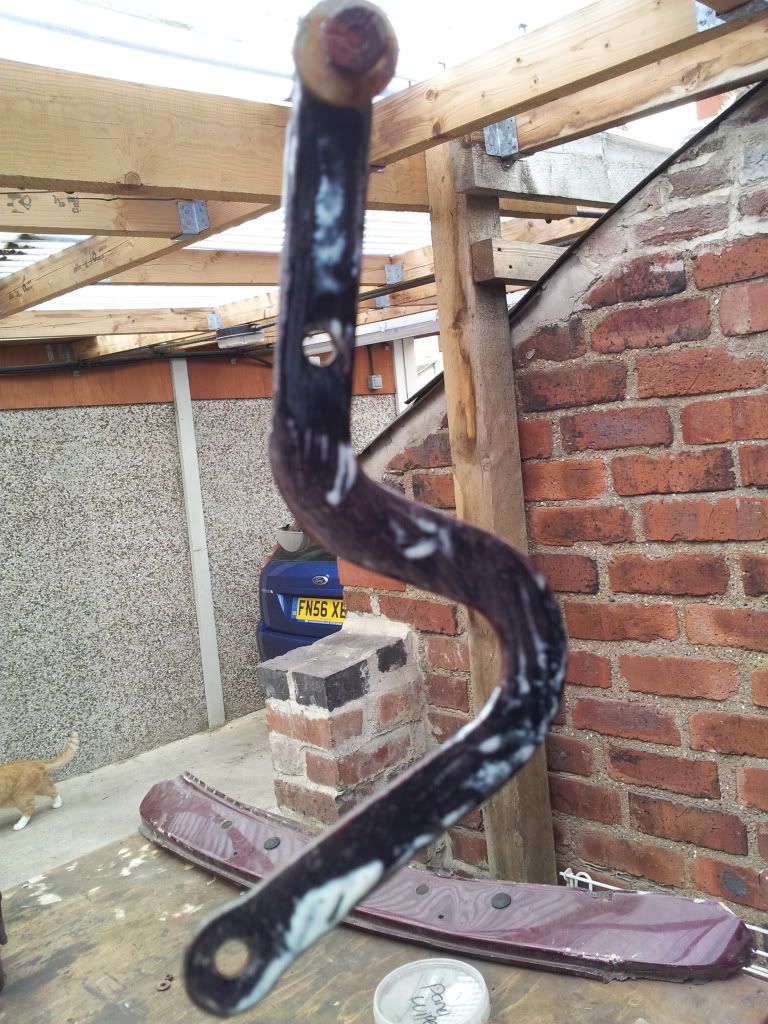
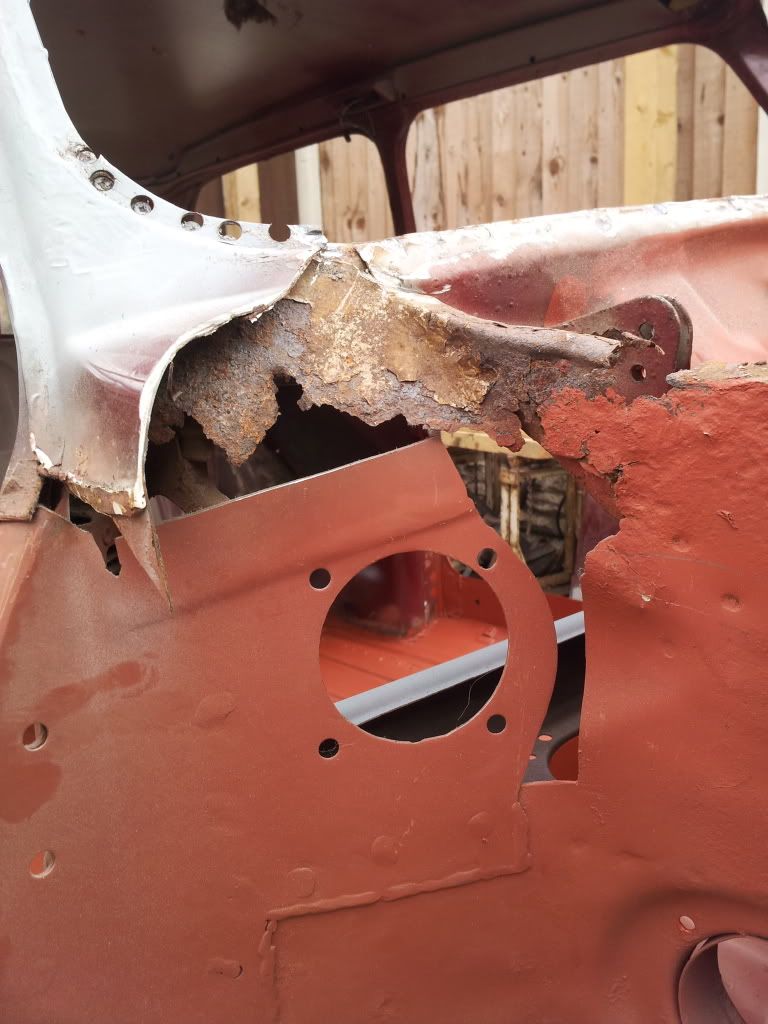
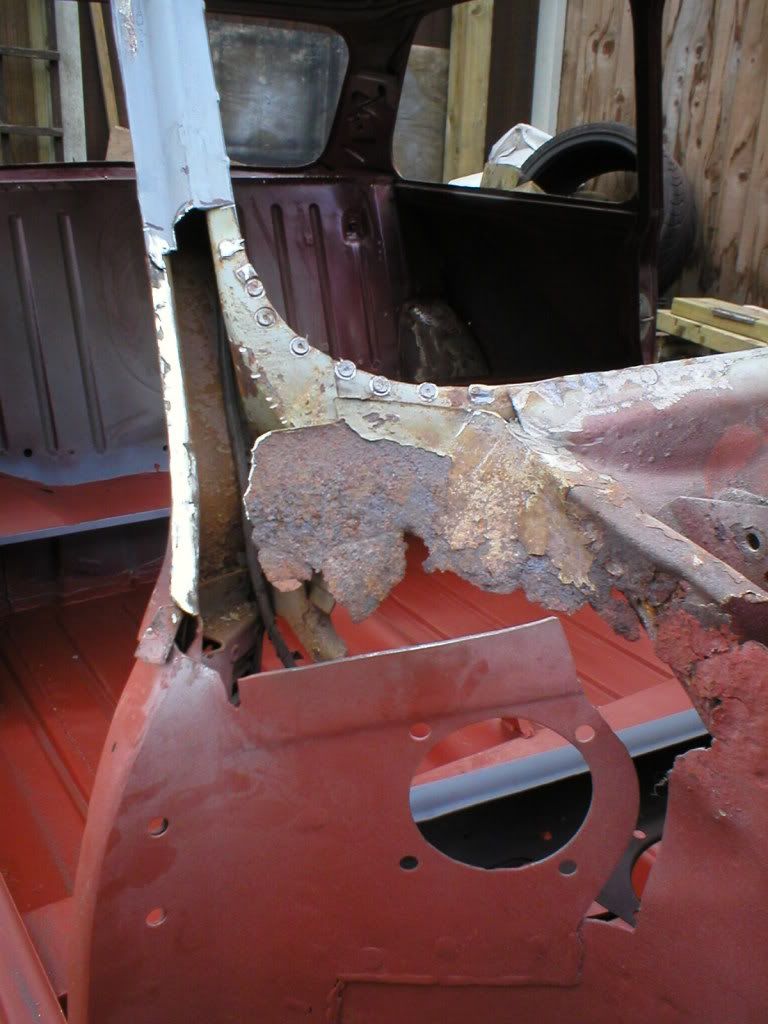
What we started with.. This has never actually been welded to the window frame! The other side was spot welded.
Posted Image

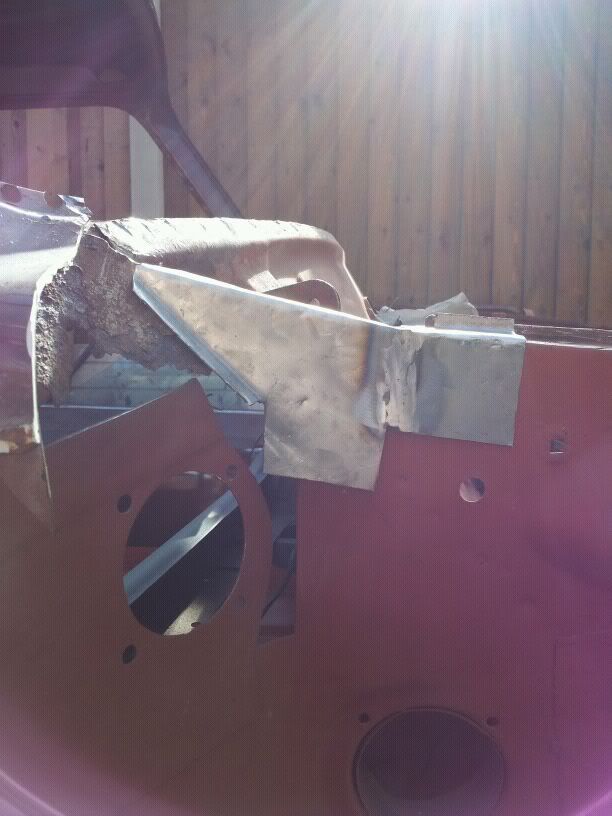
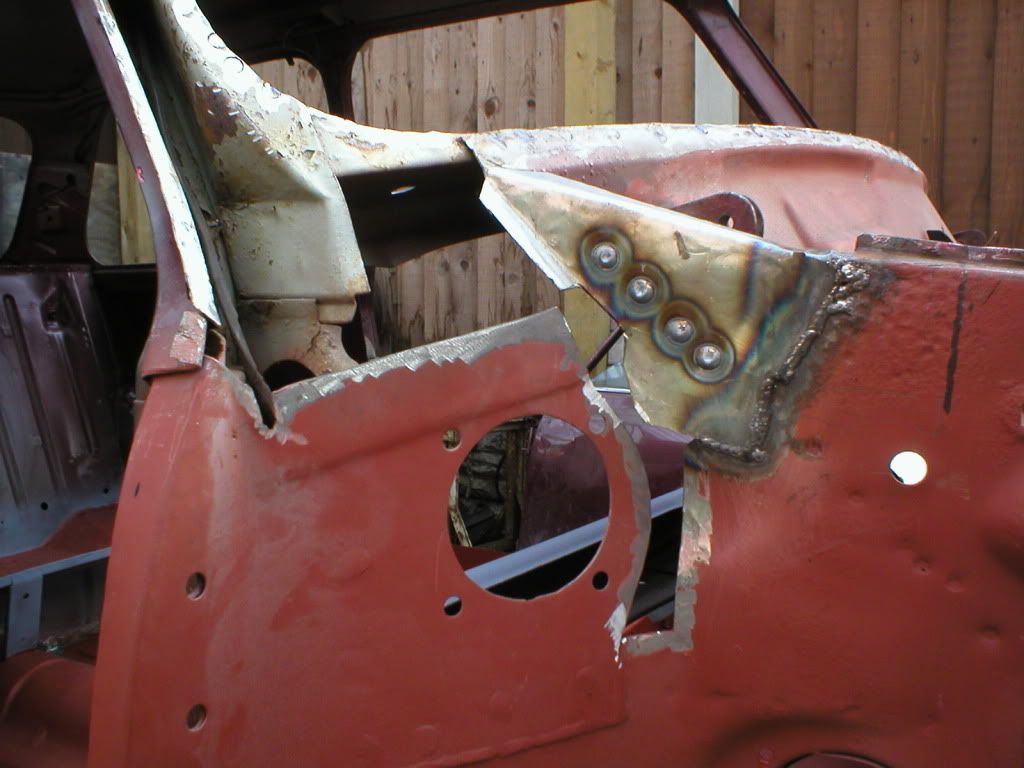
The repair we made to the top of the inner wing
Posted Image

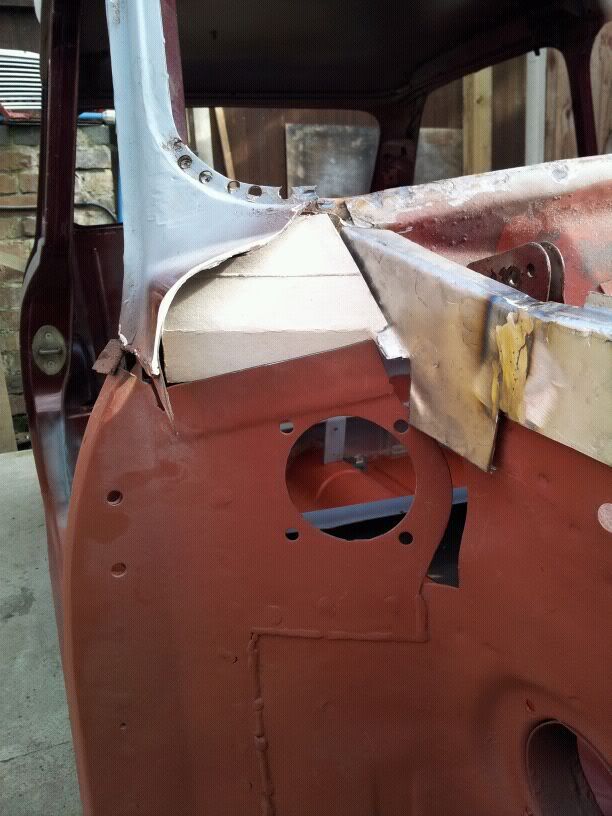
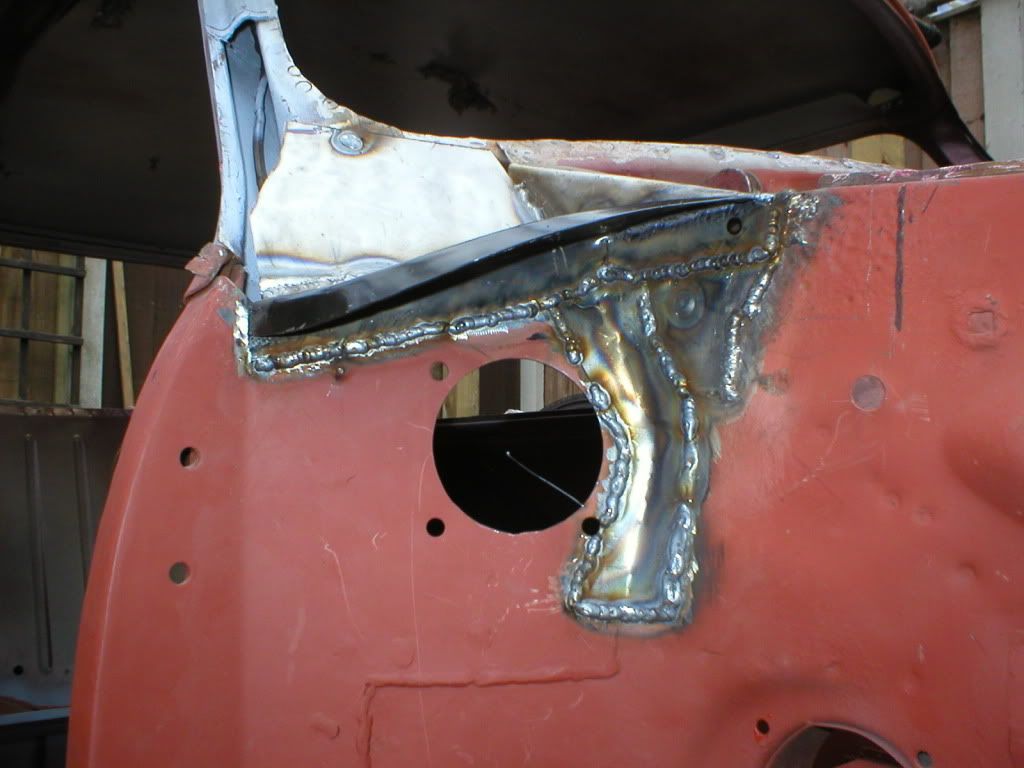
The complete repair including the scuttle closure panel
Posted Image

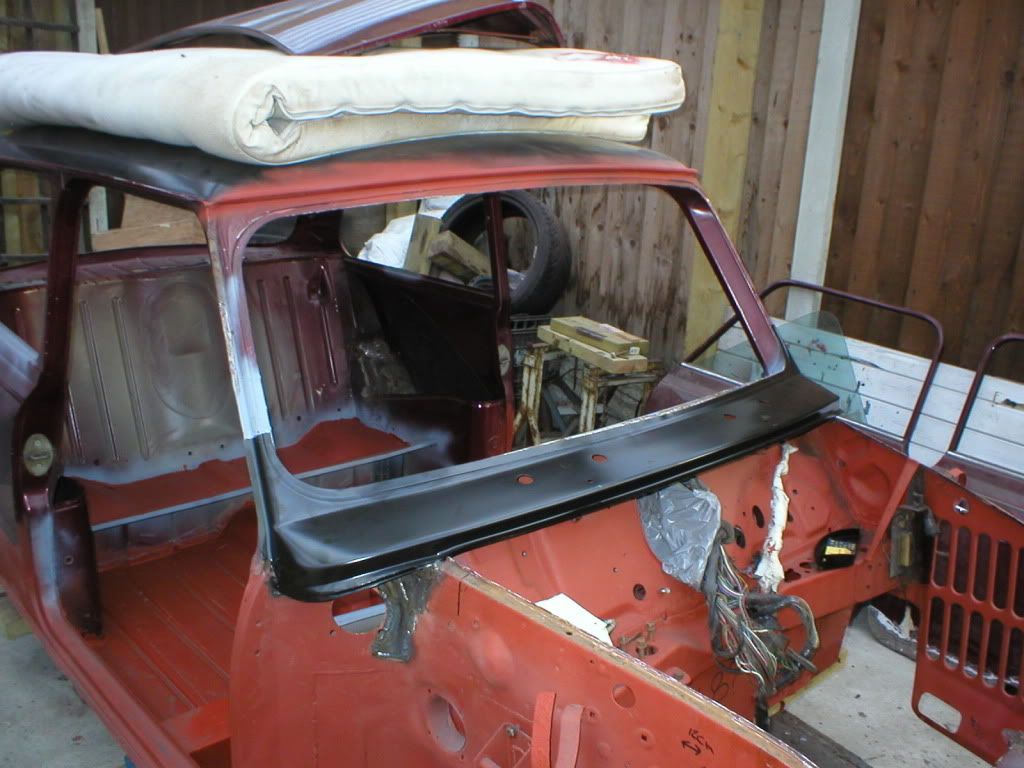
I also mocked up the scuttle panel. It's looking more and more like a mini every day!

Posted Image

Thanks for looking. Comments always welcome. Joe

#104 joezone2001

joezone2001

    Speeding Along Now

  • Members
  • PipPipPipPipPip
  • 332 posts
  • Location: kirkby in ashfield

Posted 07 October 2012 - 04:01 PM

hi all
not much of an update today but been to Newark Auto Jumble and got some bits.
Posted Image
rear boot floor and rear valance.
£45.they're none genuine bits but I still think it's a bargain. also got some etch primer etc. will do some more bodywork tomorrow.

joe

Edited by joezone2001, 07 October 2012 - 04:03 PM.


#105 grahama

grahama

    Up Into Fourth

  • Members
  • PipPipPipPipPipPipPipPipPip
  • 2,442 posts
  • Location: Warrington
  • Local Club: None in my area !!

Posted 07 October 2012 - 04:40 PM

Excellent repairs on the inner wing, bet you are pleased with that. I have noticed a lot of pitting to the right of the repair section, I take it that is strong and yuo are leaving. Only you know the condition of the wing but I'd have a good check over that area just in case. Are you grinding the welds down at all, which are nice and neat by the way.

Graham


2 user(s) are reading this topic

0 members, 2 guests, 0 anonymous users