
The Wifes Worst Nightmare 83 Full Resto
#106

Posted 24 October 2012 - 07:19 AM
#107

Posted 24 October 2012 - 10:27 AM
#108

Posted 24 October 2012 - 11:43 AM
#109

Posted 24 October 2012 - 02:57 PM
#110

Posted 24 October 2012 - 03:15 PM
Then just never sell it or sell get the house with a garage and do another one.
That's my thinking anyway.
#111

Posted 25 October 2012 - 08:29 AM
Thanks everyone Prais indeed although feeling a little down just now after having my budget cut by the wife apparently getting our house deposit is more important than the mini lol so it won't be done next summer. The shell should all be built up ready just can't afford the engine work until after the shell is done so summer 2014 it is ��
Tough times, but chin up - you get another year to continue to make the Min epic!
#112

Posted 29 October 2012 - 10:43 PM
Your welding has definitely improved! Will look excellent when its all finished.
#113

Posted 30 October 2012 - 04:09 AM
#114

Posted 30 October 2012 - 08:43 AM
#115

Posted 30 October 2012 - 10:54 AM
Thanks in advance and good luck, www.theminiforum.co.uk ! :) Wish you luck!
Your welcome but thanks for what? Makes me feel like I have agreed to something lol
There Is no worse feeling in the world than itchy skin from glass fibers so I feel your pain jonny lol it seems there is no easy way to build a mini
#116

Posted 01 November 2012 - 08:31 PM
started doing a little yesterday evening but it got dark so quick i had to primer up and close the garage, then tonight i went out and finished what i started which was bare metaling the bulkhead and front crossmember which was both good and bad news the drivers side is shot and will need some work before i can put the inner wing back on but on the good side the passengers side is all good just a little crust needed but minimal pitting. i stripped it back up as far as my drill would reach and i dont think you will see any higher when the car is on the ground
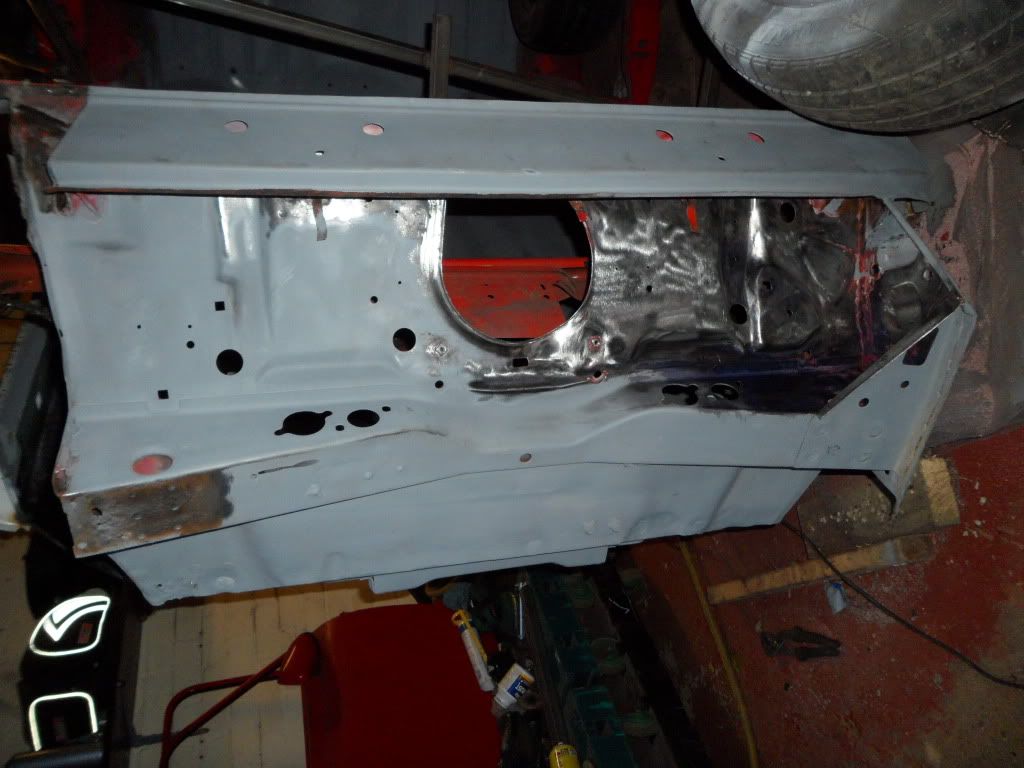
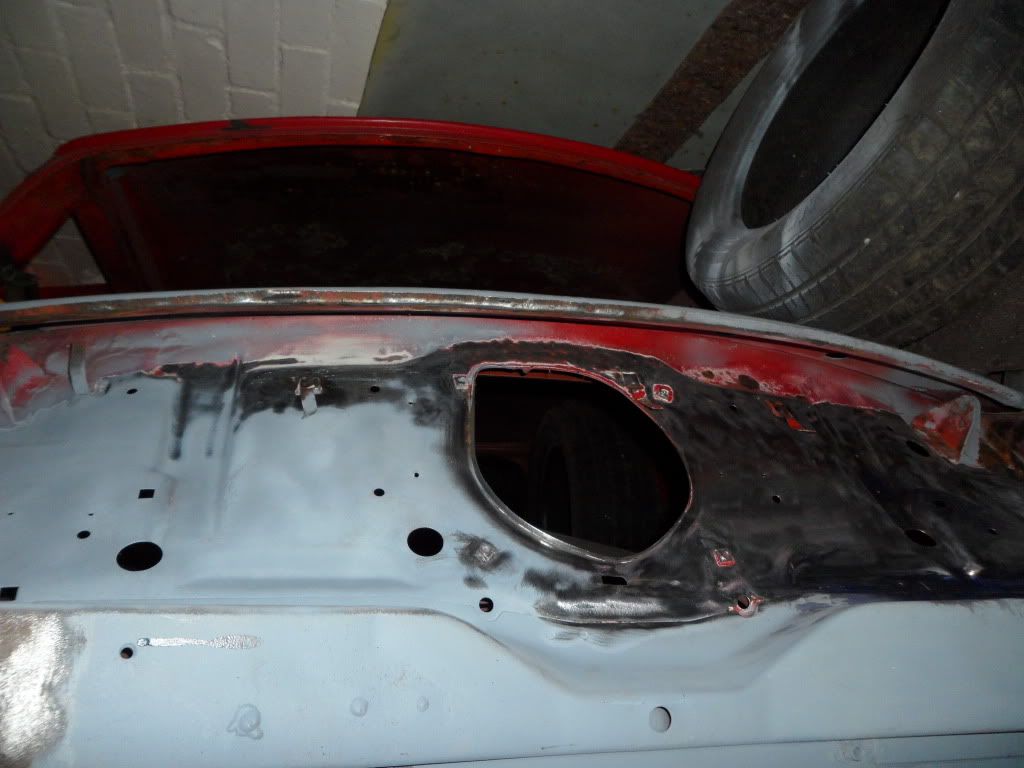
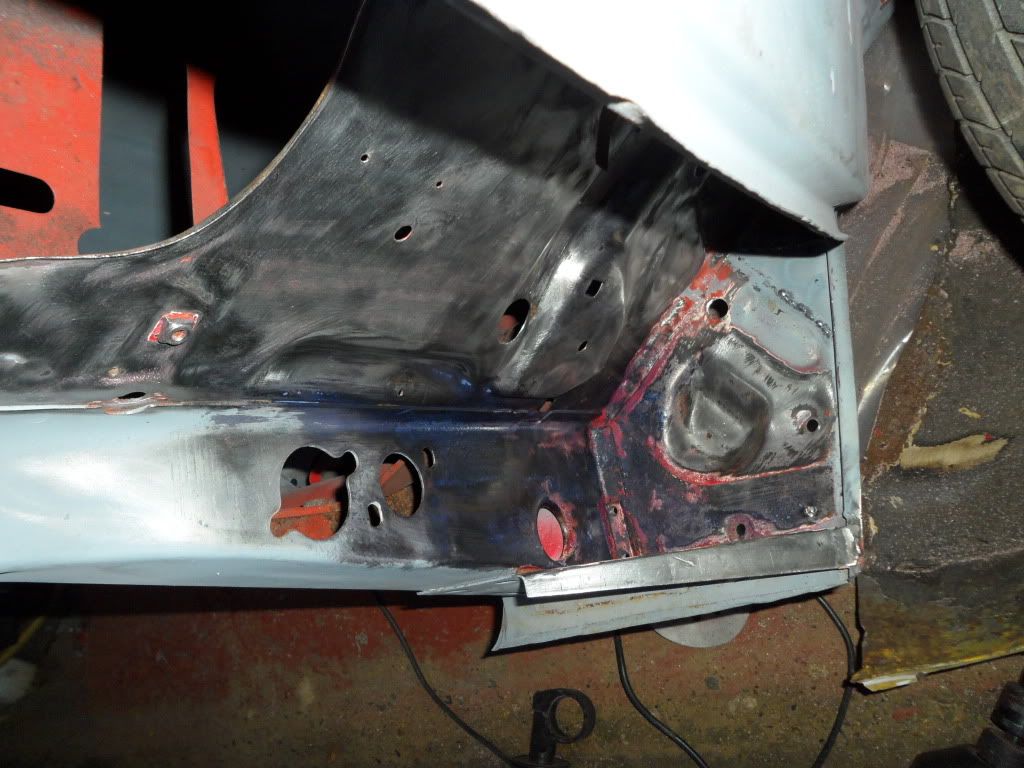
i didnt bother restripping what i primered last night but it would of all looked the same. Then i primed it all up and am pleased it is all done my next project will 100% getting blasted in all yhe hard to get to places
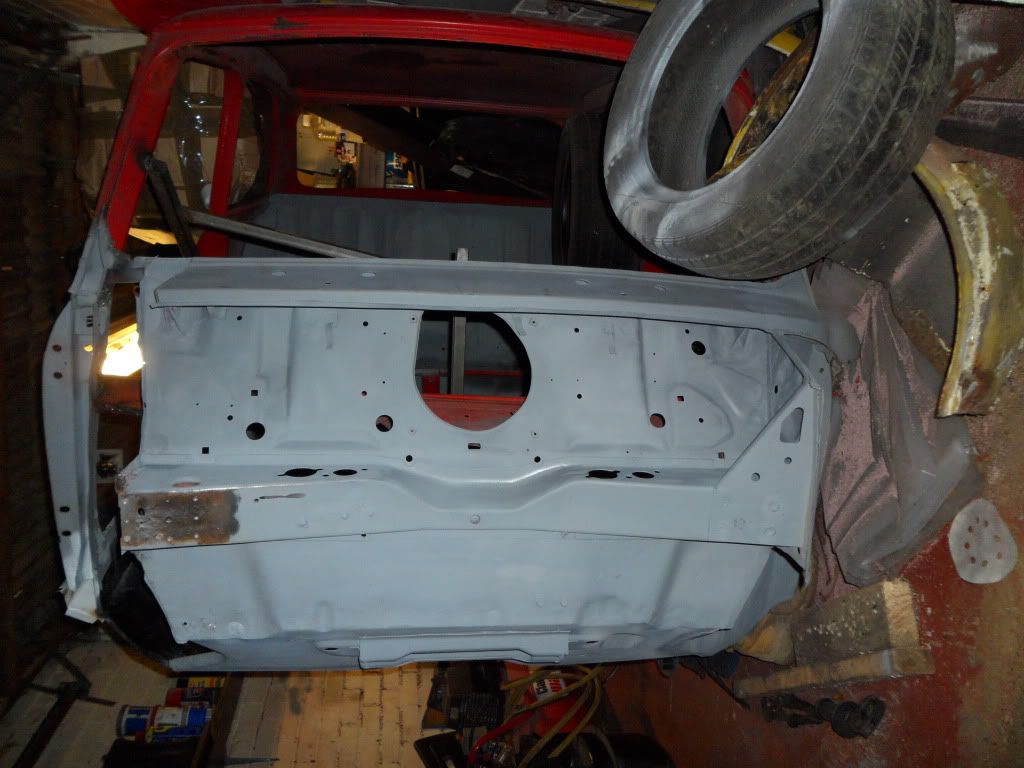
Then it was time for this to happen
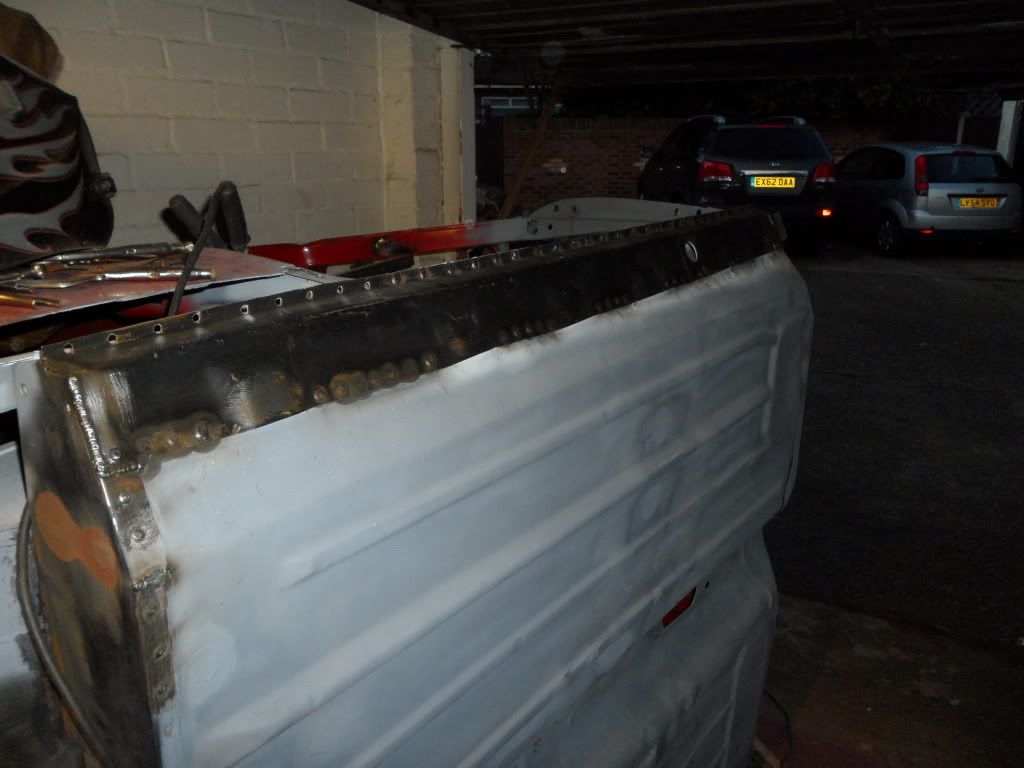
and as per the other side it was seam welded at the back beacause it had to lay on the outside of the heelboard with it being a cheap panel
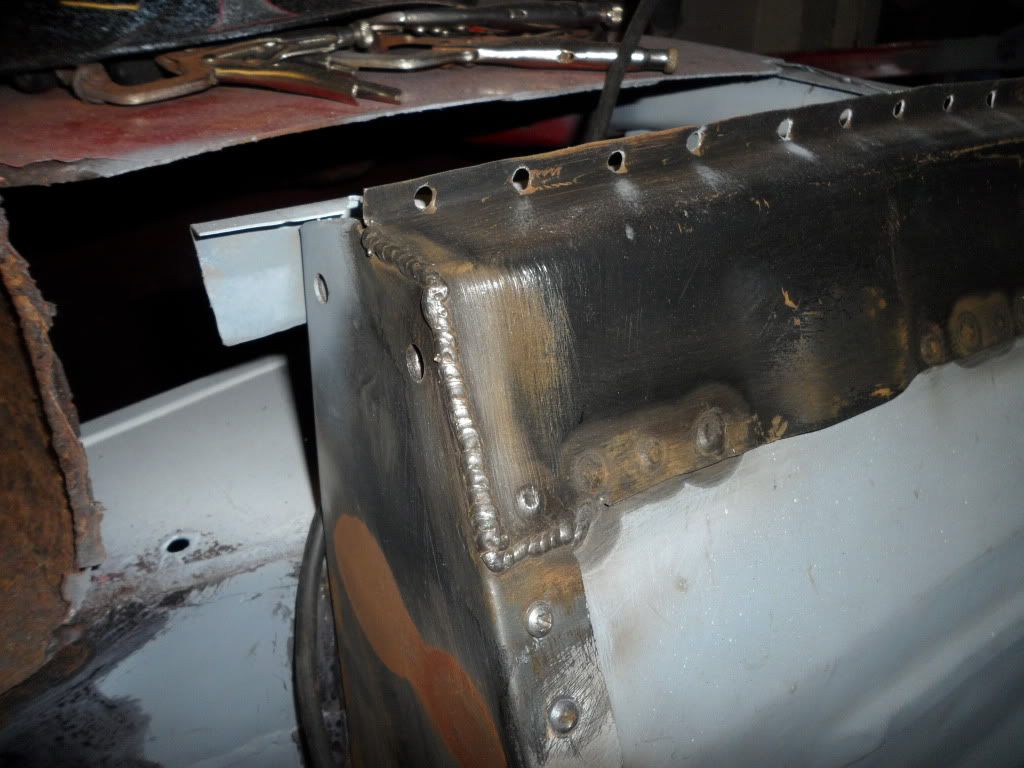
then the floor plugs were ground back and the panel striped back to metal and the rear edge blended in
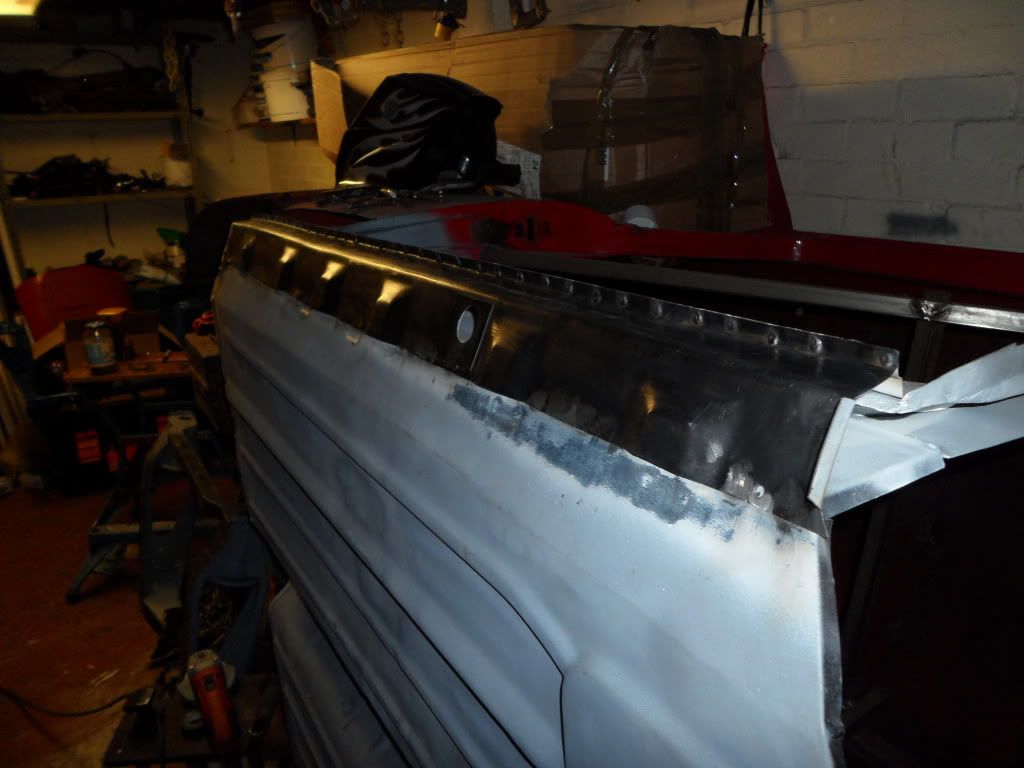
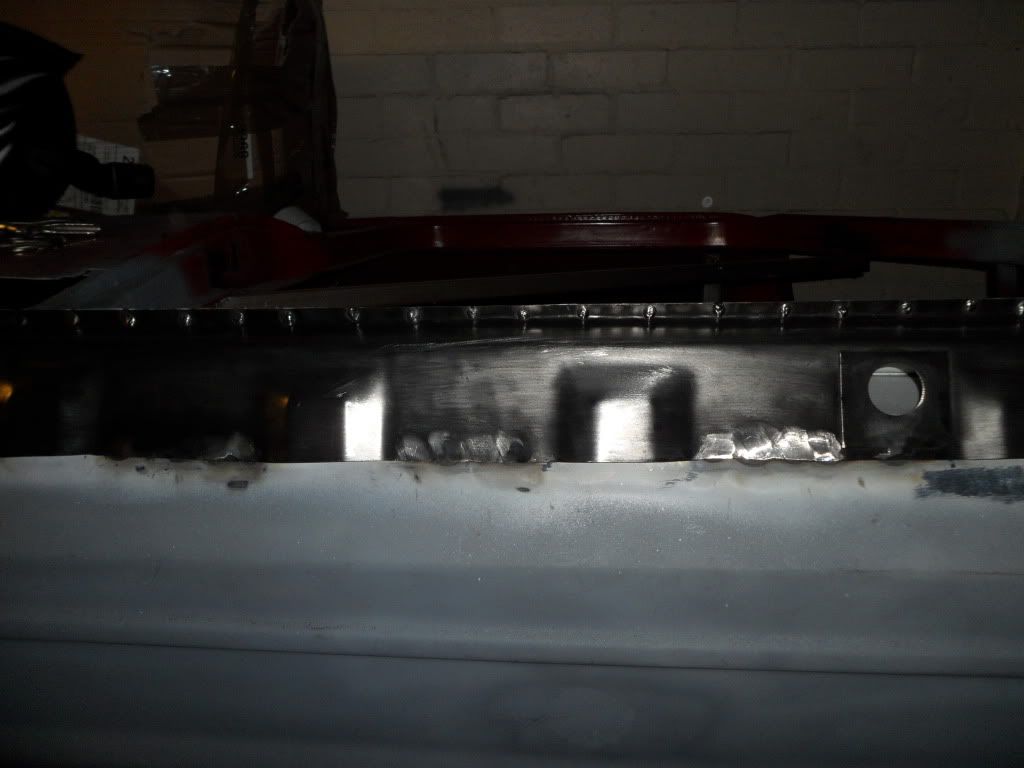
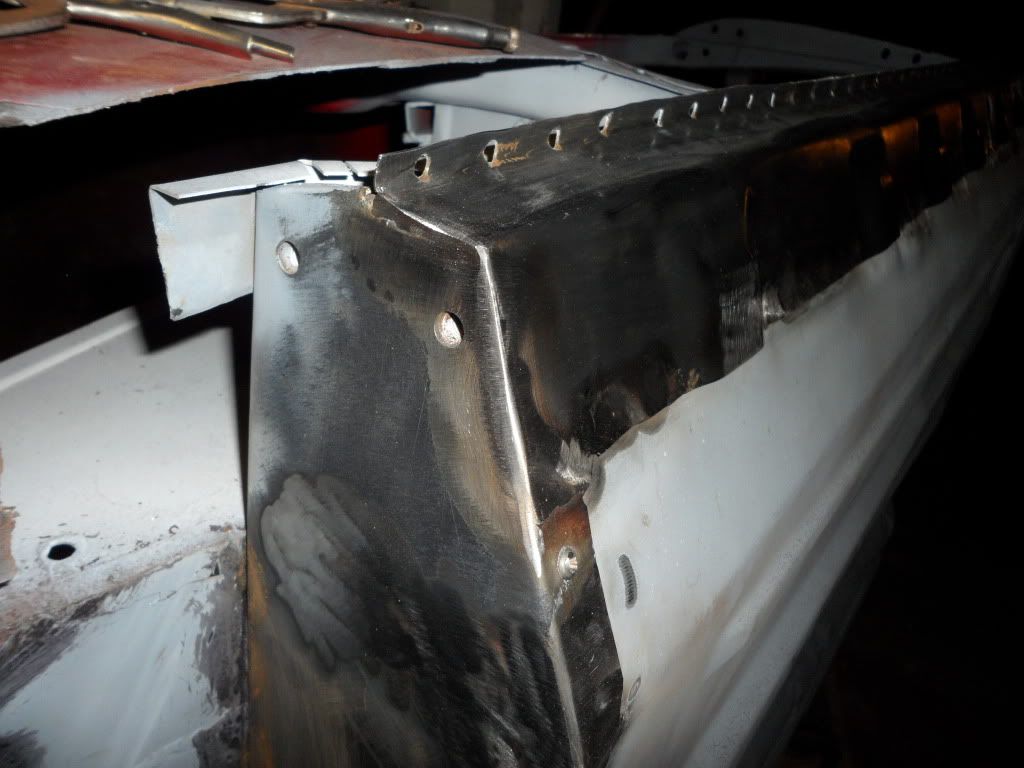
and then a good splash of primer (sorry about the pic it was i little paint dusty in there lol)
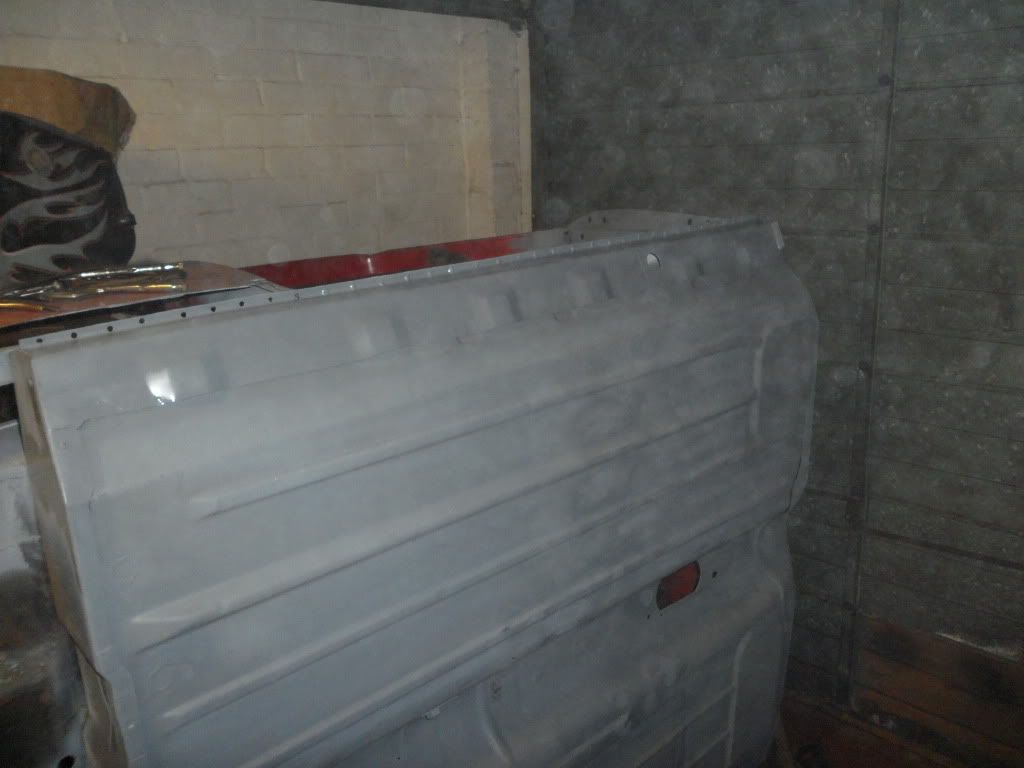
i will do the doorstep plugs when i get some new flap discs my ones are dead but for now that is all
cheers for looking, darren
#117

Posted 01 November 2012 - 09:32 PM
#118

Posted 01 November 2012 - 09:43 PM
#119

Posted 15 November 2012 - 08:47 PM
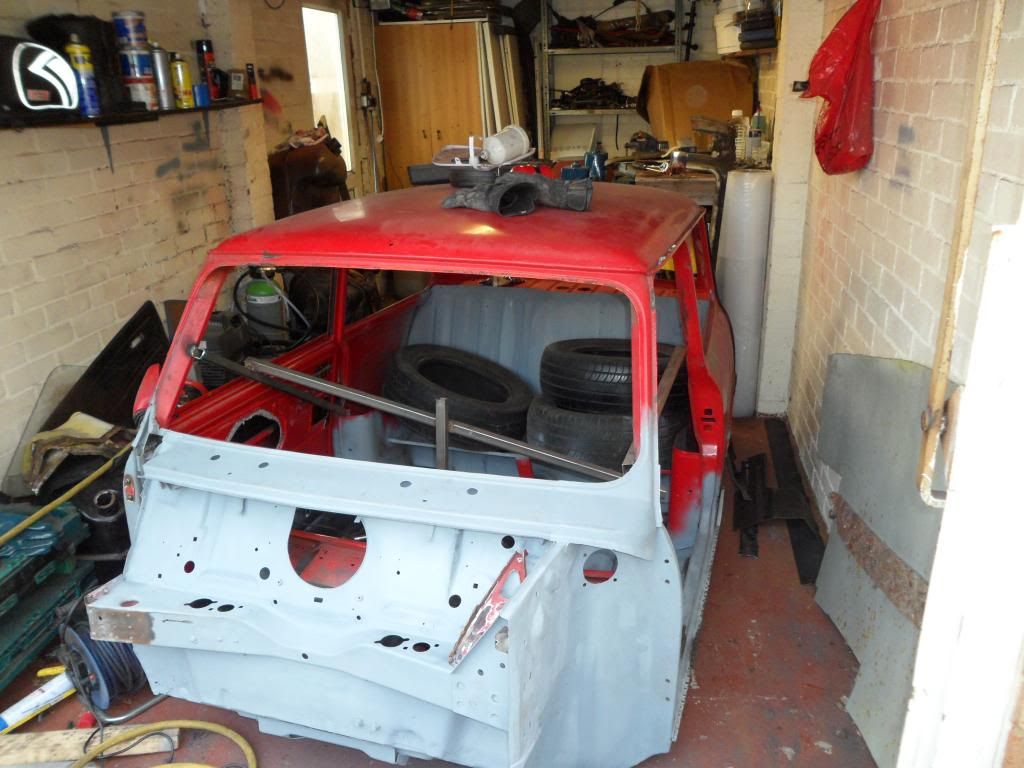
i also fitted the drivers to to see if anything had moved and all is the same with only a minor bit of work needed at the lock end
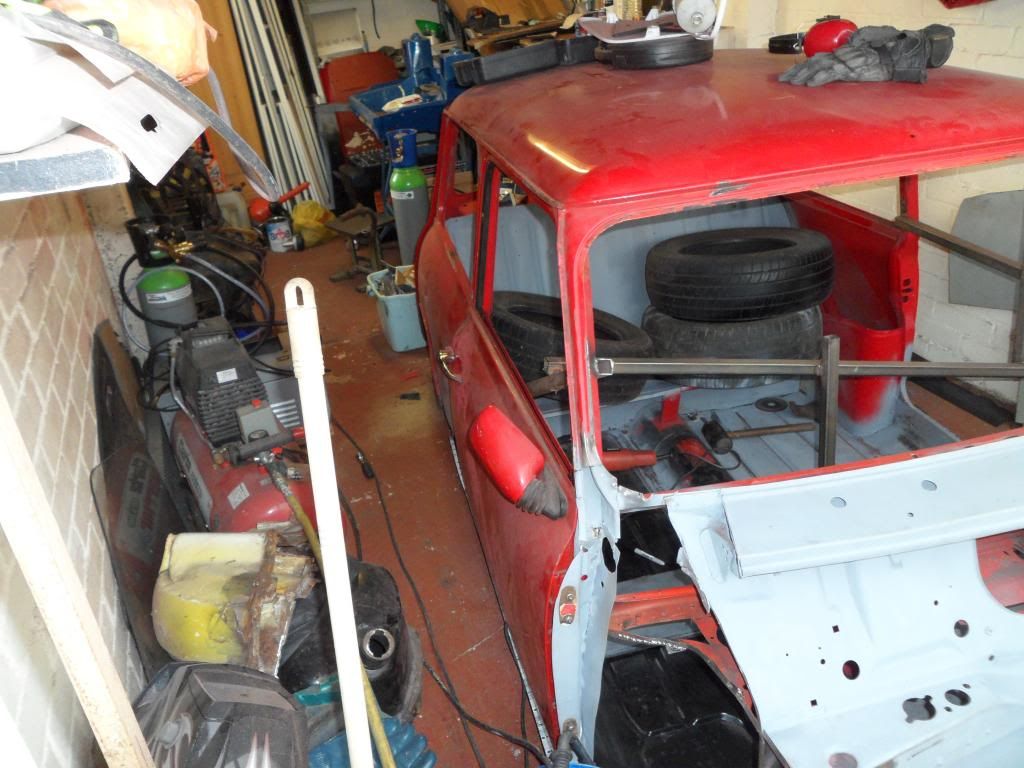
it was time for the new seat crossmember to go in so using measurments from the old one i test fitted it and with only minimal bashing it went in
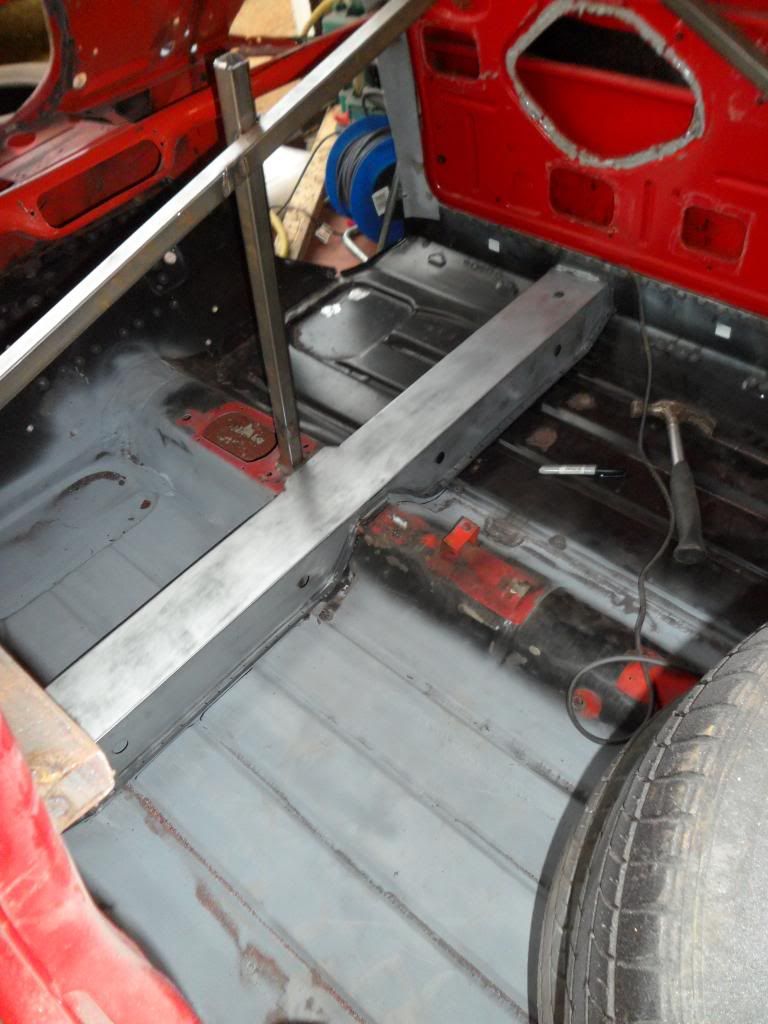
i then stripped the black ecoat inside and out back to metal and drilled what seamed like 1000 holes but it was more like 80
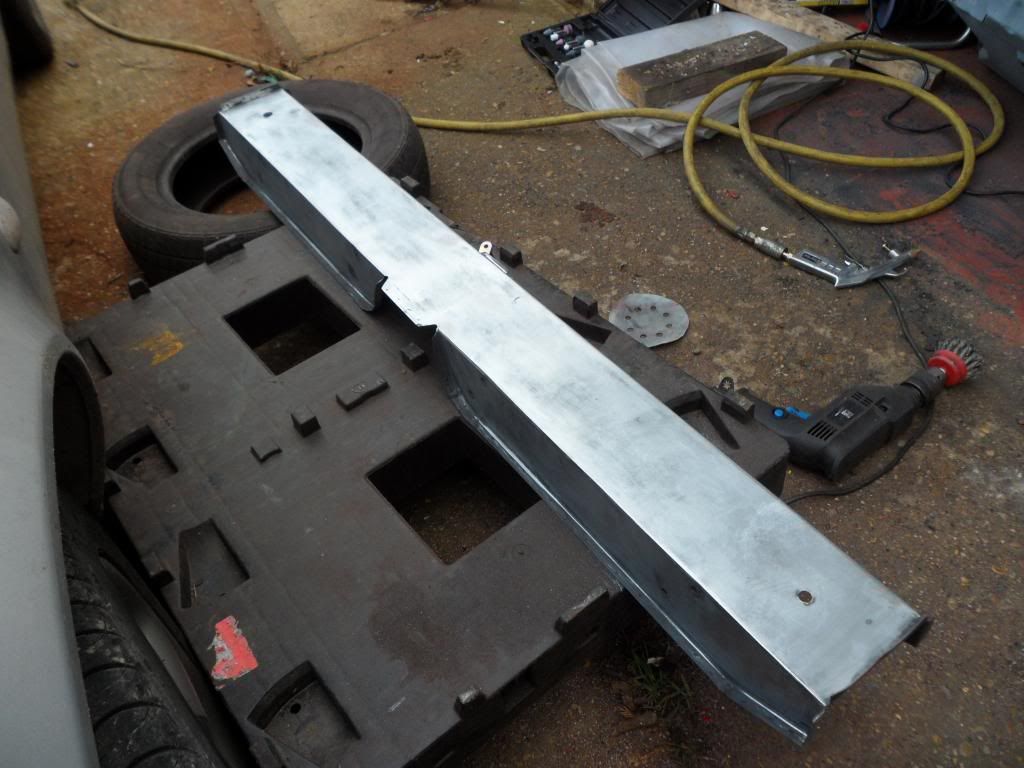
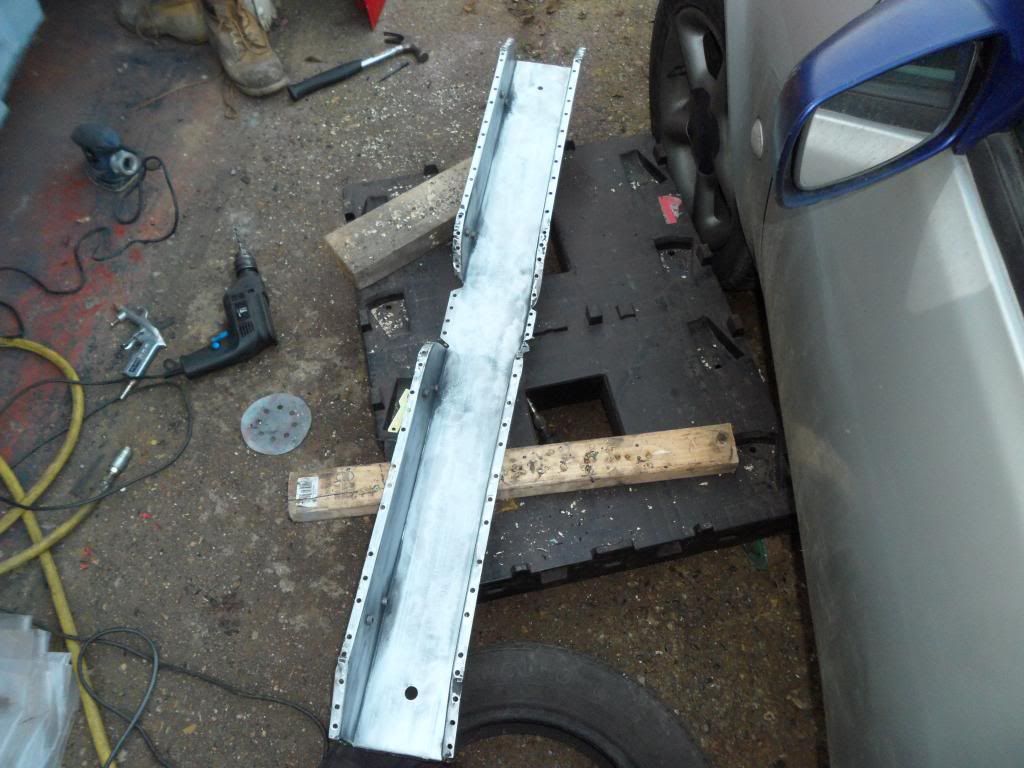
it was then primed both sides and painted on the inside with random paint i had laying around and then i stuck it back in and plugged ac couple od the holes to hold it still while i self tapper it in place as its not the best of fits in some places
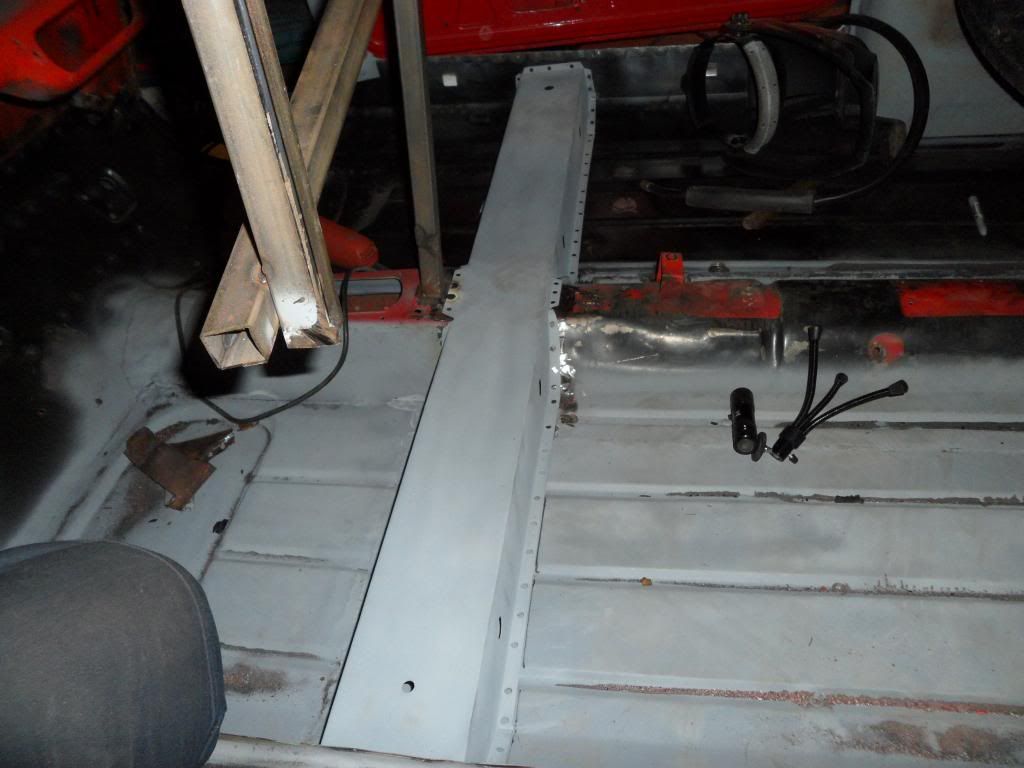
and thats as far as the day would let me go it gets dark far to early this time of the year i need more lights
sorry its not the best post but it is all i have done for a while i should have more next week maybe a little tomorrow if i can get away from work early
darren
#120

Posted 15 November 2012 - 09:21 PM
keep it up...
2 user(s) are reading this topic
0 members, 2 guests, 0 anonymous users


