The Wifes Worst Nightmare 83 Full Resto
#541

Posted 15 December 2013 - 11:35 AM
#542

Posted 15 December 2013 - 12:12 PM
Any updates darren? Looking foreword to some progress pics lol
Not much mate bought a shot blasting kit and tried to do one of the arches but it took so long I just used the grinder in the end ill pop the pics up soon
#543

Posted 19 December 2013 - 03:14 AM
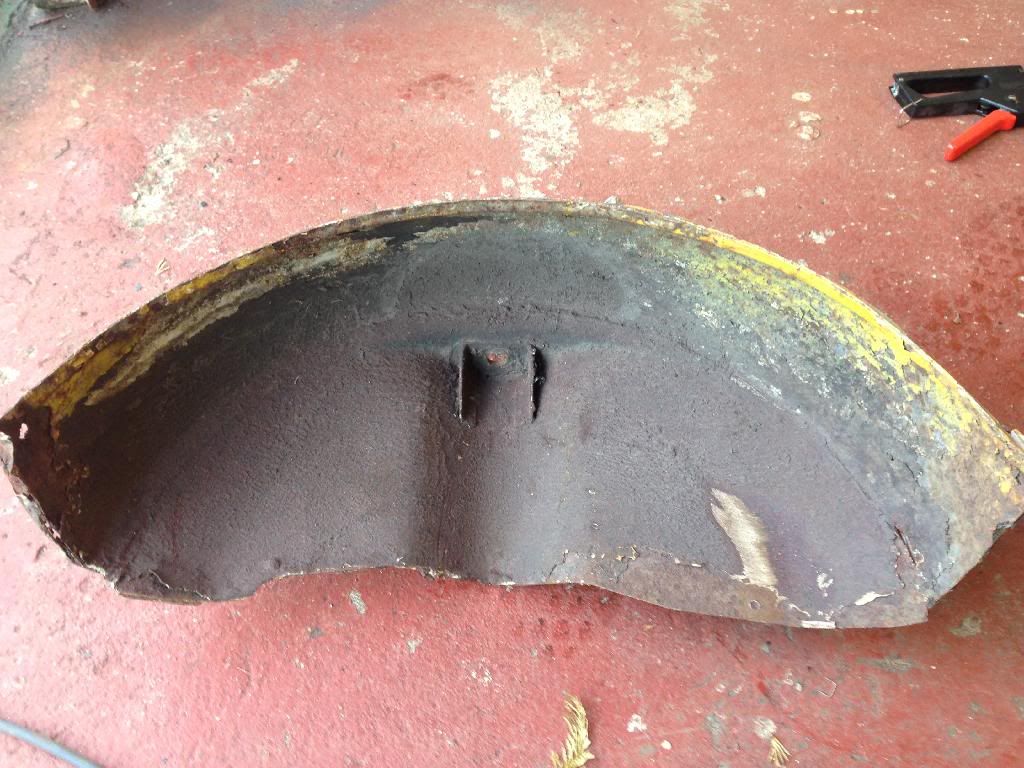
And this
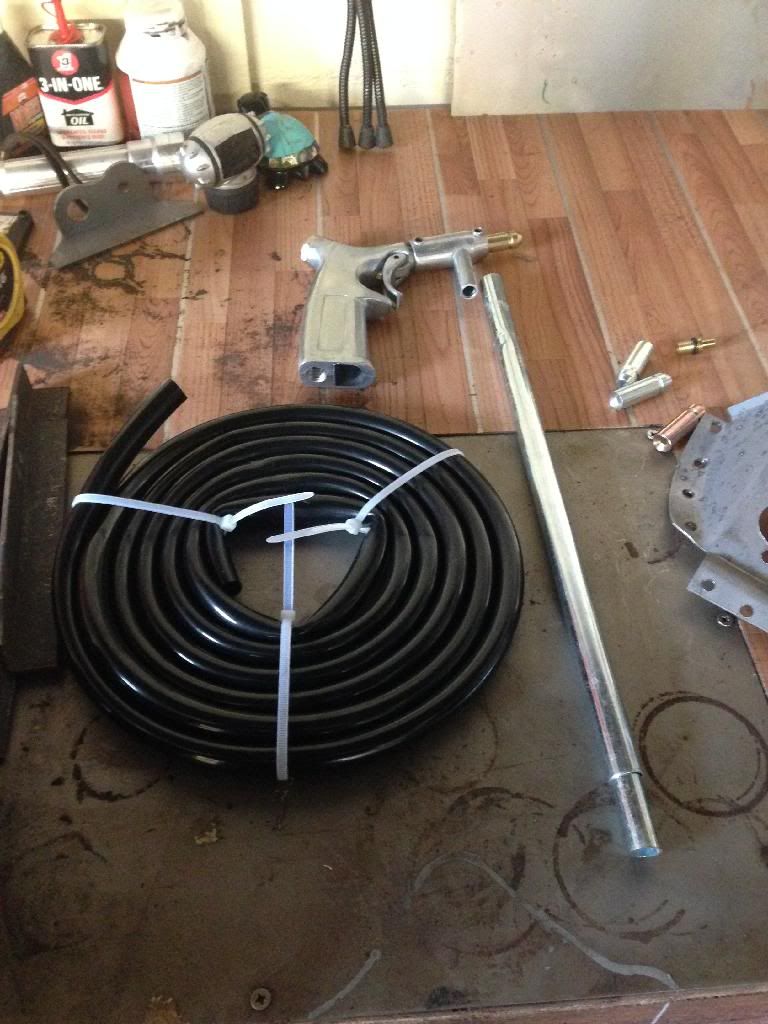
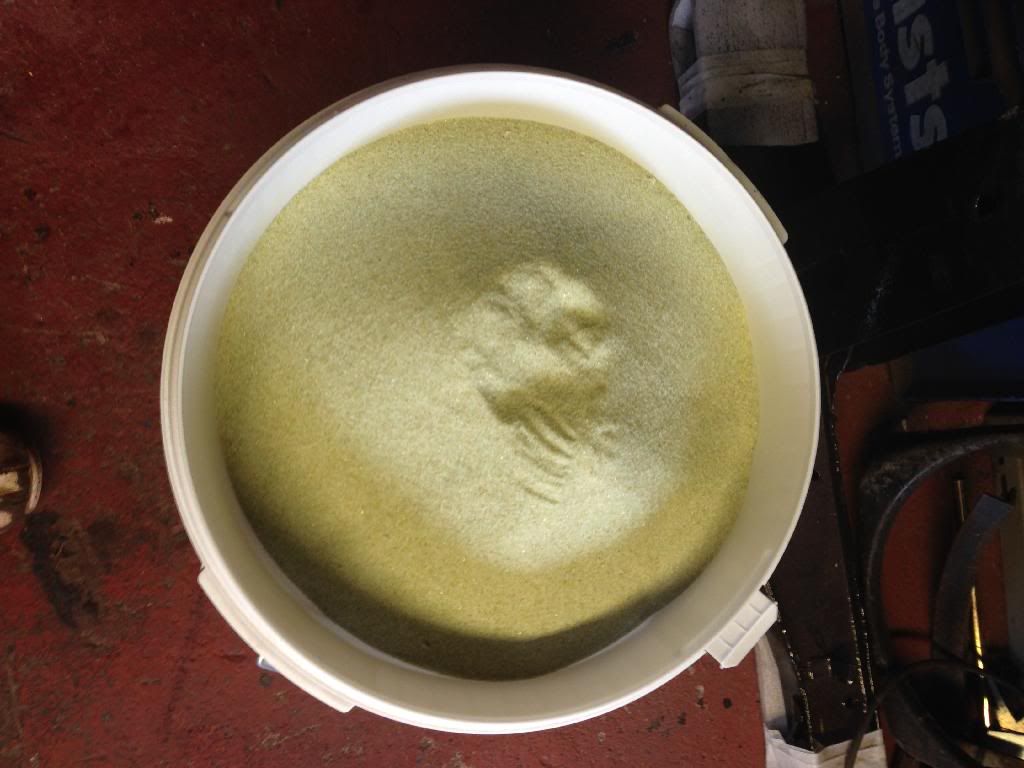
And after forever I had only done this much so just used the grinder
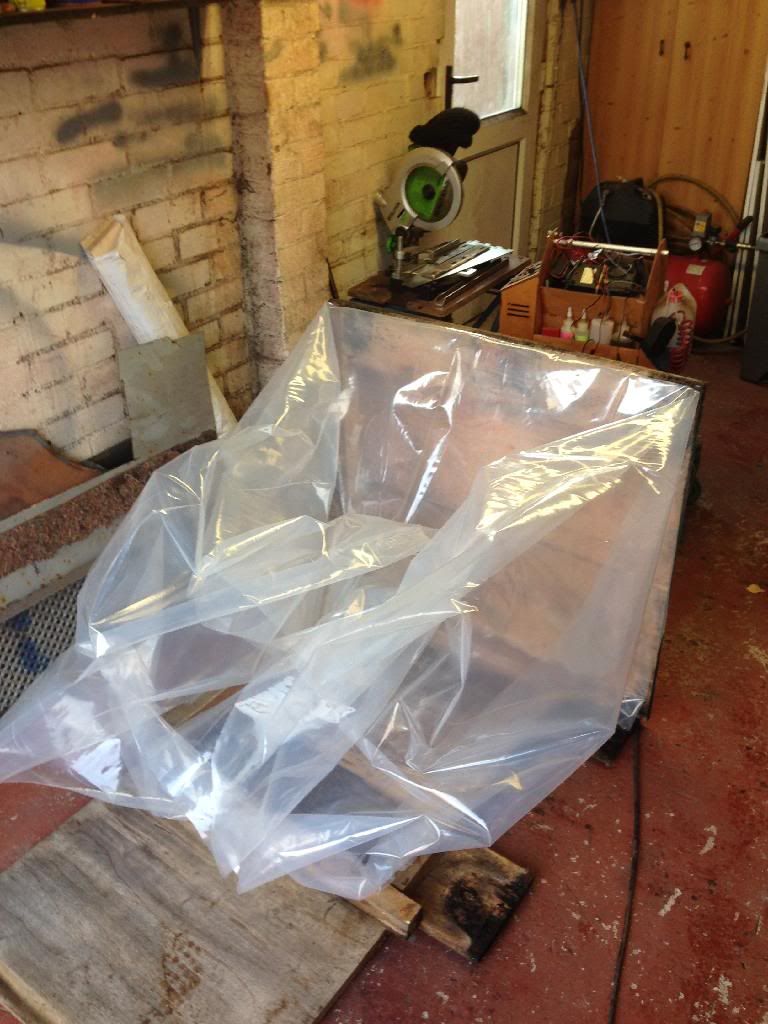
I made a little tent to do the blasting in and it works a treat
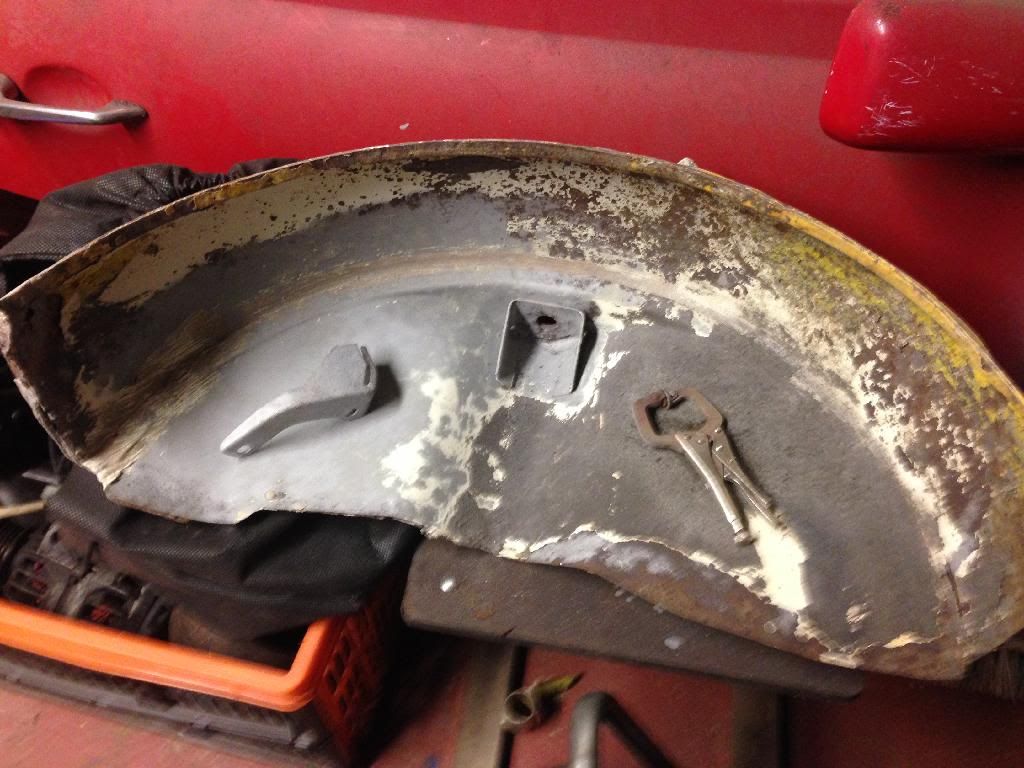
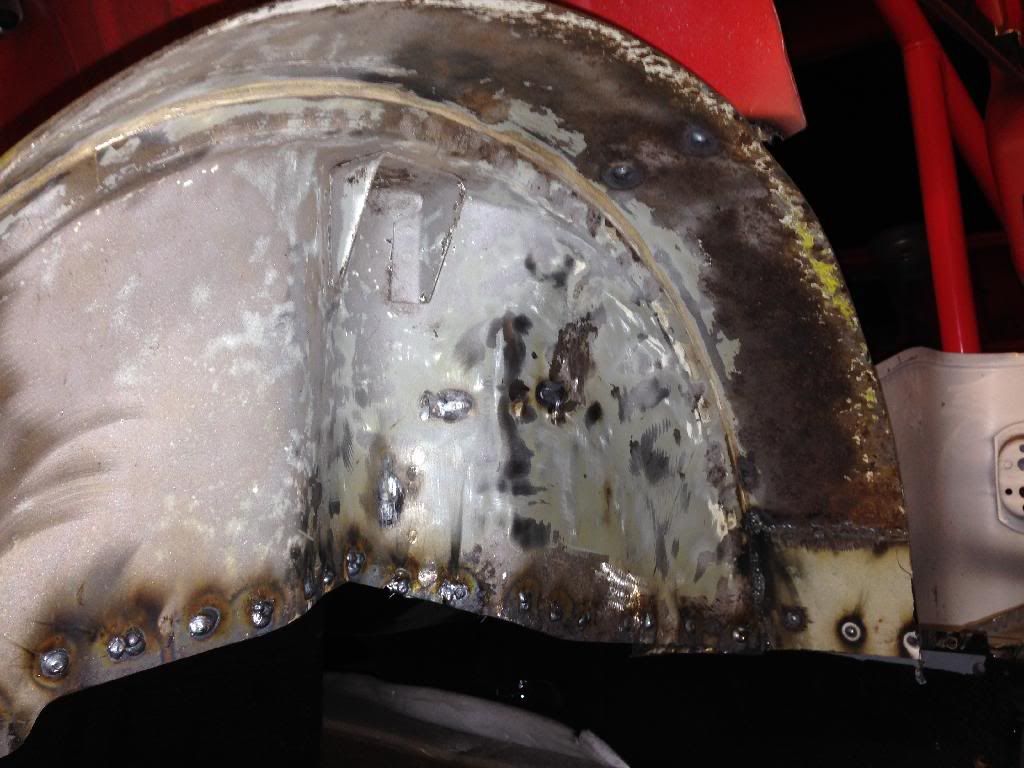
Then today done two repairs to the arch and weld edit in place
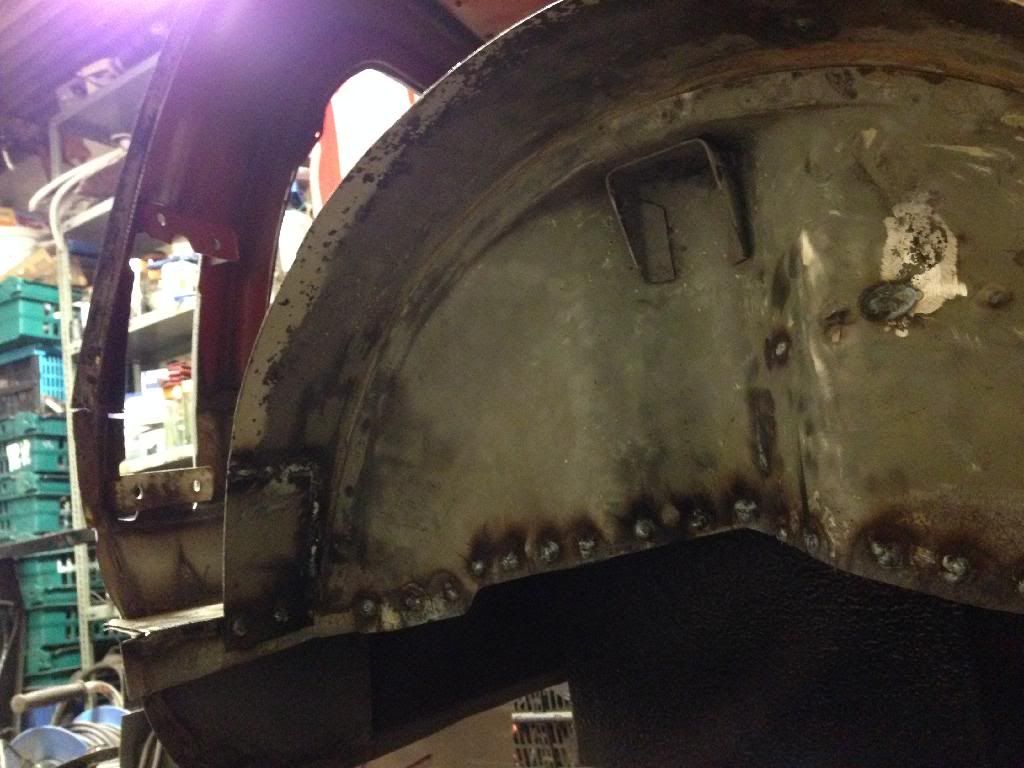
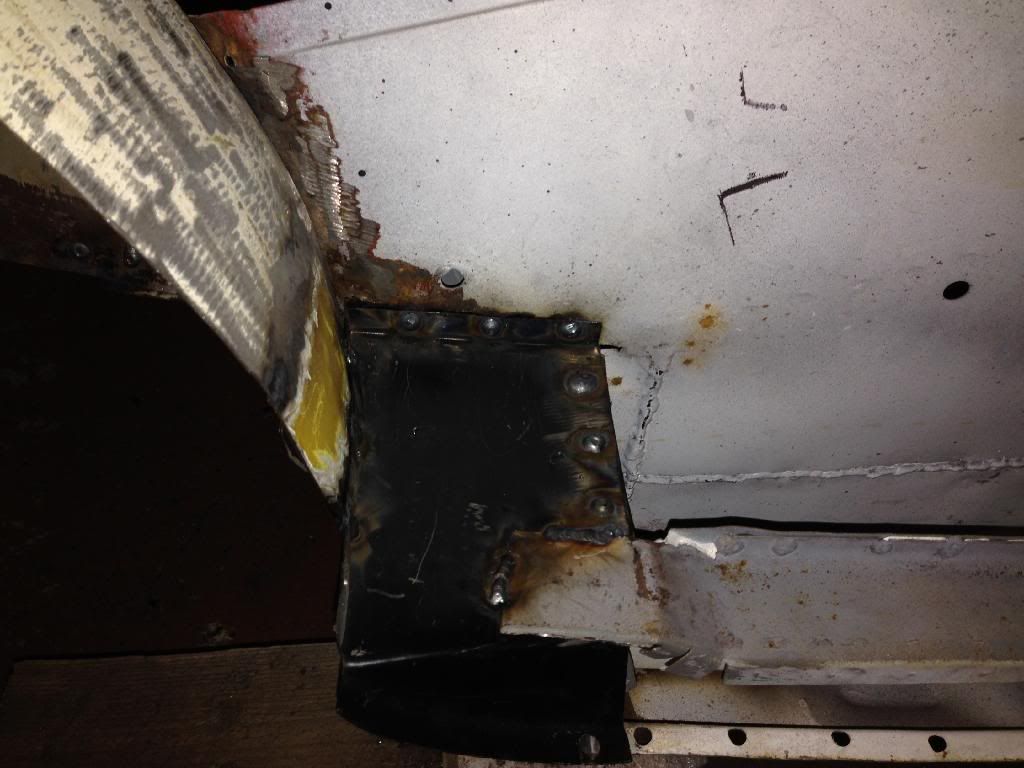
And also welded in the closeting panel
And this is where I'm at, at the end if the day
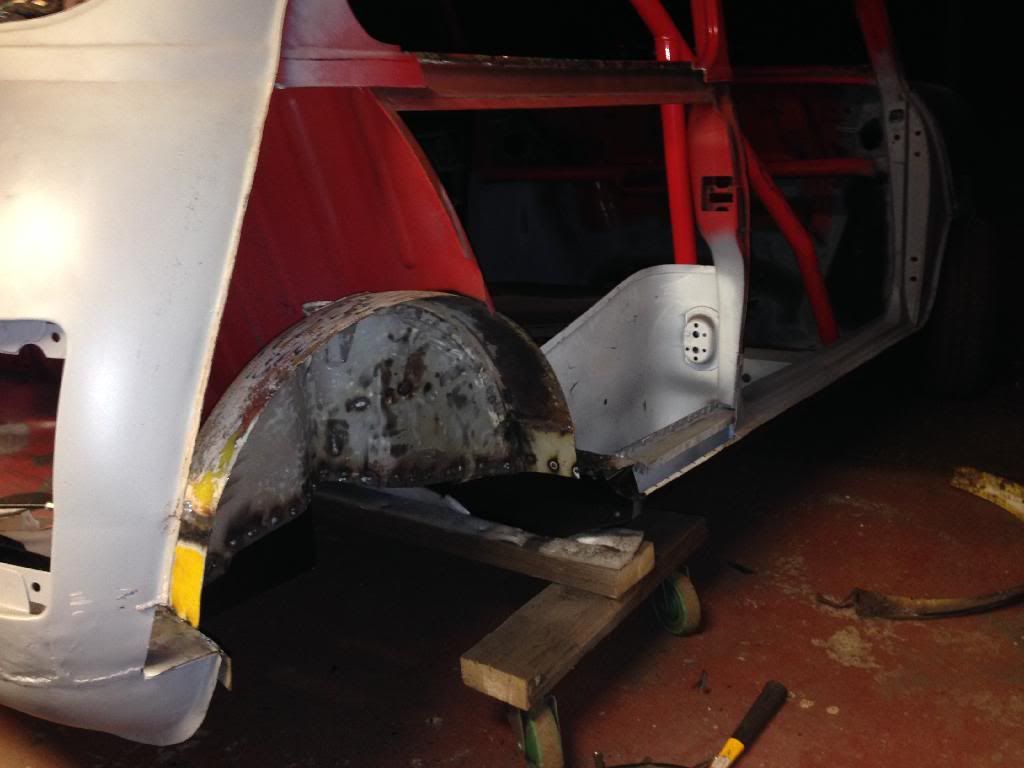
Got another day at it tomorrow so should've welding the quarter on If all goes well
Cheers Darren
#544

Posted 19 December 2013 - 09:03 AM
Are you only de-bumpering it?
#545

Posted 19 December 2013 - 04:20 PM
Rear 1/4 on next Darren!
Are you only de-bumpering it?
Yes mate just the bumpers
#546

Posted 19 December 2013 - 04:23 PM
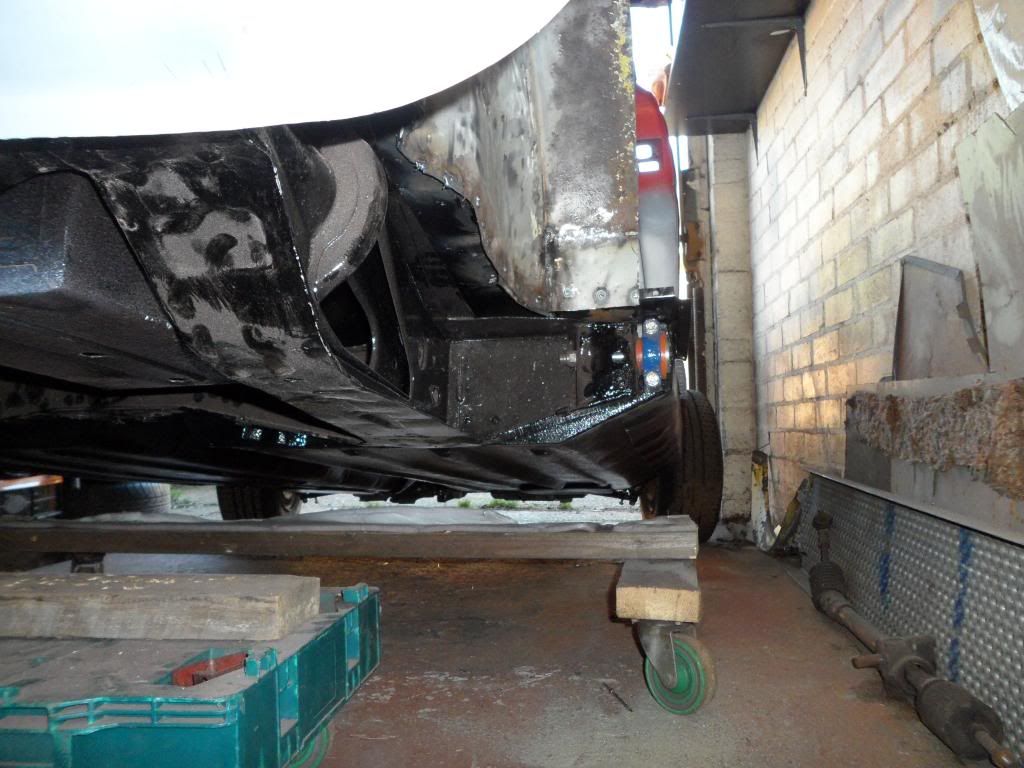
Then welded on the two brackets in the boot
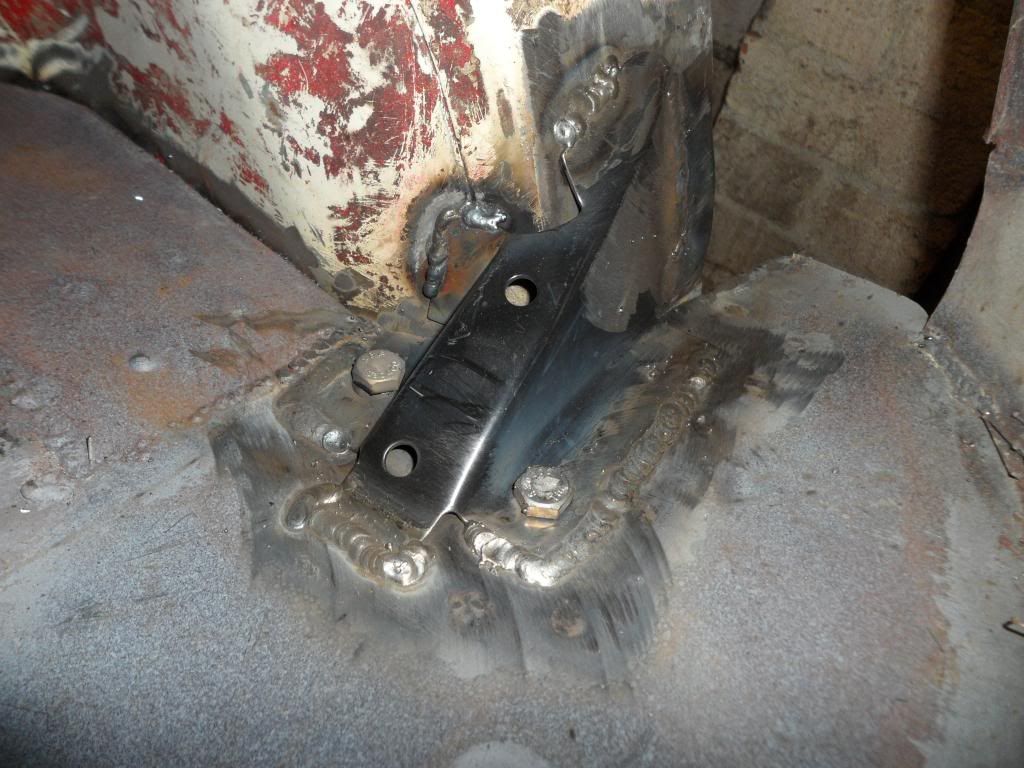
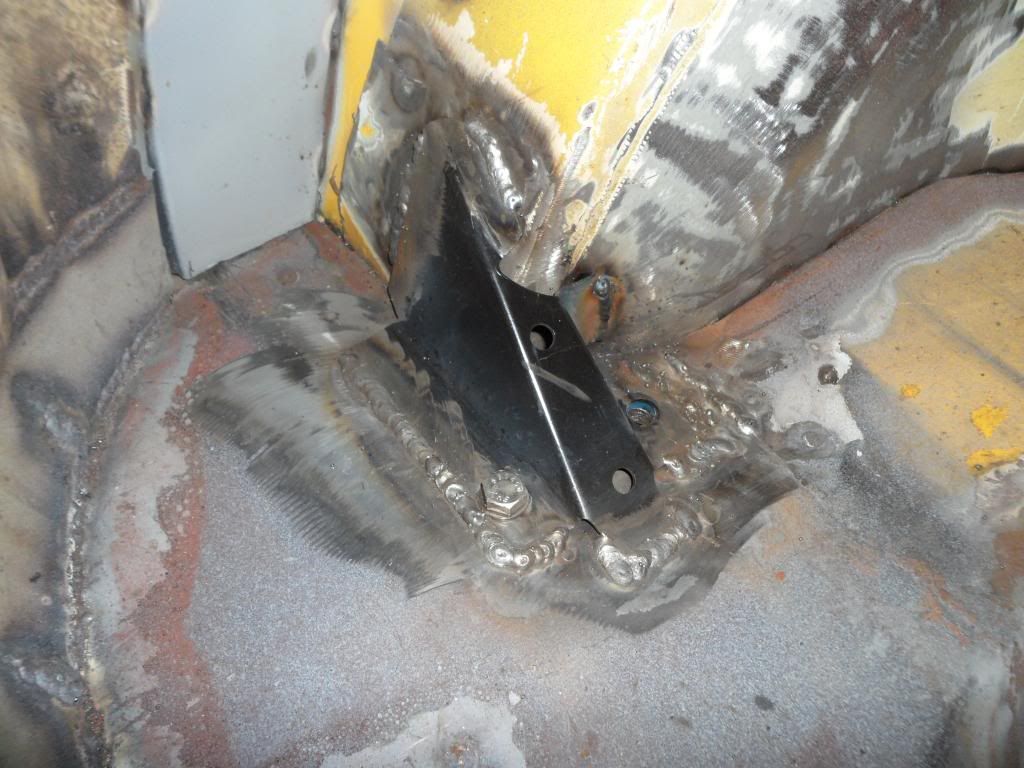
And that was it for today
Darren
#547

Posted 19 December 2013 - 04:51 PM
Looking Good Darren
It's important that the subby fits!
I'd call it a constructive day!
#548

Posted 19 December 2013 - 11:48 PM
#549

Posted 02 January 2014 - 03:37 PM
Got the rear quarter final fitted and stripped the inside if the black coating then etched and refitted to the car
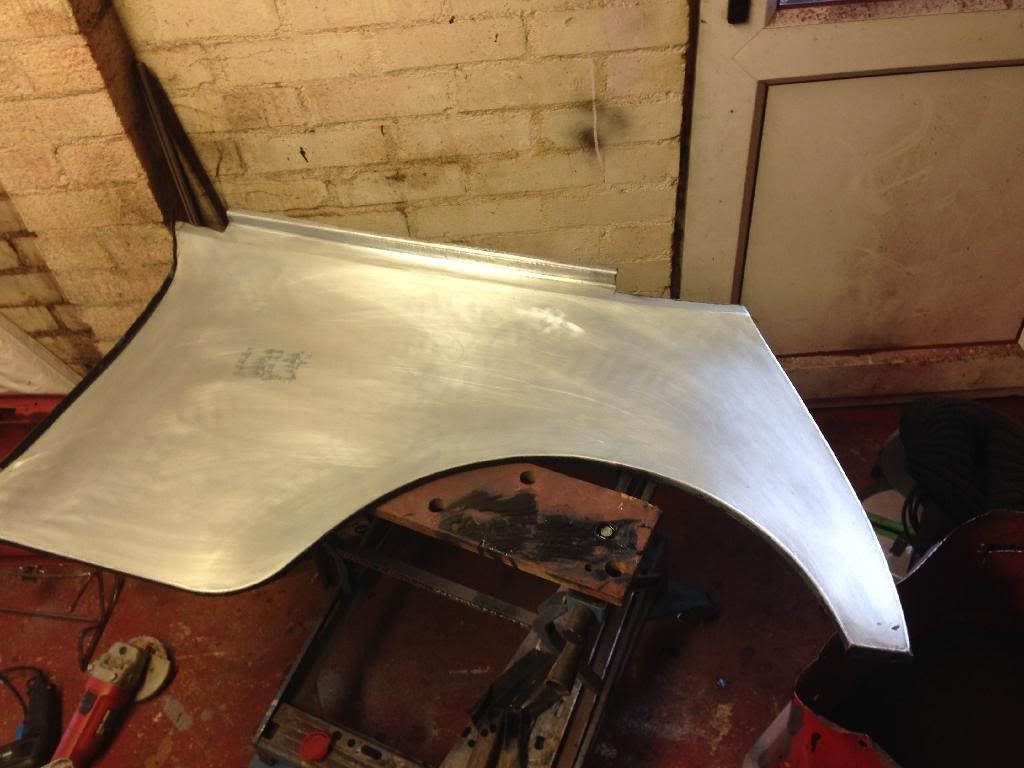
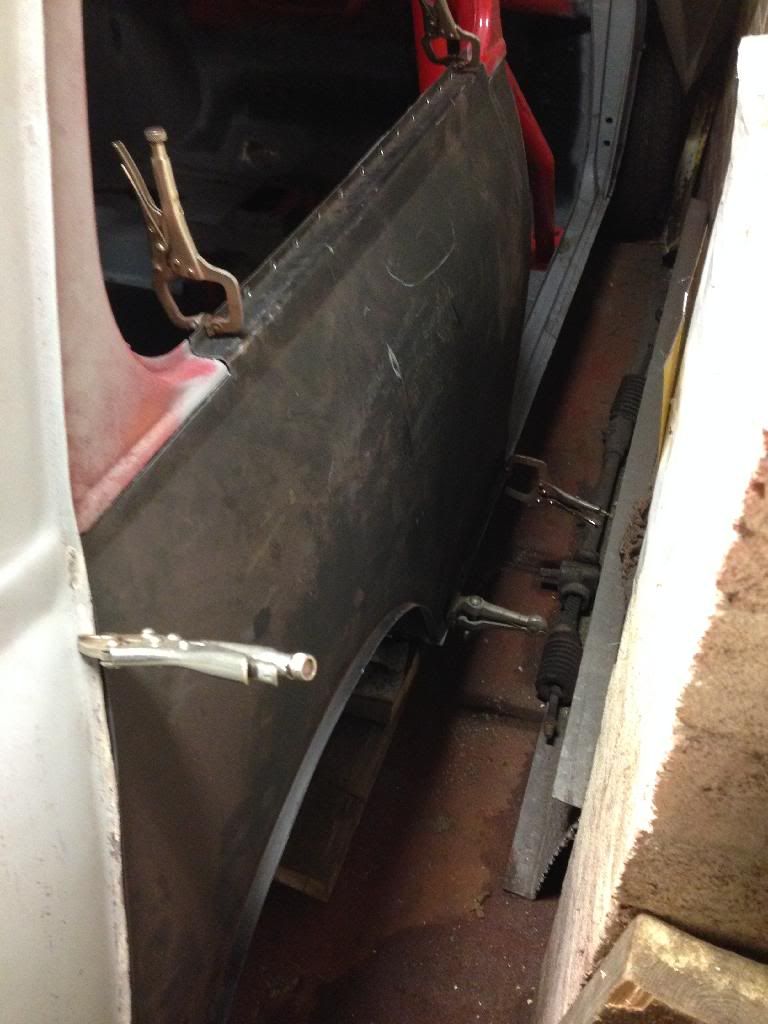
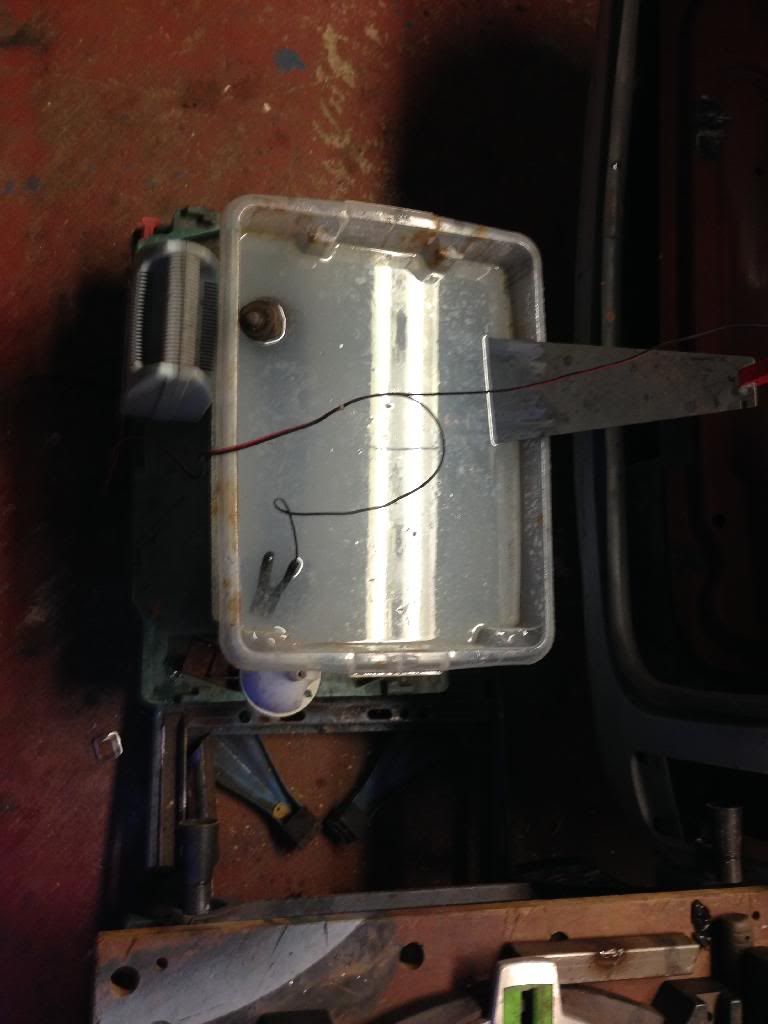
I've had a little science project going in over Christmas here you can see a rad arm in the bath
And this is how they come out after a wire alb rushing under a tap
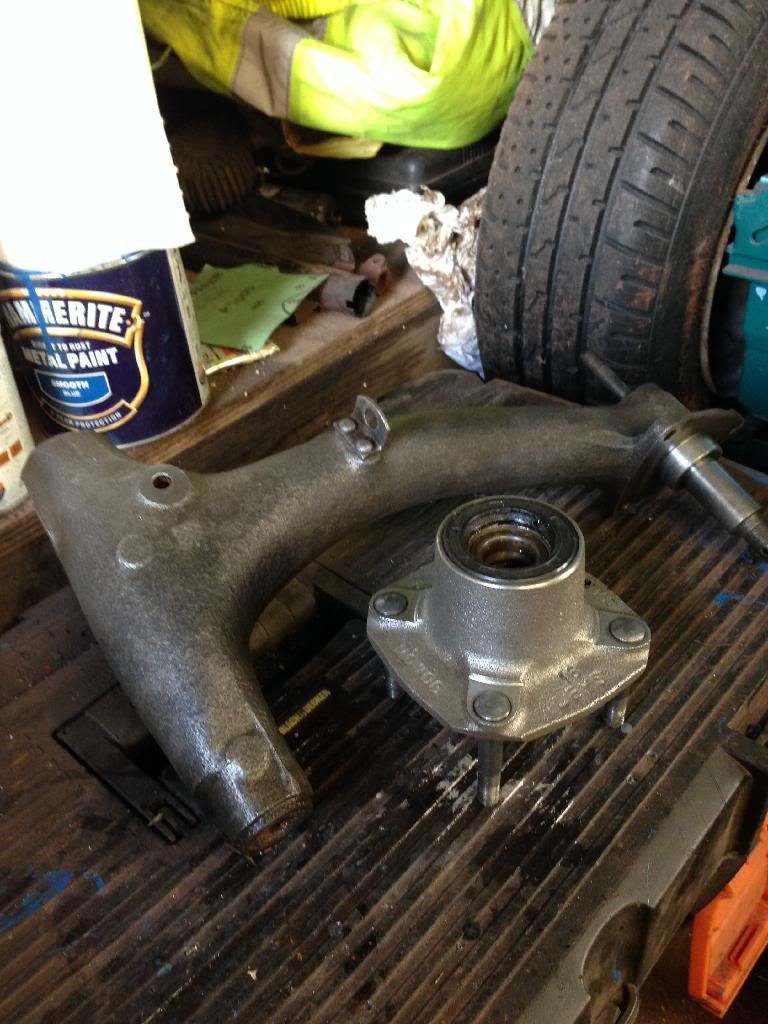
100% rust free
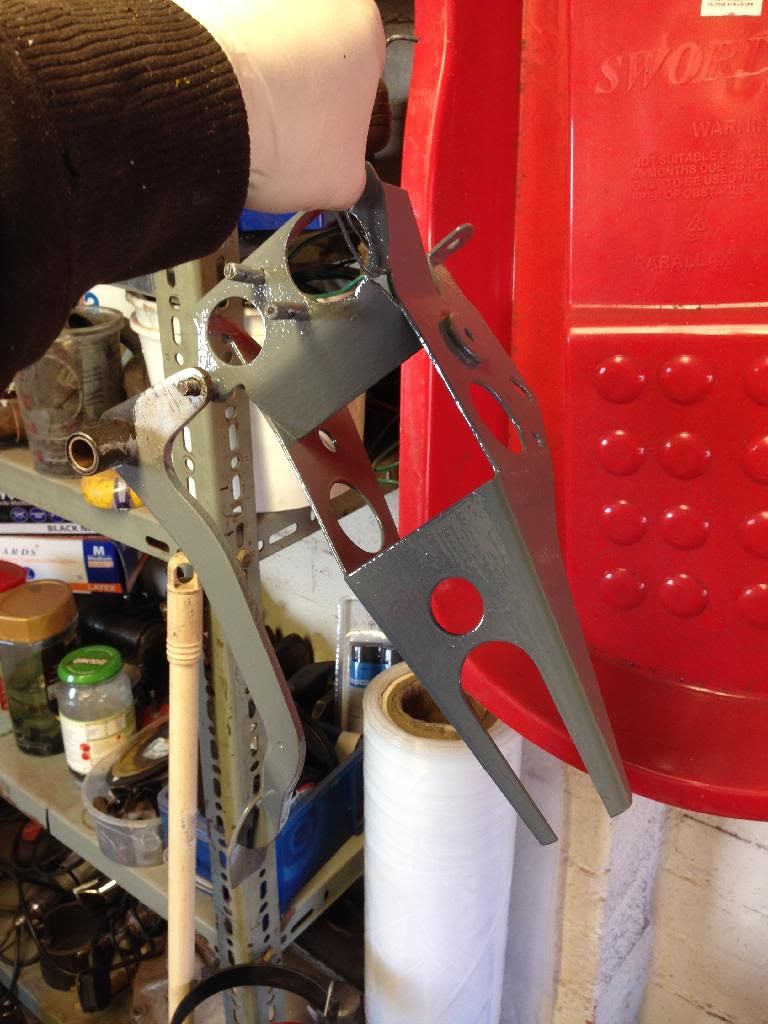
They need painting as soon as they are cleaned of all the scum so painted lots of bits
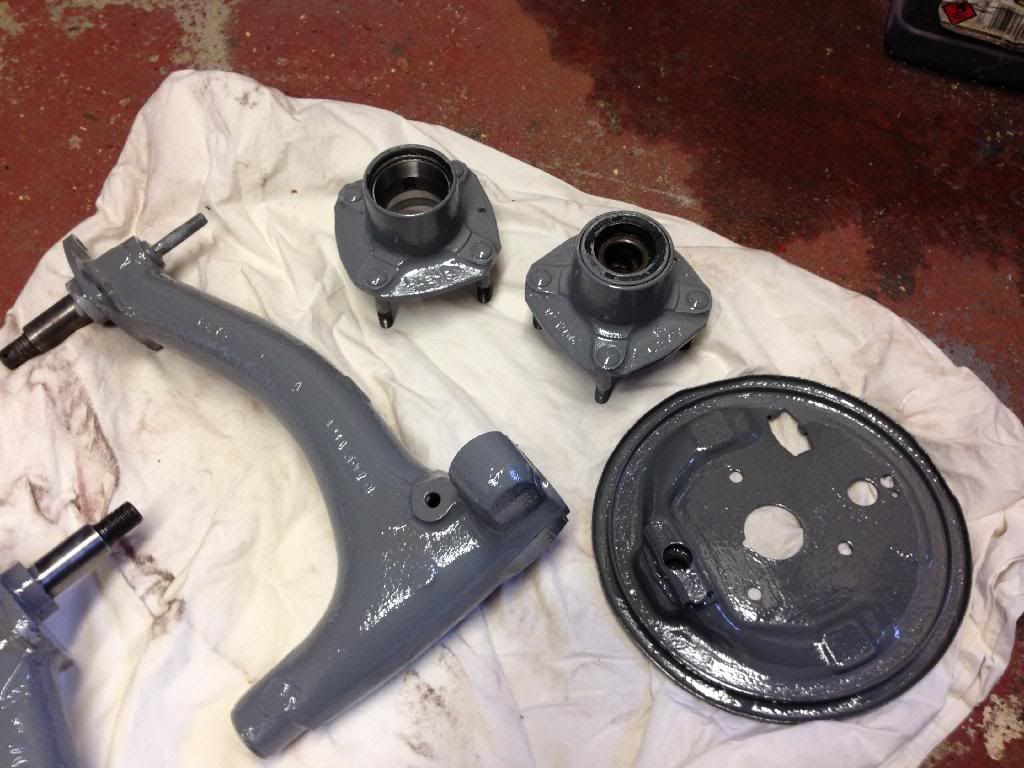
This is all etch primed then painted in the 2k my car will be so here is the first look at the colour!!
Also painted some bits that were done in hammerite before to see if it would react and it's dried on fine
Getting the quarter welded in tomorrow
Cheers Darren
Edited by Minidarren83, 02 January 2014 - 03:39 PM.
#550

Posted 02 January 2014 - 06:32 PM
Is that molasses in that bath? if not, what? i need to do my own radius arms!
#551

Posted 02 January 2014 - 09:52 PM
Is that molasses in that bath? if not, what? i need to do my own radius arms!
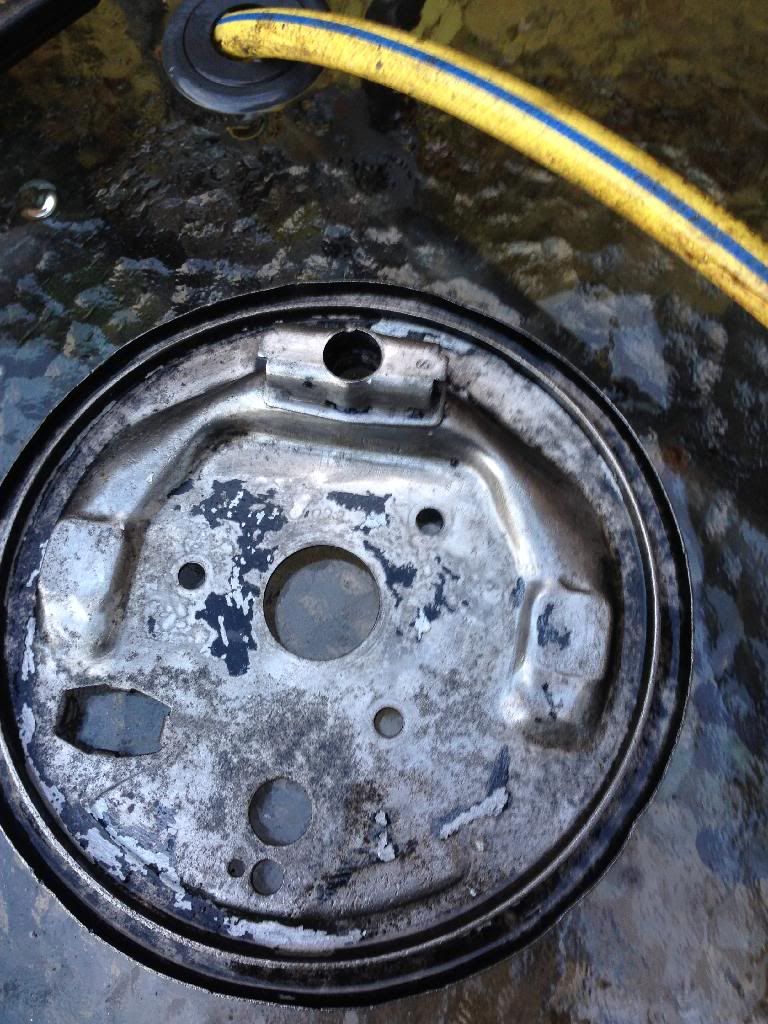
It's just washing soda crystals you find it in Asda ect down the washing powder isle costs about £1 a bag and the mix ratio is one table spoon per litre although it's not an exact science. Positive charge lead to the sacrificial piece and negative to the item to be cleaned. I'm currently running it with a back plate that was painted with hammerite to see if it will lift the paint off as it's done well on the other bits
#552

Posted 04 January 2014 - 02:38 AM
This is how it looked after 24hrs in the bath
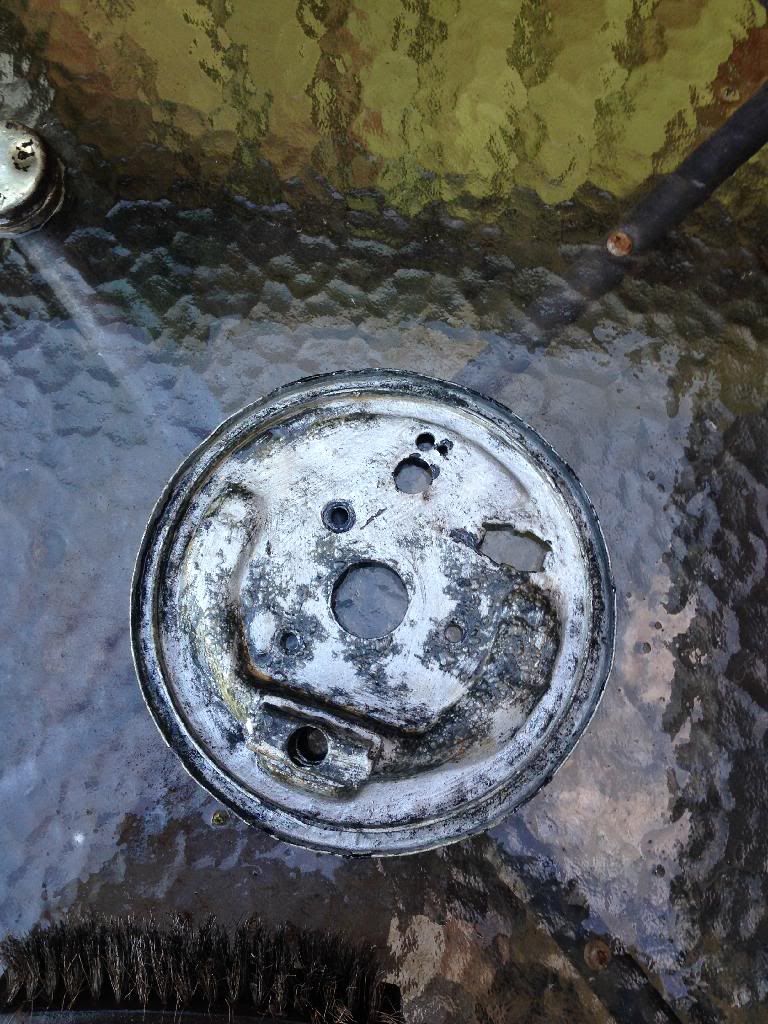
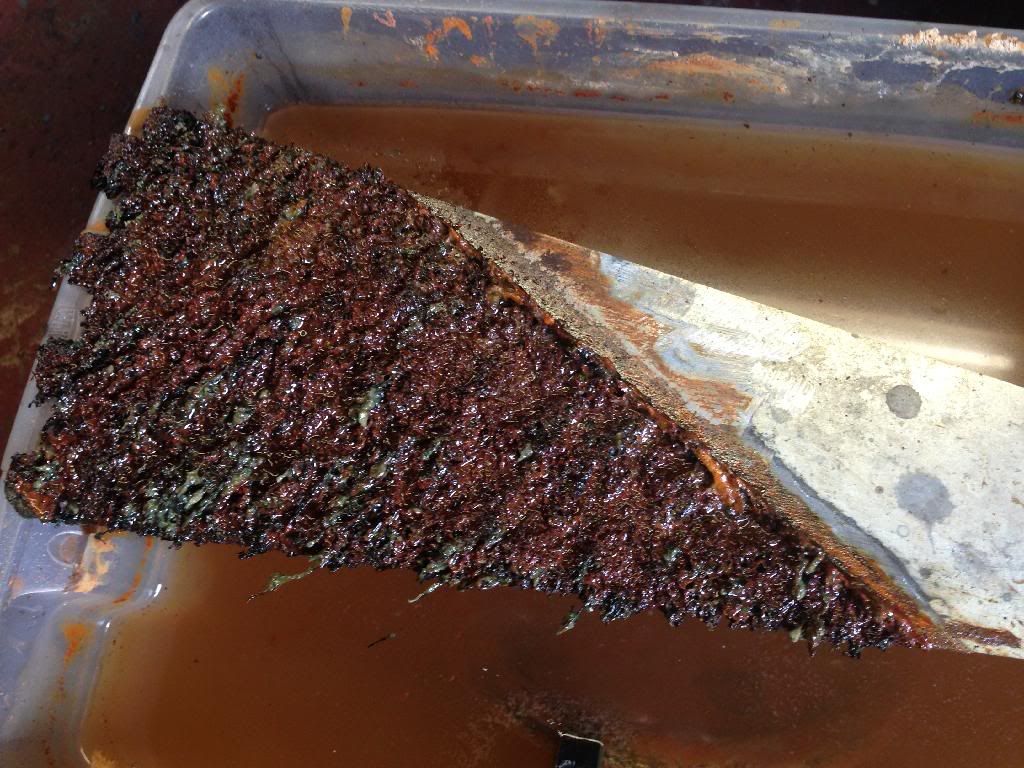
And after a good scrub most if the paint flaked off but ill out it back In for another day. The black parts you can see is where the rust was and has now been converted back to iron and this is what you are cleaning off
This is what you sacrificial steel will look like
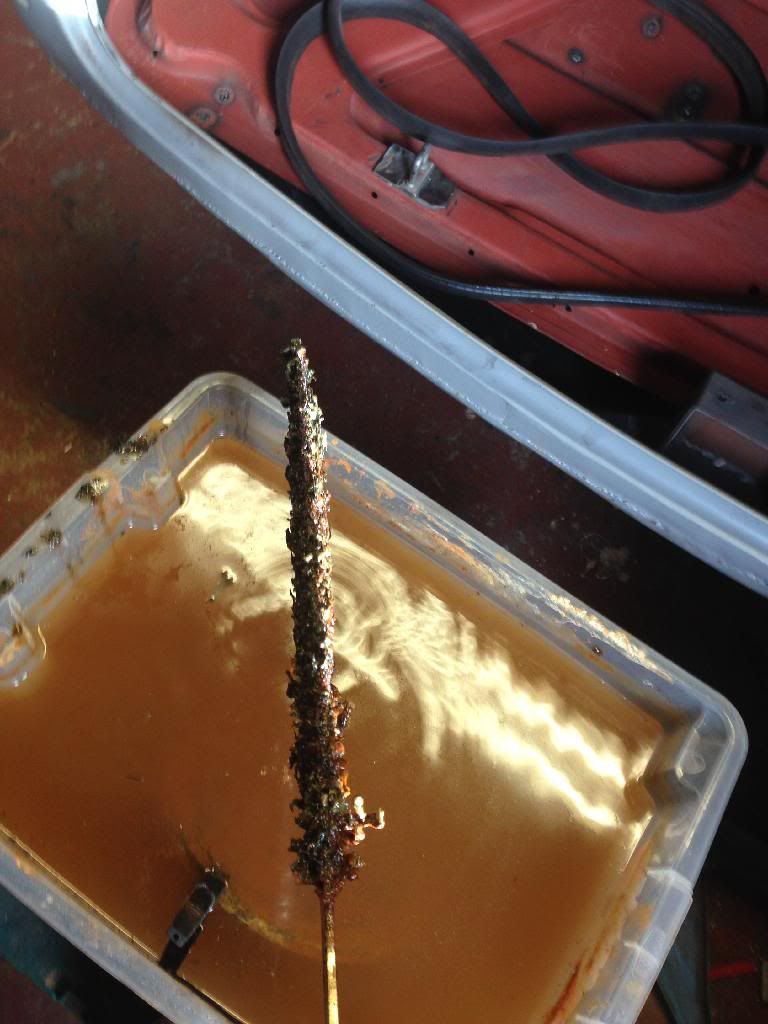
And the end result for me is fully rust free refurbished radius arms
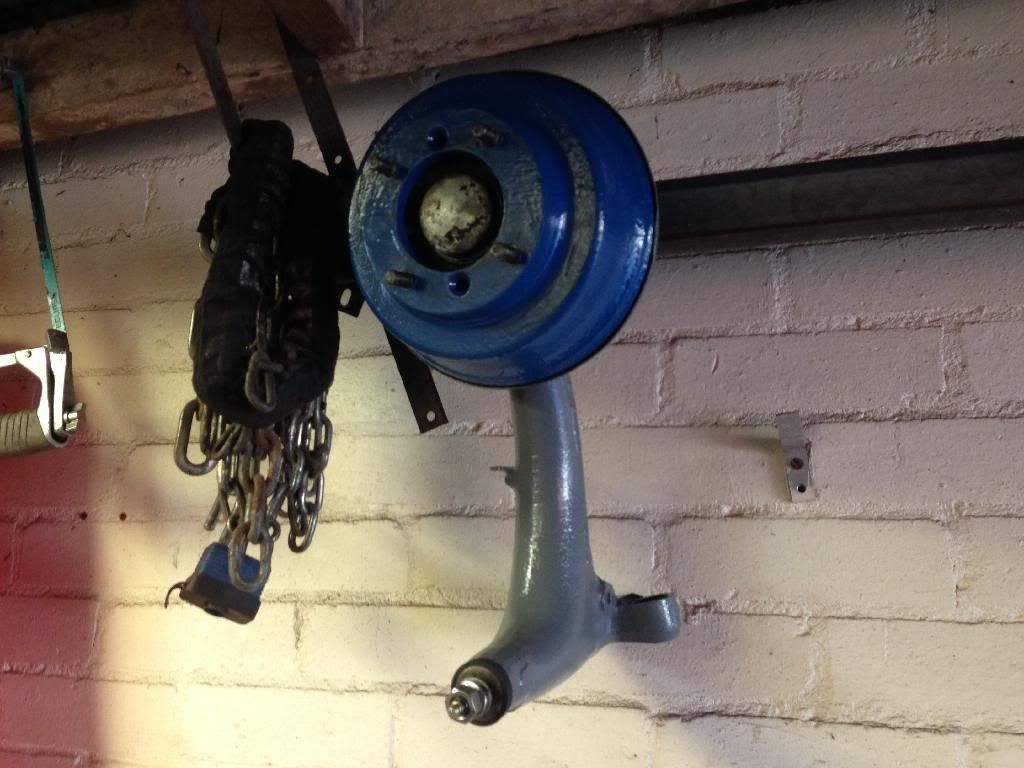
I know it's not the fastest method but is removes the rust without using power tools and removing some if the good metal
Bit boring updates this week but it may be useful to somebody who wants to give it a go
Cheers Darren
#553

Posted 04 January 2014 - 10:39 AM
Hi Darren, I admire your practical approach to poor fitting repair panels throughout your build.............
I just made my own to replace the metal behind one of the jacking points / inner sill. Sometime it takes less work to make your own than make an off the shelf item fit.
Keep it up.........
Adam
#554

Posted 04 January 2014 - 11:26 AM
Hi Darren, I admire your practical approach to poor fitting repair panels throughout your build.............
I just made my own to replace the metal behind one of the jacking points / inner sill. Sometime it takes less work to make your own than make an off the shelf item fit.
Keep it up.........
Adam
Hi Adam I defiantly agree with you some of them are such a bad fit your just best off giving fabrication a go. That's the only reason I've not welded the quarter on it's quite a bad fit and can't decide to go with it or try a heritage one
#555

Posted 09 January 2014 - 05:43 PM
Started yesterday welding on the drivers rear quarter this one was a very bad fit and needed lots of work to fit but it's on also cut and tubbed
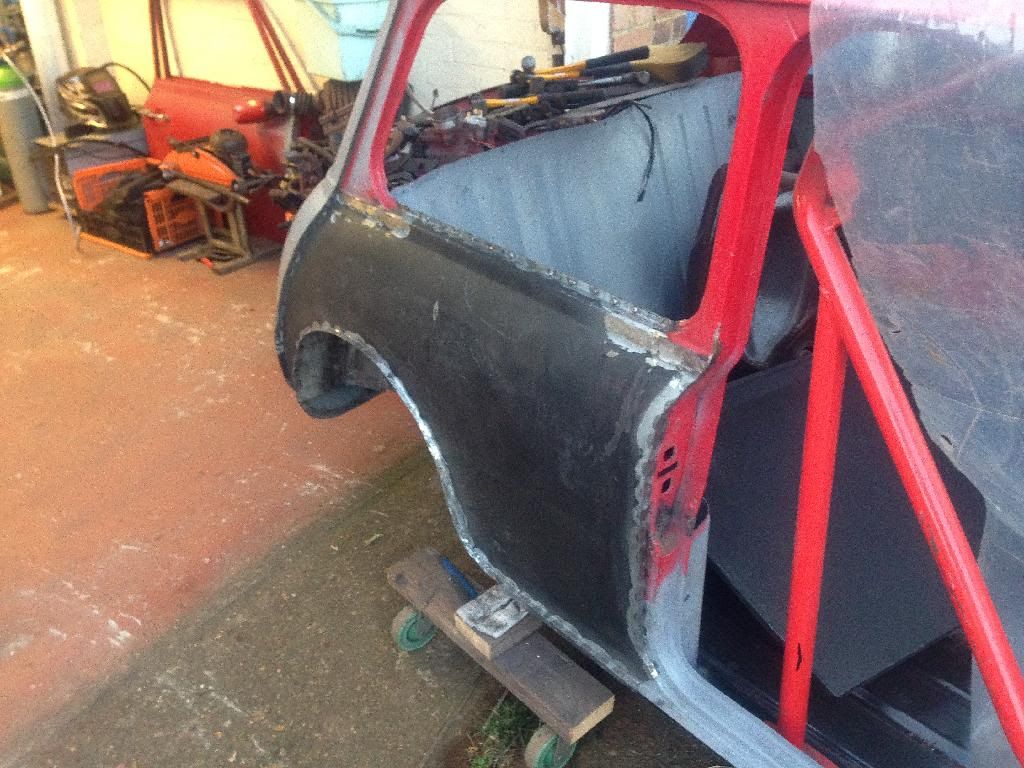
Plenty of plugs underneath
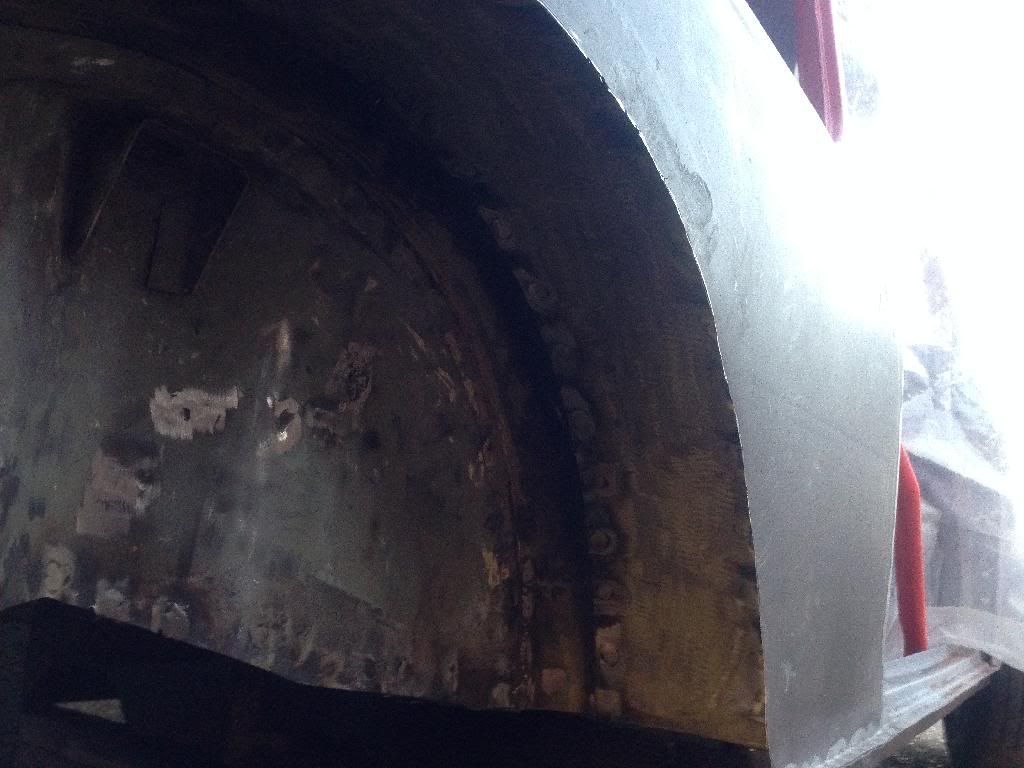
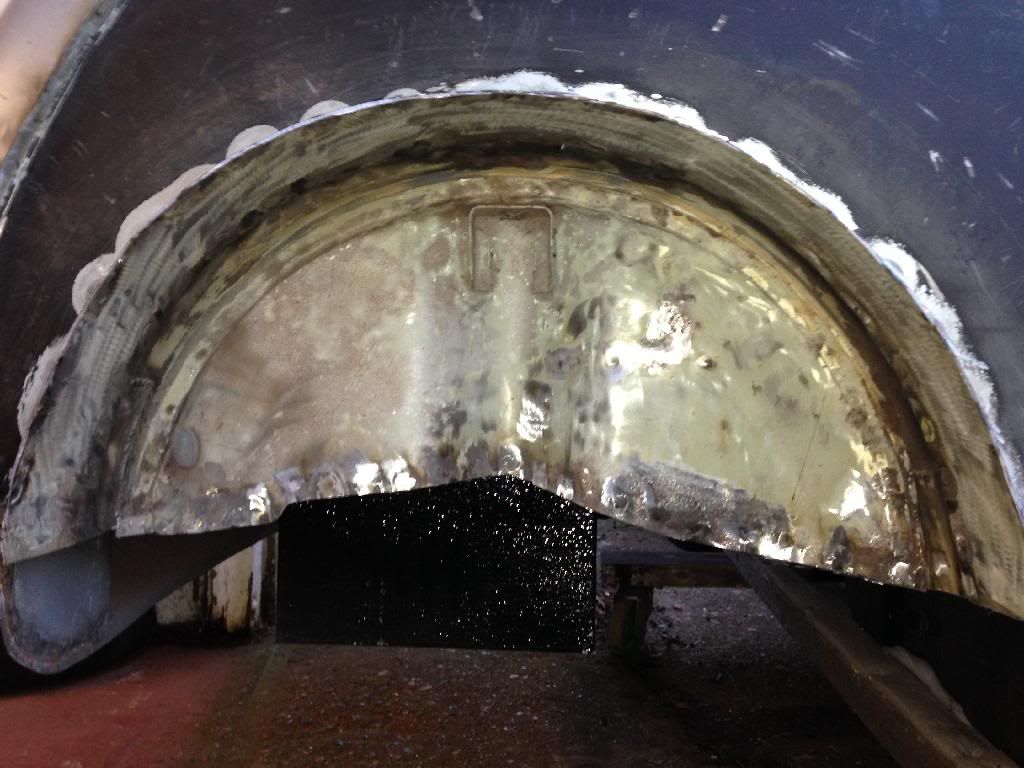
And plenty on top
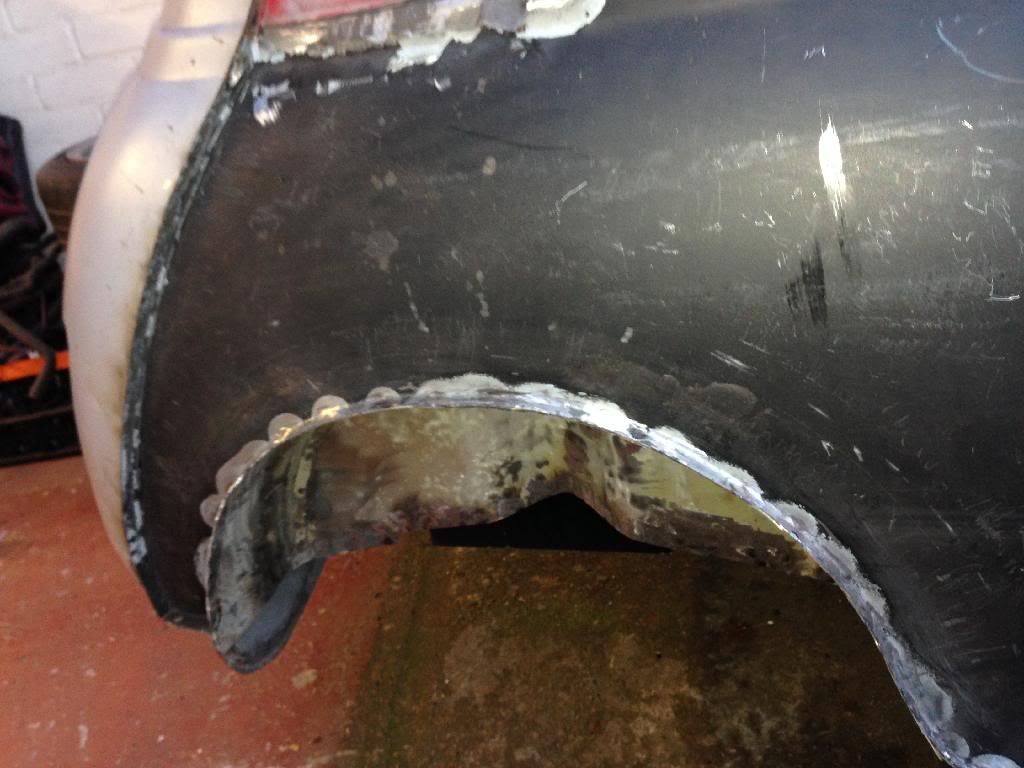
So glad I decided to make the join lower down and keep the window curve
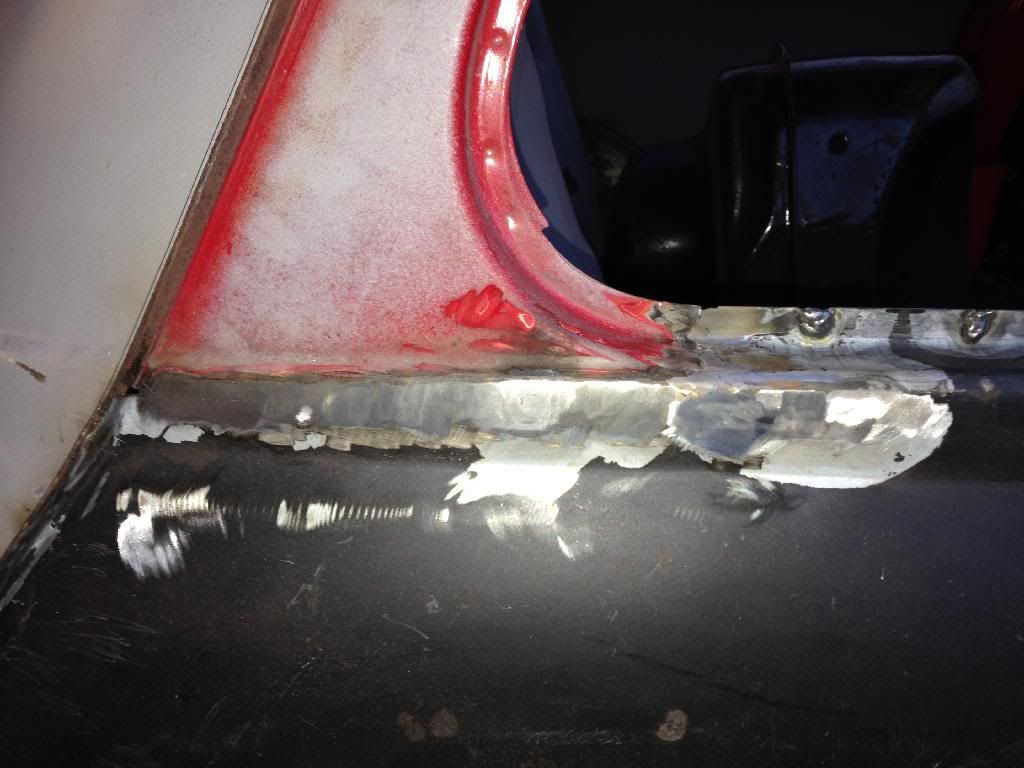
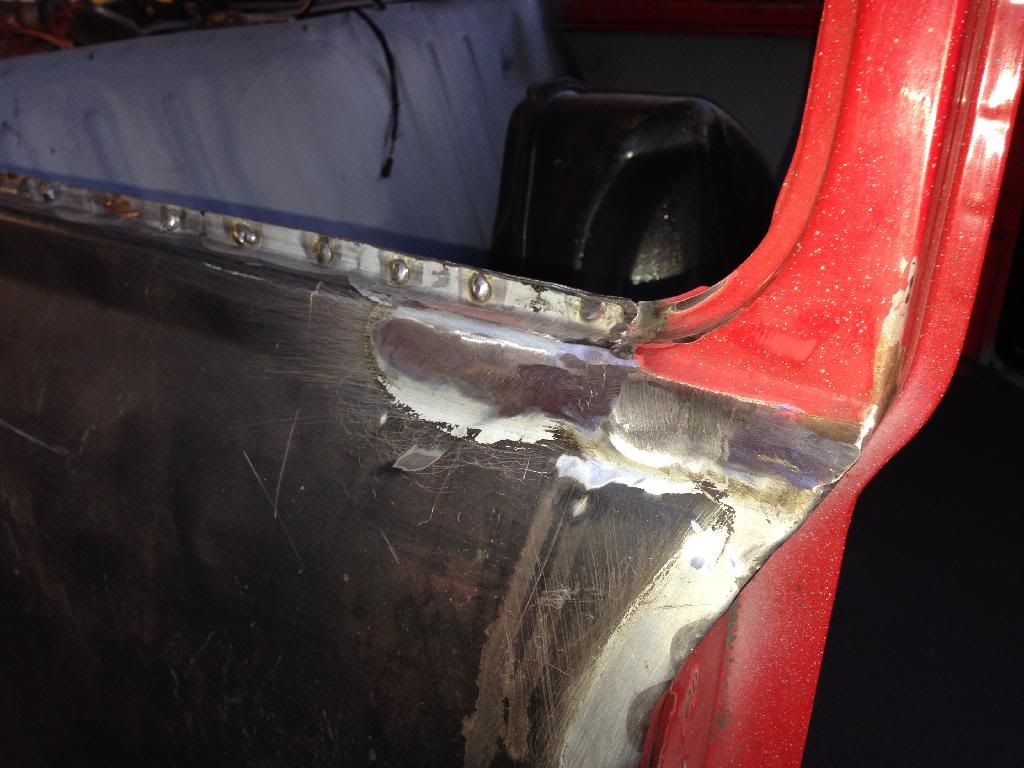
Just a few plug welds to grind down then it's done
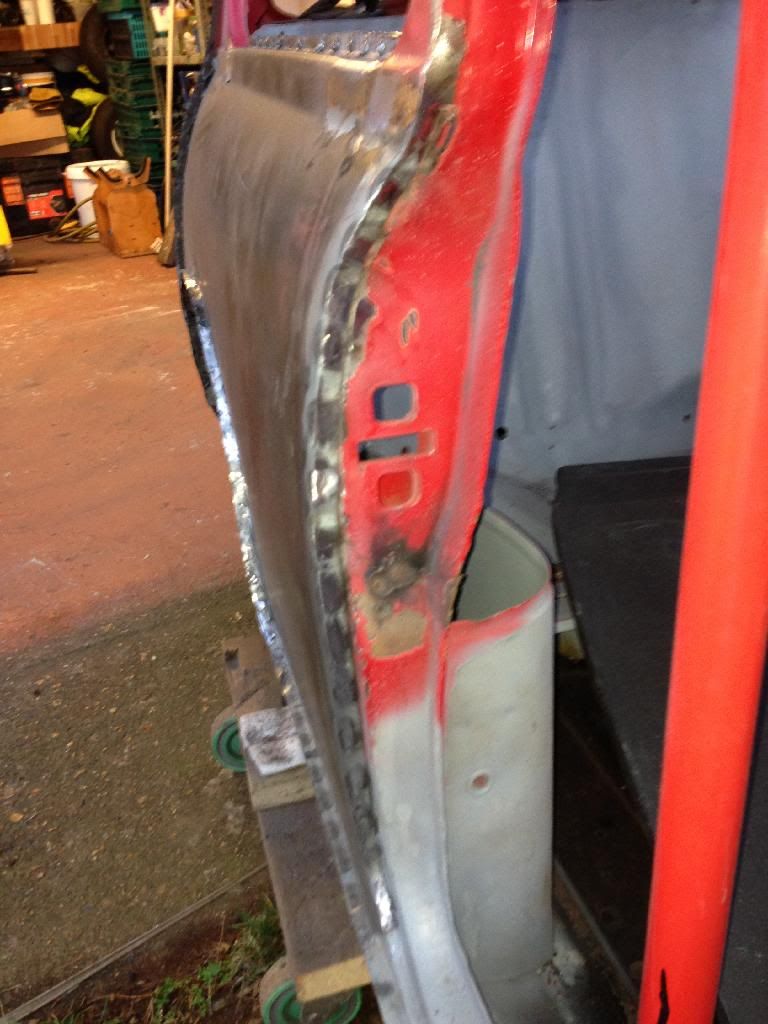
Then needed a break from grinding so out all these bits together
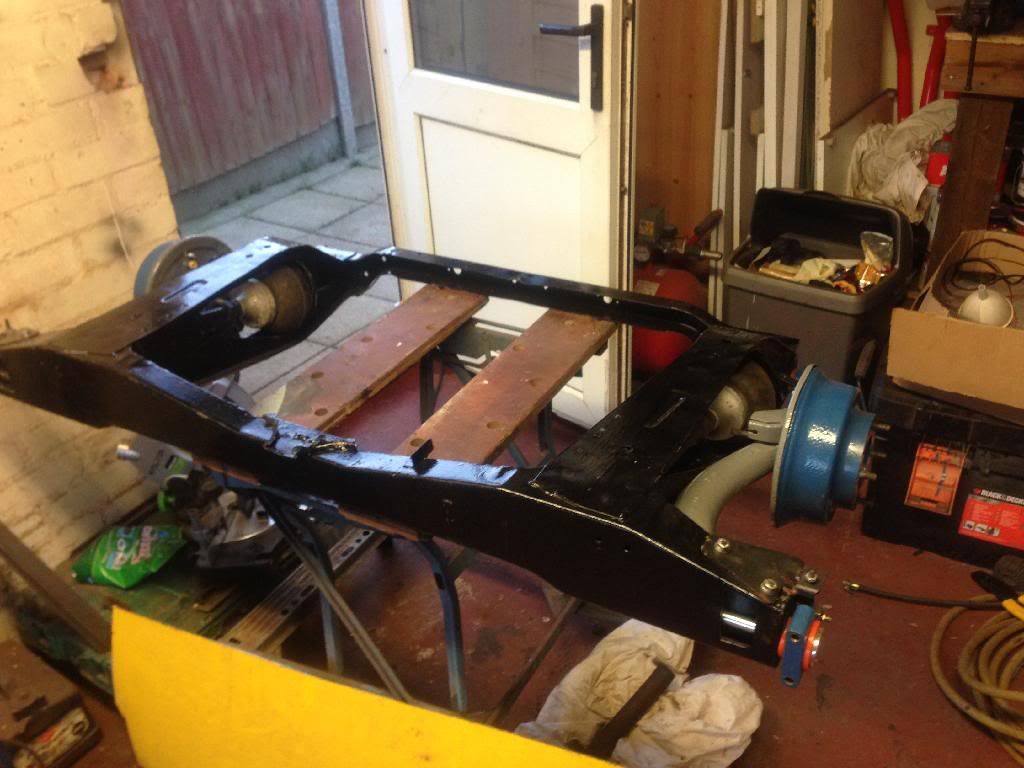
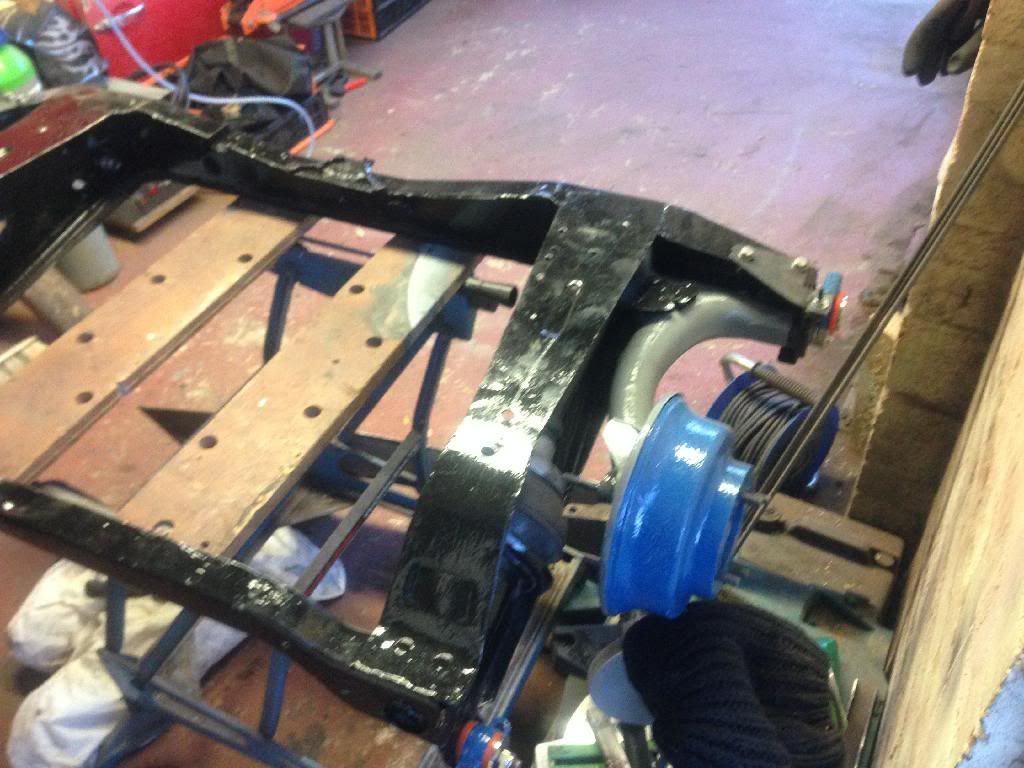
Another day off work tomorrow so I'll get some more done should have it on all fours
Cheers Darren
2 user(s) are reading this topic
0 members, 1 guests, 0 anonymous users
-
Bing (1)


