Be careful where you use stainless fasteners. They work harden with use meaning they can become brittle. They are generally not recommended for suspension etc.

The Wifes Worst Nightmare 83 Full Resto
#451

Posted 25 September 2013 - 04:50 PM
#452

Posted 25 September 2013 - 08:50 PM
Be careful where you use stainless fasteners. They work harden with use meaning they can become brittle. They are generally not recommended for suspension etc.
Hi there thanks for the input, comments and criticism is always welcome. My day job is driving petrol tankers that are made of 100% aluminium and due to the increased metallurgic reaction of mild steel and ally stainless bolts are used throughout the entire tank including weight bearing and running gear components and I carry 35 tonne of product with a gross weight of around 43 tonne and have never suffered a failure of a stainless fastener. The bolts I am using are of the correct grade and tensile strength and think strength wise will outlast mild steel that rust and turn brittle anyway how many subframe bolts have you tried to undo and they just simply snap off on the first turn?
Once again thanks for the comments and concern
Darren
#453

Posted 25 September 2013 - 08:54 PM
Be careful where you use stainless fasteners. They work harden with use meaning they can become brittle. They are generally not recommended for suspension etc.
Hi there thanks for the input, comments and criticism is always welcome. My day job is driving petrol tankers that are made of 100% aluminium and due to the increased metallurgic reaction of mild steel and ally stainless bolts are used throughout the entire tank including weight bearing and running gear components and I carry 35 tonne of product with a gross weight of around 43 tonne and have never suffered a failure of a stainless fastener. The bolts I am using are of the correct grade and tensile strength and think strength wise will outlast mild steel that rust and turn brittle anyway how many subframe bolts have you tried to undo and they just simply snap off on the first turn?
Once again thanks for the comments and concern
Darren
#454

Posted 26 September 2013 - 12:14 PM
Excellent work on the mini by the way :)
#455

Posted 26 September 2013 - 12:28 PM
#456

Posted 26 September 2013 - 12:43 PM
Cheers Darren
#457

Posted 26 September 2013 - 07:00 PM
good work darren!
#458

Posted 27 September 2013 - 09:56 PM
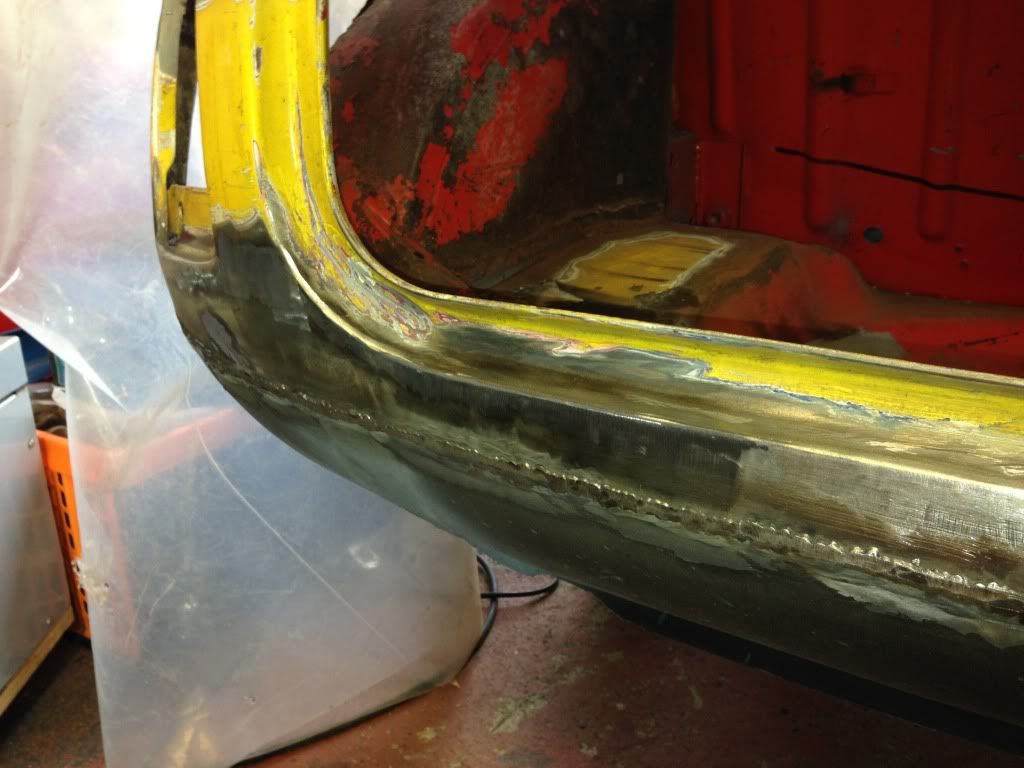
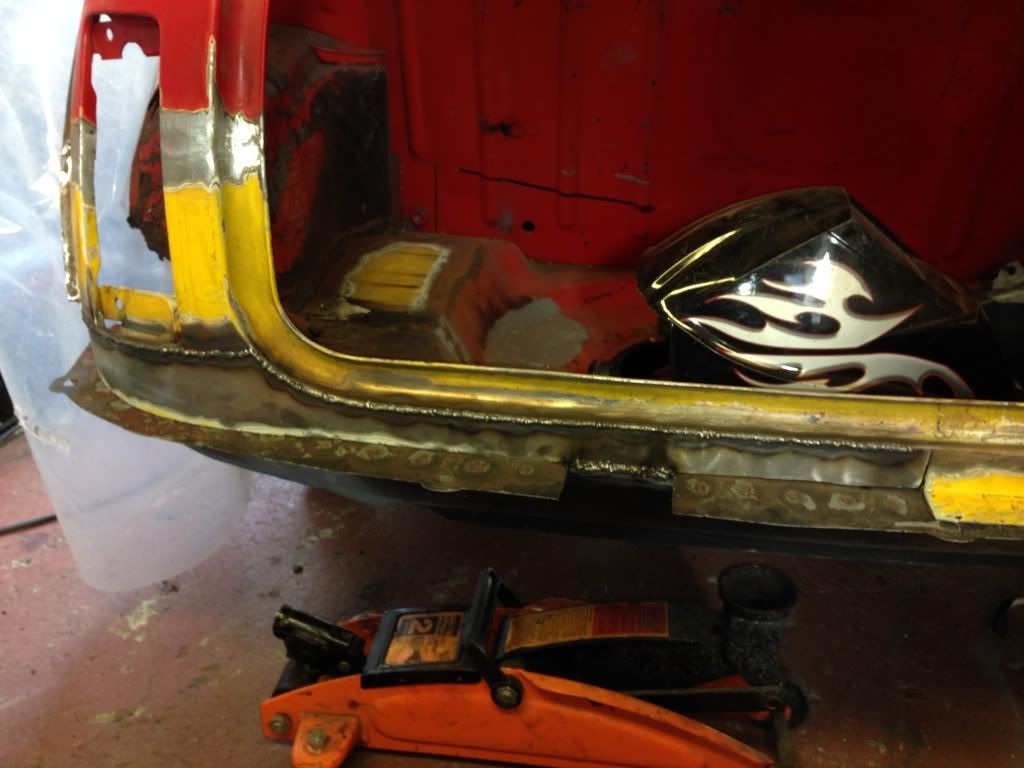
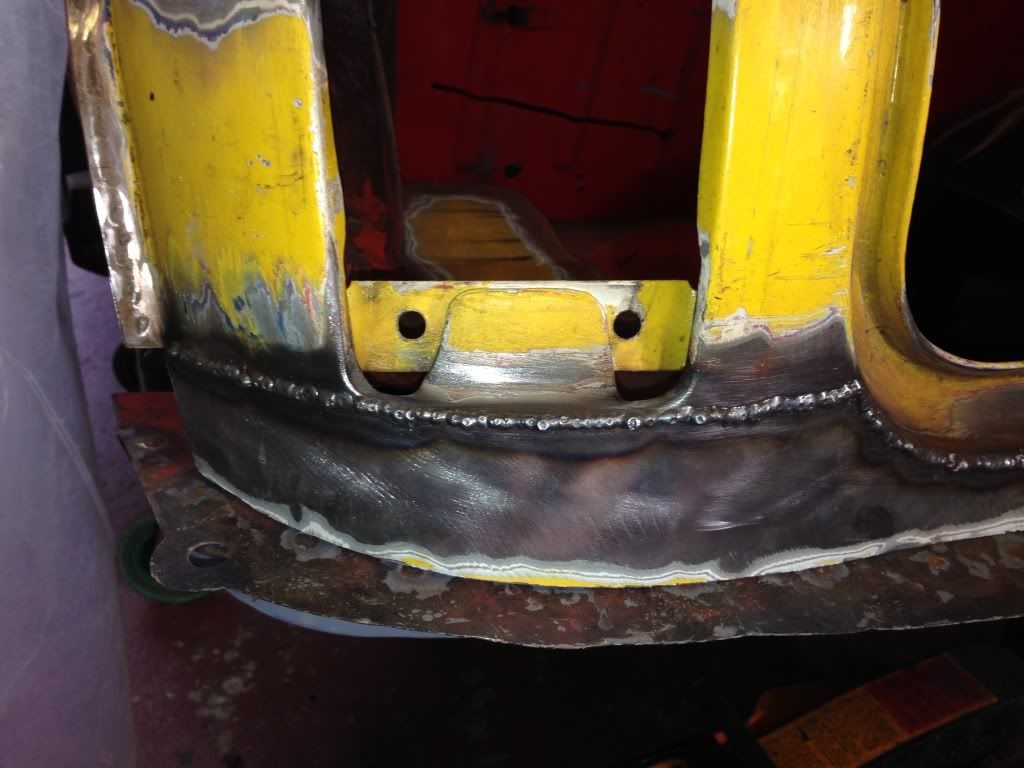
And this is an overall shot if the finished rear panel
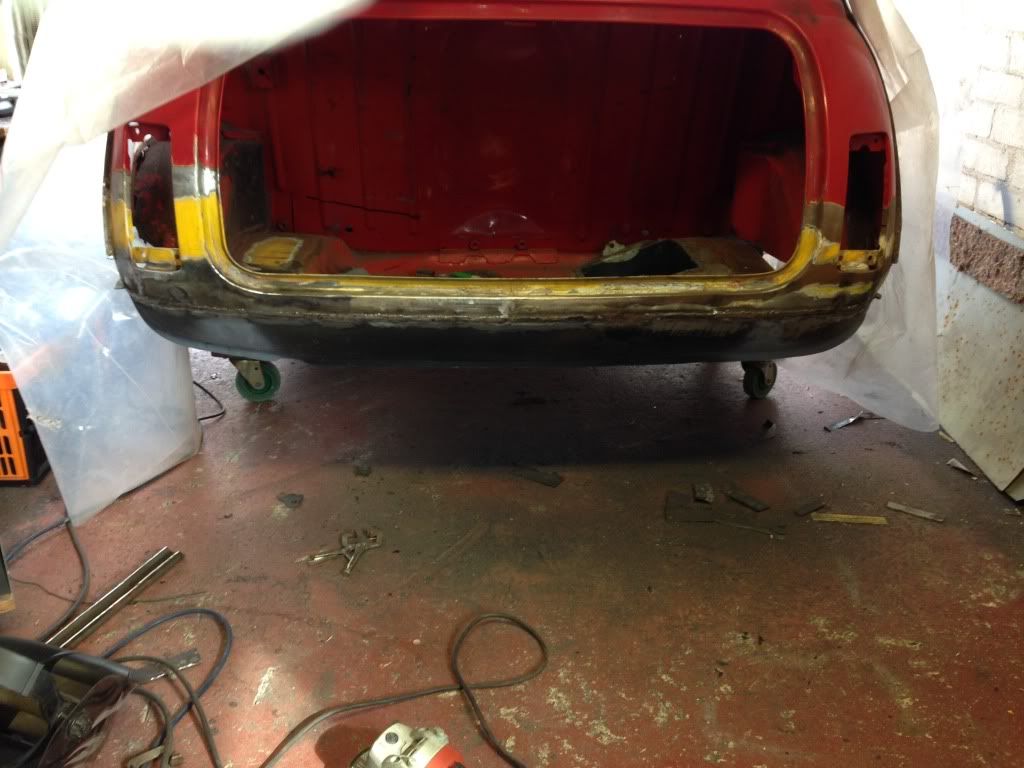
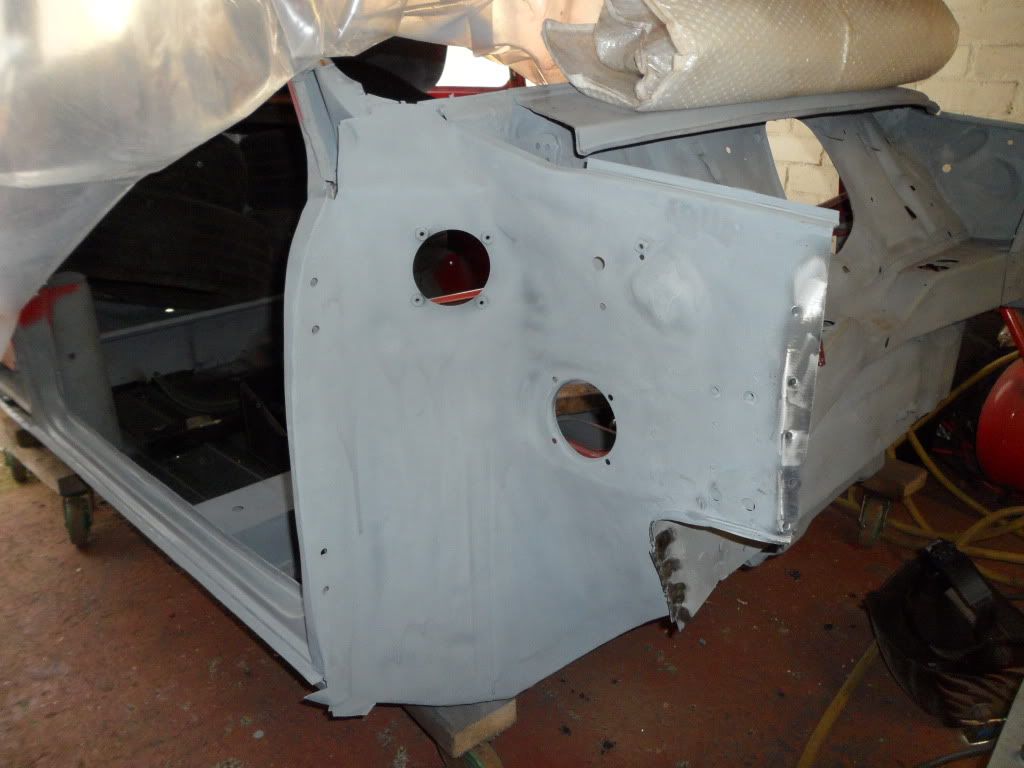
Then I started something I wish I never stripping the rear end back to metal hour and a half later and it was all done
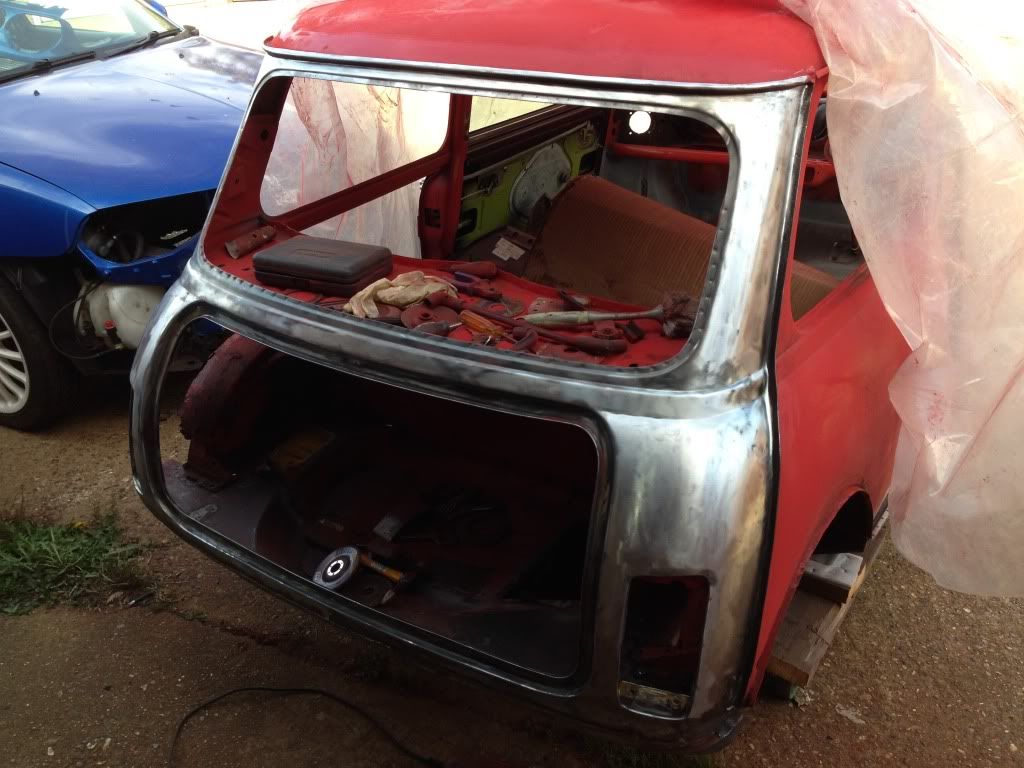
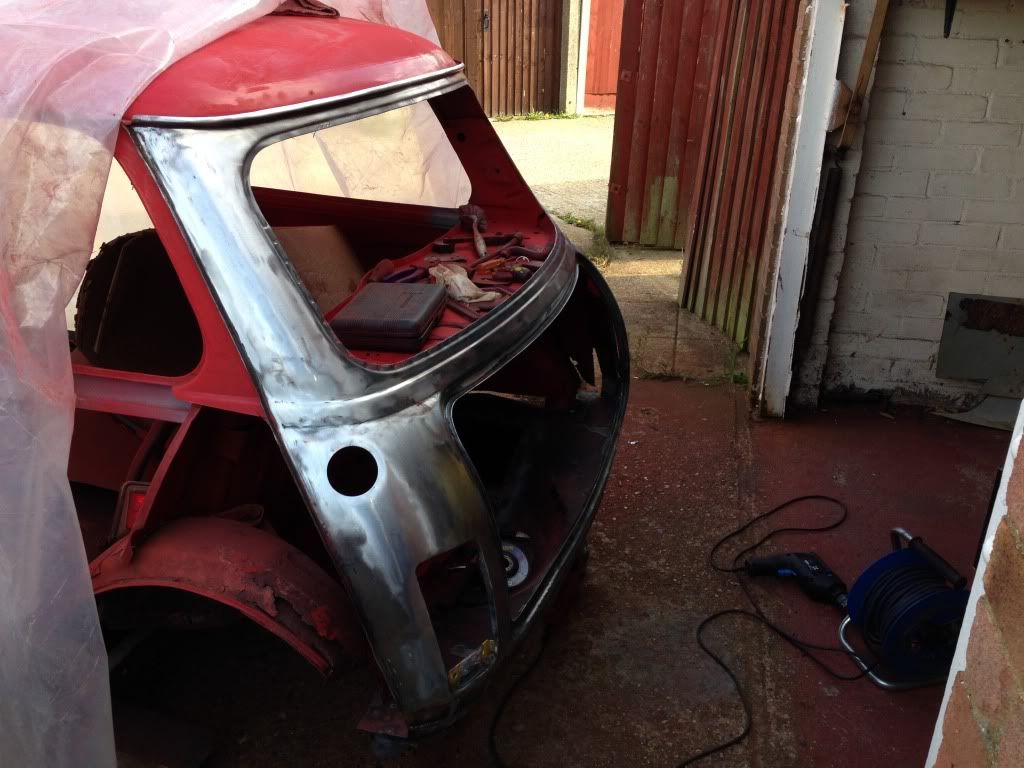
No nasty puffs of white dust just turd loads of red paint lol. And with that now ready to rust again I thought I'd best put some non porus etch on there
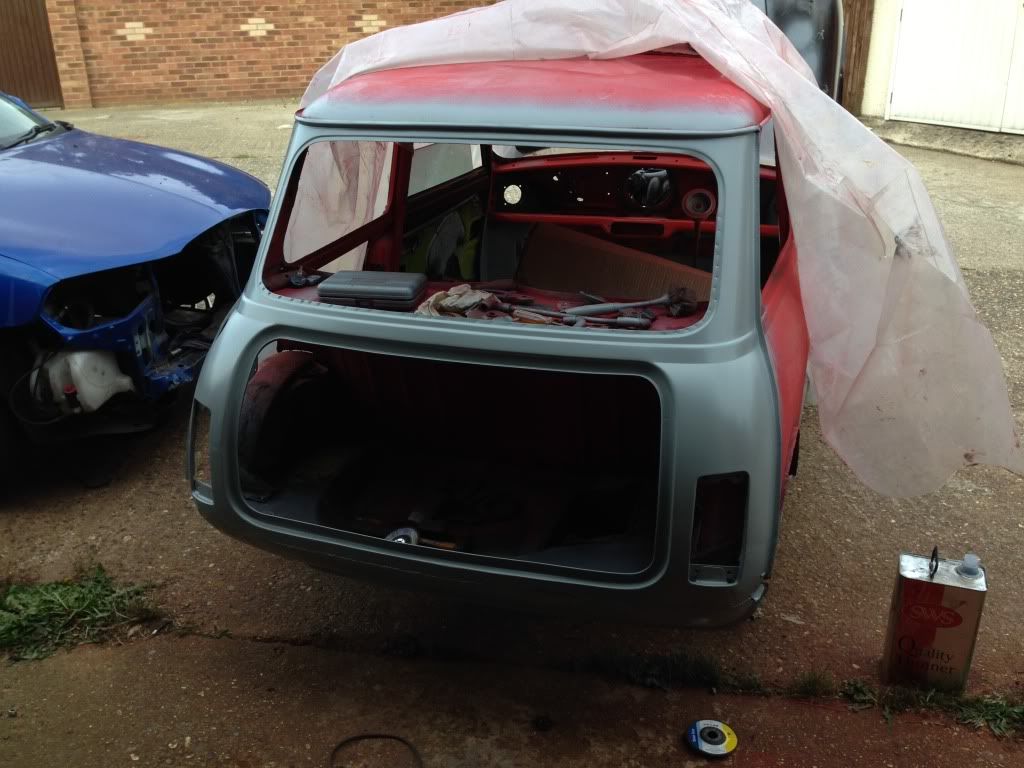
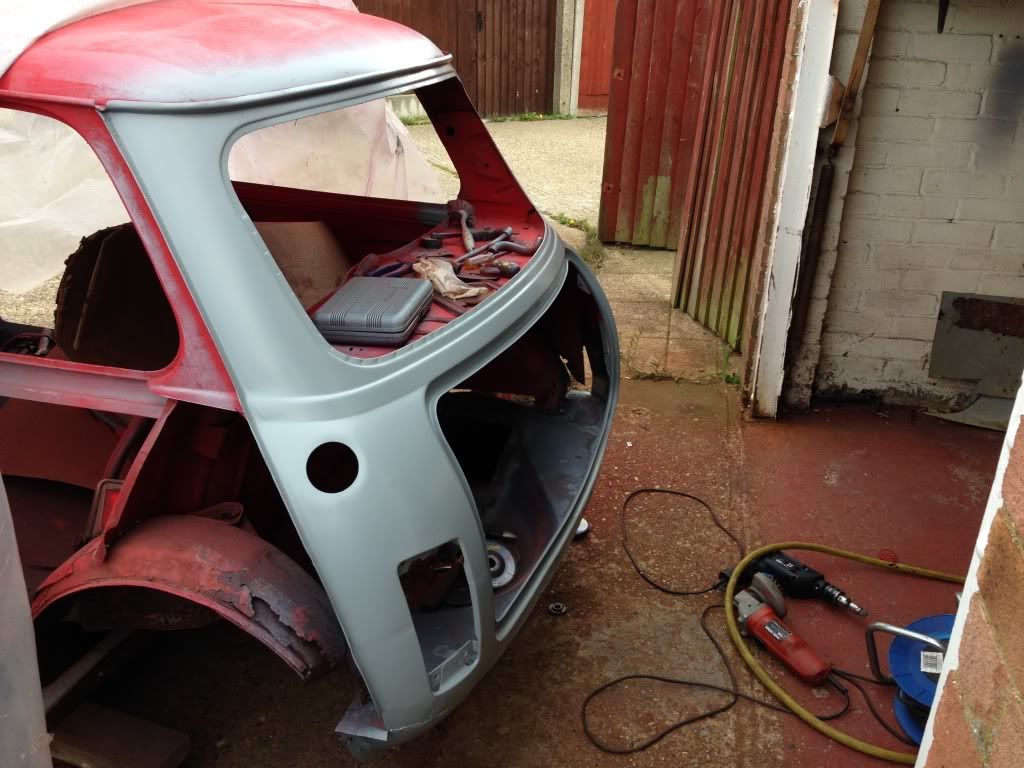
Three good full coats and ready for filler well pleased about 5 hours though lol
Cheers Darren
#459

Posted 27 September 2013 - 10:21 PM
Slacker ![]()
I do like the open arch look, I must say!
Bumper lip looks nice and neat, shouldn't take much filler to smooth that off ![]() (That's actually a compliment)
(That's actually a compliment)
#460

Posted 28 September 2013 - 12:18 PM
#461

Posted 28 September 2013 - 04:33 PM
Lookin good seems not long ago I was at the same stage lol
Cheers mate can't wait to be at your stage
#462

Posted 28 September 2013 - 07:39 PM
#463

Posted 30 September 2013 - 07:45 PM
well its been a while had a little break over the christmas period and just found it hard to get the time to make a go on it but had a week off this week and managed to steal today away from doing jobs around the house to work on the mini got 4 straight hours on it and am pleased with the progress so here it is
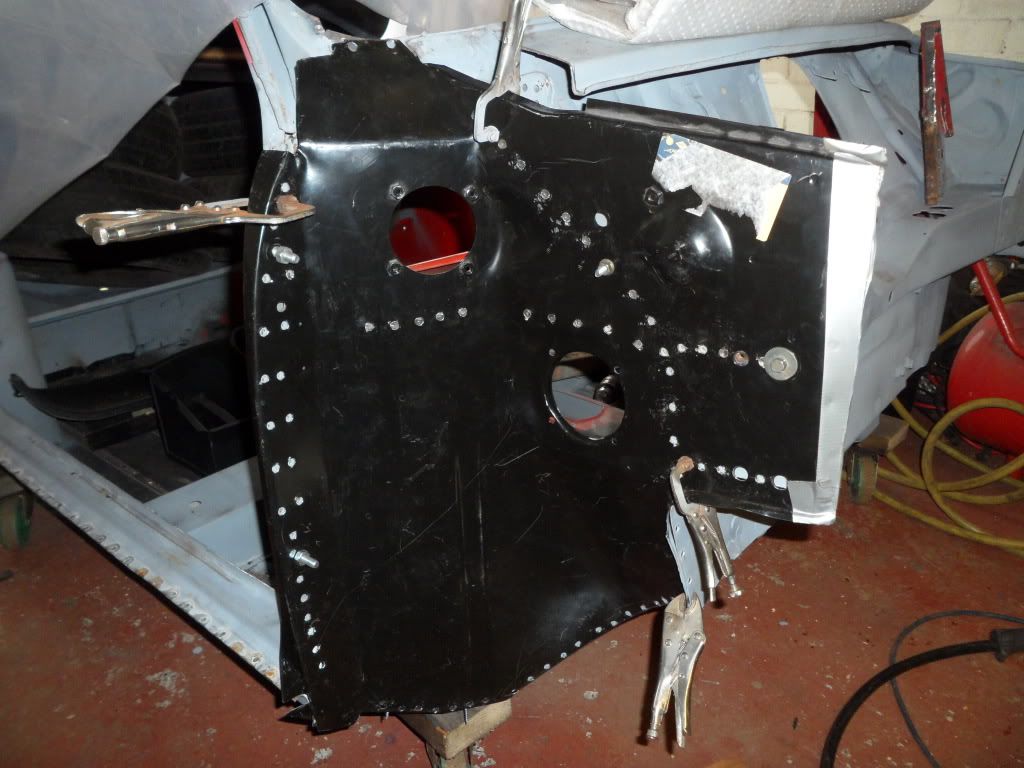
So i left it last time with the final fitting of the new inner wing and with a couple more clamps i was happy with the fit so marked it all up and drilled 78 holes in it ready for plug welding
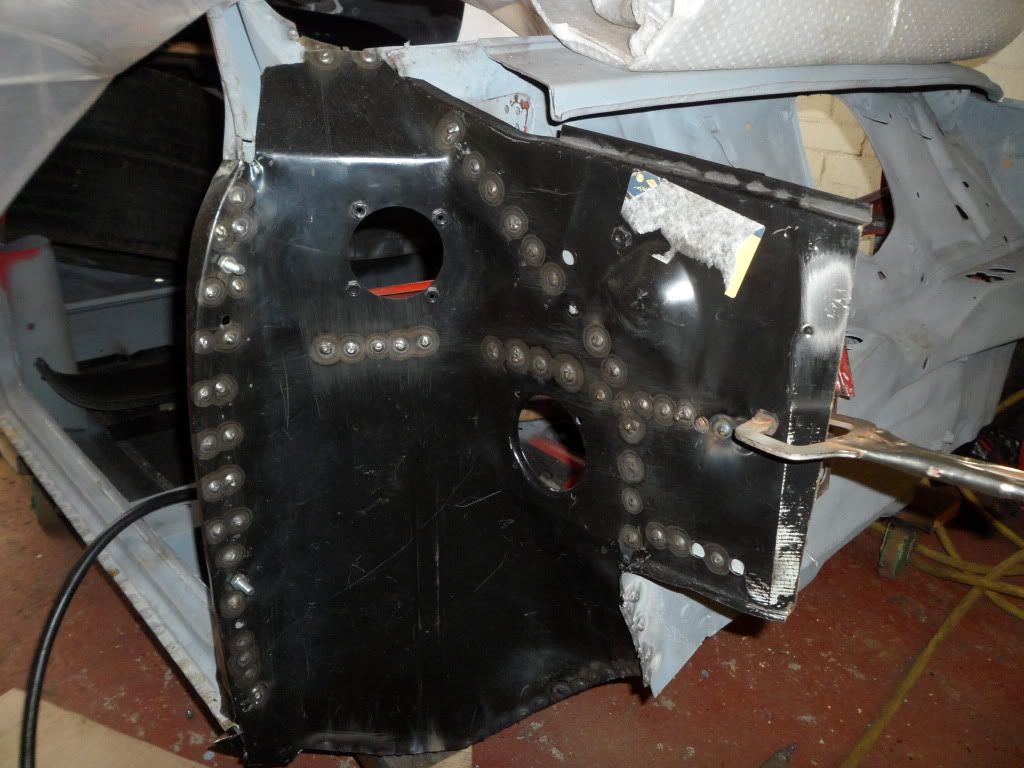
and then filled in all the holes this was my first time using the new 0.8mm wire as it was all they had and my new 95% argon mix so after the first few looking like a bag of poo i set the welder up on some scrap and was ready to go again
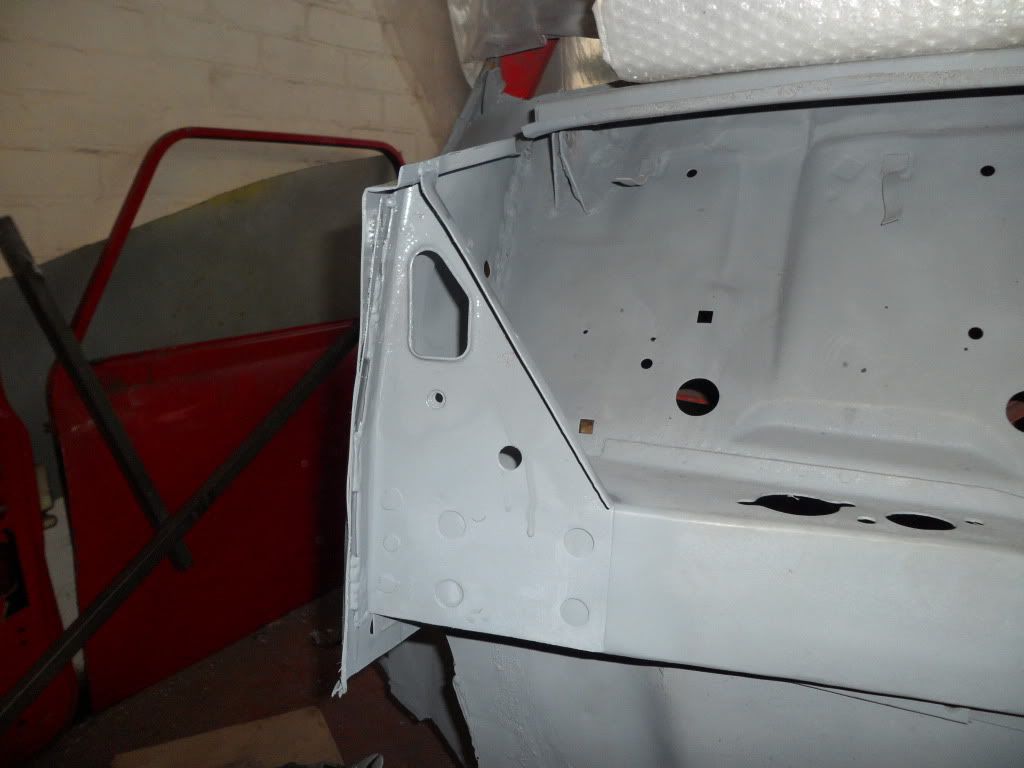
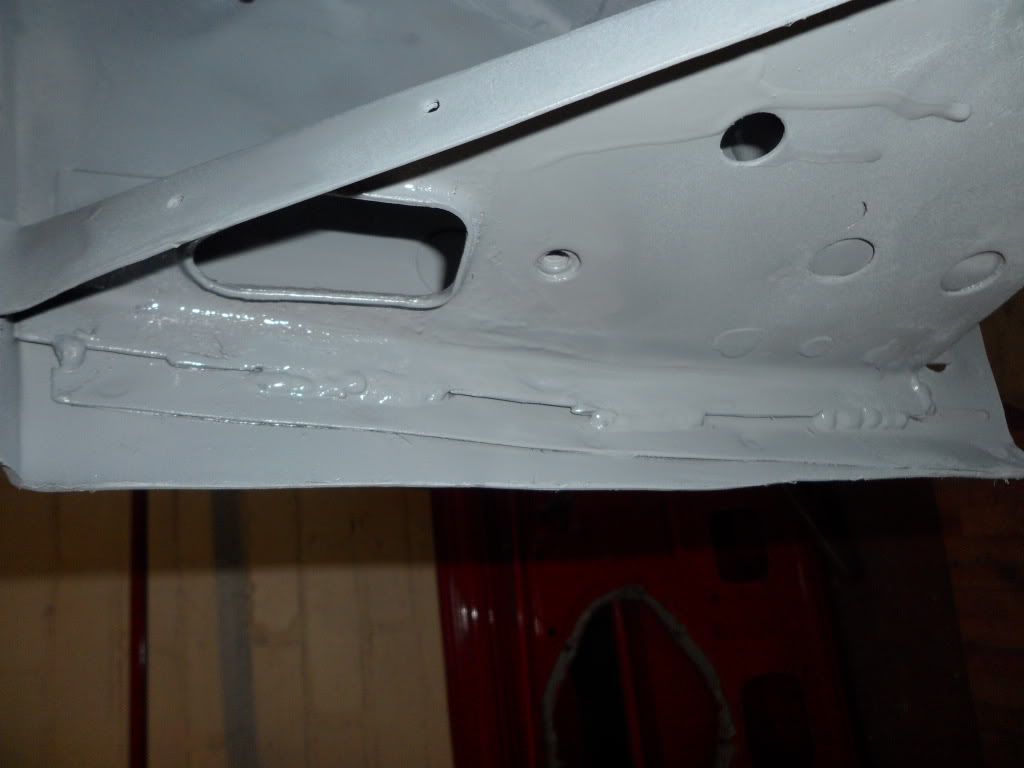
and then after what seemed like an eternity of cleaning and a little bit of primer it was left looking like this
after cleaning up and flattening this it was fitted back on
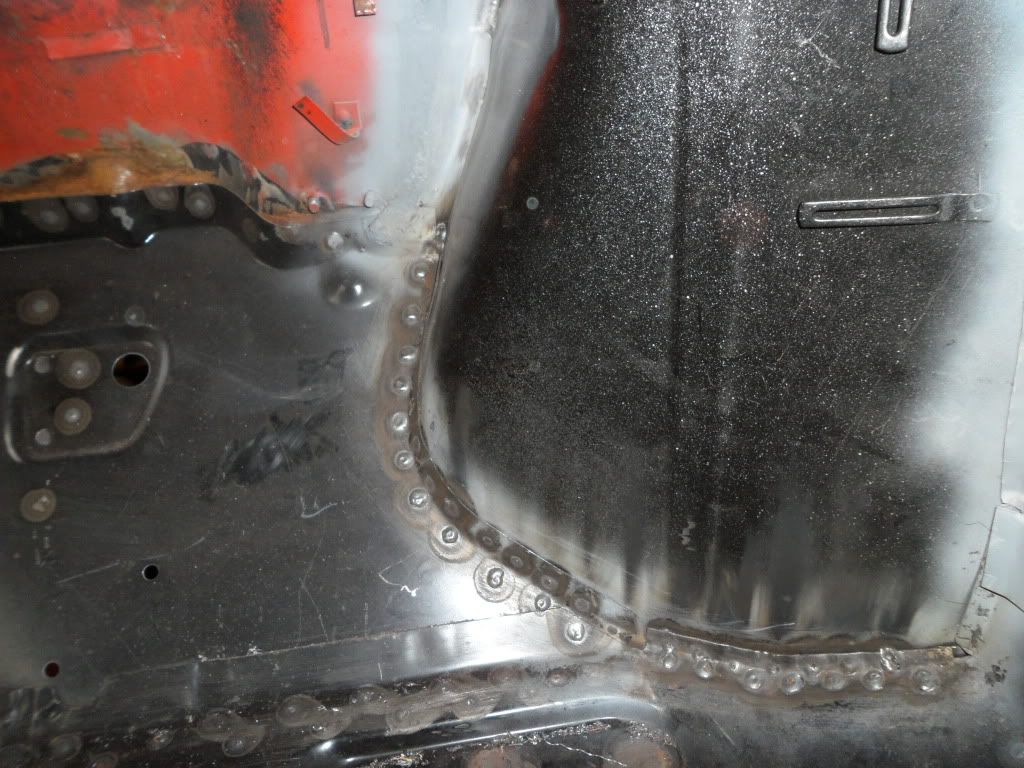
a few seam welds up the inside
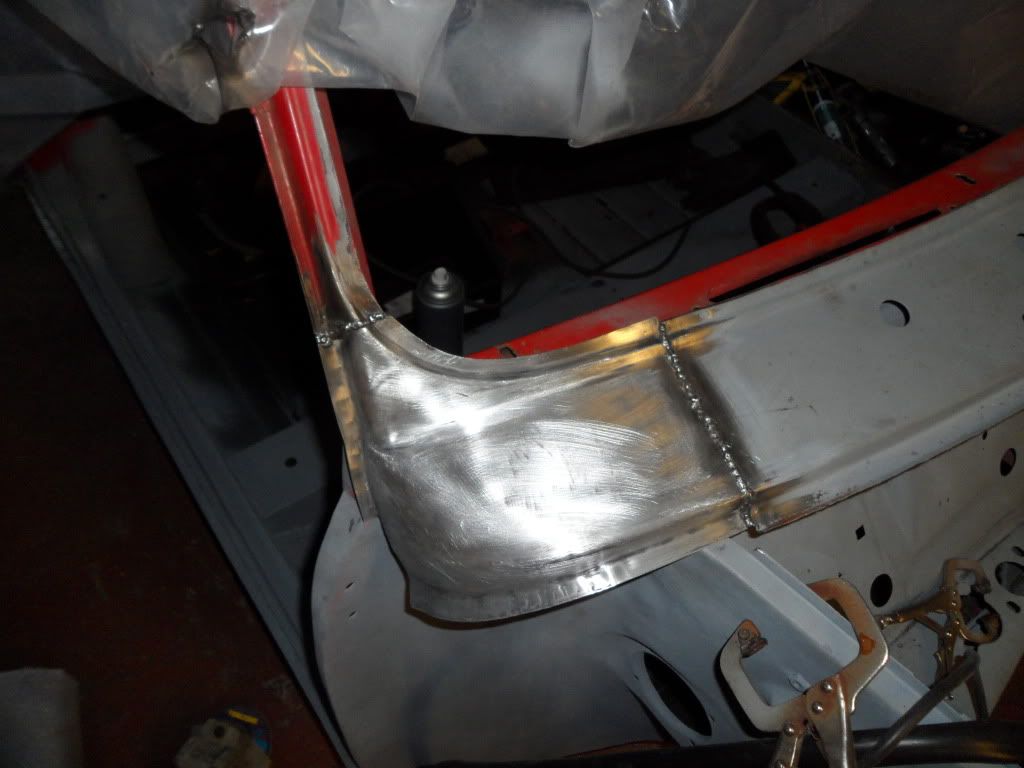
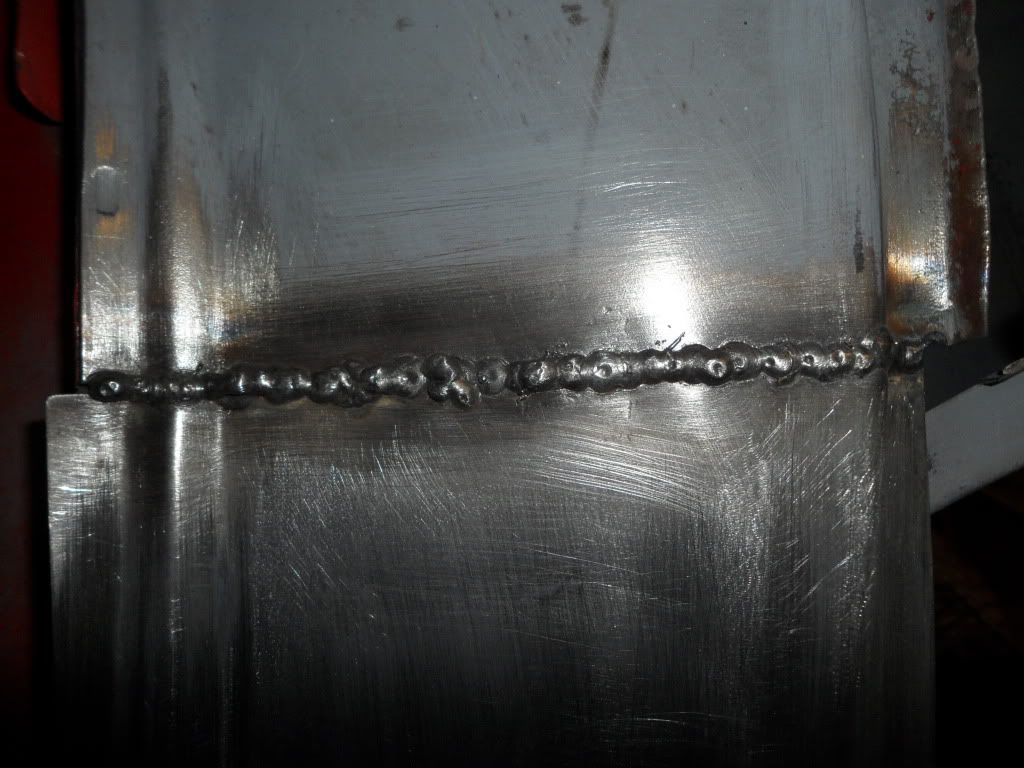
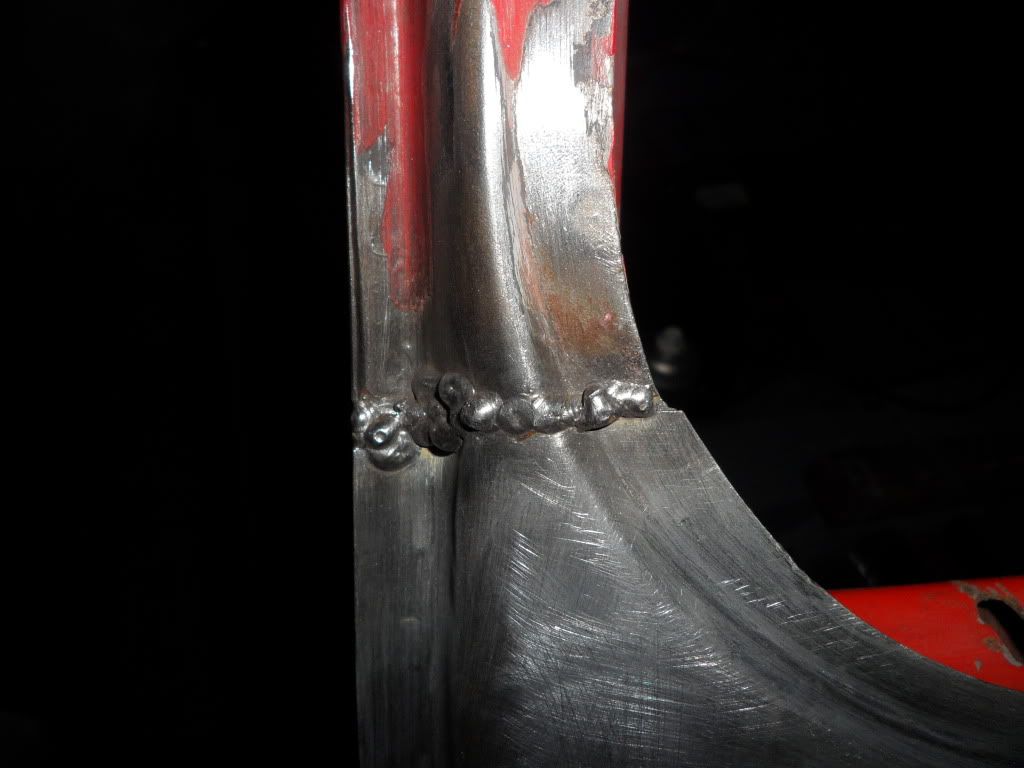
the front end is now solid as a rock and rot free so i am a very happy chappy. The last two panels to be done on the front end are the scuttle end and closure i had an hour left so made a start on the scuttle end and i need to ask how magnum even get away with selling these it took so much hammer work to get the pillar joint looking ok and it will still need some filler
i tried pulse welding with the new 0.8 wire and its going to take some getting used too blew a couple of holes but it will finish ok
and the pillar joint looks messy but i needed to add more weld to fill the gap from one to many hits of the hammer and punch
thats all for now good bit done today and should get the scuttle cleaned off soon
coments always welcome cheers darren
hi mate your project thread is great ive been studying it for the last hour, thanks for the links to panels you sent me earlier.... can you link me to the rh inner wing please and let me know how the scuttle ends fitted and where you got them thanks
#464

Posted 30 September 2013 - 08:44 PM
hi mate your project thread is great ive been studying it for the last hour, thanks for the links to panels you sent me earlier.... can you link me to the rh inner wing please and let me know how the scuttle ends fitted and where you got them thanks
Hi there mate glad you liked the thread any questions don't hesitate to ask the inner wing came from a member off here but it is this part from minispares
http://www.minispare...Back to search.
I would strongly suggest a full scuttle and genuine one at that but the ends can be fitted with a lot of work and filler ill link you to both ends and the full one
http://www.minispare...|Back to search
A cheaper less well fitting alternative
http://www.minispare...|Back to search
And then the end pieces should you go down the route just search the site for the other side
http://www.minispare...MS.aspx|Back to
And whichever route you take to repair the scuttle you will need one of the closure panels for either side
http://www.minispare...6L.aspx|Back to
Hope this is what you are looking for
Darren
#465

Posted 30 September 2013 - 09:31 PM
hi mate your project thread is great ive been studying it for the last hour, thanks for the links to panels you sent me earlier.... can you link me to the rh inner wing please and let me know how the scuttle ends fitted and where you got them thanks
Hi there mate glad you liked the thread any questions don't hesitate to ask the inner wing came from a member off here but it is this part from minispares
http://www.minispare...Back to search.
I would strongly suggest a full scuttle and genuine one at that but the ends can be fitted with a lot of work and filler ill link you to both ends and the full one
http://www.minispare...|Back to search
A cheaper less well fitting alternative
http://www.minispare...|Back to search
And then the end pieces should you go down the route just search the site for the other side
http://www.minispare...MS.aspx|Back to
And whichever route you take to repair the scuttle you will need one of the closure panels for either side
http://www.minispare...6L.aspx|Back to
Hope this is what you are looking for
Darren
thanks mate i have just bought the panels you linked me for the A post repair i didnt buy the full doorstep A post i got the part doorstep one as its alot cheaper thanks again for the links
1 user(s) are reading this topic
0 members, 1 guests, 0 anonymous users


