The Wifes Worst Nightmare 83 Full Resto
#316

Posted 13 June 2013 - 09:09 PM
#317

Posted 13 June 2013 - 09:30 PM
#318

Posted 14 June 2013 - 09:33 AM
#319

Posted 14 June 2013 - 08:26 PM
thanks as always fellas for the positive comments even when things go a little wrong
another early day today as my new job for shell requires short days when i am on training a bonus for me as the training is not needed
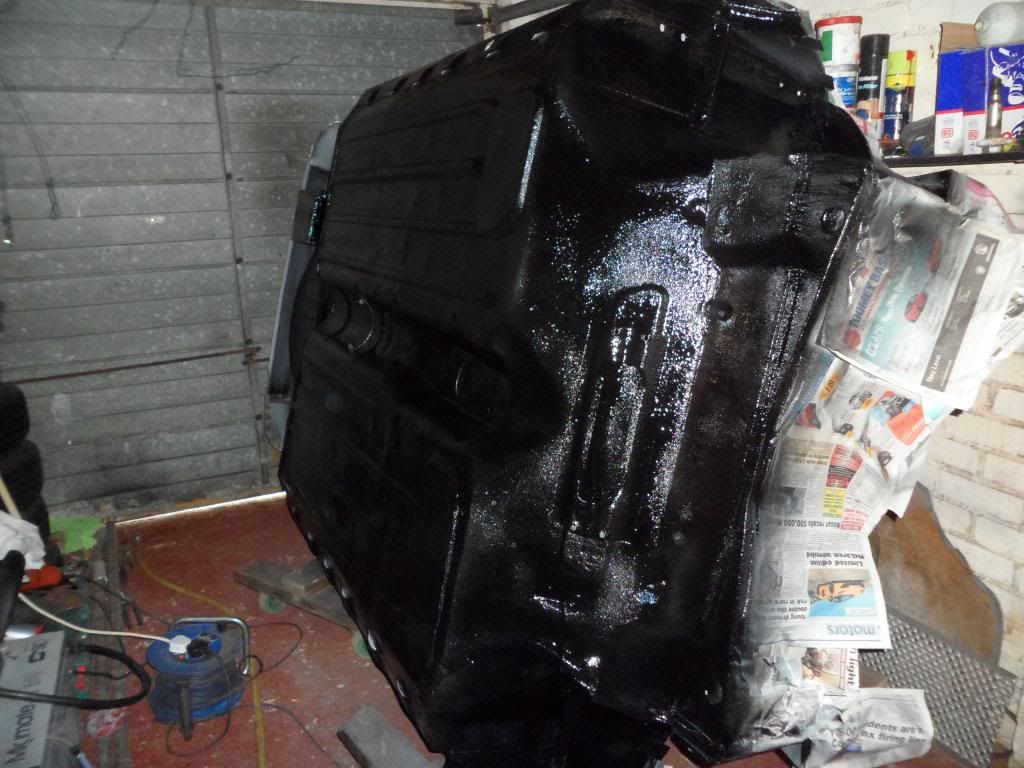
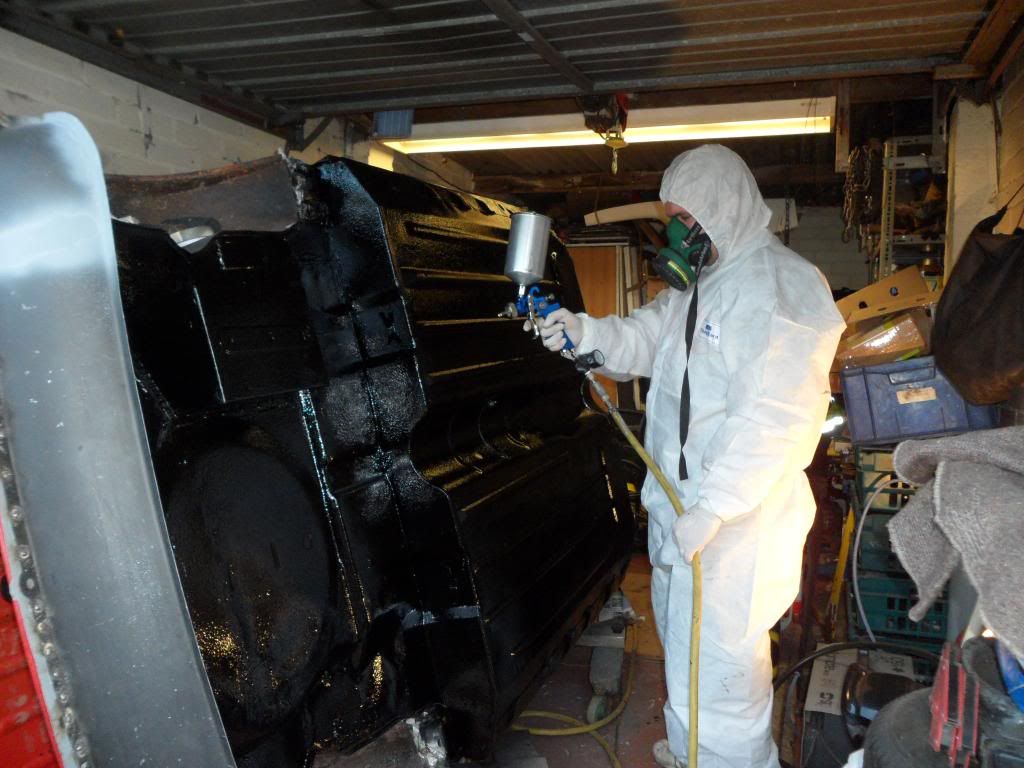
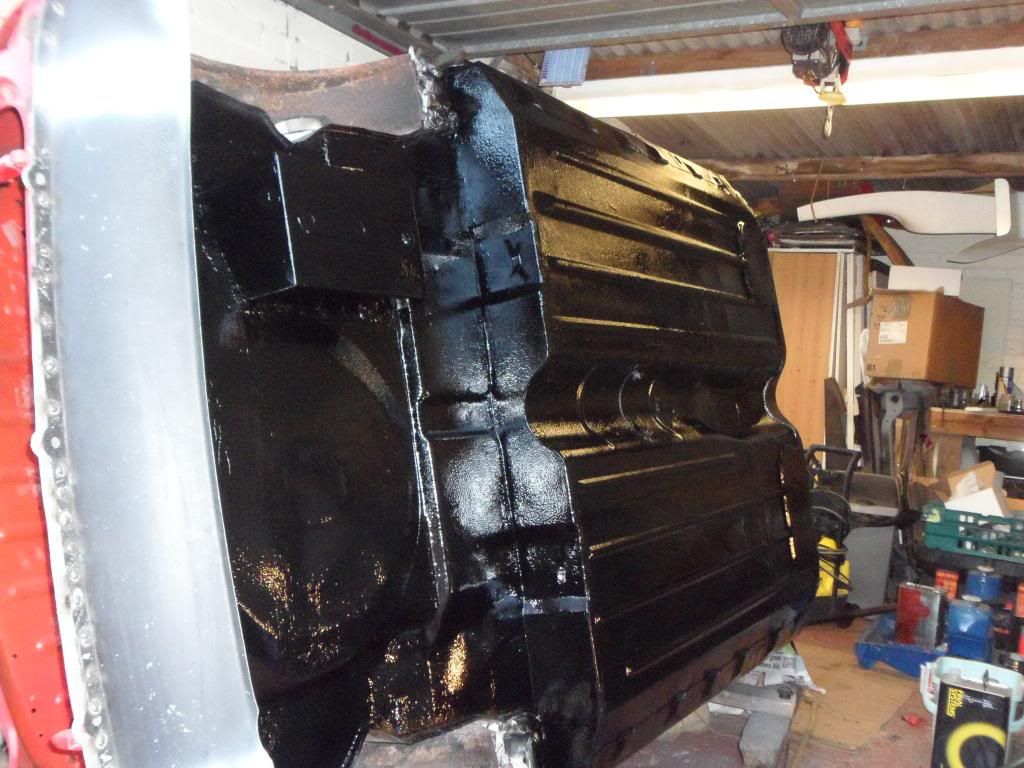
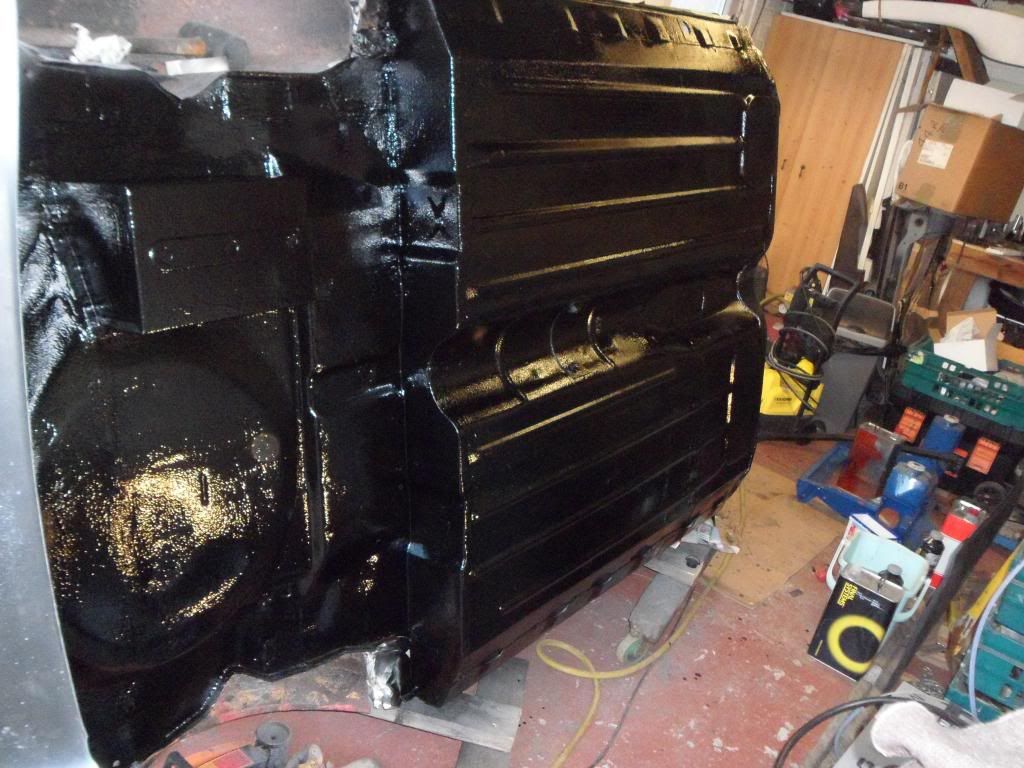
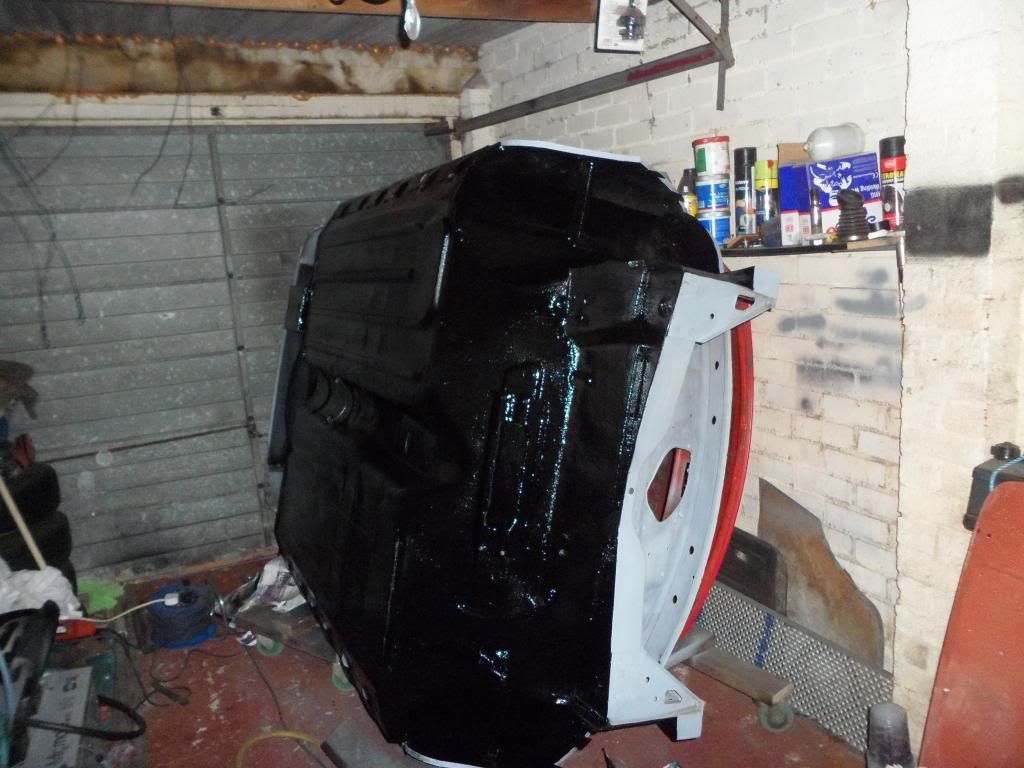
so got home today and i had to face the stonechip that had cracked but on second look it was not half as bad as first thought so i attacked it with some 80g sandpaper and that did not work at all so out came the grinder with a flappy disc buzzed over all of the bad bits and down to good stonechip that had no cracks so it was just a too thick coat then shot another thinner coat over the entire car and seeing as you can wet on wet with 2 pack paint i did this
this was after a dust coat and the first full wet coat and you can see it was a little thin in places
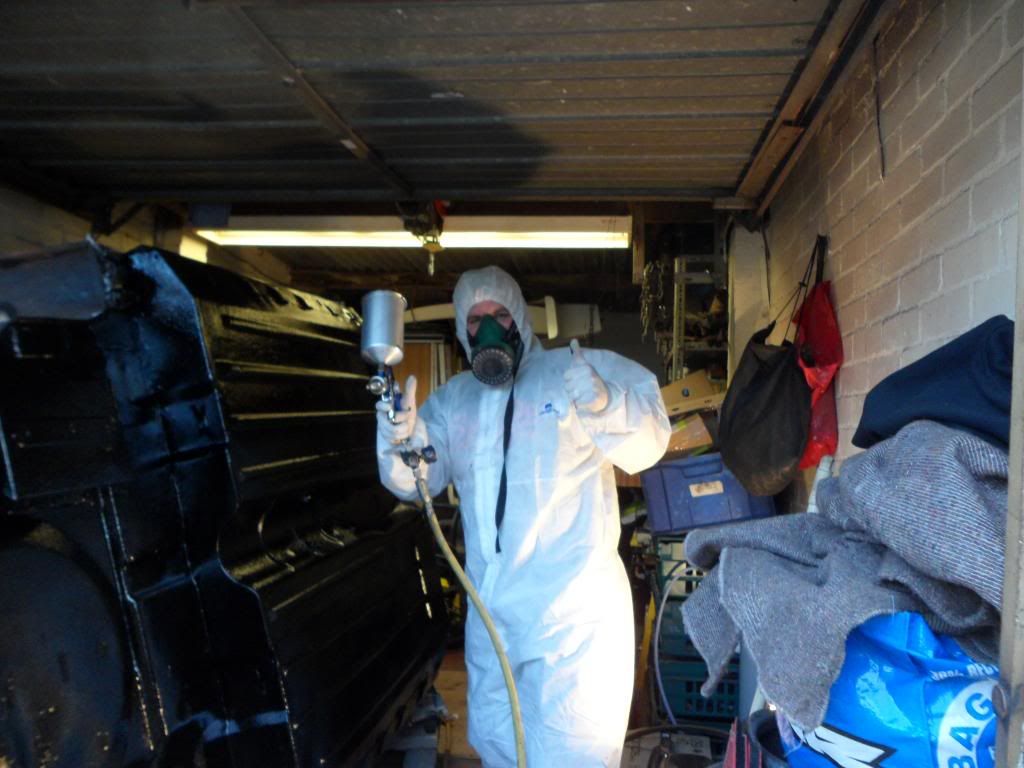
dont worry im not painting in those pics just possing i wouldnt put my little camera man through the fumes. and then the finished job three full wet coats and good even coverage
well thats it for a couple of days while i let the paint fully cure then back to the welding
cheers for looking darren
#320

Posted 15 June 2013 - 08:53 AM
Fantastic result on the floor my man. Worth rubbing back the cracked areas, at least you know it is all protected properly now.
Graham
#321

Posted 15 June 2013 - 09:22 AM
#322

Posted 15 June 2013 - 07:20 PM
Fantastic result on the floor my man. Worth rubbing back the cracked areas, at least you know it is all protected properly now.
Graham
Cheers graham it turned out better than I hoped it would and as you say no more rust, at least for a while anyway lol
#323

Posted 15 June 2013 - 07:26 PM
Darren mate looking like a pro there fella. Has learning to spray been a ball ache or is it relatively simple. Just hope I can get this 3hp 150 ltr compressor. But this is going to be a expensive month! Kinda bought a engine crane and a rollover jig too. Don't tell my missus. Were saving for the wedding next year too.
Haha I've not learned to spray yet painting stonechip takes no skill just splash it on lol the test will be the top side but I did find it takes longer than I thought to mix filter get dressed up surface prep ect before starting the paint
#324

Posted 15 June 2013 - 07:49 PM
#325

Posted 15 June 2013 - 07:50 PM
That gravitex stuff looked really good and smooth. As did the black stuff. You going to any mini shows??
Yes mate when the car is done as many as I can make
#326

Posted 19 June 2013 - 09:23 PM
Then into my next area the rear panel my car had a small bump and pushed the bottom of the passenger light hole in and my hinge rail was crusty so I used a donor part and lined it up for marking
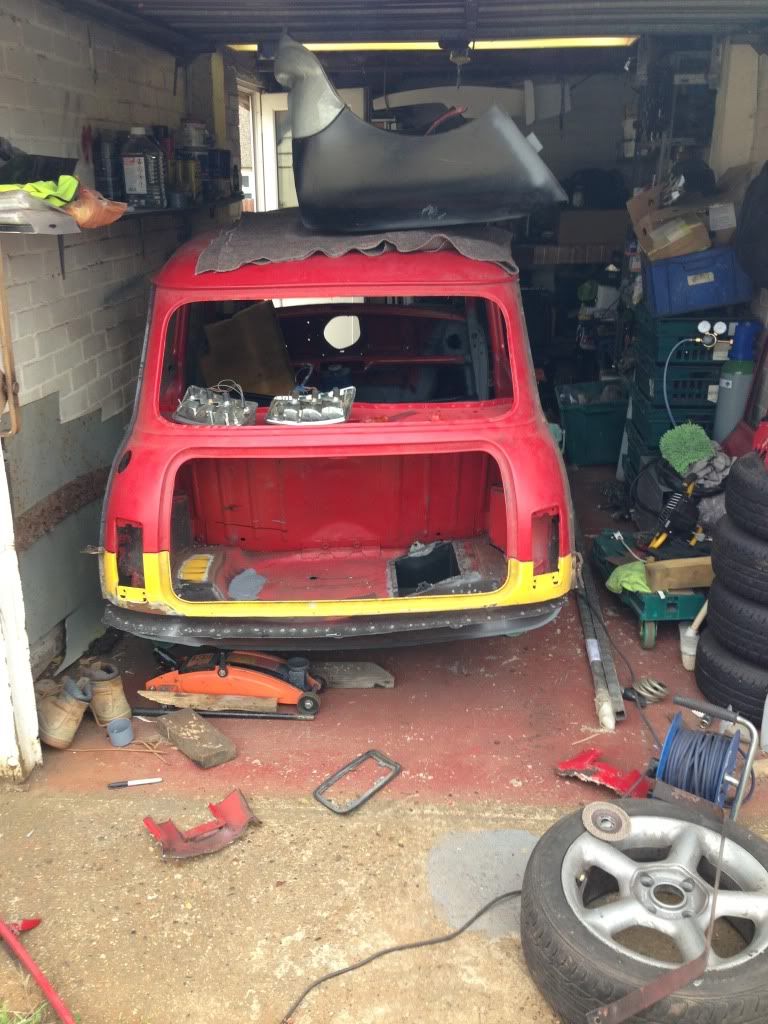
Then fitted the rear lights to see if my markings wee correct
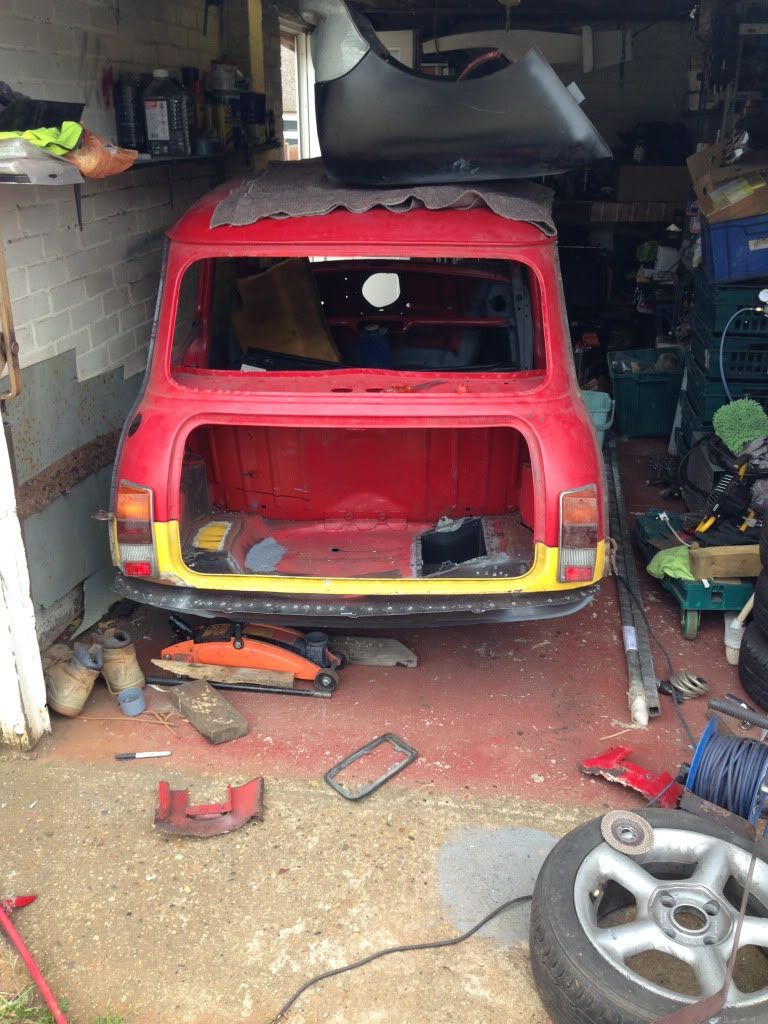
Then the final cut and trim and clamp it in and refit the lights again
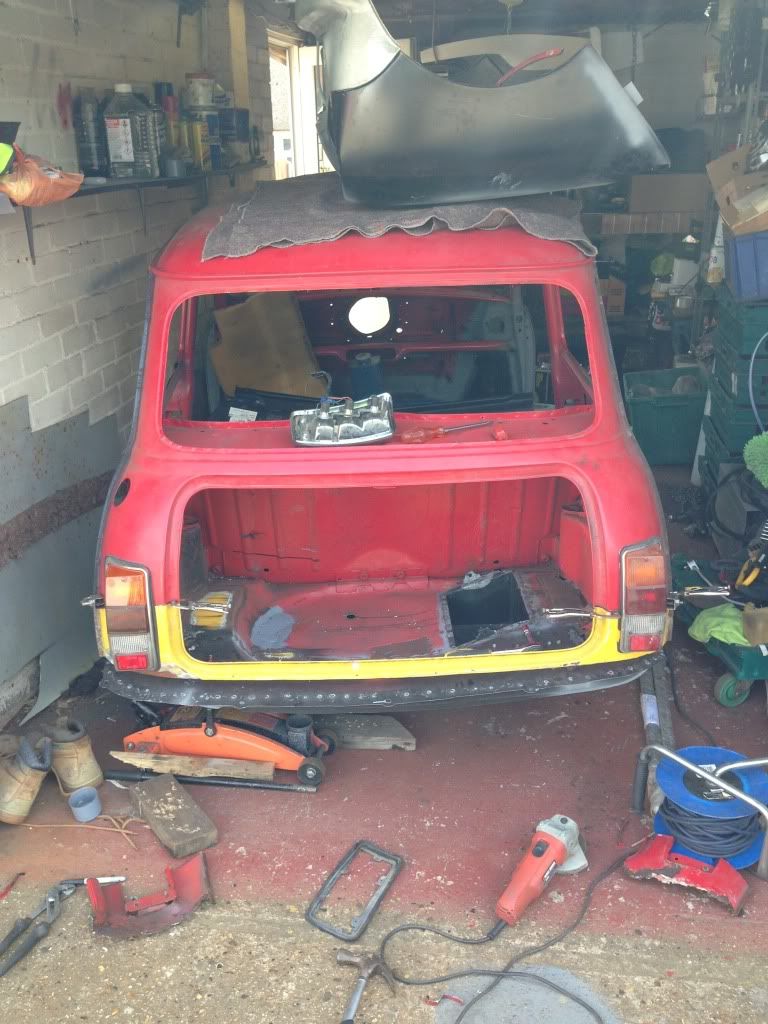
Lines up really nice and the lights fit perfect
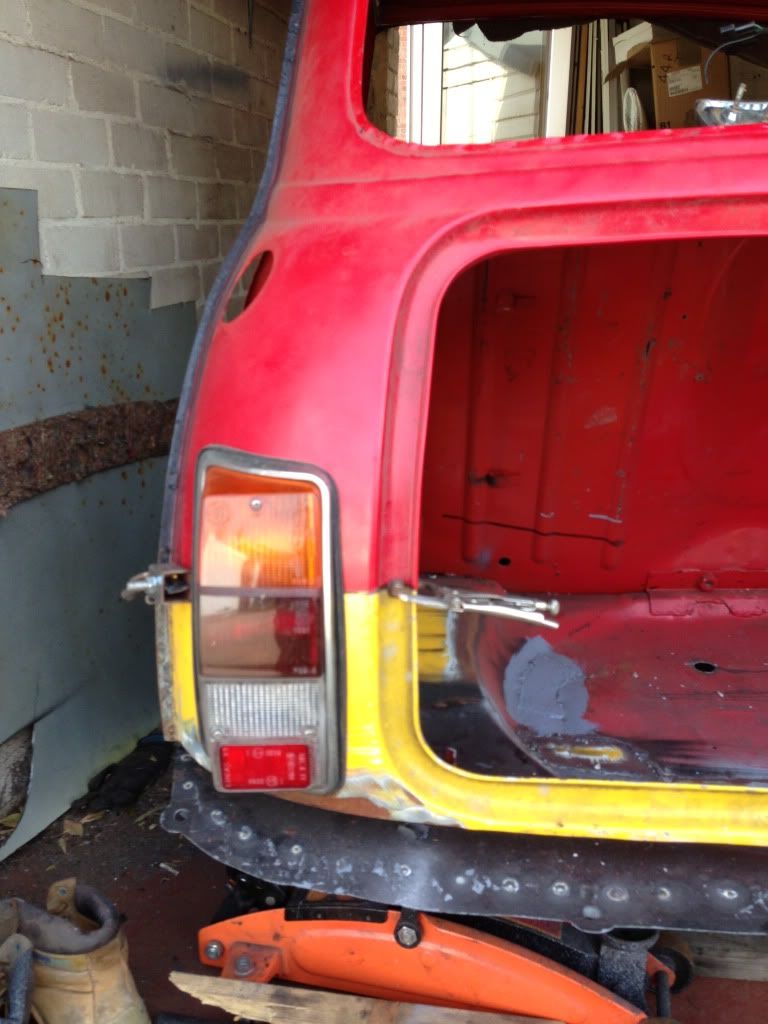
And this is the sorry state it was left today if I get off early again ill weld it in but going on holiday Friday for a week so may not get it done
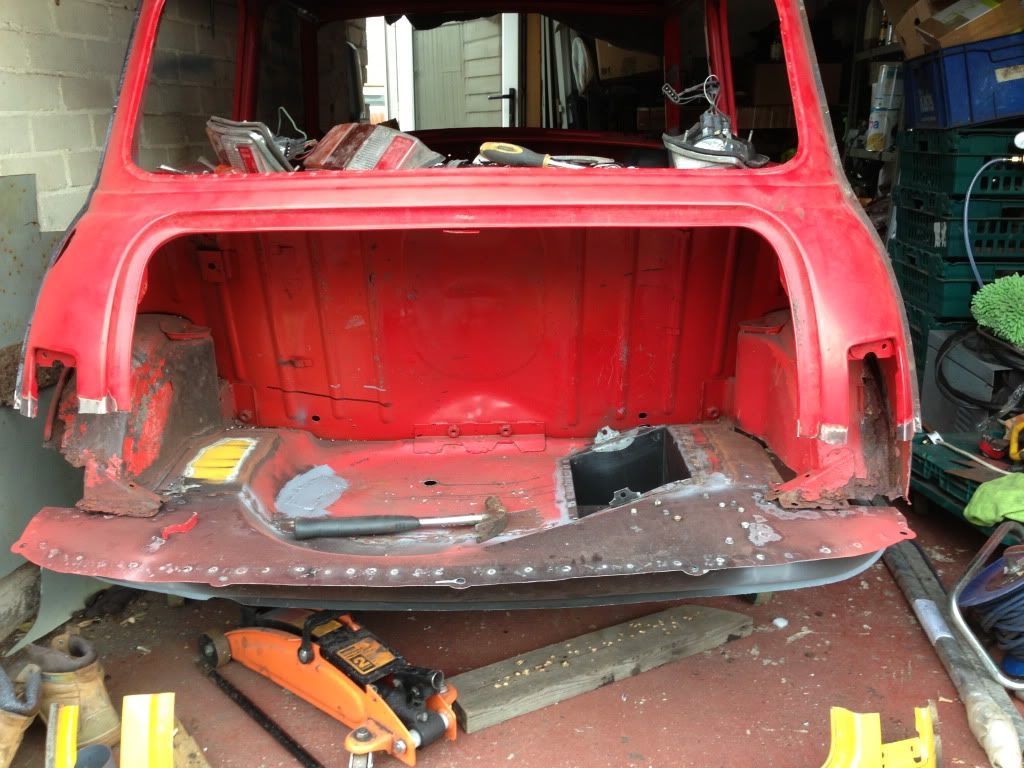
Thanks for looking. Darren
#327

Posted 20 June 2013 - 12:16 AM
#328

Posted 20 June 2013 - 12:44 PM
Looking good bud reading this is like reading mine lol all the same repairs just in different order lol keep it up bud
Cheers mate although after seeing your latest discovery I would say you are slightly worse off lol
#329

Posted 20 June 2013 - 08:44 PM
#330

Posted 20 June 2013 - 09:02 PM
Nice job my man. Just a skim of filler
cheers graham i need to rebuild the bottom part of it to meet the boot floor then deseam the bumper lip so maybe a large skim of filler lol
1 user(s) are reading this topic
0 members, 1 guests, 0 anonymous users


