Jump to content


Photo
- - - - -

The Wifes Worst Nightmare 83 Full Resto


  • Please log in to reply
920 replies to this topic

#301 Minidarren83

Minidarren83

    One Carb Or Two?

  • Members
  • PipPipPipPipPipPipPip
  • 1,207 posts
  • Location: Stanford Le hope

Posted 05 June 2013 - 06:02 PM

Graham i did think you may have a had a few jars lol,  hugh thanks for the comment at the moment i cant wait for the weldeing to be done
 
Update time!!
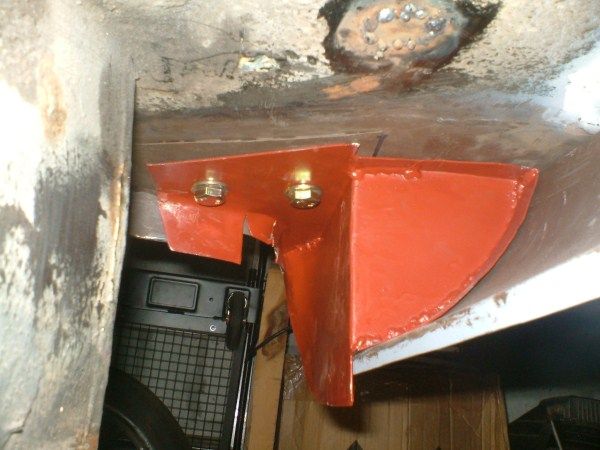
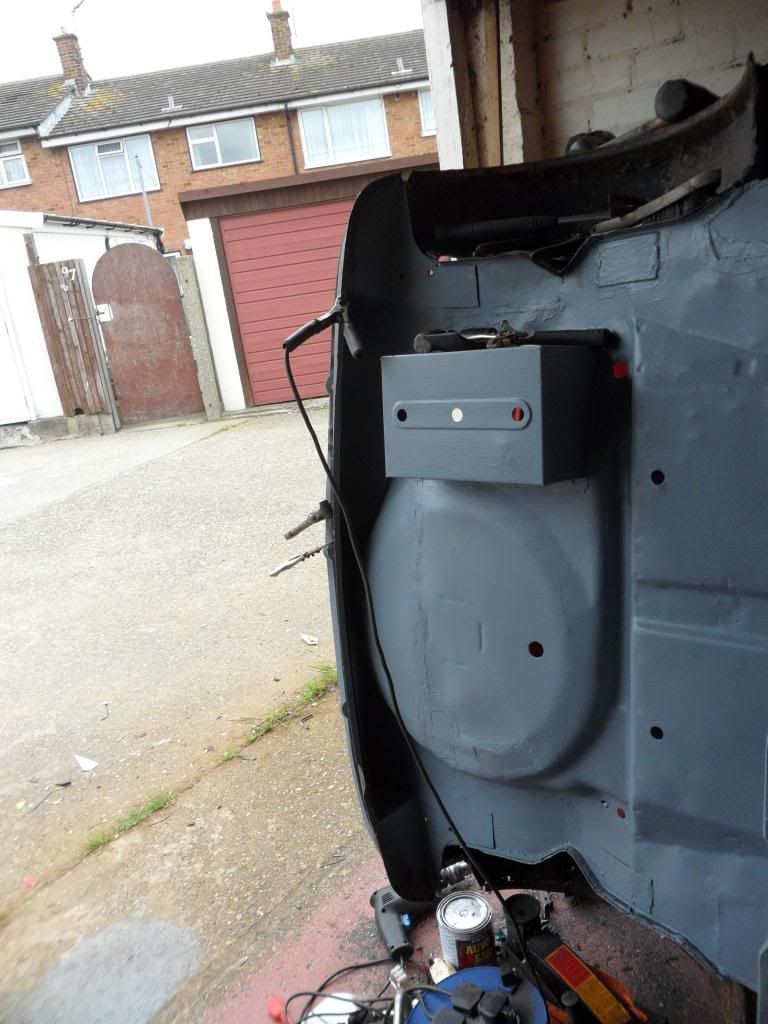
once again i got an early day from work so got in the garage for a couple of hours first off was to drill a few holes in the subframe stiffeners and paint the backs with zinc primer and bolt them back in
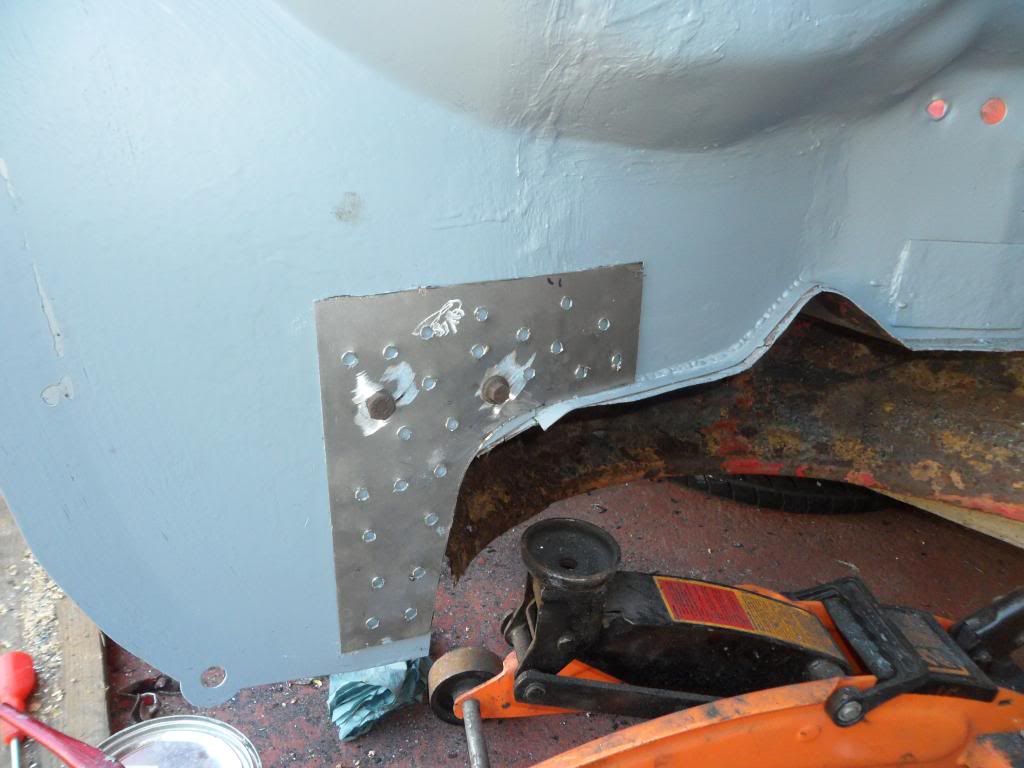
 
SAM_1767_zps84d4cc41.jpg
 
then weld it in and clean it off
 
SAM_1768_zpsed4dbe54.jpg
 
SAM_1769_zps2c7b3a21.jpg


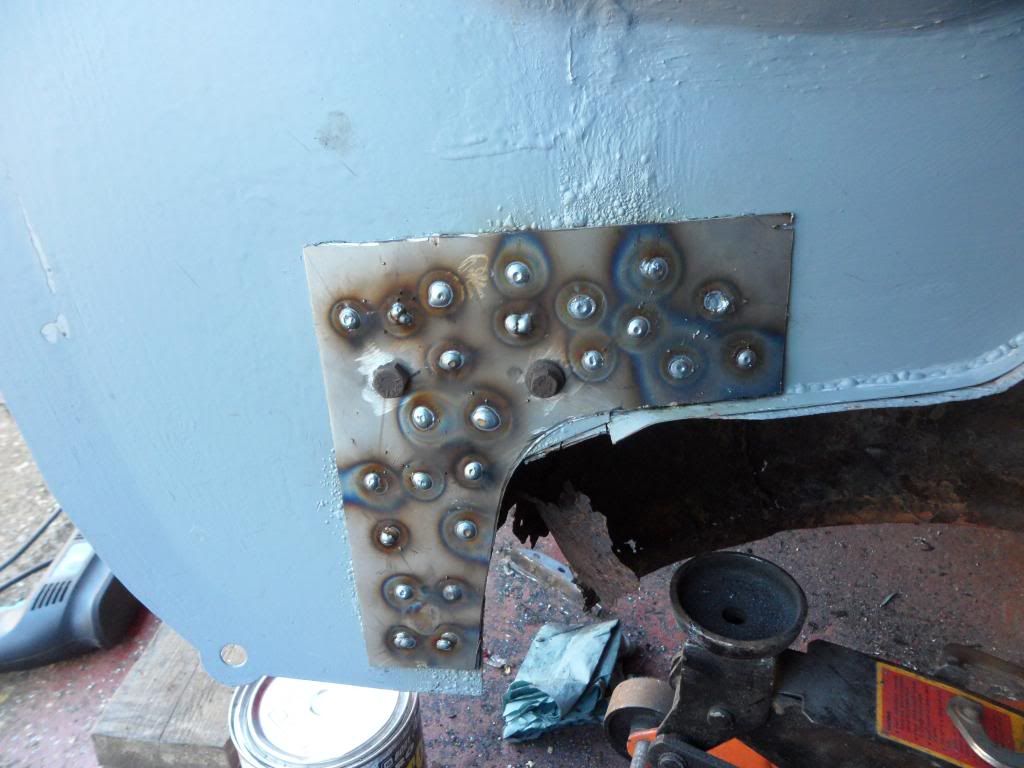
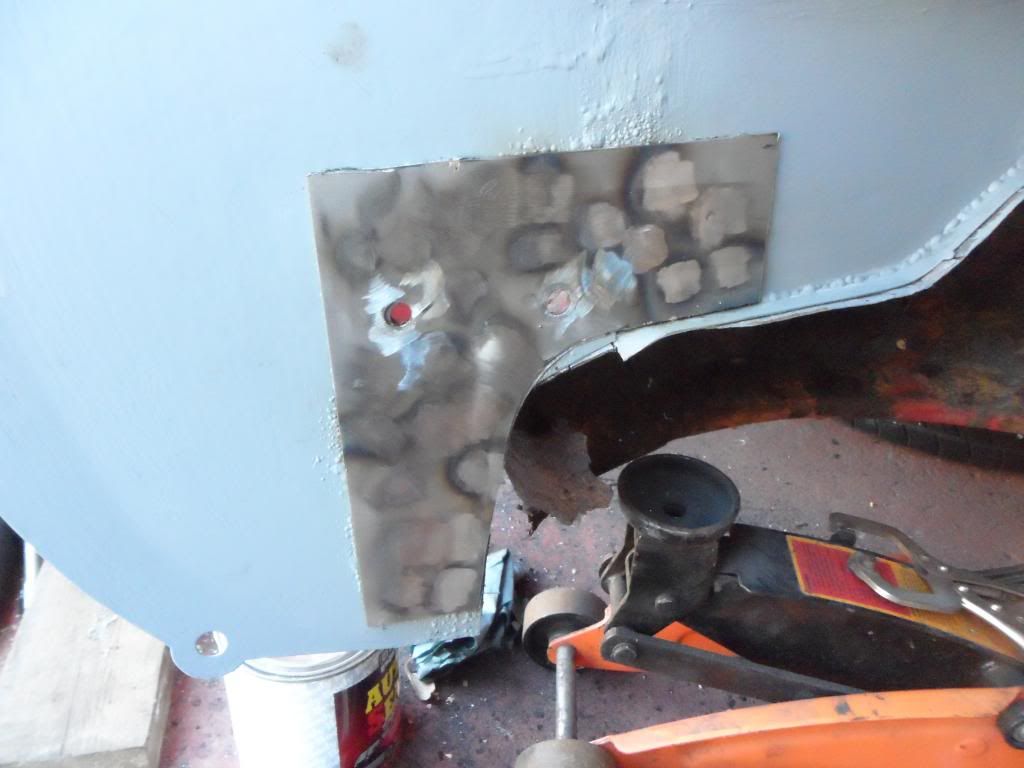
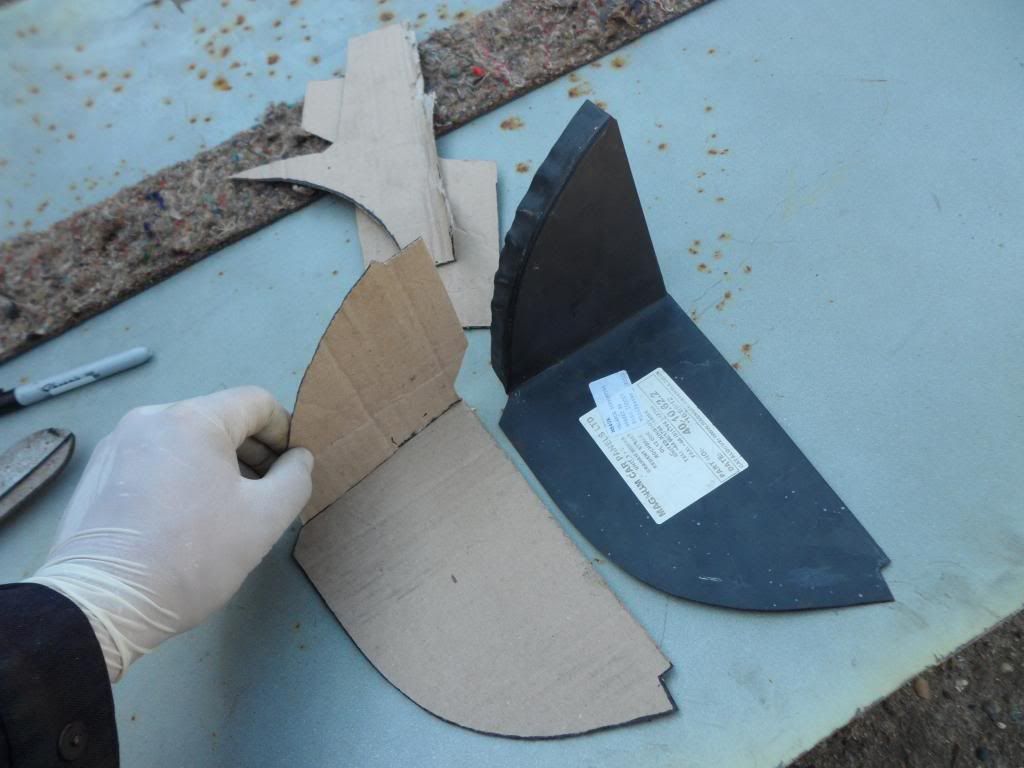
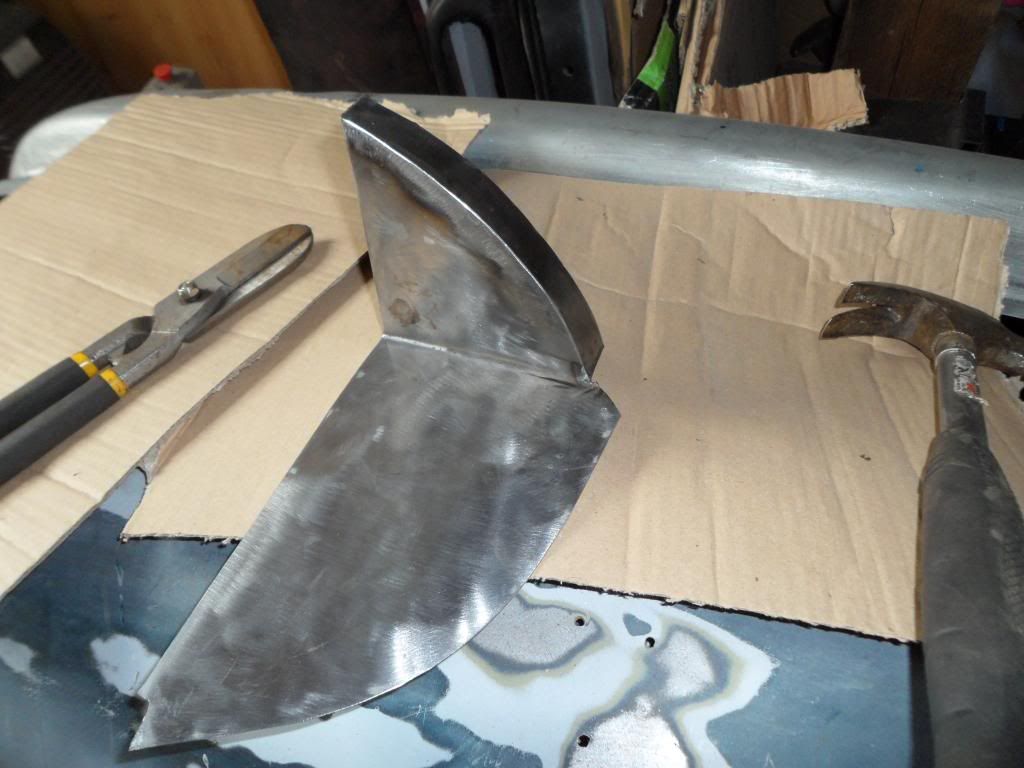
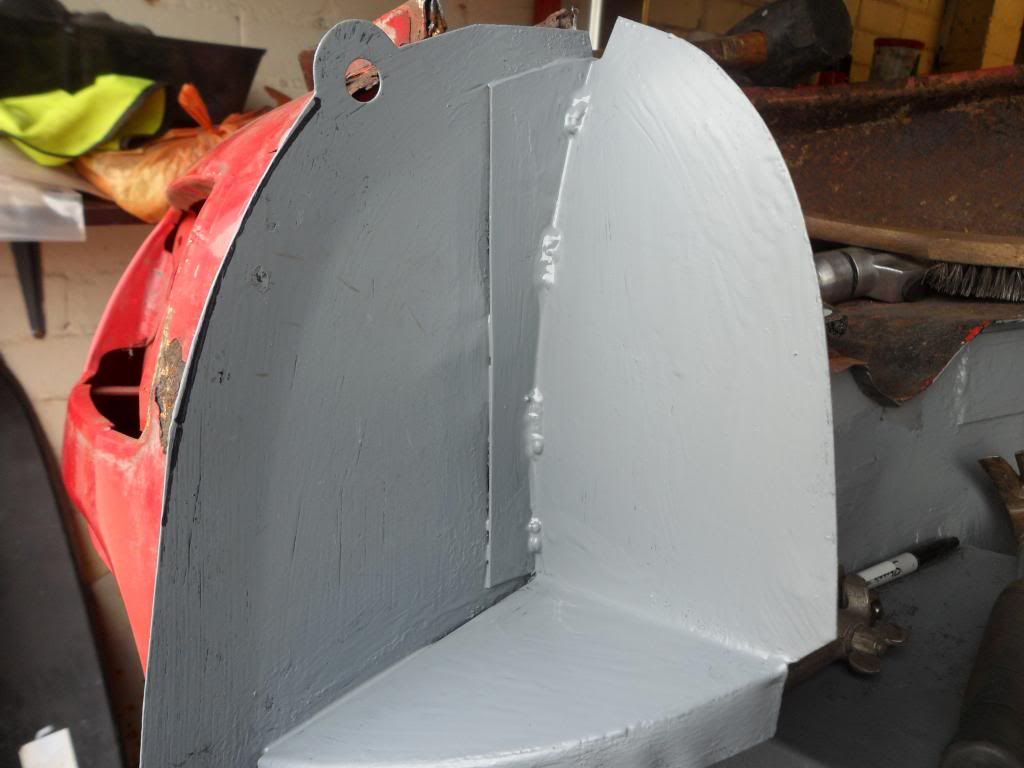
next up its almost time to fit the valance and i only bought one corner close out so set about making one, first of a cardboard template
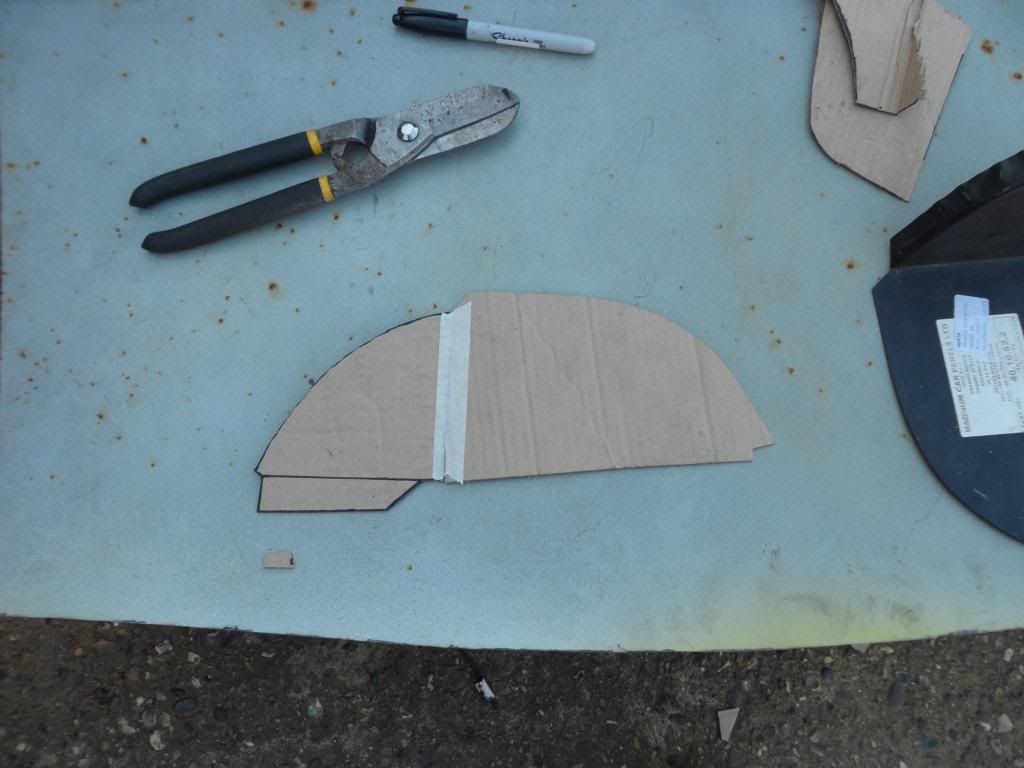
 
SAM_1770_zps0345adfb.jpg
 
SAM_1771_zps7a368c6a.jpg
 
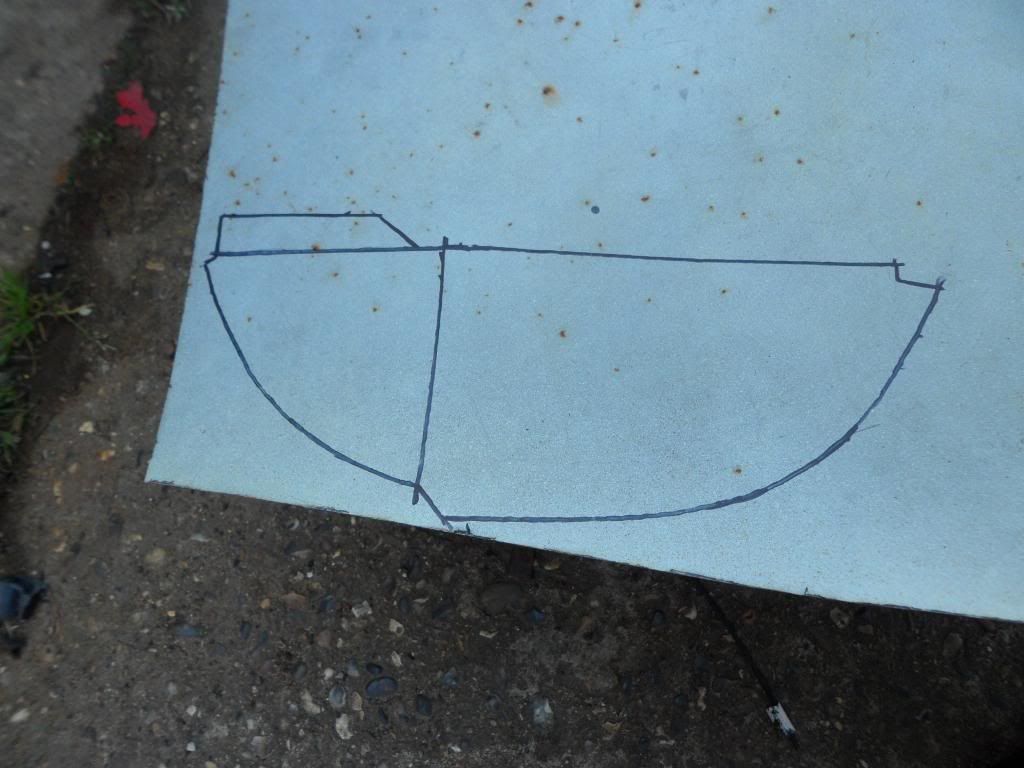
then transfer to steel
 
SAM_1772_zps41dd4619.jpg
 
then cut out and all cleaned of old paint
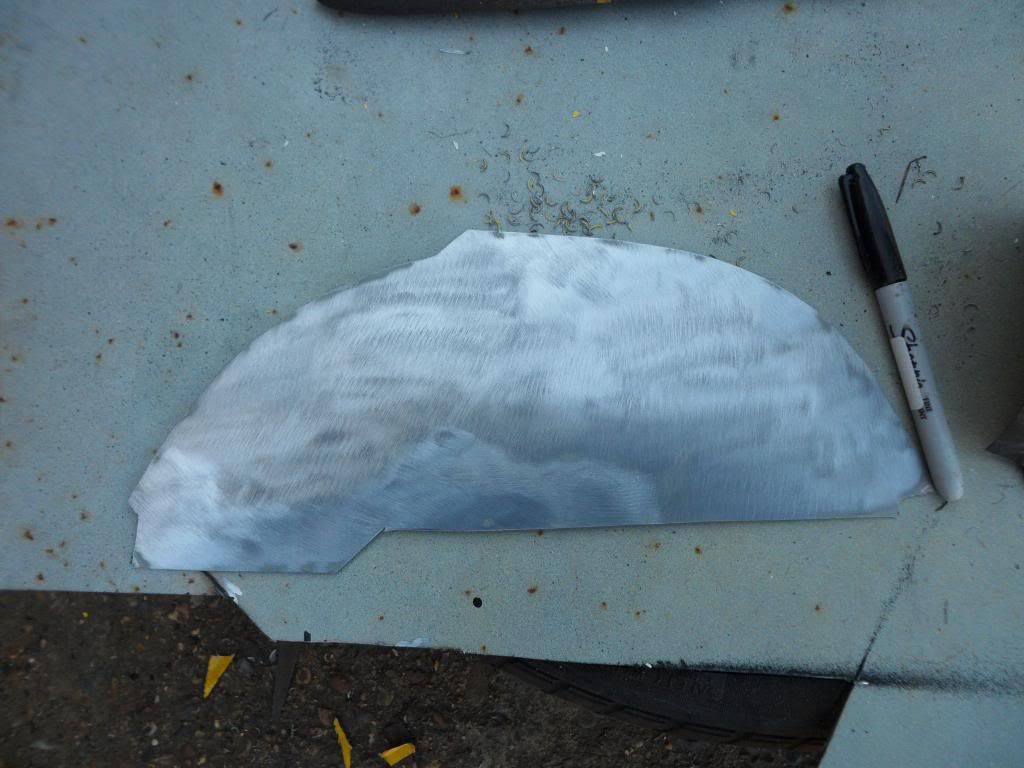
 
SAM_1773_zps22dcac89.jpg
 
next all was left to do is bent it up and trim to fit and it fits better than the one i bought!
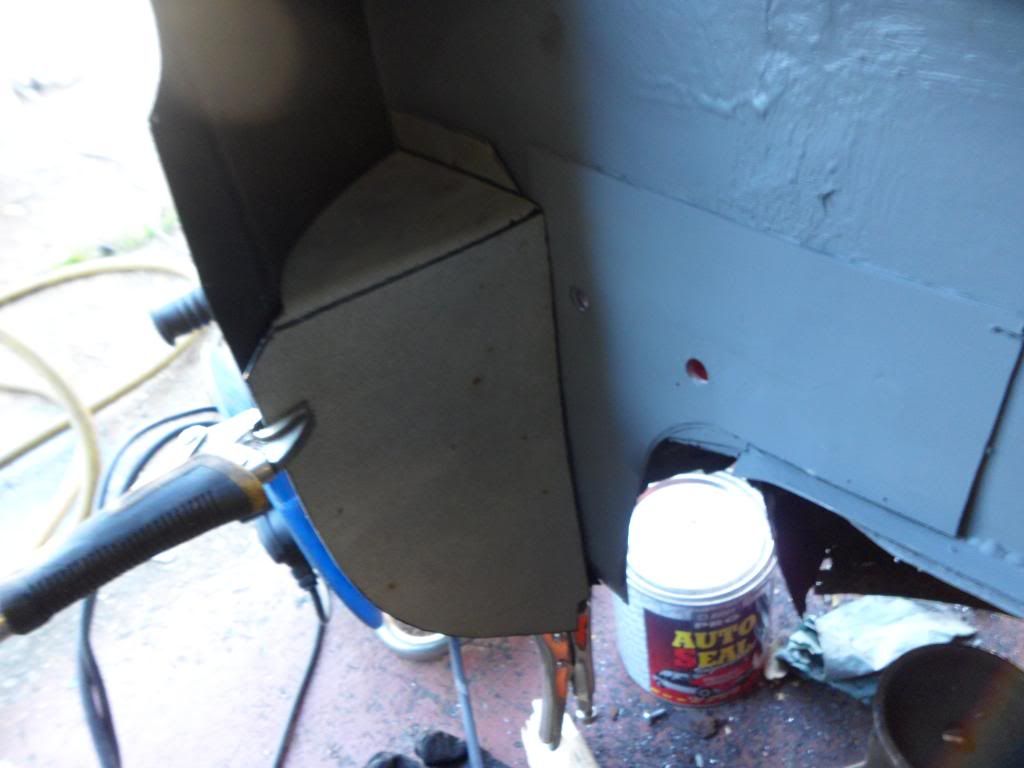
 
SAM_1775_zps421aa064.jpg
 
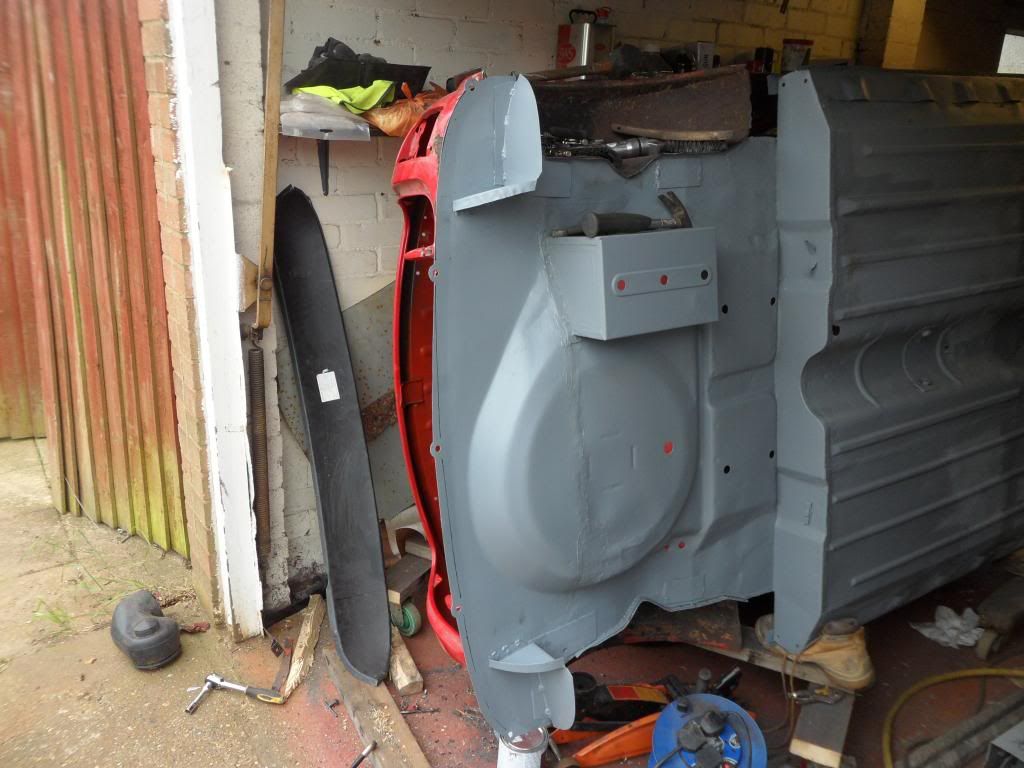
and this is how i left it today i just need to weld on a lip for the new panel to weld to the valance then i can fit the closouts as they are all marked up
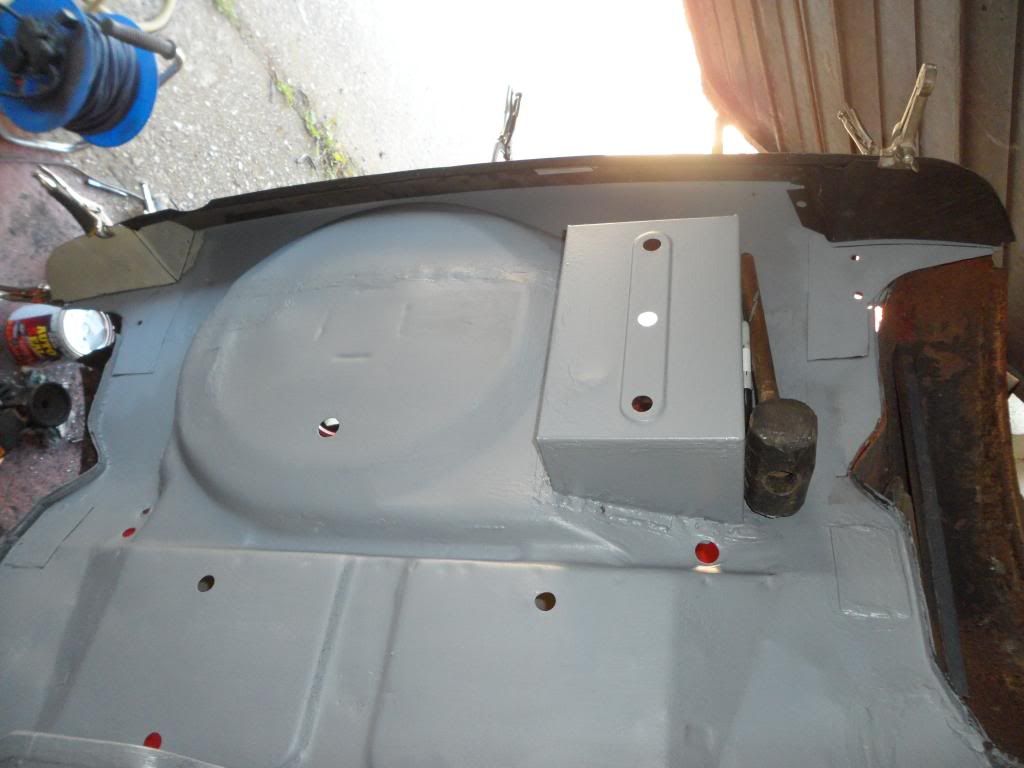
 
SAM_1782_zps212224fd.jpg
 
hopefully get more done this week or at the weekend should see the floor painted soon.  Cheers darren


Edited by Minidarren83, 05 June 2013 - 06:06 PM.


#302 Skortchio

Skortchio

    Camshaft & Stage Two Head

  • Members
  • PipPipPipPipPipPipPipPip
  • 1,596 posts
  • Location: Basildon
  • Local Club: EMC

Posted 05 June 2013 - 06:18 PM

A few holes, eh ;-)


Nice work fella. Although that last photo does screw with the eyes a bit!


#303 Minidarren83

Minidarren83

    One Carb Or Two?

  • Members
  • PipPipPipPipPipPipPip
  • 1,207 posts
  • Location: Stanford Le hope

Posted 05 June 2013 - 06:25 PM

A few holes, eh ;-)
 
Nice work fella. Although that last photo does screw with the eyes a bit!


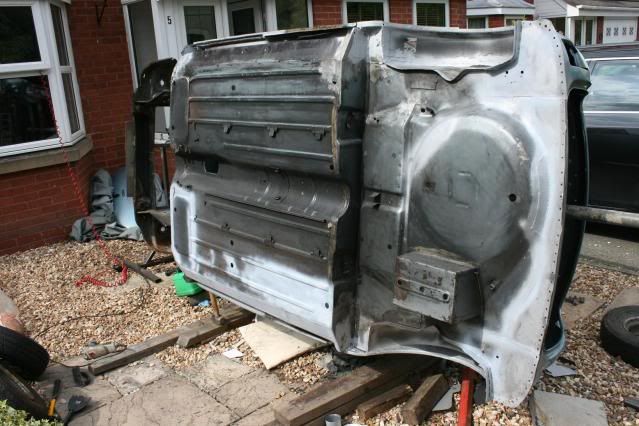
I see what you mean I have the car on the side and had to half shut the garage door and take a crazy angle pic to make the flash go off lol

#304 alex-95

alex-95

    I am THE CLAMP MAKER

  • TMF+ Member
  • PipPipPipPipPipPipPipPipPipPip
  • 6,019 posts
  • Location: l

Posted 05 June 2013 - 06:40 PM

Look's good darren, The valance closures should have another peice on for another stregthener fo the subframe like the one's I made.

DSCF2446.jpg


#305 grahama

grahama

    Up Into Fourth

  • Members
  • PipPipPipPipPipPipPipPipPip
  • 2,442 posts
  • Location: Warrington
  • Local Club: None in my area !!

Posted 05 June 2013 - 07:41 PM

Nice Bob, very nice,  hic !!


One thing as I'm sure u will do,  don't weld them in without the sub in place or space for subby may get tight if in wrong place, (experience talking here lol).


You do seem to be missing the lip at the bottom of the wheel arch which extends round the stiffener,  you can see it in Alex's pic.


Graham


#306 Minidarren83

Minidarren83

    One Carb Or Two?

  • Members
  • PipPipPipPipPipPipPip
  • 1,207 posts
  • Location: Stanford Le hope

Posted 05 June 2013 - 09:24 PM

Look's good darren, The valance closures should have another peice on for another stregthener fo the subframe like the one's I made.
DSCF2446.jpg


Hi there Alex thanks for the input according to the somerfords exploded diagrams there is three layers in this area consisting of boot floor rear valance closure/subframe reinforcement and inside the boot a wheel arch to boot floor subframe bracket, I have just made the valance closures and subby reinforcement in two parts for ease of replacement in the future, hope this makes sense

#307 Minidarren83

Minidarren83

    One Carb Or Two?

  • Members
  • PipPipPipPipPipPipPip
  • 1,207 posts
  • Location: Stanford Le hope

Posted 05 June 2013 - 09:29 PM

Nice Bob, very nice,  hic !!
 
One thing as I'm sure u will do,  don't weld them in without the sub in place or space for subby may get tight if in wrong place, (experience talking here lol).
 
You do seem to be missing the lip at the bottom of the wheel arch which extends round the stiffener,  you can see it in Alex's pic.
 
 
Graham


Hi there graham good to have you sober again lol

I saw on your thread the trouble you had with not enough space for the trunnion so with that in mind I've bolted the trunnions on when marking out where to weld them as for the bit in the arch mine where non existent and just thought it was part if the arch!! Oh well looks like ill be adding that on then lol

#308 grahama

grahama

    Up Into Fourth

  • Members
  • PipPipPipPipPipPipPipPipPip
  • 2,442 posts
  • Location: Warrington
  • Local Club: None in my area !!

Posted 05 June 2013 - 09:45 PM

Think this is the best shot I have that shows the arch lip.   As you can see it should extend down past the boot floor,  don't know why or if it is really needed but that's how it was originally. 


bitofprimer.jpg


I guess it no lip works for you then don't make extra work for yourself.


Graham


#309 Minidarren83

Minidarren83

    One Carb Or Two?

  • Members
  • PipPipPipPipPipPipPip
  • 1,207 posts
  • Location: Stanford Le hope

Posted 09 June 2013 - 06:52 PM

thanks for the picture graham i think i am going add the lip on when i put the arches in as it needs trimming back in that area around the arches again because i have no boundary at the moment to put the lip on lol


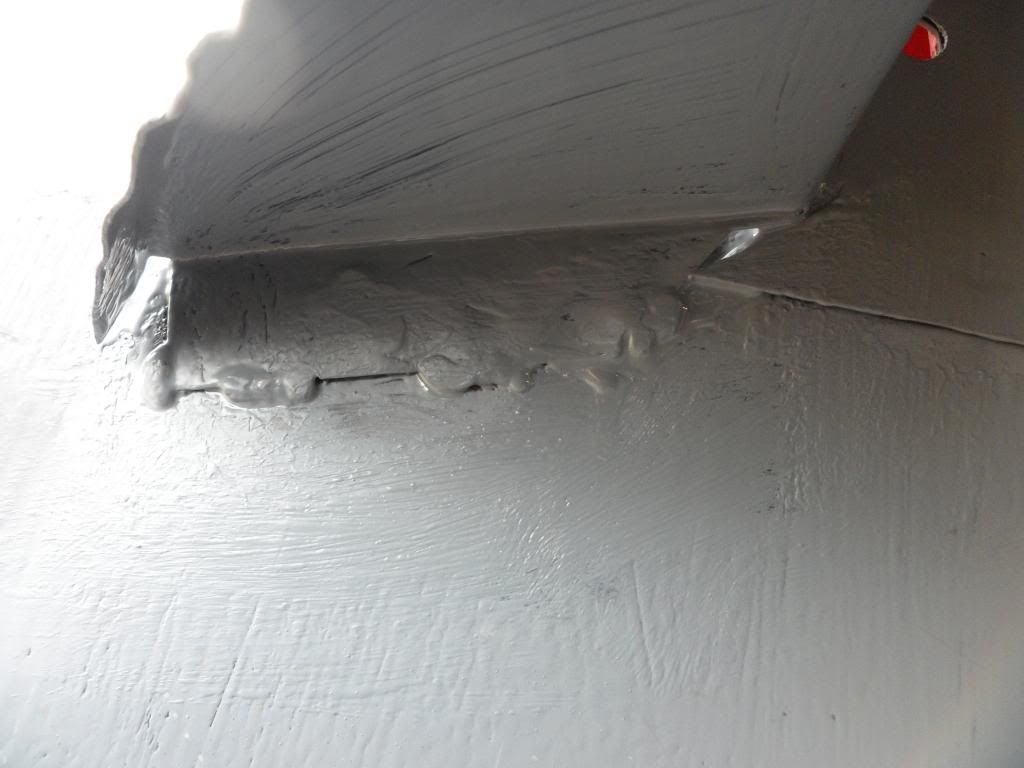
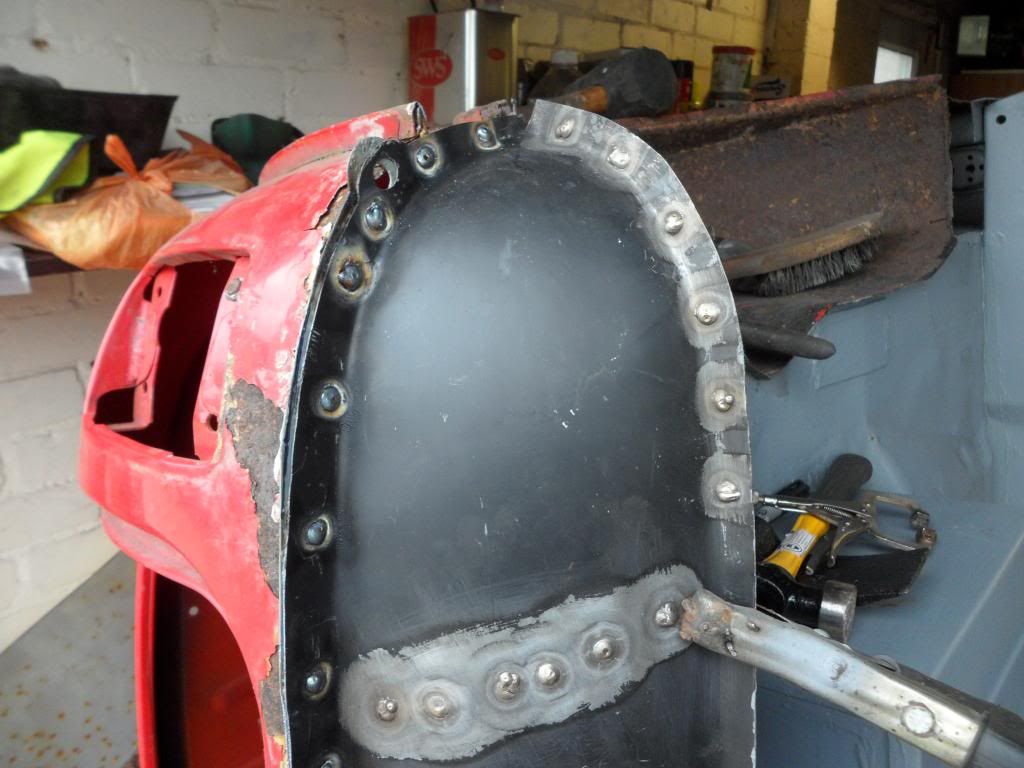
Another couple of hours in the garage today and the first job was to weld on the lip for the valance closure and it came out prettyt well


SAM_1783_zpsd293edc0.jpg


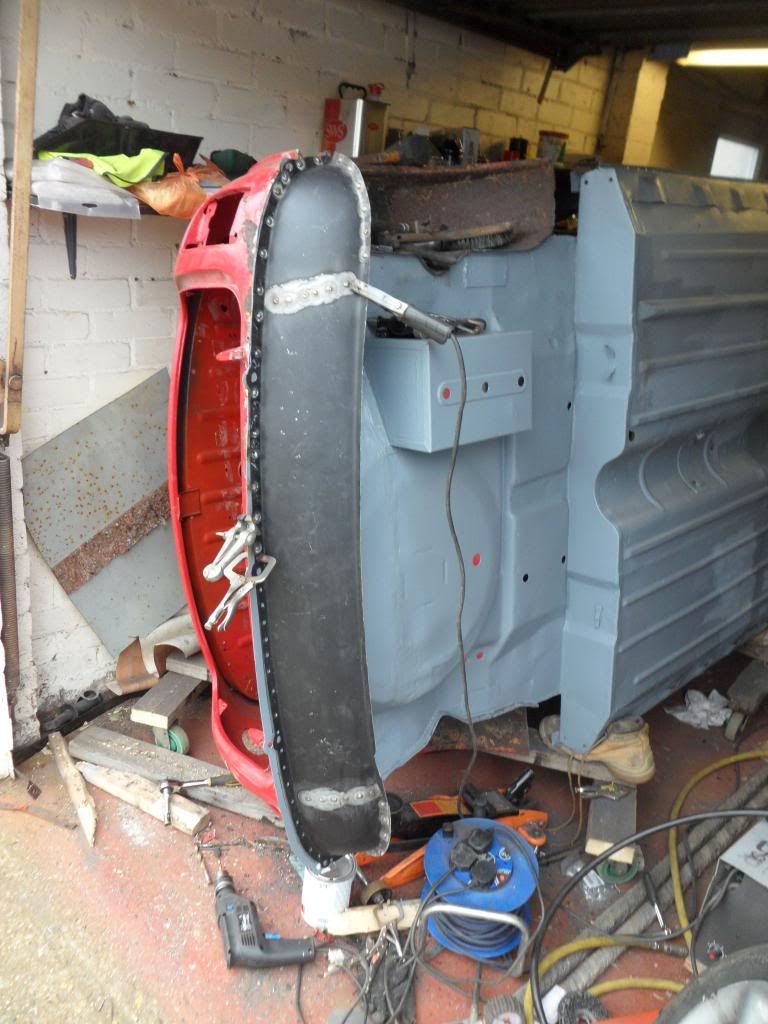
and then final fitting marking and welded the pair on


SAM_1784_zps6464ade9.jpg


i put a few little seams on the insiede and also plugged and short seams on the outside lip to the boot floor


SAM_1785_zps248af840.jpg


SAM_1786_zps4c49b34a.jpg


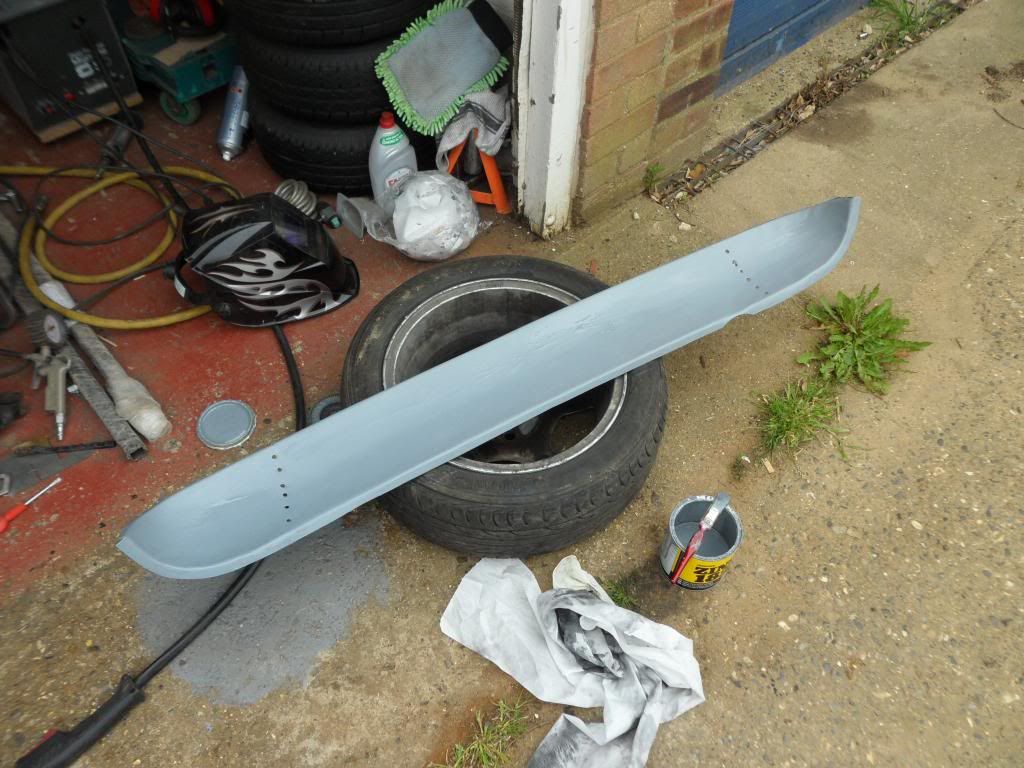
Then the inside of the valance was stripped back to bare metal marked drilled and zinc primed


SAM_1787_zps99f18551.jpg


and then started the plugathon got both ends plugged up and half way down the boot lip and was called in for dinner but this is how it now stands


SAM_1789_zps0d358df2.jpg


SAM_1788_zpsb182d3eb.jpg


SAM_1790_zps3f20c45f.jpg


hope to get this finished off in the week and start prep for painting the underside, as always comments welcome darren


#310 Minidarren83

Minidarren83

    One Carb Or Two?

  • Members
  • PipPipPipPipPipPipPip
  • 1,207 posts
  • Location: Stanford Le hope

Posted 13 June 2013 - 07:41 PM

so another mid week update!!


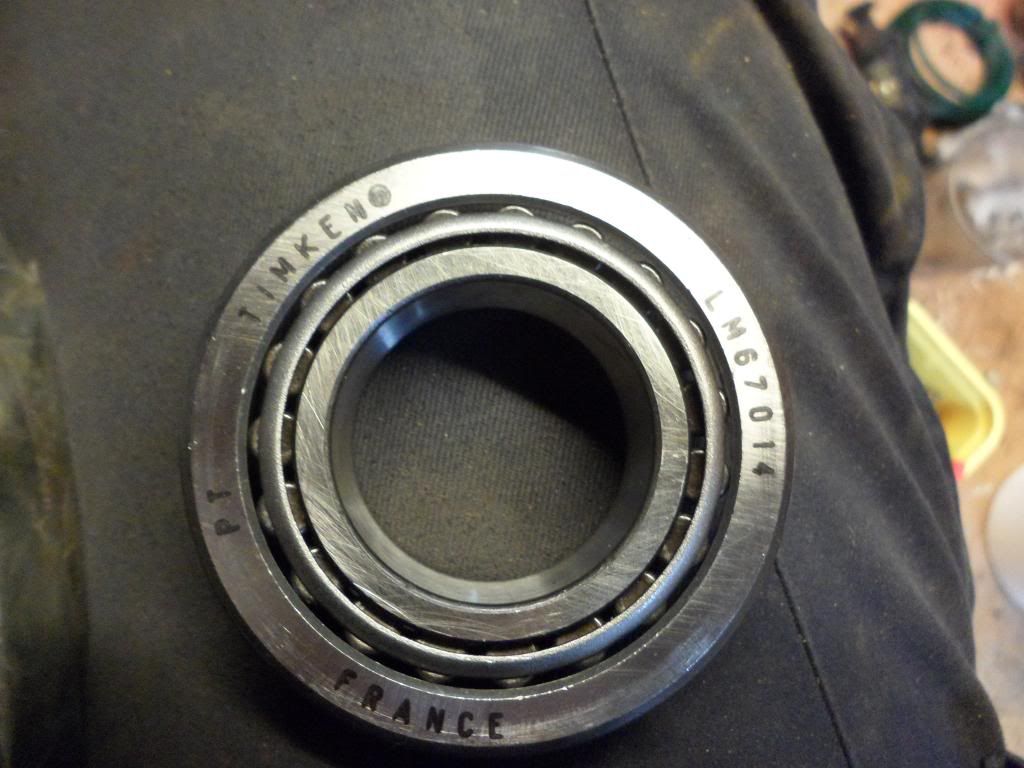
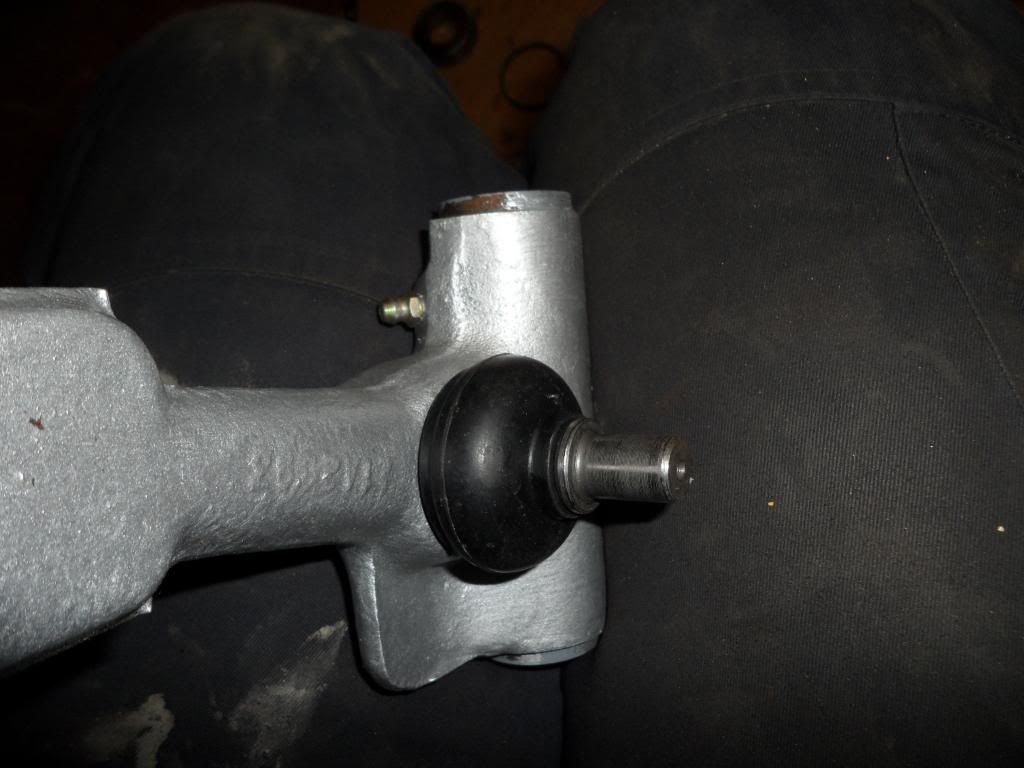
first off i have been buying a few things got some knuckle joints grease nipples and a little grease gun and a new set of rear wheel bearings for my earlier failings and the bargain of the century put a bid on ebay for a pair of front wheel bearing got them for £22 posted and when they turned up they were genuine timken ones so a saving of £80


SAM_1797_zpsa8bf535d.jpg


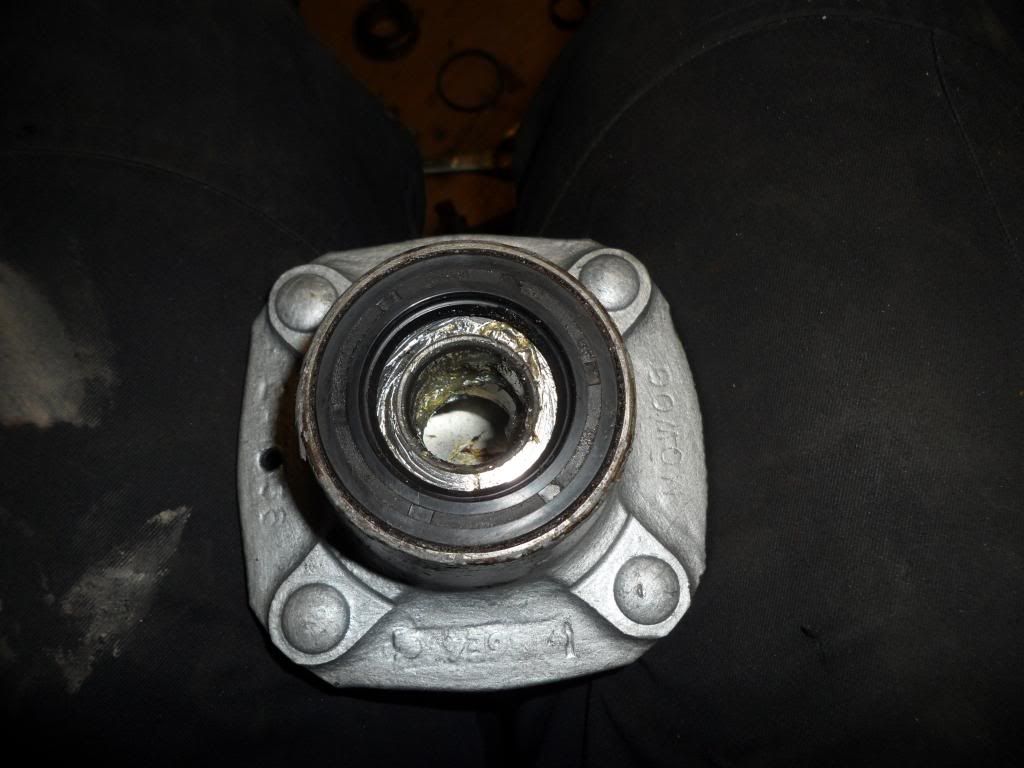
then rebuilt the rear hub


SAM_1799_zps2ede3361.jpg


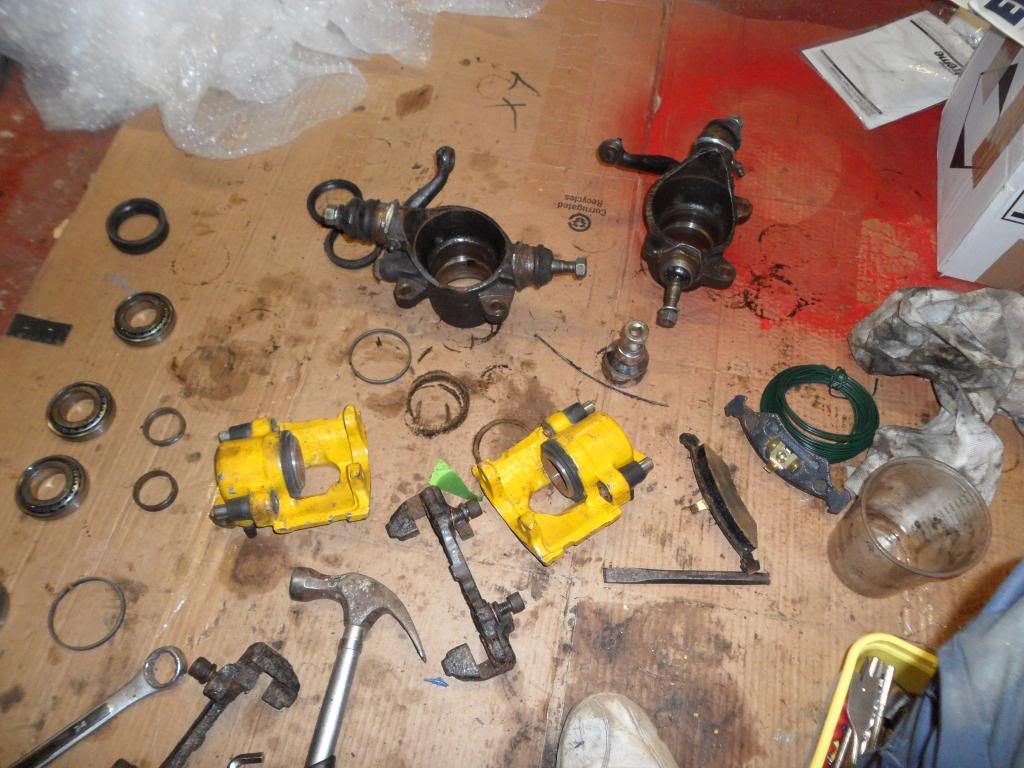
then stripped down my front hubs and fiesta brakes as when i bought them i was told they had new bearings in but they were full of sand


SAM_1791_zpsb6e2ad77.jpg


and then fitted the new knuckles and nipples into the top arms and radius arm to make them ready to fit


SAM_1798_zpsac8b860b.jpg


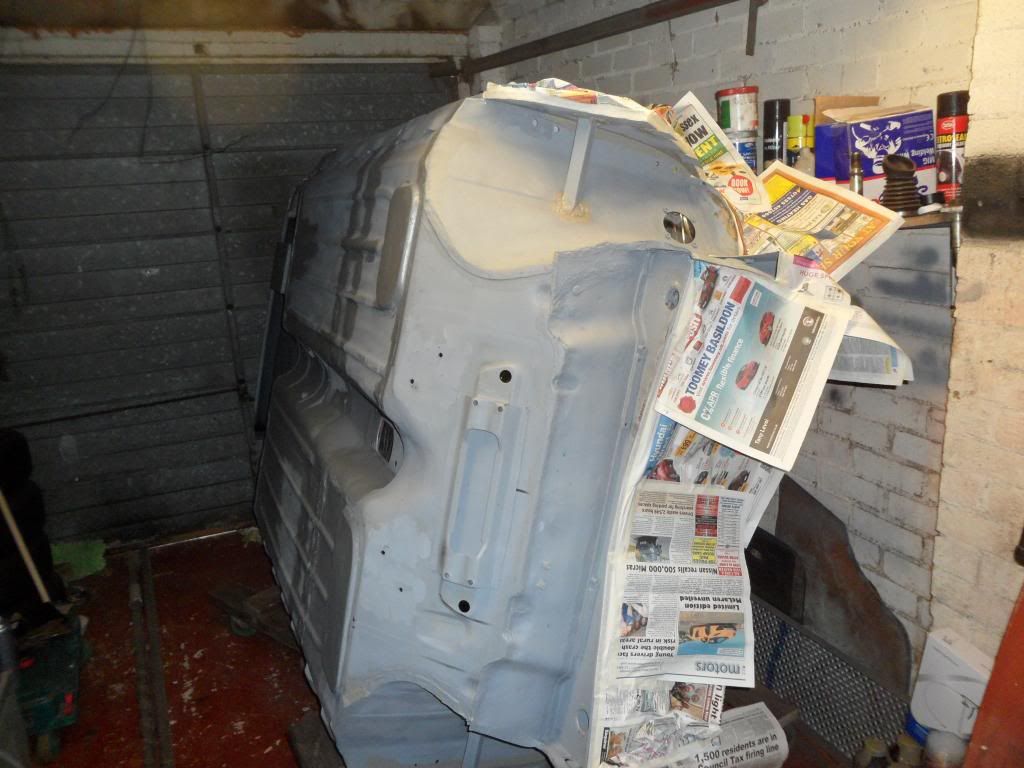
with the little break from bodywork over i needed to do the last couple of welding jobs on the underside which was the handbrake bracket and a drain hole i missed out then masked up the car


SAM_1800_zpsf736bb4c.jpg


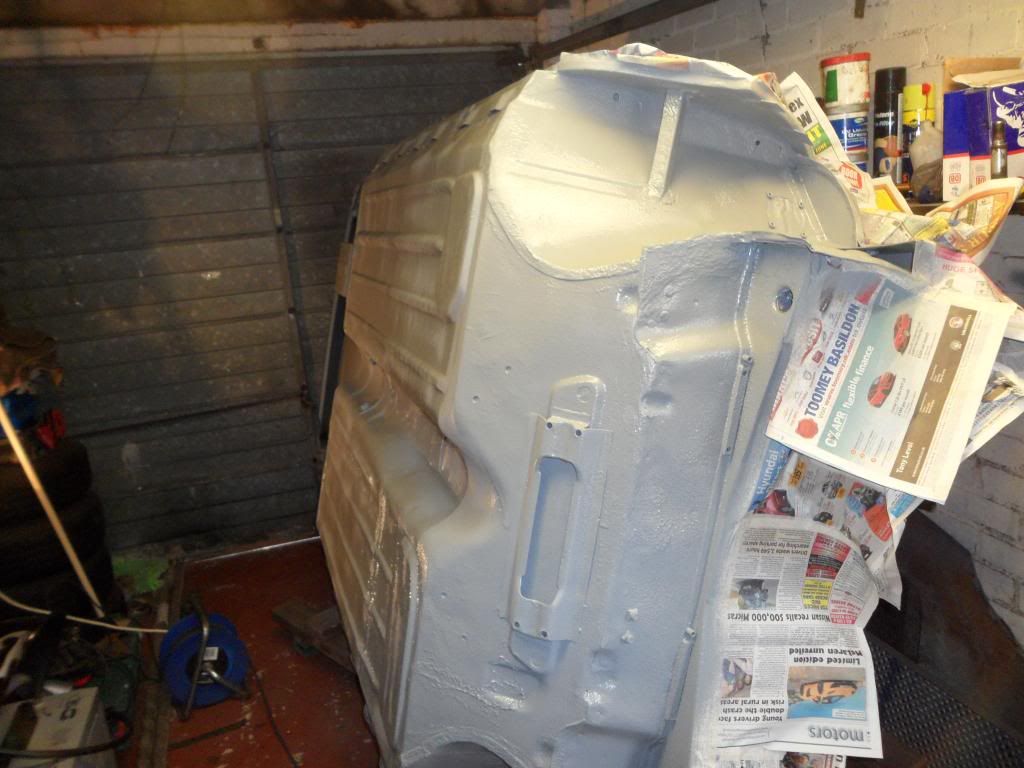
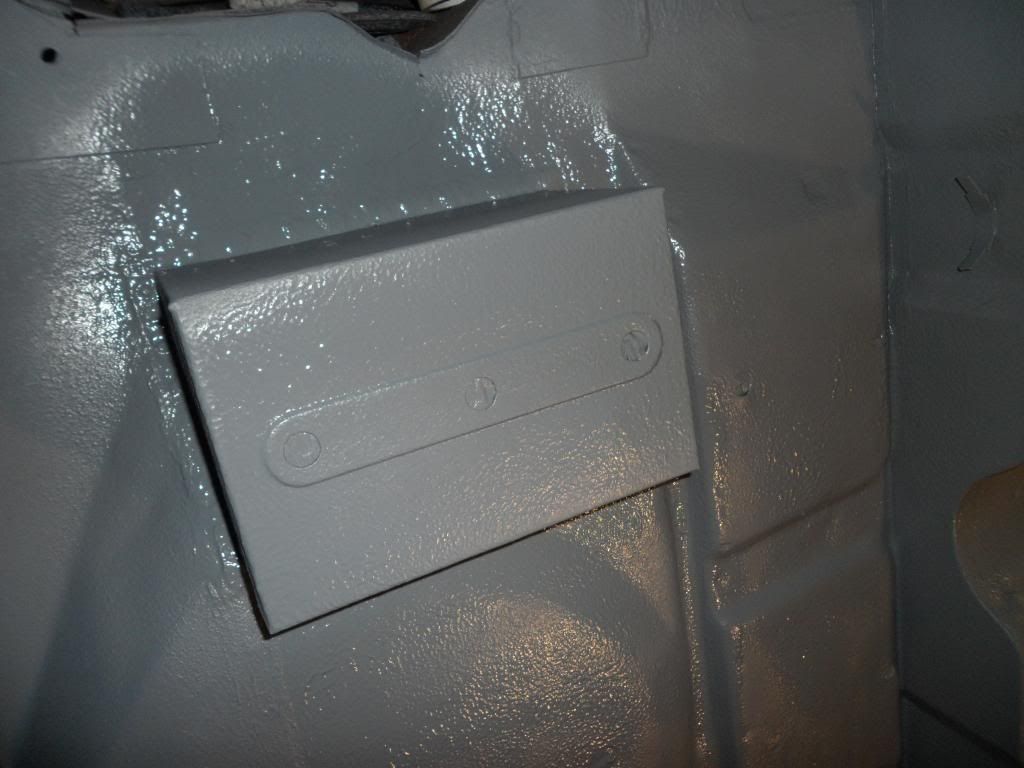
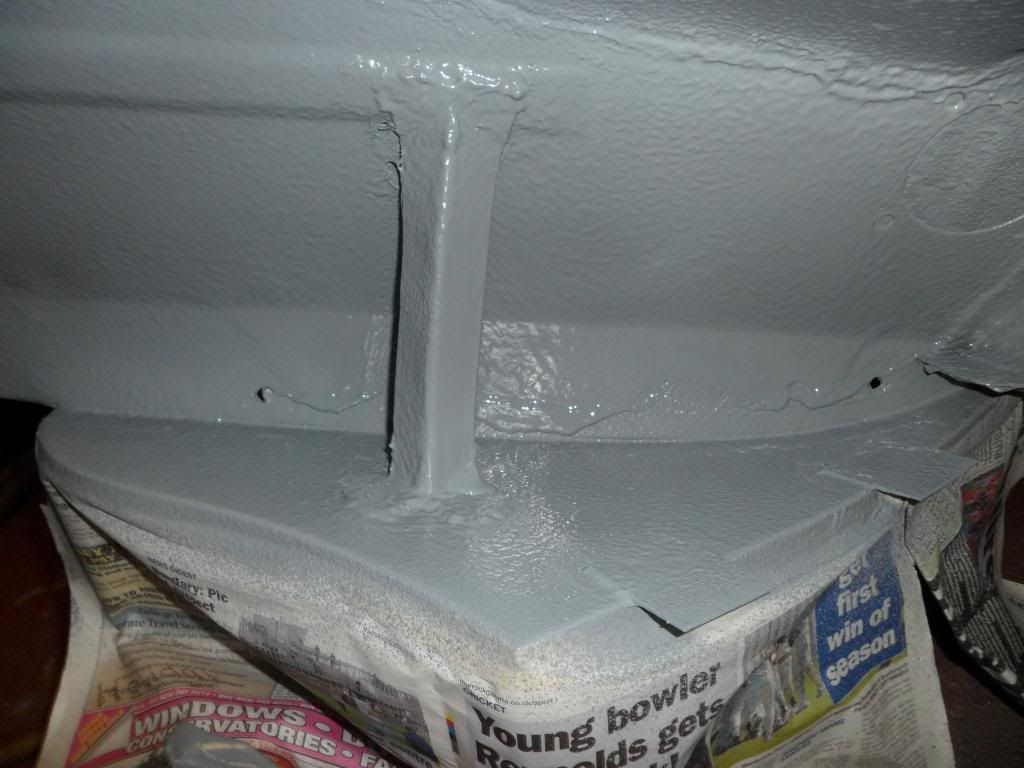
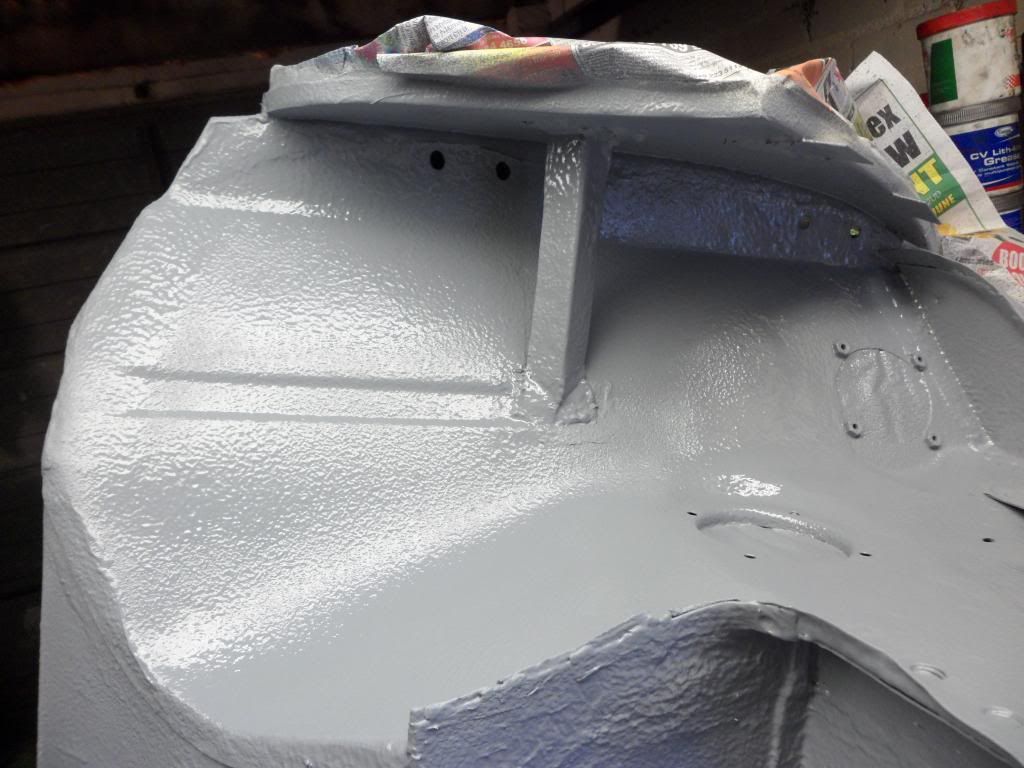
and then a big step a coat of grivitex stonechip


SAM_1801_zpsd1683d57.jpg


gave a good finish out of the gun but i put it on thick in some places


SAM_1803_zps236f700d.jpg


SAM_1805_zps8612bb4e.jpg


SAM_1806_zps629ac2e7.jpg


went back out there a couple of hours later and am very disapointed it has started cracking in some areas maybe where it went on too thick so i will need to rub back those bits and shoot some more but only a little set back and next is the black top coat


cheers darren


#311 Skortchio

Skortchio

    Camshaft & Stage Two Head

  • Members
  • PipPipPipPipPipPipPipPip
  • 1,596 posts
  • Location: Basildon
  • Local Club: EMC

Posted 13 June 2013 - 08:21 PM

Does it feel good to see some paint(ish) going on? You know, before it cracked :unsure:


I found it so nice to do some mechanical stuff after all the faffing with cosmetics.


#312 Miniowner123

Miniowner123

    One Carb Or Two?

  • Members
  • PipPipPipPipPipPipPip
  • 987 posts
  • Location: Brighton

Posted 13 June 2013 - 08:28 PM

you'll probably find the gravitex has reacted with seam sealer or some aerosol you may have used before hand


i had the same issue and it was down to tetrosyl seam sealer, and in some places aerosol red oxide primer, i had to remove it and start again, can highly recommend tiger seal, no reactions what so ever and it pretty much sticks to anything


Edited by Kylie Ann, 13 June 2013 - 08:29 PM.


#313 Minidarren83

Minidarren83

    One Carb Or Two?

  • Members
  • PipPipPipPipPipPipPip
  • 1,207 posts
  • Location: Stanford Le hope

Posted 13 June 2013 - 08:35 PM

you'll probably find the gravitex has reacted with seam sealer or some aerosol you may have used before hand
 
i had the same issue and it was down to tetrosyl seam sealer, and in some places aerosol red oxide primer, i had to remove it and start again, can highly recommend tiger seal, no reactions what so ever and it pretty much sticks to anything


I have no reactions over the seam sealer or any suspect areas and the only spray primer I have use was upol stuff as I knew I was going over with the upol gravitex I would say most of the floor has come out great and I've read it can happen if you put it on too think ill try rubbing back the affected areas then dust gravitex then full coat see how that gets on

#314 Minidarren83

Minidarren83

    One Carb Or Two?

  • Members
  • PipPipPipPipPipPipPip
  • 1,207 posts
  • Location: Stanford Le hope

Posted 13 June 2013 - 08:41 PM

Does it feel good to see some paint(ish) going on? You know, before it cracked :unsure:
 
I found it so nice to do some mechanical stuff after all the faffing with cosmetics.

For just a couple of hours I thought yeah this is going great then it all went to eat **** lol oh well rub down I shall begin

#315 Skortchio

Skortchio

    Camshaft & Stage Two Head

  • Members
  • PipPipPipPipPipPipPipPip
  • 1,596 posts
  • Location: Basildon
  • Local Club: EMC

Posted 13 June 2013 - 08:52 PM

I know how that feels dude! But it's all moving forwards much more than back! :highfive:


2 user(s) are reading this topic

0 members, 2 guests, 0 anonymous users