The Wifes Worst Nightmare 83 Full Resto
#181
Posted 19 January 2013 - 07:37 PM
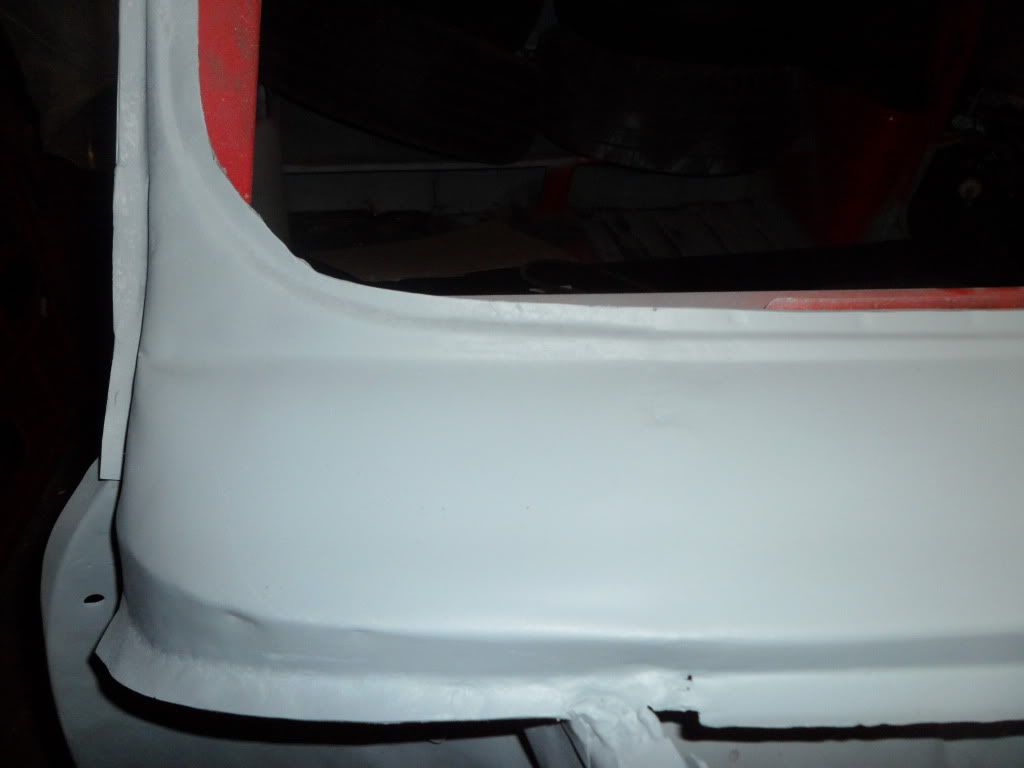
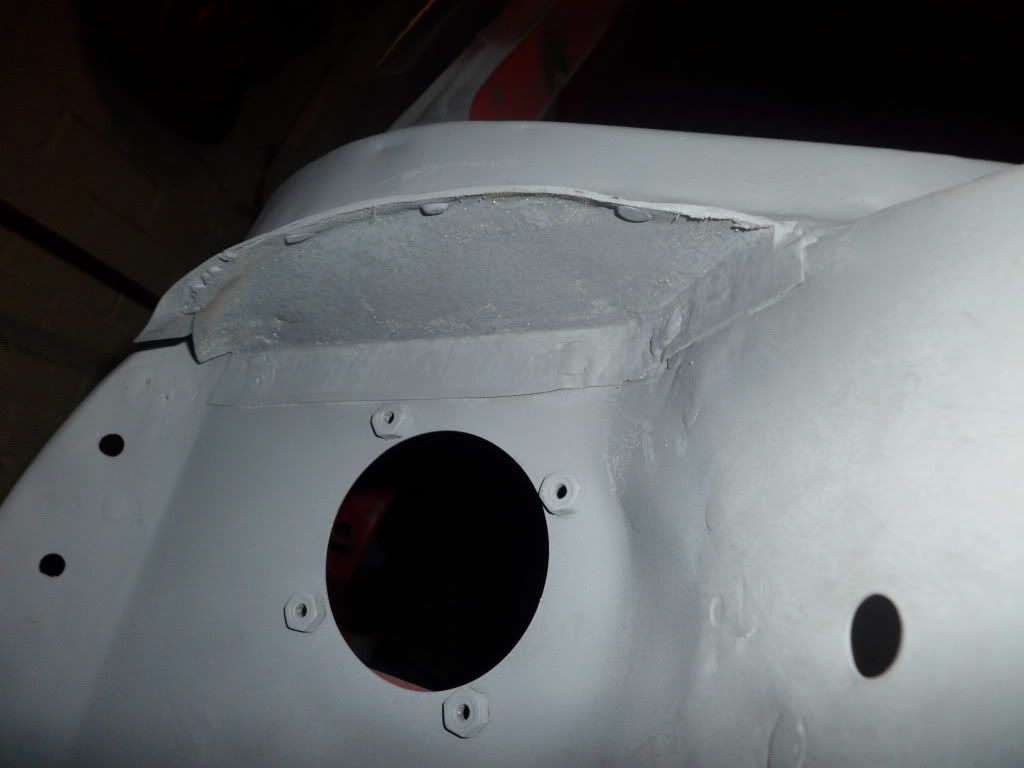
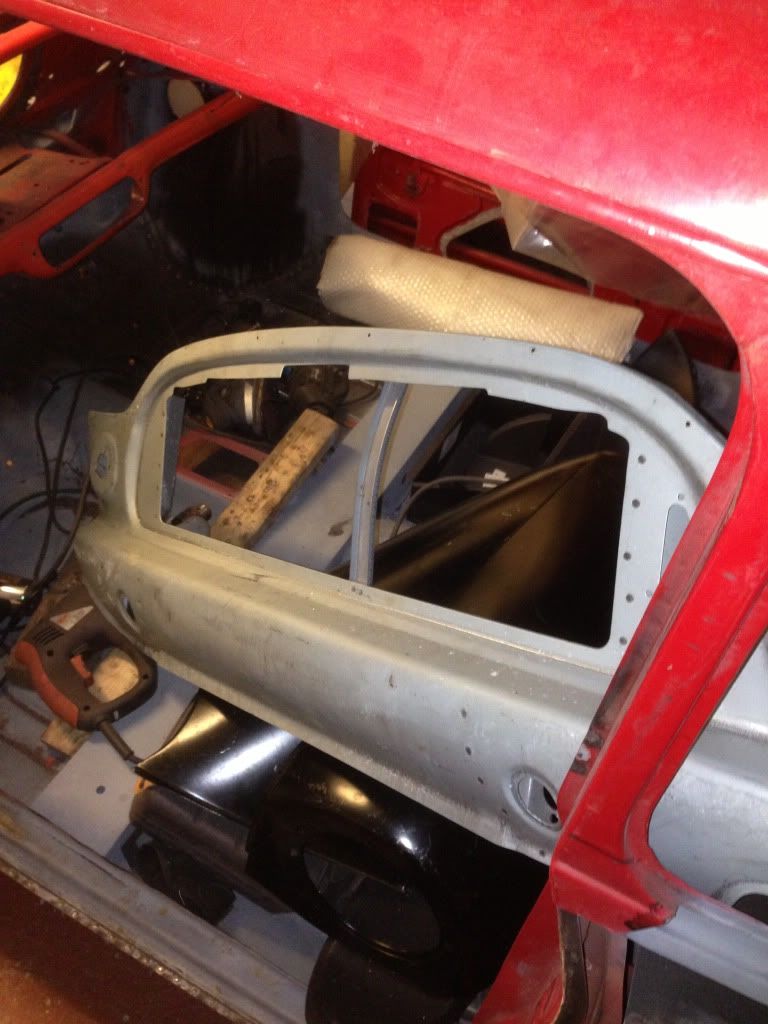
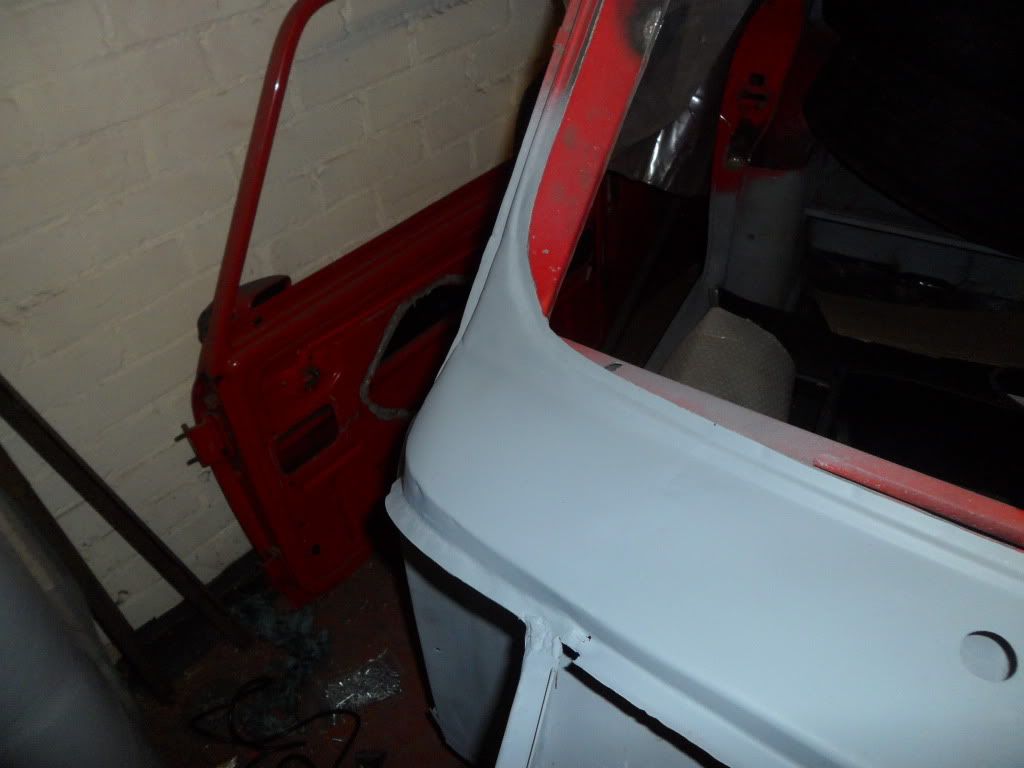
but a few days later on and i got out there and welded and cleaned of the scuttle closure and primed the whole corner up
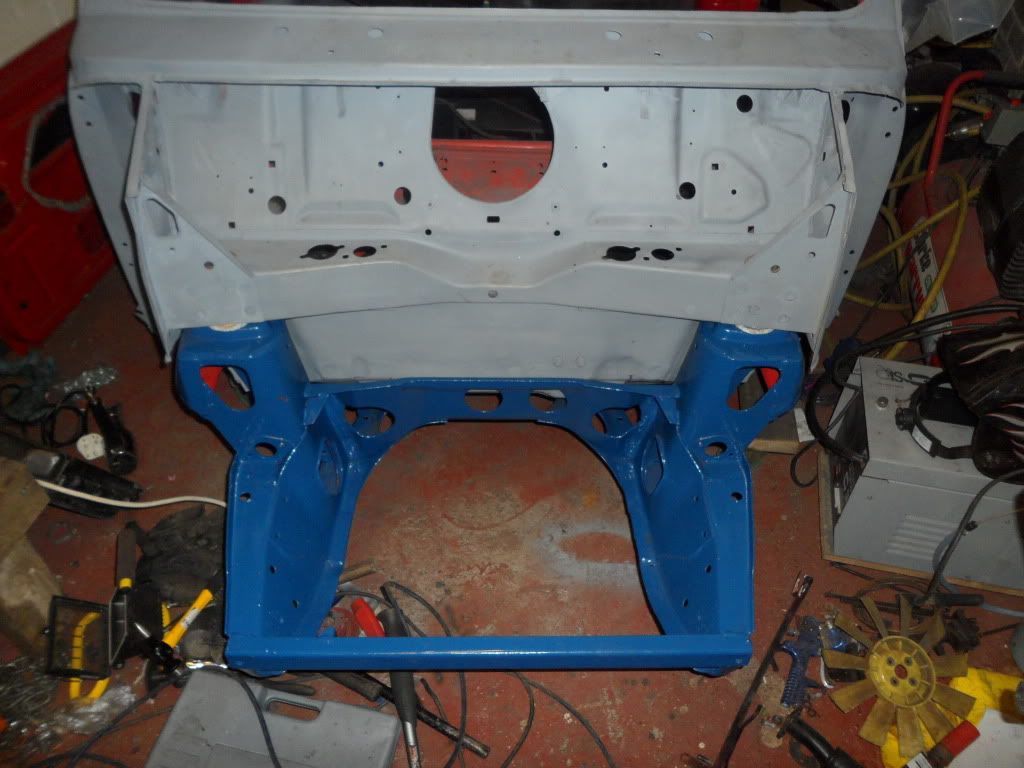
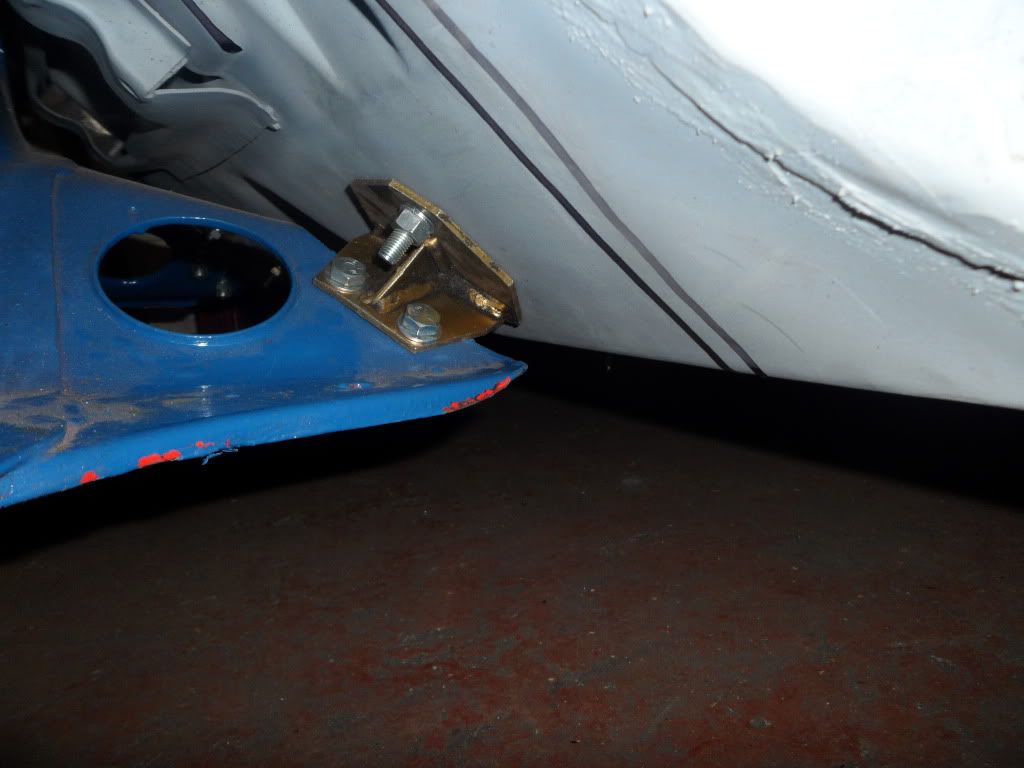
the last thing that needs doing on the front is the front subby mount reinforcment plates but for that i needed to make sure the floor mount holes where in the right place so i fitted the subby with the new solid mounts
and thats as far as i got it all lines up so now its just a case of welding the plates on they will be double thick so shouldnt crack lol
as always comment welcome darren
#182
Posted 10 February 2013 - 10:42 PM
#183
Posted 11 February 2013 - 03:25 AM
#184
Posted 16 February 2013 - 11:32 PM
#185
Posted 17 February 2013 - 07:41 PM
#186
Posted 17 February 2013 - 08:15 PM
Top work Darren. Really want to get in the garage after reading this but I don't think the neighbours would be too impressed at half 11 at night.......mind you, there my parents neighbours, not mine so I could.......but I won't. So yeah, anyway, great work, keep it up!
ha ha get in that garage leadly get that grinder going
nice work there fella, need to get on with my own project ,look out for it on here around april time , youve inspired me to crack on
inspire and help others is why we make the logs (also for a little praise that the wife may not give us at home lol)
#187
Posted 17 February 2013 - 08:38 PM
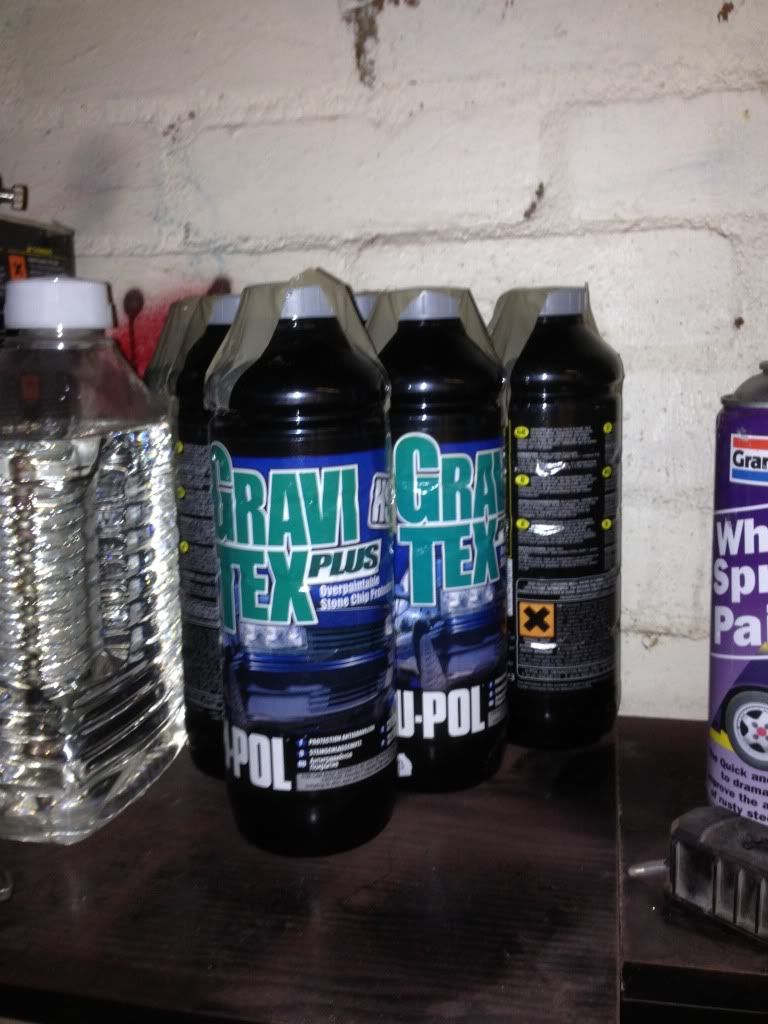
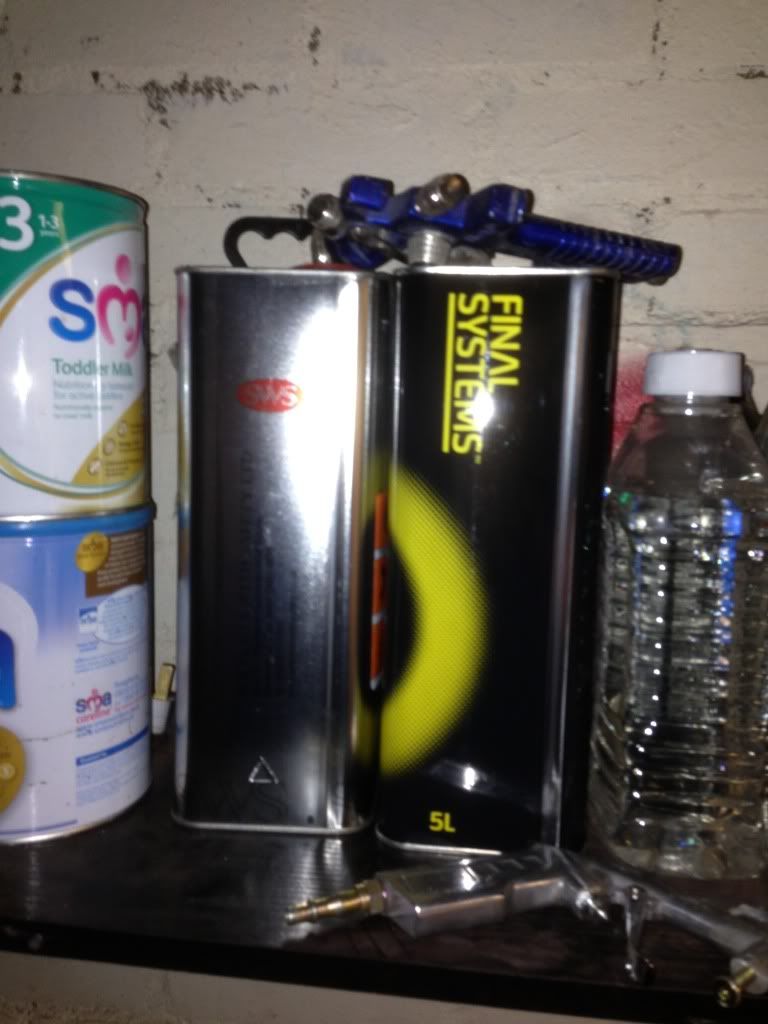
finally i managed to drag my arse into the garage and got some work done as all i have been doind lately is buying stuff so some pics of that first and as usual a massive amount of useless pictures
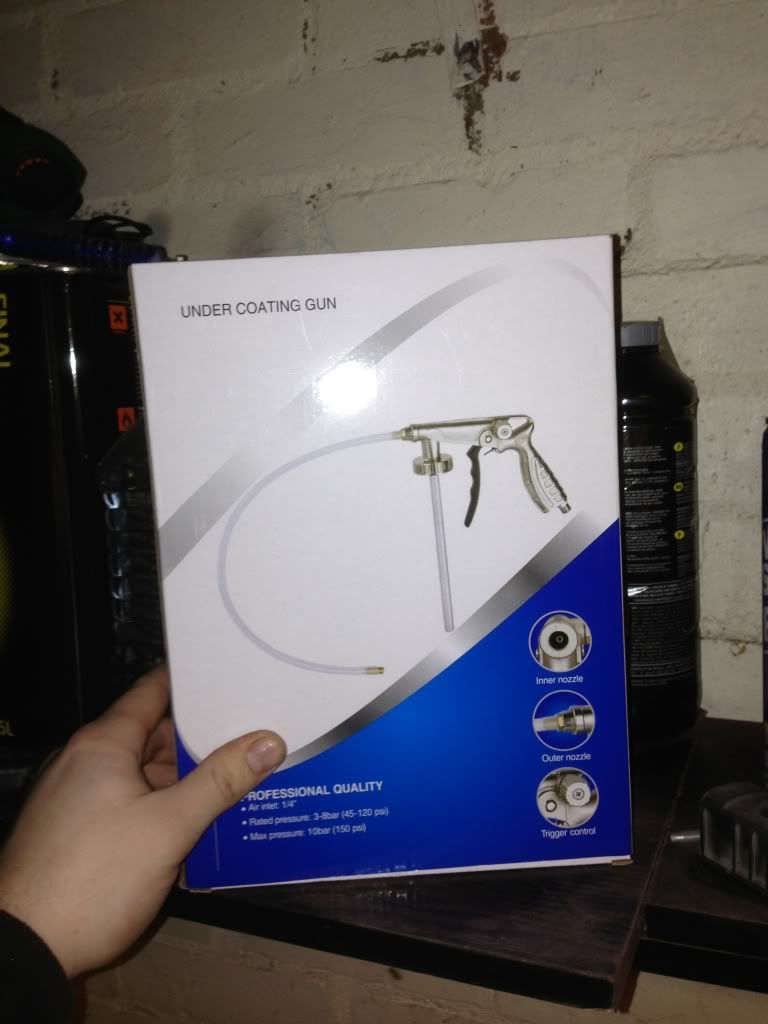
if you look closely you may notice the front panel has no bumper lip got the full front end for 110 delivered
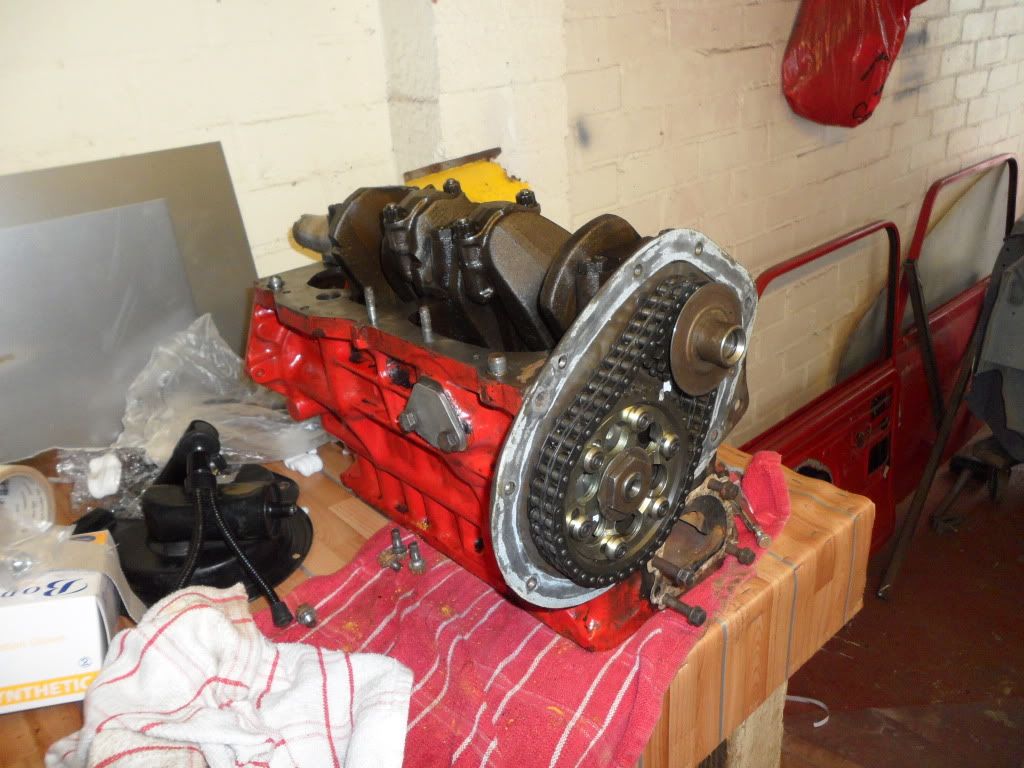
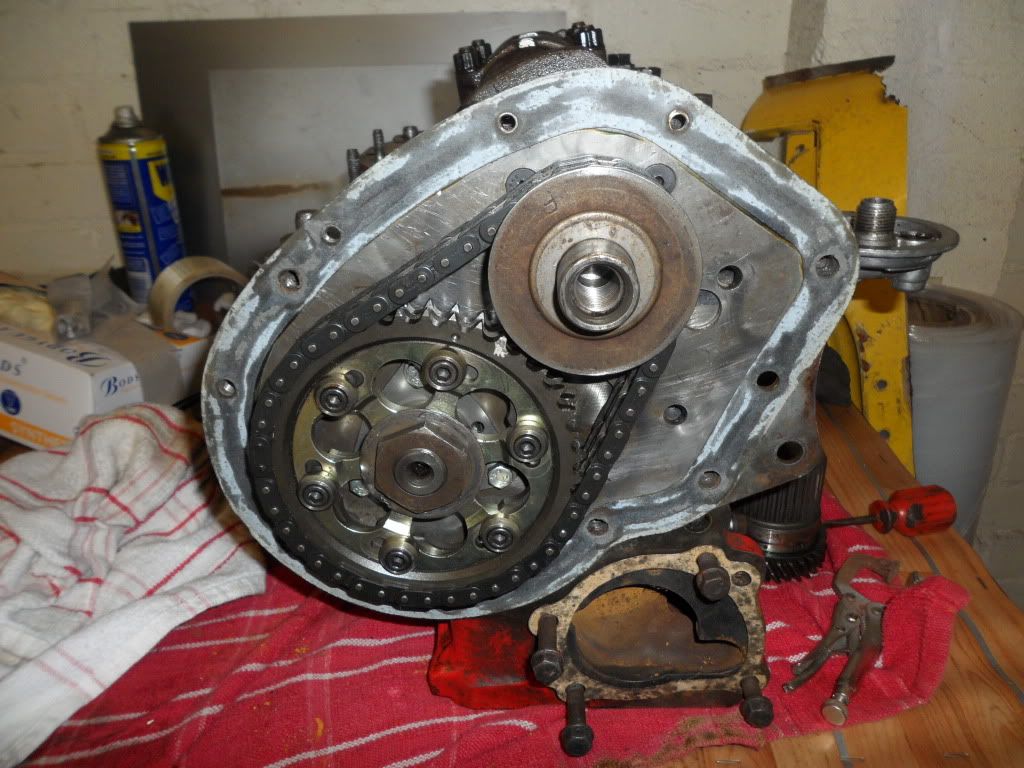
nice little low milage mg metro short block with kent 276 cam and duplex rota slide timing system
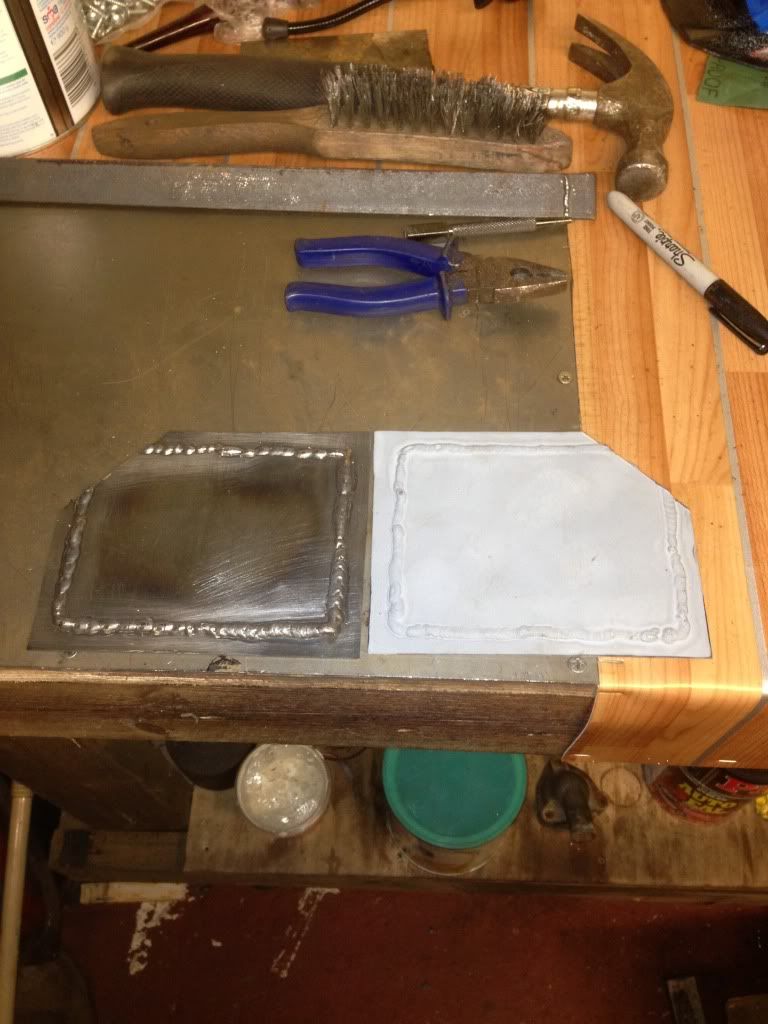
and now for some work. left to do on the front shell wise was front subby spreader plates so i cut these out
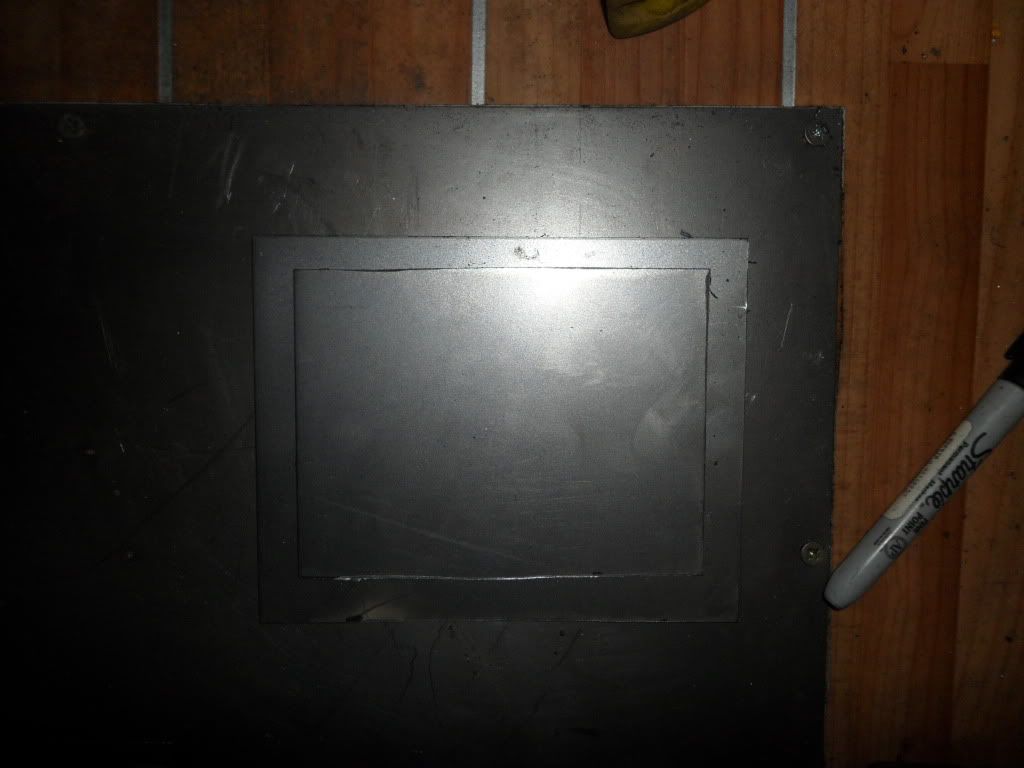
and this may be a little ott but fully seam welded
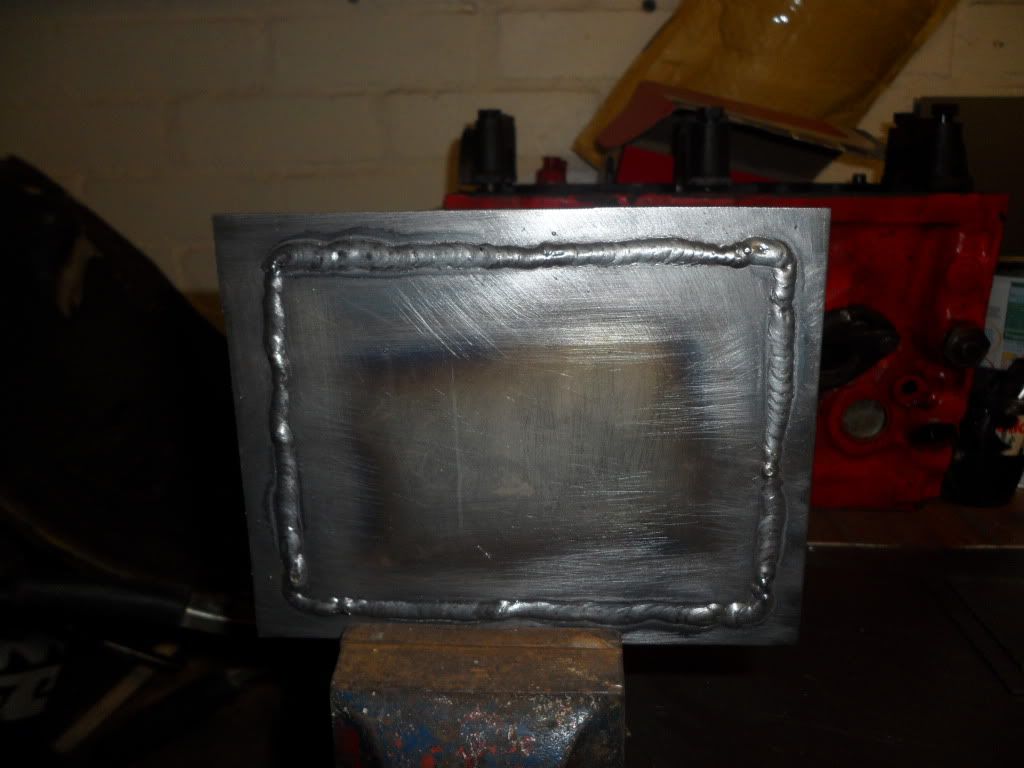
made the other one and cut the corners off to clear the tunnel
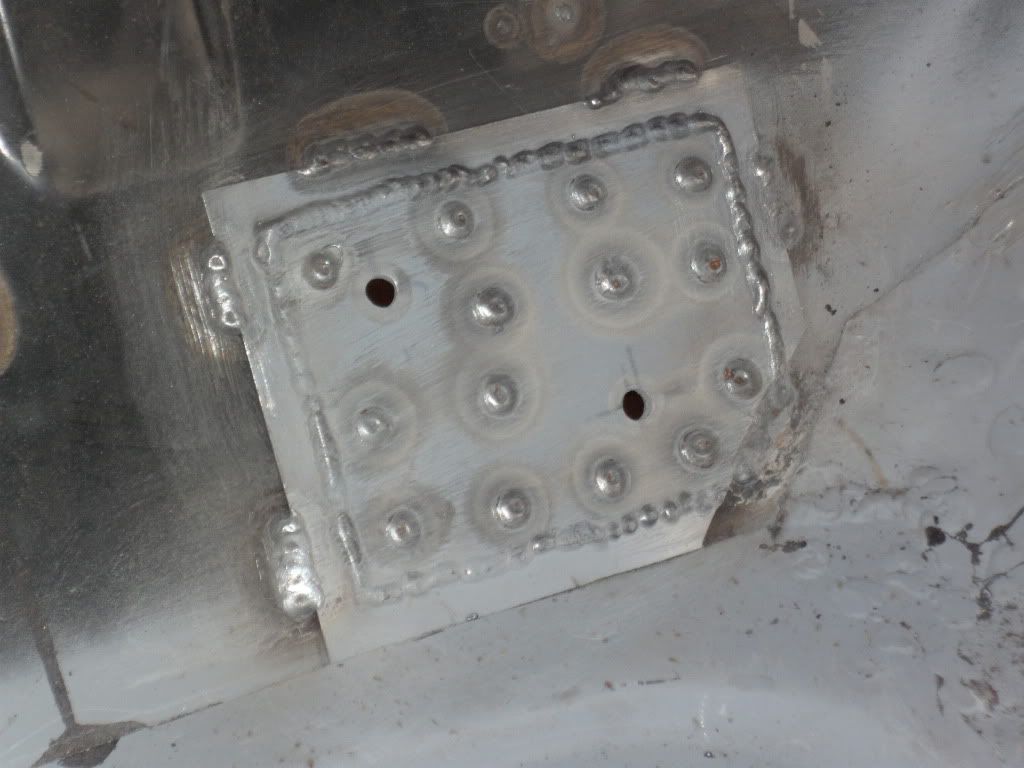
then set about welding them in plenty of pluge with seams all the way round they are twice as thick and twice as large as standard so should hold the solid subby in nice
and then both done cleaned off and seam sealed the whole bulkhead
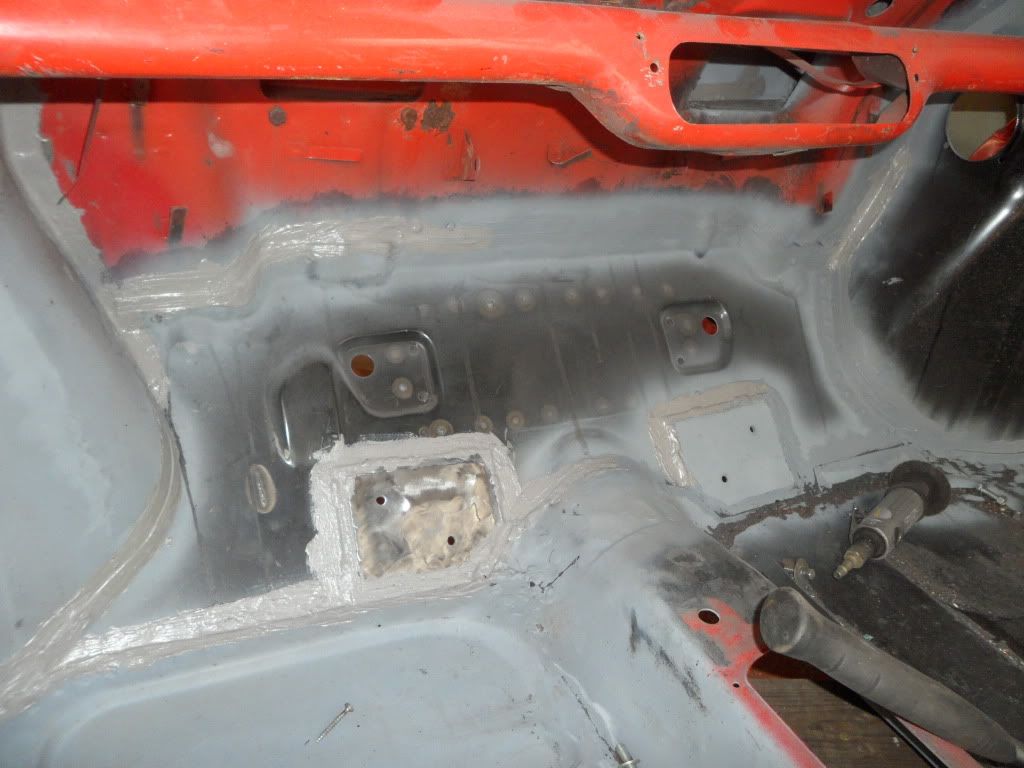
and then sealed the front of the bulkhead ready for the stonechip next week hopefully after the a panels go on
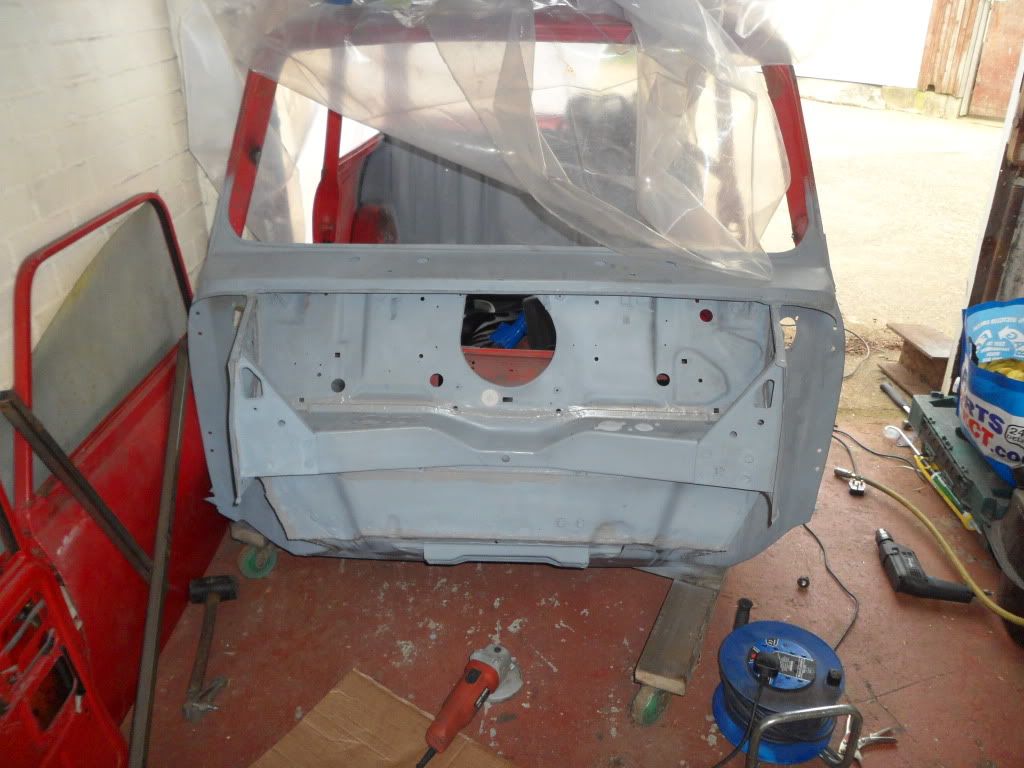
next weeks plans are a panels on hover out the inside flip over clean the bottom off re-prime where necesary and stonechip then stonechip the inside floors up to the heel board. For now that is all i am affraid sorry for the mass of pictures but i love taking them
Comments always welcome cheers darren
#188
Posted 17 February 2013 - 08:45 PM
#189
Posted 17 February 2013 - 09:00 PM
#190
Posted 17 February 2013 - 09:06 PM
#191
Posted 17 February 2013 - 09:09 PM
lovely work on the strengthening plates for I take it, solid mounts?? When using the stonechip put them in warm water for a good 10 mins to thin it up a touch so when u shake it it does actually shake properly !!
Keep at it,
Graham
#192
Posted 17 February 2013 - 09:11 PM
#193
Posted 17 February 2013 - 09:14 PM
Nice progress Darren,
lovely work on the strengthening plates for I take it, solid mounts?? When using the stonechip put them in warm water for a good 10 mins to thin it up a touch so when u shake it it does actually shake properly !!
Keep at it,
Graham
hi there graham yes the front will be solid mount so thought it best to add a little to the regular weak area and the front. Thanks for the tip on the stonechip i had read it somewhere but was a little dubius to put paint in hot water, is it hot hot like out of the kettle or just tap hot?
#194
Posted 17 February 2013 - 09:16 PM
cheers i am trying and welcome to my thread stop by again sometimegreat build mate! you seem to be doing very well with it
#195
Posted 17 February 2013 - 09:18 PM
2 user(s) are reading this topic
0 members, 2 guests, 0 anonymous users