Cheers mate it's coming alongfloor look good now mate

The Wifes Worst Nightmare 83 Full Resto
#136

Posted 27 November 2012 - 10:18 PM
#137

Posted 27 November 2012 - 10:21 PM
Wow Darren, its is fairly moving along. Your doing a brave job! I'm glad I didn't have so much to do.
Hugh
Its kind of easier I think when you know it's all got to go less part panels and patches more just replacing the only worry is getting it in strait
#138

Posted 05 December 2012 - 08:17 PM
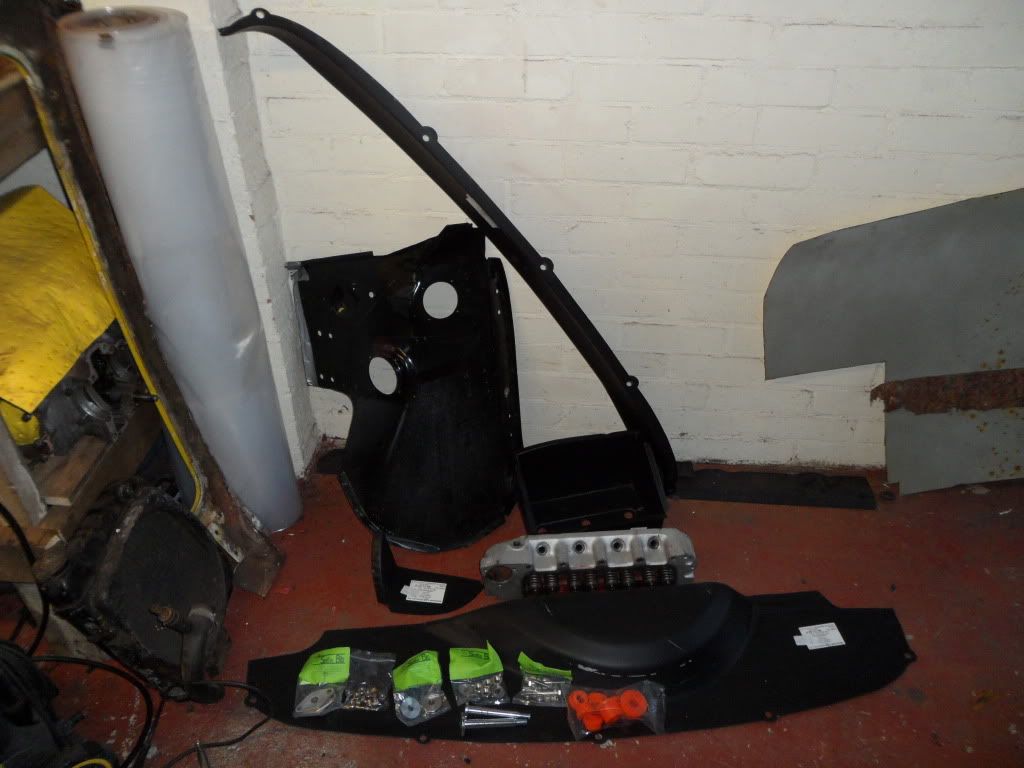
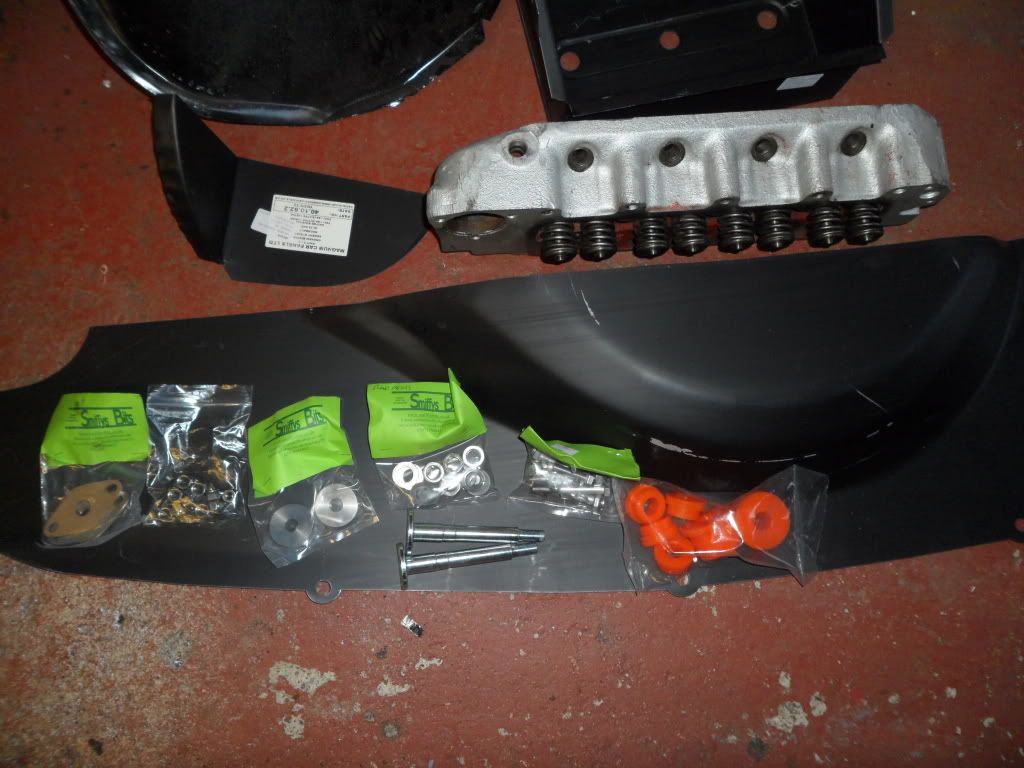
so a trip to minispares saw me come back with a boot floor repair a rear valance battery box and one side of valance closure i can make up the other side. An order from smiffys bits and i got lots more stainles fastners and goodies including a pair of top arm plates in stainless and rear subby washers again in stainless so ive not pretty much got what i need to build up the subbys.
i also bought and picked up from pinhead on hear exactly what i need the rear half of a heritage inner wing/flitch, half a pannel for half the price and i am well happy saves me buying the full panel and trying to get rid of the other half thankyou pinhead!!!
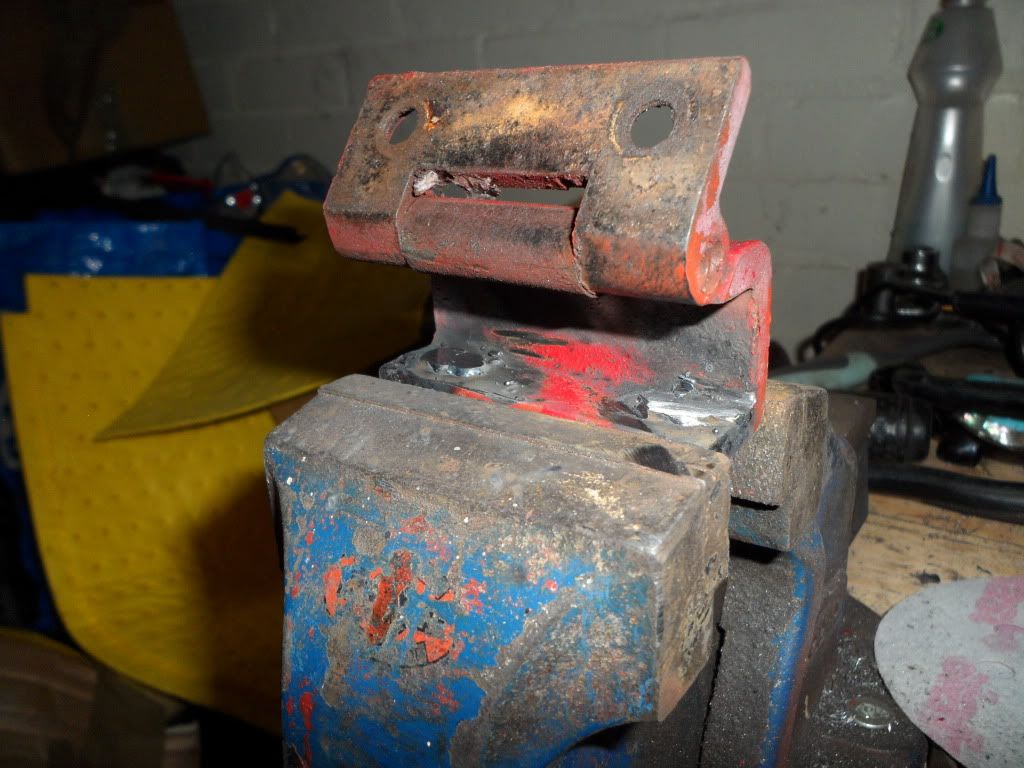
as i was out in the garage i didnt feel like doing anything major so fixed one of my hinges as the studs snapped off so i ground the rest off flat drilled out the old studs and tapped the holes for 5/16 which is twice the size of the standard ones so hope they wont ever snap again. i then cut the heads off two bolts and screwed them into the fresh holes
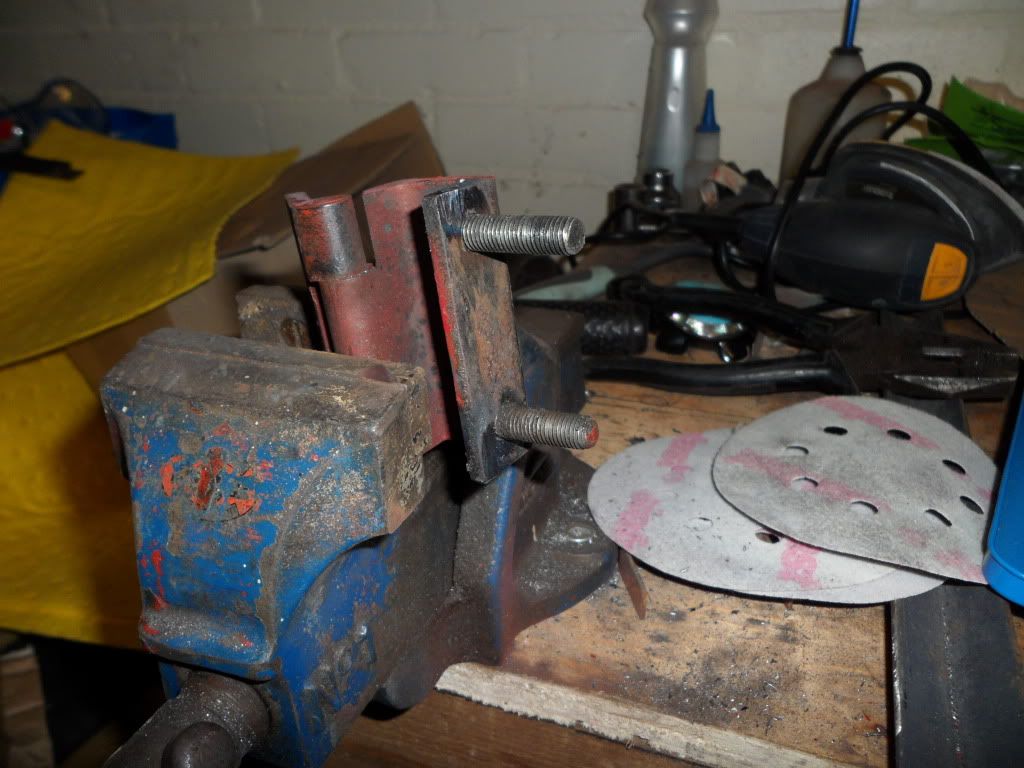
i then welded the back of the studs that i had screwed in slightly proud and ground them off a little bit for neatness
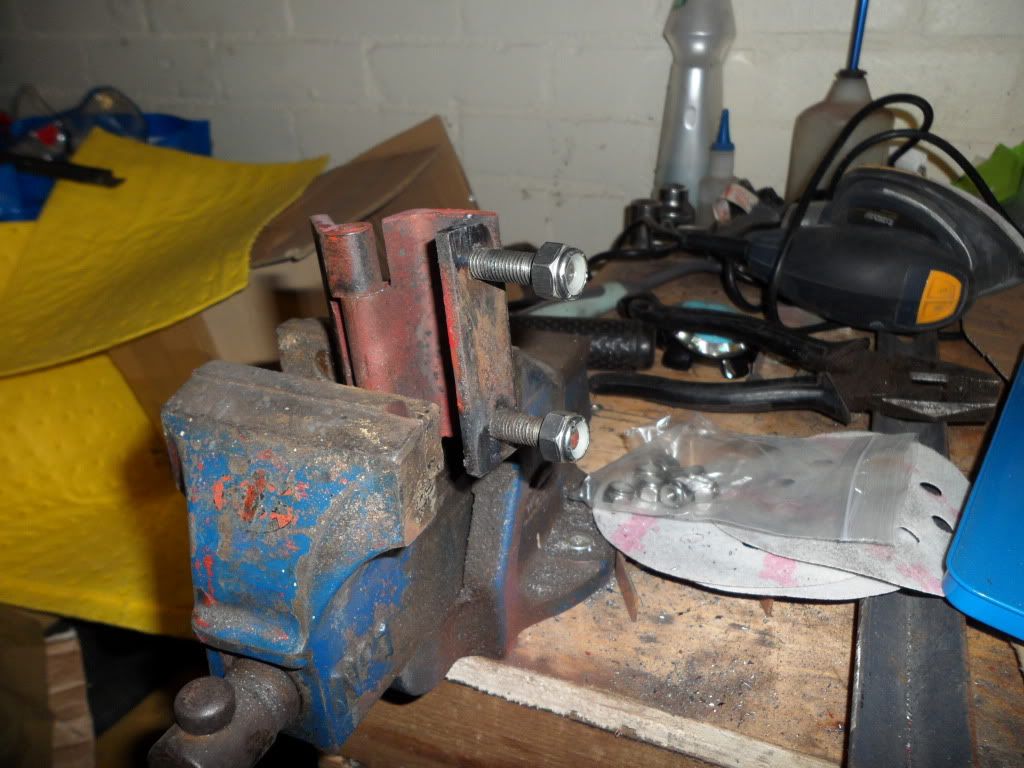
and finished off with a couple of stainless nyloc nuts job done
thats it for now not much but as always far too many pics and writting for such a little progress, i do like a waffle
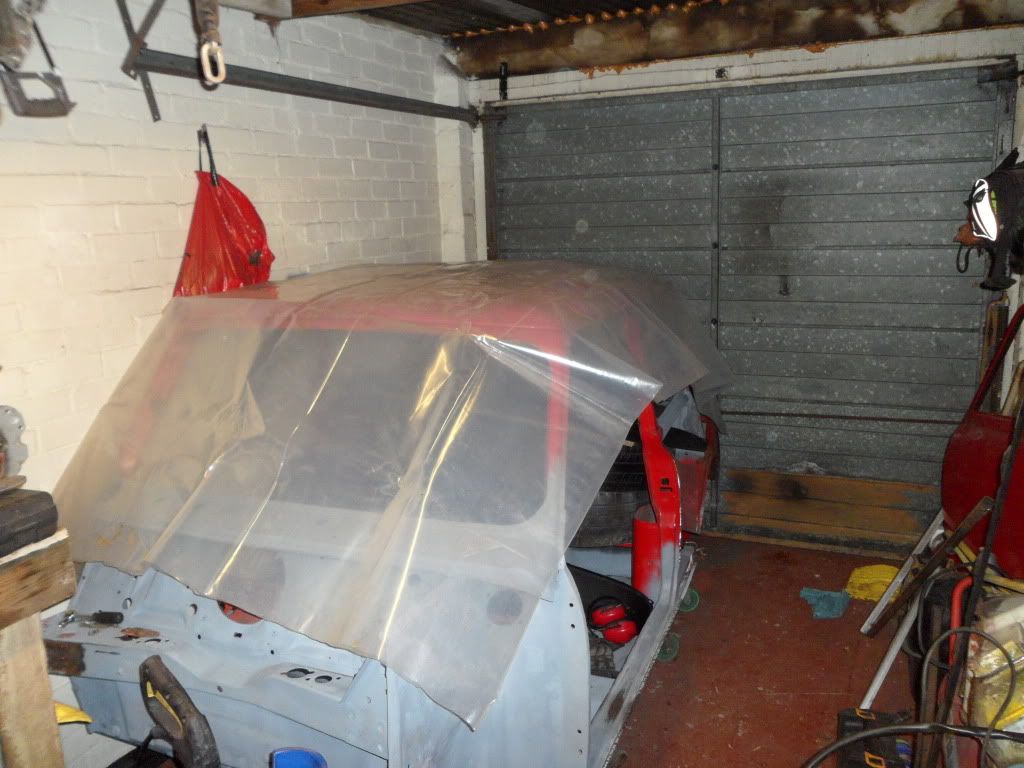
Oh and working in a garage does not always mean your car will stay dry as my roof leaks and i need to cover the car
#139

Posted 05 December 2012 - 08:21 PM
#140

Posted 06 December 2012 - 07:22 PM
i have decided that i need to get things finished nefore i move on to the next thing as i now have a few bits on the go and none finished off so i am going to get the front done first then make my way back.
so today i test fitted the new flitch panel and it was a very good fit with a little pushing got it all clamped in and marked up for the plug weld holes all over it but before that the front bulkhead and crossmember need some repairs so i tackeled the crossmember today
started by cutting out the effected area
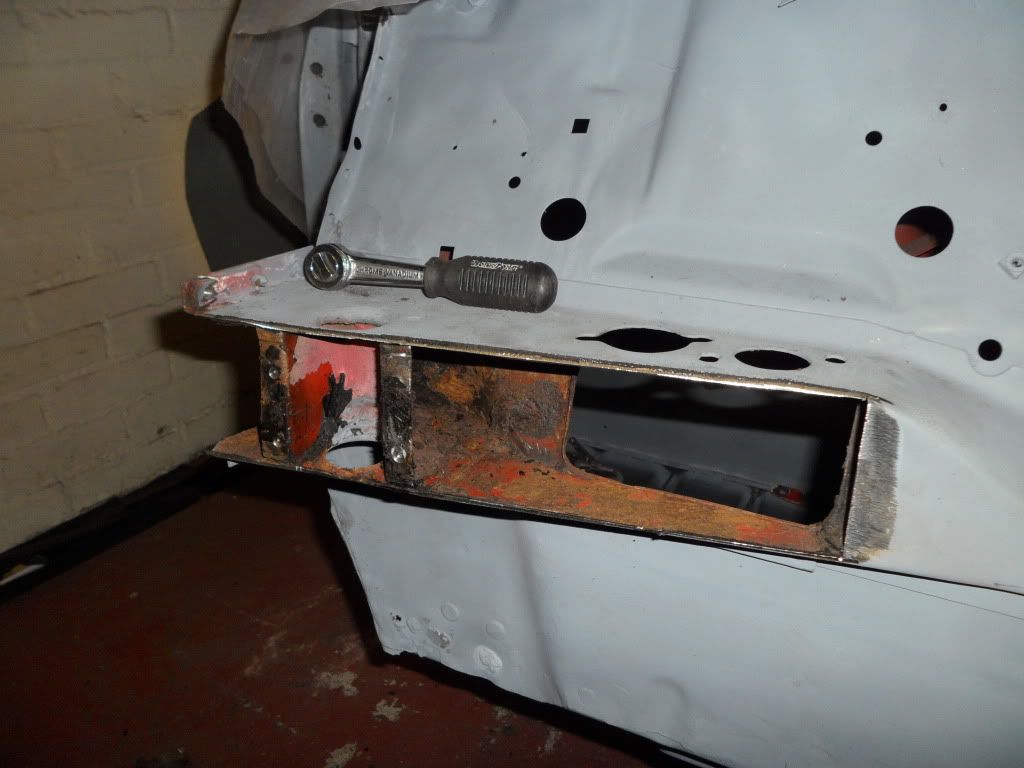
it was fairly crusty but not that rotten so cleaned out and kurusted then cut a new piece of steel to fit
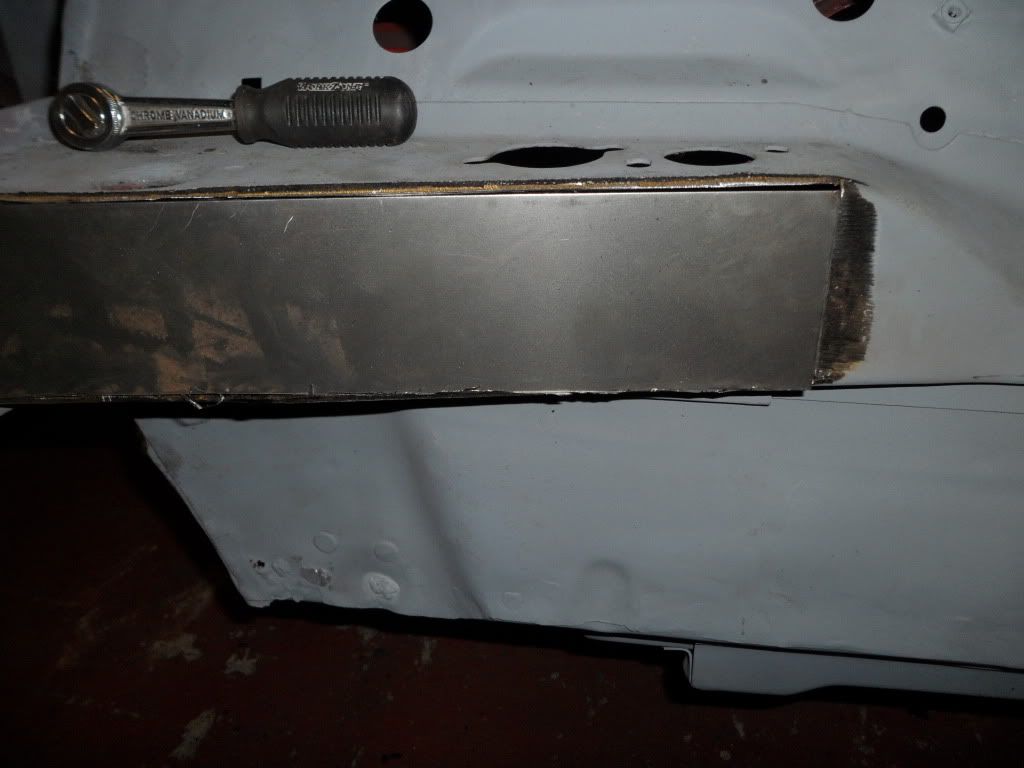
a few clamps and lots of tacks
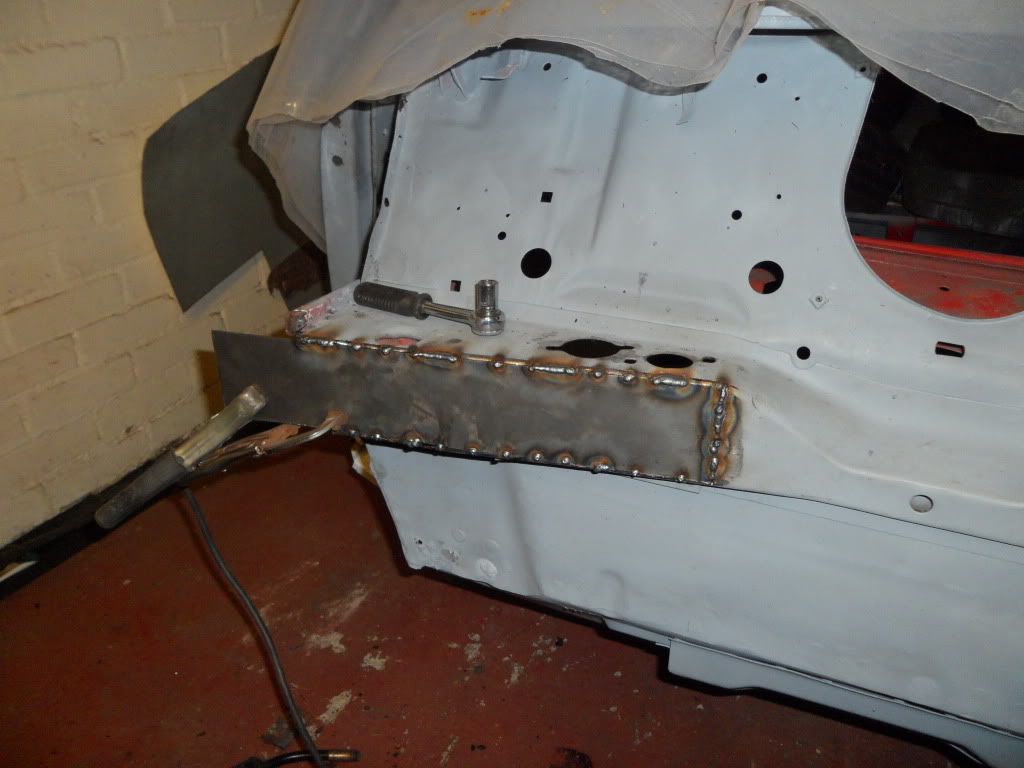
and fully welded in
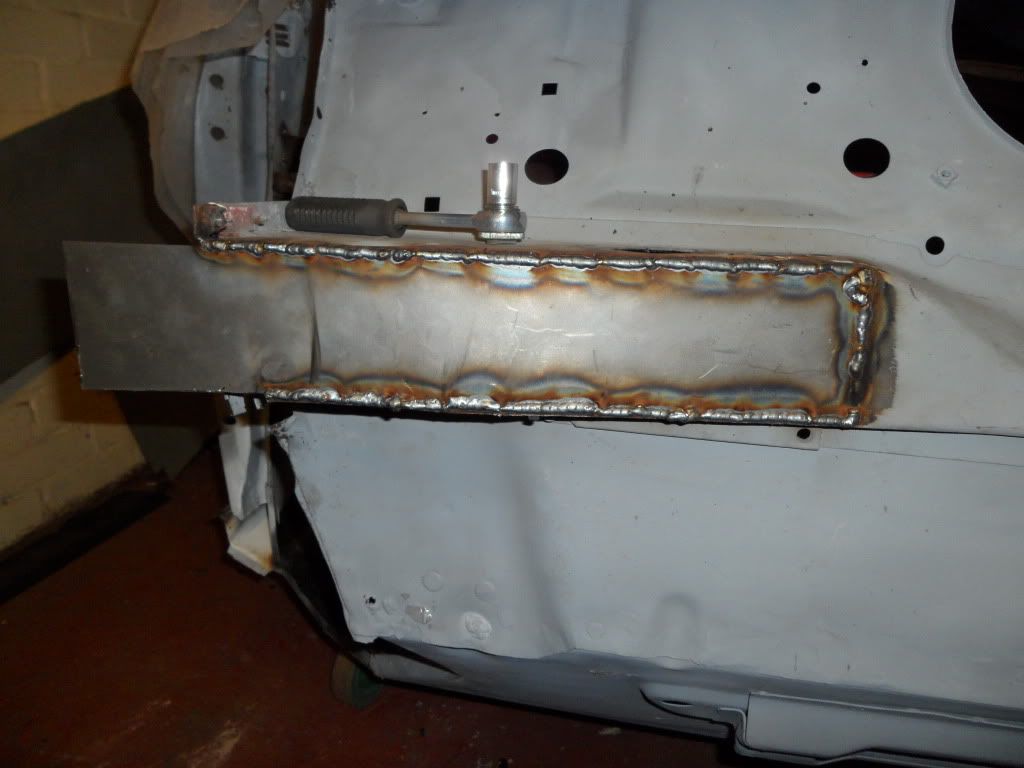
by this time it was pitch black and the weather had fixed my leaking garage as any liquid was well frozen and so was i so i will get it finished off tomorrow so for now that is all
thanks for looking comments always welcome Darren
#141

Posted 06 December 2012 - 07:25 PM
#142

Posted 06 December 2012 - 09:39 PM
Graham
#143

Posted 07 December 2012 - 12:24 PM
Bit of luck I'll be mobile shortly and can come check out the build in more detail.
Keep going and buy some lamps!
#144

Posted 07 December 2012 - 12:35 PM
#145

Posted 07 December 2012 - 12:41 PM
All good so far keep it up.
#146

Posted 07 December 2012 - 01:06 PM
Looking good, dude! Isn't it weird how your stuff looks better in other peoples pics, I'm sure the head wasn't that clean
Bit of luck I'll be mobile shortly and can come check out the build in more detail.
Keep going and buy some lamps!
It must be a good picture, stuff only gets dirty in my garage lol
Your more than welcome anytime mate. Funny you should say buy scme lamps I've got two flood lights but the bulbs went and I'm too tight to buy more lol maybe that is today's task after work
#147

Posted 07 December 2012 - 02:02 PM
sir youre an inspiration....take a bow that man !
#148

Posted 07 December 2012 - 02:20 PM
#149

Posted 07 December 2012 - 10:34 PM
#150

Posted 11 December 2012 - 03:53 PM
got out in the garage after an early day at work and got the last panel all dressed down and cleaned up started with a grinding disk then a flap disk and then finished off with the da
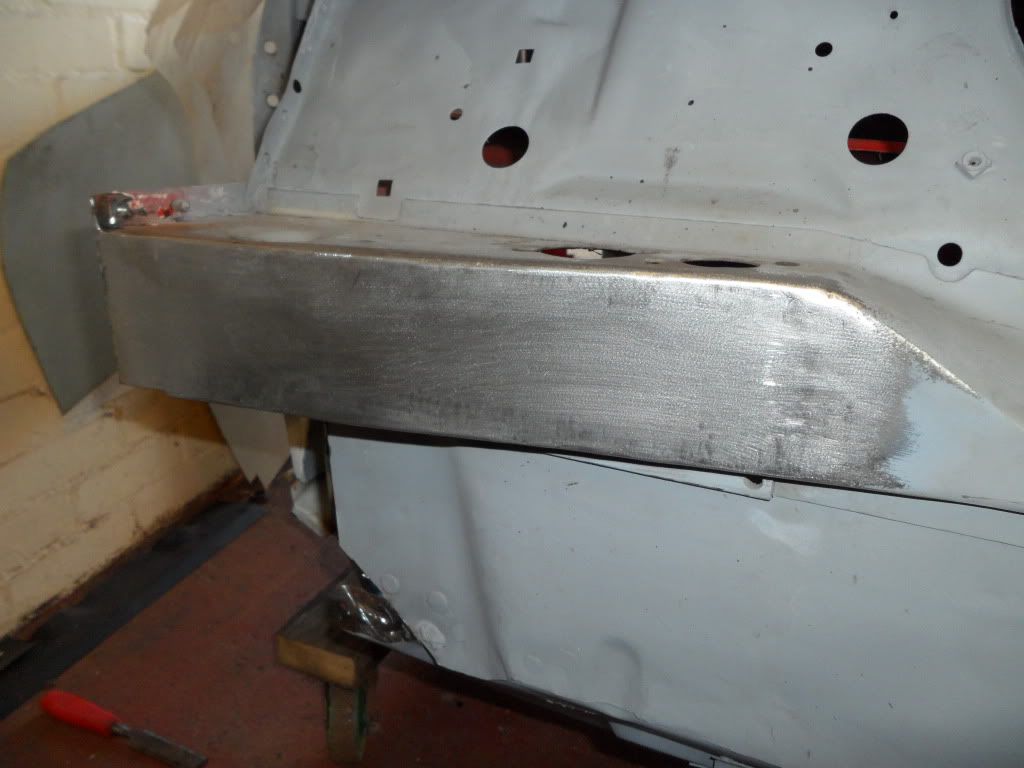
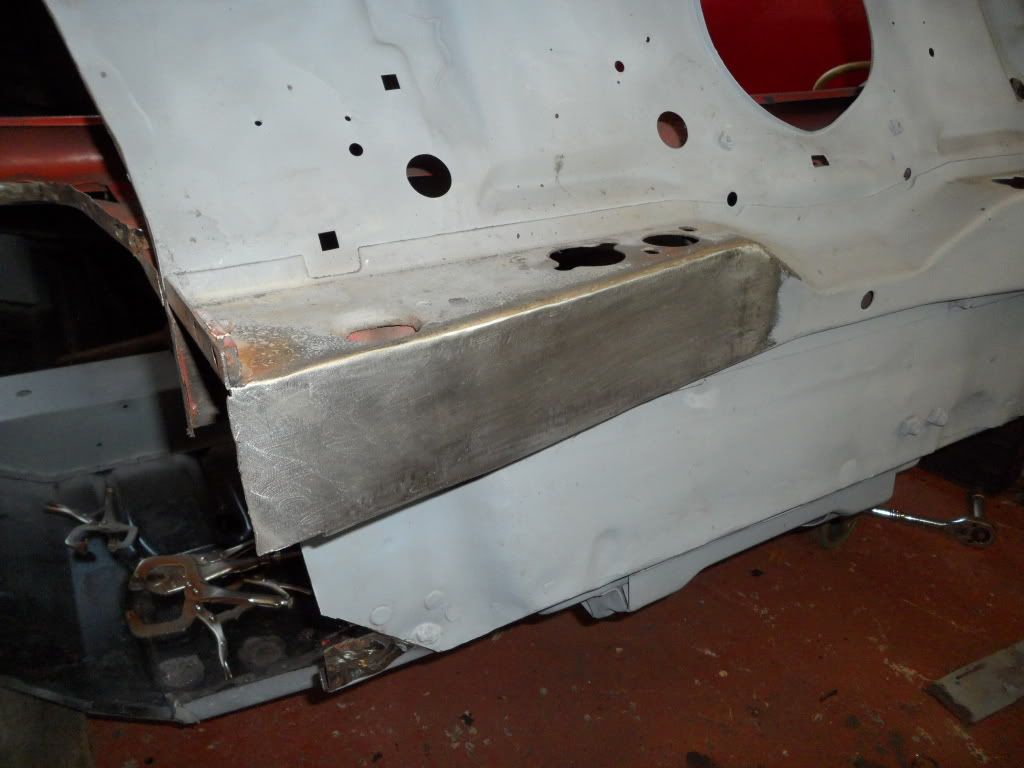
came out good i think althought i went a little too far with the grinding disk in parts and left scratches in the panel that i coudnt get out with the flap or the da but when i primed it you cant notice it at all so i am more than happy with it
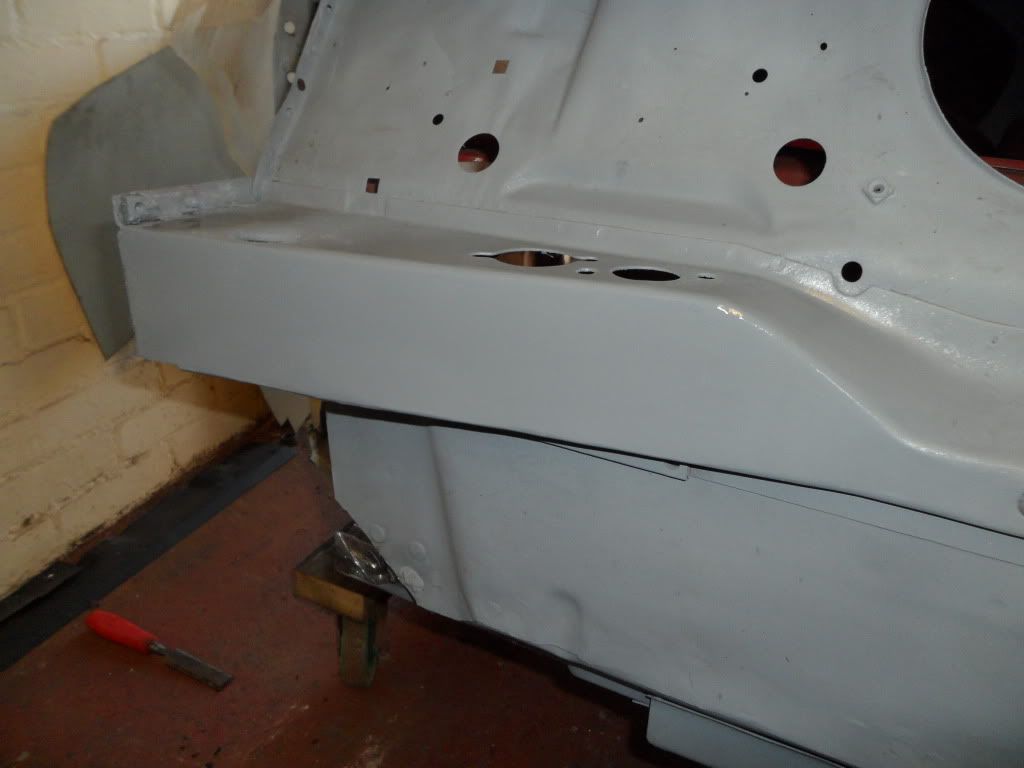
so thats the front of the crossmember done
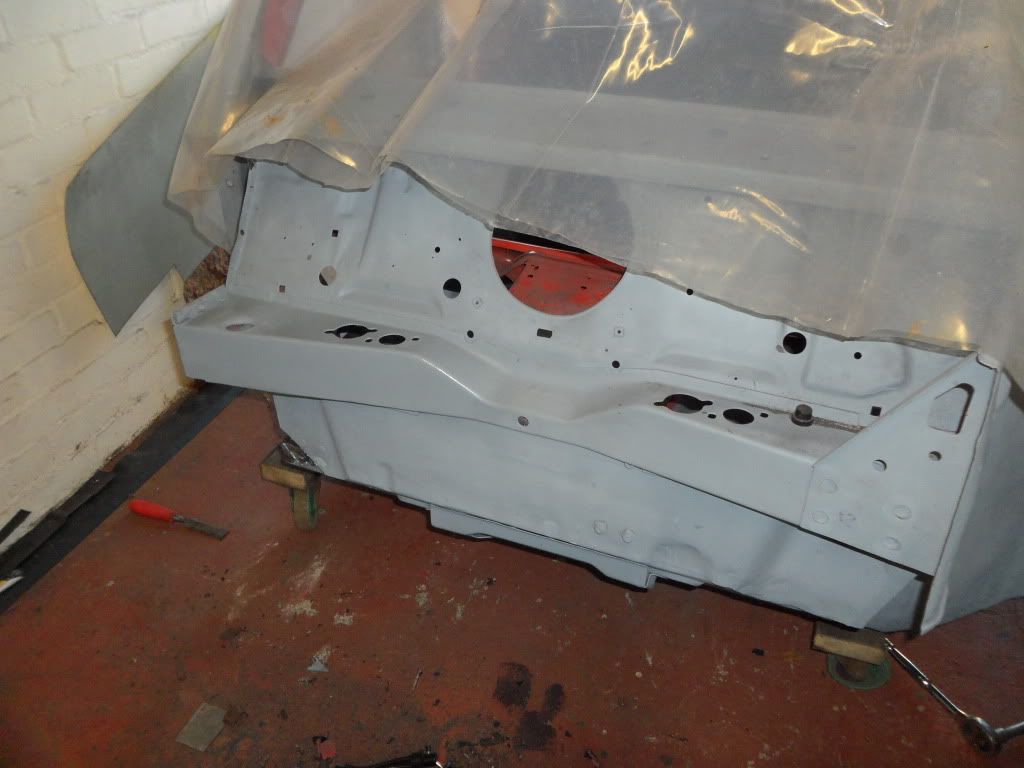
next i moved on the cutting out the rot in the buttom side of the crossmember and edge of the bulkhead and was left with this hole
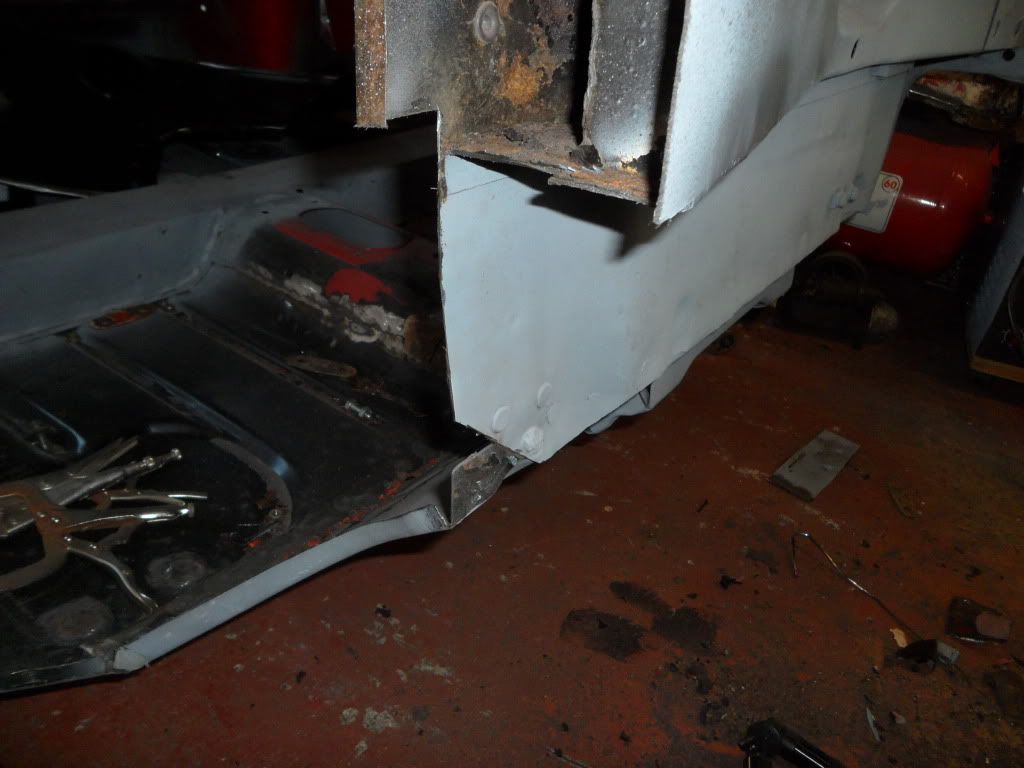
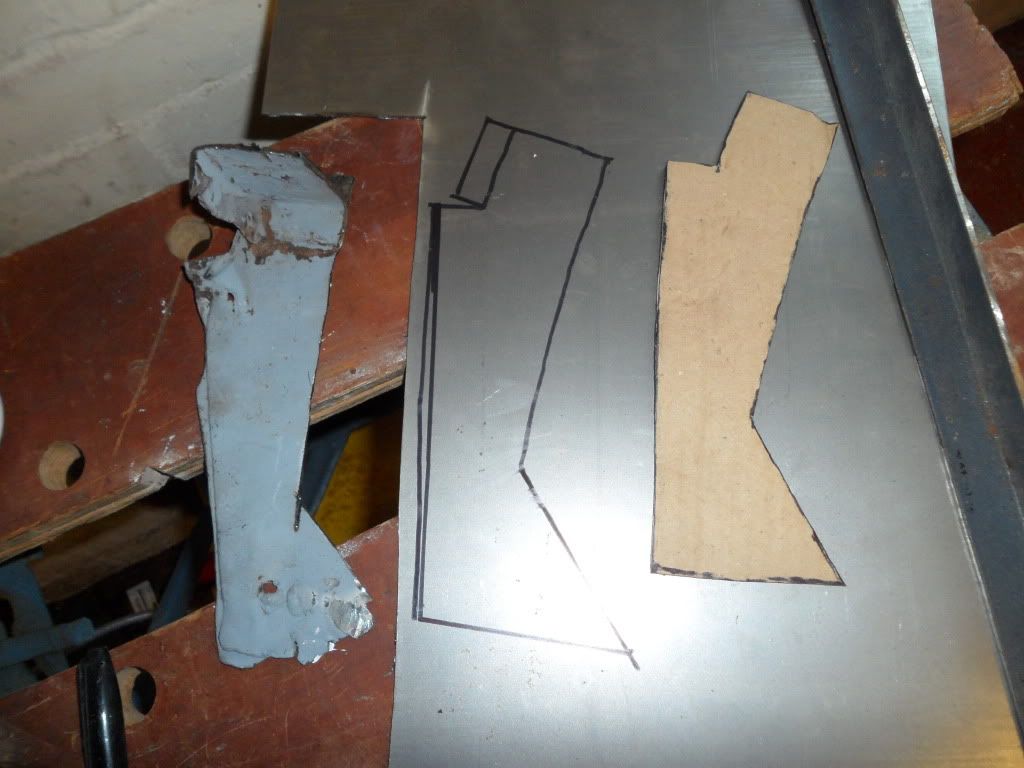
i used the old piece i cut out to make a card template and once happy with the fit i made it into steel twice as i made the first one too short but the new one is good
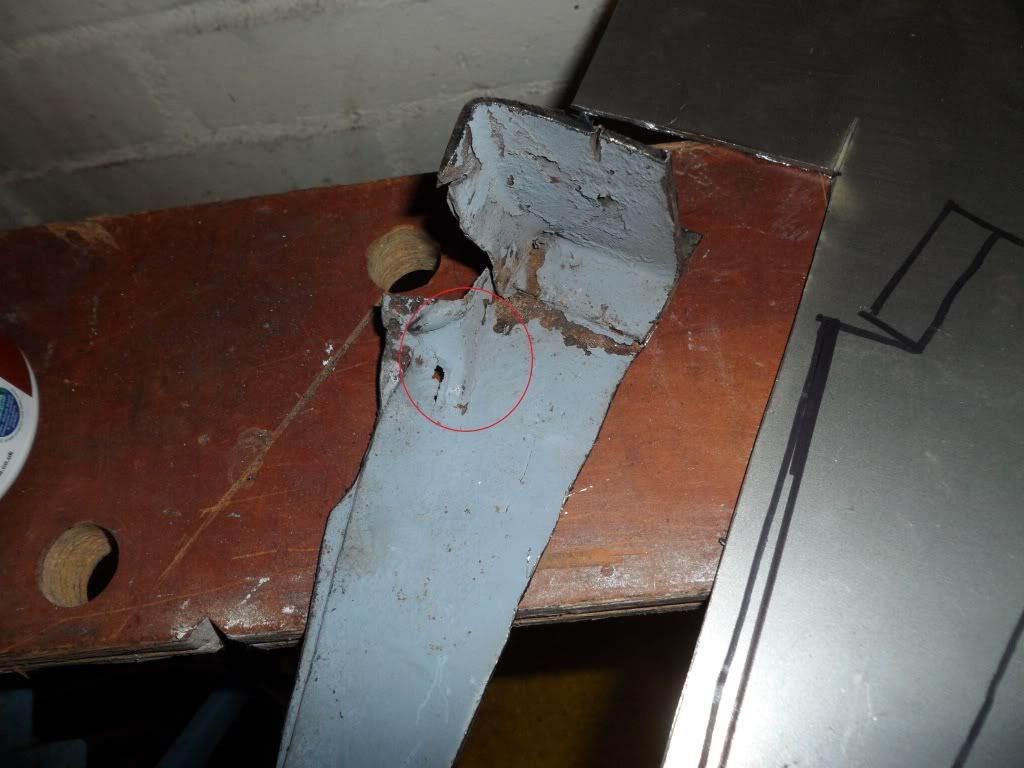
this part of the bulkhead has a complex curve as seen in the pic below but i have a plan for this just hope it comes out well
thats all for now if i get off early again this week i should have this area done and the new inner wing in place so fingers crossed
Darren
2 user(s) are reading this topic
0 members, 2 guests, 0 anonymous users


