Jump to content


Photo
- - - - -

My B16A2 Toy Build


  • Please log in to reply
329 replies to this topic

#121 Kam

Kam

    Straight to the Point

  • TMF+ Member
  • PipPipPipPipPipPipPipPipPip
  • 4,140 posts
  • Location: Hampshire
  • Local Club: 16vMini club

Posted 15 October 2012 - 12:31 AM

Theres many ways Honda have set this up on the B series, but yeah you do need the right parts to start with

I'm gonna go into a bit of war and peace over this, someone could probably explain it quicker so bear with me :whistling:

Ignore what parts you have at the moment, its not a problem though so don't worry - on a 'normal' b16a2 setup as in your link above you have a small take off pipe from the inlet manifold (next to the large U bend hose which goes from inlet to the thermostat housing) this small take off pipe goes to the bottom of the throttle body which feeds your Fast Idle Thermo Valve, below on the left is mine from a b16a2, you can see where that pipe attaches to, ignore the one on the right, for now...

Posted Image

In action hooked up to the inlet

Posted Image

Also on a 'normal' b16a2 setup you have a small take off pipe from the back of the thermostat housing (which I understand is the one your missing) like so

Posted Image

This then goes up through that silly metal pipe and into the small take off pipe at the rear of the top hose where your bleed nipple is, as below on the left, the one on the right has no take off pipe and is cast blank where the bleed nipple would be

Posted Image

So on a 'normal' b16a2 you have, Inlet to FITV, Thermostat housing to rear of Top hose

Now, while I'm here you might aswell know :shifty:

Some B series setups don't have a bleed nipple at the rear of the top hose, nor do some have a take off pipe there

Some setups don't have a FITV under the throttle body but still have the pipe, this is mine from my b18 type-r

Posted Image

And some don't have a take off pipe from the thermostat housing (like yours) this is mine from my b20

Posted Image

So on yours as the inlet to throttle body is already hooked up thats fine but as you don't have somewhere for that one from the back of the top hose to go to then yes run a T-piece between the above hooked up pipe

I could just of said 'yes run a t-piece' but thats not how I roll :D

#122 KieranB

KieranB

    Speeding Along Now

  • Members
  • PipPipPipPipPip
  • 360 posts
  • Location: Skipton
  • Local Club: S.U.N.M.C

Posted 15 October 2012 - 07:12 AM

haha thanks Oracle...i mean Kam ;D I prefer your explainations any day and the conclusion was especially helpful :teehee: I dont even have that bleed nipple on the top hose.....wierd. I'll just go run that T-piece, can't see a problem with it.

Should have this running by the end of this month......in theory

Thanks again Kam

Kieran

Edited by KieranB, 15 October 2012 - 07:14 AM.


#123 Jamie_hail

Jamie_hail

    Super Mini Mad

  • Members
  • PipPipPipPipPipPip
  • 555 posts
  • Location: Fort William

Posted 17 October 2012 - 12:14 AM

Running by the end of the month? You're certainly cracking on with your wiring ;)

#124 KieranB

KieranB

    Speeding Along Now

  • Members
  • PipPipPipPipPip
  • 360 posts
  • Location: Skipton
  • Local Club: S.U.N.M.C

Posted 17 October 2012 - 07:01 AM

Aint received the wiring yet, got a case filed on the guy on ebay for it. Its now been marked as dispatched with 24hr delivery but i dont believe him. I've got all the time in the world on the weekends for the rest of the month to work on wiring when it arrives then when payday arrives buy various bits i need.....like i say, in theory :unsure:

But as you said earlier Jamie....the race is on ;D

Edited by KieranB, 17 October 2012 - 07:03 AM.


#125 KieranB

KieranB

    Speeding Along Now

  • Members
  • PipPipPipPipPip
  • 360 posts
  • Location: Skipton
  • Local Club: S.U.N.M.C

Posted 10 November 2012 - 09:52 PM

right this aint an update. just a question and a bit of a stupid one.

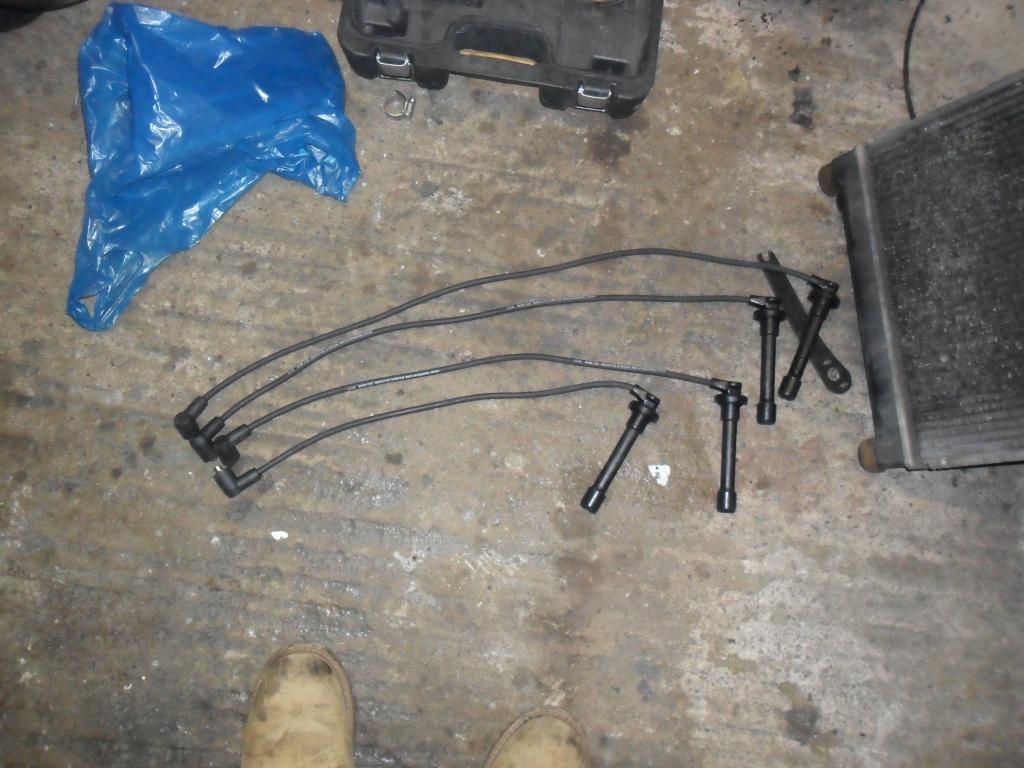
anyone who has got their engine running....which way do you have the spark leads on the dizzy/engine? i found an image online but i dont trust it. my engine now turns over without the spark leads attached then when i put them on it fires at the wrong time and at one point i **** myself thanks to a almighty bang from the exhaust.

i will have a maaaaaassive update on monday for this as ive done loads but aint got a laptop. so any advice on the firing order might result in you having a video of my car running to watch on monday :)

cheers
kieran

#126 miniblade81

miniblade81

    Mini Mad

  • Members
  • PipPipPipPip
  • 218 posts

Posted 11 November 2012 - 09:54 AM

kams the kiddie

#127 KieranB

KieranB

    Speeding Along Now

  • Members
  • PipPipPipPipPip
  • 360 posts
  • Location: Skipton
  • Local Club: S.U.N.M.C

Posted 11 November 2012 - 12:20 PM

doesnt matter. had a play this morning and guess what................IT LIVES!!! Bloody hell im buzzing. ill upload everything tomorrow. bloody hell im shaking!!

Edited by KieranB, 11 November 2012 - 01:34 PM.


#128 Kam

Kam

    Straight to the Point

  • TMF+ Member
  • PipPipPipPipPipPipPipPipPip
  • 4,140 posts
  • Location: Hampshire
  • Local Club: 16vMini club

Posted 11 November 2012 - 02:09 PM

Sorry Kieran didn't see this till now, hooked up like this yeah?

Posted Image

Top work on the fire up mate, good milestone, well chuffed for you :thumbsup:

#129 Strawbsey

Strawbsey

    Mini Mad

  • Noobies
  • PipPipPipPip
  • 123 posts

Posted 11 November 2012 - 04:21 PM

Brilliant read so far. I want to make one of these dammit!

Top work :D

#130 KieranB

KieranB

    Speeding Along Now

  • Members
  • PipPipPipPipPip
  • 360 posts
  • Location: Skipton
  • Local Club: S.U.N.M.C

Posted 11 November 2012 - 05:21 PM

cheers fella's

ye thats how i had it hooked up and that was the picture i used to check. but the problem was the dizzy cap wasnt bolted at the right angle so it was firing wrong. quickly unbolted it, turned it anti-clockwise as far as it would go, tightened the bolts up, connected some wires and vroom! started on the first turn. i was really reluctant to try again, those backfires really did scare me.

like i say, full update tomorrow

Kieran

p.s im still buzzing :P

#131 johny:)

johny:)

    Speeding Along Now

  • Members
  • PipPipPipPipPip
  • 311 posts
  • Location: south wales

Posted 12 November 2012 - 01:37 PM

Well done on getting it running it is a real buzz I bet you wont to drive it now

What loom are you using ??

These engine do make a good old bang when they miss fire mine was playing up a few weeks ago due to a map sensor fault I was winding it over and it poped my ears where ringing for at least an houre after it did it it proberley didn't help that I got a dust bin on the back tho

Look forword to your update later

#132 KieranB

KieranB

    Speeding Along Now

  • Members
  • PipPipPipPipPip
  • 360 posts
  • Location: Skipton
  • Local Club: S.U.N.M.C

Posted 12 November 2012 - 01:43 PM

Cheers John, im using my own loom. Built it from the original honda loom, various diagrams and help from Mrthumb. It needs a lot of tinkering with and i still need to wire up everything like lights, fan, wipers etc but the current state will do me for now, i'll use it as a template to get it moving etc. And yes im desperate to get it moving.

Update is gonna be tonight hopefully. work laptop isnt liking photobucket :xxx:

Kieran

#133 KieranB

KieranB

    Speeding Along Now

  • Members
  • PipPipPipPipPip
  • 360 posts
  • Location: Skipton
  • Local Club: S.U.N.M.C

Posted 12 November 2012 - 10:03 PM

Aaaaaaaaalrighty then!! Just bought myself a laptop.....its white.....and cool....but also worth the same as a pair of Allspeed driveshafts, i seem to do alot of relating the cost of things to the price of mini parts at the moment >_<

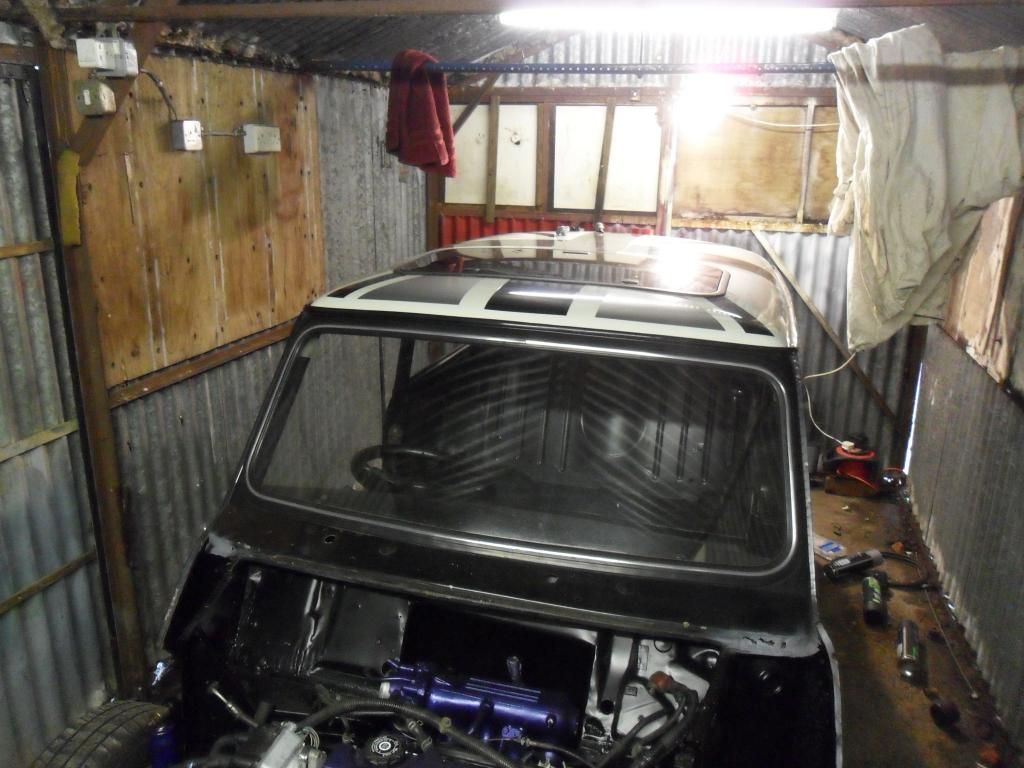
To start off i managed to get power to my garage, not much of a success story but this place was in a right state when i first found it. So i now have lights in the garage :D small things....

Posted Image

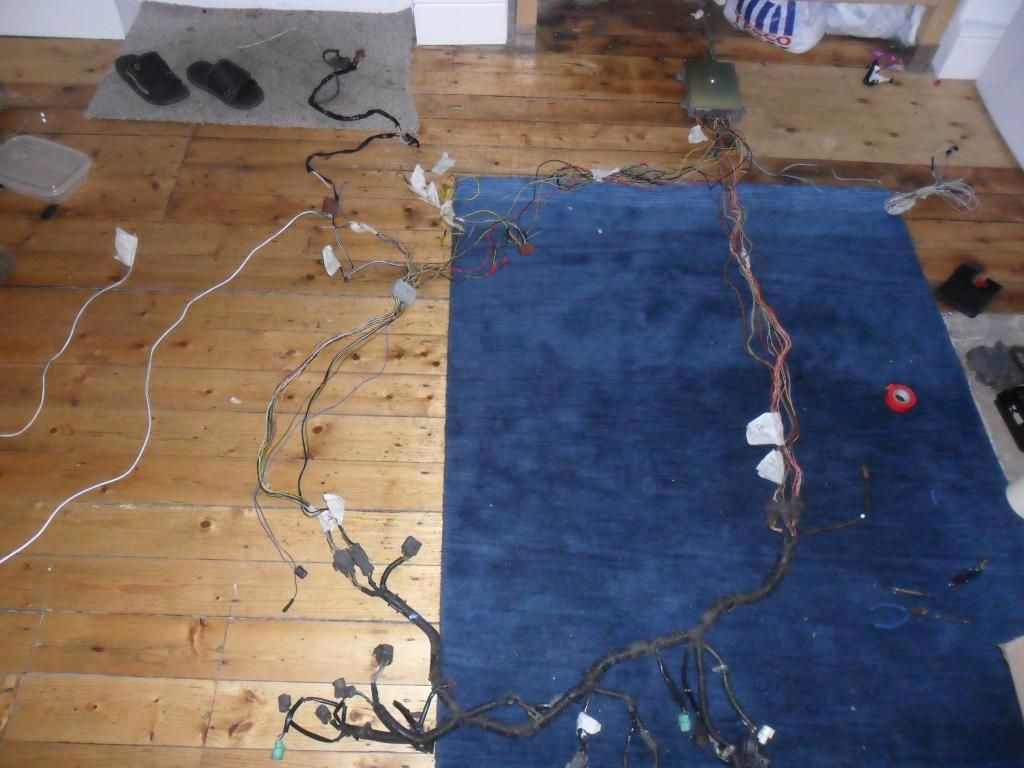
Next was to receive my loom, its an obd1 loom off ebay, really didnt like the guy who sold me it, took the best part of a fortnight to arrive. So placed it on my kitchen floor, poured a beer and cued the music!!
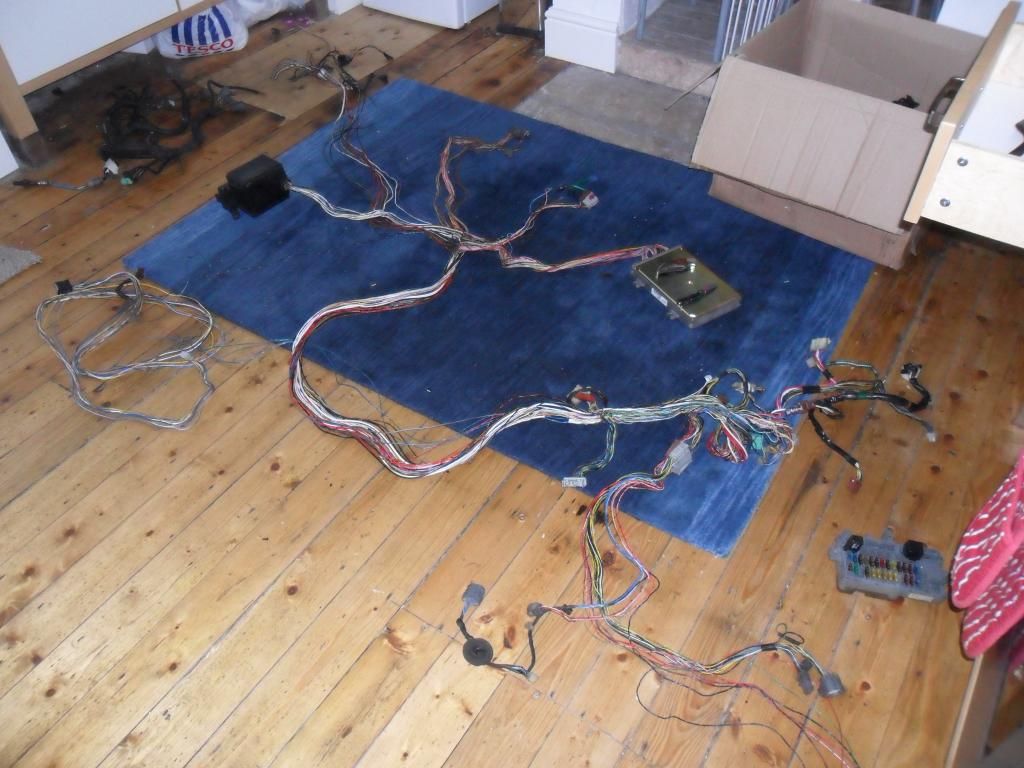
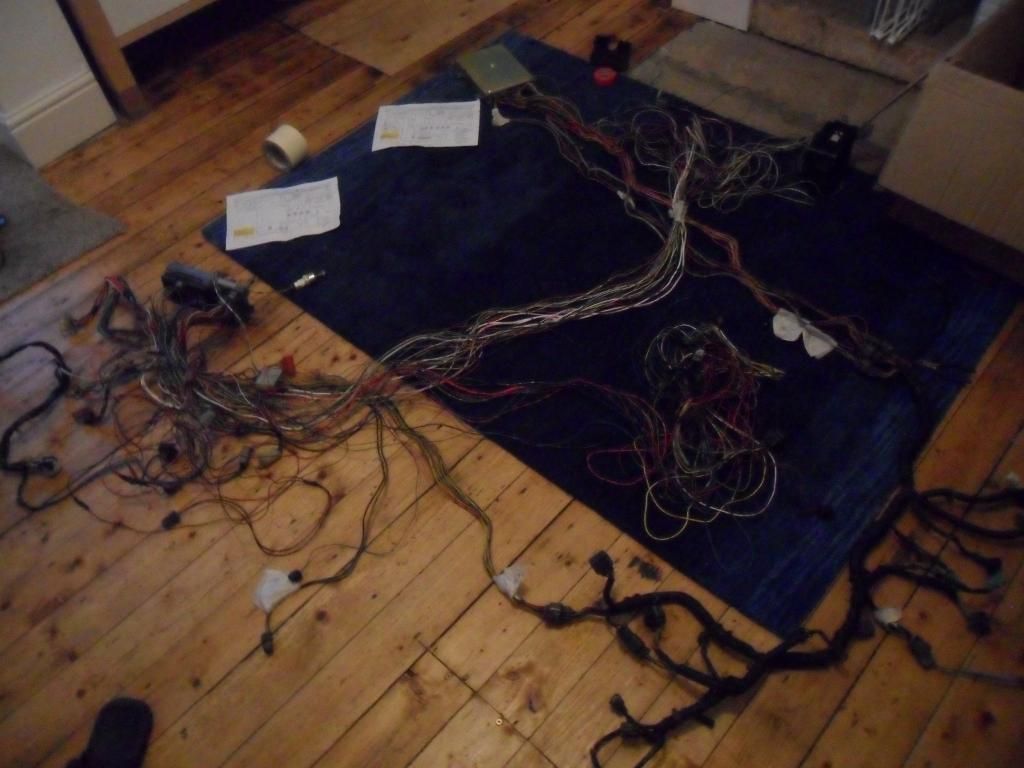
Posted Image

Posted Image

All the stuff i dont think i need....
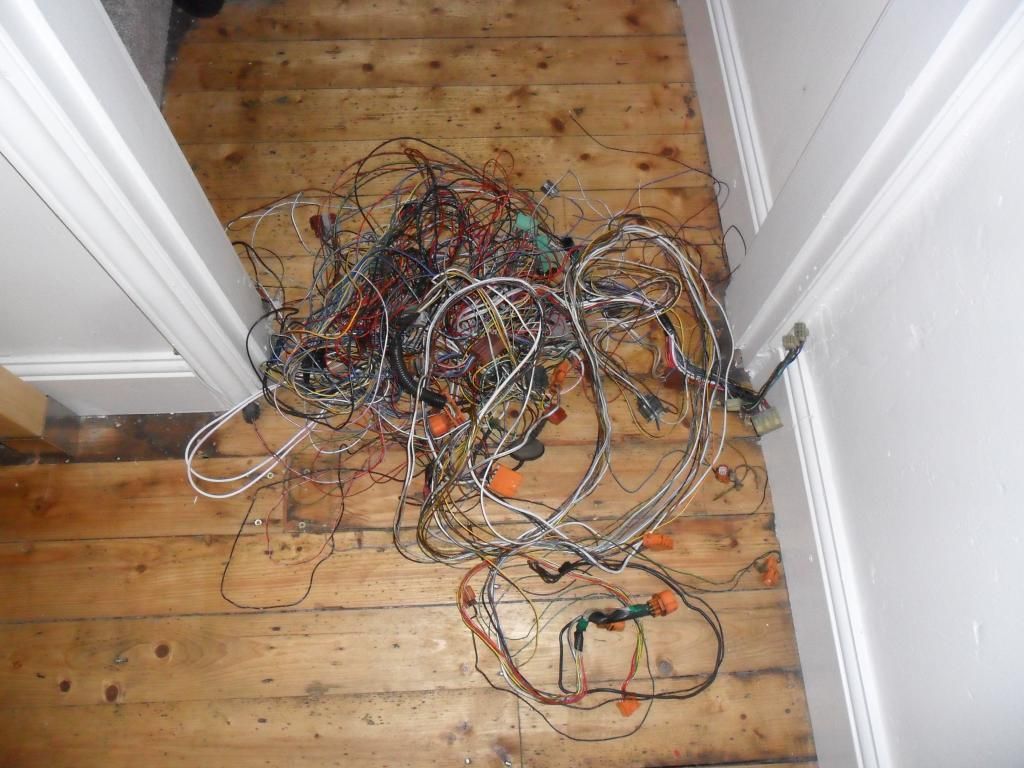
Posted Image

Posted Image

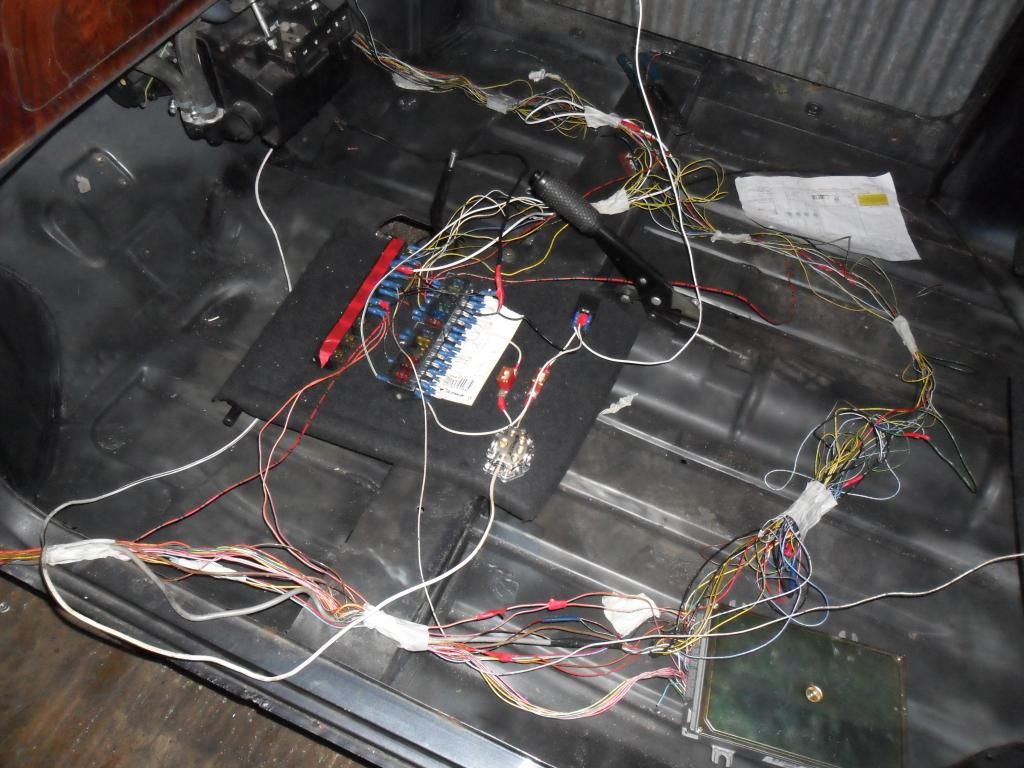
I needed something to screw all the parts to in order to create a fuss box kind of thing....and the best thing i could find was....
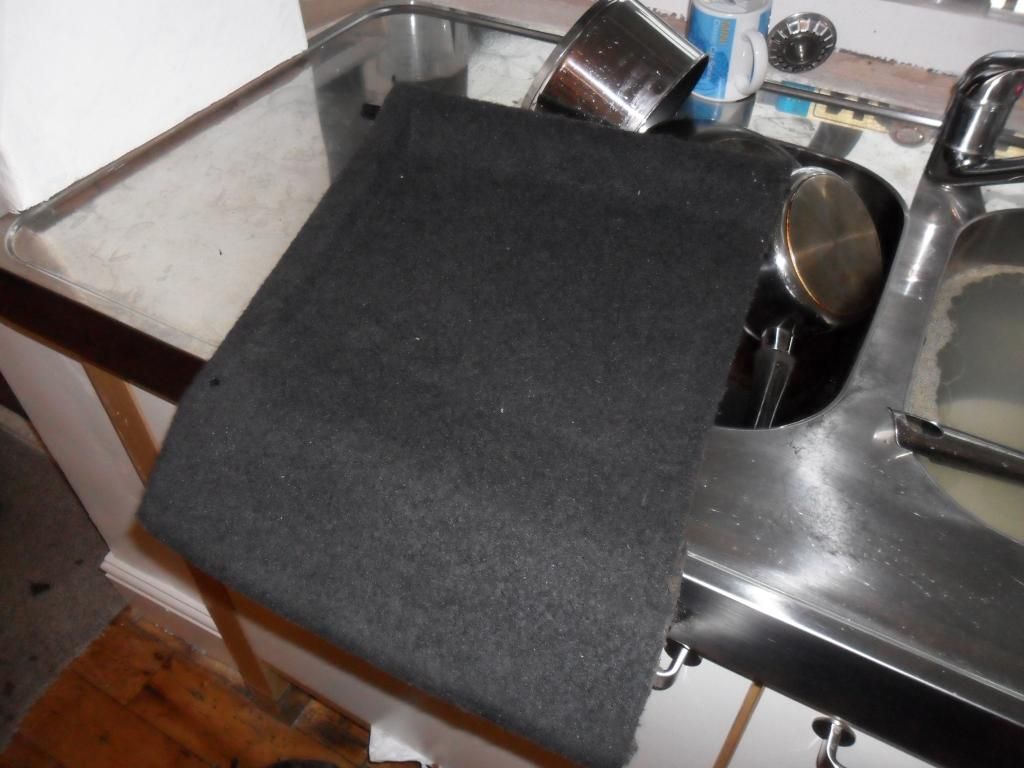
Posted Image

An off cut of my peugeots parcel shelf :thumbsup:

The finished article

Posted Image

I'm gonna sound like a reward winning celeb here but bare with me. A massive thanks to Mrthumb for all the help he gave me on the loom, i dislike wiring just as much as the next person so i really didnt think i would make this work. But from various diagrams. help from Tom and a bit of common sense, it worked.......for now

Then mine and my mates daily runners failed the dreaded MOT (and no not for the parcel shelf), so once we replaced his wheel bearings and my exhaust manifold....
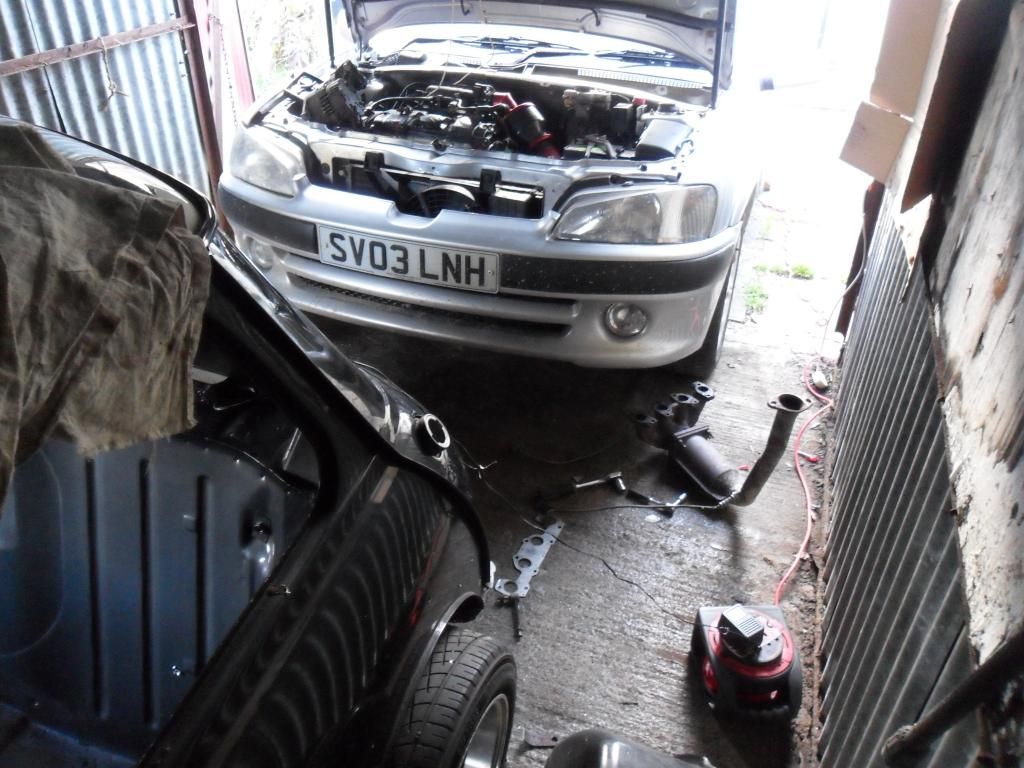
Posted Image

They flew through

Next job....my gearlinkage. I still had the selector wedged on its pin so jacked the car right up
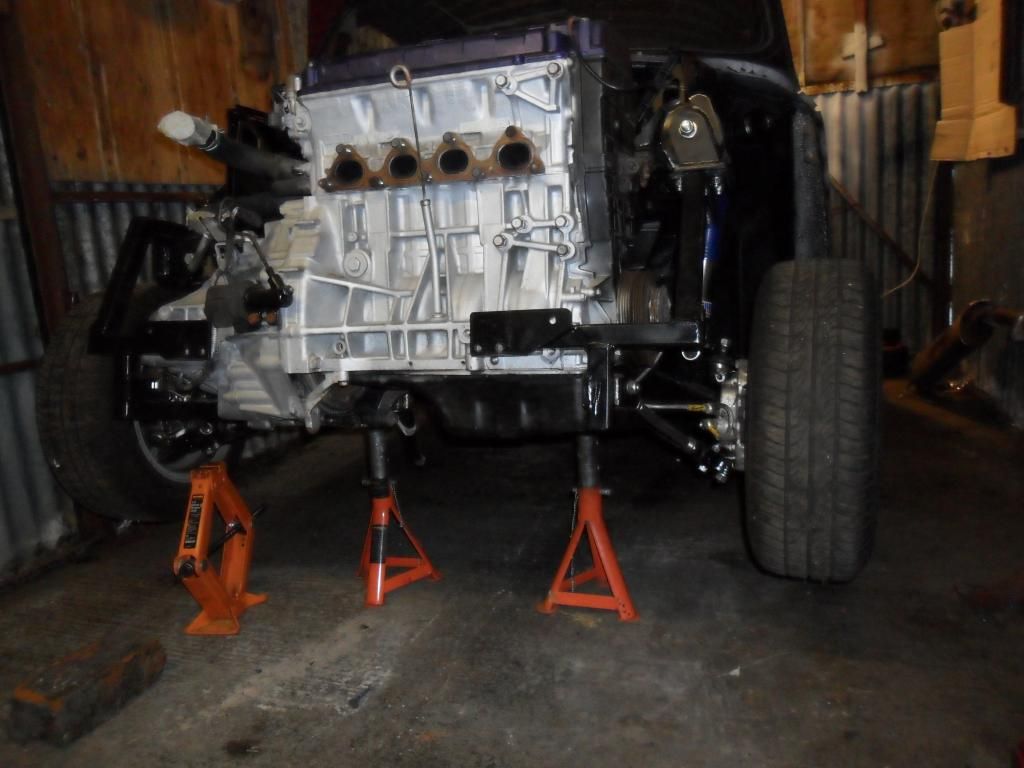
Posted Image

And with the help of the grinder, a big hammer and my 1/4" extension bar i got the little "biaaaaaatch" pin out, What a relief
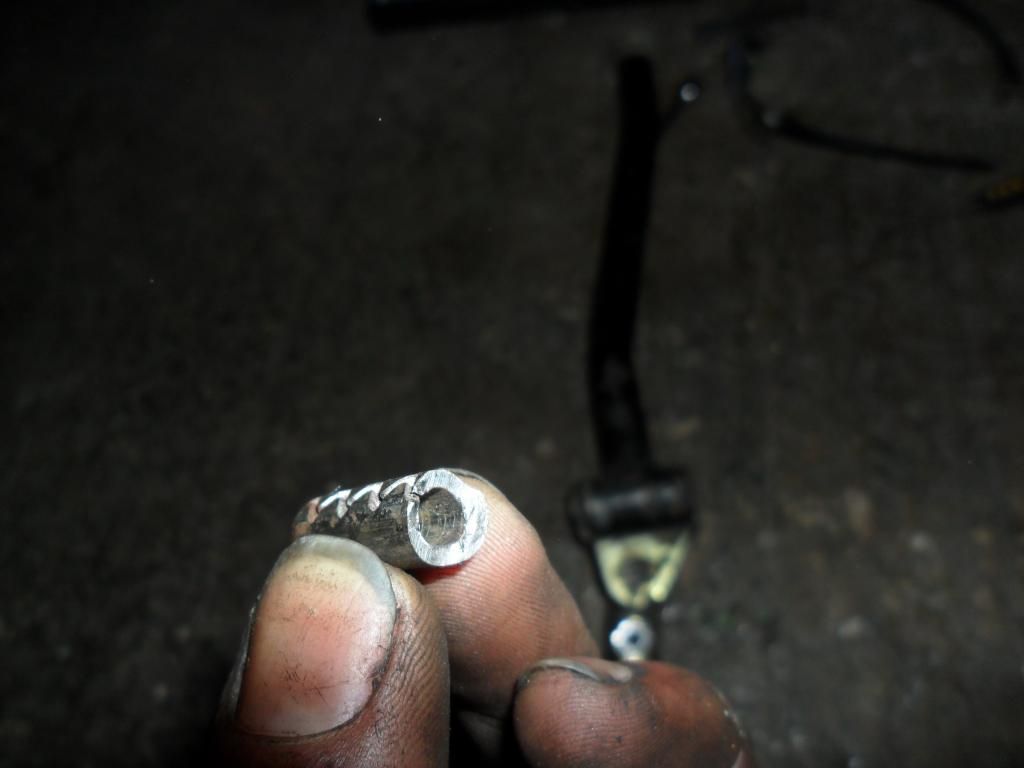
Posted Image

This meant i could get the gearlinkage sorted, however i still aint bought a welder...typical scotsman being tight. But taped it up, took it down to the garage and they welded it
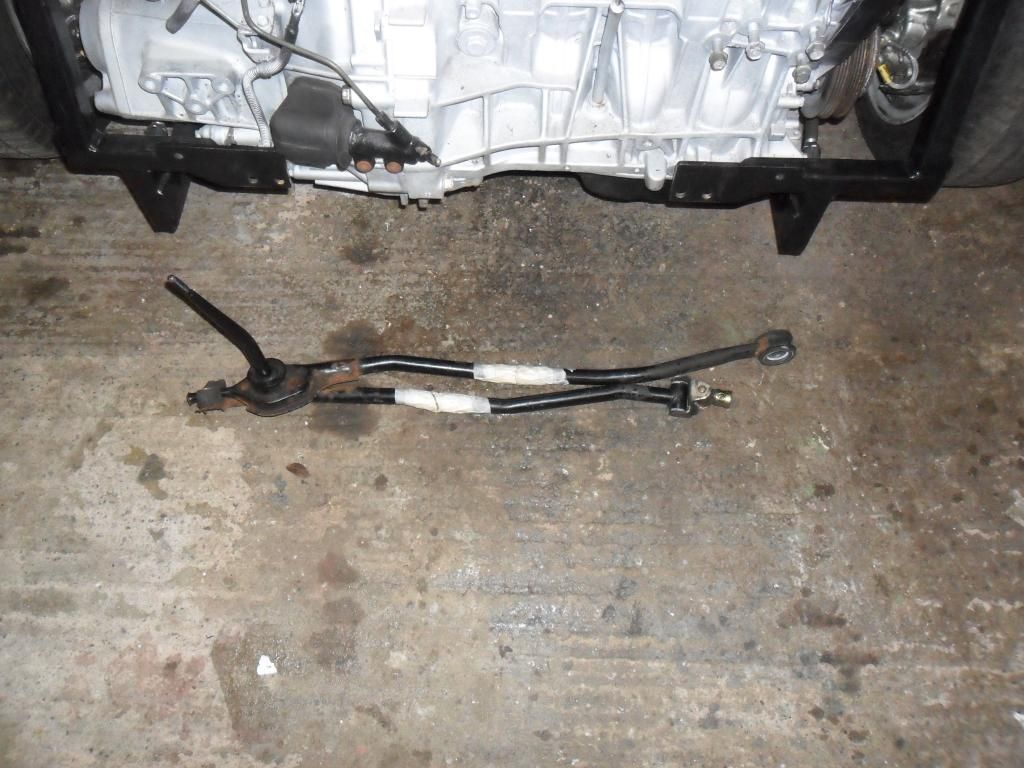
Posted Image

however this wasnt as simple as it seemed. it didnt get any gears and hit everything under the car, but patience and the grinder (i love my grinder) i got it cut down, shaped, lengthened and various niggily welds. And as is tradition the results were...

Posted Image

Winning!! I didnt get chance to get a photo of the linkage, it still needs painting etc so ill get one then. it looks quite different from standard.

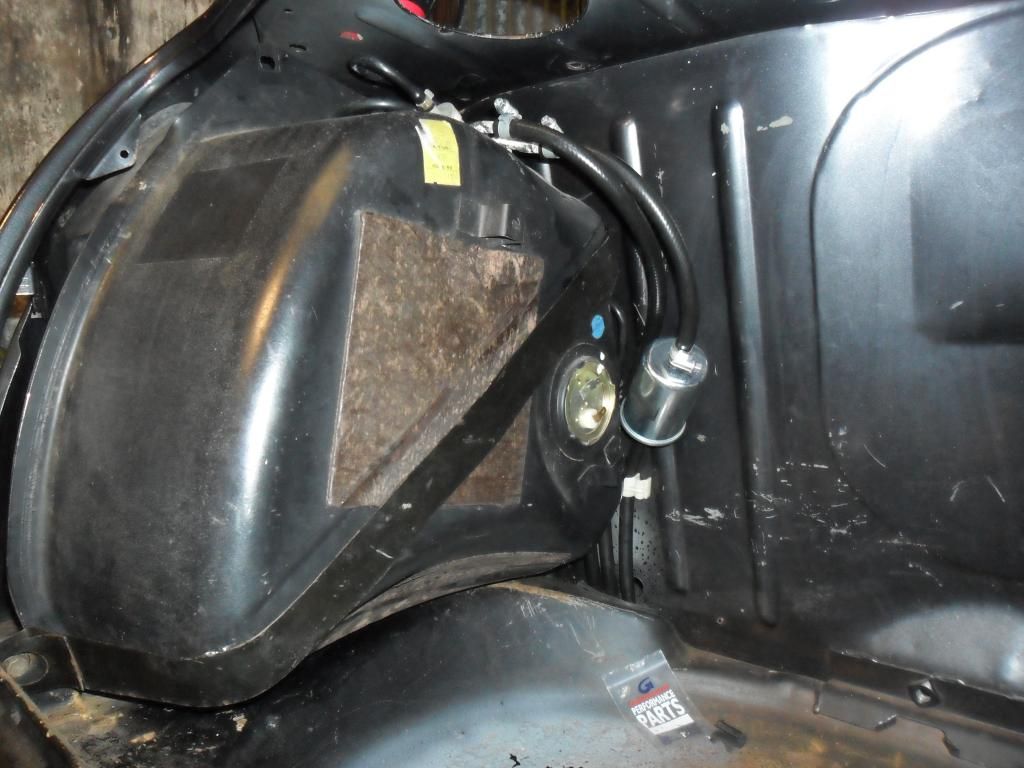
Next job...fuel lines. Quick trip to B&Q for copper pipes, and to a guy in Nelson for fuel hoses, filter bought from Halfrauds and a couple of hours later...
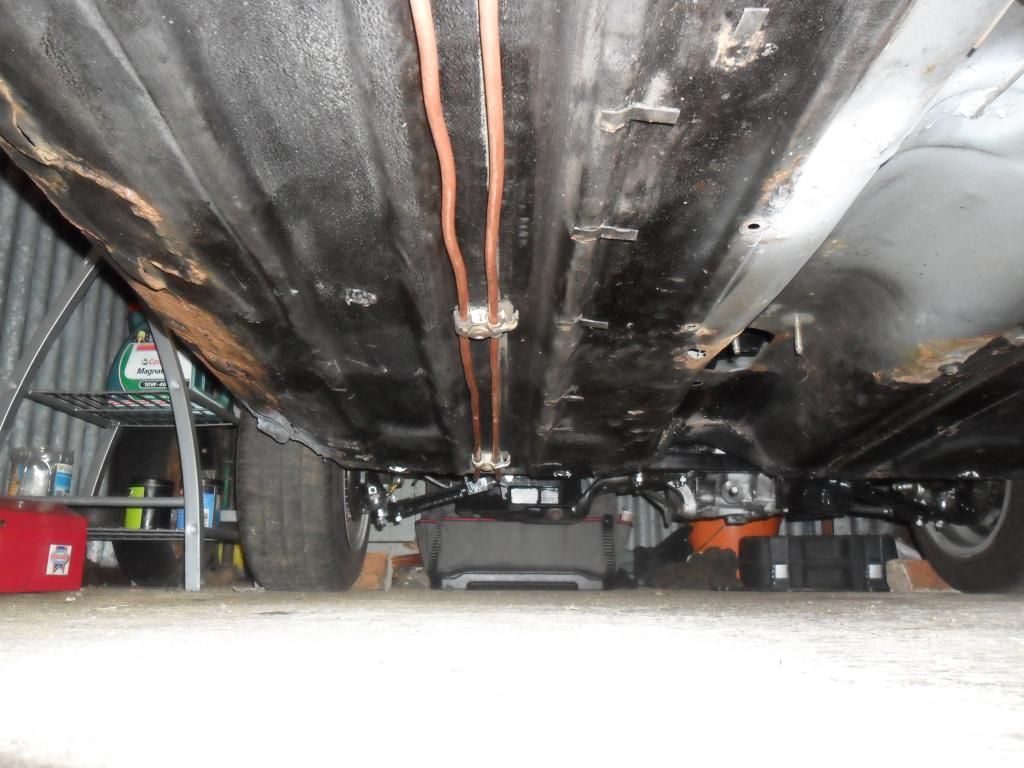
Posted Image

Fuel tank installed, quite nice to work on parts of the car that were designed to fit in it :)
Posted Image

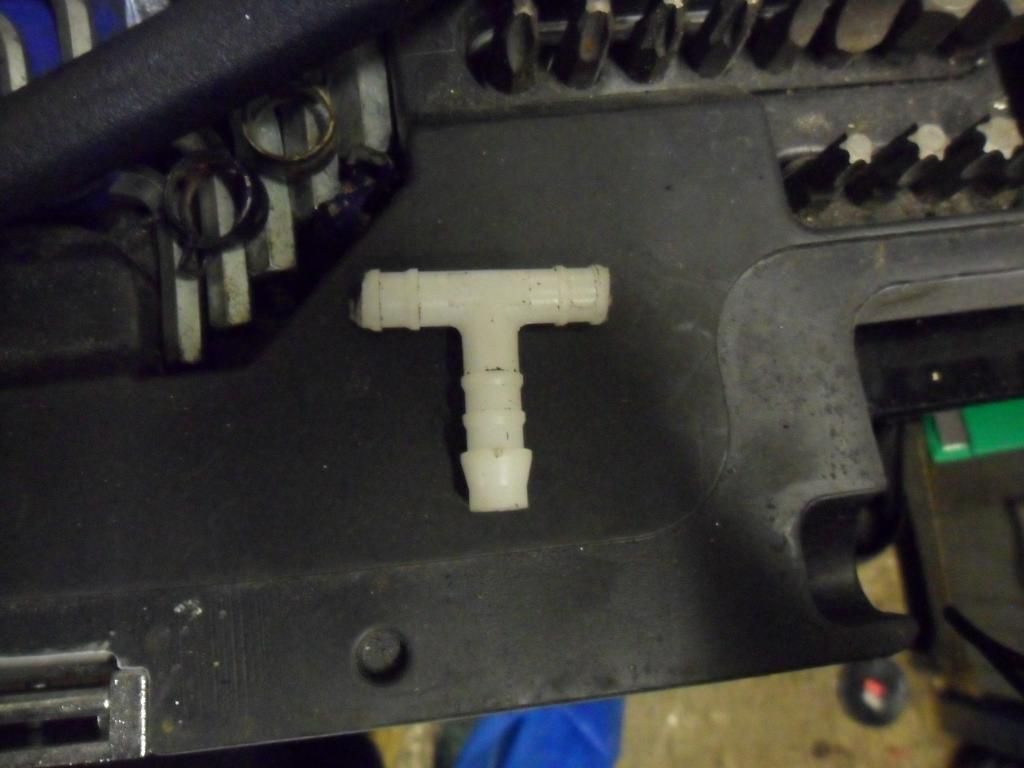
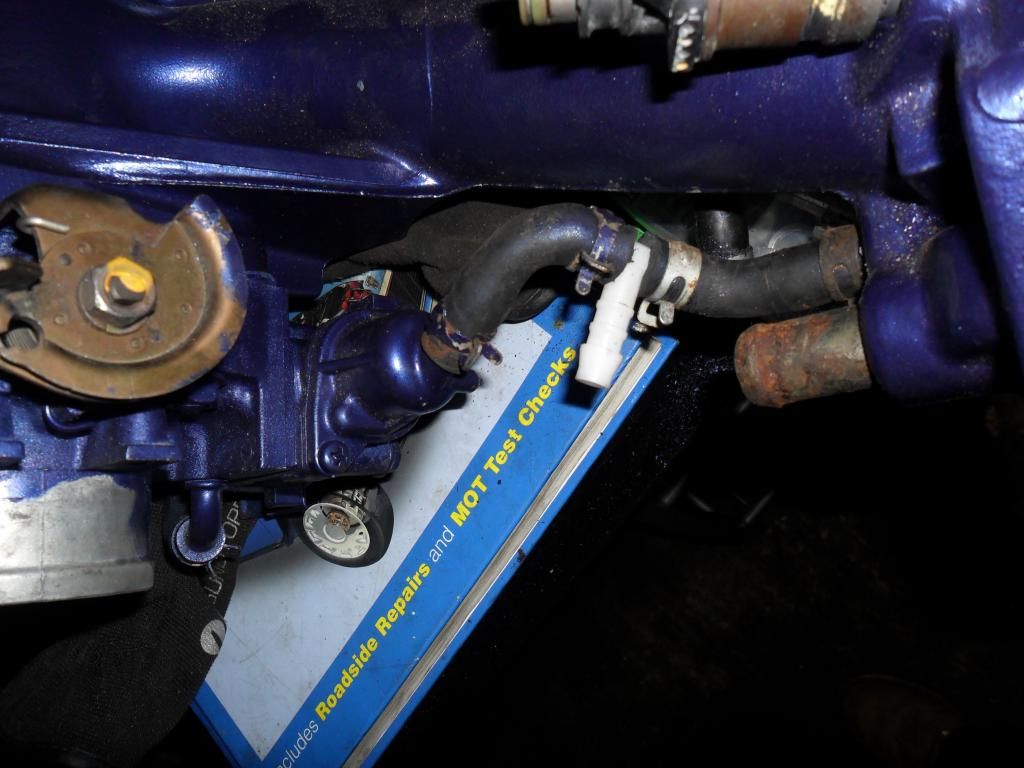
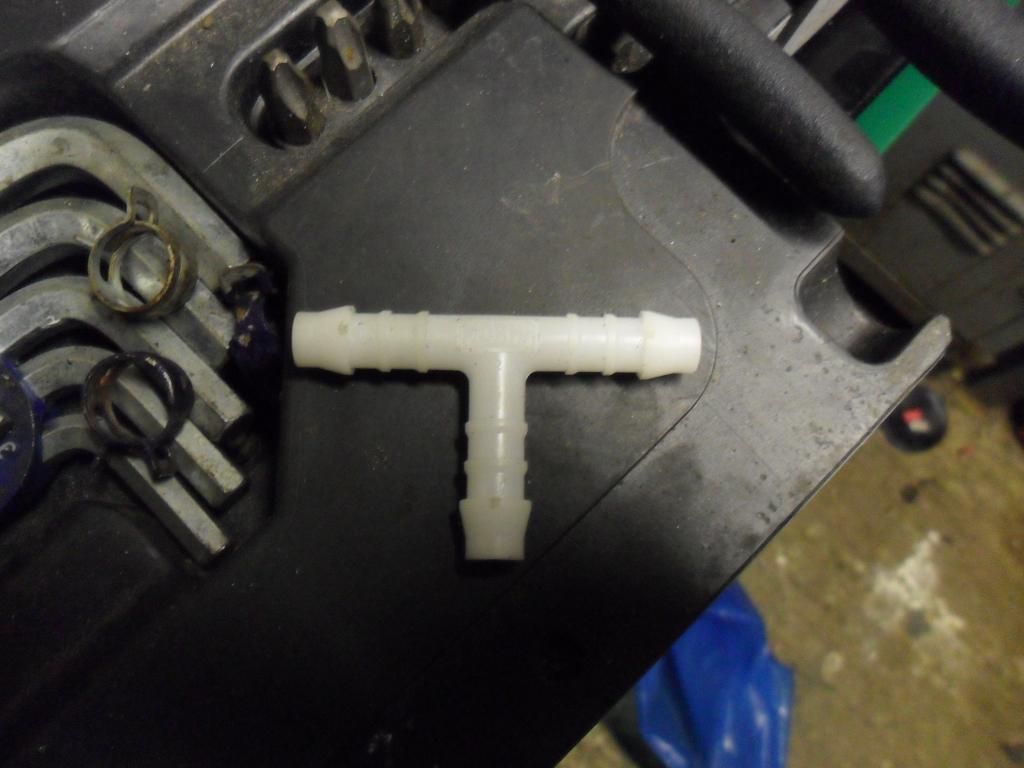
Now from the previous posts you may remember i was having problems with a coolant pipe, this is the solution, hopefully.

T-piece
Posted Image

Cut shorter

Posted Image

and fitted

Posted Image

Sorted

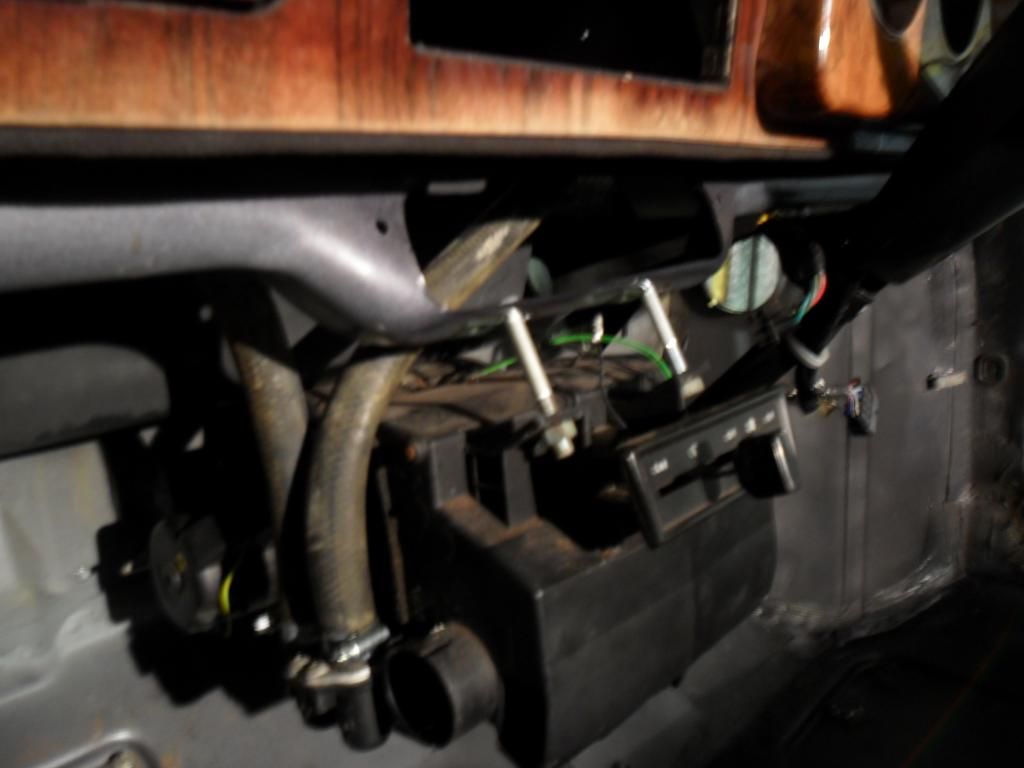
Heater mounted...a crude but simple method
Posted Image

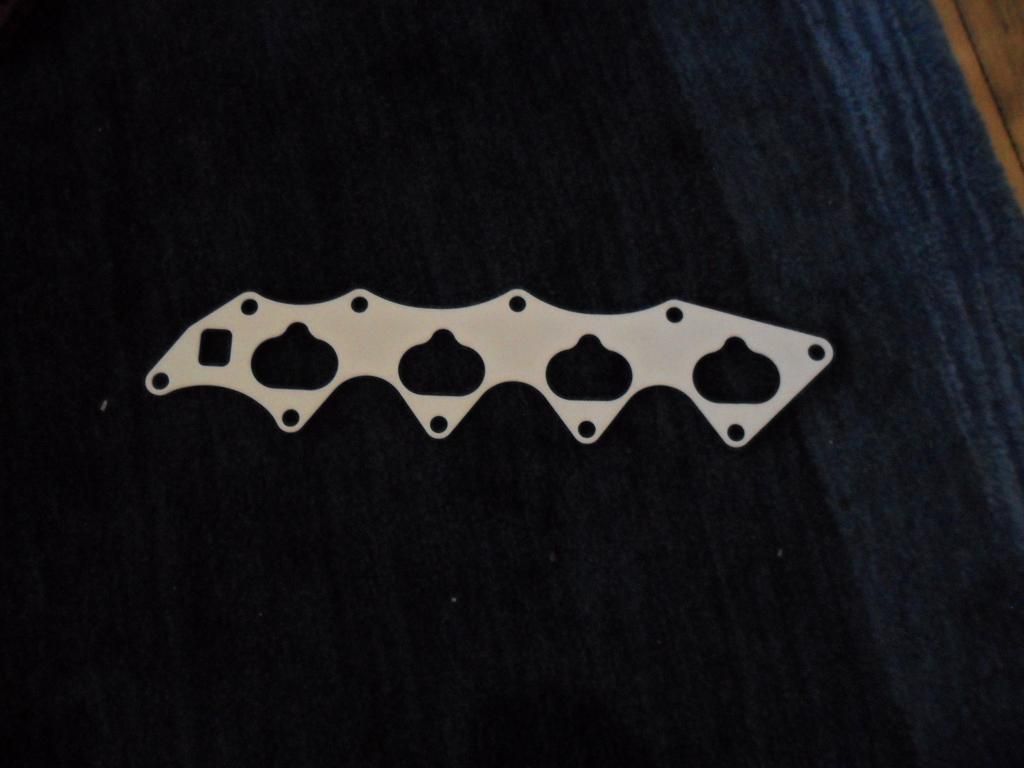
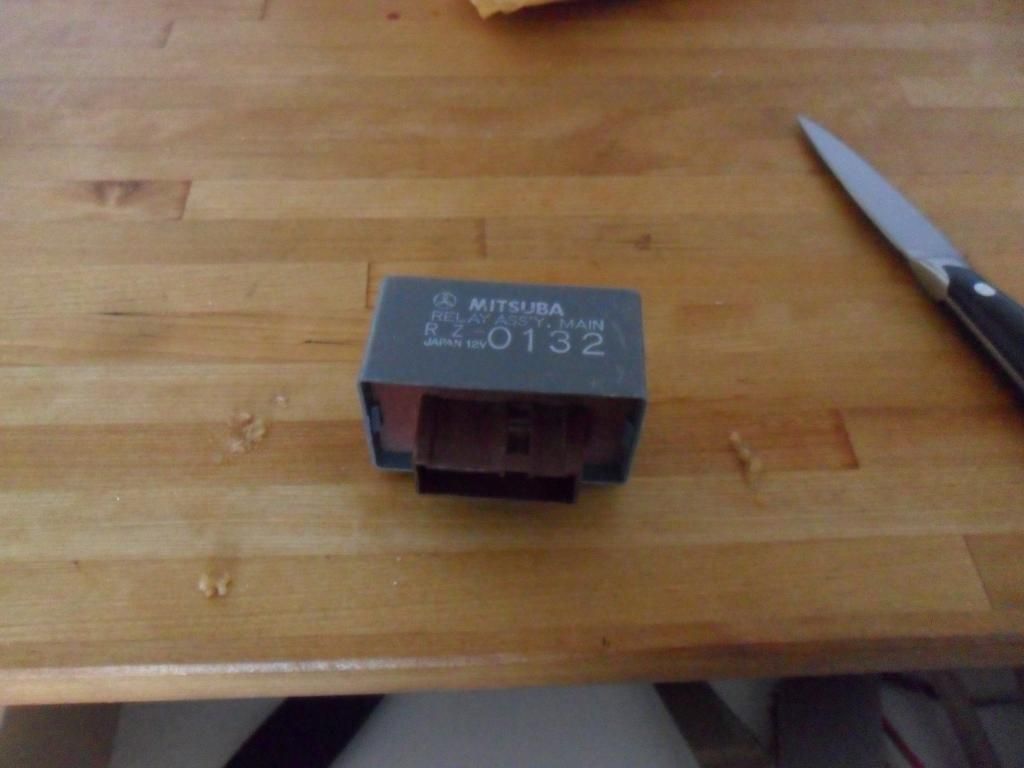
Right, onto starting the engine. Got a load of parts through, also thanks to Kam for that little plug thing, i havnt forgotten about paypal bud, ill do it tonight
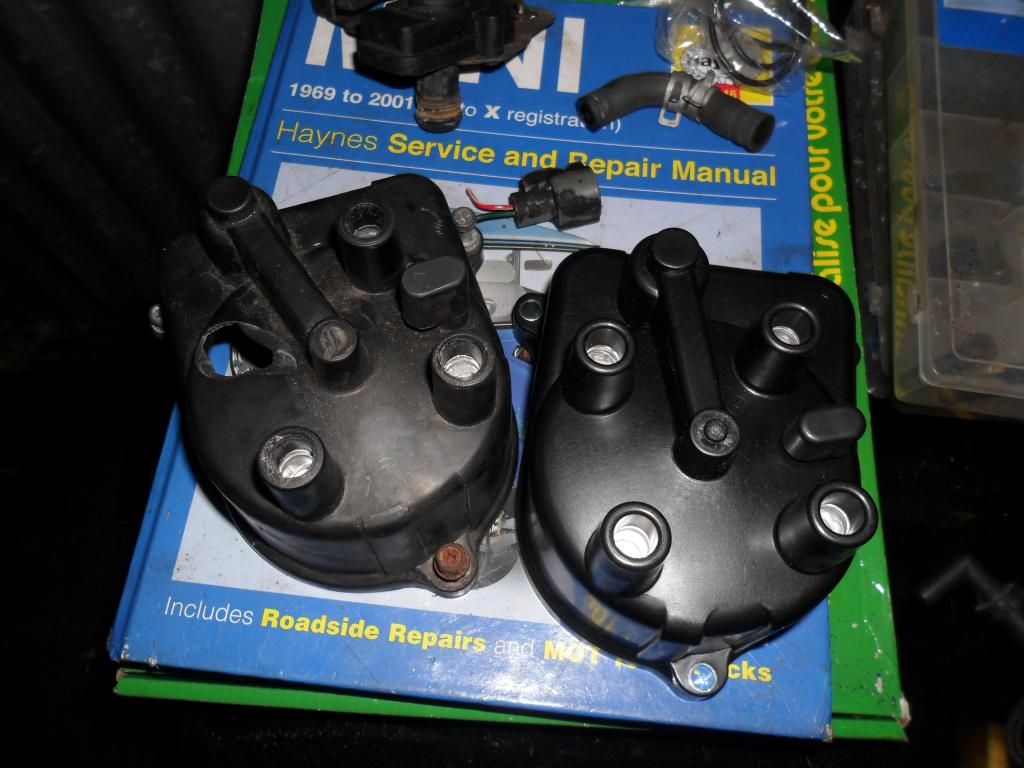
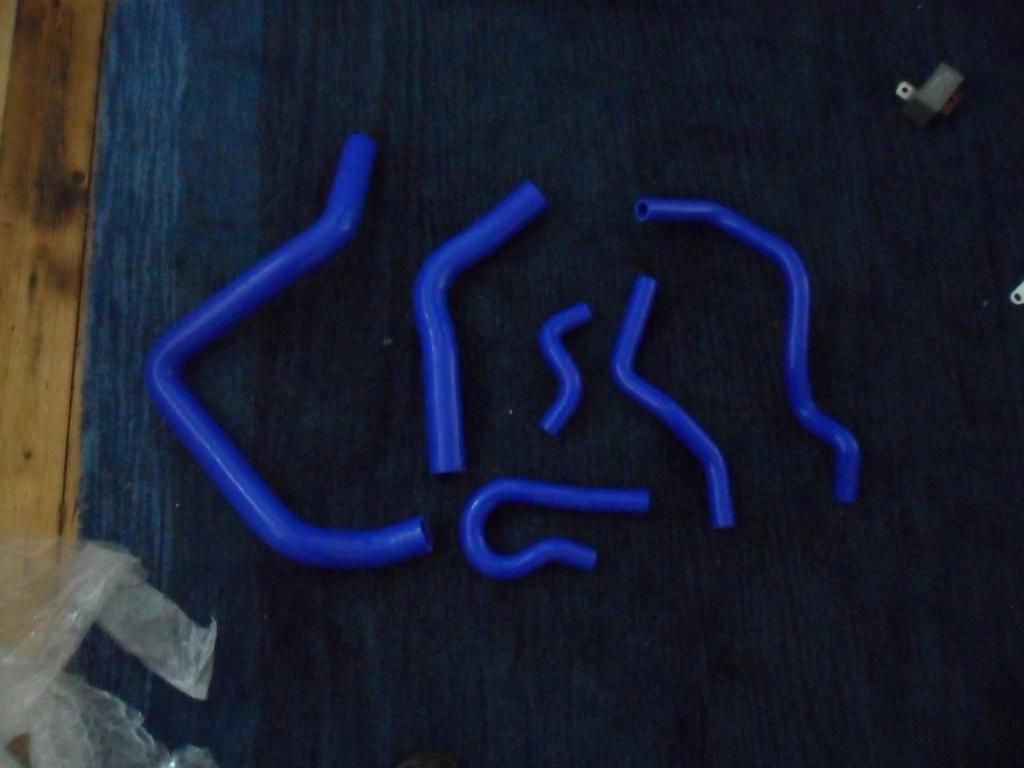
Posted Image

Posted Image

Posted Image

Posted Image

Posted Image

Posted Image

Got my exhaust bolted together....veeeeery temporary
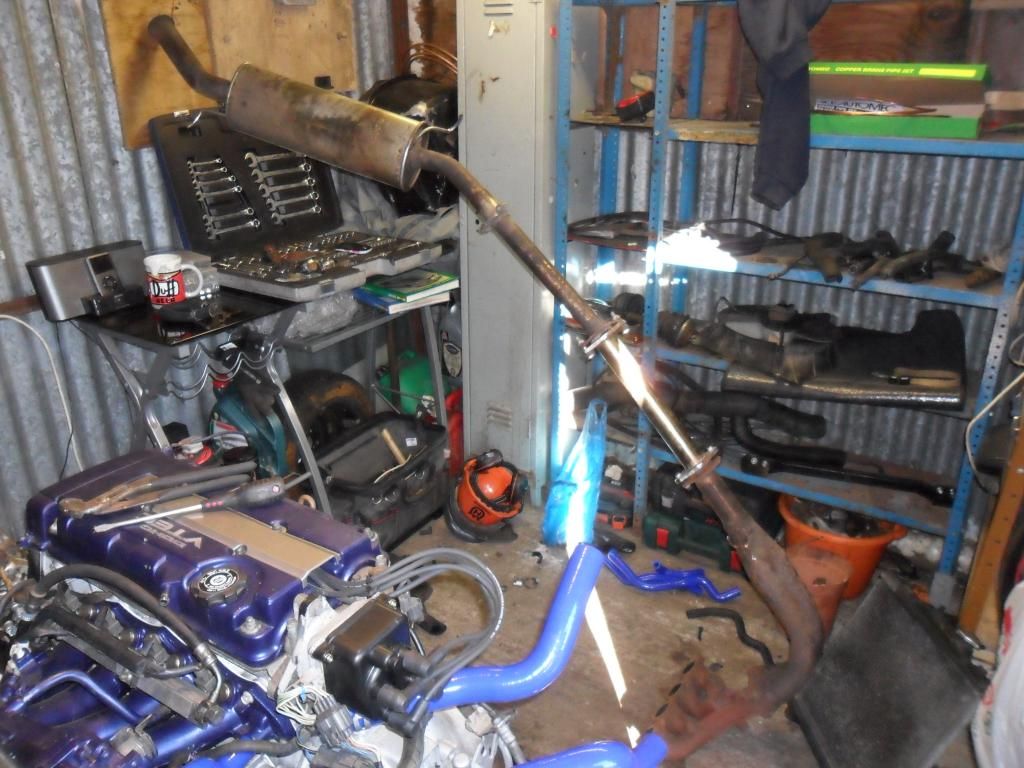
Posted Image

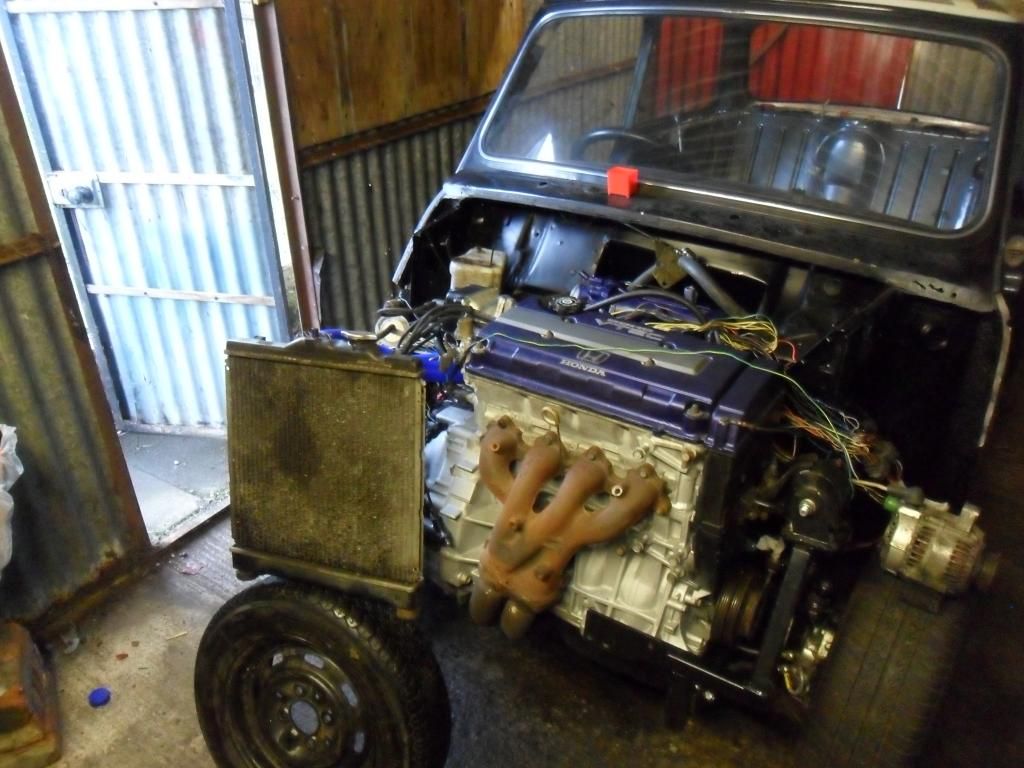
Everything bolted together

Posted Image

Now for cranking, this isnt in order of time but it makes more sense of the issues i was having. I also had some insane leaks of both coolant and fuel, but they were sorted

Cranking without leads
Posted Image

With leads

Posted Image

And then had a play with the dizzy and the best noise :D

Posted Image

It lives. What a buzz

Final link of the post, a quick walk about. Excuse my crap camera skills and the lighting, it was cut short by idle issues and the camera running out of battery. but i did manage to wire it up to the key which was cool

Posted Image

Thanks to everyone with the help, i had to phone Jamie a couple of times for tips and also if he ever reads this...the guy two doors up who helped a bit with the timing of the engine, i had planned to get the car on all fours with the engine mounted and back end rebuilt before xmas, no where near starting the engine so im chuffed.

Anyways that is all for now, one massive post and brings everyone up to speed, sorry if i bored you but lets face it...my thread so ha :P

Have to go quiet for now, will play with the electrics a bit and the gauges but with this new laptop, xmas and going home for the festive period im gonna need to save

Kieran

Edited by KieranB, 18 November 2012 - 06:18 PM.


#134 johny:)

johny:)

    Speeding Along Now

  • Members
  • PipPipPipPipPip
  • 311 posts
  • Location: south wales

Posted 12 November 2012 - 10:50 PM

Well done mate you saved your self allot on your wiring my custom loom cost me £300 wish I gave it ago my self now but yet again mine is obd0 and it had a few broken wires inside

Keep up the good work that engine looks very clean be careful not to get that dirty lmao
Look forword to your next post

John

#135 KieranB

KieranB

    Speeding Along Now

  • Members
  • PipPipPipPipPip
  • 360 posts
  • Location: Skipton
  • Local Club: S.U.N.M.C

Posted 12 November 2012 - 11:04 PM

Cheers John

I don't have trust in my loom so gonna try tidy it up etc and play about with it. probibly end up not making it work.
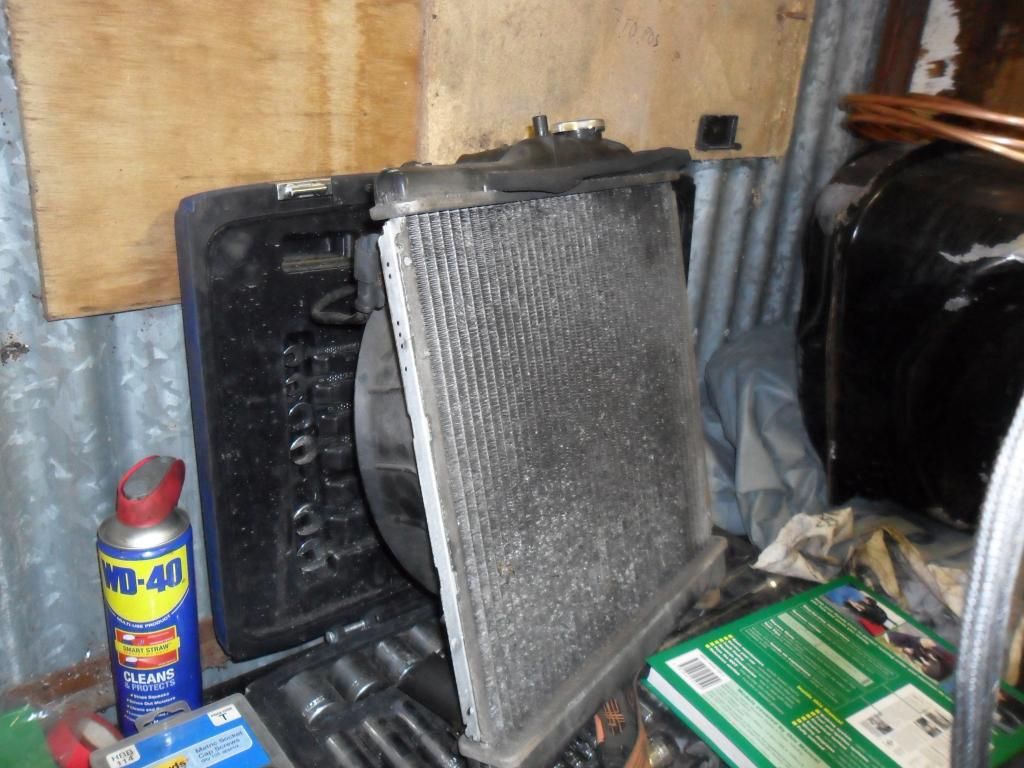
Next decent post will be in the new year, i want to get this thing moving ;)


1 user(s) are reading this topic

0 members, 1 guests, 0 anonymous users