My B16A2 Toy Build
#106

Posted 23 September 2012 - 09:12 AM
#107

Posted 23 September 2012 - 10:35 AM
Nathan
#108

Posted 23 September 2012 - 11:42 AM
#109

Posted 23 September 2012 - 01:49 PM
Nathan
#110

Posted 23 September 2012 - 03:29 PM
Got the subframe all stripped down, two sheared bolts on the drivers side bracket despite my best effects to avoid it
Next job.....wait for payday.....like every other day
Kieran
Edited by KieranB, 23 September 2012 - 03:30 PM.
#111

Posted 29 September 2012 - 06:36 PM
Started today with a trip to minisport, may have spent my entire months pay in one day but hey....its for the best.......
Got a Powder Coated subframe, new radius arms, gaz shocks, new back plates with mintex shoes, cones, cables, bearings and brake pipes.
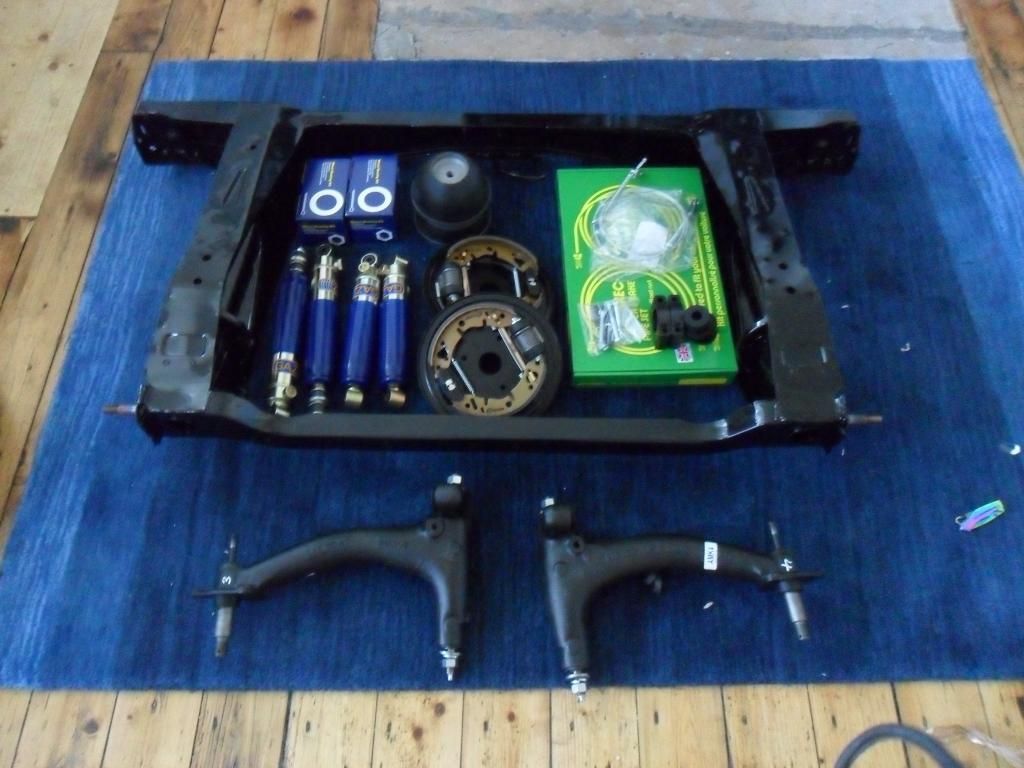
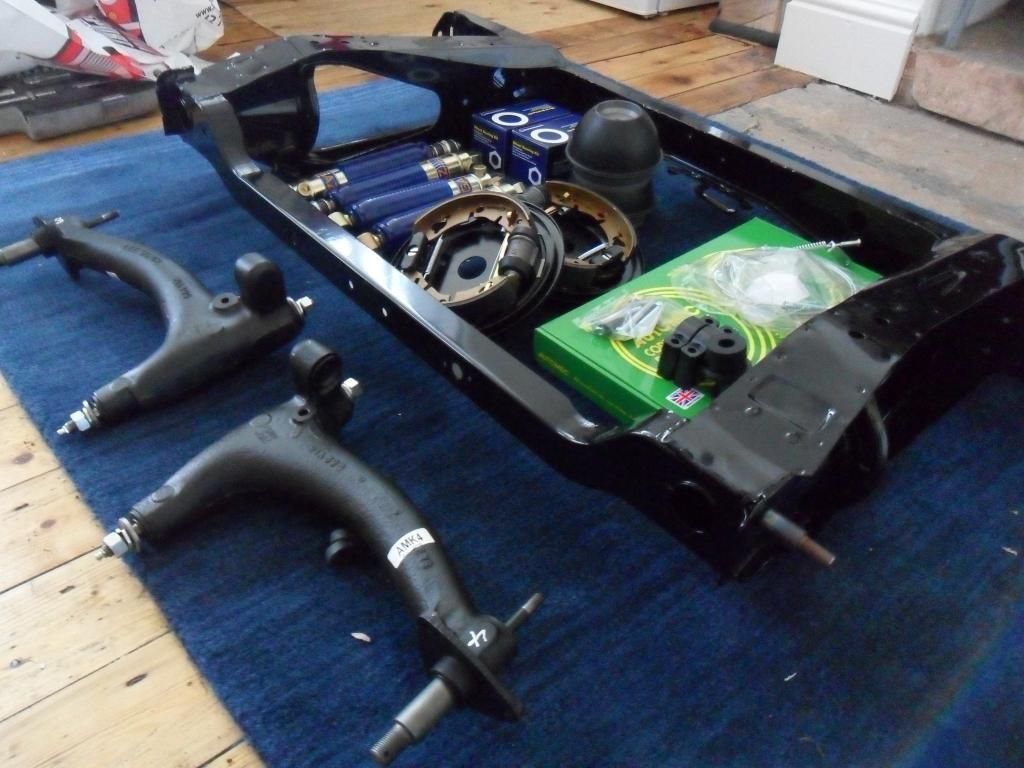
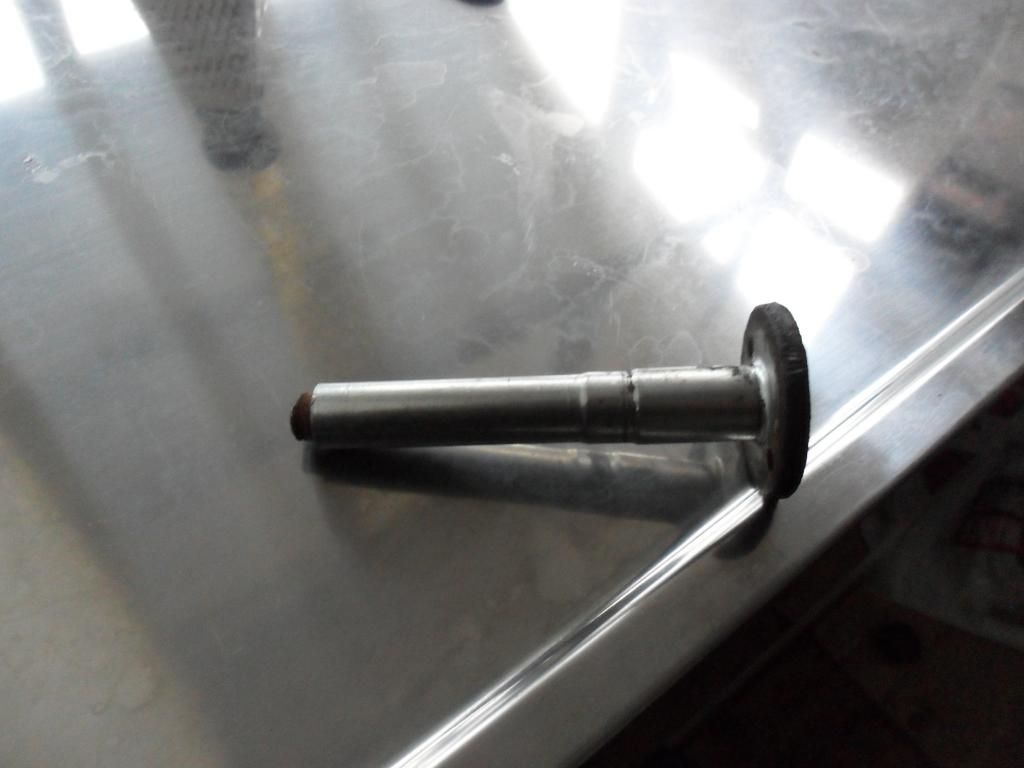
Although i got that lot they didnt have the pins that got through the front end mounts. Thought nothing of it because i had my old ones still on my subframe so got attempted to get them one.......got one out....and the other
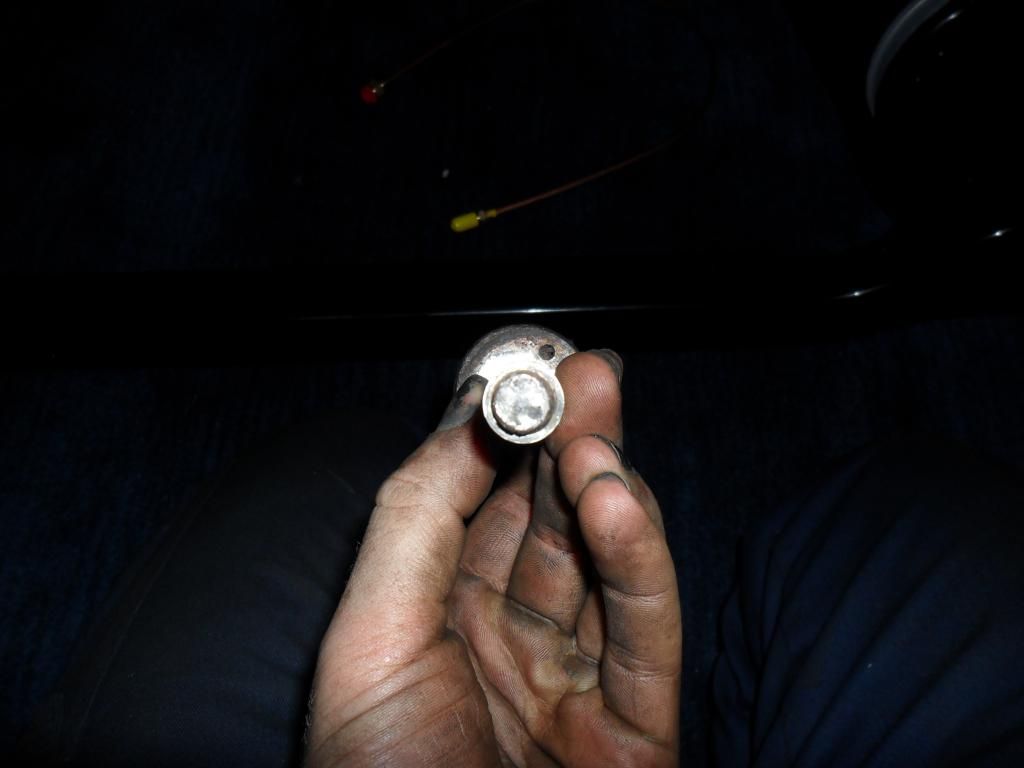
So started putting the subframe together and also sprayed some bits up i managed to keep from the old subframe

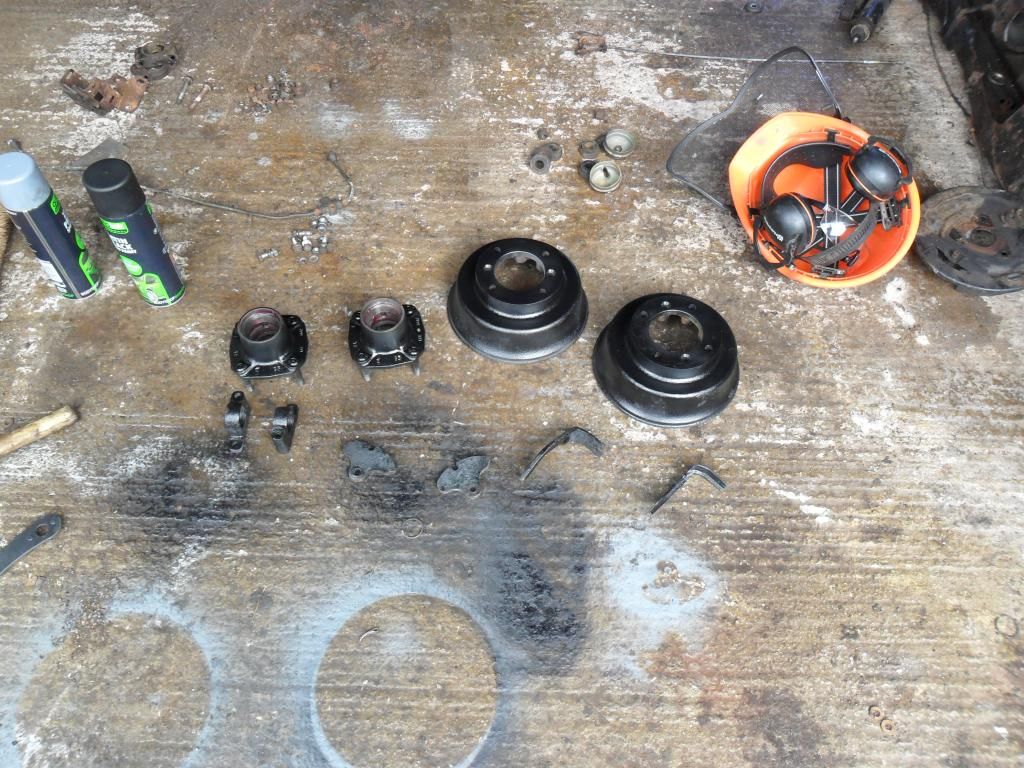
Finished the night with everything inside so i can crack on tomorrow without getting soaked. Quite glad i dont live at home, mum wouldve gone crazy!!
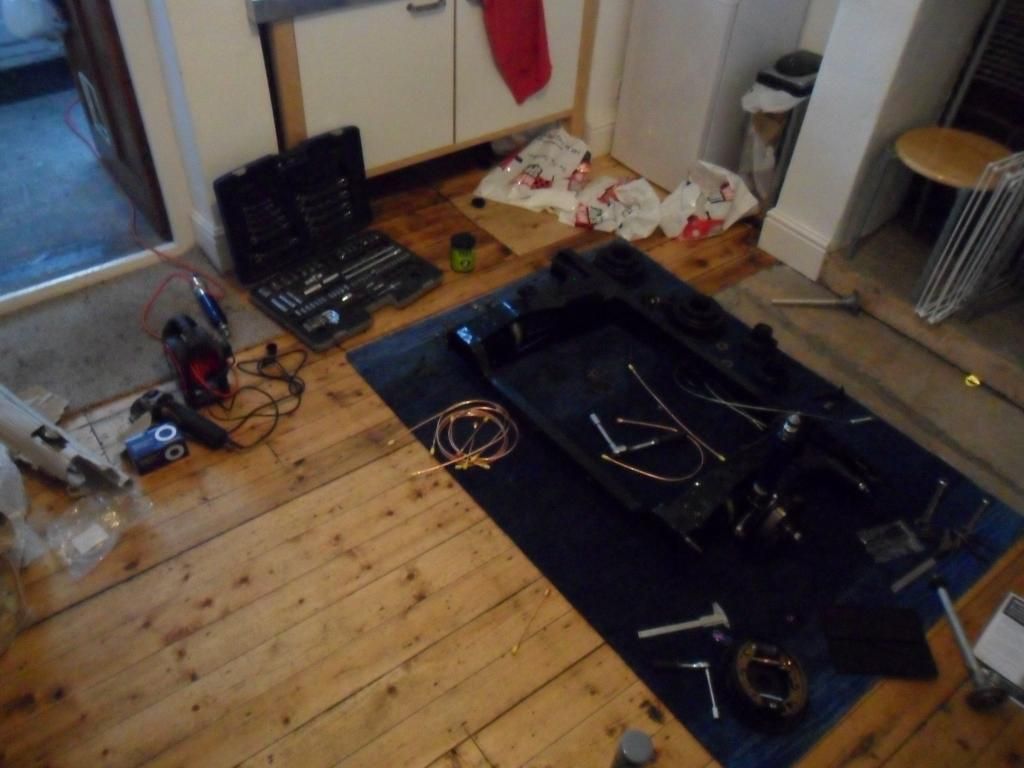
Shall get another update after the weekend but you get the picture of where im at just now
Kieran
#112

Posted 29 September 2012 - 10:17 PM
#113

Posted 29 September 2012 - 10:20 PM
good job with the rear subframe mate will stay rust free for a long time
thats the plan
#114

Posted 01 October 2012 - 09:16 PM
Got the back end back together, looks the dogs plums! Managed to source a bolt to replace the one i sheared and got a couple of other things like braided hoses etc
Sprayed the undernearth of the car, most of it has already been undersealed by the previous owner but didnt get at bits where the subframe sits. Only really got photos of the finished product
Before
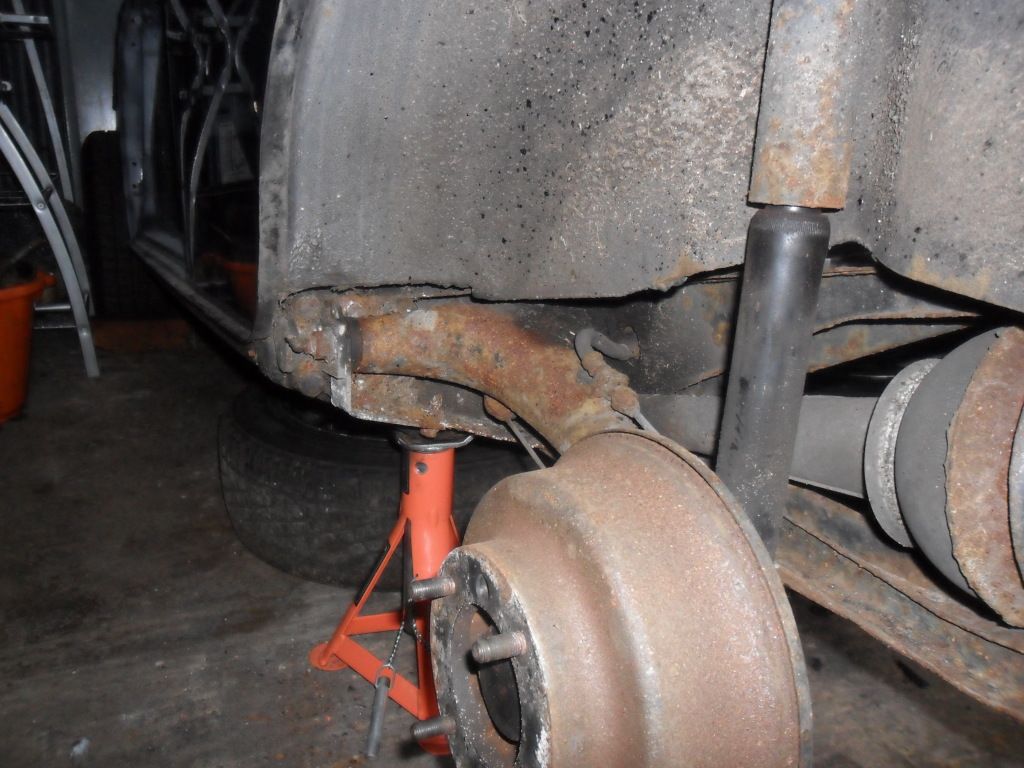
After
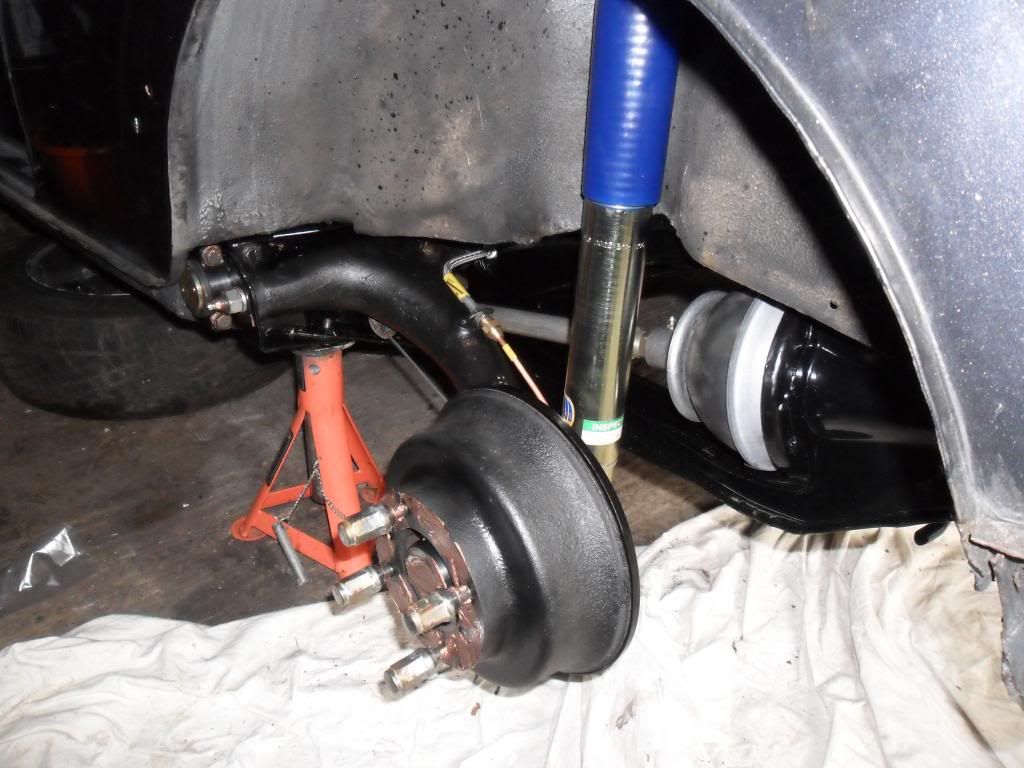
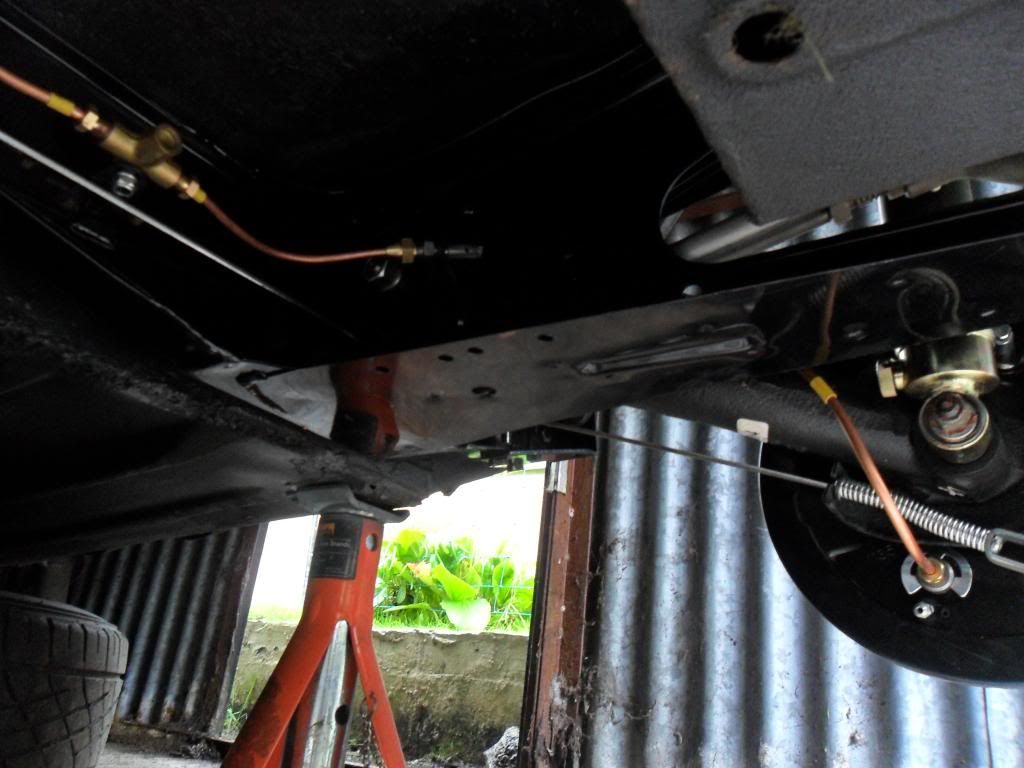
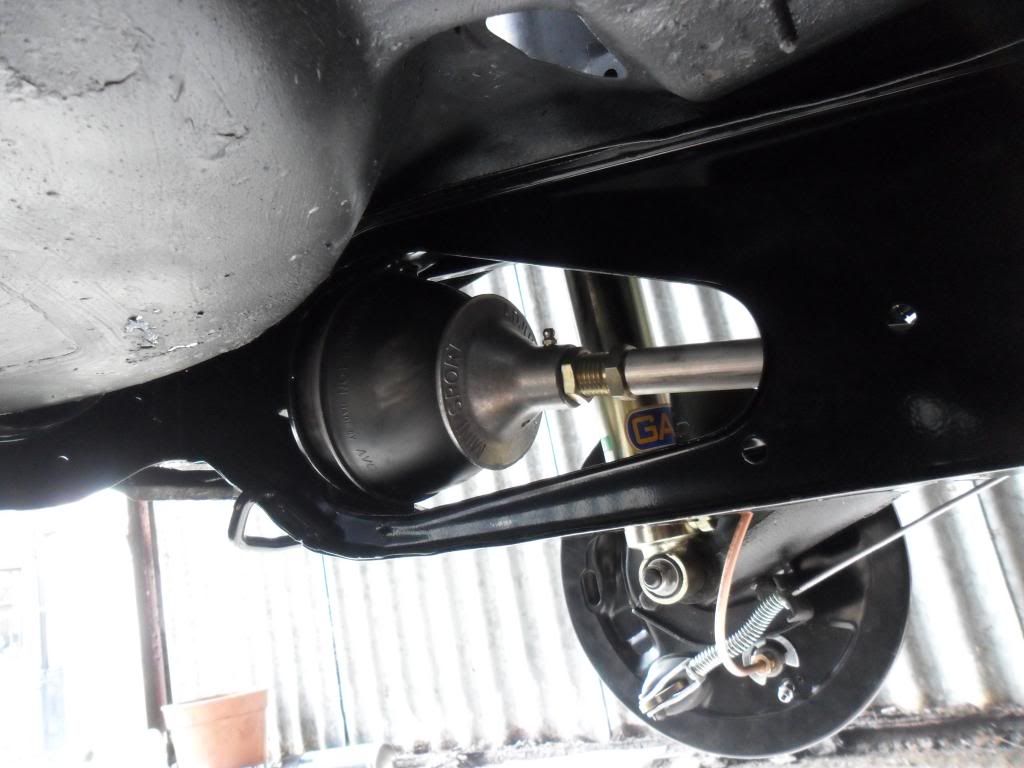
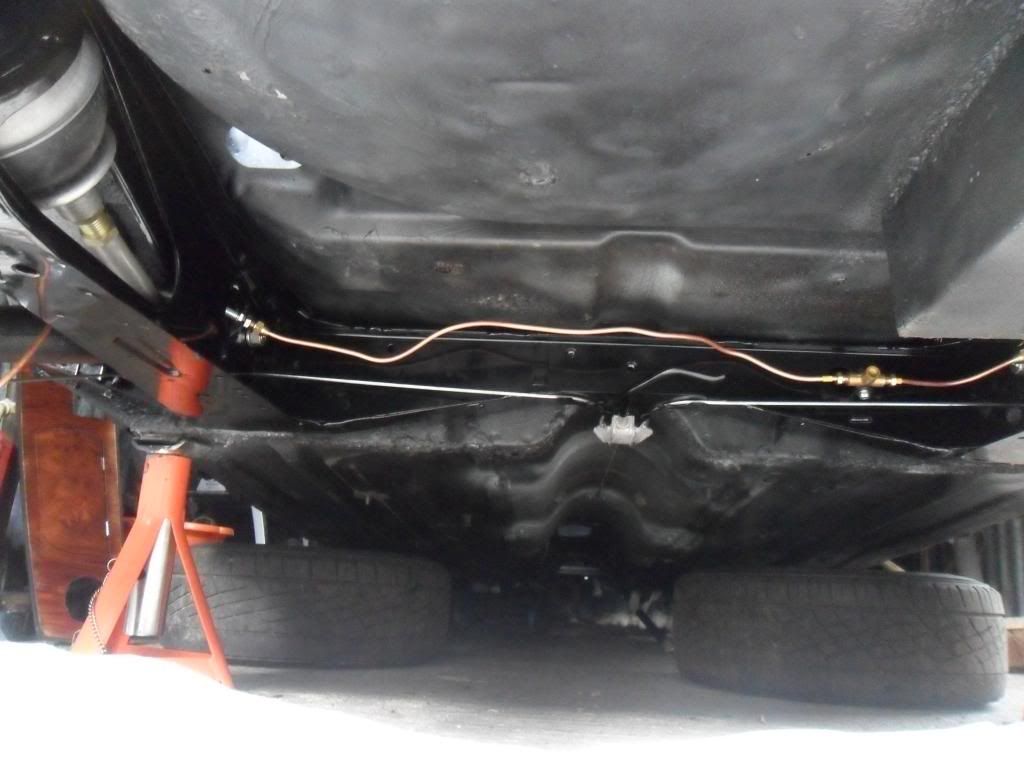
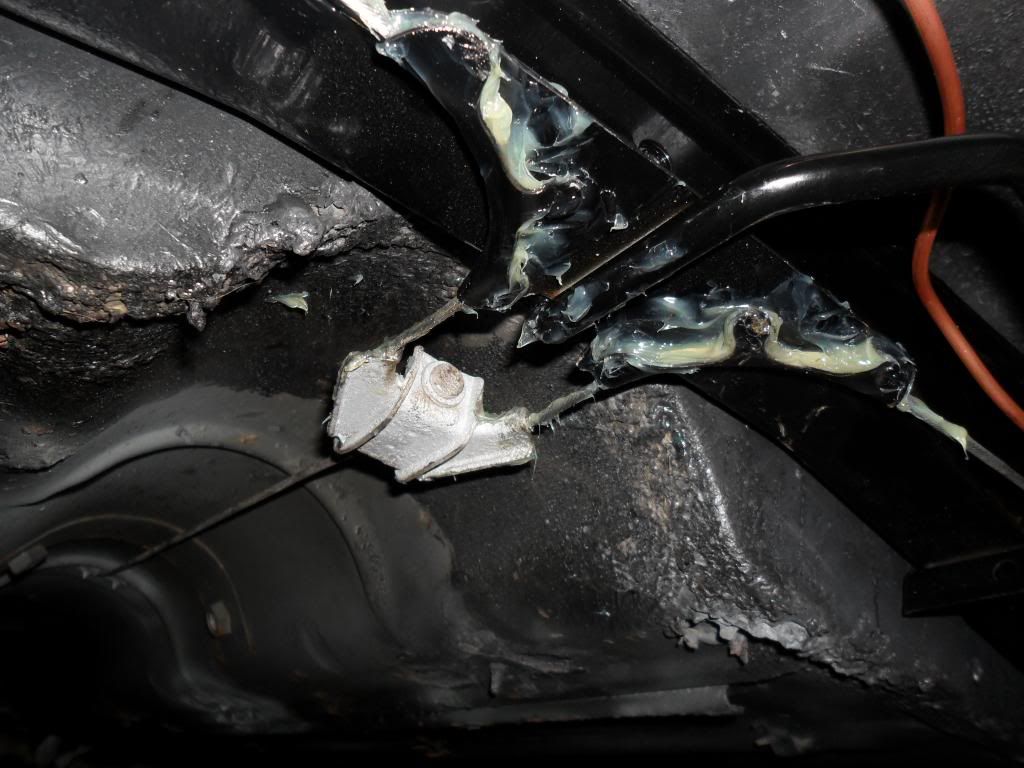
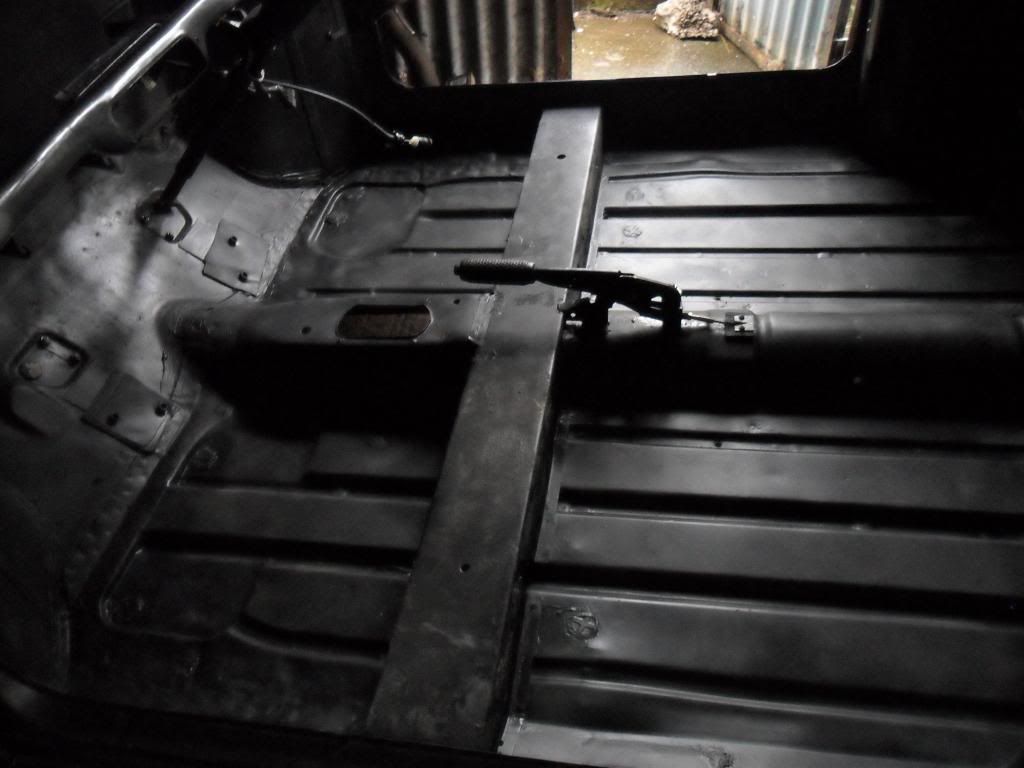
Got some of the interior sprayed up but ran out of paint, but looks better than it did
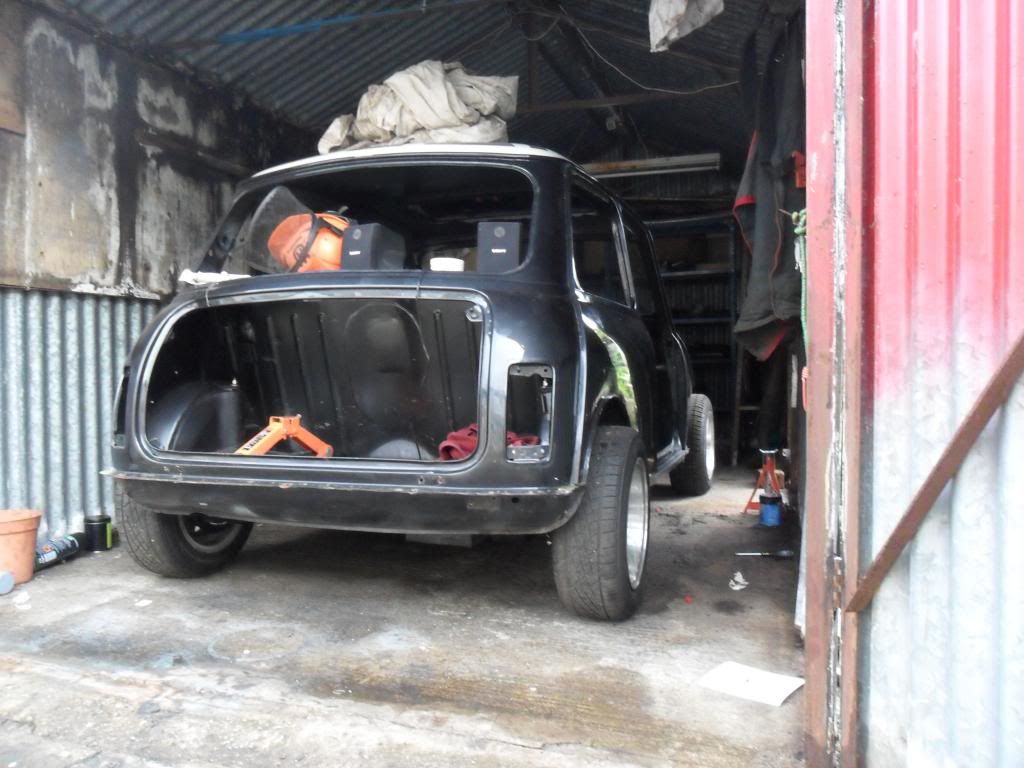
And back on its wheels
Gonna go quiet for a while so i can save for the next step....get the engine started
Kieran
Edited by KieranB, 02 October 2012 - 07:21 AM.
#115
 Guest_MinBinPat_*
Posted 04 October 2012 - 07:26 AM
#116

Posted 04 October 2012 - 09:14 AM
Some people avoid cutting the bulkhead as that crossmember does have forces running through it but this is compensated by the allspeed frame which has an upper bar running between the two towers plus two triangular sections at either end/ The A-series frame doesnt have that which is where the crossmember on the bulkhead comes in.
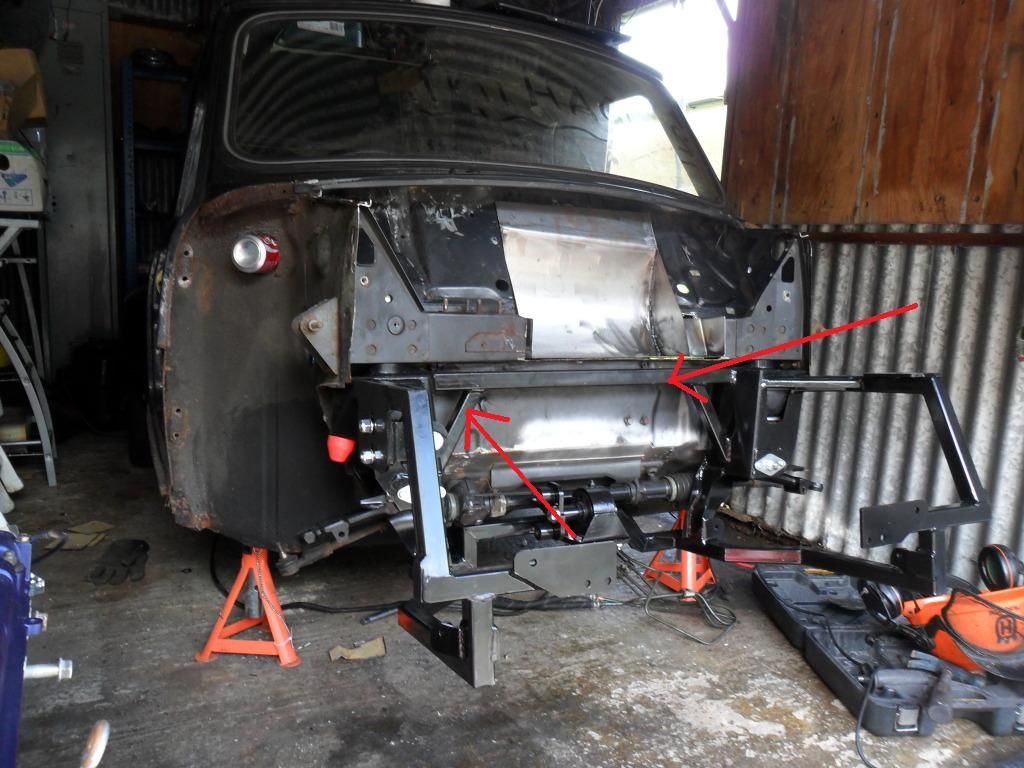
You are right in saying itll lose some strength, but hardly any to notice thanks to the Allspeed frame :)
Kieran
#117

Posted 13 October 2012 - 02:31 PM
I'm having problems with the engine pipes. Wonder if anyone can help me
This lot here is combo of rocker cover breather pipe and coolant loop. I've got on end of the coolant loop but the other hose that disappears to the back of the engine isnt there and i cant for the life of be find the nozzle for it.
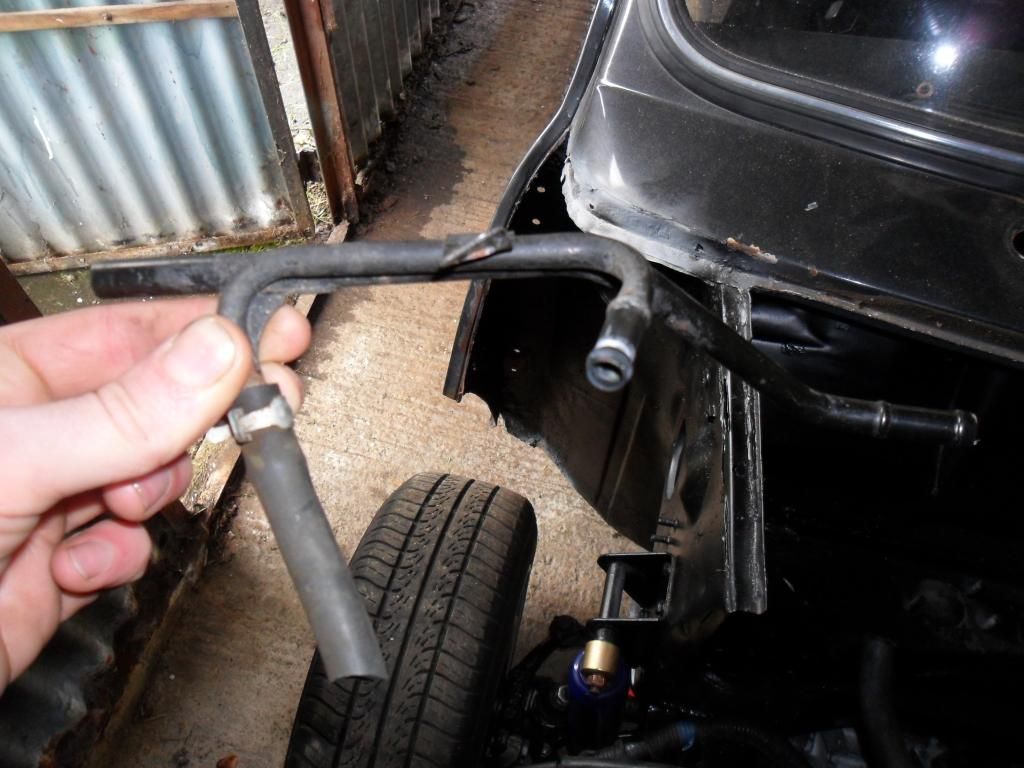
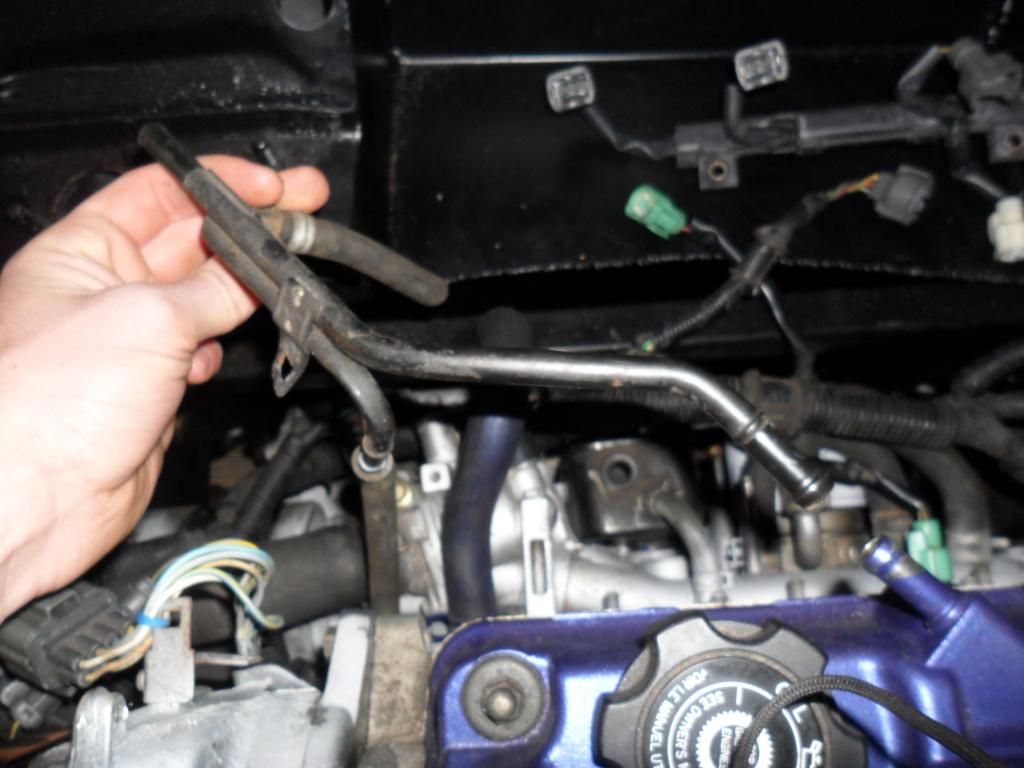
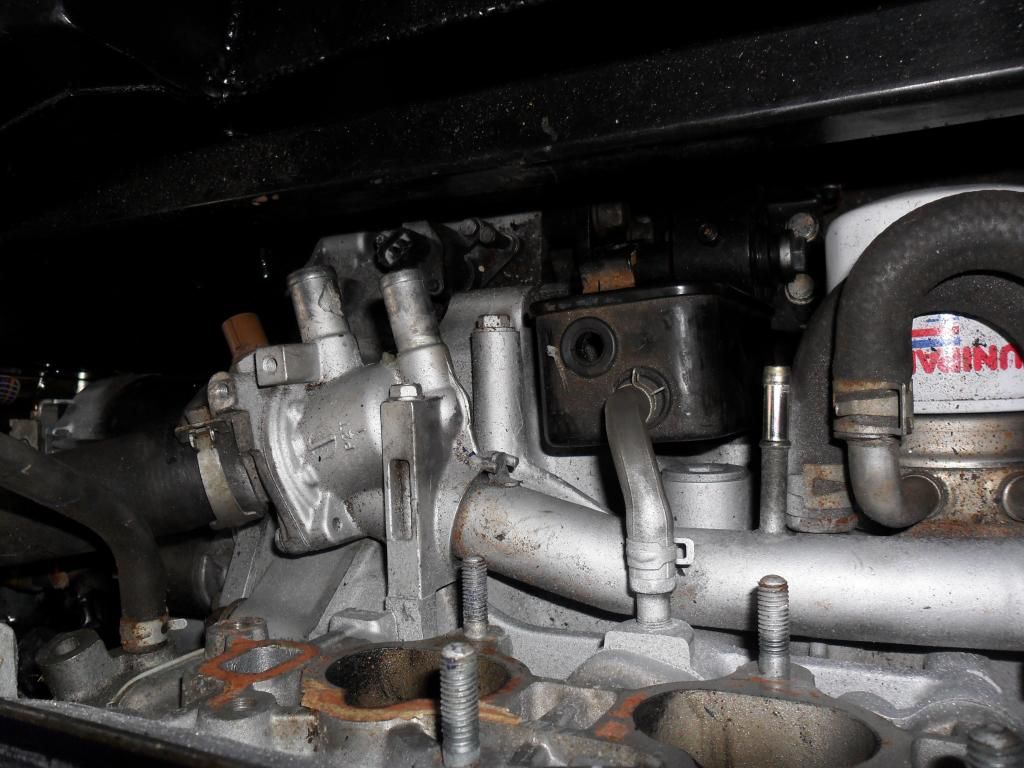
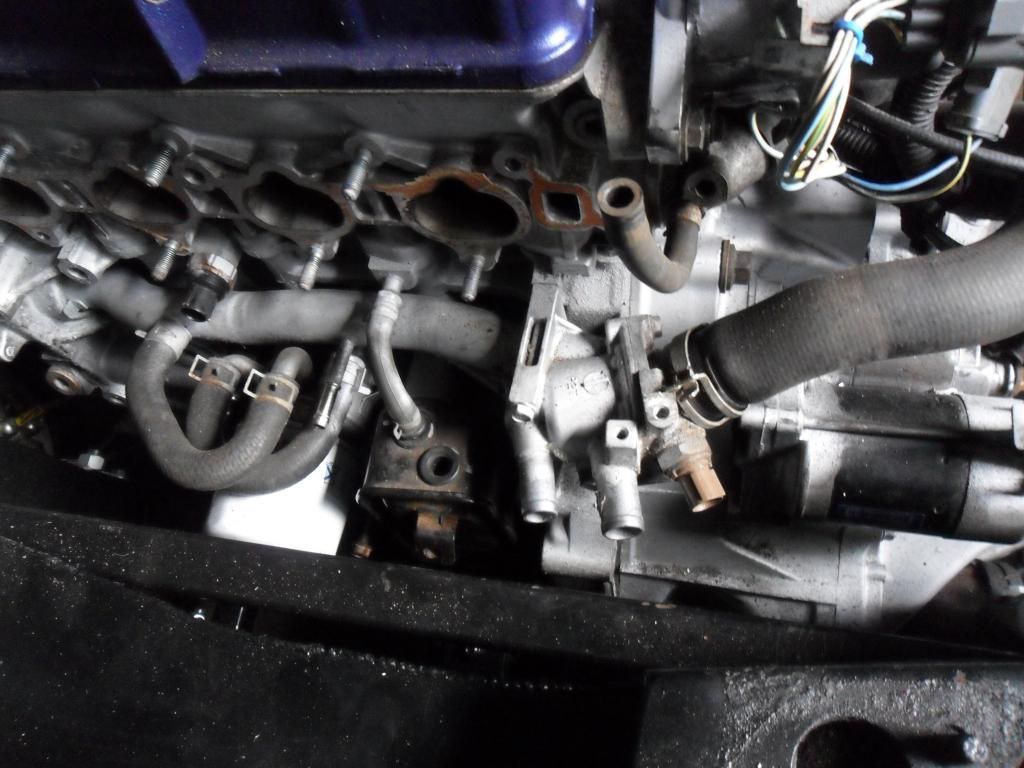
Its not the shiney nozzle on the long tube that runs from one side to the other because thats for the inlet. Any advice would be much appreciated
Kieran
#118

Posted 13 October 2012 - 03:35 PM
this shows the pipe i was on about going to the thermostat housing. For some reason i dont have the nozzle on the thermostat.
http://honda-tech.co...=1&d=1279305395
Next diagram shows it going into the inlet manifold. this is also not possible because i have a hose going from that to the cylinder head
http://img24.imagesh...lantleak3tk.jpg
My only option i think is to T-junction the pipe onto the one on the inlet manifold
Edited by KieranB, 13 October 2012 - 03:36 PM.
#119

Posted 14 October 2012 - 08:09 PM
Heres the breather pipe
A goes to the smallest pipe next to the oil breather box, next to the two larger pipes
B goes to the small pipe directly under the dizzy
In action!
I'm doing it this way but putting the breather on the end of the top pipe
I'm sure I've got some pics somewhere to show what to do if you don't have that take off the thermostat housing like on yours but I'll have to dig it out when I get a mo
Forget that last bit I put about the breather pipe as I changed it on mine
#120

Posted 14 October 2012 - 08:45 PM
Cheers though Kam, any help is always much appreciated
Kieran
1 user(s) are reading this topic
0 members, 1 guests, 0 anonymous users


