I realised i hadnt updated this in a long time. So here is a fairly big update :)
Ive bought a lot of things for it. including a maniflow manifold.
Ive got the fuel tank.
The Cooper S Steels are being powder coated as Im writing this :)
I have a radiator. Thanks to someone on the forum.
I also have just bought an alarm system from the A series spares. Cant wait to start fitting it :) Hope the guys from A series see this!
They are an excellent set of blokes! Answered all my questions quickly! Cant recommend them anymore!
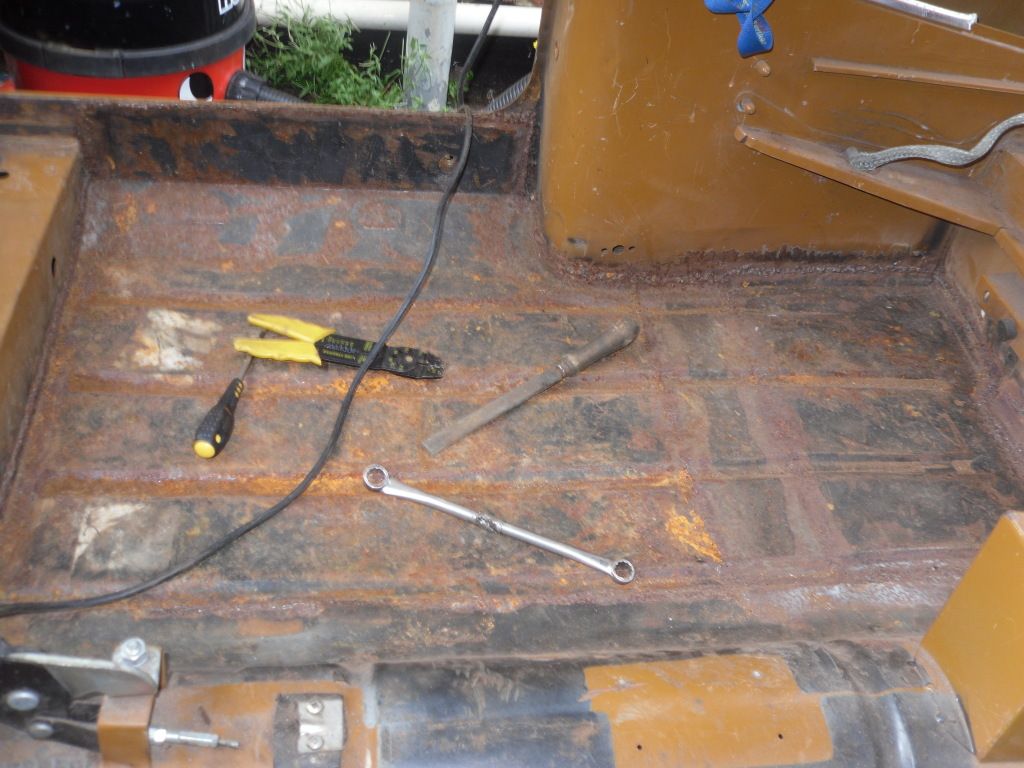
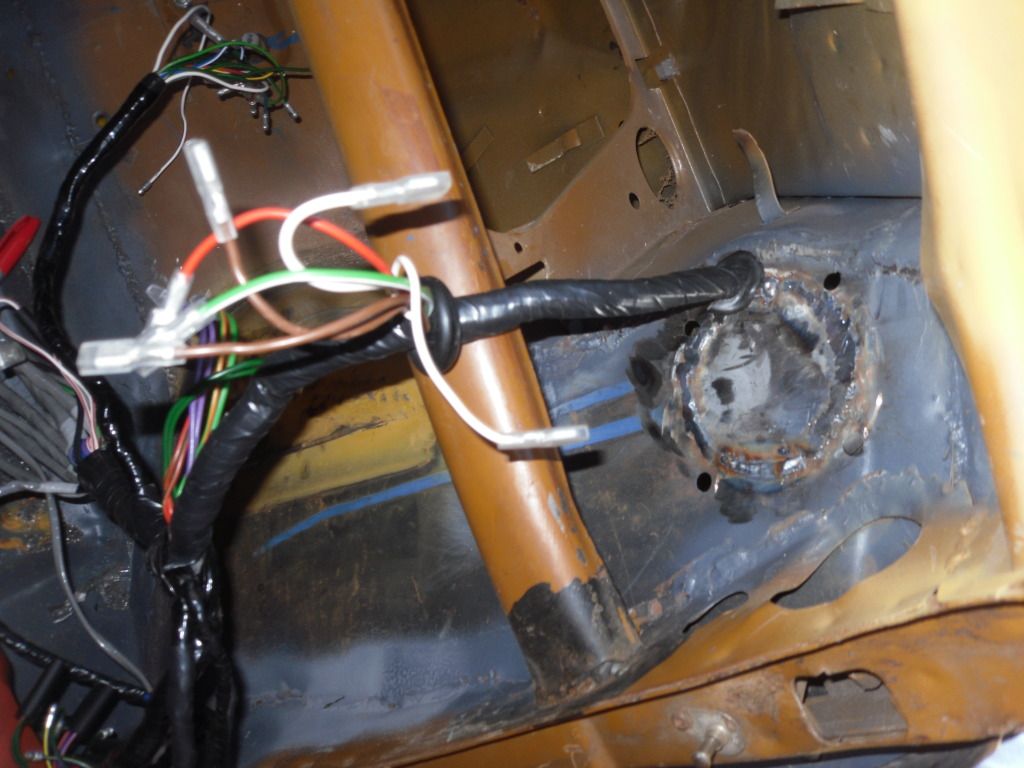
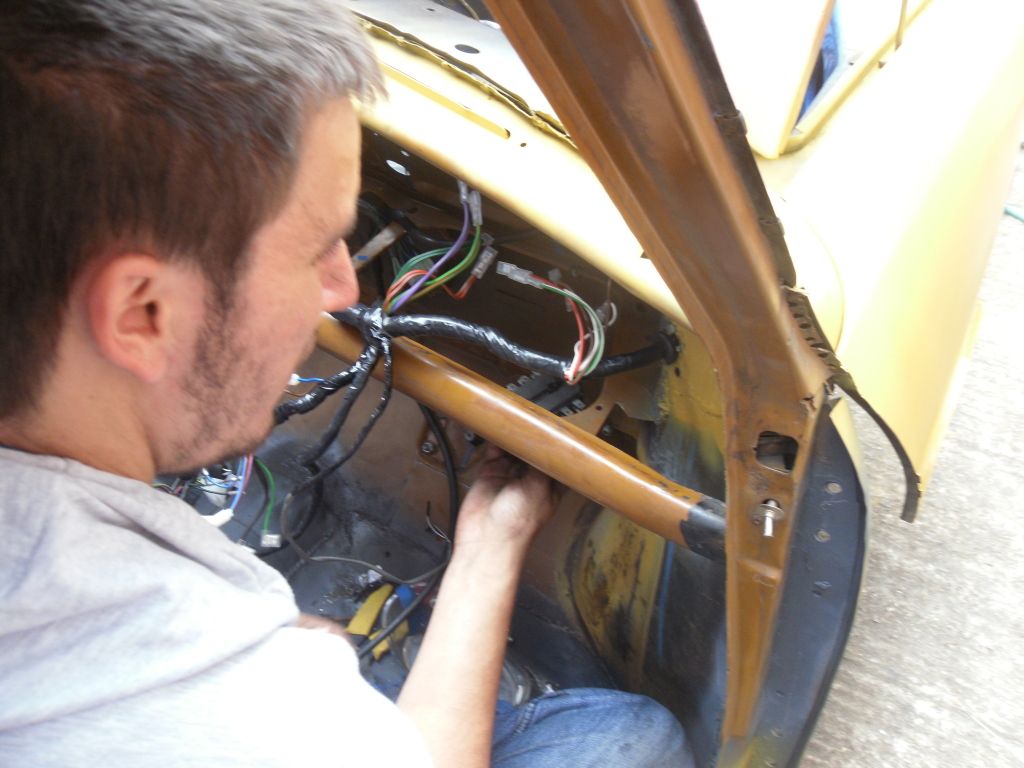
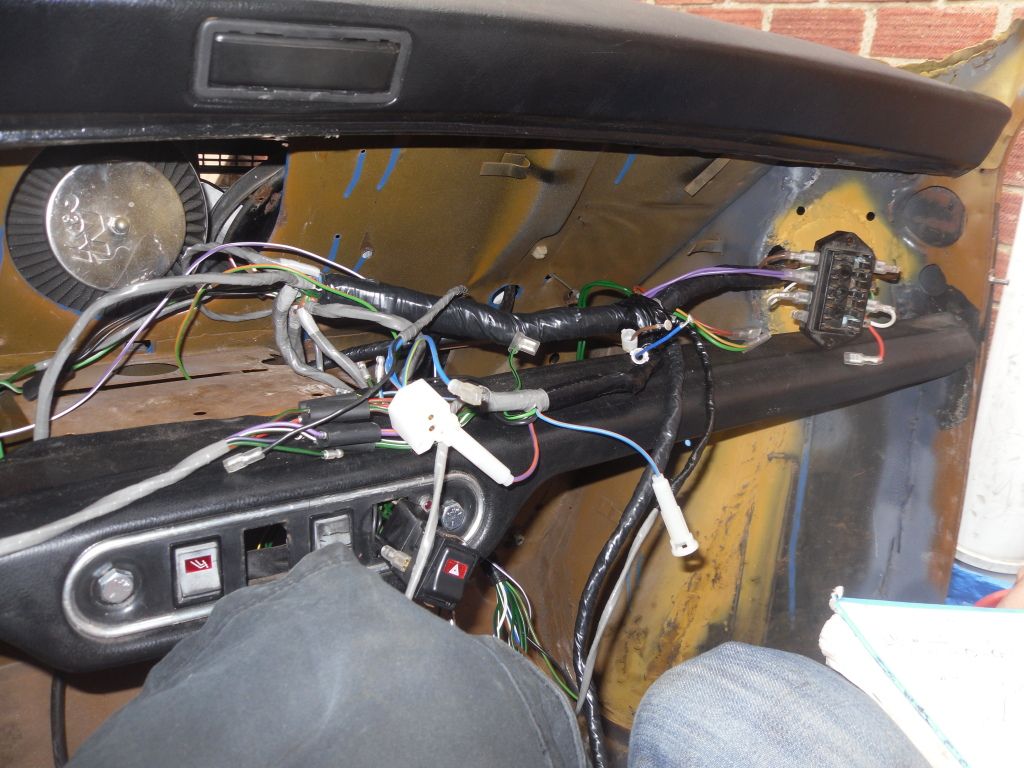
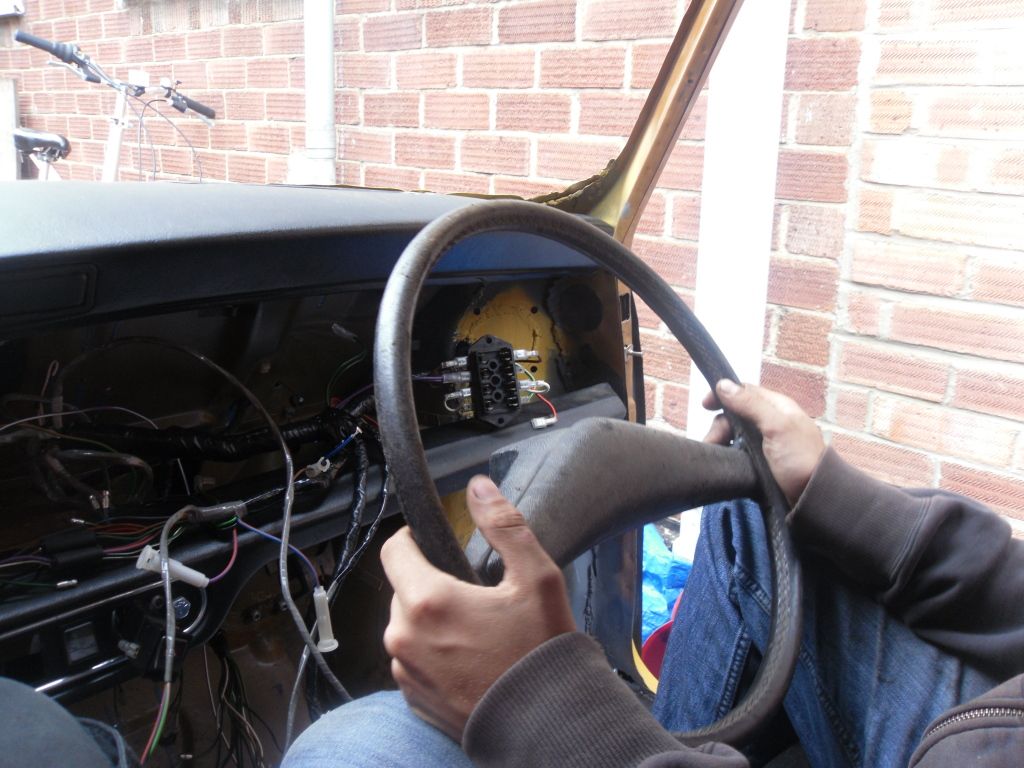
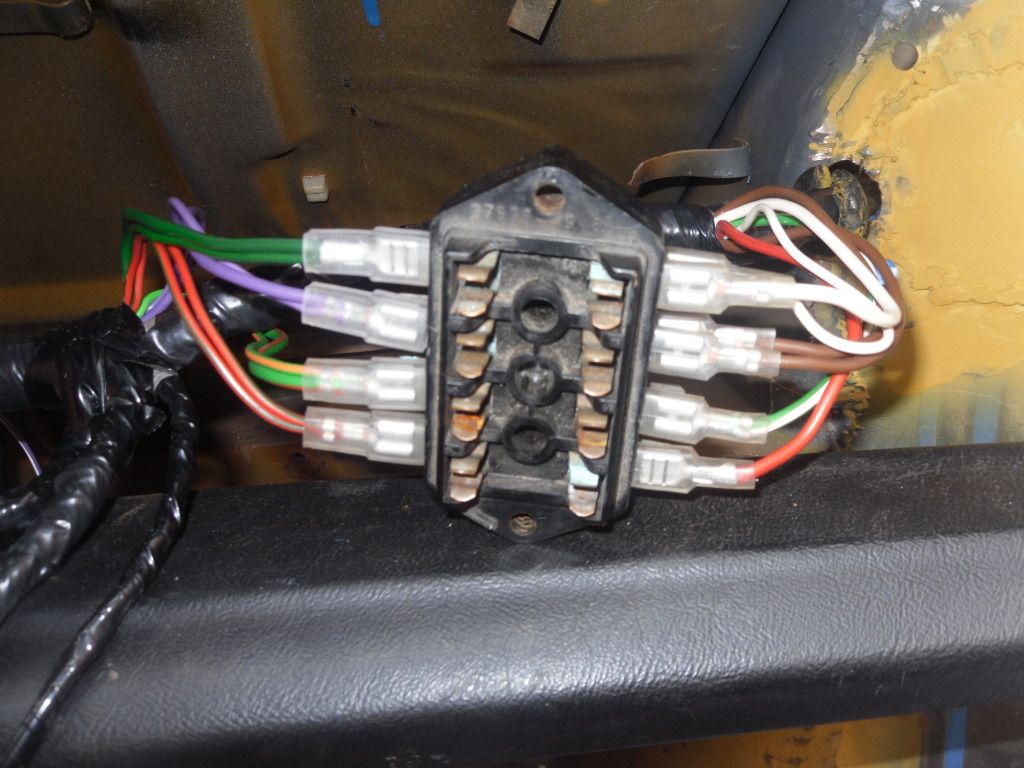
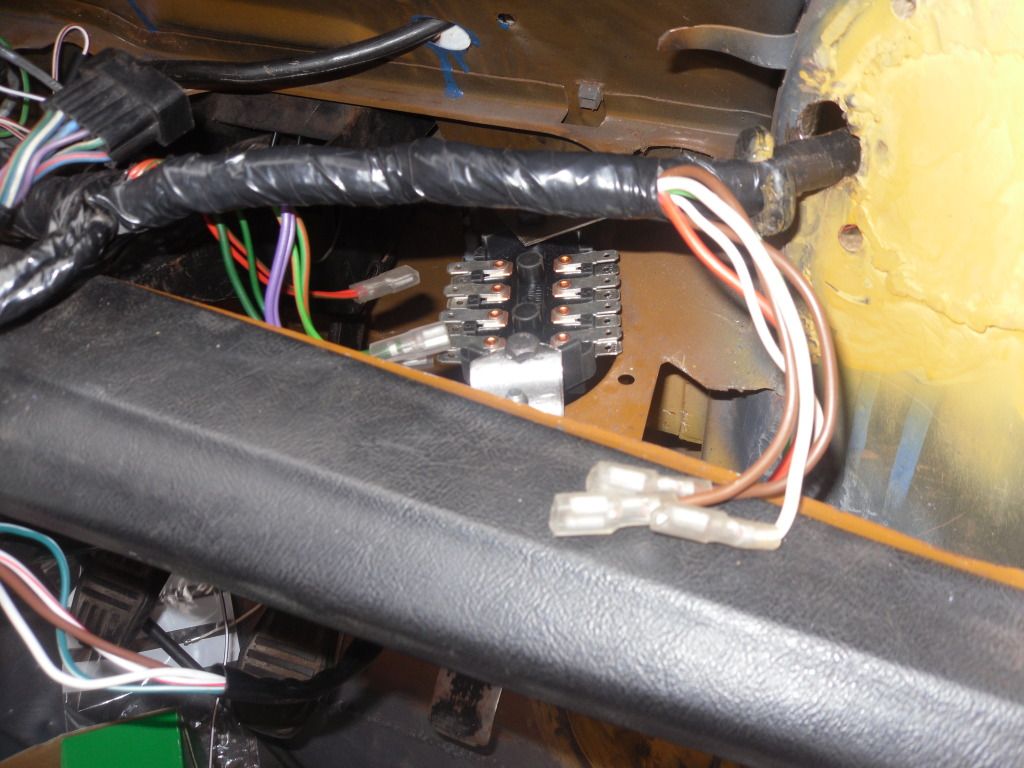
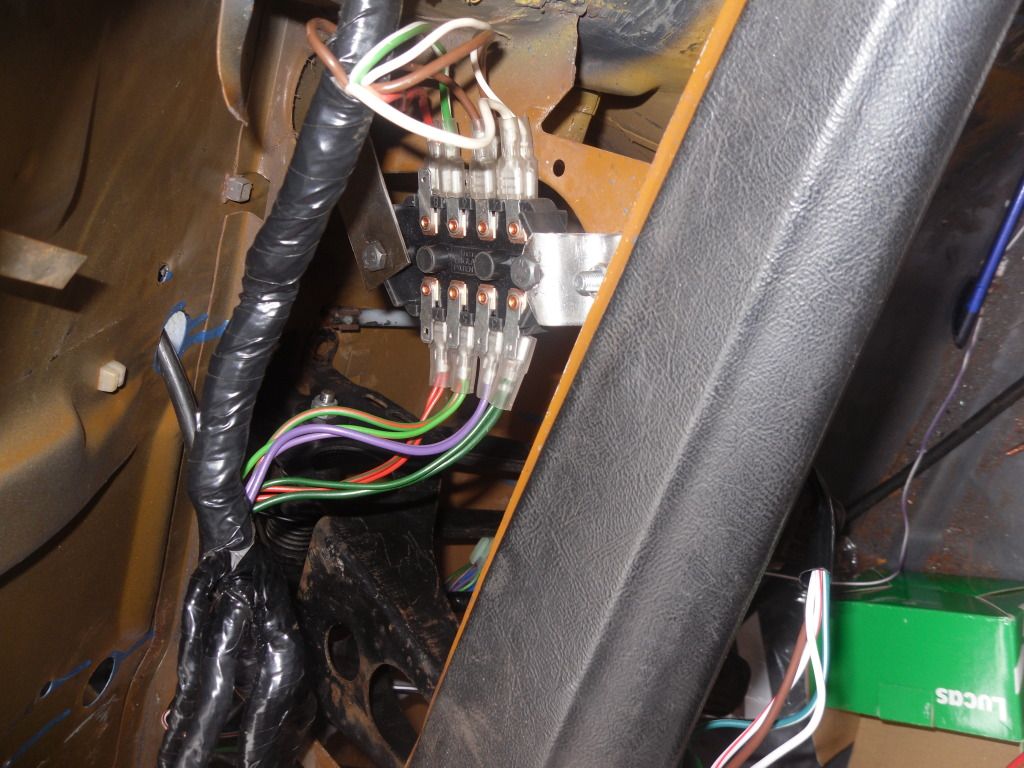
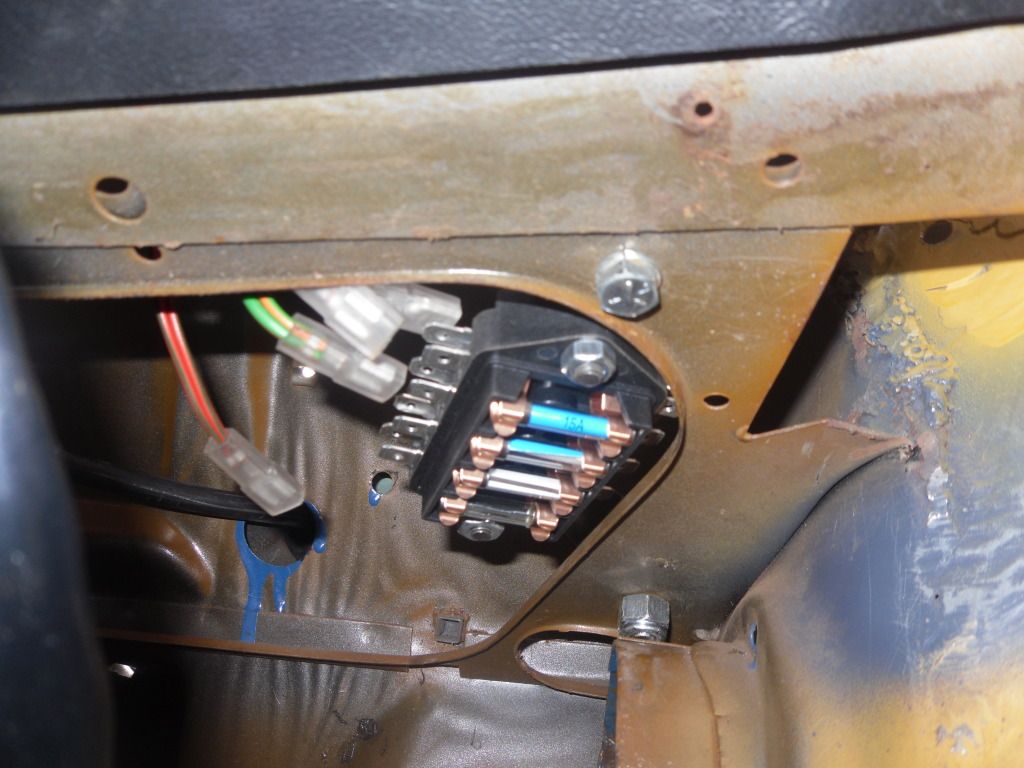
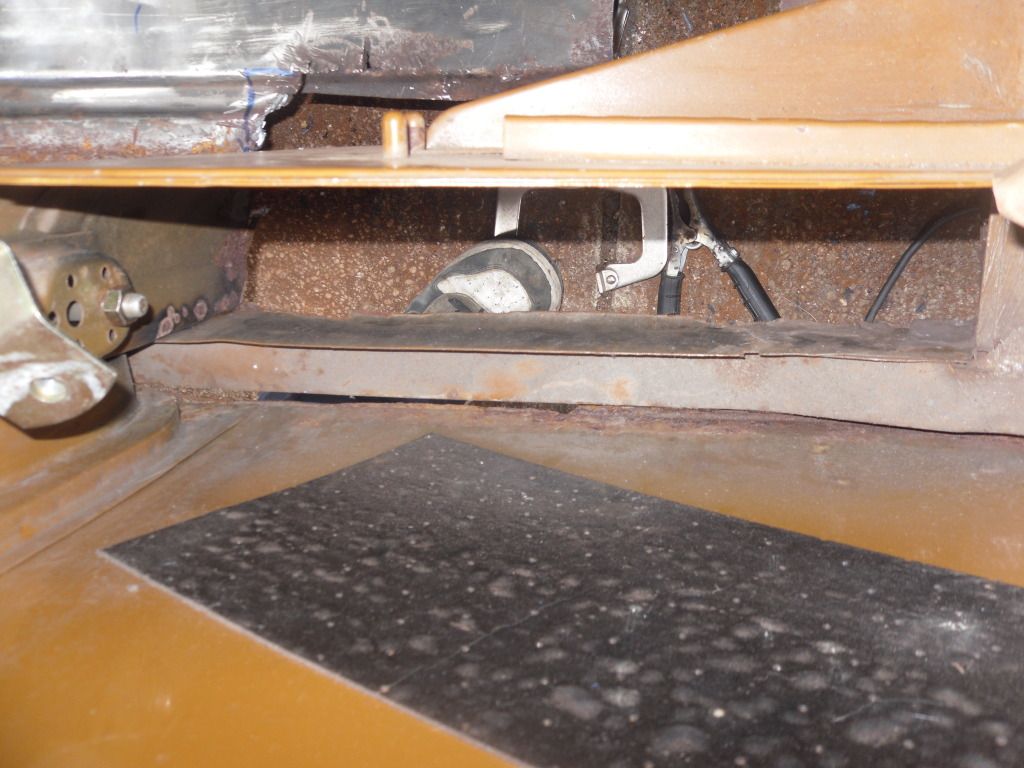
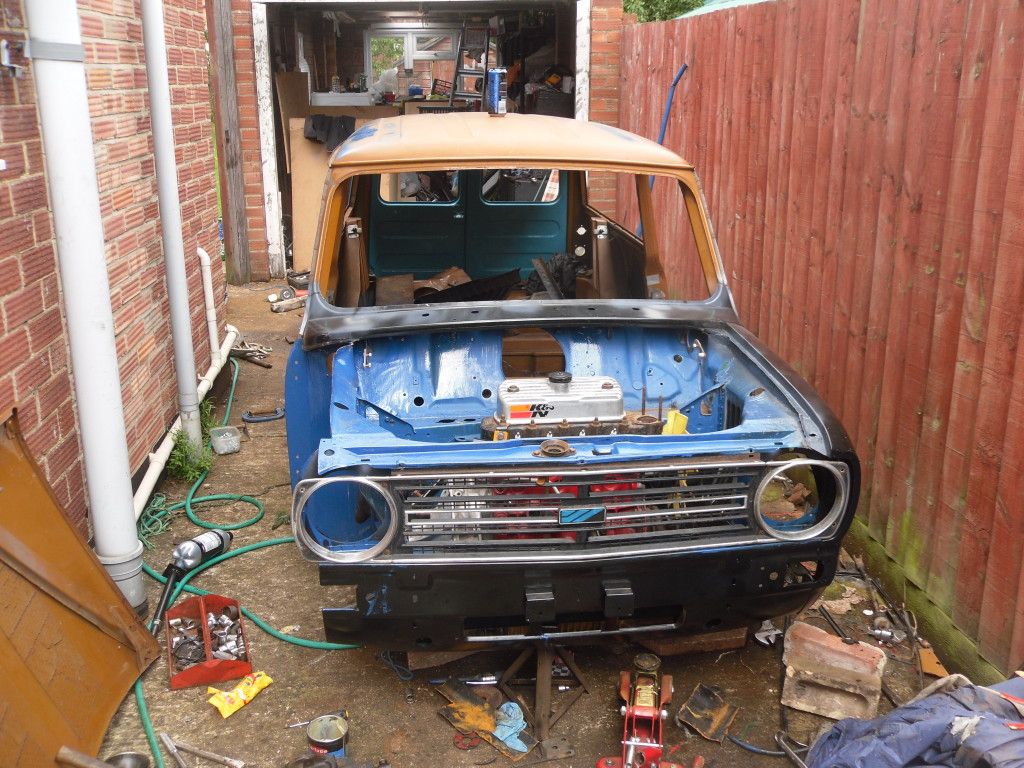
Right so this is where we were :) this is how i mounted the fusebox!
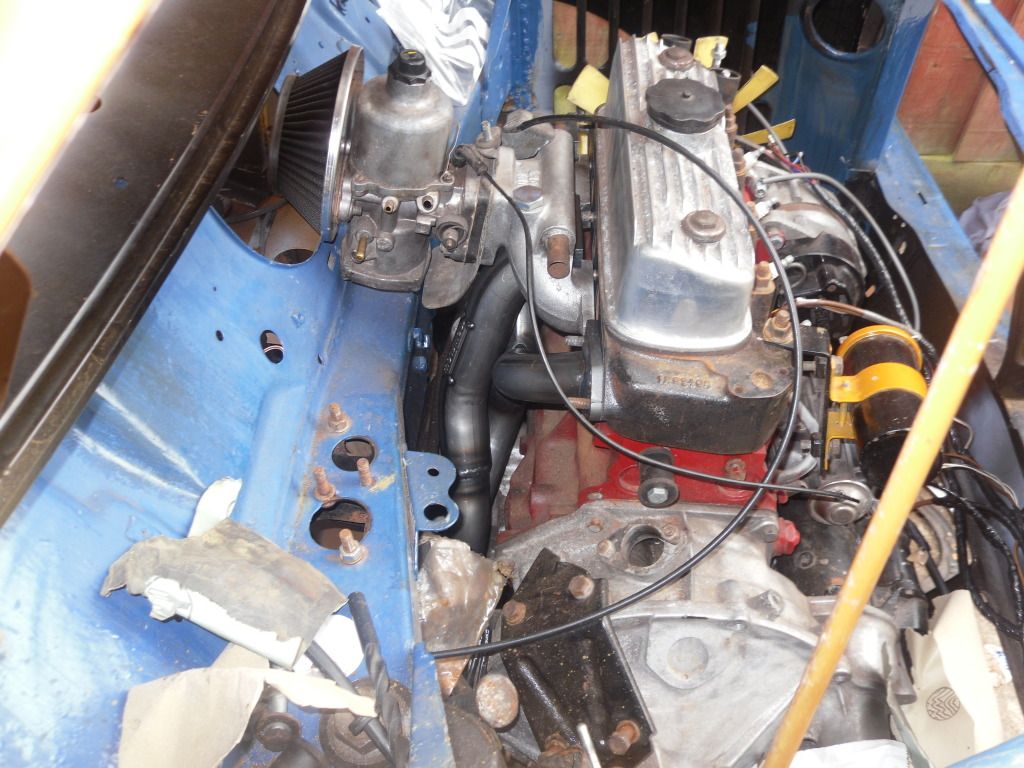
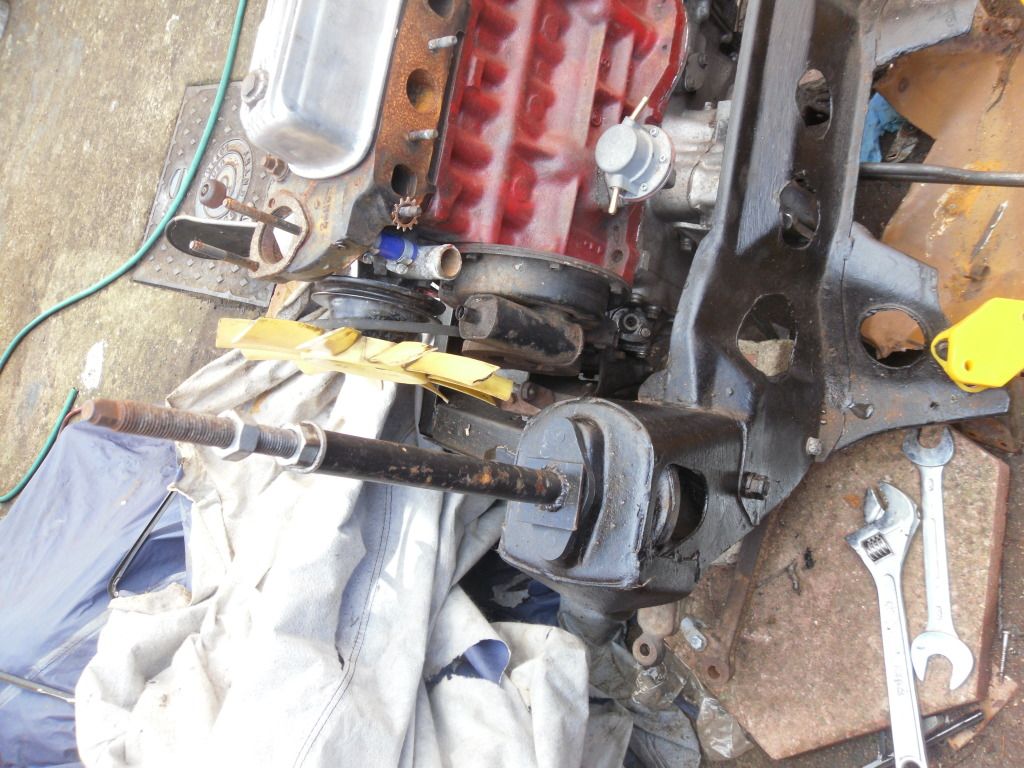
There is the new manifold connected up :) Obviously not properly on. didnt want to tighten it up incase i had to remove it again :L
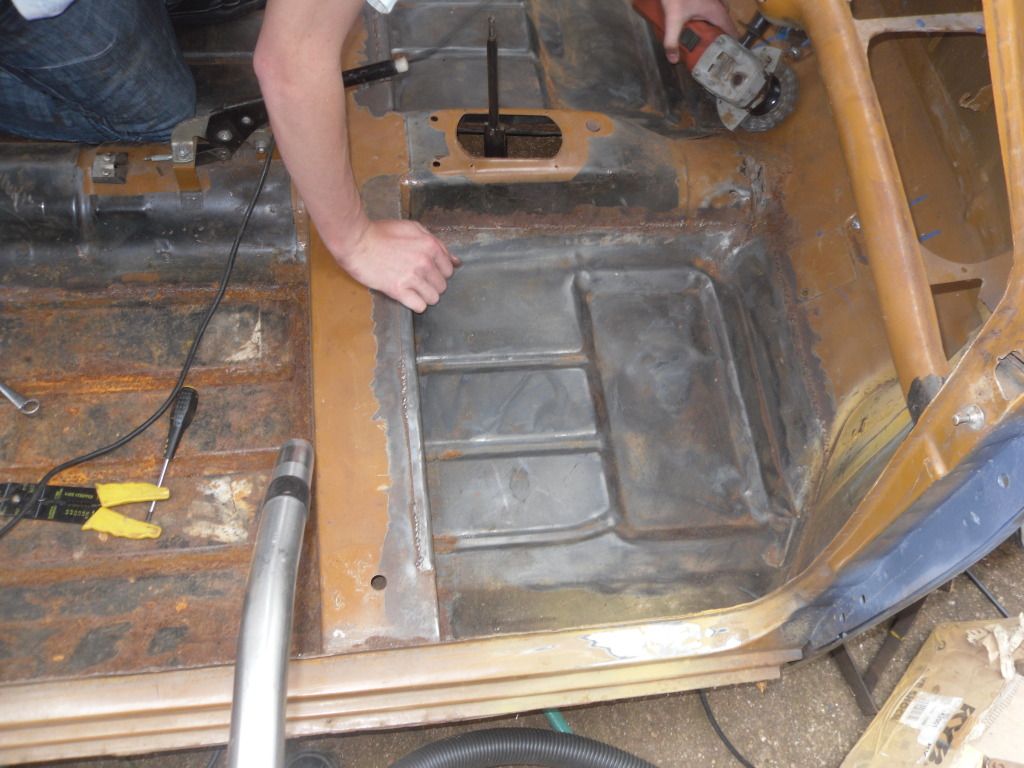
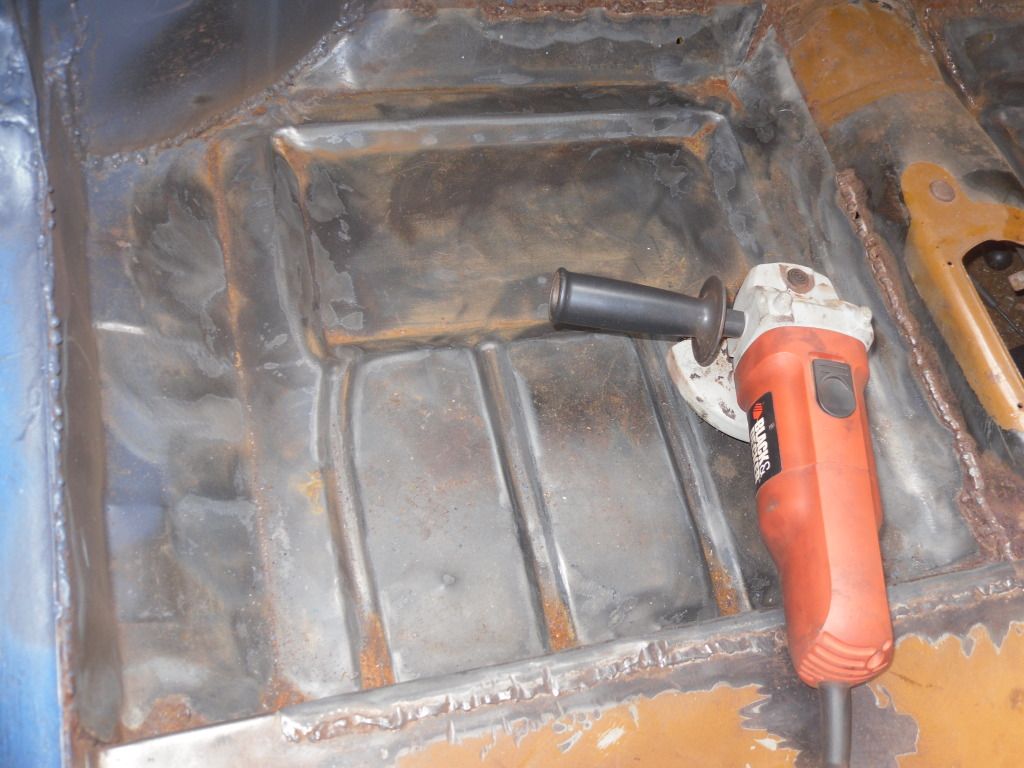
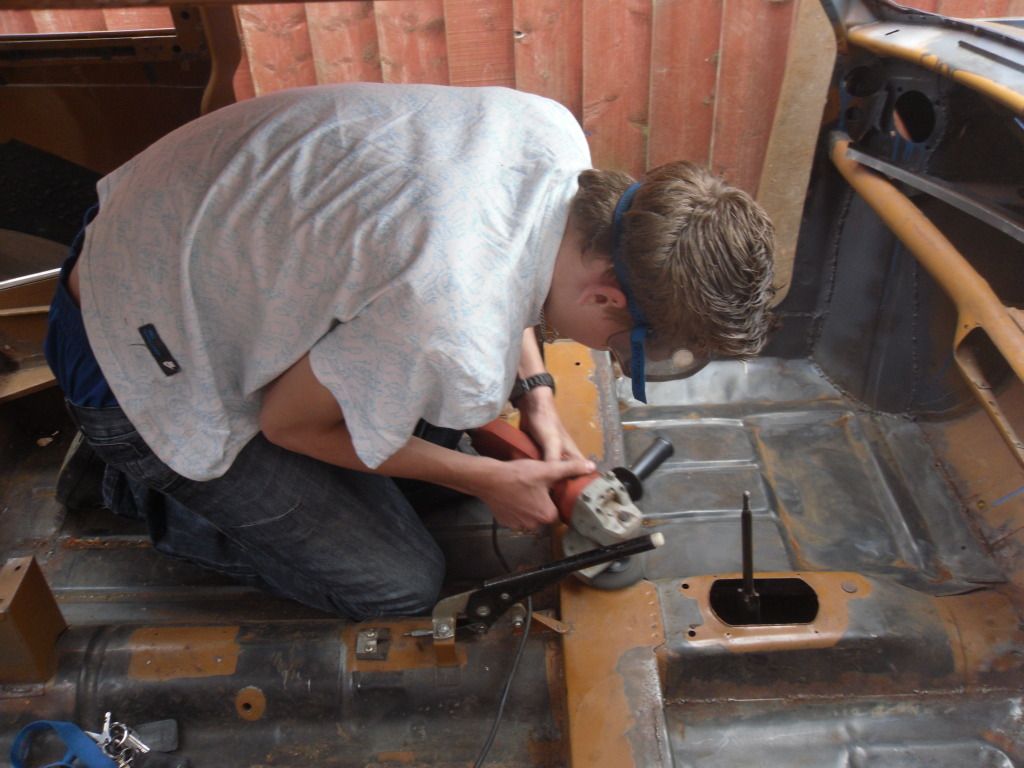
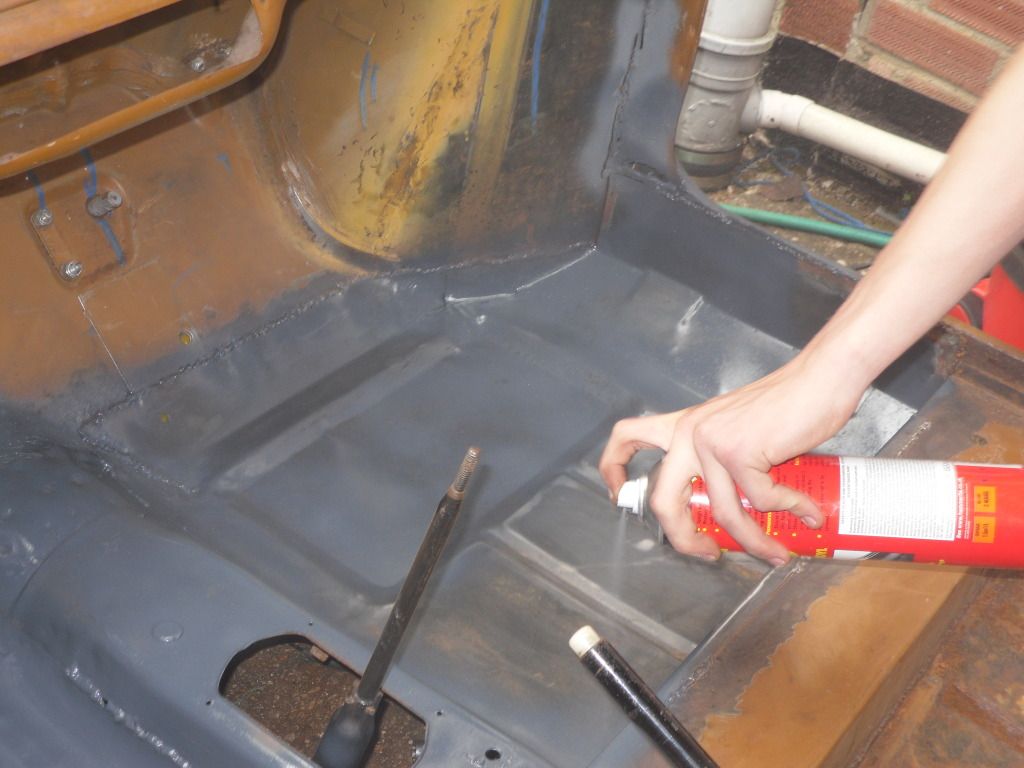
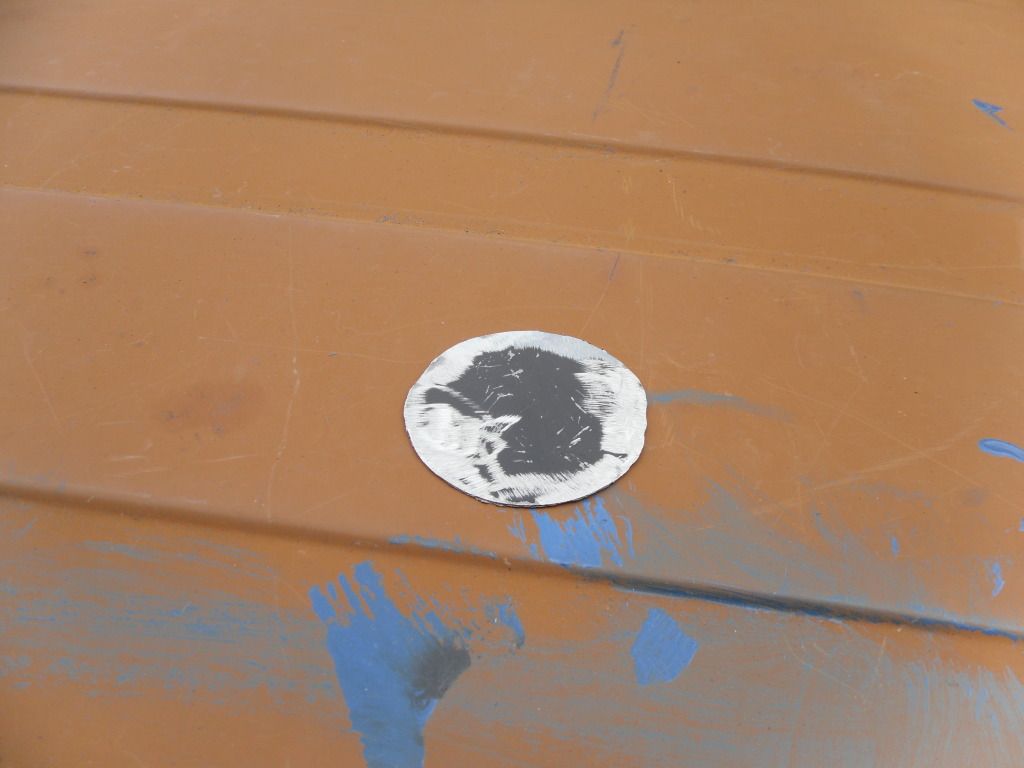
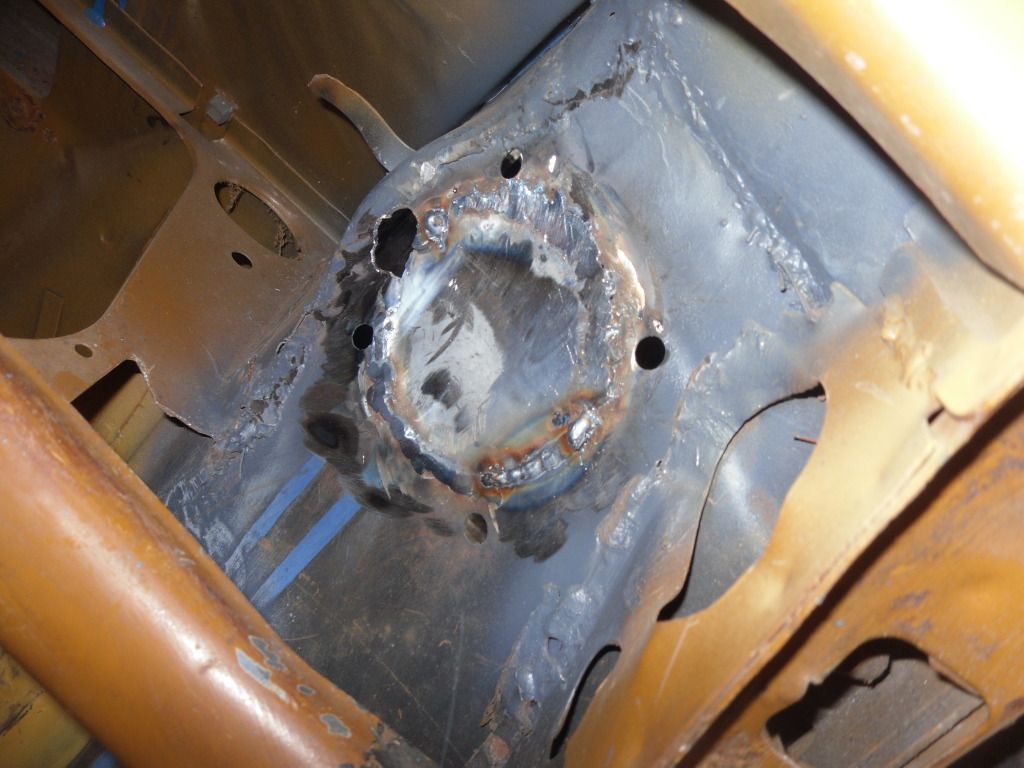
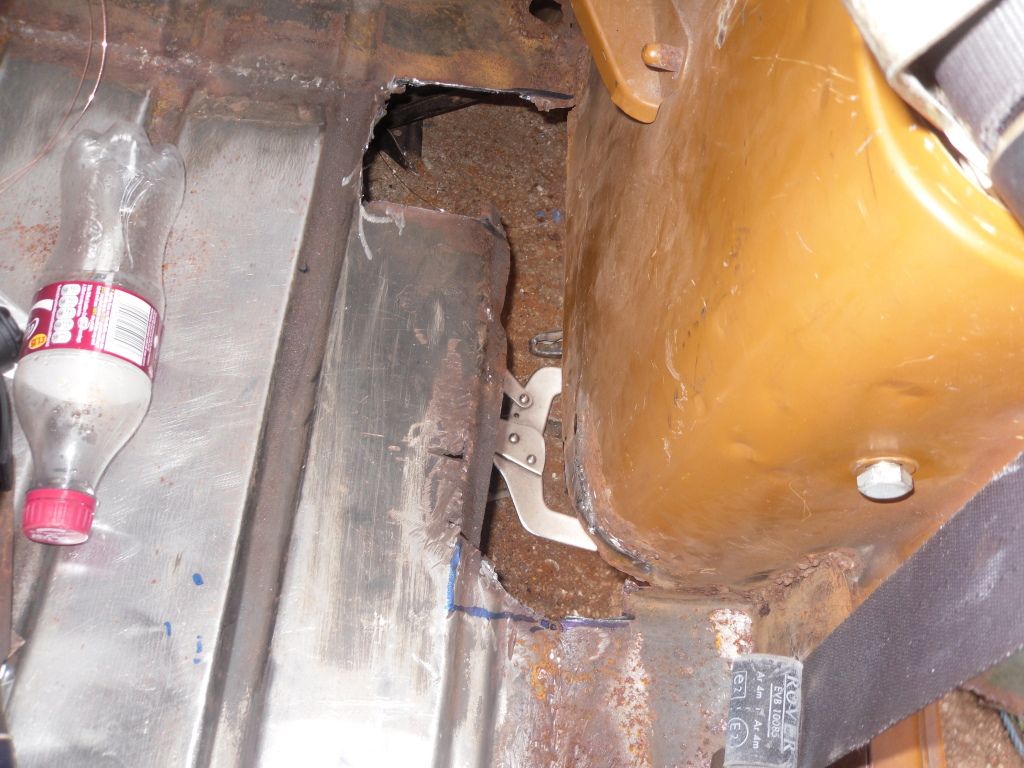
Then i cut out some one else patches that were just welded over the top. Rather than flush with it,
Edited by ChrisG10, 01 October 2012 - 07:43 PM.


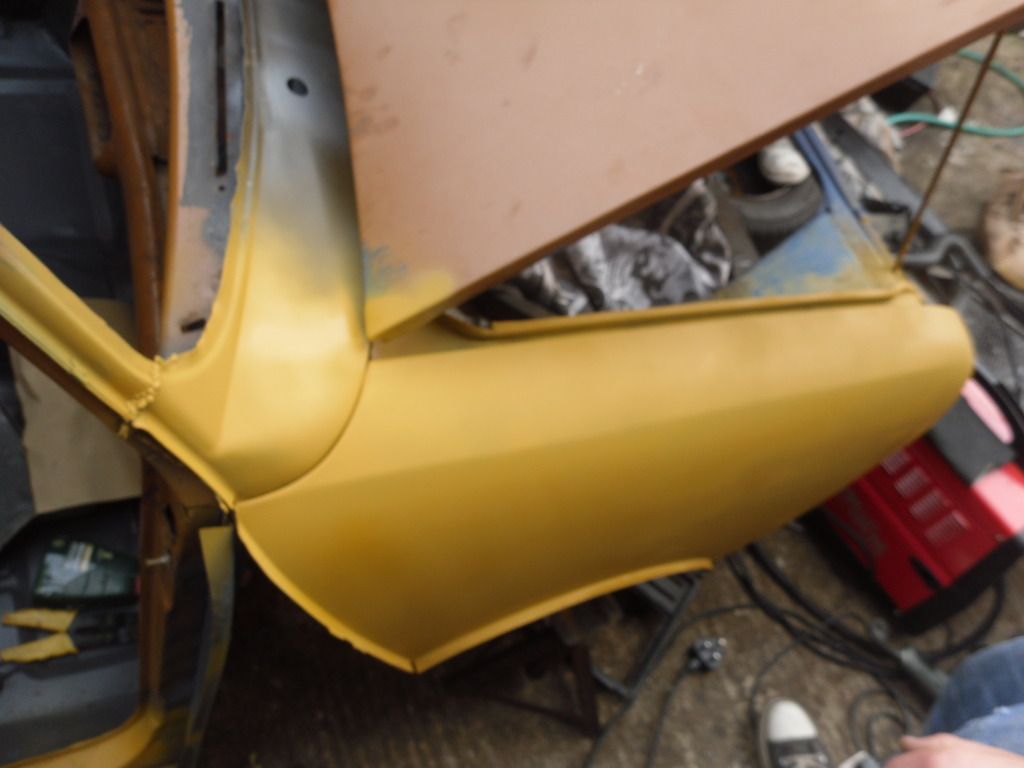
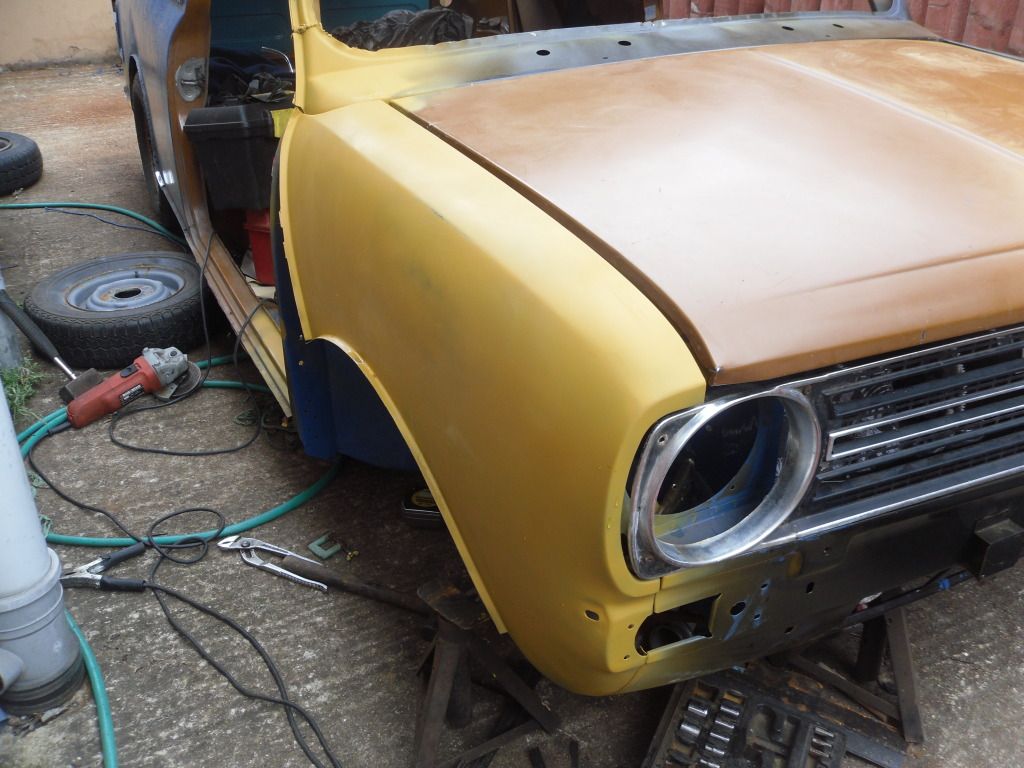
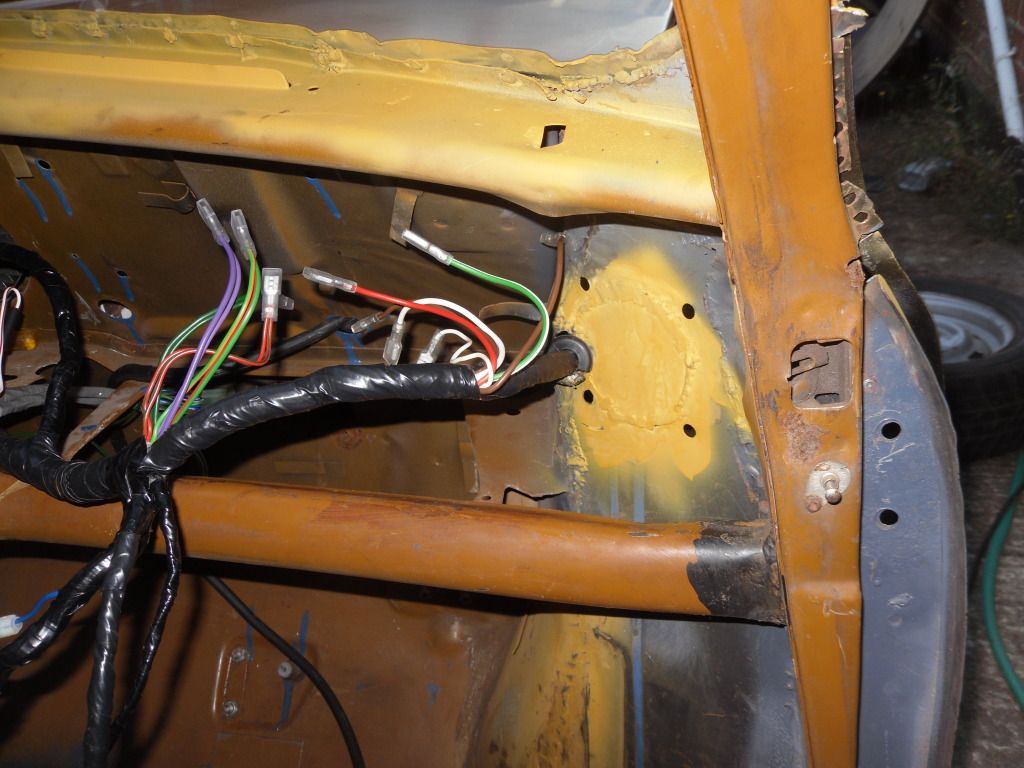
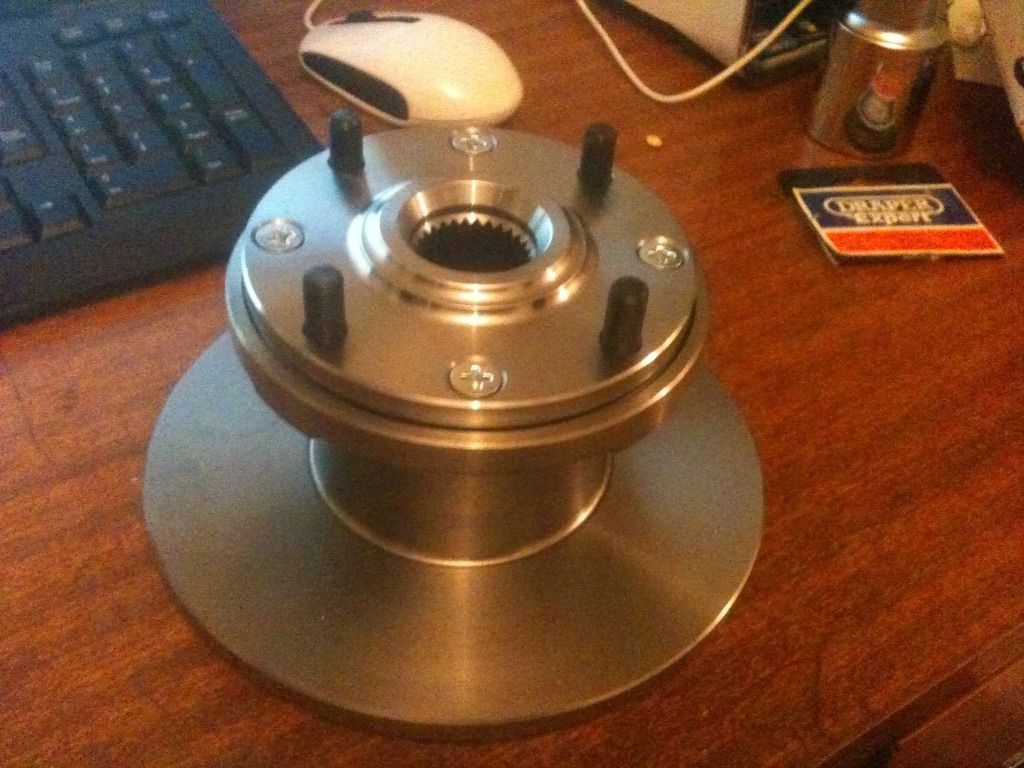 So i quickly put one together!
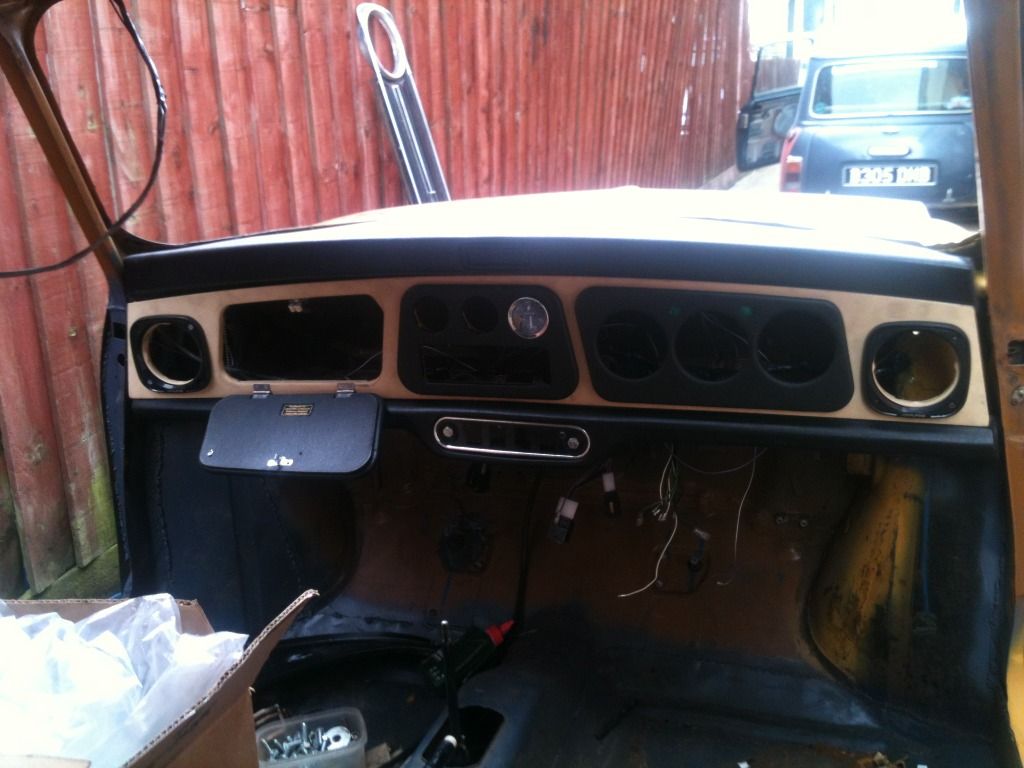
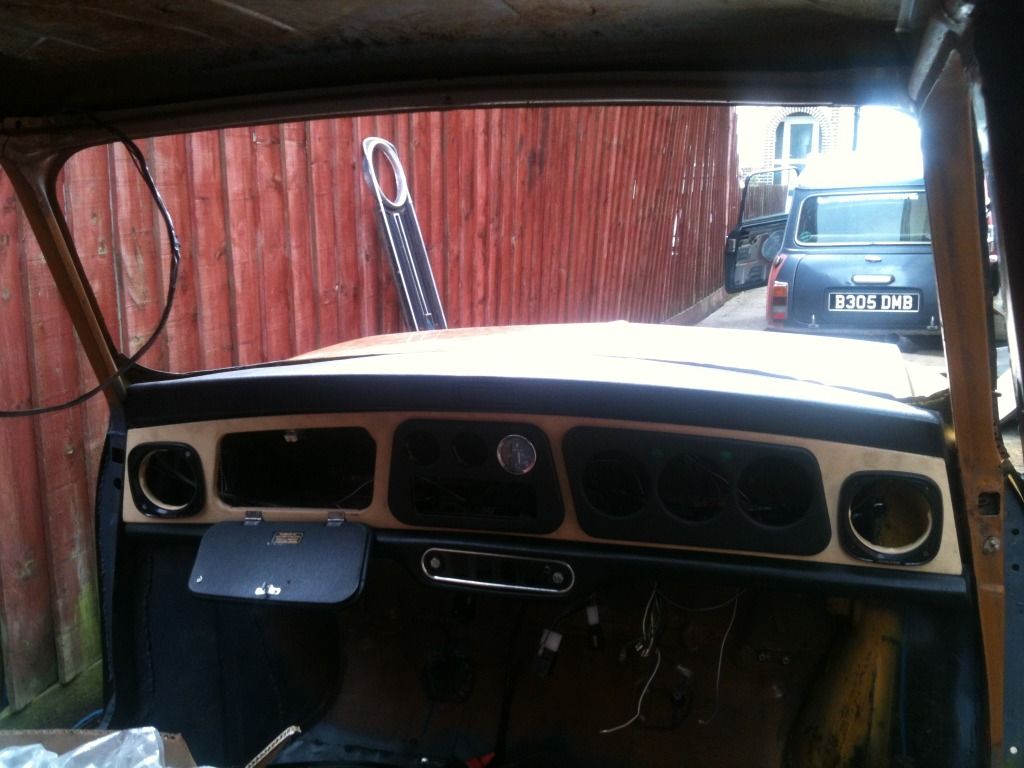
  Pretty Gold! Just a bit shiny! No complaints though!
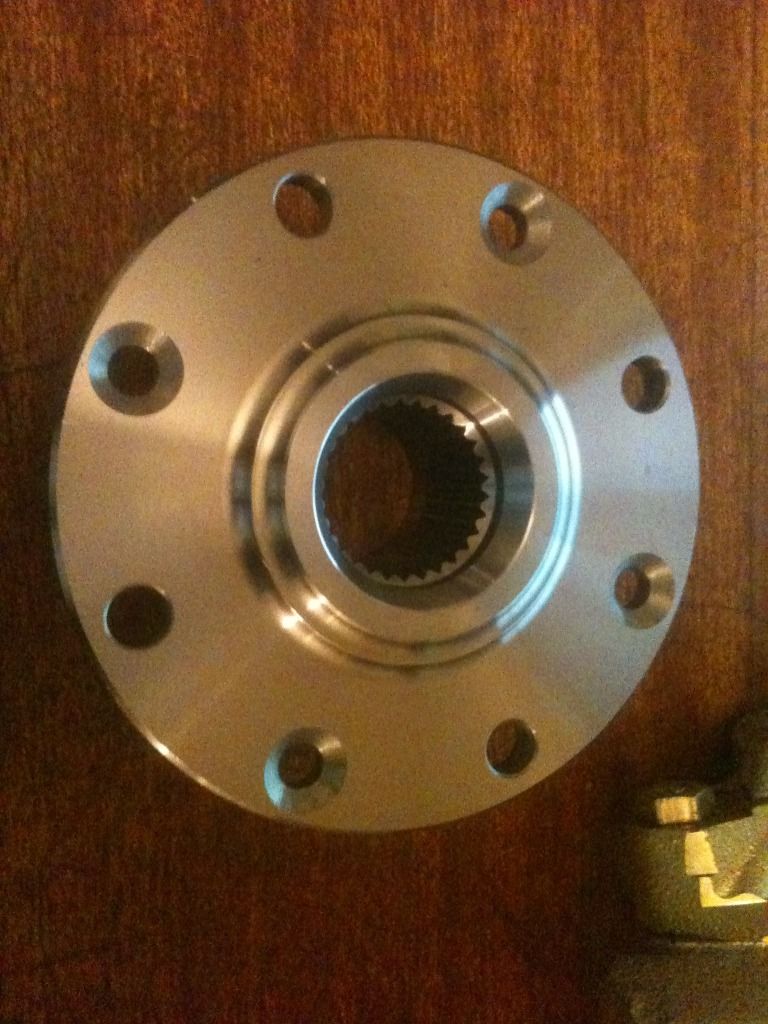


![=]](https://www.theminiforum.co.uk/forums/public/style_emoticons/default/sideways.gif)