Jump to content


Photo

Clubman Estate Restoration! Crunchie


  • Please log in to reply
75 replies to this topic

#1 ChrisG10

ChrisG10

    Speeding Along Now

  • Members
  • PipPipPipPipPip
  • 308 posts
  • Location: Cowley

Posted 20 April 2012 - 11:53 AM

Well for the third I have started this post!
But oh well!!
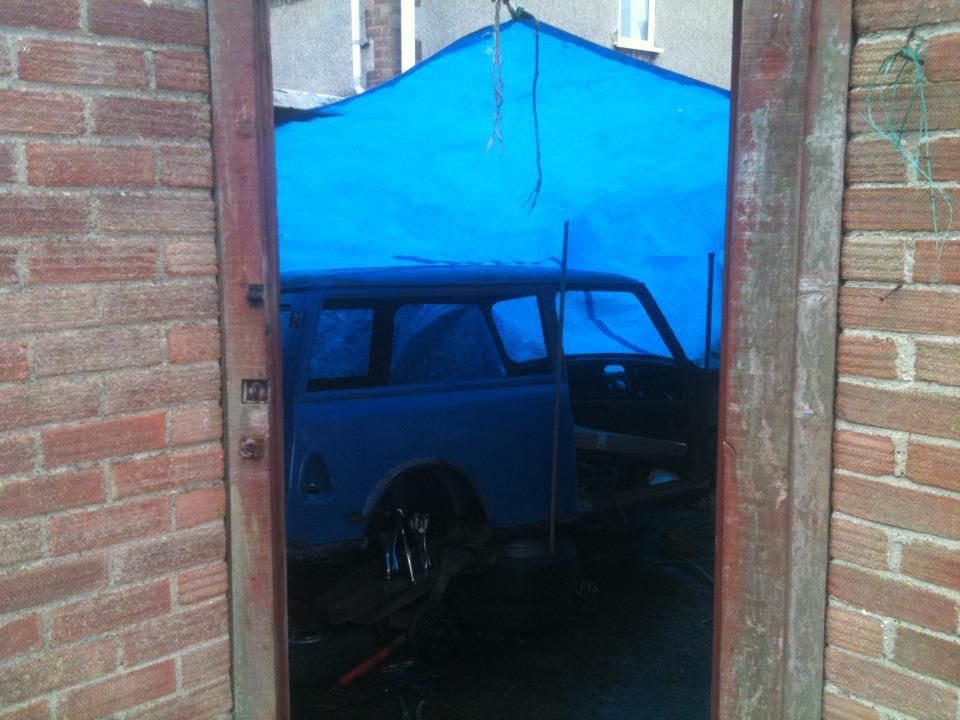
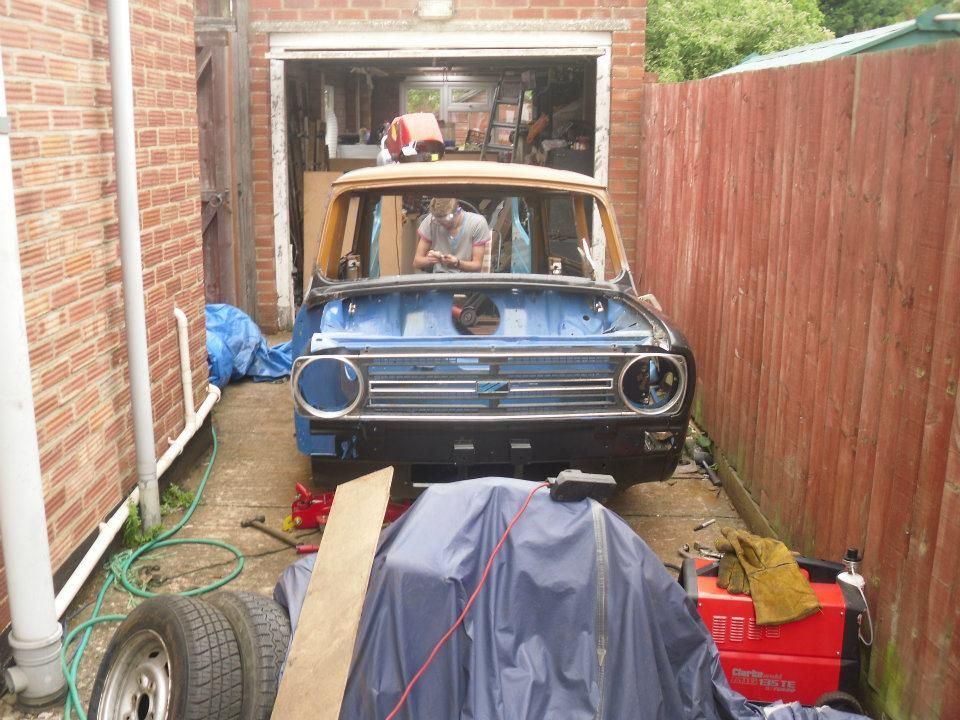
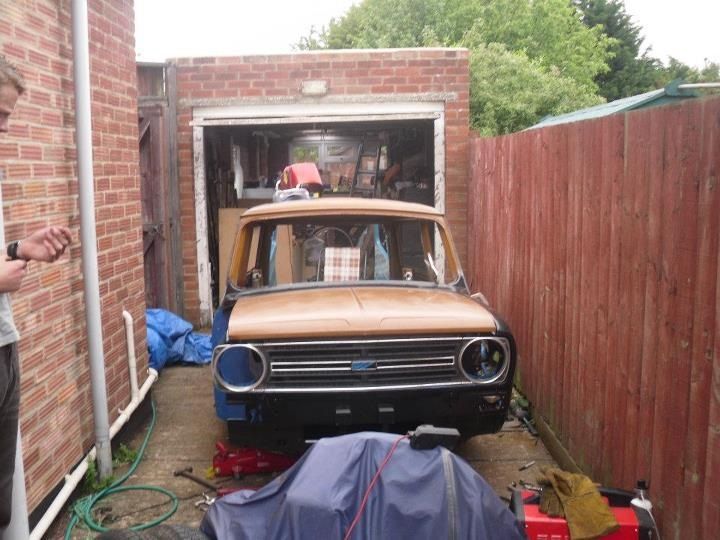
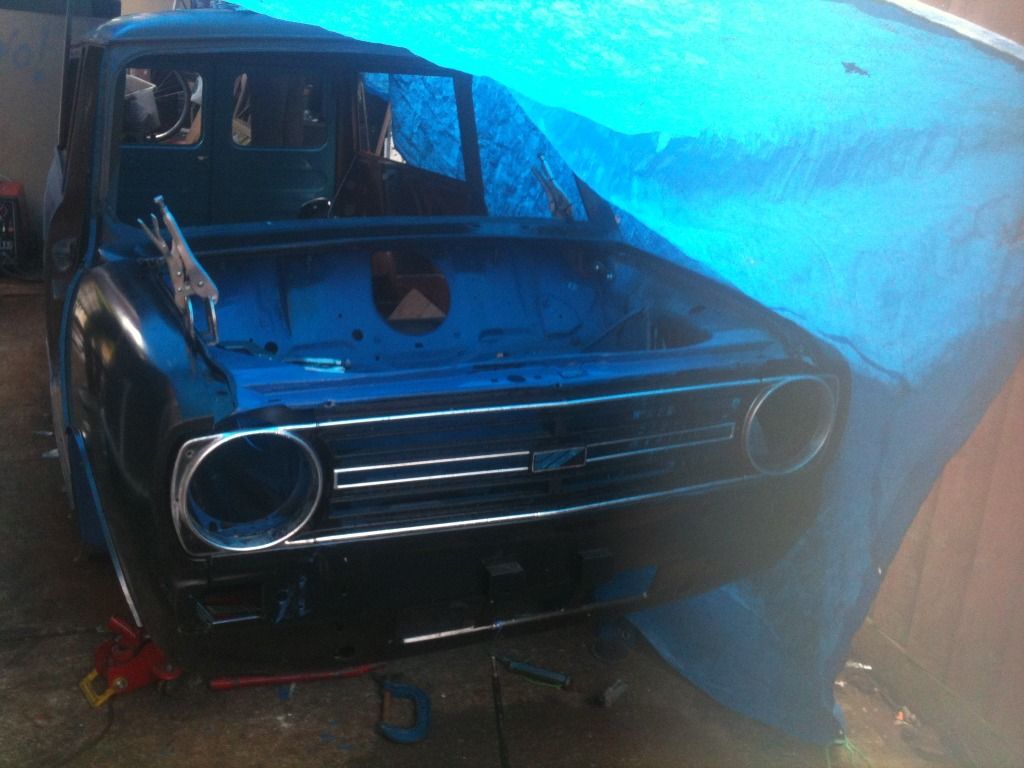
Basically this is my clubman estate I've picked up a few months back. Now that the weather has picked up!
Well now I can get outside it seems like its time to get a move on, because well the weather doesnt last!
Attached File  IMG_0648.JPG   132.28K   3 downloadsAttached File  IMG_0649.JPG   123.57K
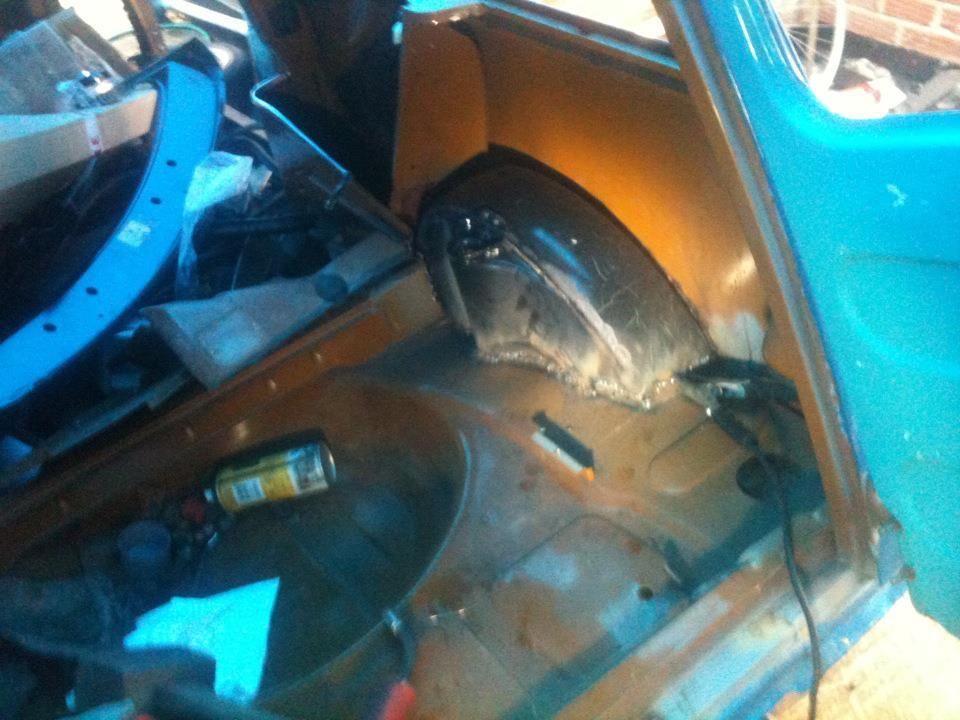
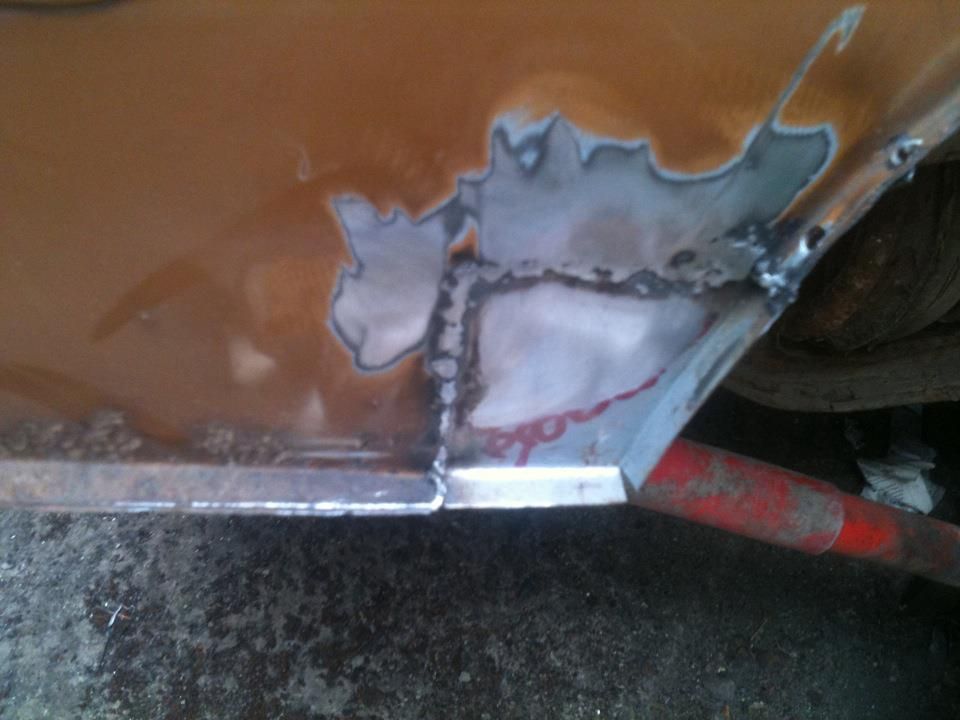
   4 downloads
Well I have kind of started this project a bit late. As I have been working on it for the last 3 weeks.. So this one is gonna be a big post..
Dont expect me to get this kind of work done every week :L

First things first was to remove the front subby! I made this particularly difficult by dumping THE 1275 engine in it!
Attached File  IMG_0887.JPG   1.22MB   6 downloads
Attached File  IMG_0886.JPG   1.03MB   1 downloads
I would suggest not to try moving it by yourselves! Even if you have a metal skateboard to move it :L.. Have to say best idea I've had in a while!
Well anyone who says its impossible to lift a car by yourself.. Or improbable to get the subframe out alone.
Obviously hasn't tried. I'm not the most muscular boy in the world!
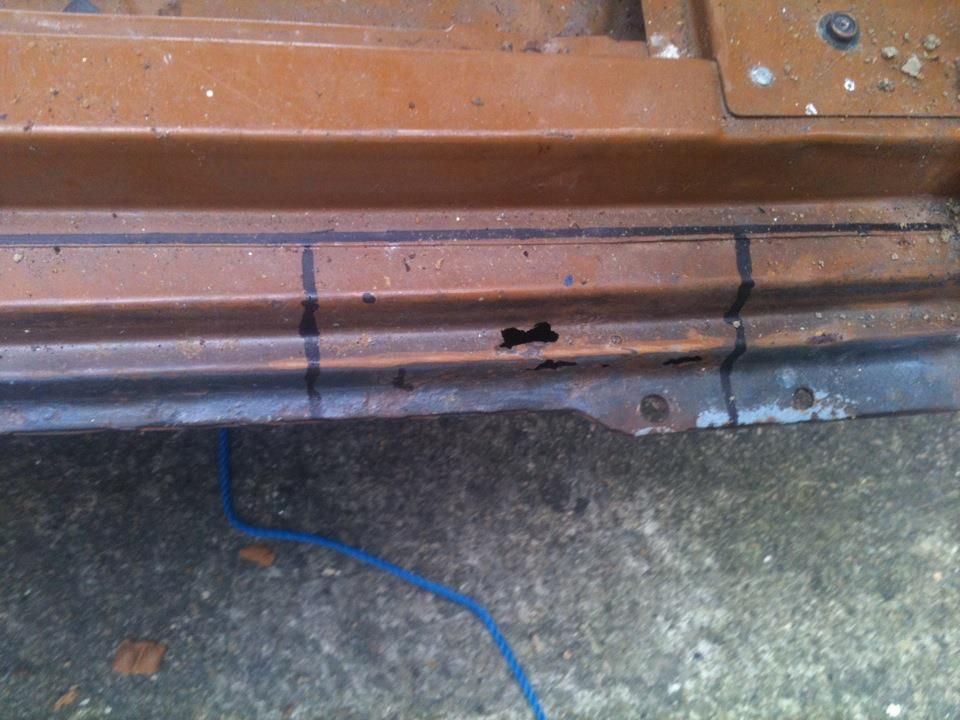
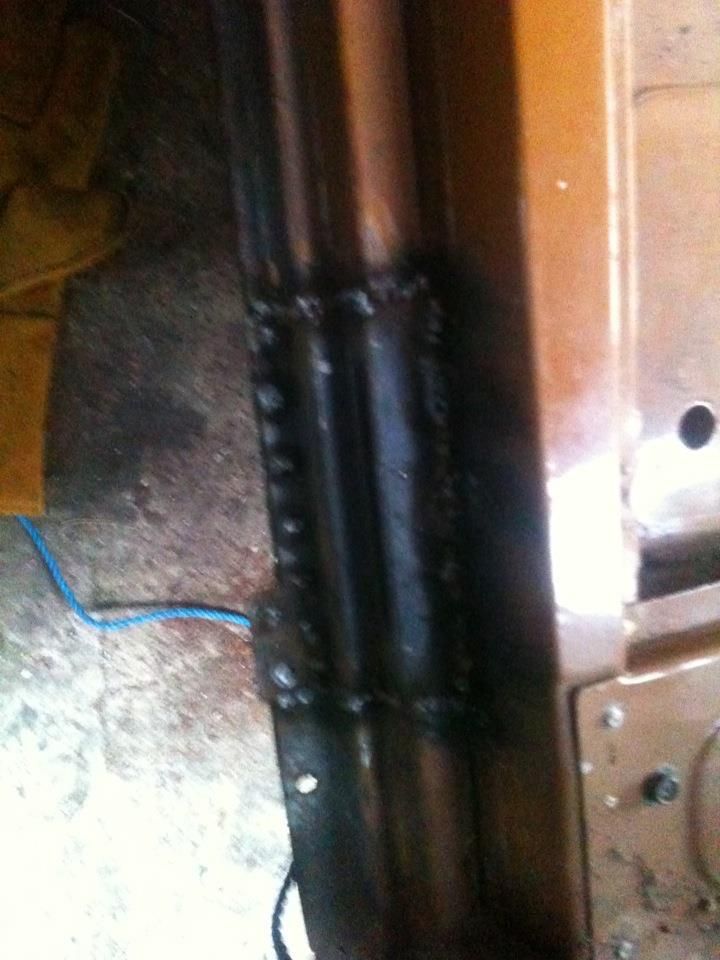
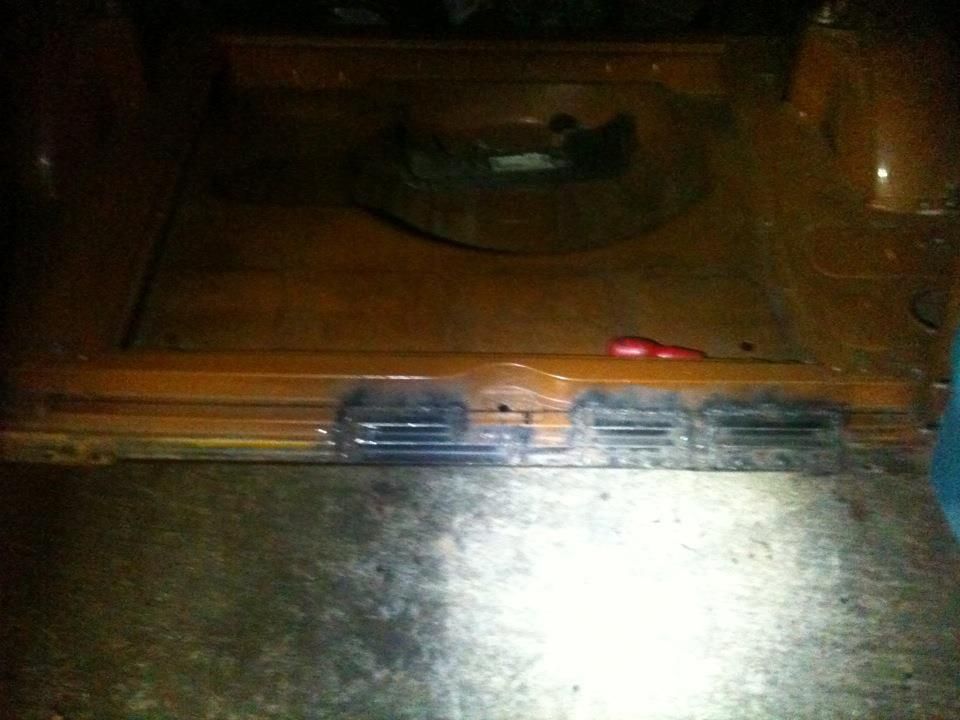
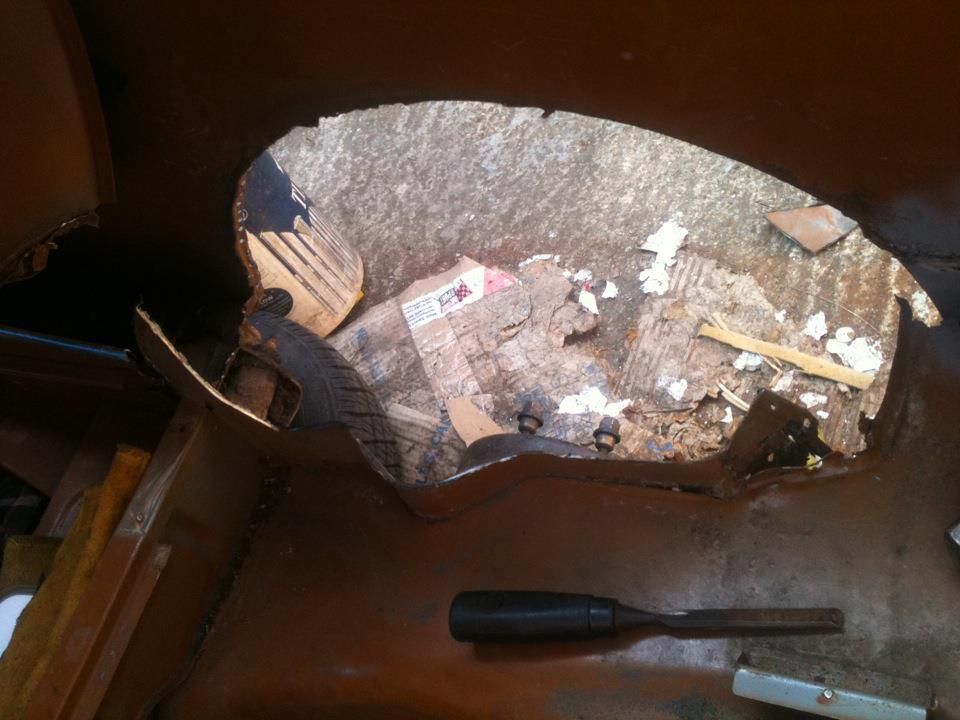
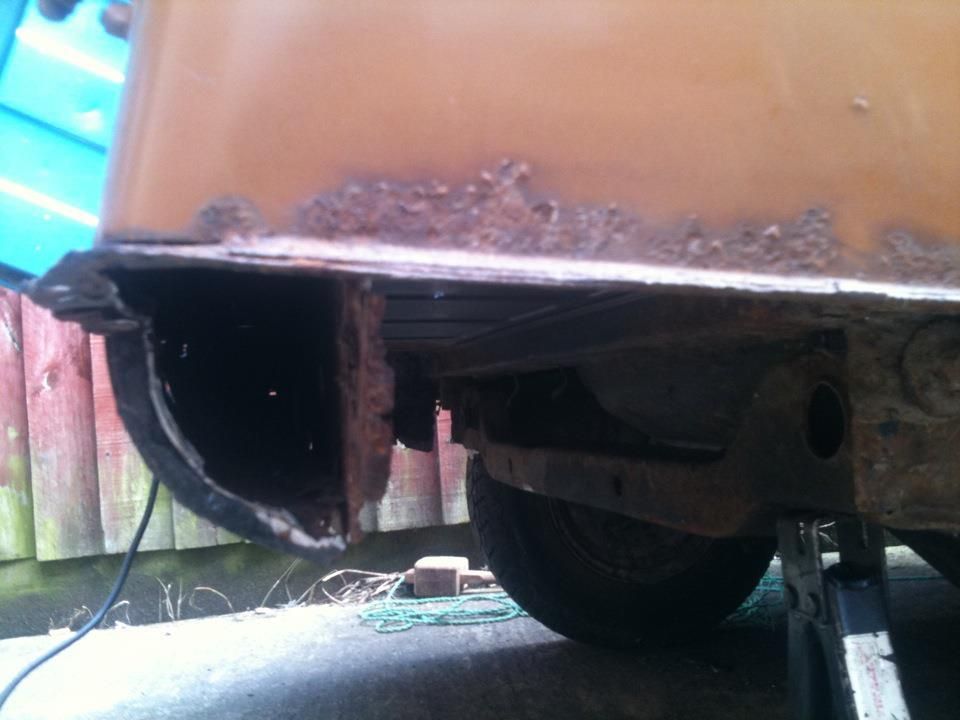
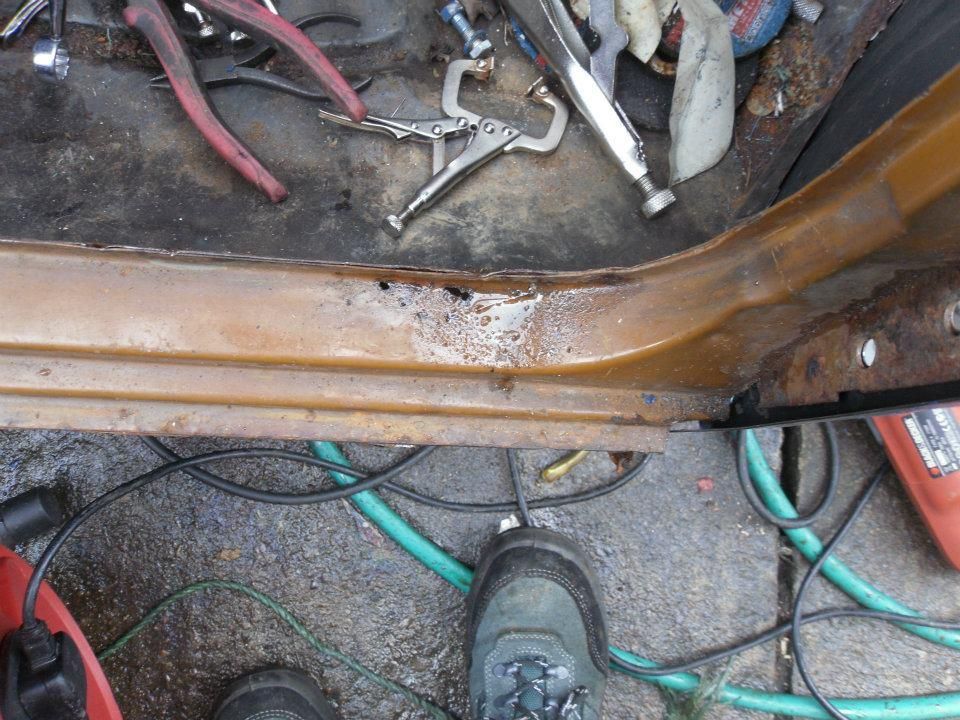
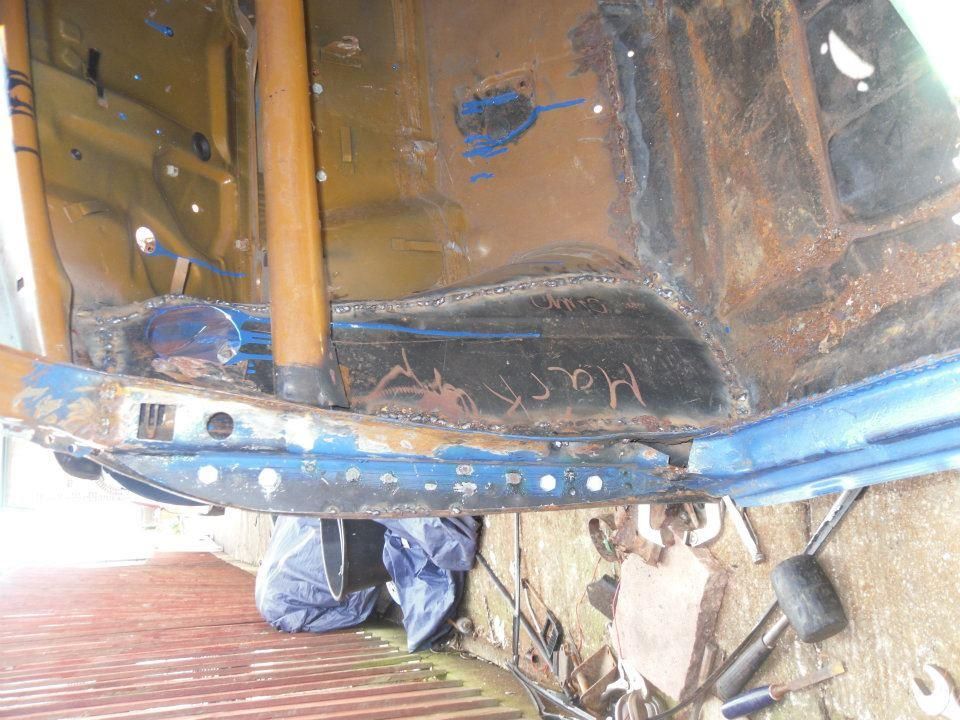
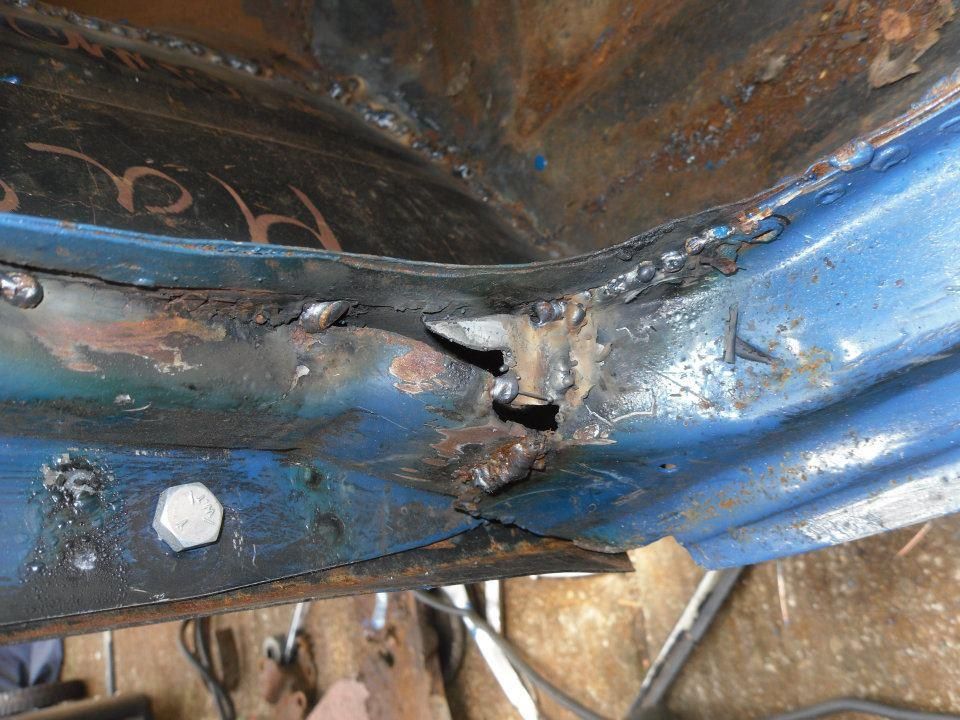
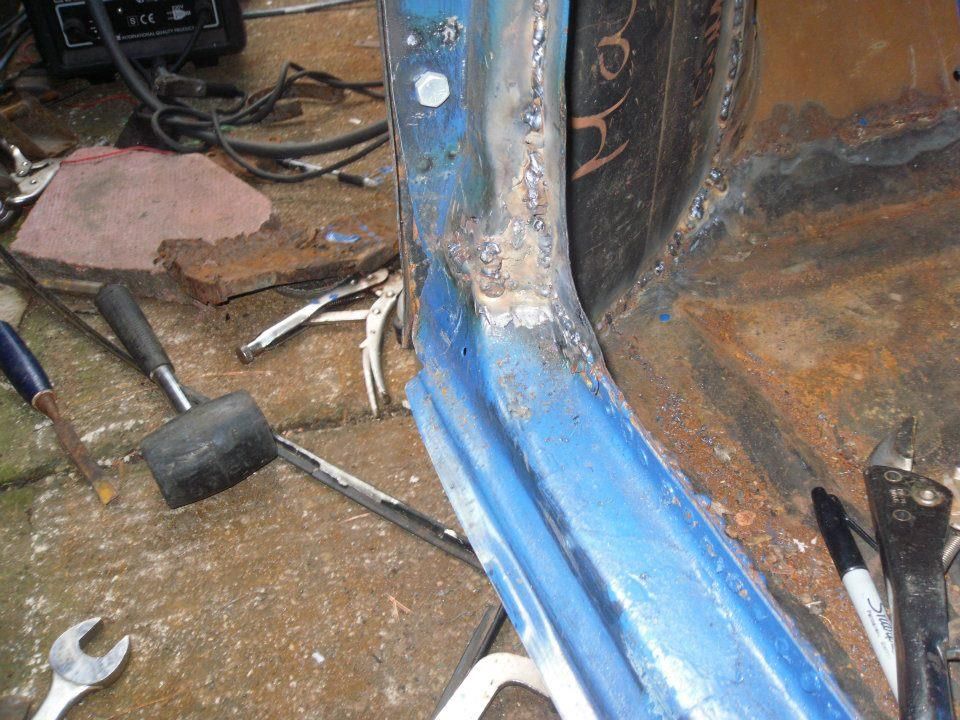
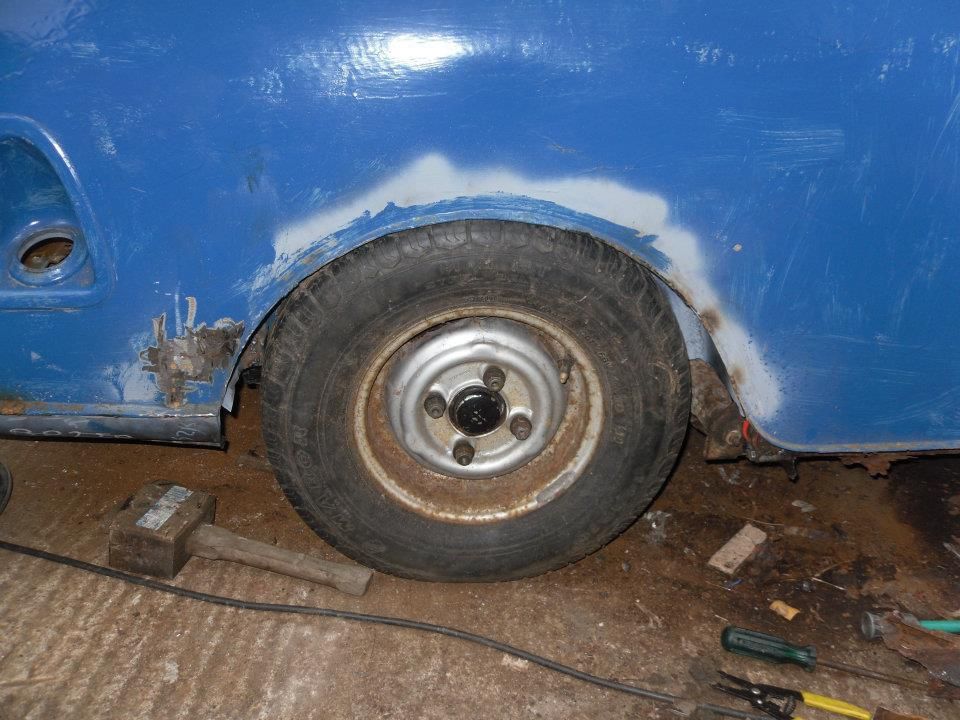
Attached File  IMG_0877.JPG   92.15K   39 downloadsAttached File  IMG_0878.JPG   101.4K   18 downloadsAttached File  
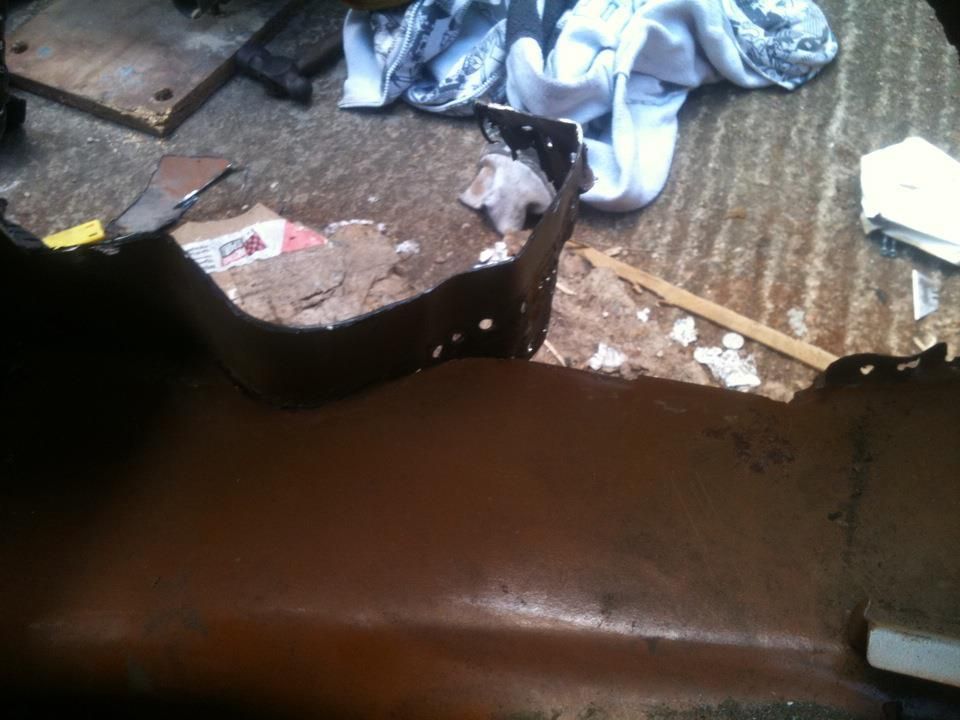
IMG_0879.JPG   101.09K   
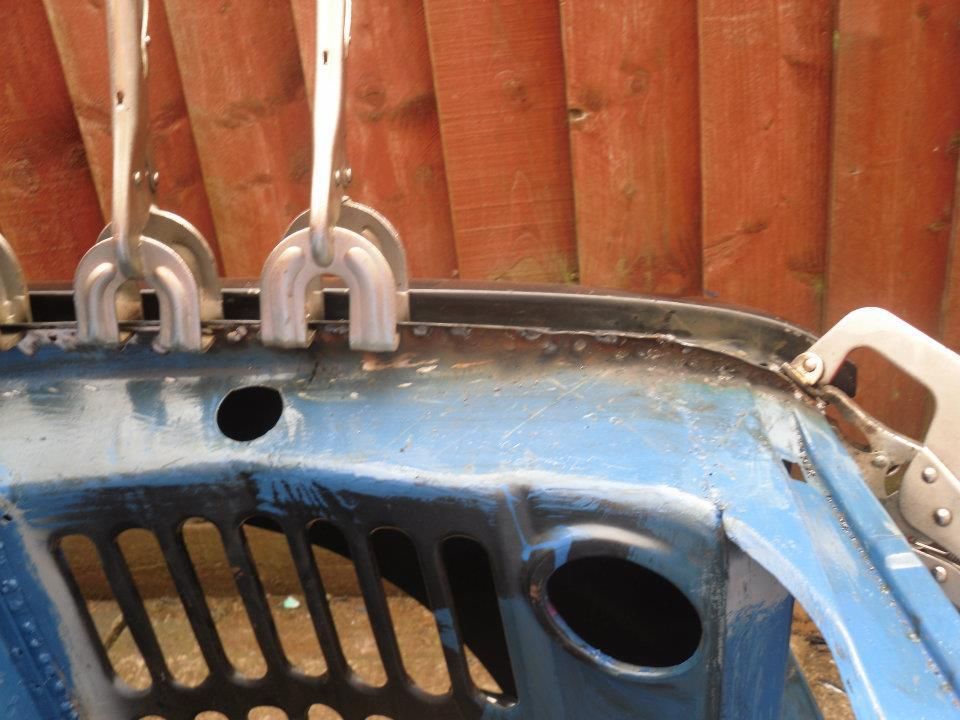
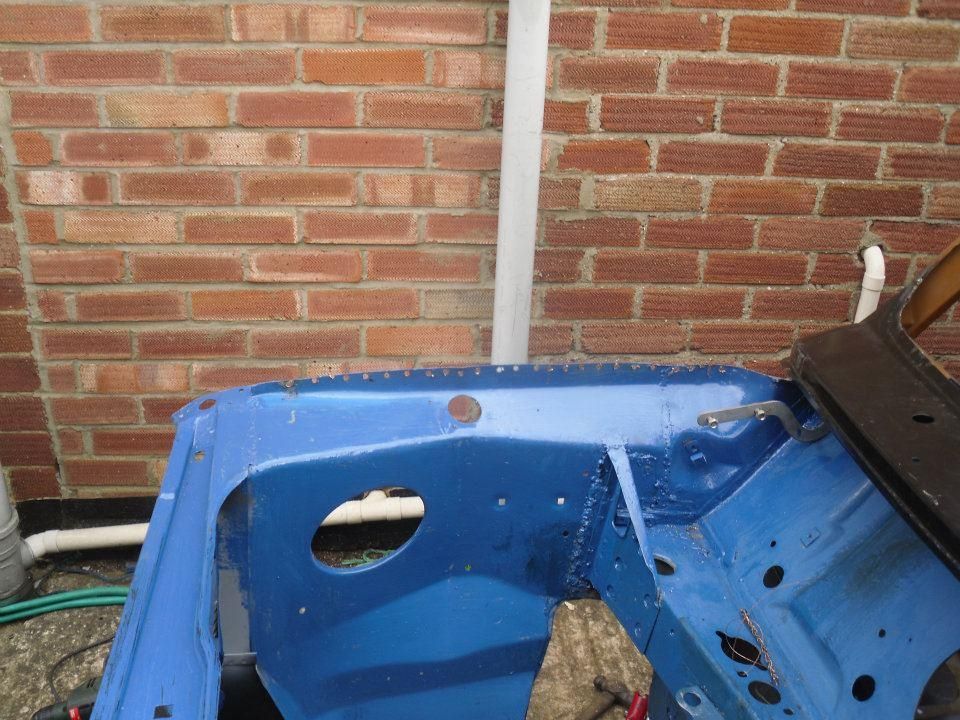
13 downloads
Well good to see the floors solid :L

Edited by ChrisG10, 20 April 2012 - 09:25 PM.


#2 ChrisG10

ChrisG10

    Speeding Along Now

  • Members
  • PipPipPipPipPip
  • 308 posts
  • Location: Cowley

Posted 20 April 2012 - 09:38 PM

Well that was week 1.. actually just 1 day but the rest of the week i was recovering :L
In week 2. The panels that I placed an order on payed for by the family for Birthday presents was 500 pounds of Heritage panels.
They arrived and were quickly unwrapped and outside.. I know i shouldnt rush.. but just couldnt wait!
Attached File  IMG_0889.JPG   1.19MB   6 downloads Just quickly lined up with a few clamps for a photo!
Im not very good at taking photos whilst I work.. I do try my hardest! This is the second/right hand side inner wing where I removed it. I only took this picture because I forgot to do one for the other side :L
Attached File  IMG_0901.JPG   1.09MB   13 downloads
Attached File  IMG_0902.JPG   1.2MB   16 downloads This is the left side which I cut and welded on without stopping to take photos :D
Whilst I was thinking about what I was going to weld on next. I painted the subframe. Which then gave me the idea of refitting it and welding the front panel on!
Attached File  IMG_0853.JPG   1.37MB   6 downloads
About 6 coats are on this.. I'm trying to do it properly first time! No chance of it rusting.. I think :L
Well now its time for the subframe to go back in. To make sure that front panel goes on without any problems.

Edited by ChrisG10, 20 April 2012 - 09:42 PM.


#3 ChrisG10

ChrisG10

    Speeding Along Now

  • Members
  • PipPipPipPipPip
  • 308 posts
  • Location: Cowley

Posted 24 April 2012 - 07:56 PM

Ok well now the little incident with the forum is back up and running I can finish the posts to my project!
After welding the inner wings on my next day off I got the front subframe back in and bolted up. I got the front end clamped on and started to weld!
Attached File  IMG_0916.JPG   72.33K   8 downloads
Well unfortunately that was the only photo I got because I didnt have time to take lots or photos.
I just need to order a new scuttle as I bought a non genuine one. And Ive spent all this money on heritage panels I may aswell spend that little bit extra so i dont have to fiddle with it so much!

#4 ChrisG10

ChrisG10

    Speeding Along Now

  • Members
  • PipPipPipPipPip
  • 308 posts
  • Location: Cowley

Posted 02 July 2012 - 10:53 AM

I just thought. I forgot to add. That all the panels were bought through Minispares! Thank you Simon!
Also the wiring loom and brake conversion from them soon as well!!
Right so i know i havent posted on here for a while.. Im not lazy I have been doing work,. But just no time to sit down at the computer.
But After last nights events I do have time to sit down. Lucky i uploaded the last batch of work from the camera before stolen from the house.(that was last night)
Looks like i need another camera before doing more work.
Ok. So after the front end was on i decided to tackle the back,
Posted Image
So here is the first patch in the doorstep.
Posted Image
Hopefully that link will work. Im new with photobucket.
This is how many patches it actually needed.
Posted Image

After that i went onto doing the rear wheel arch.
Posted Image
Posted Image
Posted Image New one ready
Well because of the bad weather I was slowed down a fair amount until my new invention :P
Posted Image
Posted Image
Thats it welded in.
I actually had a patch to put in aswell. On the rear panel.
Posted Image
Cut off the corner.
Posted Image
I havent got any photos of the new one welded in place but there is both sides done.

Edited by ChrisG10, 02 July 2012 - 09:01 PM.


#5 ChrisG10

ChrisG10

    Speeding Along Now

  • Members
  • PipPipPipPipPip
  • 308 posts
  • Location: Cowley

Posted 02 July 2012 - 11:54 AM

Right thats what I did on the back.. Now onto whats happened on the front.
Right so the front end and innerwings were done and in the time Ive been away i had ordered the heritage scuttle,. and believe it or not it actually matches the shape of the bonnet.

Before going onto scuttle and wings i started with a few easier things.
Posted Image This is the drivers side doorstep.
Posted Image one patch later!

Next up was flitch panels.
Posted Image
I didnt get photos of both sides.. Unfortunately.
Posted Image actually just see it in this photo.
Posted Image
Right you can see a hole where I had to do a door post repair because someone before me cut too much out. :L
Posted Imageso that was it after one specially cut patch.
Posted Image this is it after 3 small strips of metal. and a lot of welding done.
I havent grinded any of these back yet.

Edited by ChrisG10, 02 July 2012 - 09:07 PM.


#6 ChrisG10

ChrisG10

    Speeding Along Now

  • Members
  • PipPipPipPipPip
  • 308 posts
  • Location: Cowley

Posted 02 July 2012 - 12:03 PM

Posted Image This is the scuttle clamped up.. I remember using more clamps but that was the only photo i took.
Posted Image Thats where its spot welded on.
Posted Image
Posted Image thats it all welded on.. i know theres two clamps on the right hand side i forgot to remove them :L
Next up was the wings
Posted Image thats it clamped up looking good!
Posted Image
Posted Image a panel lines up as well.. So decided to weld the wing on.
Posted Image thats it clamped and started to plug weld.
Posted Image finished product.

Edited by ChrisG10, 02 July 2012 - 09:18 PM.


#7 olds_kool_lews

olds_kool_lews

    Up Into Fourth

  • Traders
  • PipPipPipPipPipPipPipPipPip
  • 3,602 posts

Posted 02 July 2012 - 12:39 PM

Use the IMG code for the pics, they'll show up then

#8 ChrisG10

ChrisG10

    Speeding Along Now

  • Members
  • PipPipPipPipPip
  • 308 posts
  • Location: Cowley

Posted 02 July 2012 - 02:51 PM

Ok mate will do. from now on.. I did look at that just picked the one i thought was best. Can you open those other links up though?

#9 ChrisG10

ChrisG10

    Speeding Along Now

  • Members
  • PipPipPipPipPip
  • 308 posts
  • Location: Cowley

Posted 02 July 2012 - 09:28 PM

There we go changed them all to image codes! :)
Right now for todays work. And box of goodies. Received from minispares.
So the new wiring loom :D Posted Image
this is where ive got to. Posted Image
So todays work,. Started drilling the inner wing ready to plug weld the wing on.
Posted Image
Then it started raining.
Posted Image
But got it too that stage. Still needs a bit more work to line it up properly. So not welded up yet. Almost there though.
Decided as it was wet and miserable to just see how low the adjustable trumpets go.
Posted ImageI think its too low..
Definitely going to make it higher..
Well I think that is all for now. Just looked and saw that 20 people have signed up for the group buy on brakes.
So I might be able to get the front subframe back in with its engine :)
Also just got a full set of Cooper S rims :) i think they will go on the clubby :)

Edited by ChrisG10, 02 July 2012 - 09:29 PM.


#10 Tupers

Tupers

    Up Into Fourth

  • Members
  • PipPipPipPipPipPipPipPipPip
  • 4,143 posts
  • Location: Devon

Posted 02 July 2012 - 11:28 PM

Looks like it's all coming together rather nicely now. Cooper S wheels should looks rather nice, I think there's a cubby estate in the 10" wheel thread with them on.

#11 ChrisG10

ChrisG10

    Speeding Along Now

  • Members
  • PipPipPipPipPip
  • 308 posts
  • Location: Cowley

Posted 03 July 2012 - 10:44 AM

Ohhh Nice. Yeah I was told by someone to use the cooper S wheel although ive got a full set of the original clubman ones and with the silver caps as well!
But I think I will paint them up in antique white. So that when the cars sprayed to that original brown. It should set it all off quite nicely.

Does anybody know what colour brown that is?
Before people say it should say it on the VIN/Documents.
The Docs just says Brown. And the paint code isnt filled in on the VIN plate

#12 matthew_leech

matthew_leech

    Speeding Along Now

  • Members
  • PipPipPipPipPip
  • 428 posts
  • Location: Newark/Derby
  • Local Club: Clubless

Posted 04 July 2012 - 08:58 PM

I think tuppers is referring to my clubby estate, it has reverse rims with early clubby centre caps on. With the cooper s brakes.

Check out my link in my signature for pics!

Good luck with the project :)

#13 Tanya

Tanya

    Snuggle-Buddy

  • TMF+ Member
  • PipPipPipPipPipPipPip
  • 1,334 posts
  • Local Club: Abingdon Mini Owners Club

Posted 04 July 2012 - 09:31 PM

Looking good Chris! Keep up the good work :-)

#14 ChrisG10

ChrisG10

    Speeding Along Now

  • Members
  • PipPipPipPipPip
  • 308 posts
  • Location: Cowley

Posted 04 July 2012 - 09:37 PM

Thank you Matthew!! Yeah those wheels do look lovely!! Not too OTT either.
Im not having the centrecaps for now... Might decide to put them on later,.. Or possibly use the clubby ones.

I will Tanya as soon as this weather clears up. It will join Poh soon!

#15 ChrisG10

ChrisG10

    Speeding Along Now

  • Members
  • PipPipPipPipPip
  • 308 posts
  • Location: Cowley

Posted 09 July 2012 - 01:13 PM

Right not got anything done recently. But I have just sorted out everything at barclays so i now have money to spend. So the cooper S brakes are on there way!
The wheels are all here. Going off to my mate at the end of the month to get a powder-coating. I think antique white!
Posted Image
Just went and bought a ball joint socket. So should be able to get the ball joints sorted. All I need is a cone compressor then I will be able to do the front cones.
Once there done i can get the front subframe back in.


1 user(s) are reading this topic

0 members, 1 guests, 0 anonymous users