Im going to have a ring around, ideally I want something a little slimmer if possible.
That seems to be the cheapest online - everywhere else is double/triple the price.


Another Camper Project - Bedford Cf - Warning Pic Heavy / Rot Heavy
Started by
maryquant
, Apr 02 2012 07:29 PM
60 replies to this topic
#46

maryquant
-
- Traders
-

- 932 posts
One Carb Or Two?
- Location: Monmouth
- Local Club: minidesigner.co.uk
Posted 07 April 2012 - 03:42 PM
#47
maryquant
-
- Traders
-
- 932 posts
One Carb Or Two?
- Location: Monmouth
- Local Club: minidesigner.co.uk
Posted 19 April 2012 - 04:56 PM
Ok that was weird, I swear I updated this this morning lol
Big update to come.
Big update to come.
Edited by maryquant, 19 April 2012 - 04:58 PM.
#48
maryquant
-
- Traders
-
- 932 posts
One Carb Or Two?
- Location: Monmouth
- Local Club: minidesigner.co.uk
Posted 19 April 2012 - 05:43 PM
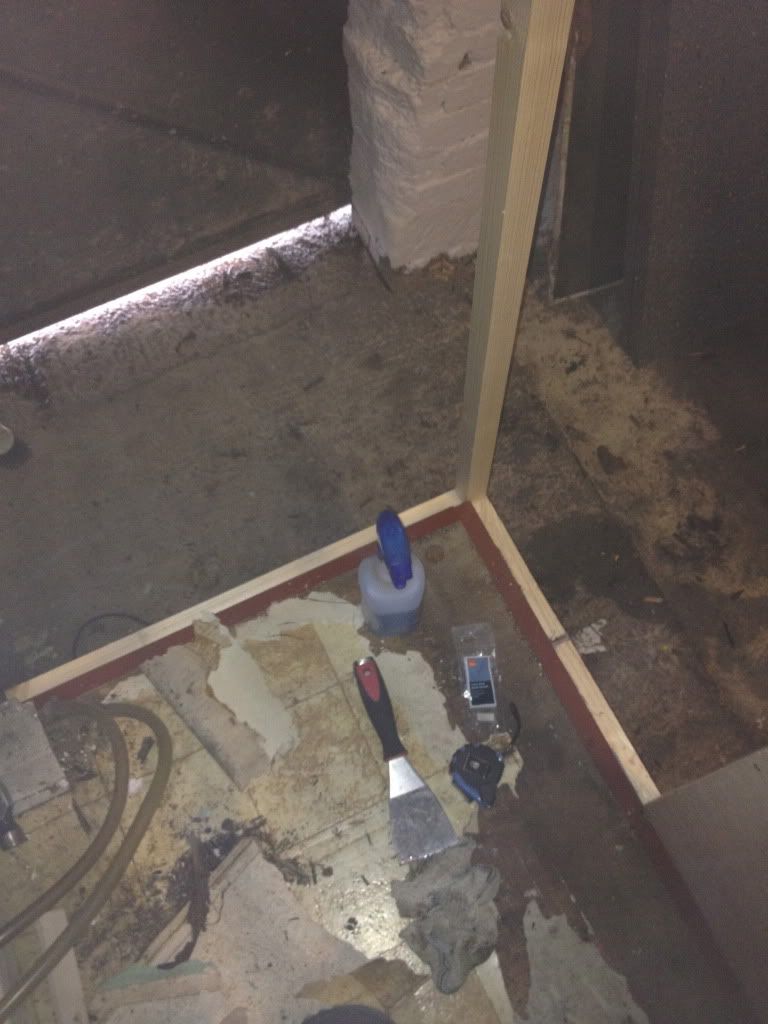
This angle was a pain, but its only temporary so that there is something to fix the wall too
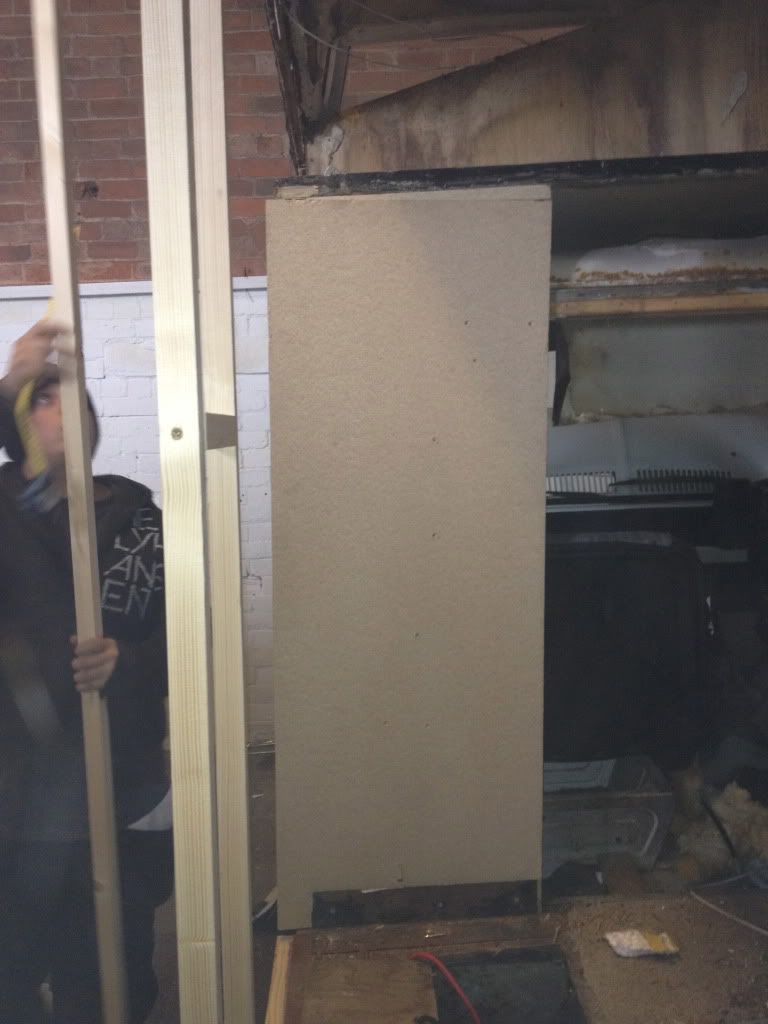
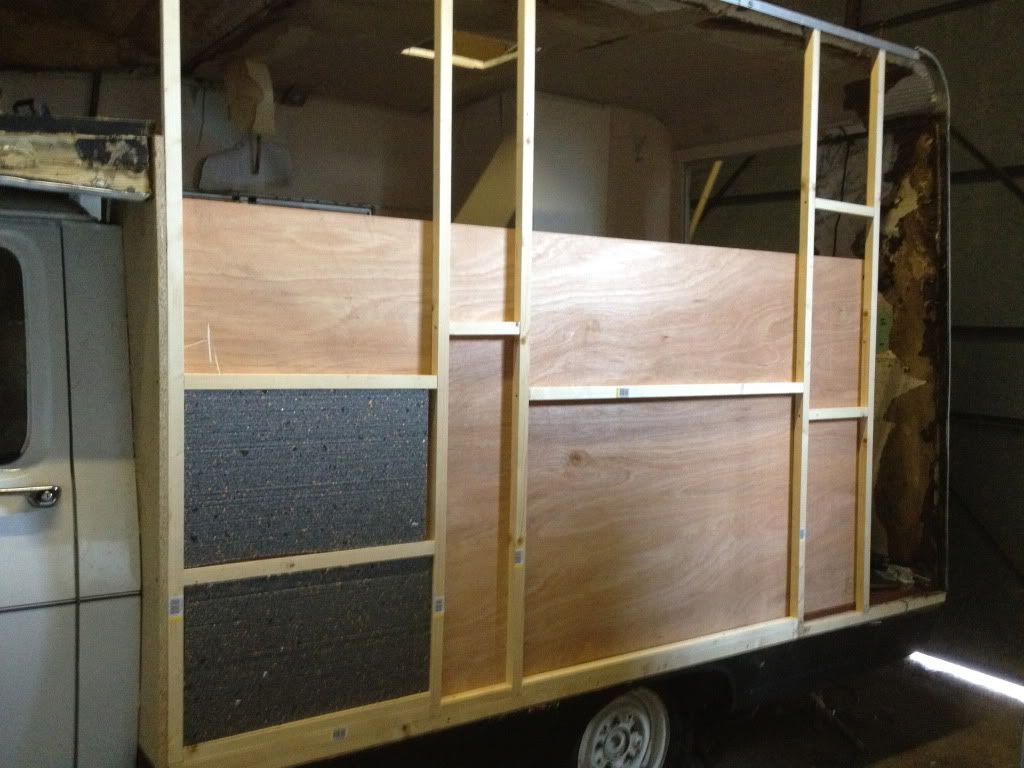
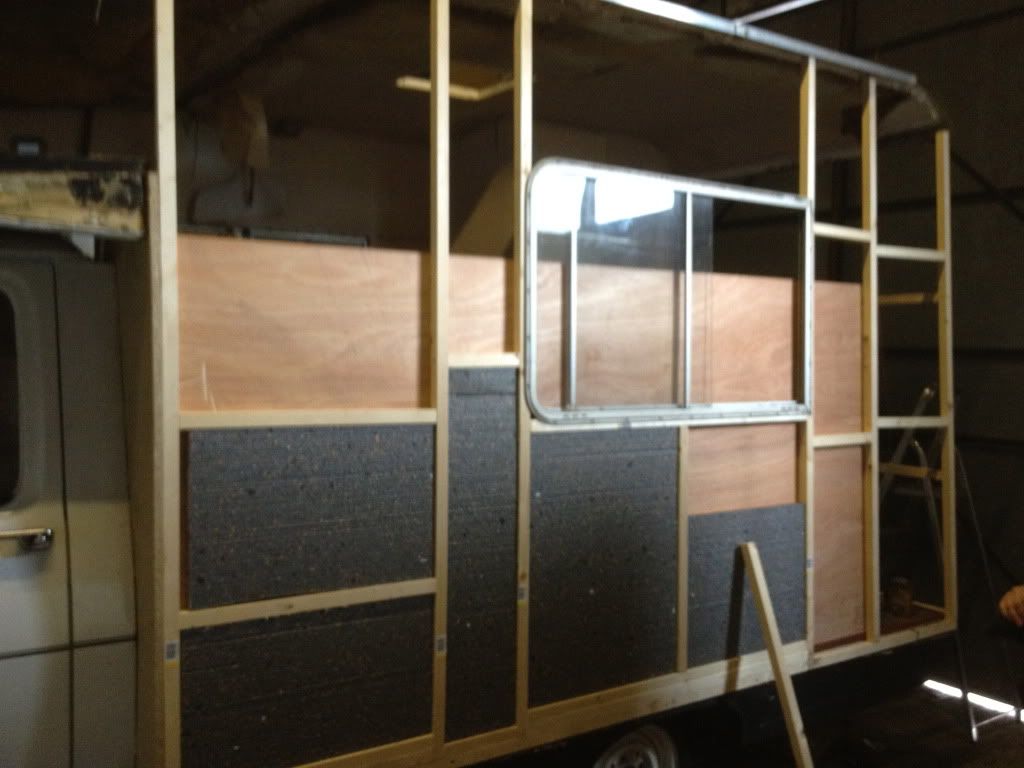
Started constructing the NS wall
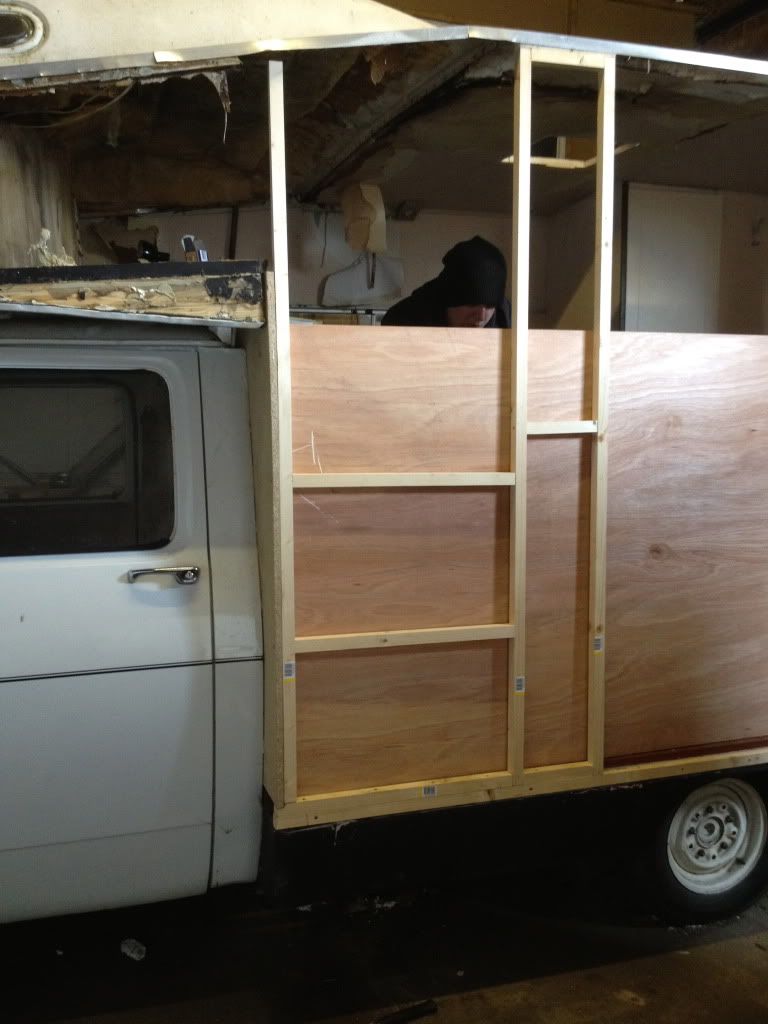
Ply helps to keep the wall rigid during construction and will form the internal wall anyway.
Insulation, not fixed in yet
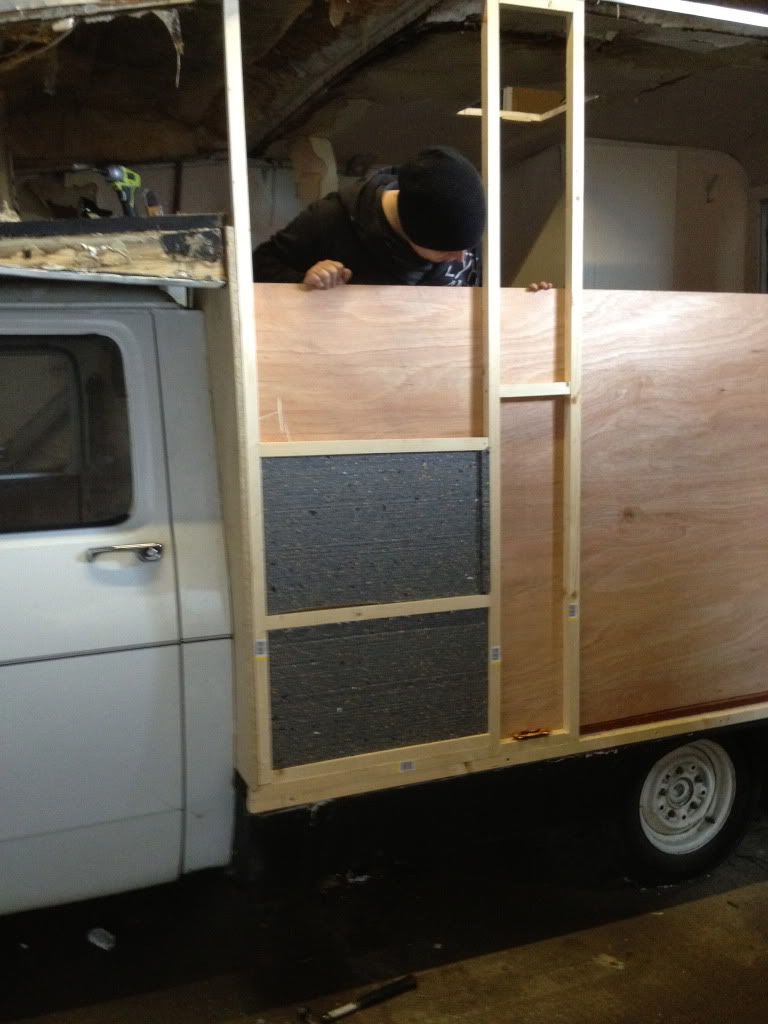
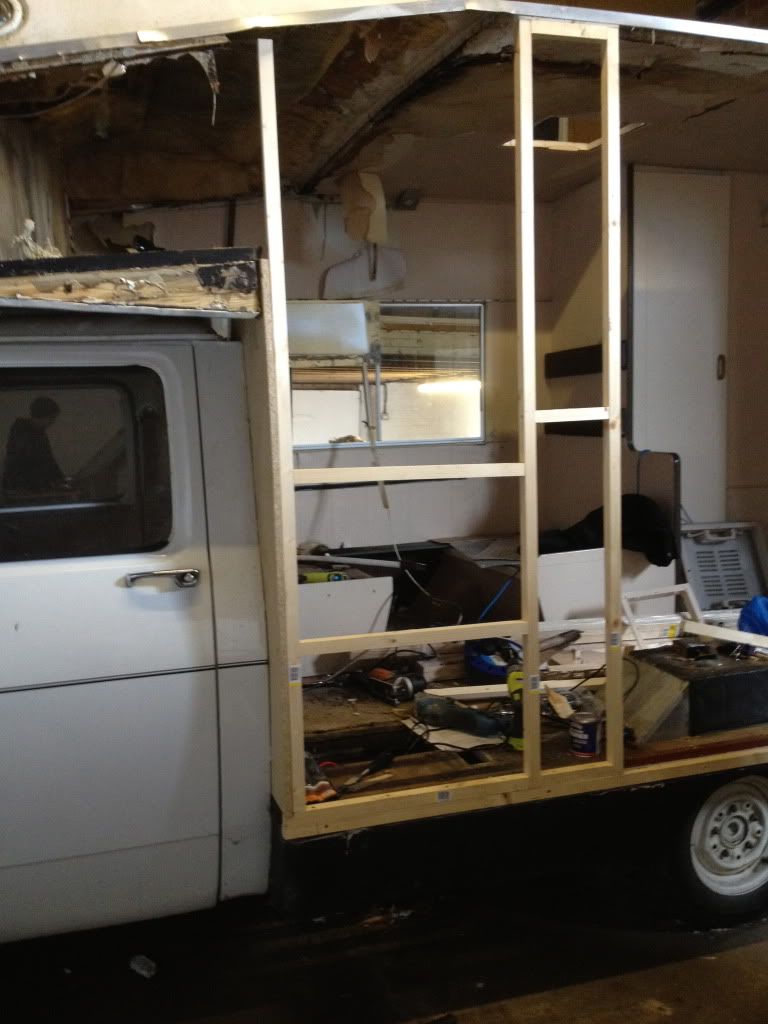
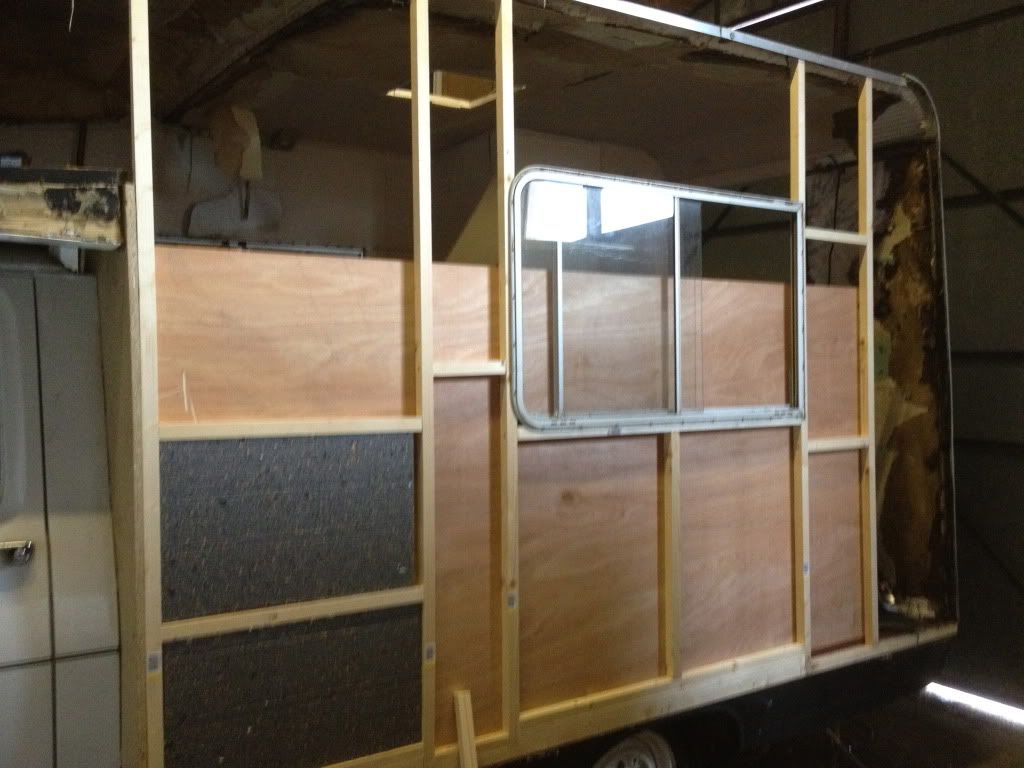
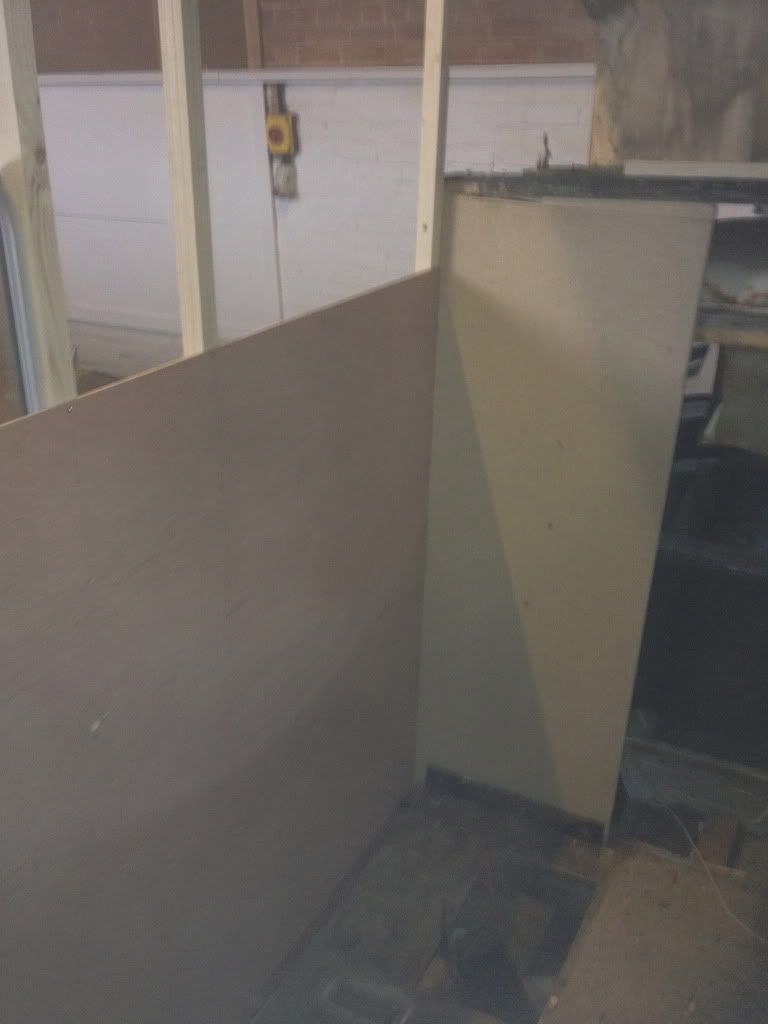
Second vertical brace installed, more wall constructed.
Test fit of window - not 100% sure on location yet, but helps firm up the walll
The back of the van was starting to fall apart, the wood in this camper is really really rotten
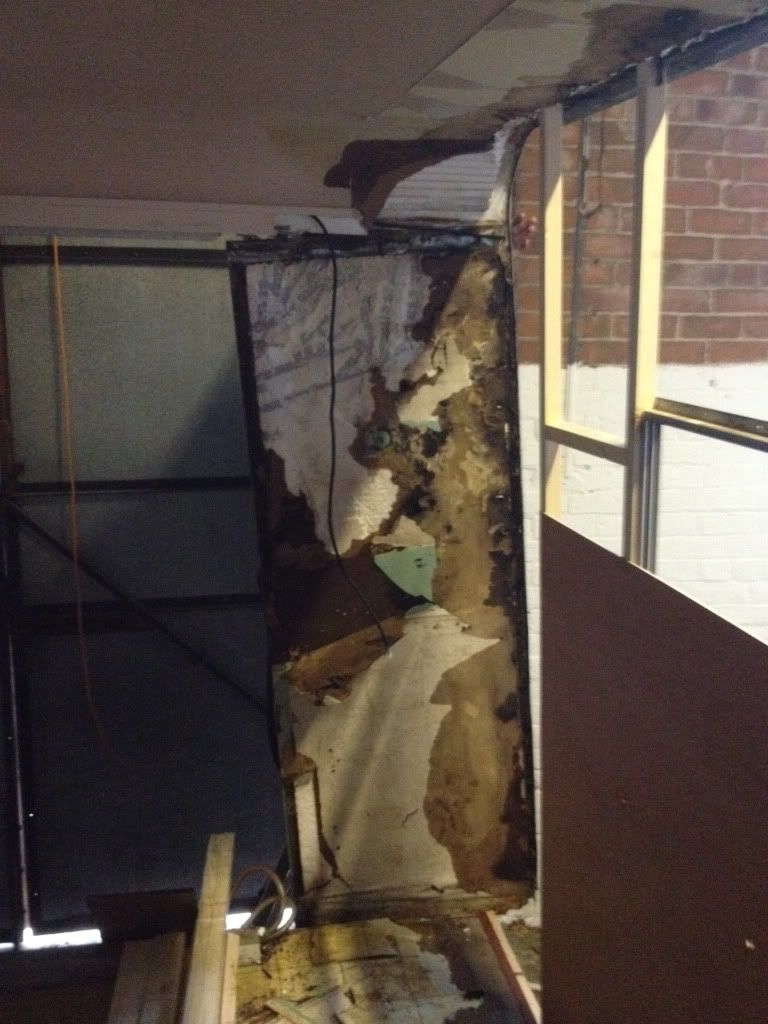
One firm kick and the back panel was escorted off the premises.
New corner peice installed.
Started constructing the NS wall
Ply helps to keep the wall rigid during construction and will form the internal wall anyway.
Insulation, not fixed in yet
Second vertical brace installed, more wall constructed.
Test fit of window - not 100% sure on location yet, but helps firm up the walll
The back of the van was starting to fall apart, the wood in this camper is really really rotten
One firm kick and the back panel was escorted off the premises.
New corner peice installed.
#49
maryquant
-
- Traders
-
- 932 posts
One Carb Or Two?
- Location: Monmouth
- Local Club: minidesigner.co.uk
Posted 19 April 2012 - 05:45 PM
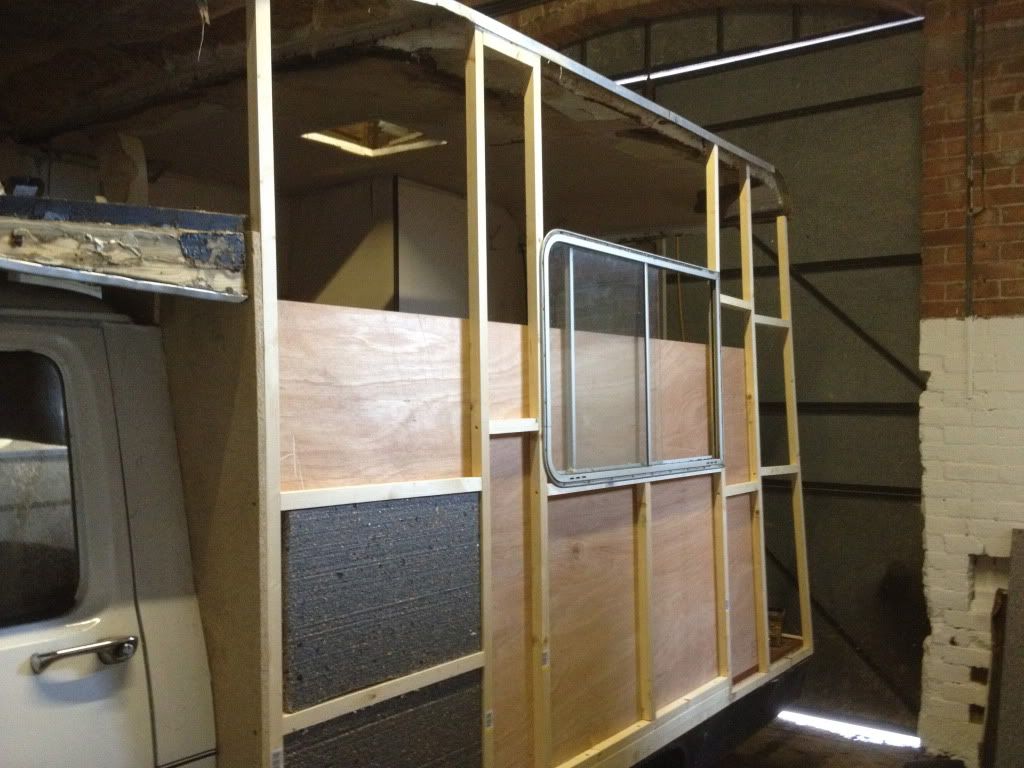
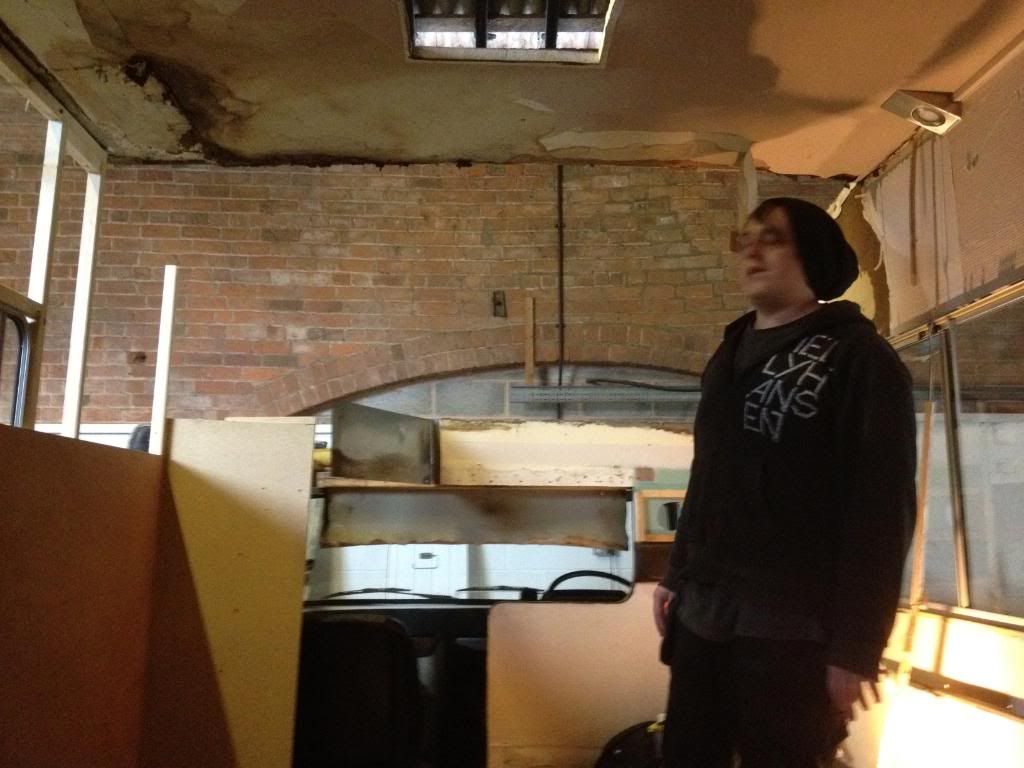
View from the inside
Getting this curve installed again wont be easy, but this gives us an idea for height (its all irellevant anyway as the roof is coming off)
Side wall starting to take shape now
Getting this curve installed again wont be easy, but this gives us an idea for height (its all irellevant anyway as the roof is coming off)
Side wall starting to take shape now
#50
maryquant
-
- Traders
-
- 932 posts
One Carb Or Two?
- Location: Monmouth
- Local Club: minidesigner.co.uk
Posted 19 April 2012 - 05:51 PM
Back wall is being reconstructed to help support the side wall, including internal lining

I removed the beds today, which revealed something I *was* looking for...
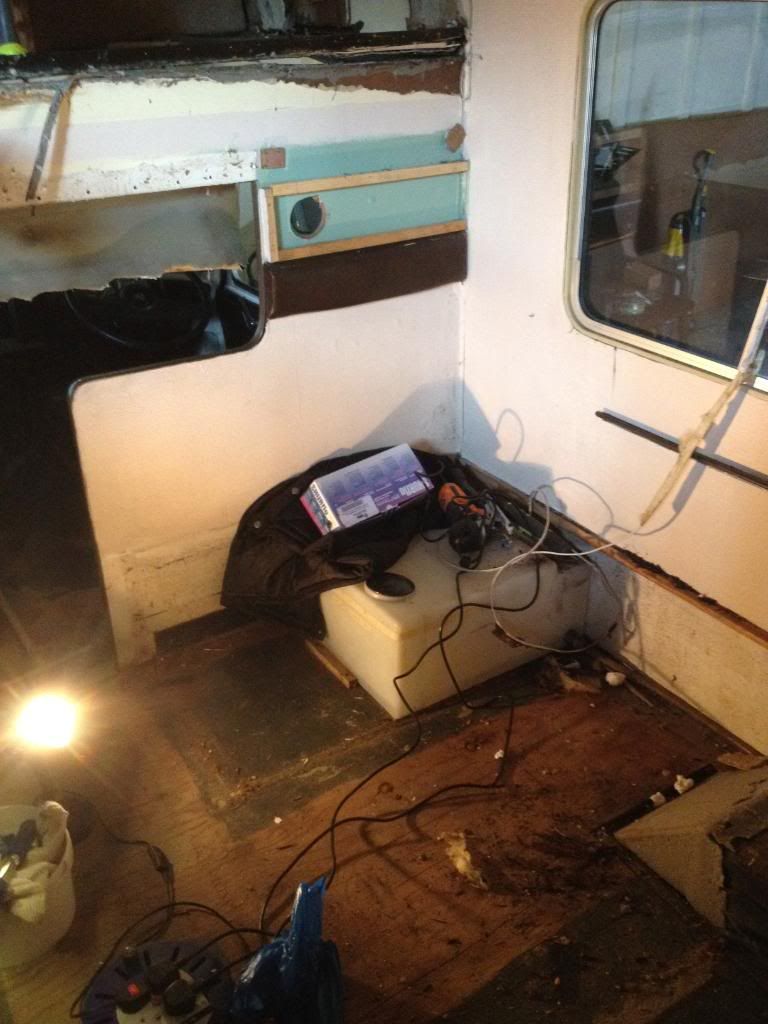
The drinking water tank!
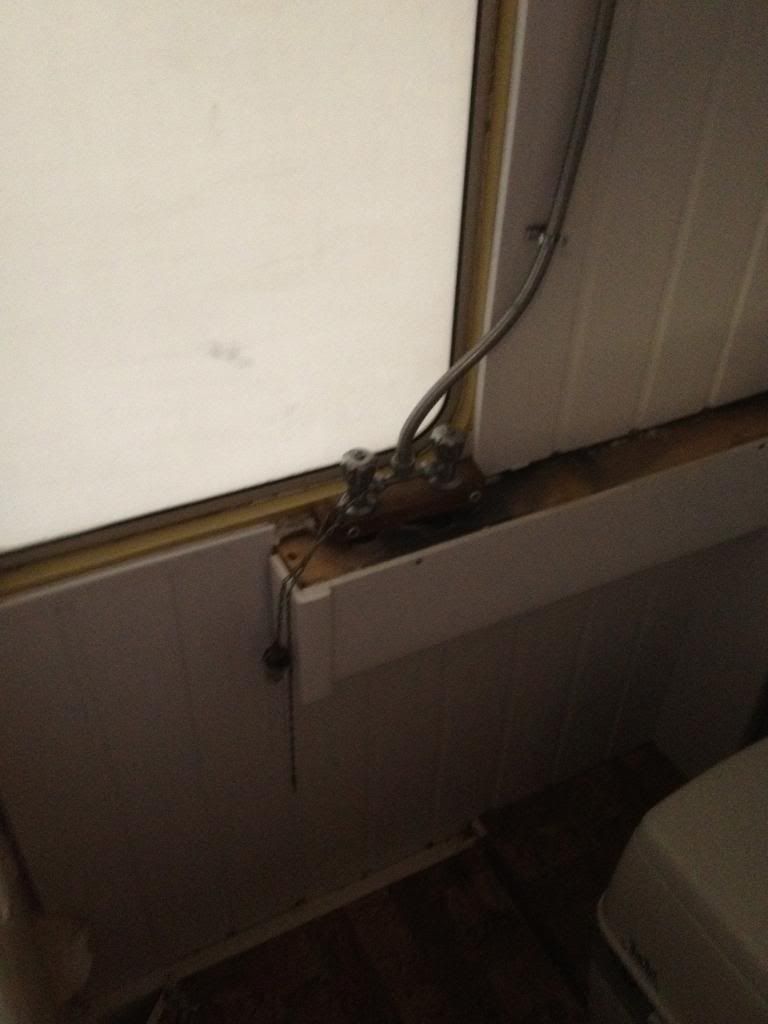
And the water pump... With everything on this side it seems to make sense that this will be the side that has the kitchen.
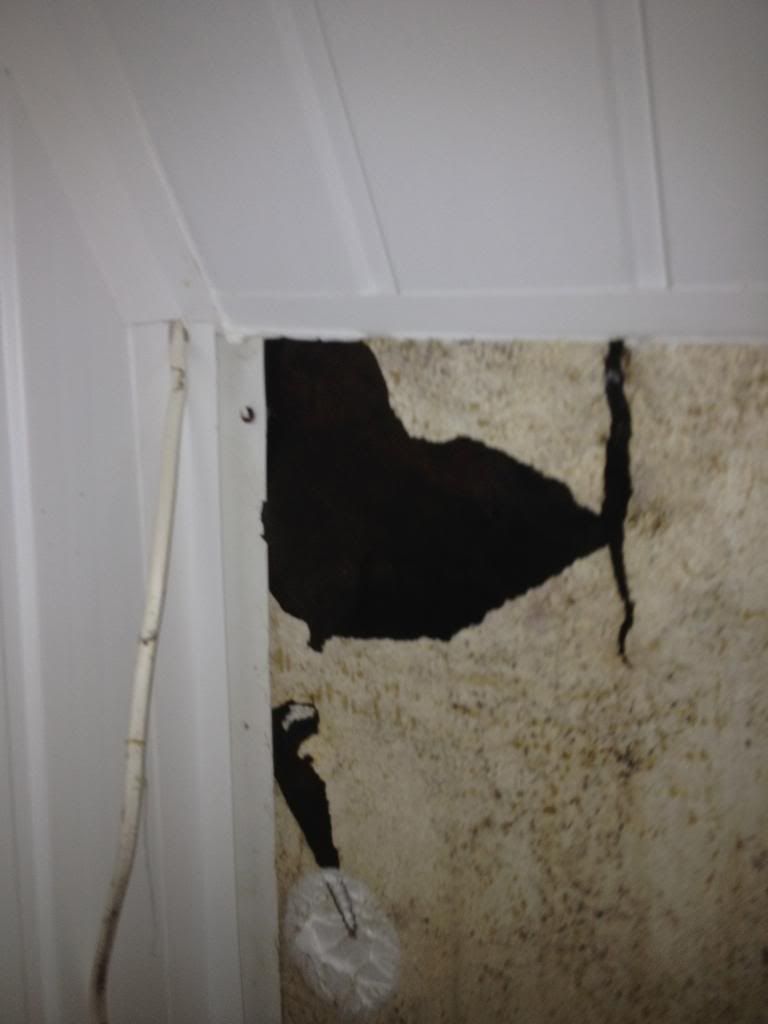
Shower was home made and not very well done, so we started pulling it apart
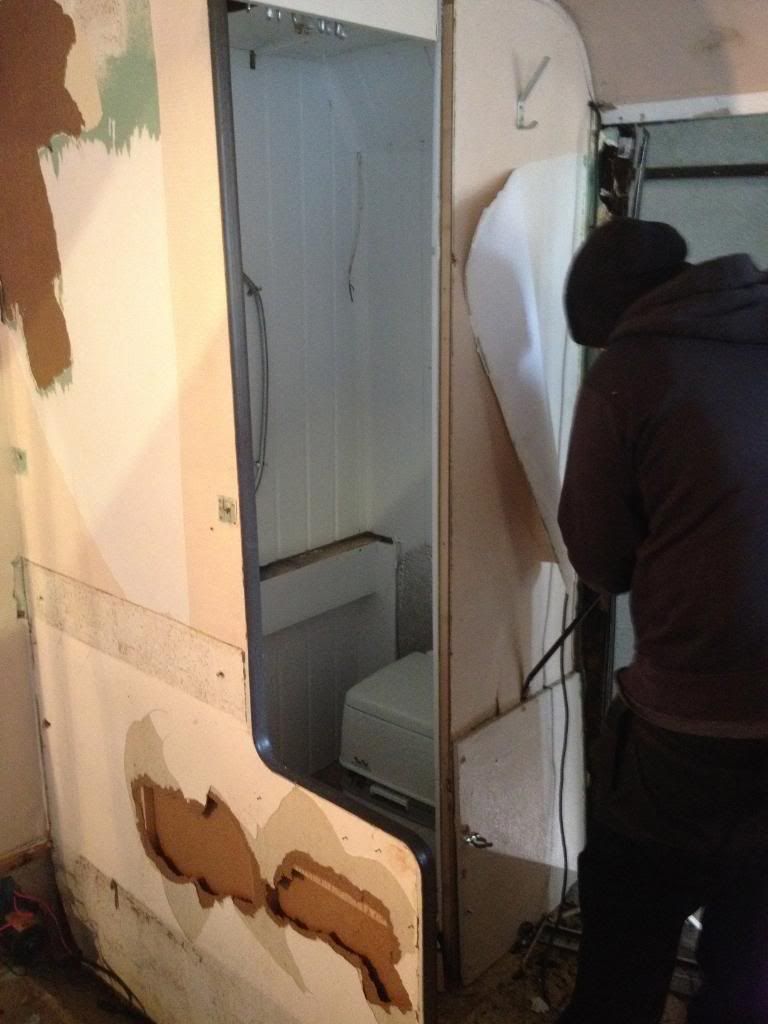
Ironically the cladding is the same stuff we will be using on the outside of the van, although it wasnt very well sealed in this room
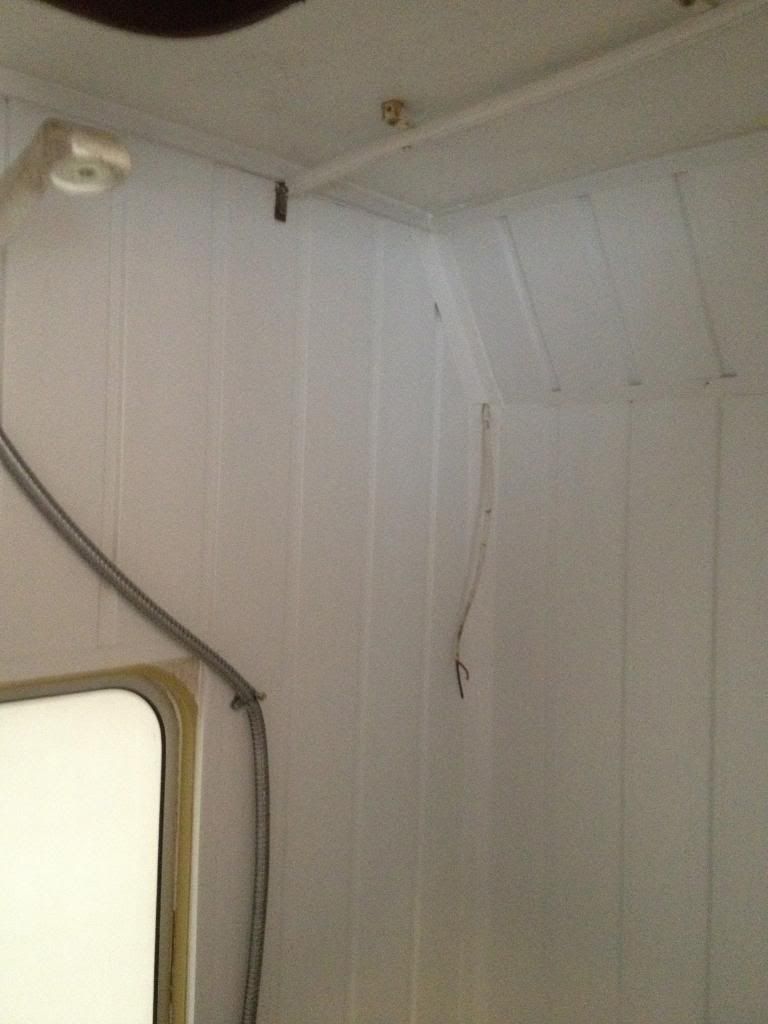
In fact it just peeled off the wall, revealing trapped moisture

Not the best bit of bodgery
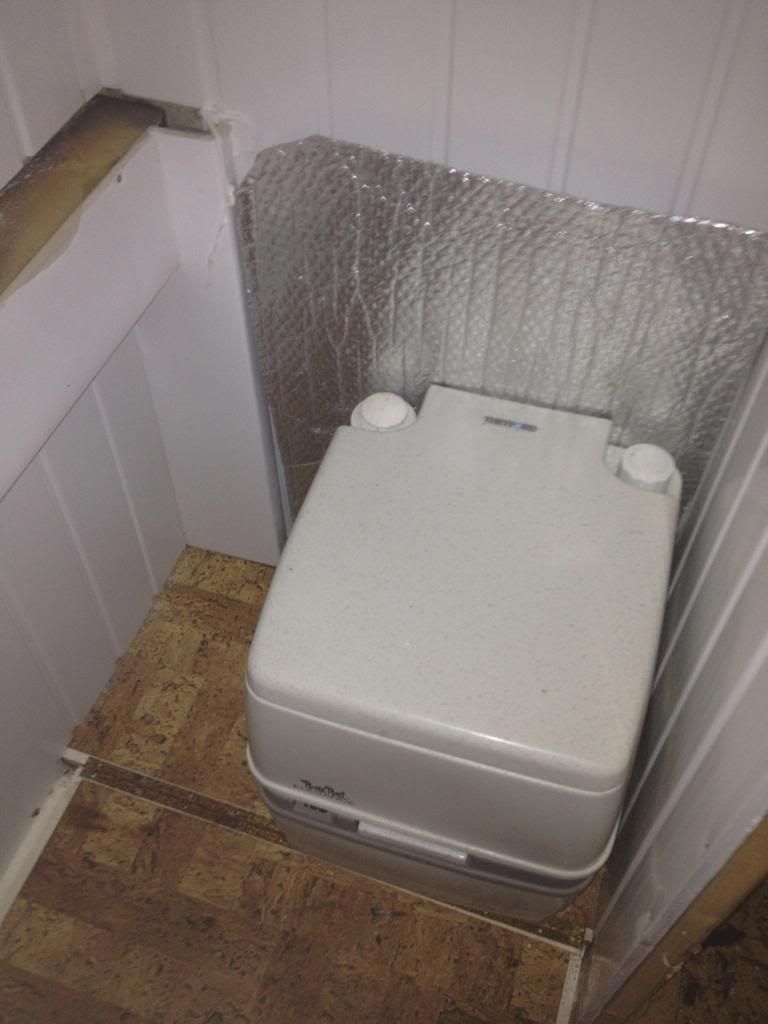
I hate these, we wont be having a bathroom in this van (maybe in the other camper though)
Oooh how loverly
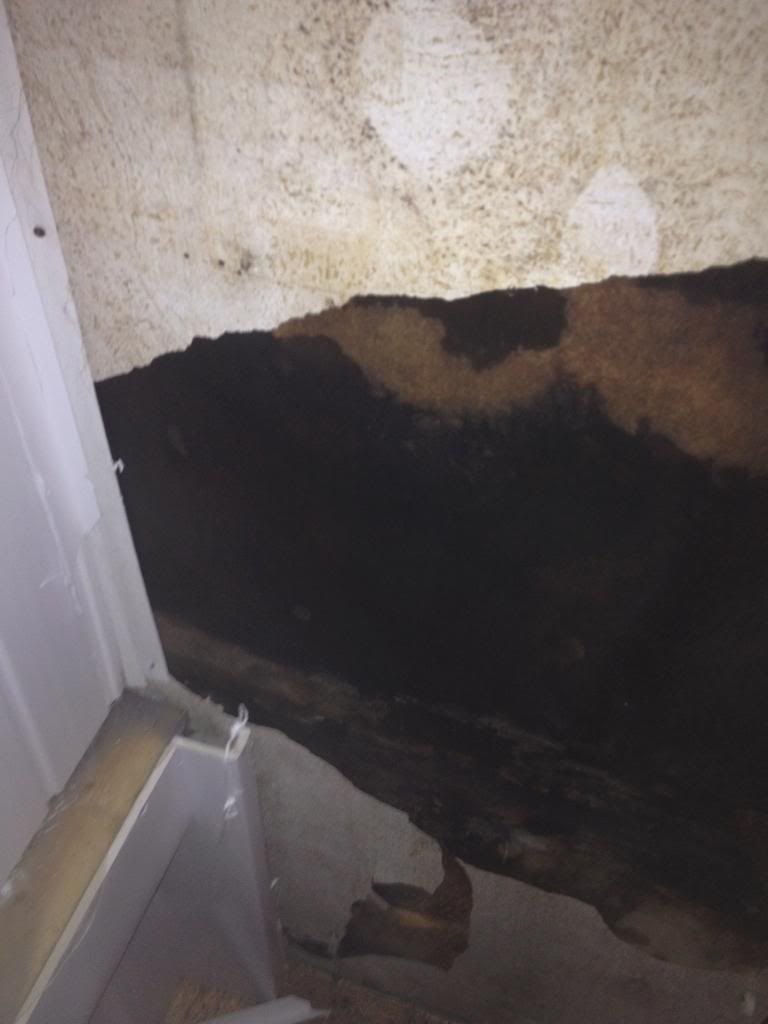
Cant see it very well, but the mould was leaving lovely patterns
Slipped with the sledgehammer again
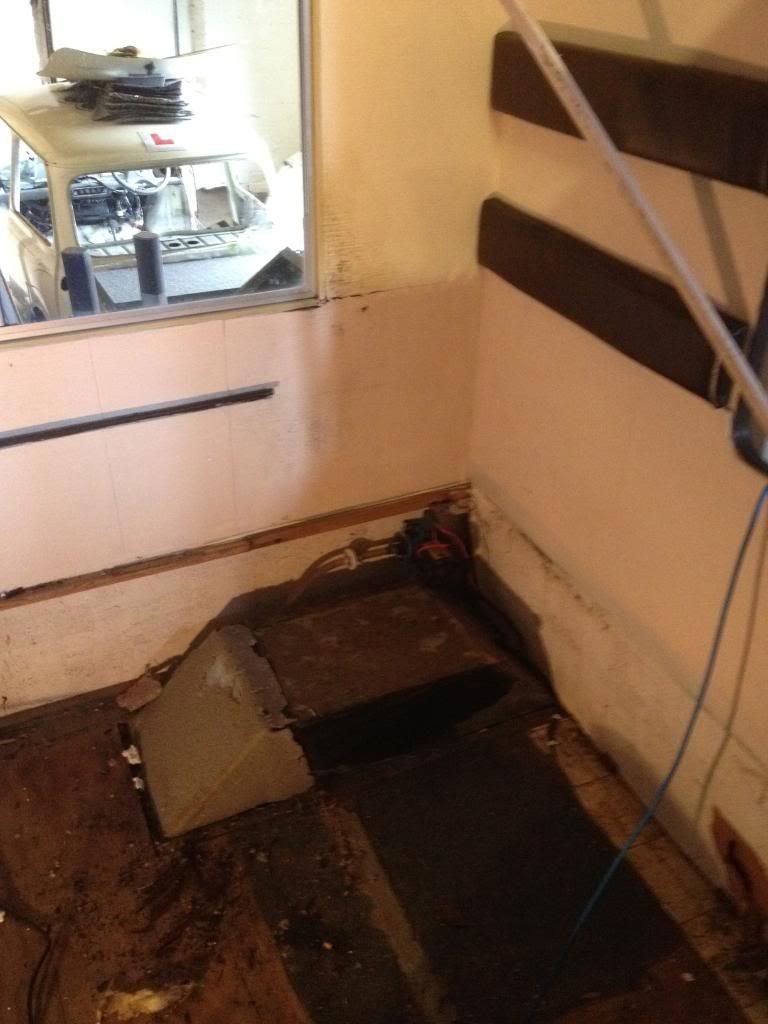
Shower tray out, mouse nest removed.
Shows a bit of context in this pic, nice big area for kitchen now
More to follow.
I removed the beds today, which revealed something I *was* looking for...
The drinking water tank!
And the water pump... With everything on this side it seems to make sense that this will be the side that has the kitchen.
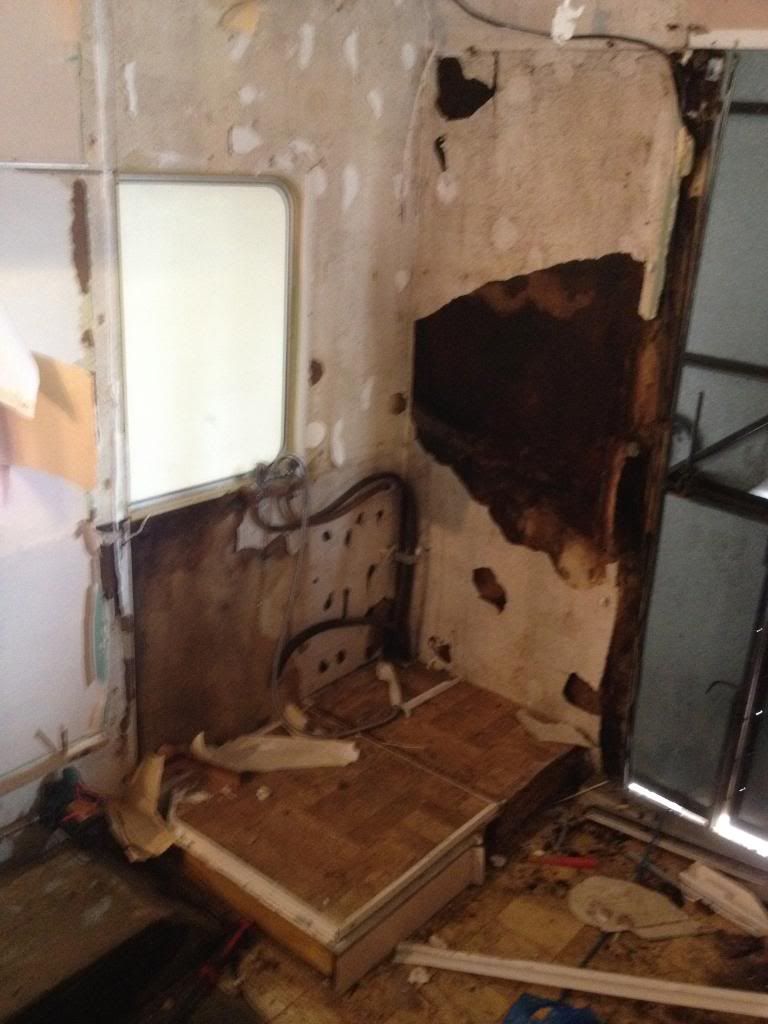
Shower was home made and not very well done, so we started pulling it apart
Ironically the cladding is the same stuff we will be using on the outside of the van, although it wasnt very well sealed in this room
In fact it just peeled off the wall, revealing trapped moisture
Not the best bit of bodgery
I hate these, we wont be having a bathroom in this van (maybe in the other camper though)
Oooh how loverly
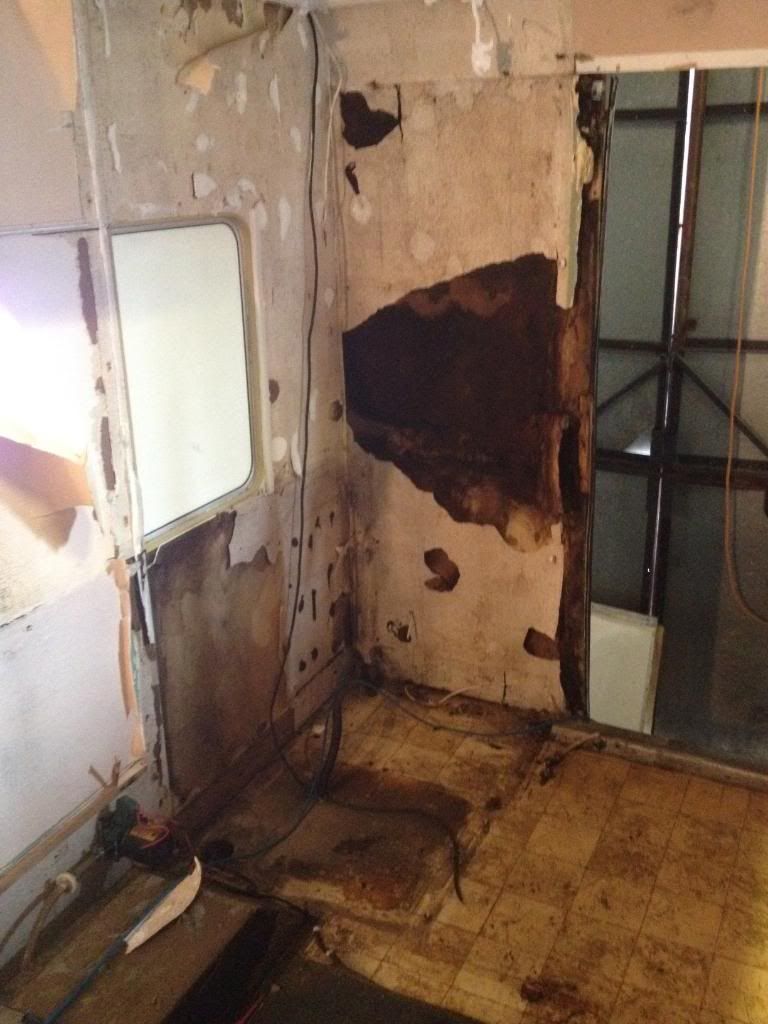
Cant see it very well, but the mould was leaving lovely patterns
Slipped with the sledgehammer again
Shower tray out, mouse nest removed.
Shows a bit of context in this pic, nice big area for kitchen now
More to follow.
#51
Bungle
-

- Members
-
- 28,971 posts
Original Spamster
- Location: Cornwall
- Local Club: cornish mini club
Posted 19 April 2012 - 05:51 PM
on my camper resto i only have to contend with tin worm not wet rot as well
#52
maryquant
-
- Traders
-
- 932 posts
One Carb Or Two?
- Location: Monmouth
- Local Club: minidesigner.co.uk
Posted 19 April 2012 - 05:57 PM
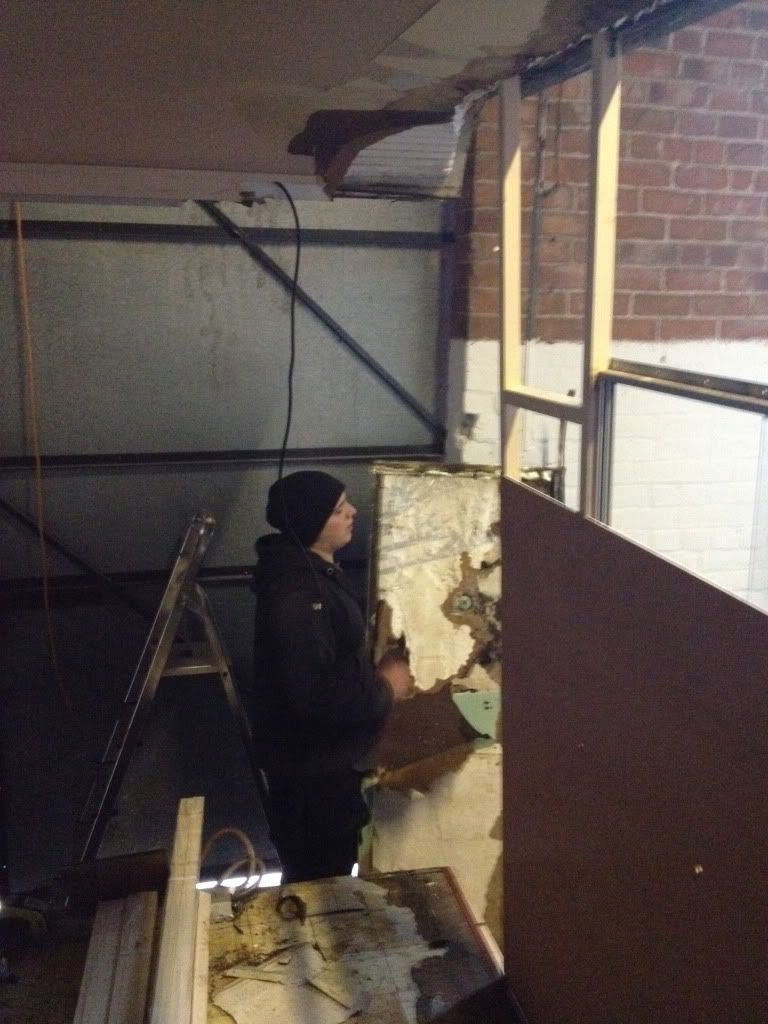
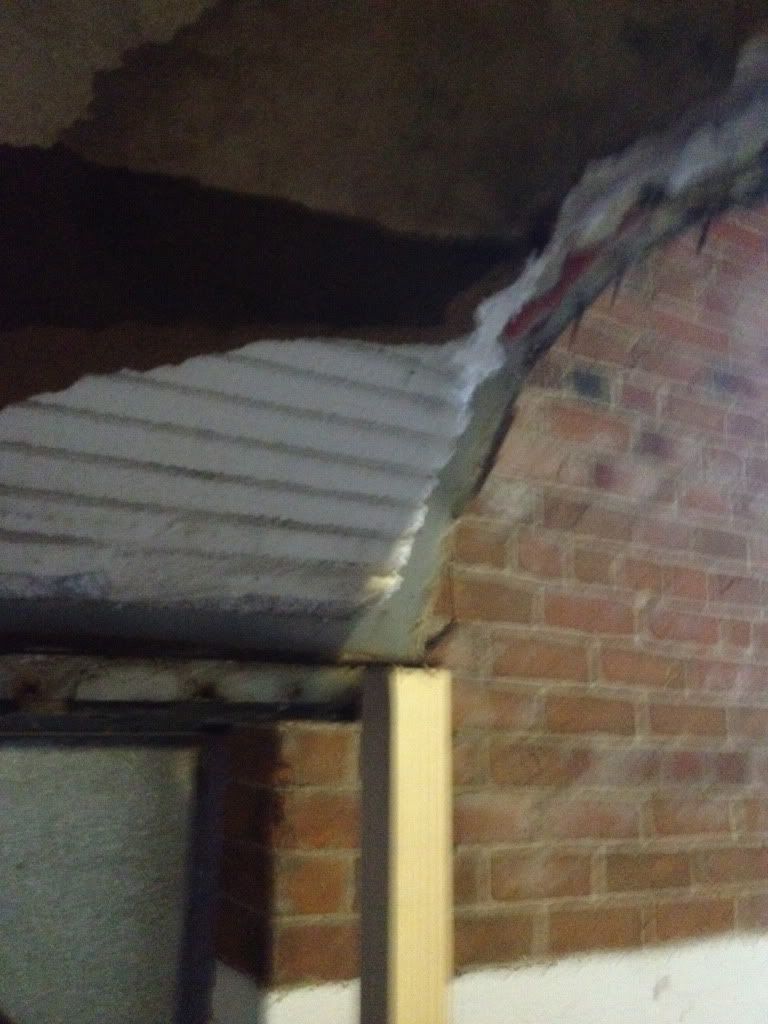
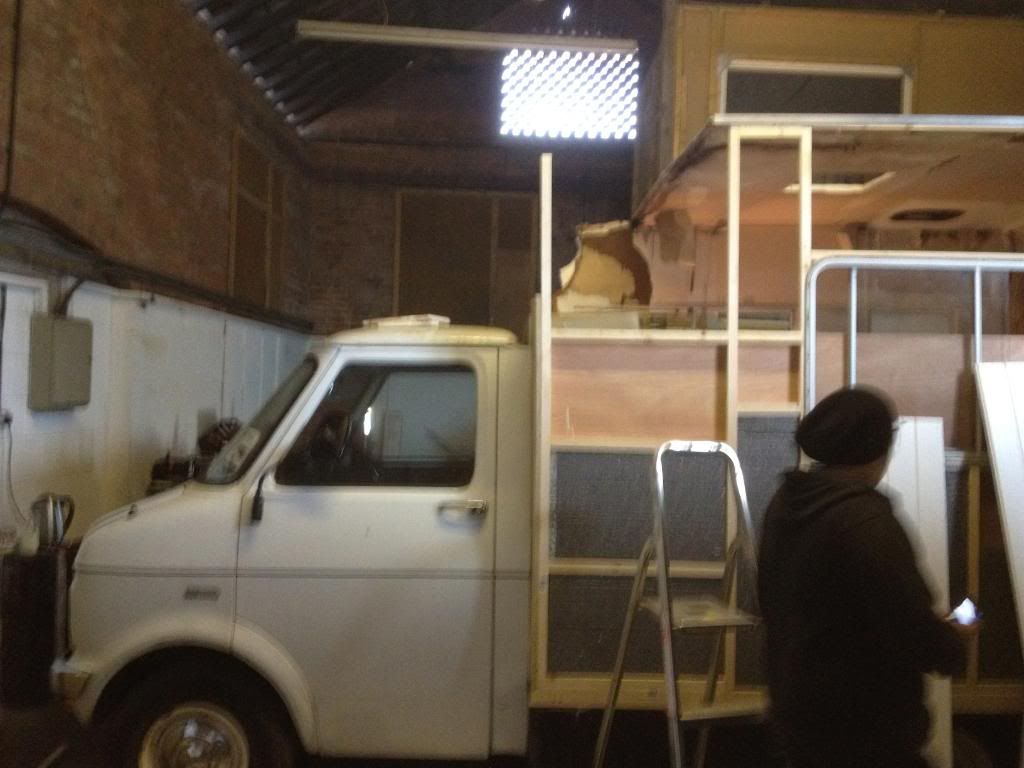
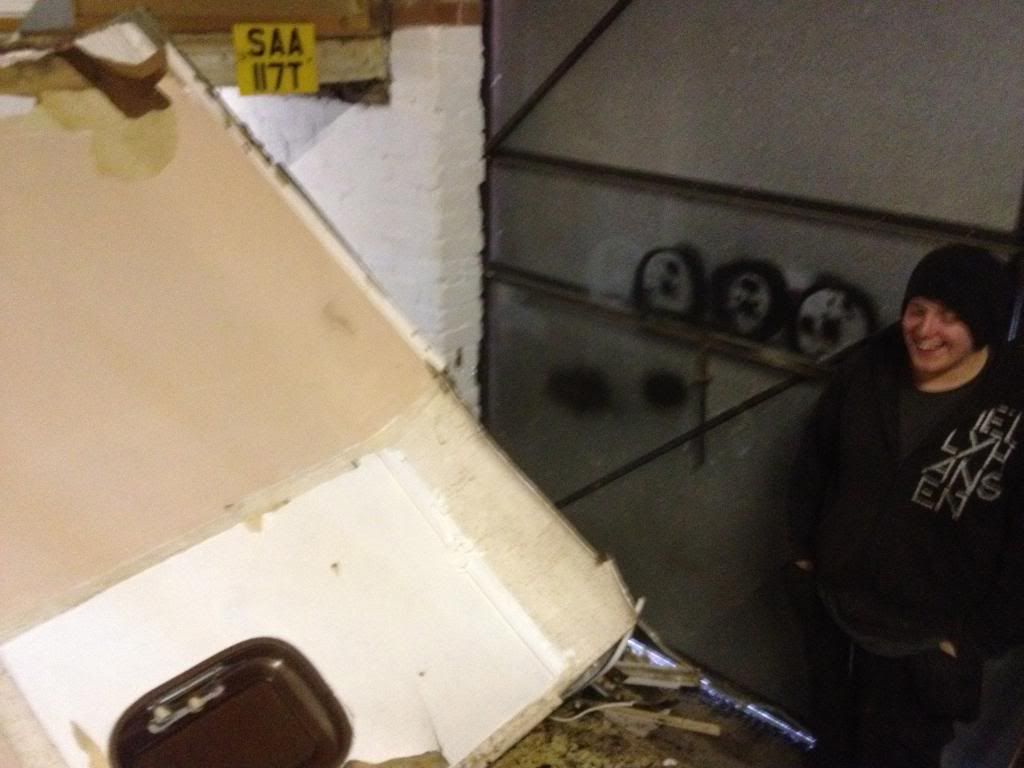
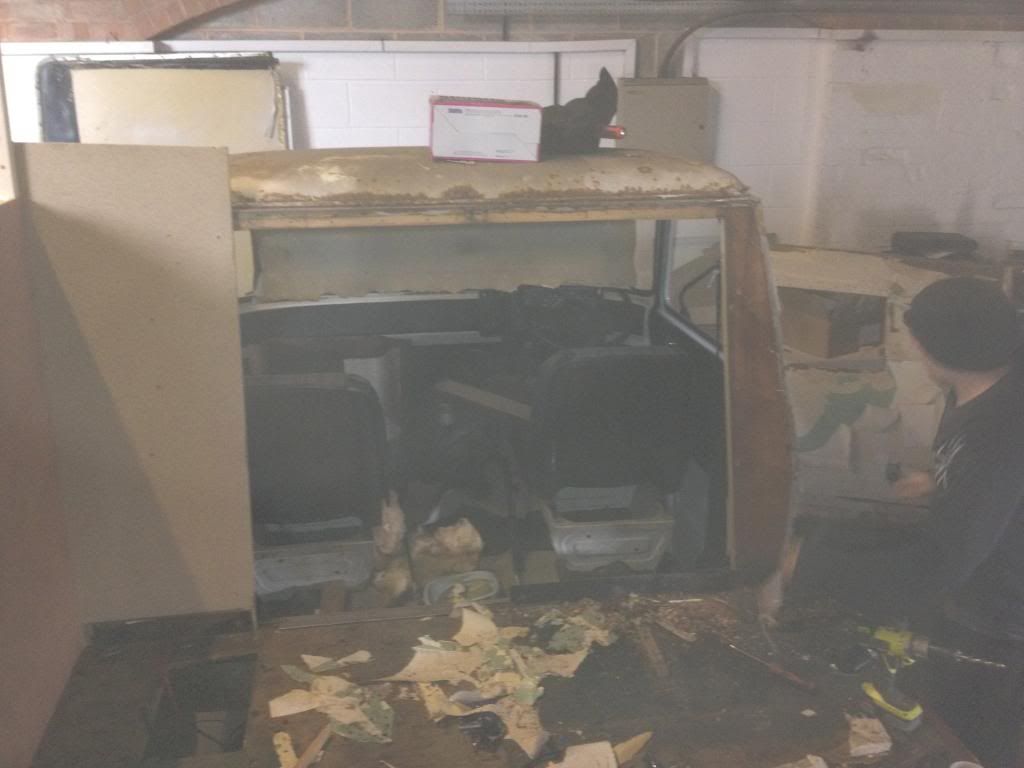
I am really not happy with the cantilever design here, as soon as the aluminium sheet came off this over-cab section lost all of its structural integrity. Cant expect a teenager to be up there supported by a piece of aluminium sheet.
The next bit I didnt want to do, as its fairly major, but since I am putting so much effort into making good the rest of the van, it only seems reasonable....
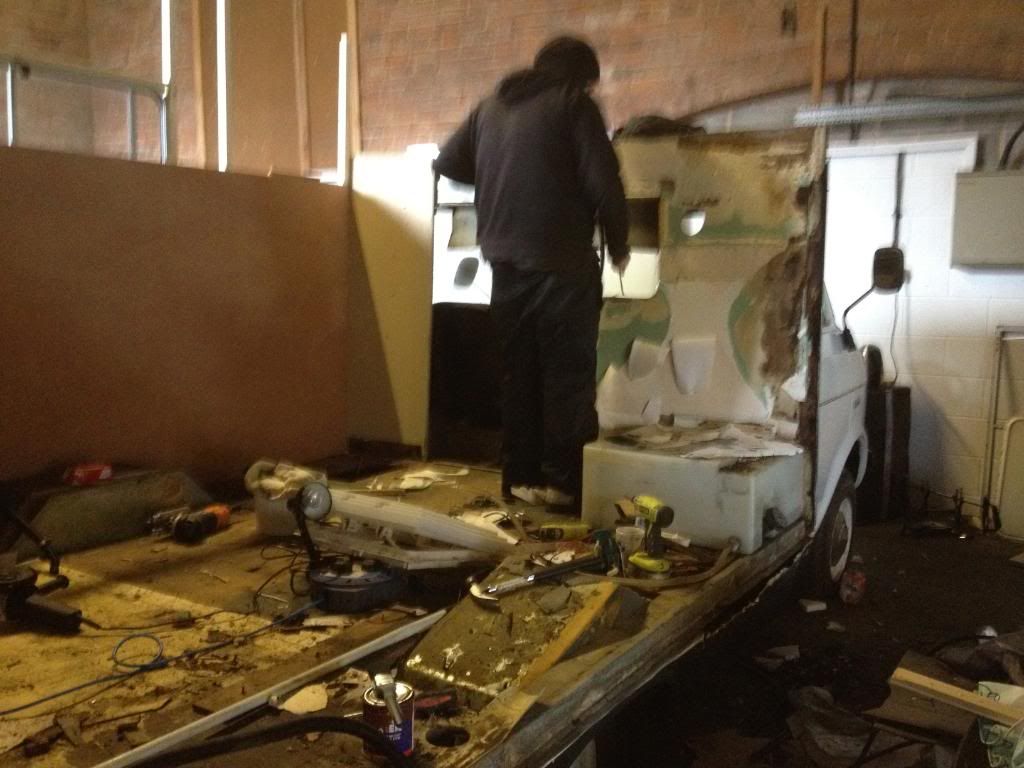
Starting to peel away the aluminium skin from the O/S
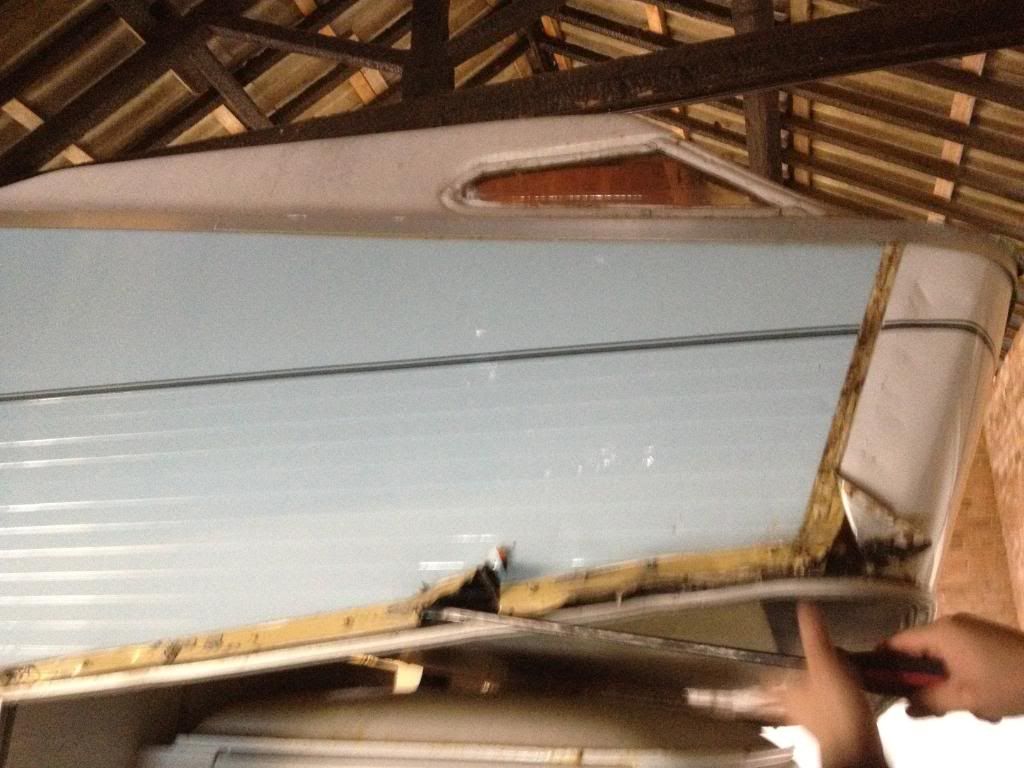
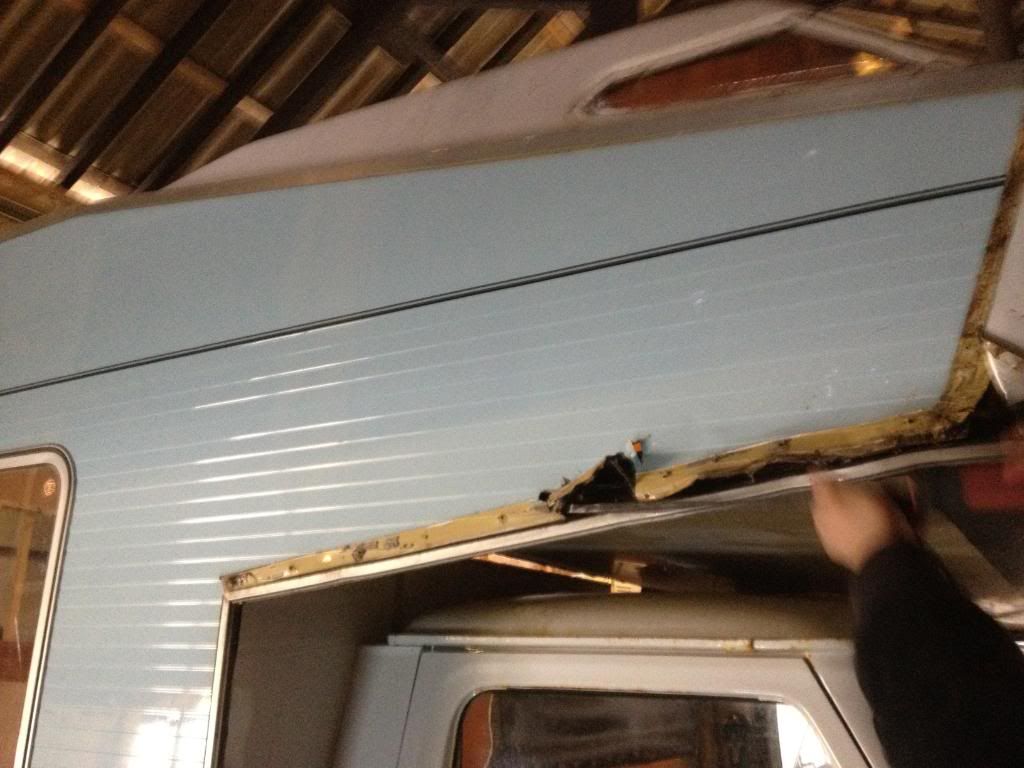
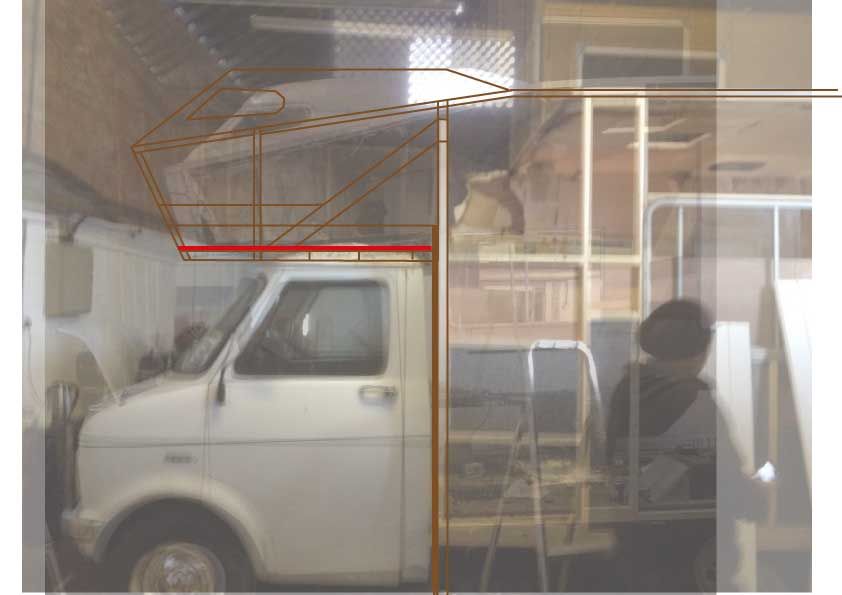
This took a long time to do

You can sort of see the problem in this picture
OMG - that was heavy.....
Trying to look innocent
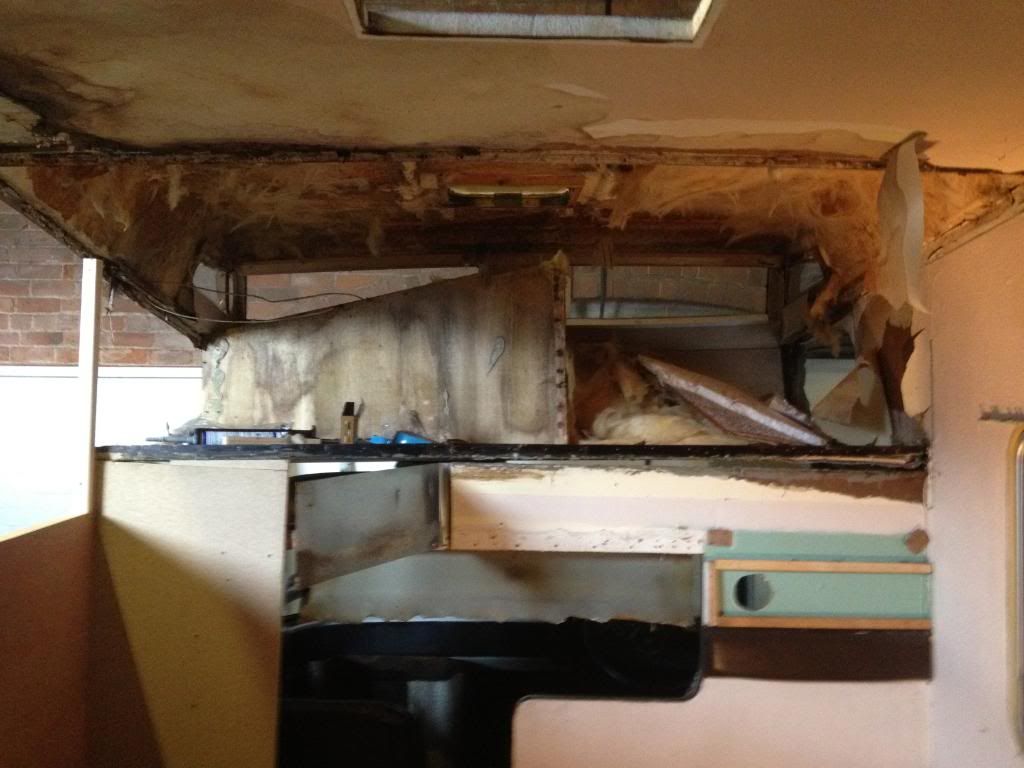
Guess this framework will need rebuilding then

This is how she stands now, back out tomorrow I guess
Comments,ideas,suggestions,hellos appreciated.
The next bit I didnt want to do, as its fairly major, but since I am putting so much effort into making good the rest of the van, it only seems reasonable....
Starting to peel away the aluminium skin from the O/S
This took a long time to do
You can sort of see the problem in this picture
OMG - that was heavy.....
Trying to look innocent
Guess this framework will need rebuilding then
This is how she stands now, back out tomorrow I guess
Comments,ideas,suggestions,hellos appreciated.
#53
maryquant
-
- Traders
-
- 932 posts
One Carb Or Two?
- Location: Monmouth
- Local Club: minidesigner.co.uk
Posted 19 April 2012 - 05:58 PM
on my camper resto i only have to contend with tin worm not wet rot as well
Ill leave the tin worm to the experts I think lol, I cant weld to save my life! The chassis and framework seem solid, as does the van - its just whats been bolted to it thats nackered.
#54
maryquant
-
- Traders
-
- 932 posts
One Carb Or Two?
- Location: Monmouth
- Local Club: minidesigner.co.uk
Posted 19 April 2012 - 07:21 PM
Just leaving this here for reference later
#55
maryquant
-
- Traders
-
- 932 posts
One Carb Or Two?
- Location: Monmouth
- Local Club: minidesigner.co.uk
Posted 20 April 2012 - 04:19 PM
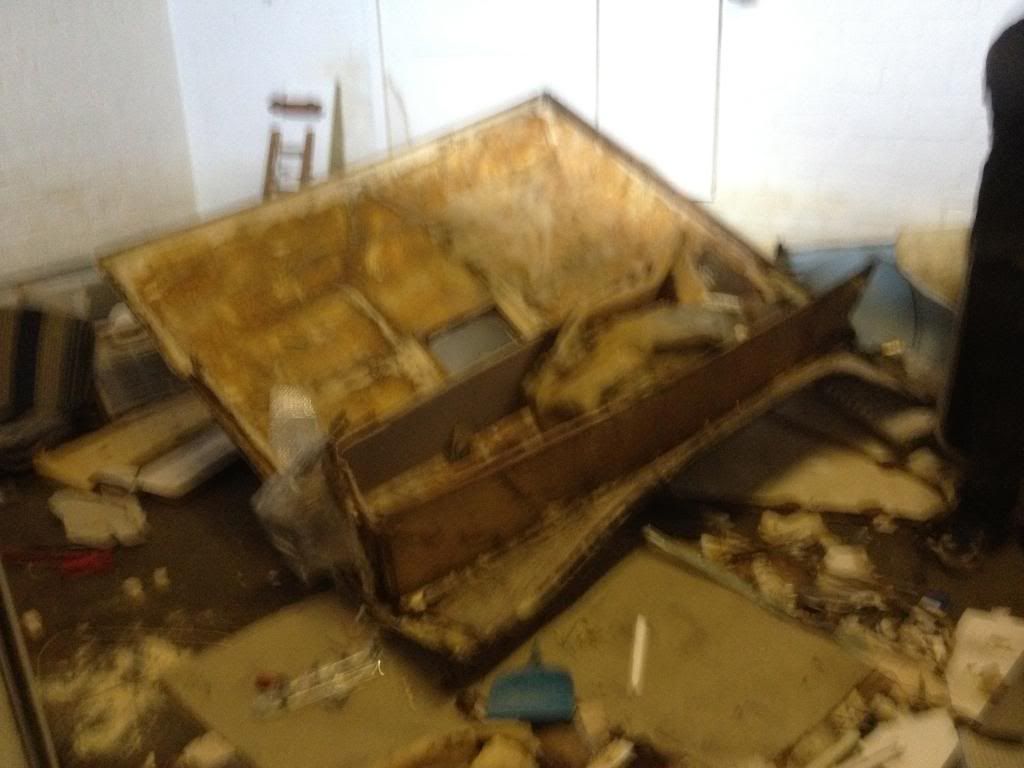
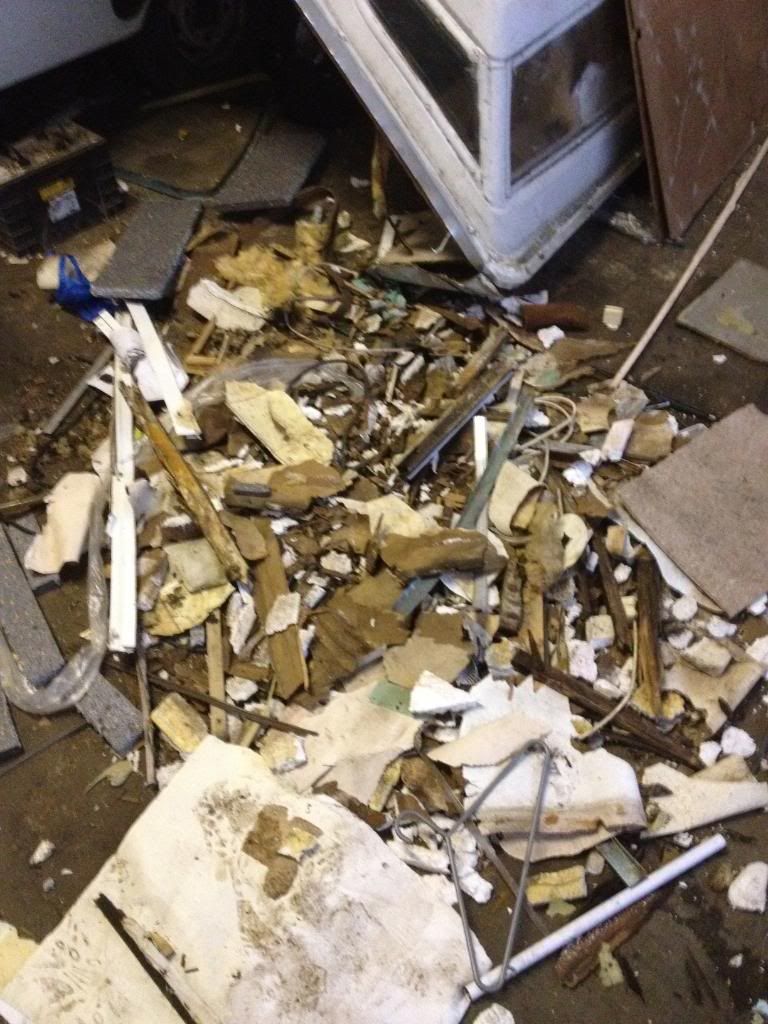
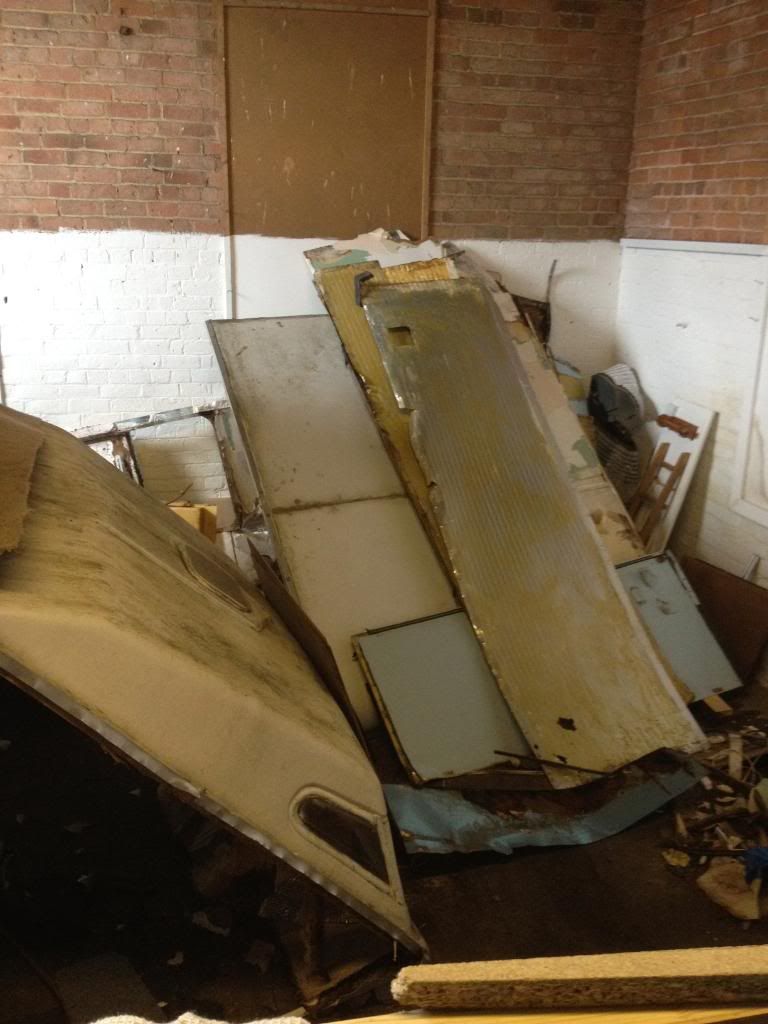
Started off today by tidying up a bit and putting what used to be a motorhome into a pile
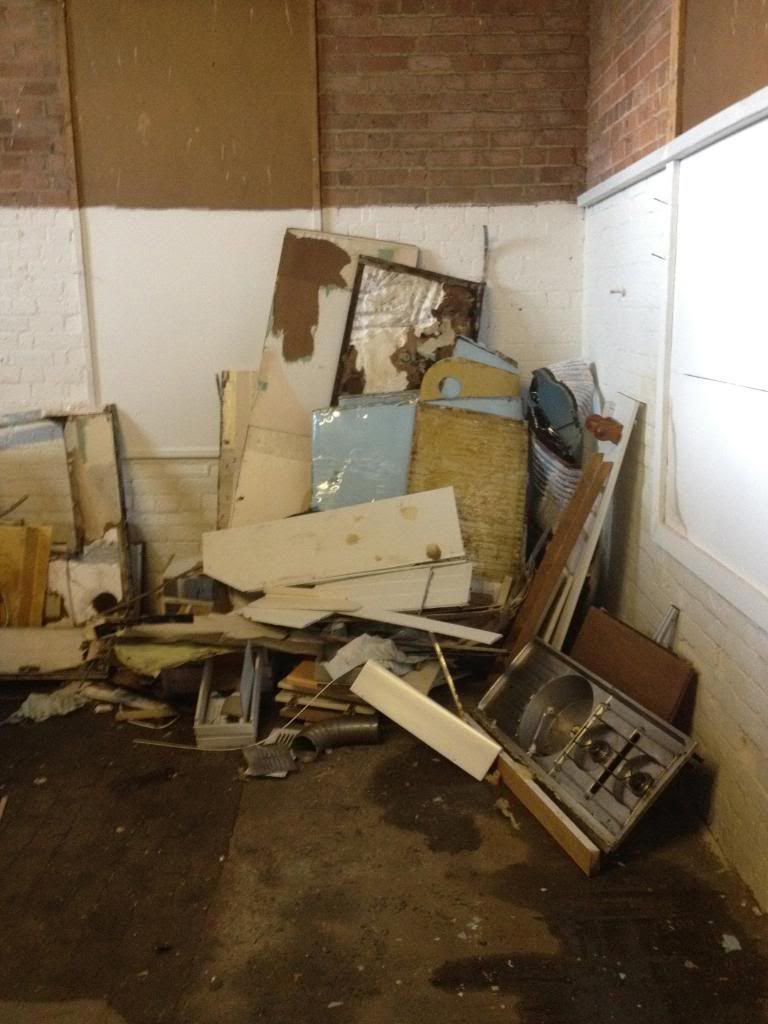
Bet you are all glad this lot isnt travelling down the motorway now
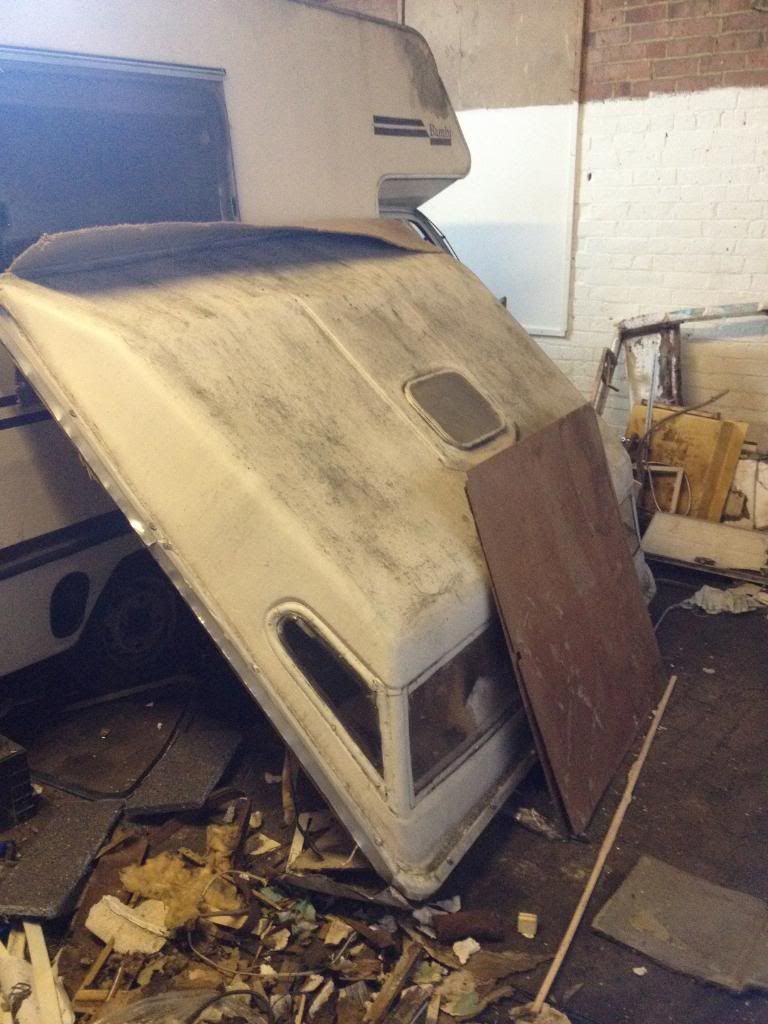
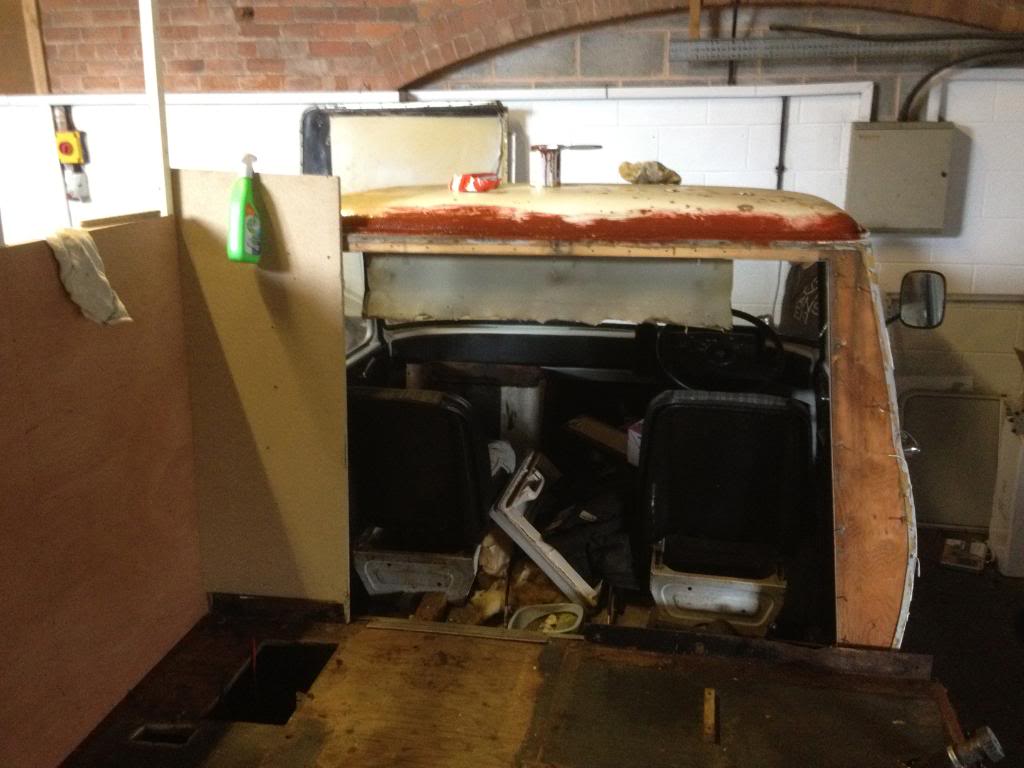
The roof pod, ready to be restored and re-commissioned (possibly)
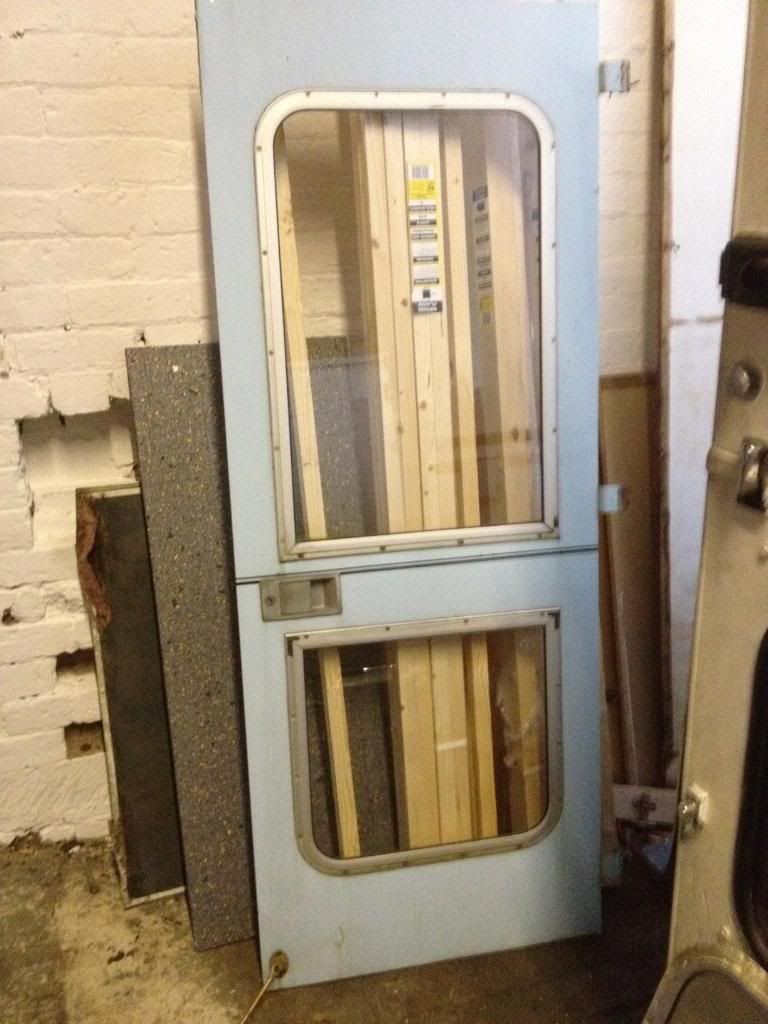
Door off - replacing this with a thinner door thats a bit more modern
With a little push the remaining wall fell off - it took the ceiling with it which I was underneath at the time.
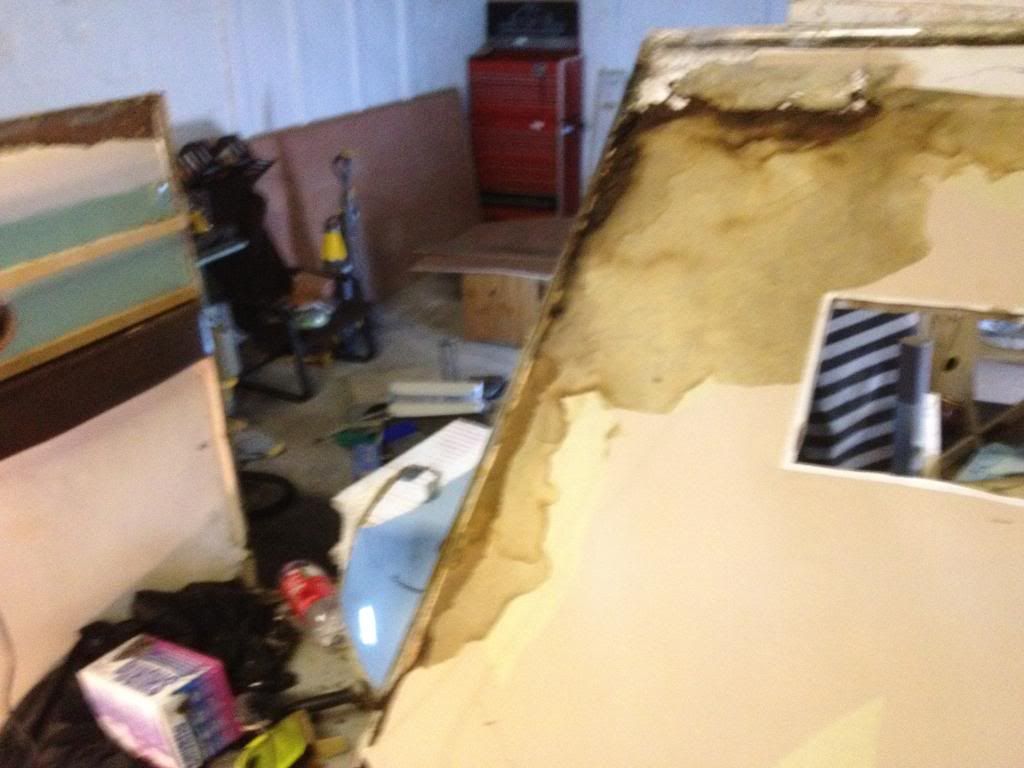
Tim found that hilarious
With the wall gone we can now reinforce the rail along this side a bit.
Drainage for the sink, need to take the Tee off this to just leave a single drain point.
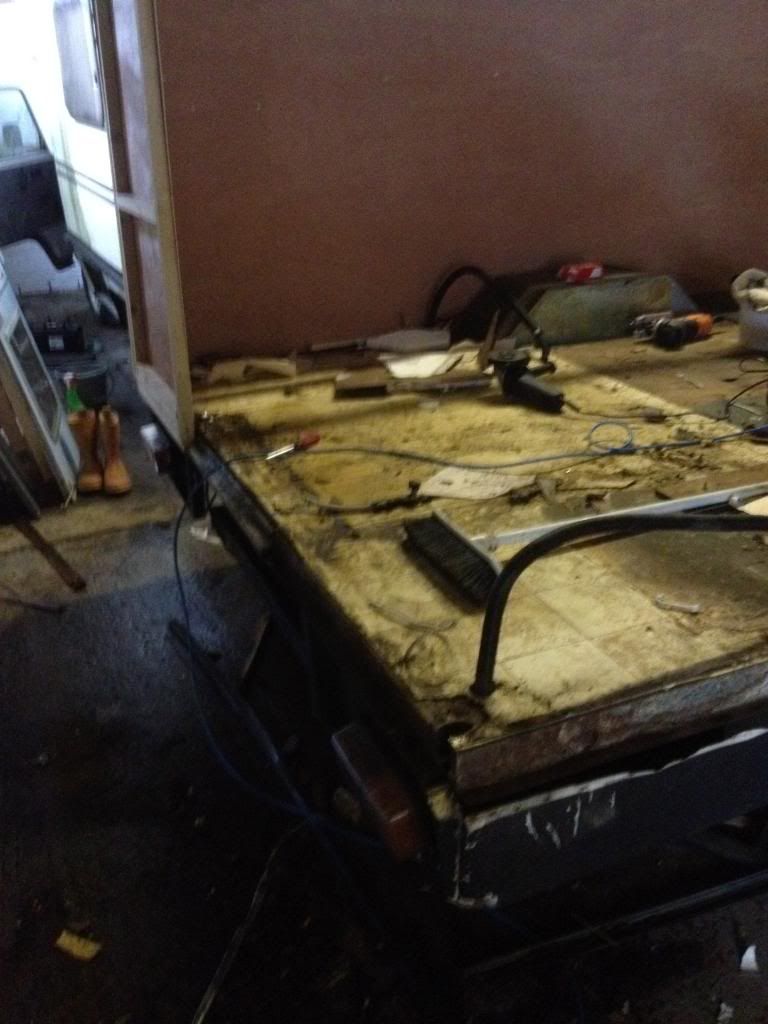
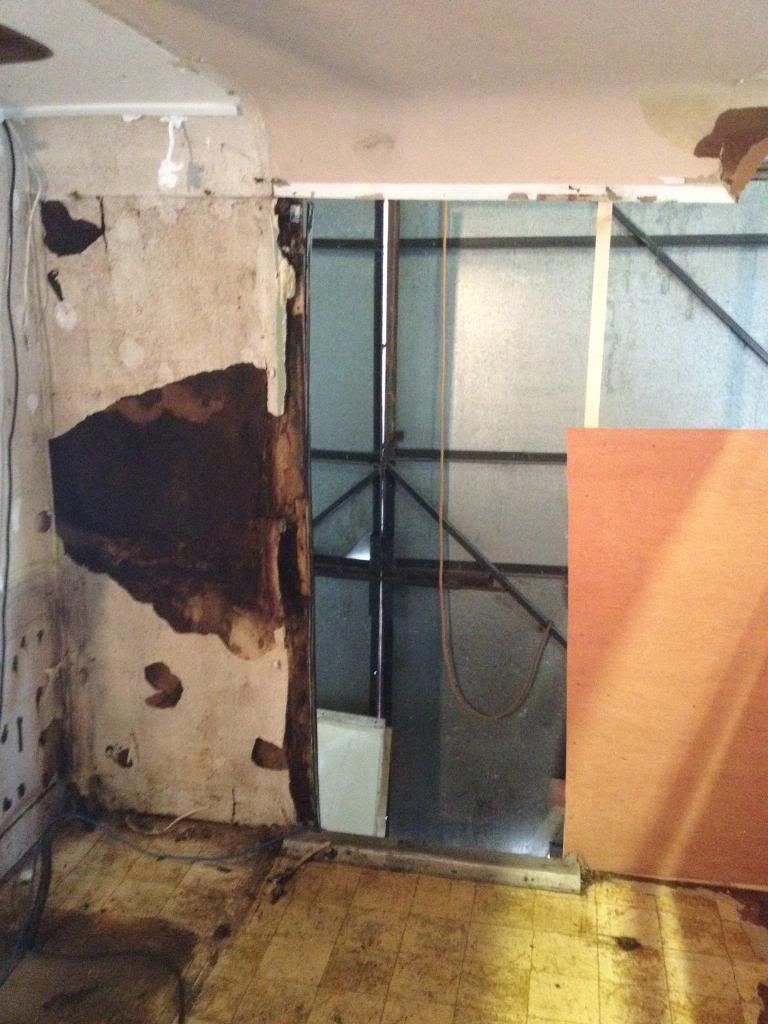
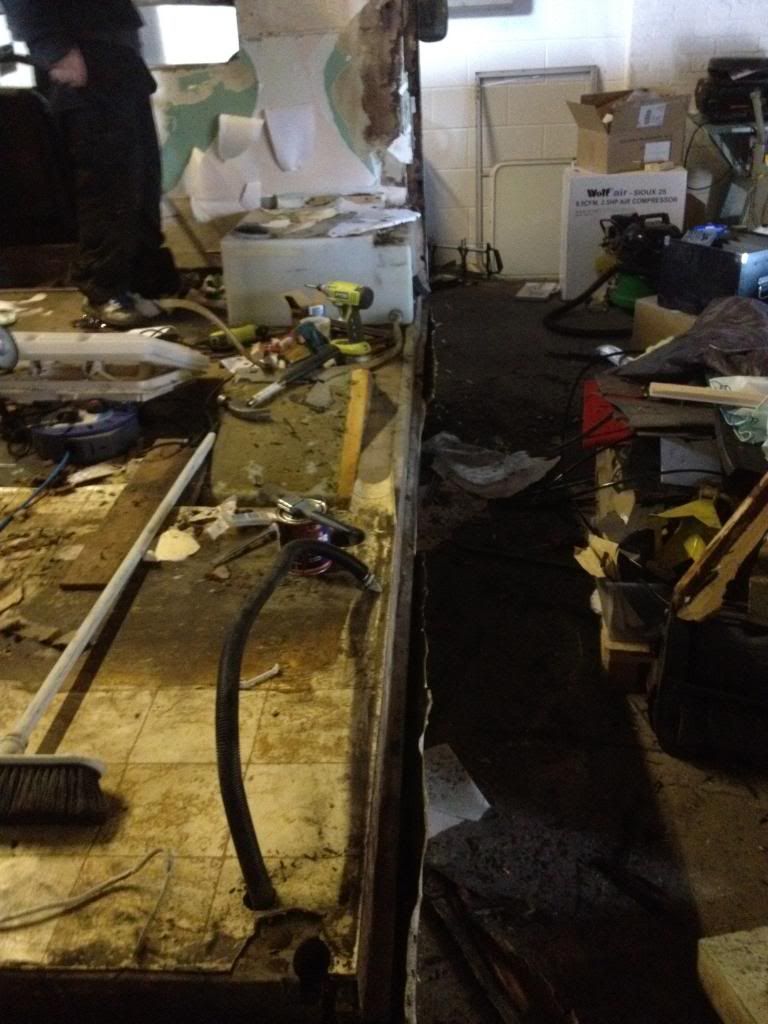
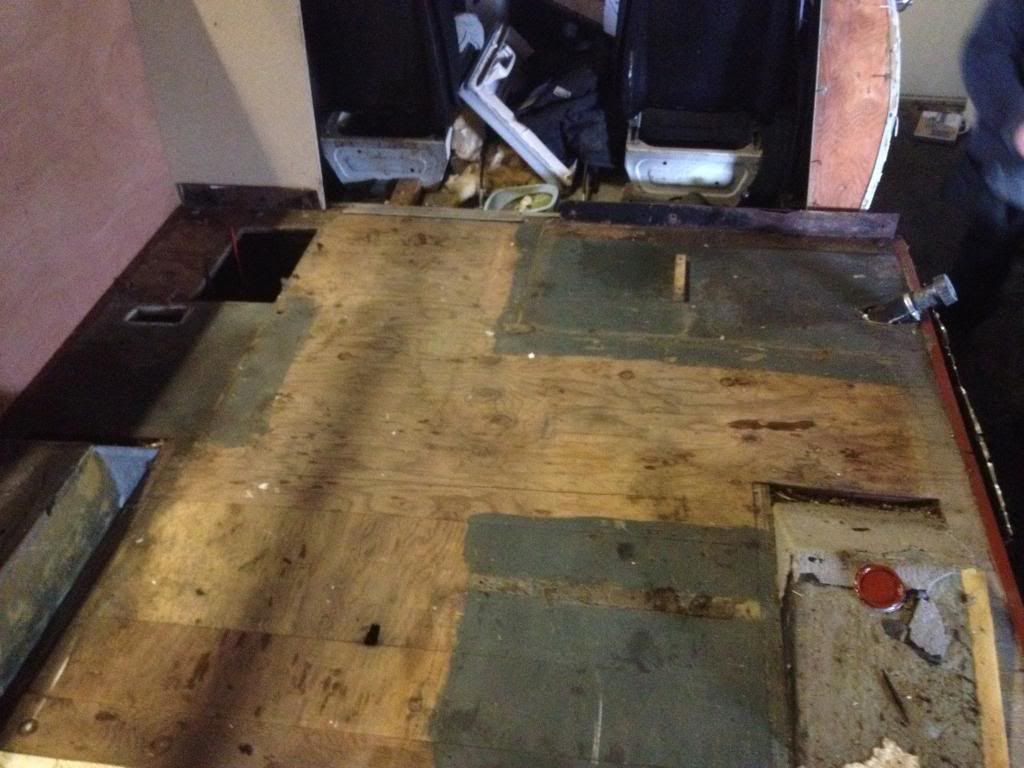
With everything out of the way we could now start to remove the remaining section of the bulkhead piece, this will be replaced as a single sheet of 18mm ply - probably the heaviest component to go back in the van. The chipboard on the left will be removed to do this. By replacing it with a single sheet I am hoping to improve the strength of this section and have something solid to attach the overcab bed to.
Awful pictures I am afraid, but this shows the cab with the bulkhead removed.
Quick tidy up and red-oxide to the bit I wont be able to get to after new bulkhead is in
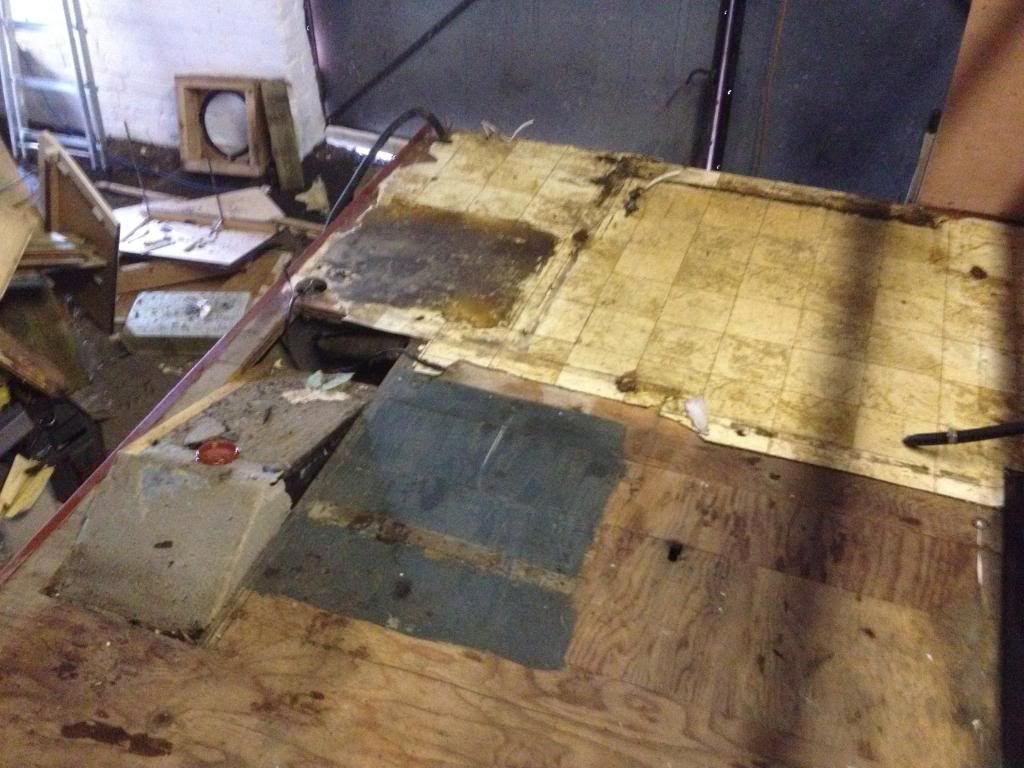
Floor swept and you can see the amount of space I have to rebuild in. You may also spot a hole in the floor which will need repairing
One complete camper.... in a pile
Thats all for now, hoping to get the bulkhead in on Sunday if I get a chance.
Comments welcome.
Bet you are all glad this lot isnt travelling down the motorway now
The roof pod, ready to be restored and re-commissioned (possibly)
Door off - replacing this with a thinner door thats a bit more modern
With a little push the remaining wall fell off - it took the ceiling with it which I was underneath at the time.
Tim found that hilarious
With the wall gone we can now reinforce the rail along this side a bit.
Drainage for the sink, need to take the Tee off this to just leave a single drain point.
With everything out of the way we could now start to remove the remaining section of the bulkhead piece, this will be replaced as a single sheet of 18mm ply - probably the heaviest component to go back in the van. The chipboard on the left will be removed to do this. By replacing it with a single sheet I am hoping to improve the strength of this section and have something solid to attach the overcab bed to.
Awful pictures I am afraid, but this shows the cab with the bulkhead removed.
Quick tidy up and red-oxide to the bit I wont be able to get to after new bulkhead is in
Floor swept and you can see the amount of space I have to rebuild in. You may also spot a hole in the floor which will need repairing
One complete camper.... in a pile
Thats all for now, hoping to get the bulkhead in on Sunday if I get a chance.
Comments welcome.
#56
Bungle
-
- Members
-
- 28,971 posts
Original Spamster
- Location: Cornwall
- Local Club: cornish mini club
Posted 20 April 2012 - 04:39 PM
if IKEA did campers ^^^^^^
#57
maryquant
-
- Traders
-
- 932 posts
One Carb Or Two?
- Location: Monmouth
- Local Club: minidesigner.co.uk
Posted 20 April 2012 - 05:36 PM
Lol - I think there might be some IKEA furniture going in, lets see what is easier, rebuilding the camper, or assembling the wardrobe....
Hows the veedub going?
Hows the veedub going?
#58
Bungle
-
- Members
-
- 28,971 posts
Original Spamster
- Location: Cornwall
- Local Club: cornish mini club
Posted 20 April 2012 - 08:01 PM
MOT almost passed
just some bolts fallen out of the steering wheel boss to replace and remember to turn the engine on when testing the horn
just some bolts fallen out of the steering wheel boss to replace and remember to turn the engine on when testing the horn
#59
maryquant
-
- Traders
-
- 932 posts
One Carb Or Two?
- Location: Monmouth
- Local Club: minidesigner.co.uk
Posted 20 April 2012 - 09:21 PM
Youve done quite a bit since I last read your blog, will go read now :)
#60
Aldo
-

- Noobies
-
- 1 posts
Starting My Mini Up
Posted 14 October 2012 - 11:40 AM
Hi there.
I have bought the exact same motorhome, which I am in the process of stripping and rebuilding. Your photo posts have spurred me on. Do you have further photos of your progress beyond the page I've seen?
I'm lucky that the tins in good nick so it's mostly interior stripping.
One issue I'm not sure of is the floor.
Mine slopes down in dramatic fashion in the back nearside corner. Plus the whole van leans slightly. It passed its last MOT and this issue was noted as not affecting the drive. I drove it 300 mles with no probs.
However now that I've stripped the kitchen out, the floor is dipping away around the wheel arch and breaking up.
What sort of a job is it to replace the floor?
We think the lean must be the springs, maybe the leaf springs.
I'm having a garage replace the coil springs with beefed up ones but in the meantime I'm ploughing on with the interior.
When I get a chance I'll post some photo's. Rot and damp throughout but luckily the frame is mostly ok.
My only other worry is the floor channel, which housed the sodden polystyrene wall panels and is wet and I'm struggling to know the best way to dry and seal it. Hairdryer is a bit lame and the wife's not best pleased!
Any pearls of wisdom much appreciated.
Cheers
Aldo


1 user(s) are reading this topic
0 members, 1 guests, 0 anonymous users


