Mk1/rally Style Dashboard Build
#1
Posted 02 January 2012 - 11:27 PM
I decided i wanted a different look than the normal piece of wood bolted between the upper and lower dash rails with the standard clocks behind so i ripped it all out. i am going for the rally look with lots of gauges (don't tell me they are pointless they are only for the looks) and switches.
So first of all i removed the old wooden dash, radio, clocks and switch panel. I then went about removing the dash rail covers, the bottom one came off very easily but the top proved a problem as others had said that it cannot be taken off without the window screen out. i avoided this by persuading it with a hammer and 19mm spanner wedged between it and the rail. sorry i have no pics of this as it was done before Xmas when i didn't have the new camera lol.
I took the switch panel and welded this into the big gap were it used to bolt to ( will take some pics of it fillered and primered) i welded up the holes on the top rail were the cover used to bolt to aswell but will be leaving the ash tray slot.
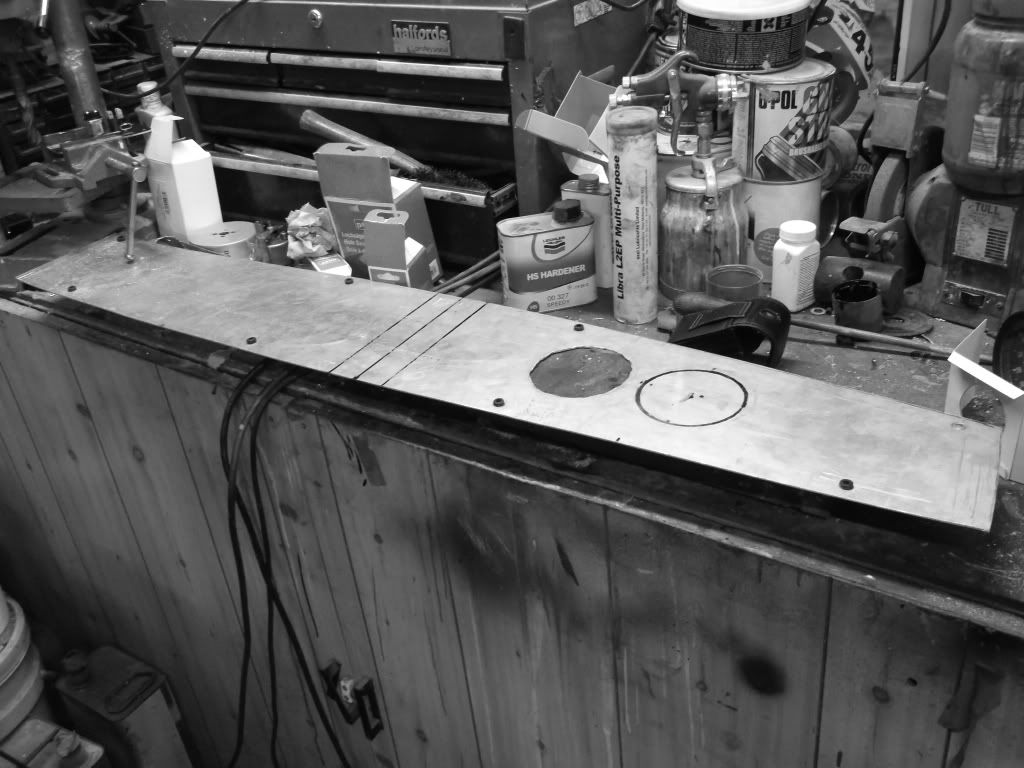
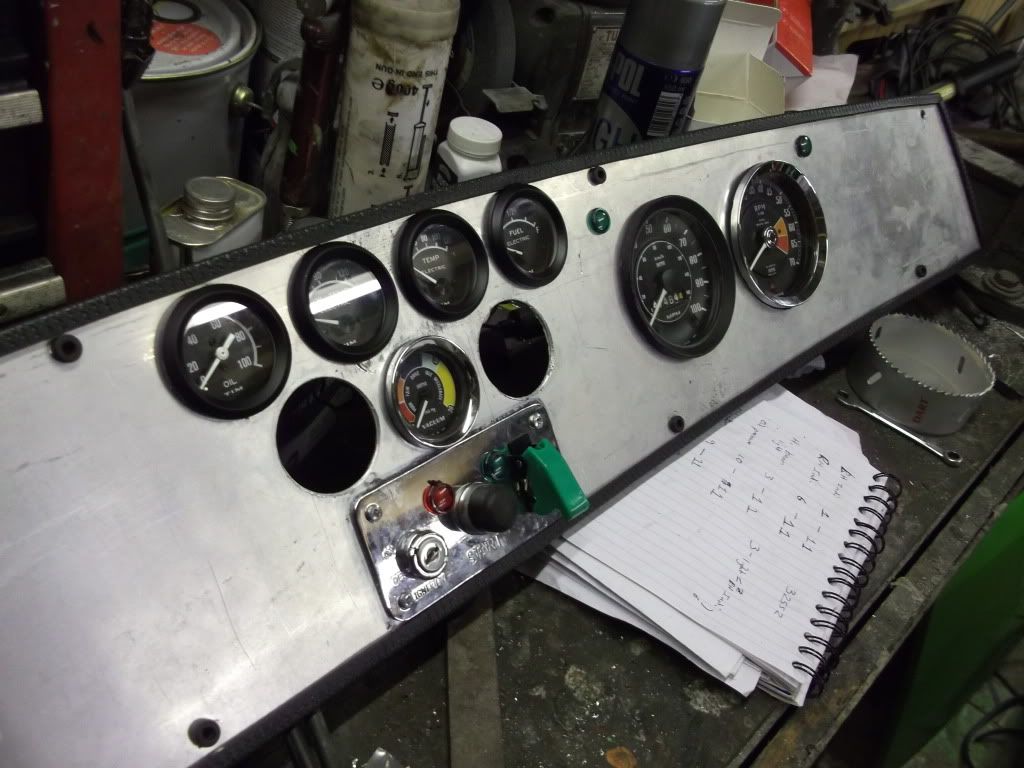
I have made the dash from a piece of aluminium sheet than i cut out by using cardboard to make a template of the gap.
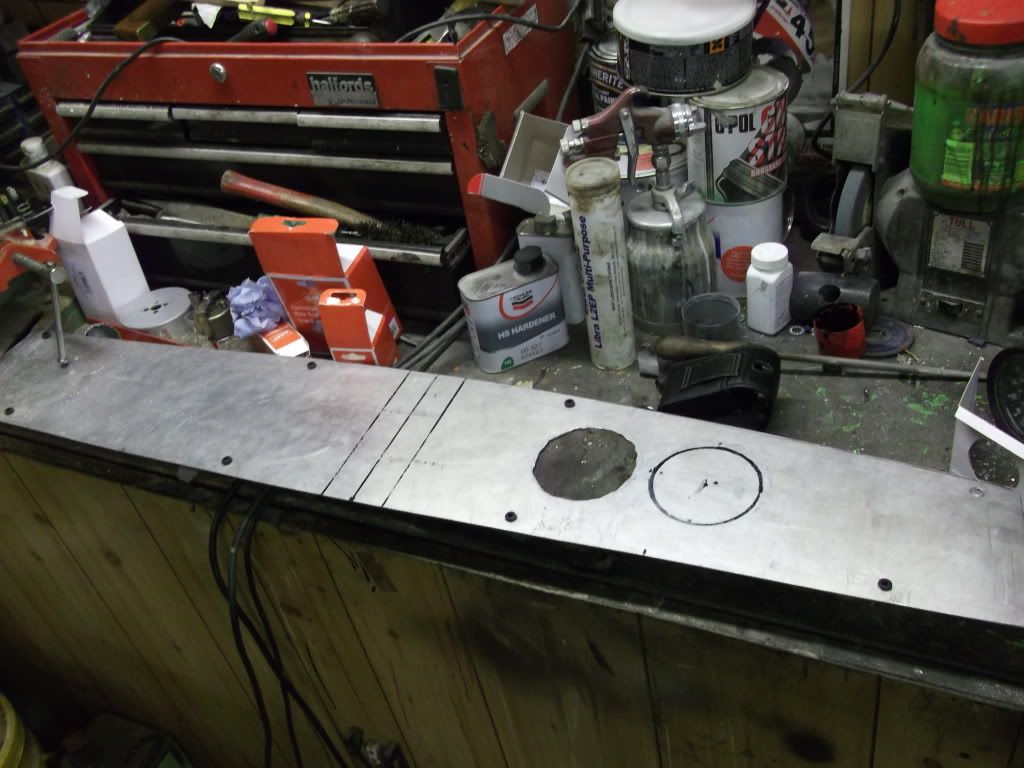
here is a picture of the dash with the hole for the speedo cut out and the fixing holes drilled and grommets put in for test fitting. When all the test fitting is done i will paint in gloss black.
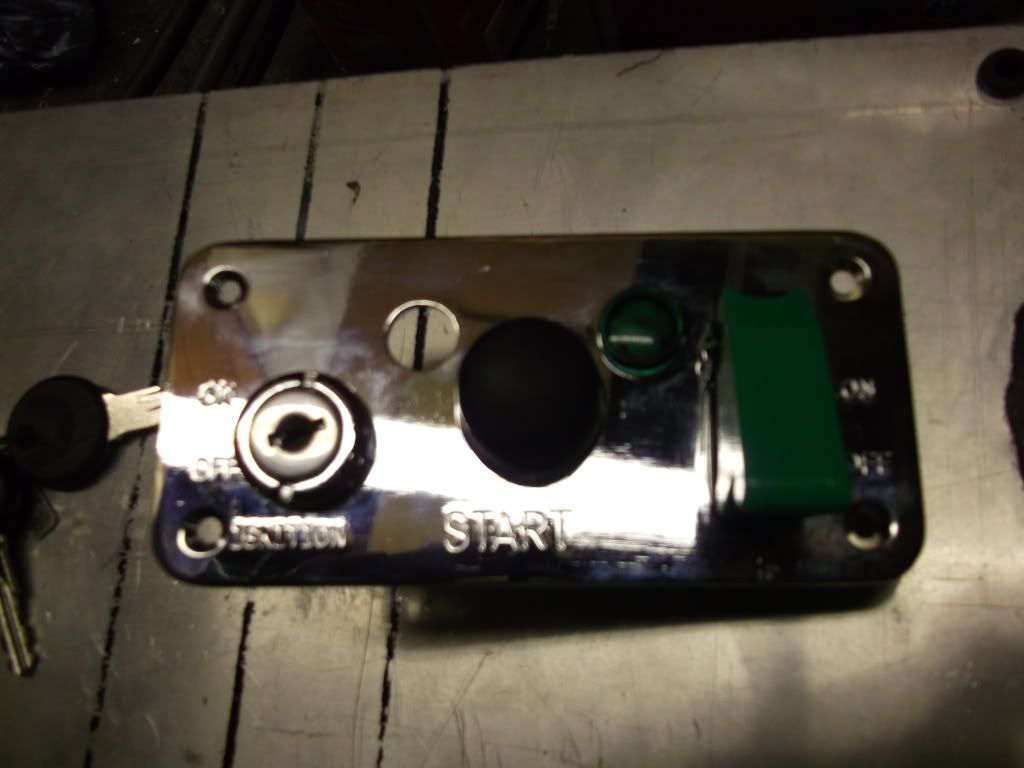
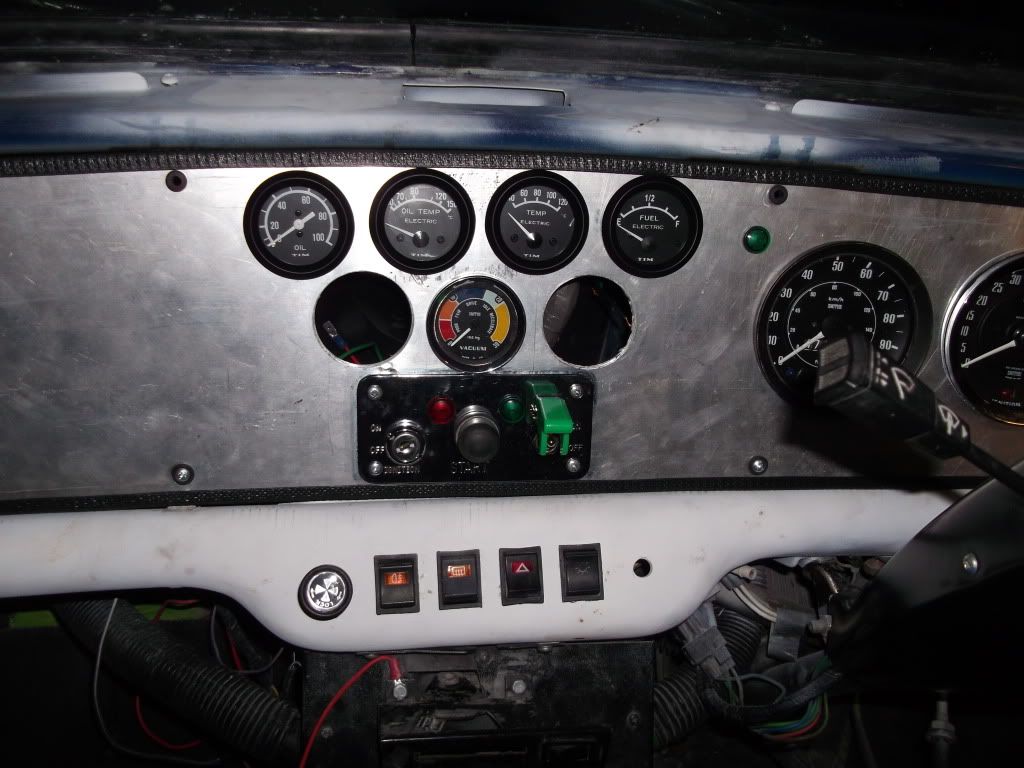
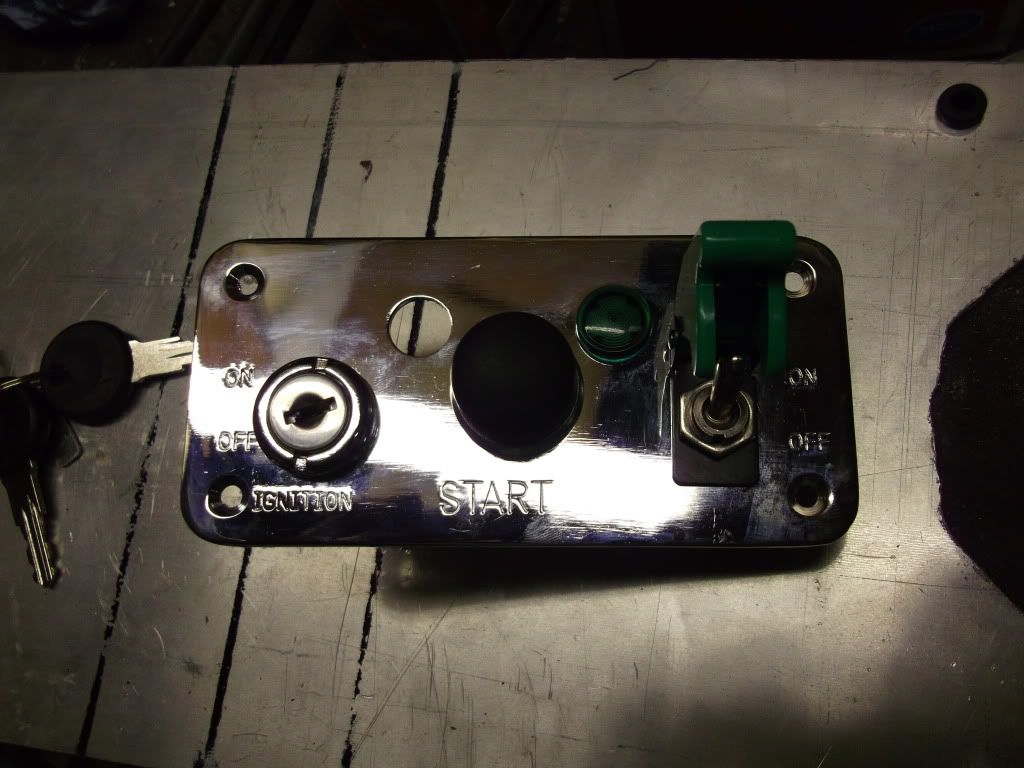
Then i modified a push button start switch panel to include a mk1 style key switch. might need some tips on wiring this in got a vague idea lol. i will wire this in then will have to be able to change it back for the Mot as the steering lock is required. The other switch will be wired to the heater as the area were the existing switch is will be removed to make it look more like a mk1 heater.
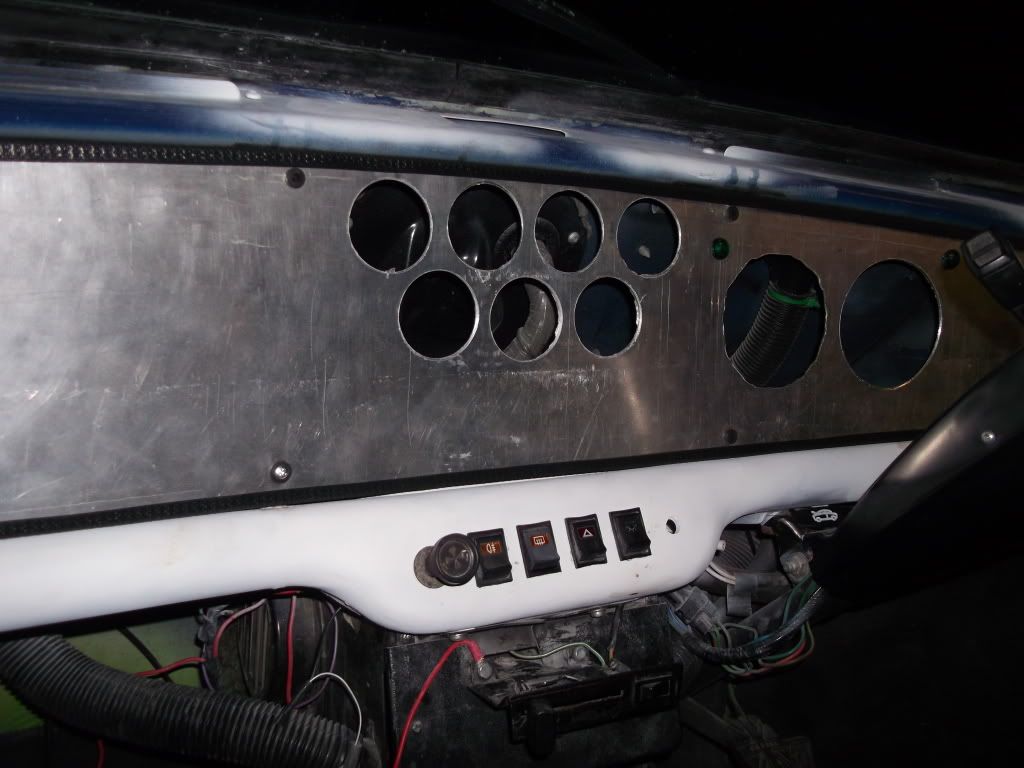
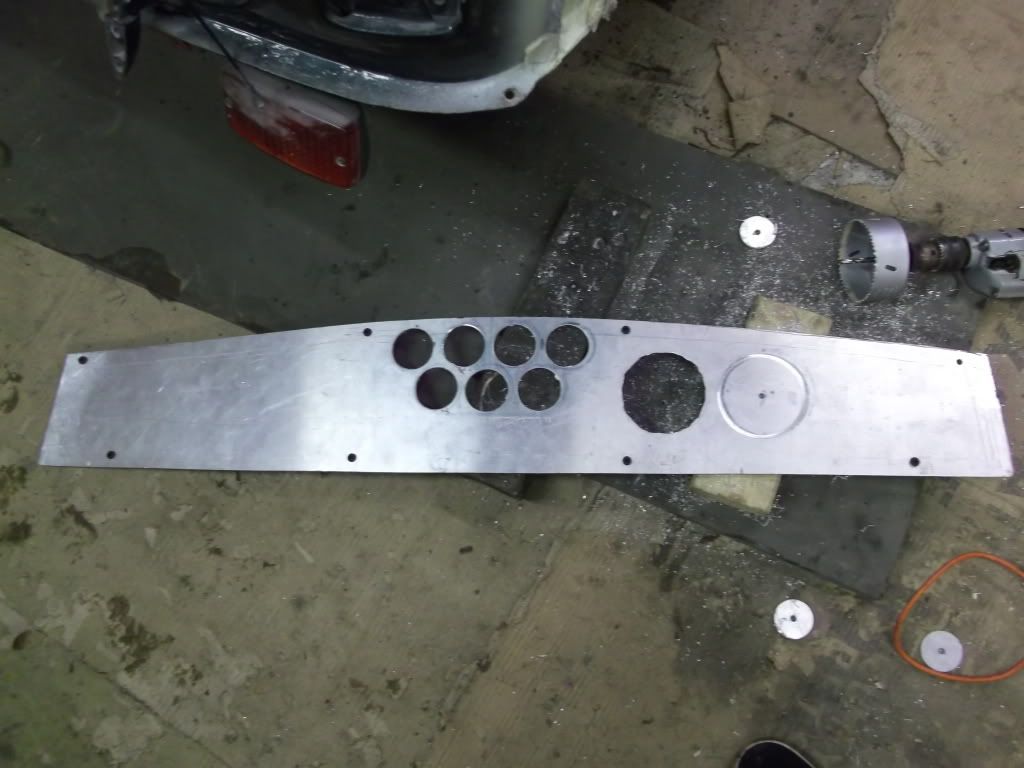
After this i used my new hole cutters to drill the holes for the gauges and the rev counter
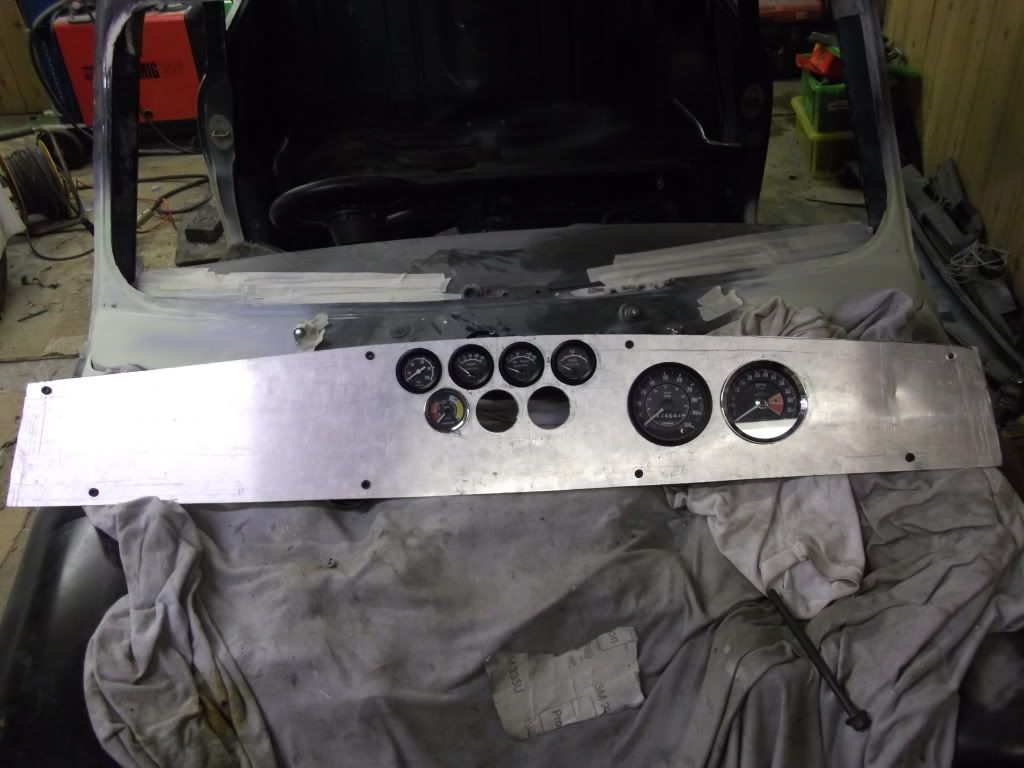
Then i test fitted all of the guages i have so far into the dash still require a smiths time clock and a smiths voltmeter.
The switch panel will be bolted in the area below the gauges and a glove box will be cut out of the passenger side. The stereo will be relocated in its standard position in front of the passenger and my cb radio is going to be put under the dash on the drivers side. I still dont know weather to put speakers on the dash or not? :/ anyway thanks for looking any advice with wiring will be appreciated will update asap cheersss Ryan
#2
Posted 03 January 2012 - 12:47 AM
#3
Posted 03 January 2012 - 11:03 PM
thanks for commenting i have not thought about covering it at all really :/ i have black vinyl door cards i could use that aswell... i dunno UPDATE COMING SOON !Firstly, good effort. Personally I like to see people make their own dashboards. I was just wondering are you leaving it silver.....my bad I see its going gloss black, have you considered a layer of real carbon, that will look rather special in my opinion, good luck and keep updating
#4
Posted 03 January 2012 - 11:37 PM
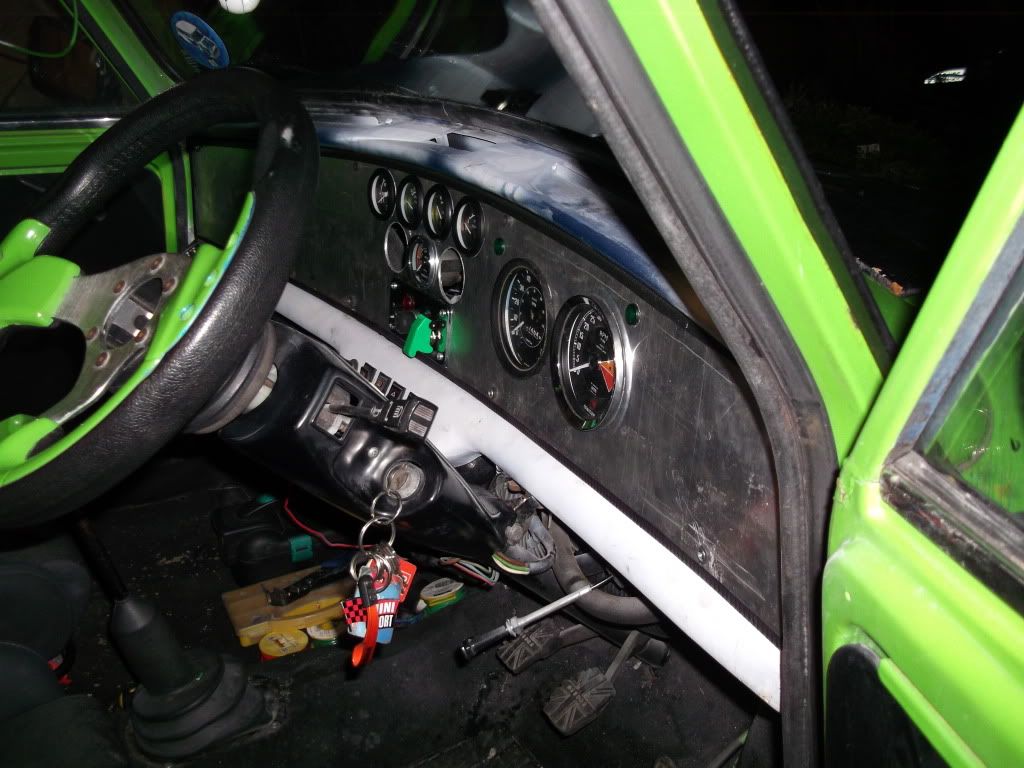
Here you can see the dash fitted with the edge trim on and the switch panel
#5
Posted 04 January 2012 - 05:52 PM
#6
Posted 04 January 2012 - 10:51 PM
#7
Posted 04 January 2012 - 10:56 PM
http://www.ebay.co.u...e#ht_500wt_1287
and
http://www.ebay.co.u...6#ht_500wt_1287
your dash is looking good keep it up mate, i reckon you should hide the speakers places.
YetI
#8
Posted 05 January 2012 - 04:21 PM
Something like silent coat or edead maybe.
#9
Posted 05 January 2012 - 06:05 PM
#10
Posted 05 January 2012 - 06:21 PM
#11
Posted 26 January 2012 - 09:17 PM
Been a while but managed to get some work done to the top and bottom dash rails today in the slighly better weather :)
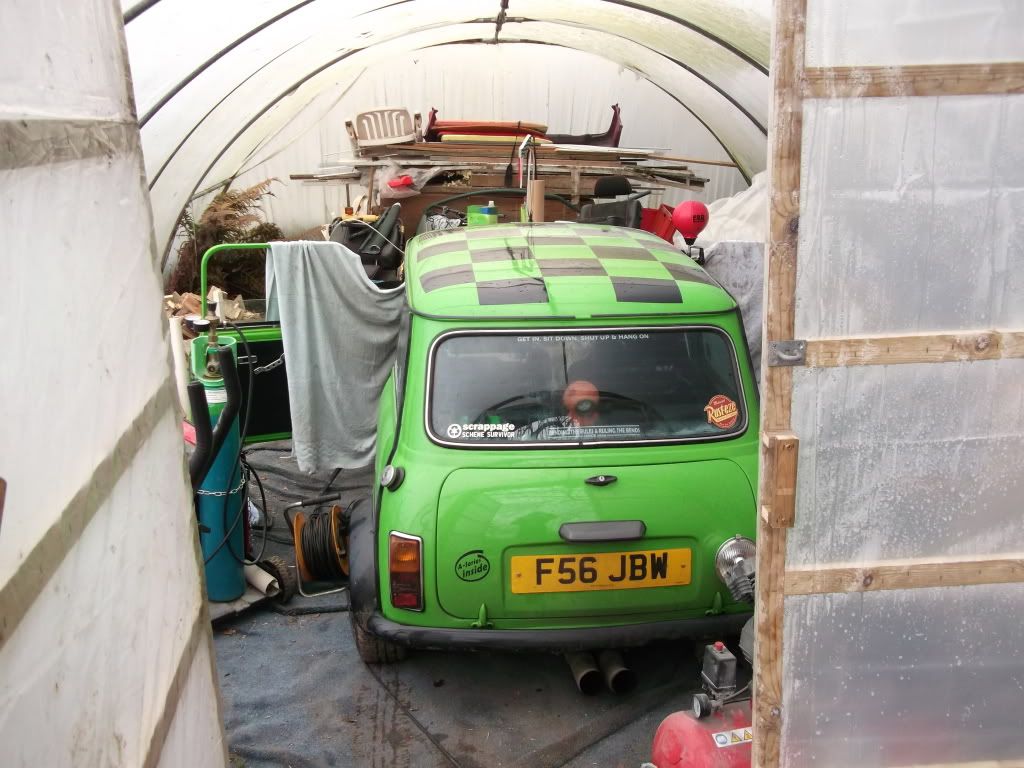
but first we had to get the mini over the garden wall round the side of the house across the back lawn and into the Polly tunnel. reason being its much warmer and ideal for spraying.
here is a pic of the car inside the tunnel
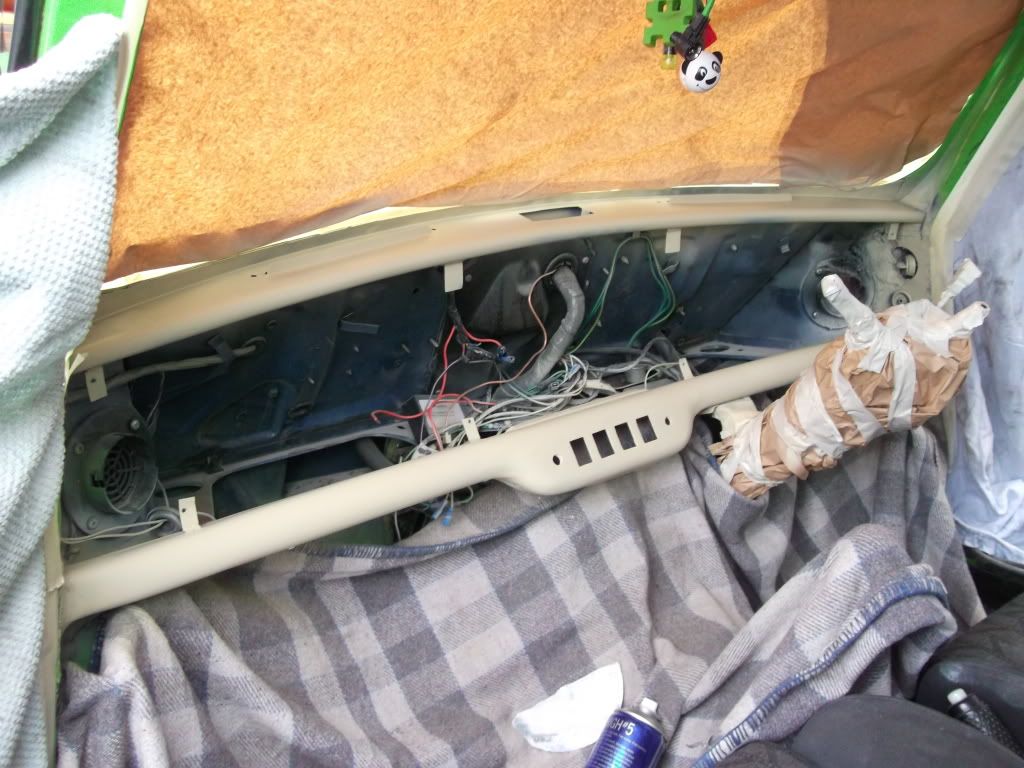
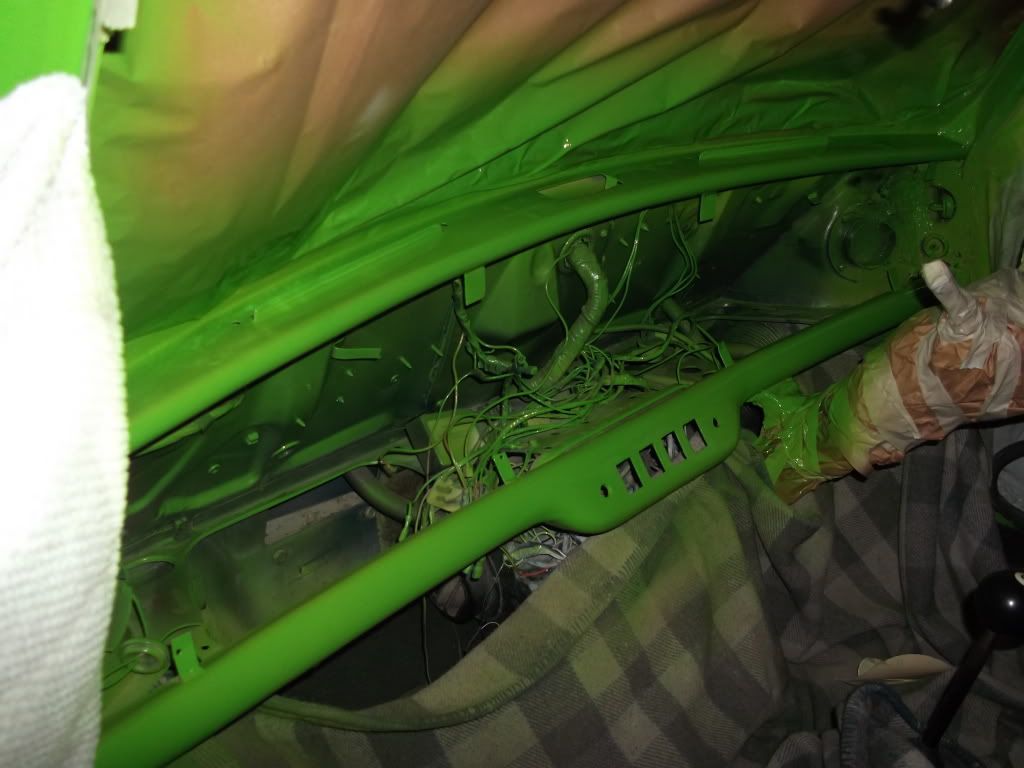
Then i took the window screen out, finished the filler work on the top rail and masked up. i then primed them with high build fast drying primer and flatted it all back.
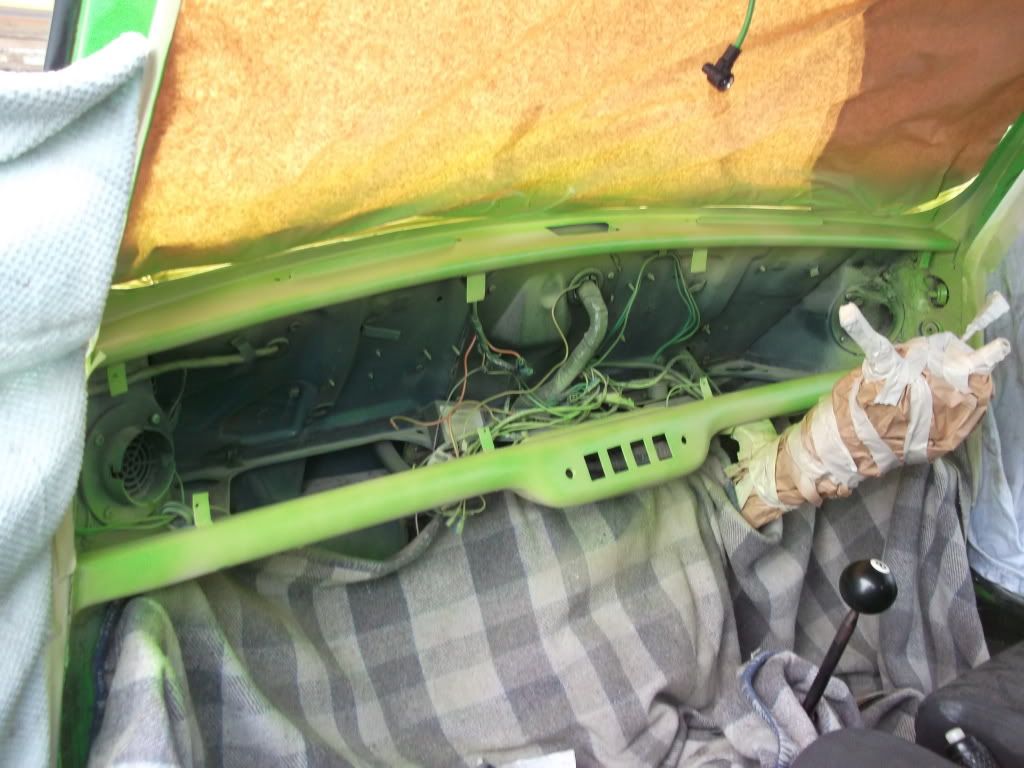
Then the green went on
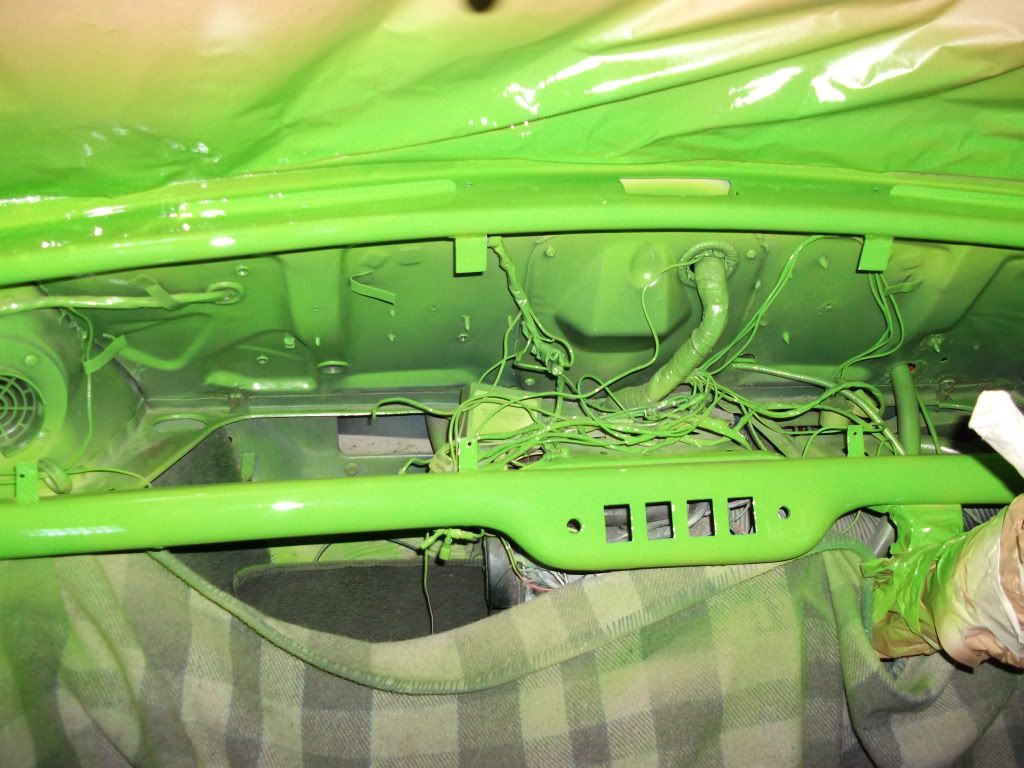
Then put the clear coat on :)
Got 2 runs on the top rail but will block them out tomorrow and maybe re-do it depends on if they flat out ok
#12
Posted 27 January 2012 - 10:38 AM
#13
Posted 10 February 2012 - 08:29 PM
Is that a candy apple green? how are you going to get the paint of them wires?
The car is painted in the old version on Kawasaki green there are a few different variants :). and i cant believe i left the wires like that i have had to scratch most of it off with a blade.
Update coming soon
#14
Posted 10 February 2012 - 08:35 PM
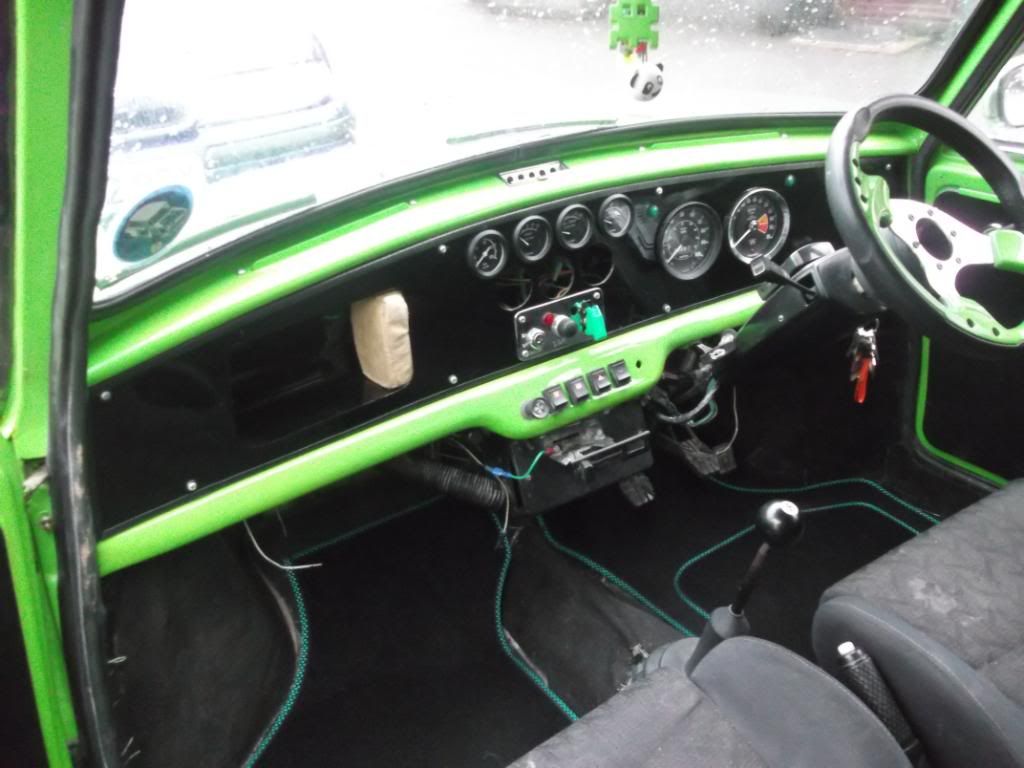
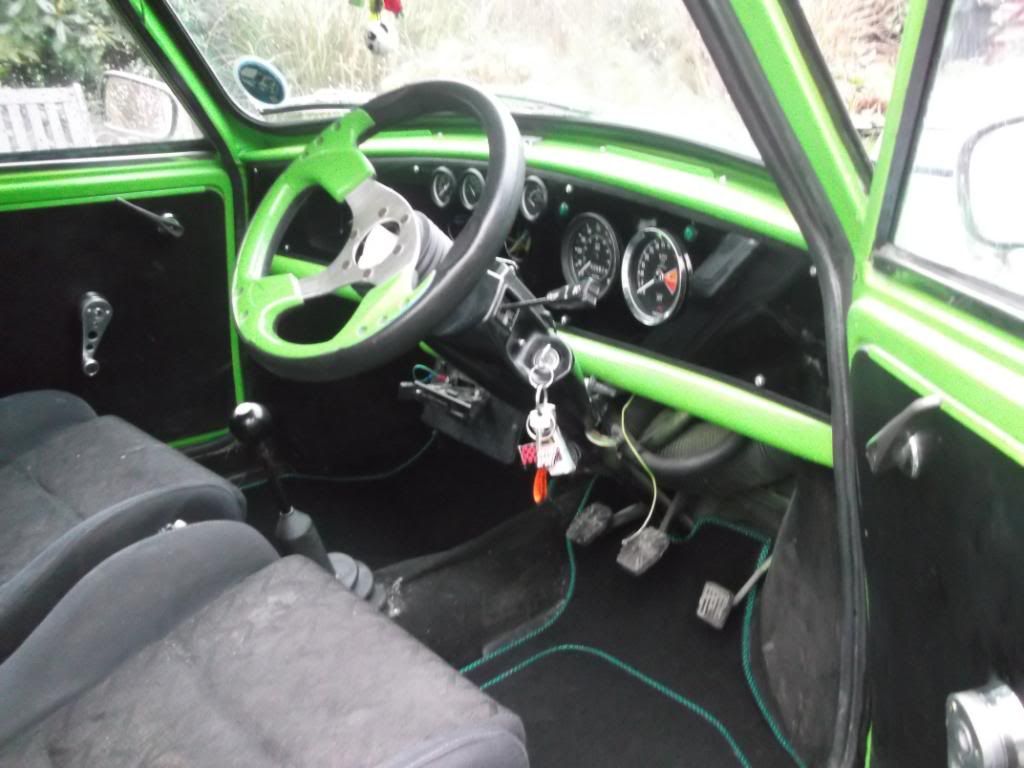
I flatted most of the run off the top rail and am happy with how it came out so i got on with painting the dash and got it all fitted up to be ready for Bingley hall. I need to fit the voltmeter and vacume gauge and buy a clock. Decided not to fit a glove box lid in the end as it would of been a lot of work to get it the way i would want it.
Next up will be fitting the cb radio and headunit. Also need to get some speaker pods up front.
#15
Posted 10 February 2012 - 11:04 PM
2 user(s) are reading this topic
0 members, 2 guests, 0 anonymous users