The Start Of My Vtec Mini
#121

Posted 03 June 2012 - 08:52 PM
Harry
#122

Posted 07 June 2012 - 09:53 PM
will pm you it nowNice build, can I also have the details of this guy please, wiring is the only thing holding my build up now :)
Harry
#123

Posted 07 June 2012 - 09:59 PM
#124

Posted 08 June 2012 - 07:09 PM
#125

Posted 09 June 2012 - 05:22 PM
#126

Posted 10 June 2012 - 09:07 PM
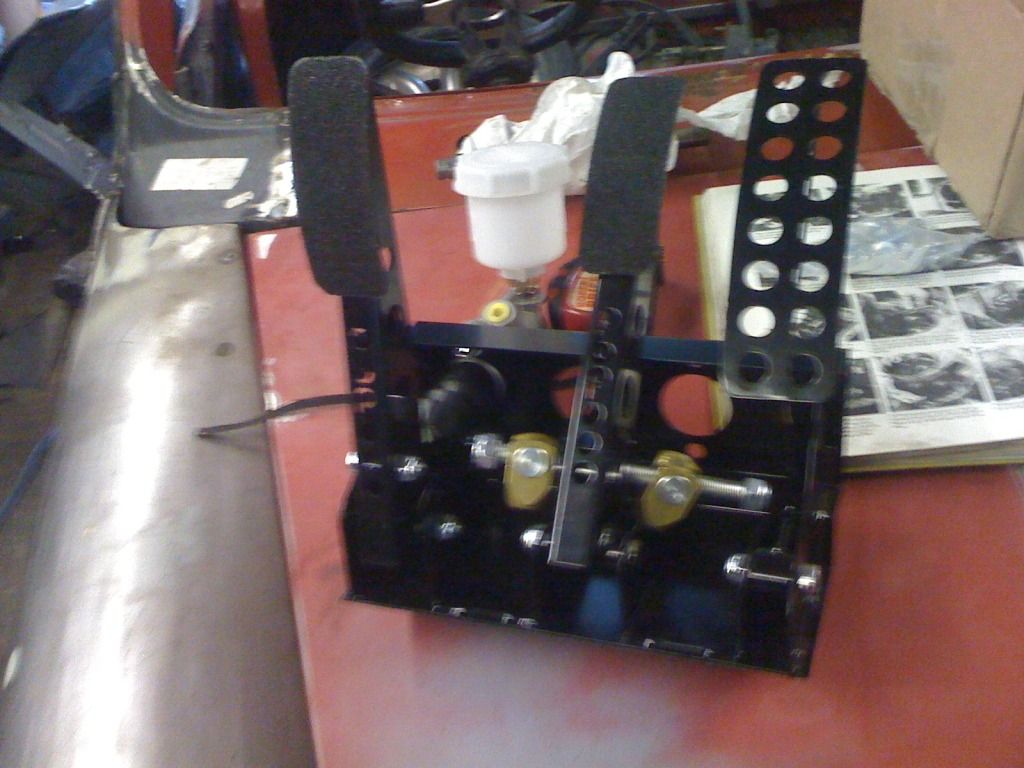
Hi kam i thout of a floor mounted pedal box because using the mini tec kit the floof had to be raised up for the steering collom and because of that the mini pedals wont go down all the way with out hitting that 1st my next post will revile all what i did with itHow comes you got floor mounted ones? And whos pedal box is this?
#127

Posted 10 June 2012 - 09:09 PM
I have choped mine up now and fliped it upside down i wouldnt get it to work on the floor as it was half way across the floor pan so there was no way i could use it comfortably but allot of my problem is im 6ft and the mini is small lolIve been looked at floor mounted options but like you have been worried about getting the seat far enough back! Let us know how you get on!
#128

Posted 16 June 2012 - 05:16 PM
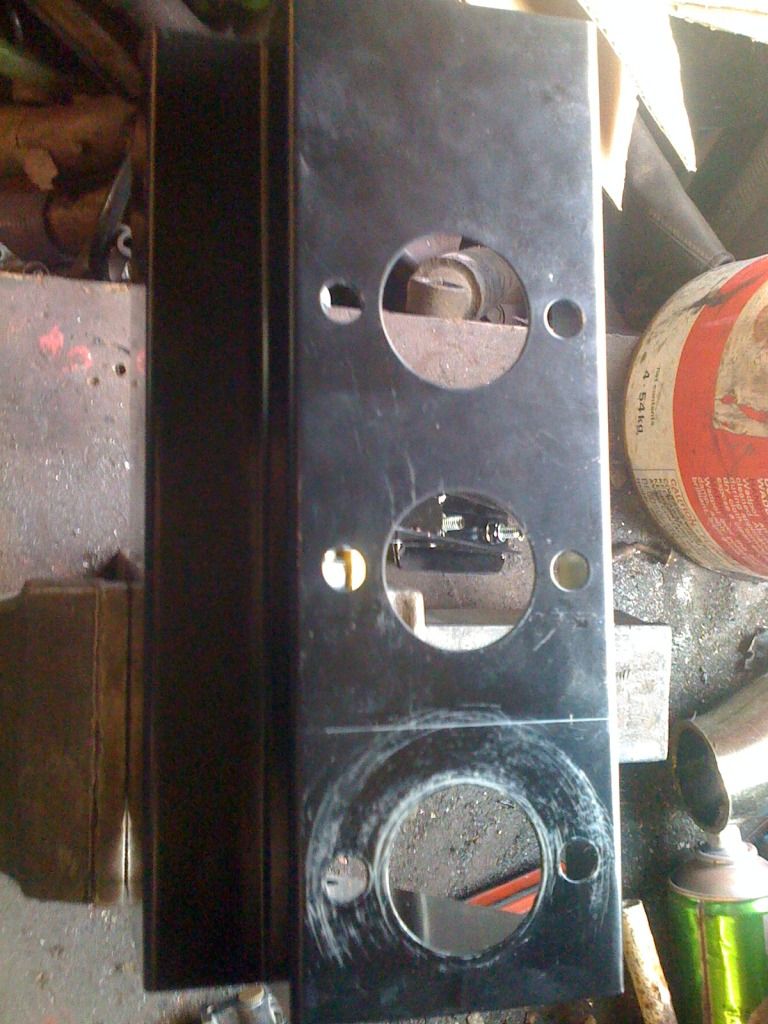
so at this point i hade to make a first chop then when i did that i had to stick with my plan no going back so i choped it up any way

Pedal box choped in two pieces it soon started to look like it would work ok so i has happy at this point i mounted the cluch pedal back on but as the pedals where floor mouted they sit vertical wich is no problem if it was mounted to the floor but im not mounting it to the floor so quick thinking solved the problem off to the drill and i soon fixed it

This is the pedal before
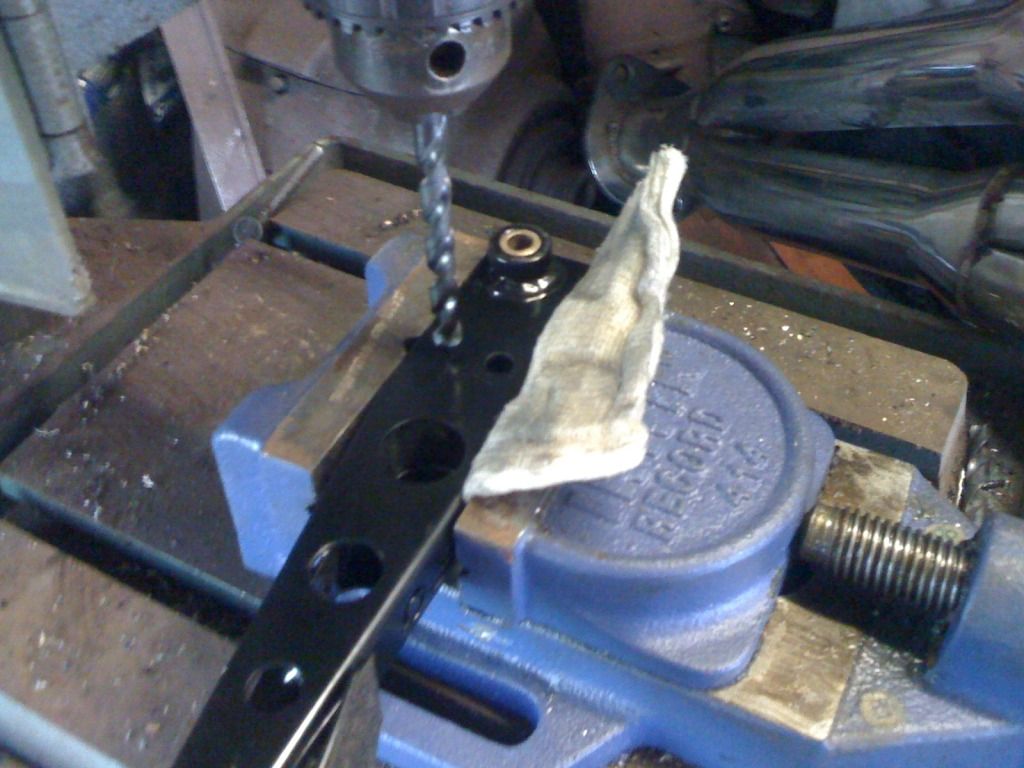
I just drilled the hole further away and problem solved
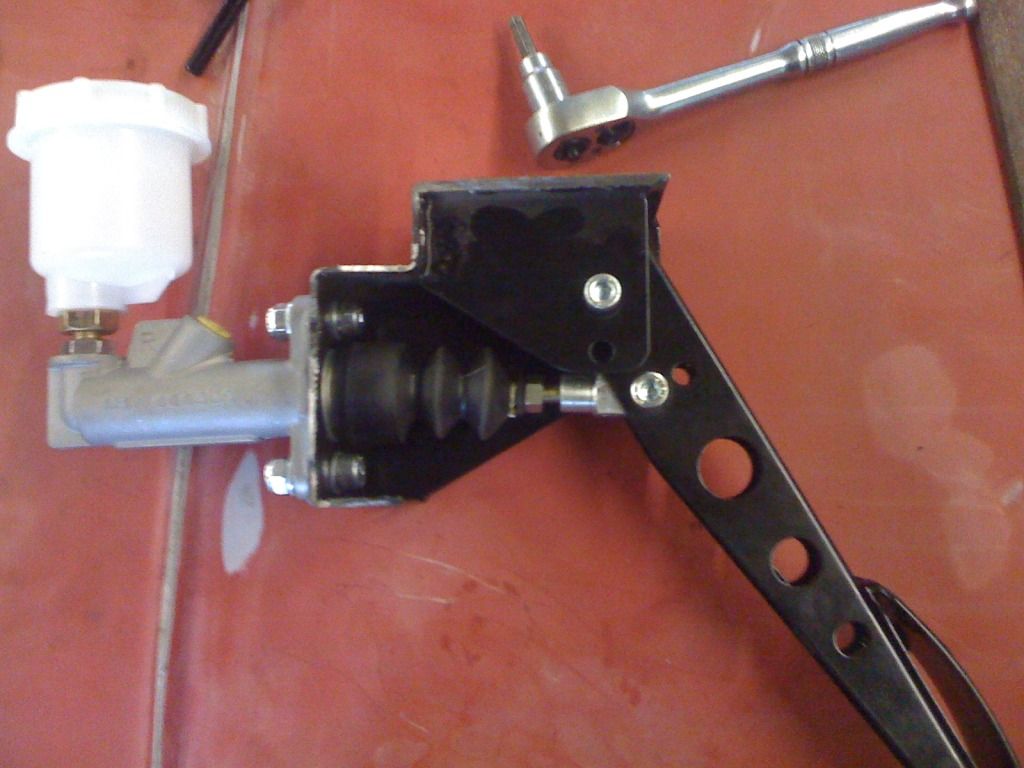
the pedal now has abit of an angel to it wich is good for how i want it the cylinder is now fliped upside down to what it would have been and the pedal is on backwords to how it would have been. Then i tacked a lenth of inch bar to the pedal and and i did the same with the brake pedal i also choped the throttle of it as well
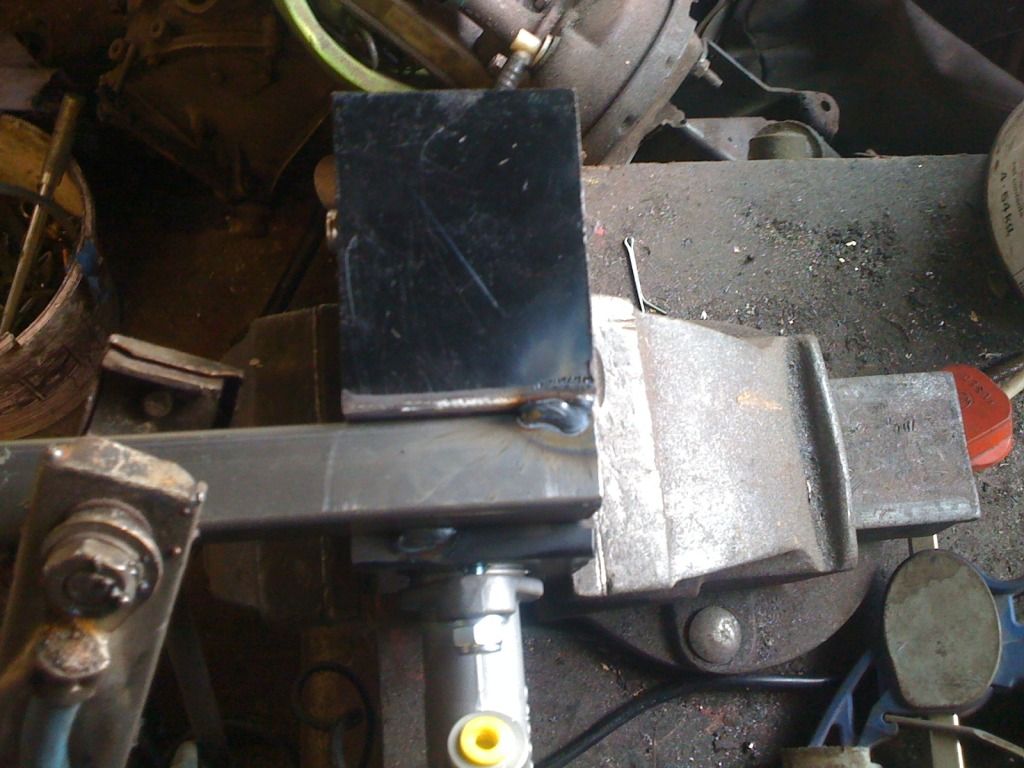
So I worked out how far apart i needed them to be and tacked the cluch and the brakes together againe this is how it looked
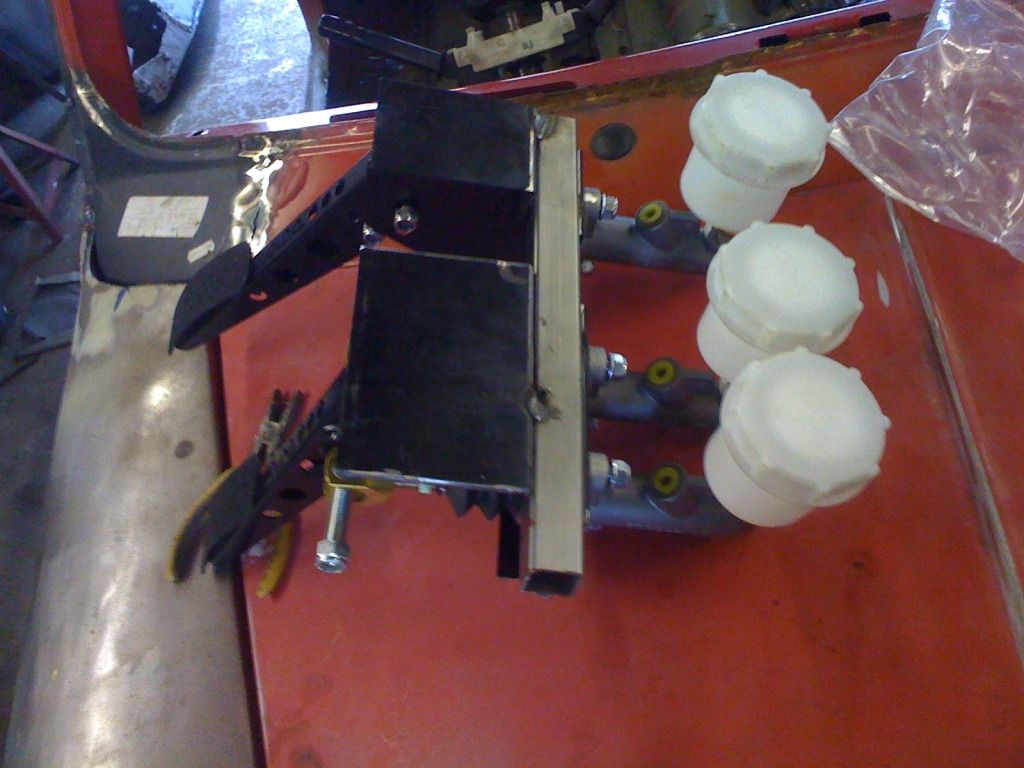
to me it was starting to look good so hear is a pick of it in the car but not mounted
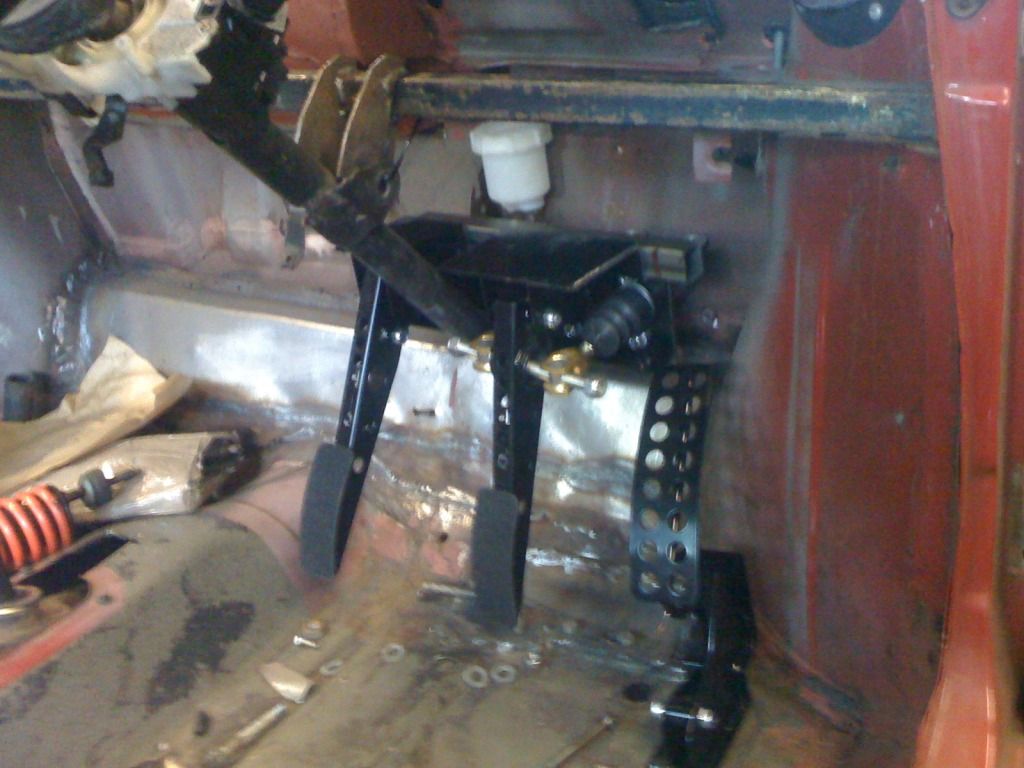
Another good idea with the throttle leav it as it is and mount it to the floor happy days i not got the pedal box mounted to the car i will upload some more piks later of the rest of it but i now have a working cluch and i will sort the brakes out soon so its allcuming together now the only little problem is the pedals are about 4 /5 inches further back than normal mini pedals but all i will do is mount the seat abit further back need some seats first tho
#129

Posted 16 June 2012 - 06:56 PM
Edited by KieranB, 16 June 2012 - 06:56 PM.
#130

Posted 16 June 2012 - 11:52 PM
#131

Posted 17 June 2012 - 08:46 AM
#132

Posted 17 June 2012 - 09:09 AM
No the mini cluch is realy hard in traffic as well im used to hard cluches never been lucky enough to have a nice soft cluch lol it should be good for raceing tho :)
#133

Posted 03 July 2012 - 10:33 PM
This is one of my radiator i used the old one so my nice new one dont get and damage during mock up
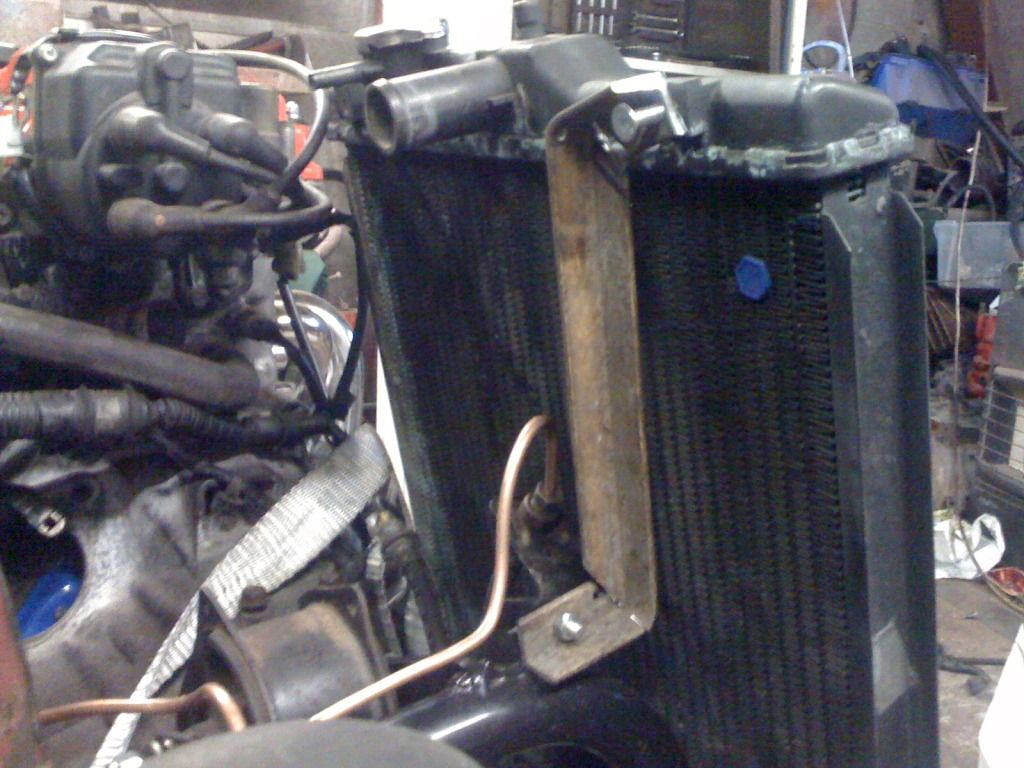
I took that to work and hade it powder coated in the week looks lovely now its not welded up in the pick by the way so thats one job done just need to chop the water pipes fo fit after i get my new radiator modefied
Another job i did was i fitter a new cluch to my engine as the one in it was dead and didnt fit my gear box

This is the new cluch and the old one you can see the difference strate away its only a stage 1 cluch but my engine isnt realy upgraded and it has hardly no weight to pull and way
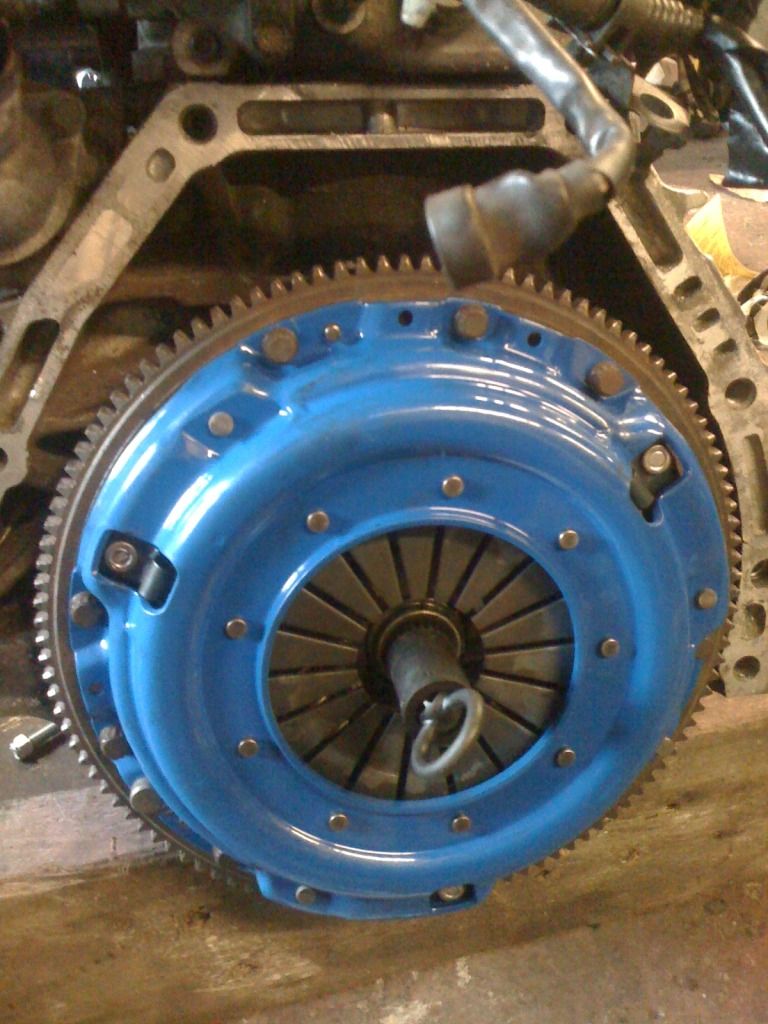
New cluch fitted it evan came with a nice hona lining up tool happy days the thing with the old cluch was this engine would of had a cable box and i have a hydrolic box and the spline shafts are different trust honda so i had to get a new one and cluches ant cheap nearly had a fit when i was looking for one the stage 6 cluches are stuped money so i took the cheap way out with a stage 1 lol
So then i moved onto the exhaust wasnt looking forword to this but was all good in the end
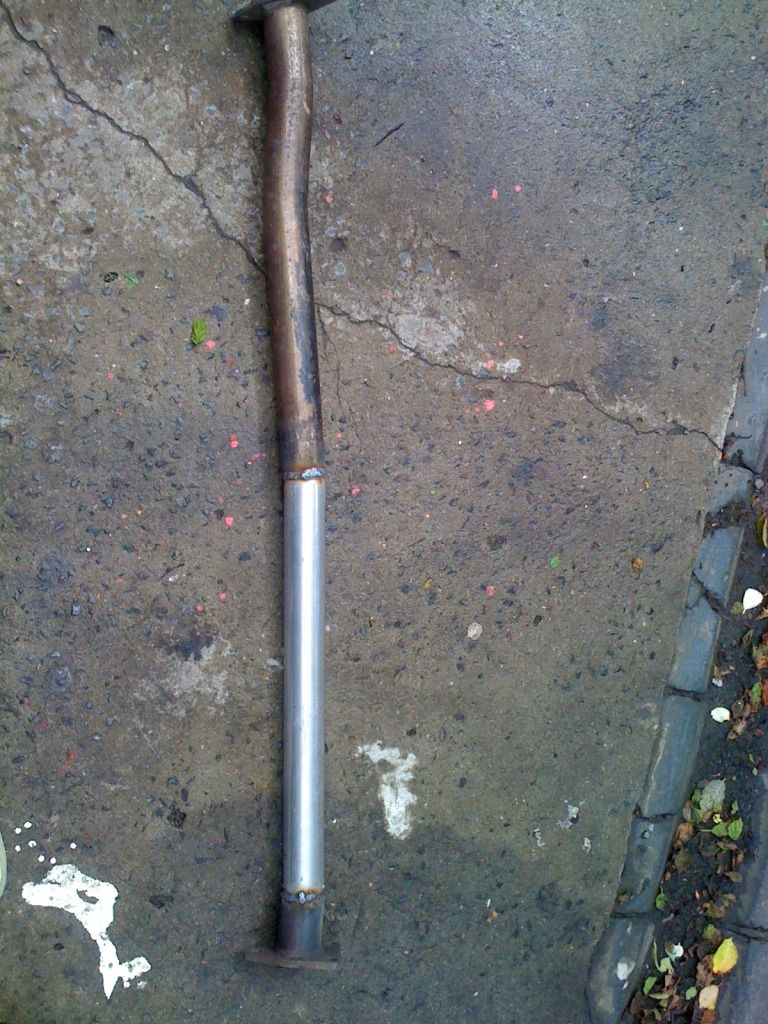
This is my link pipe to fit from the honda manifold to the mini back box had to cut the end of my new manifold and change it to one like on the pick as i couldnt find one to mach any where
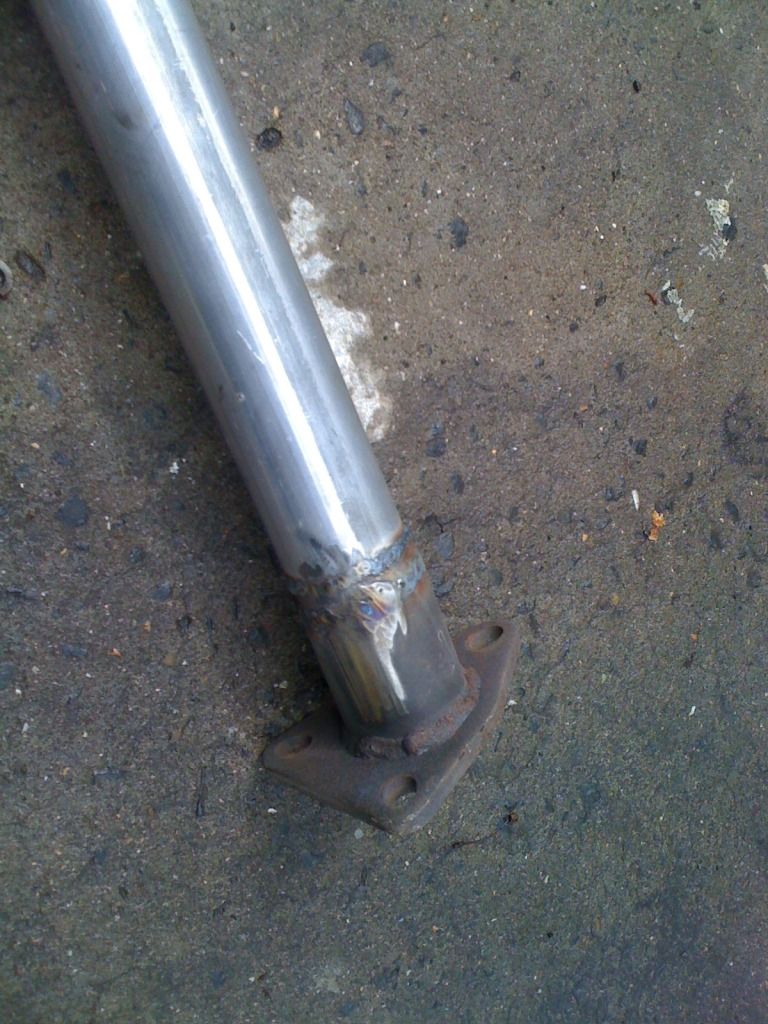
All welded up so should be leek proof next pick is from underneath it fits lovely better than my old mini exhaust to be honest lol
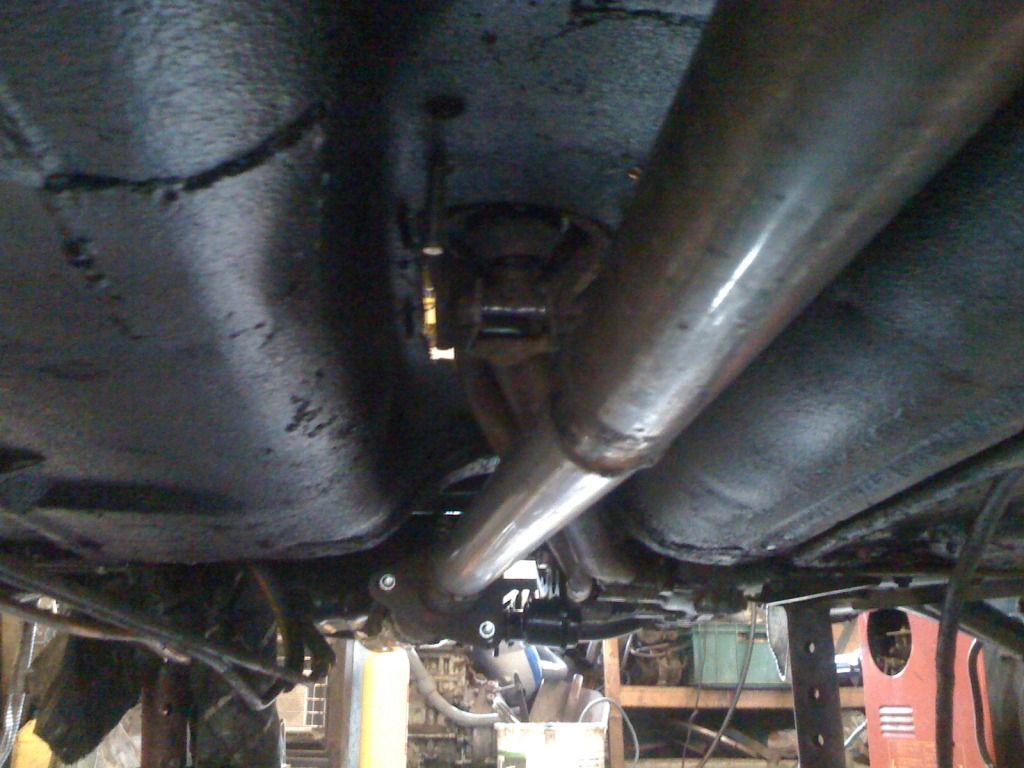
The front of the enhaust is low but yet againe the hole engien is low to the floor on this car must just be because its a big engine in a small car but with the coilovers fully raised its only 4 inches off the ground thats the subframe not the sump
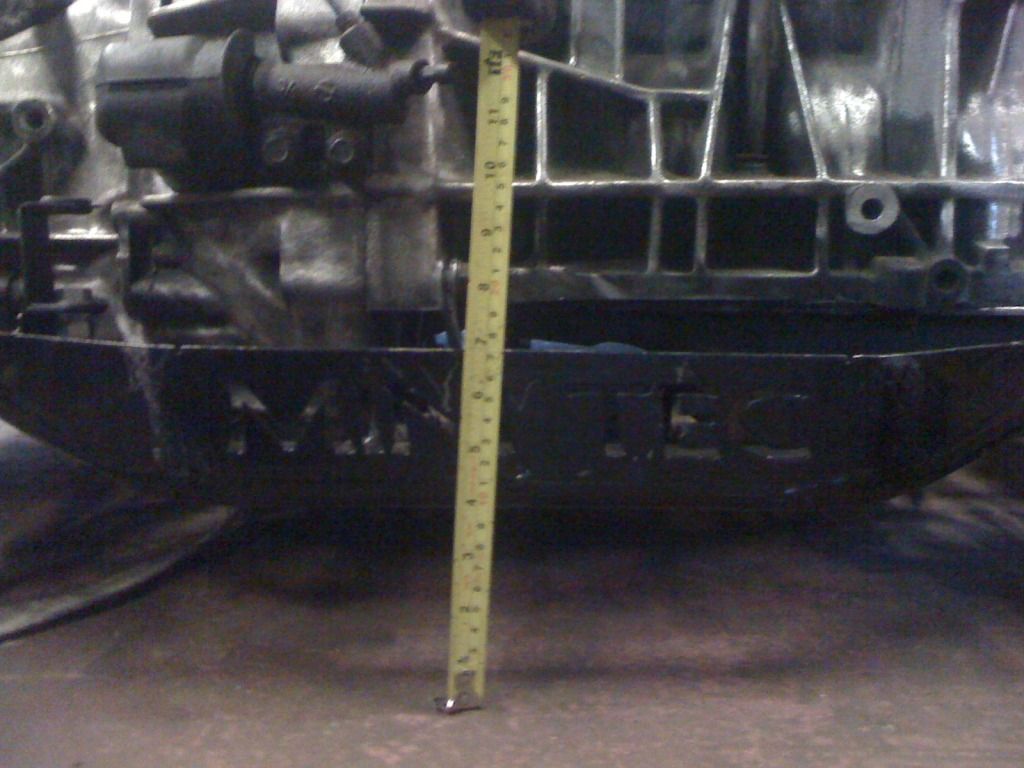
and the mini bumper fits heigher than that so it will have to be lower to make the car look rite so as the garage needed a clean as well pushed the car out and i had to take a few piks as it looked so cool
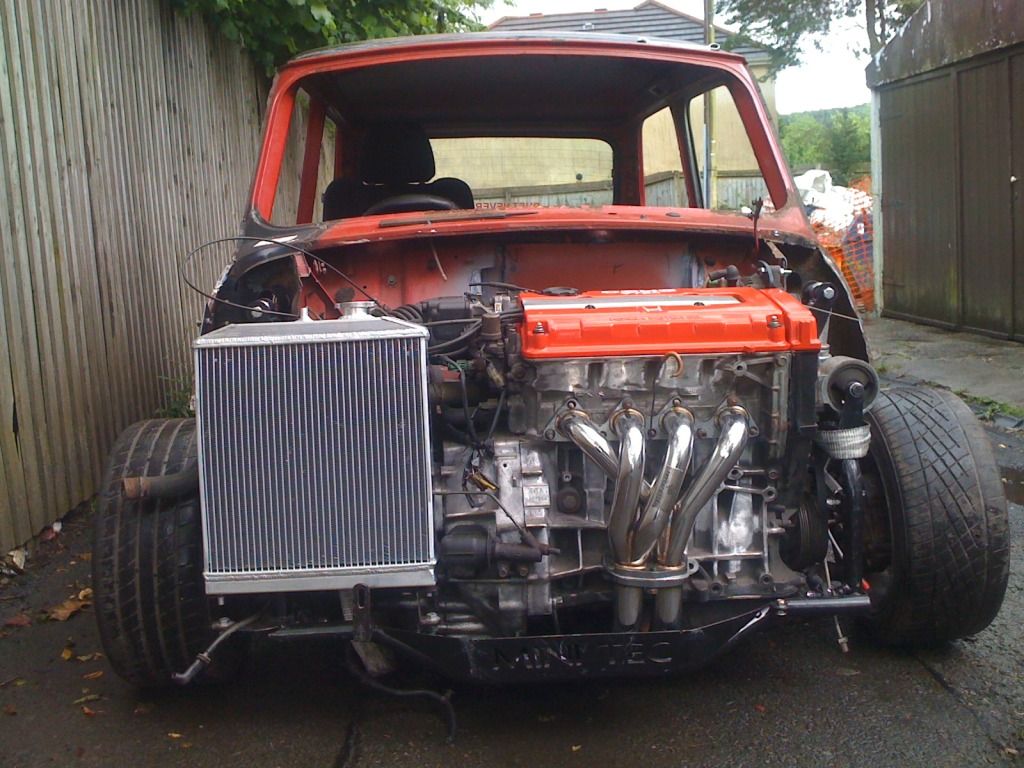
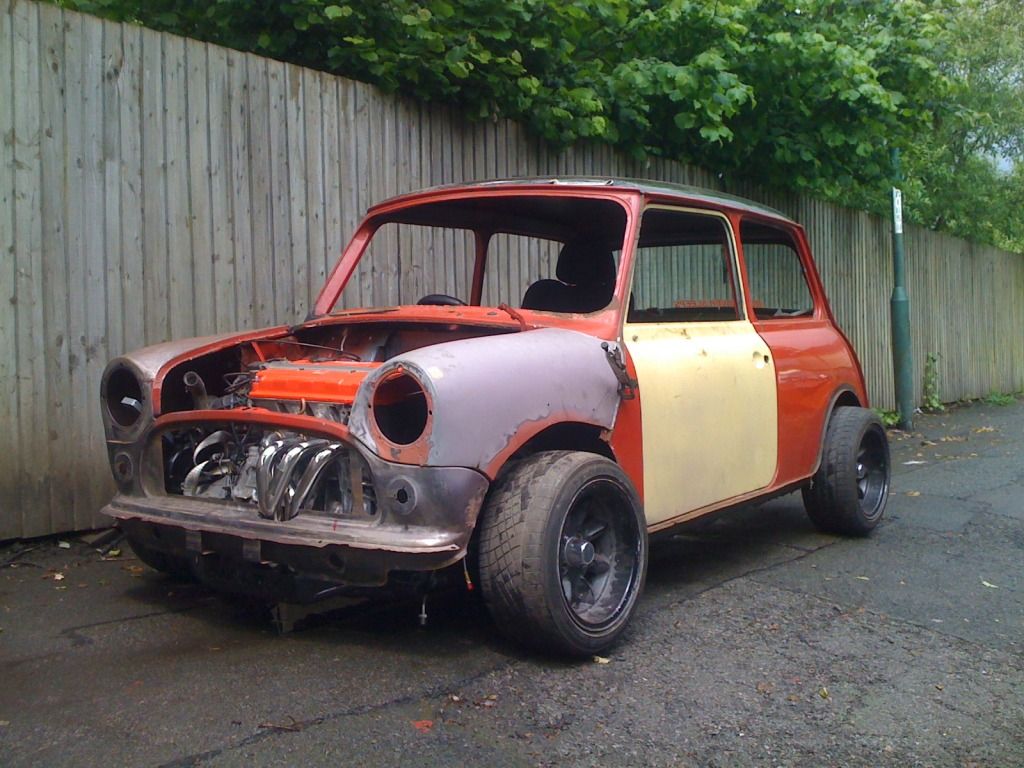
next step is paint the engine bay put every thing together tight as most things have been on loose because i have been takeing them on and off them hopefully have the loom done and she will be running :) and one last pick of the pedal box all mounted up
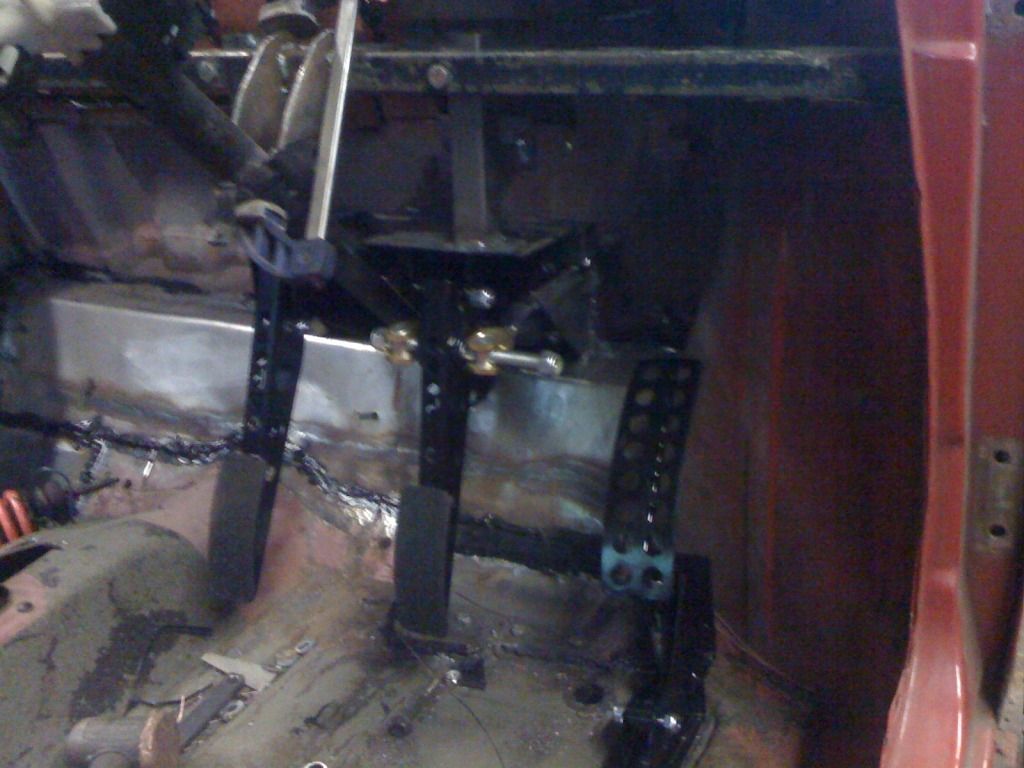
#134

Posted 04 July 2012 - 05:20 PM
its getting there bud, stick at it
#135

Posted 04 July 2012 - 09:38 PM
2 user(s) are reading this topic
0 members, 2 guests, 0 anonymous users


