Jump to content


Photo
- - - - -

Project Cliff - The Cherry Red Thirty


  • Please log in to reply
764 replies to this topic

#196 stretch tech

stretch tech

    One Carb Or Two?

  • Members
  • PipPipPipPipPipPipPip
  • 1,363 posts
  • Location: Tamwoth
  • Local Club: A5 & Mini Mainiacs

Posted 27 February 2012 - 10:18 PM

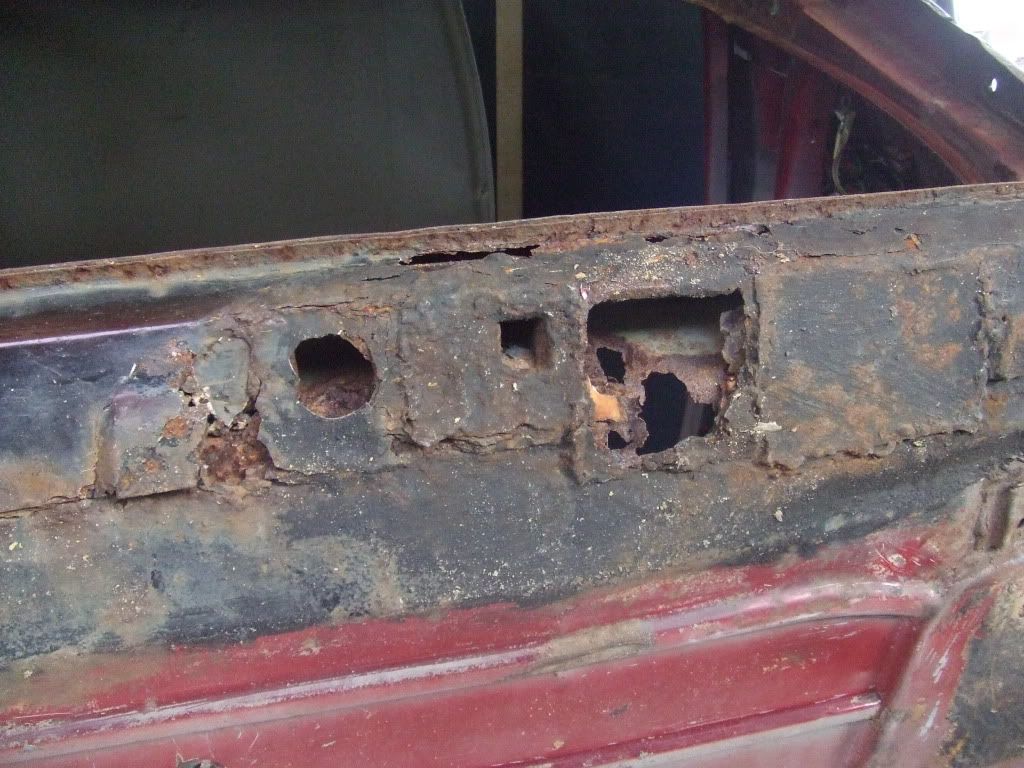
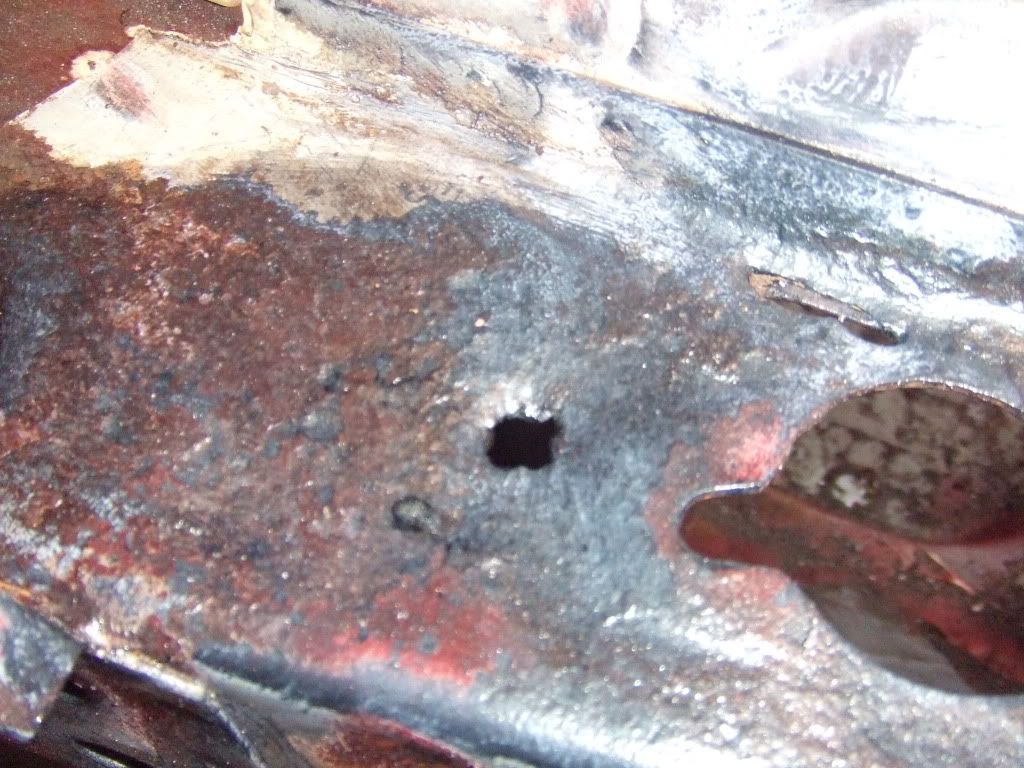
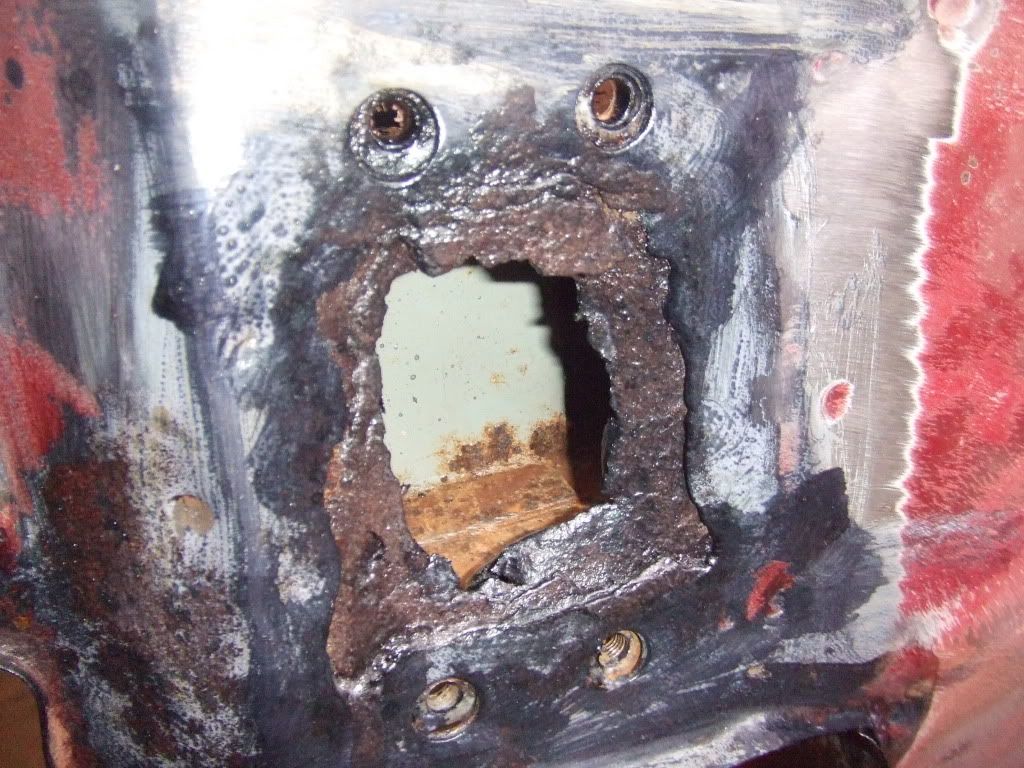
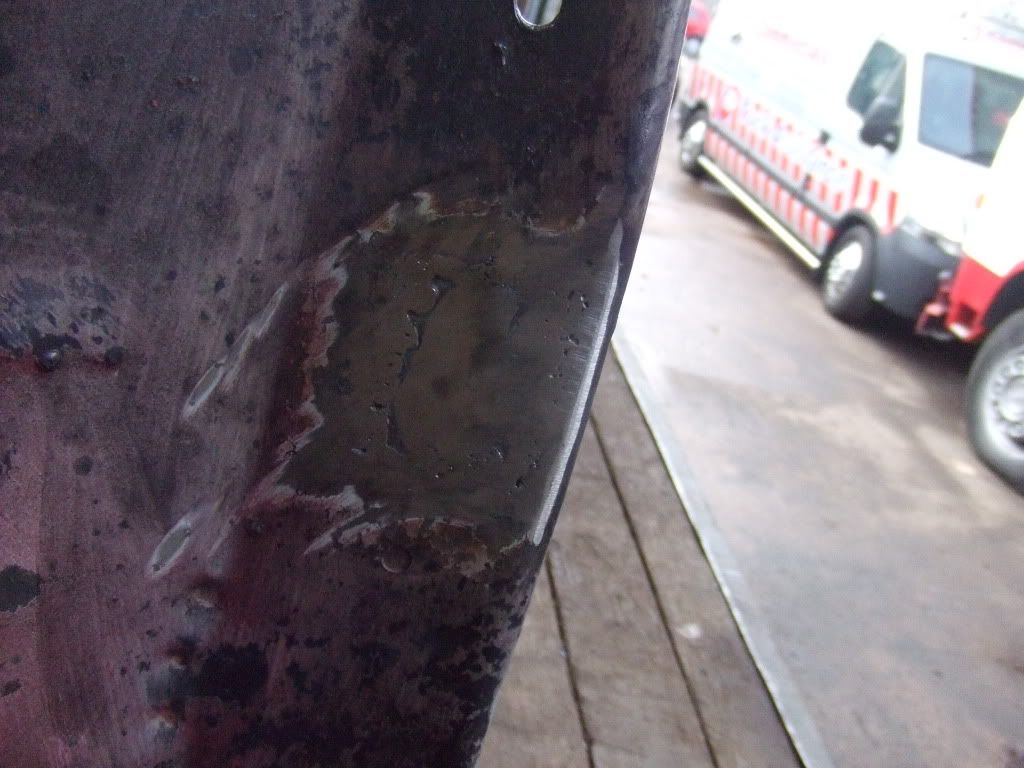
we pulled back the curtains today after leaving cliff over Sunday and the rust reverter has completely stopped the rust :gimme:

Posted Image

Posted Image

Posted Image

Posted Image

Posted Image

Posted Image

Posted Image

Posted Image

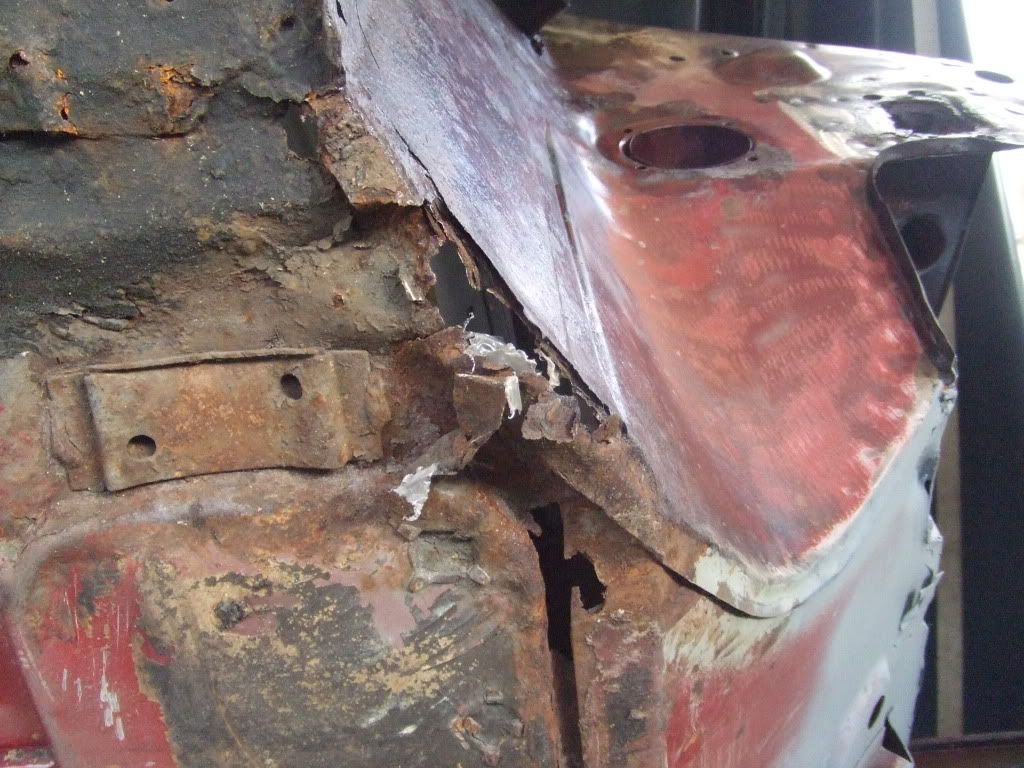
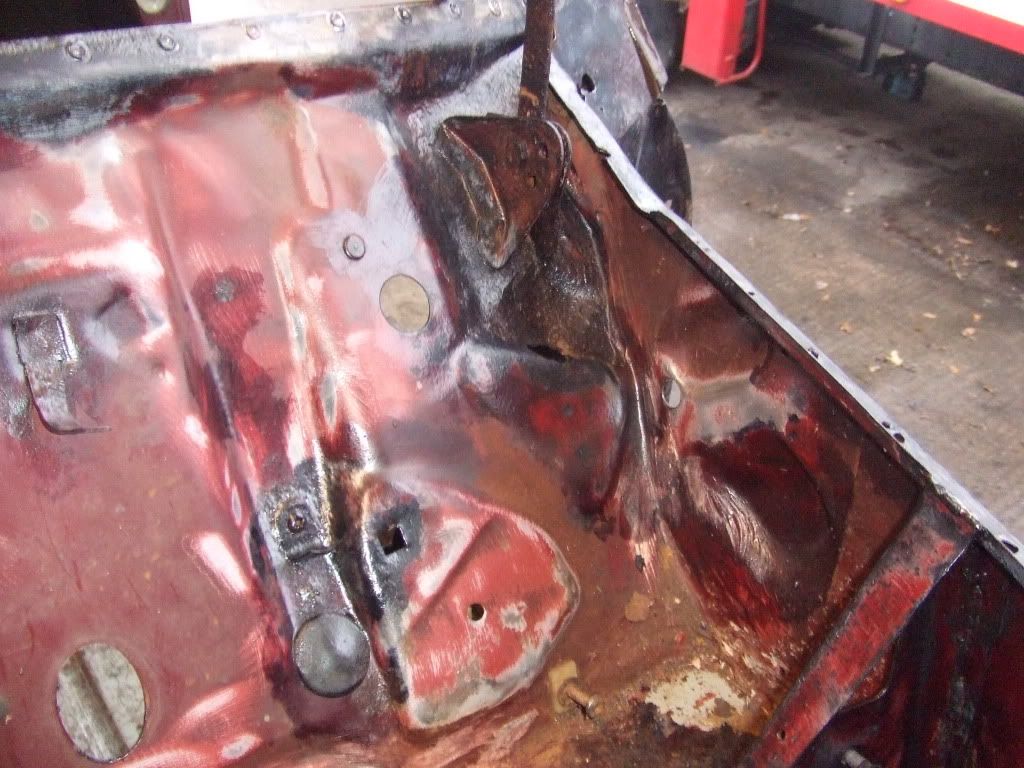
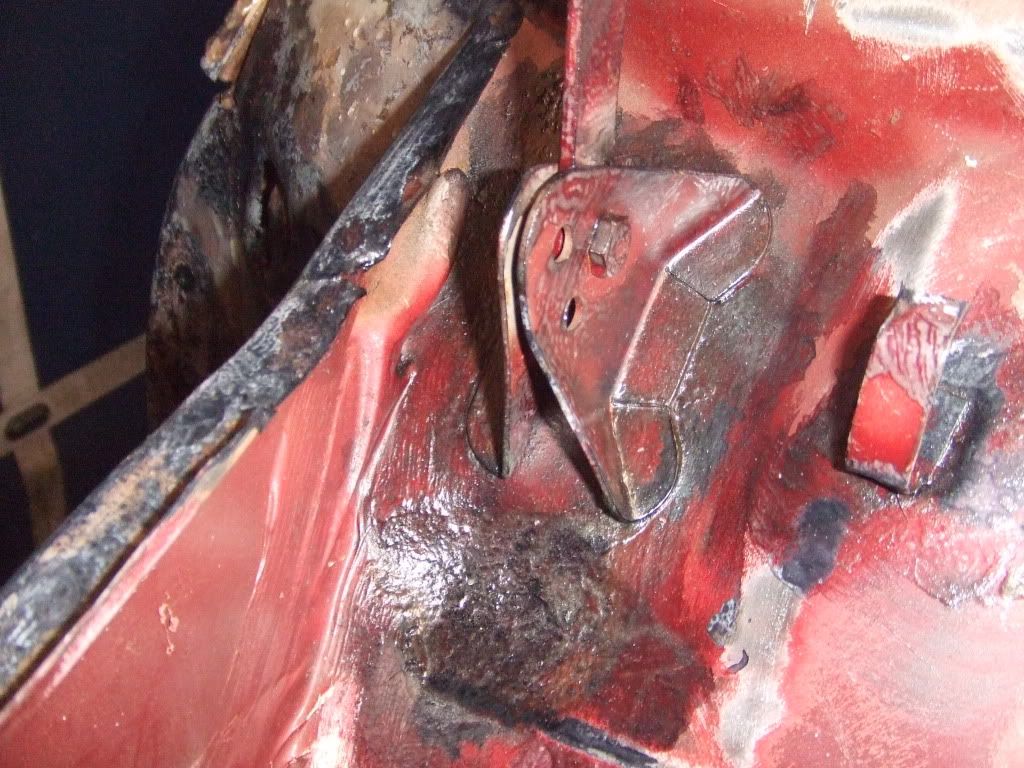
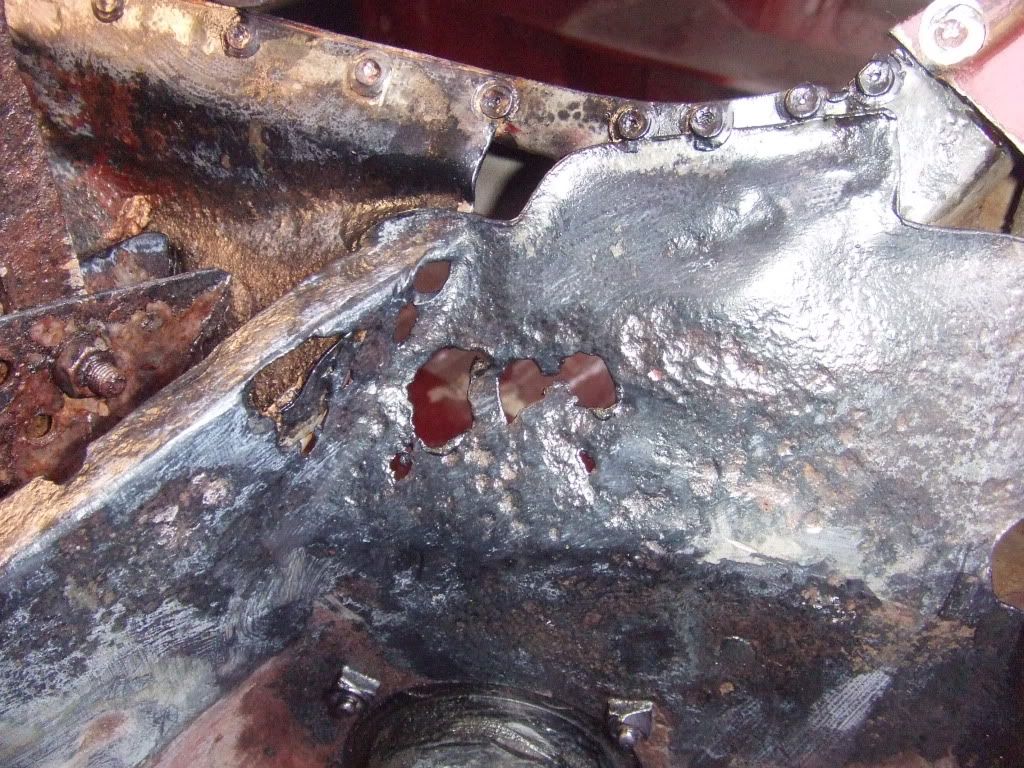
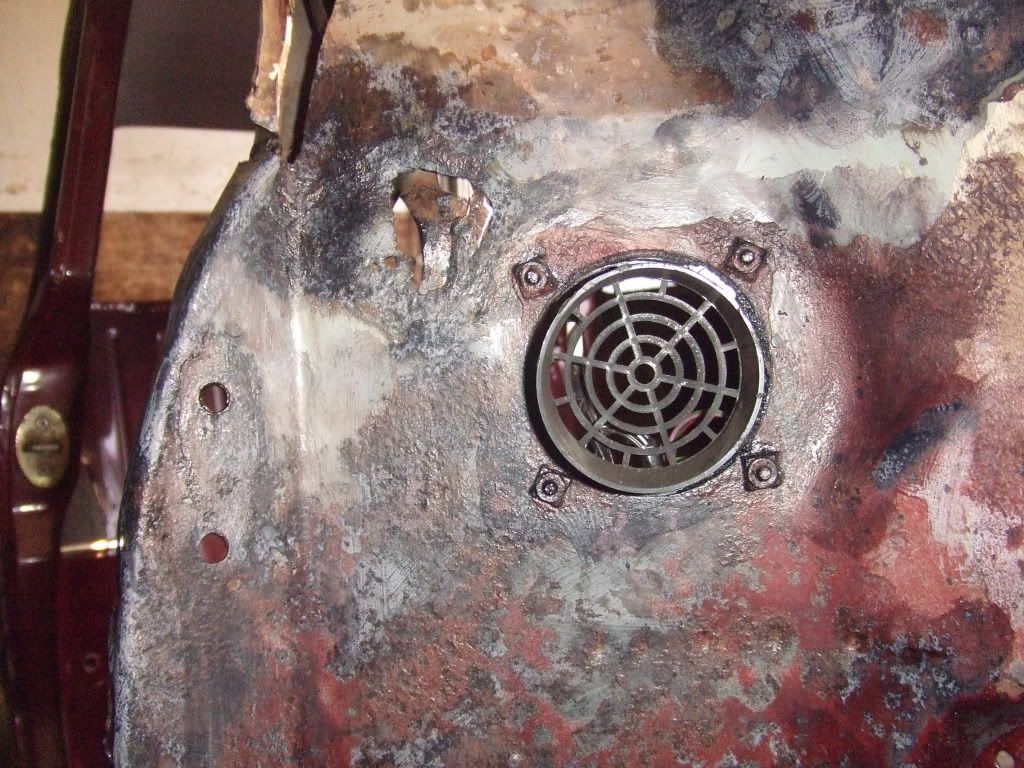
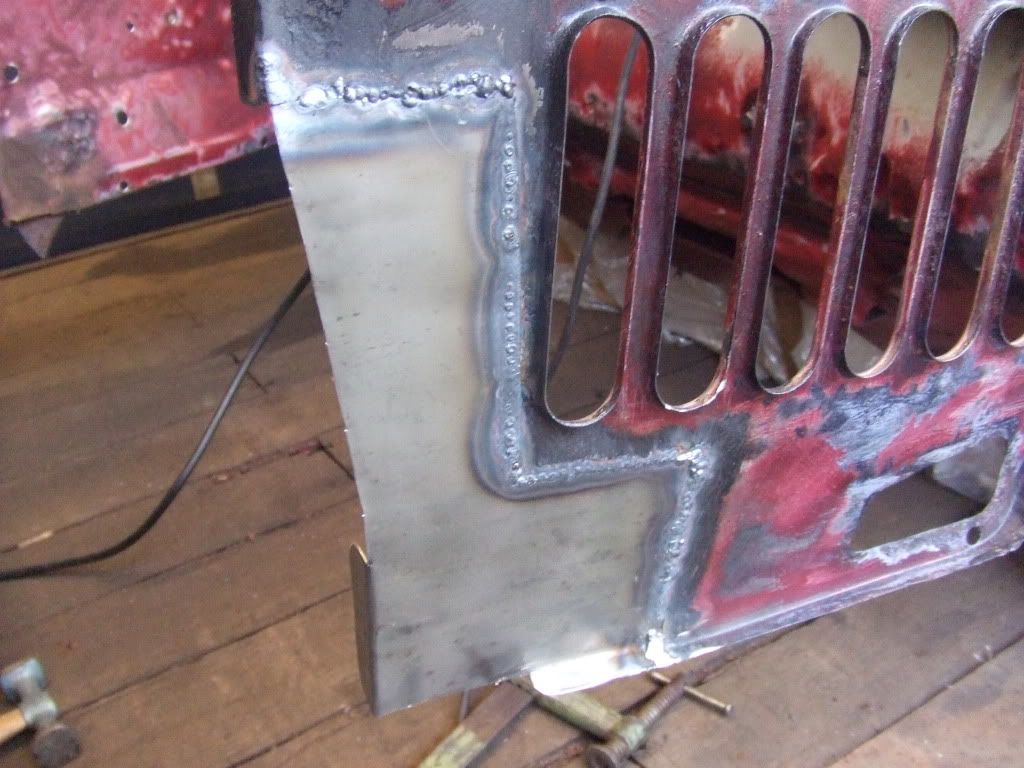
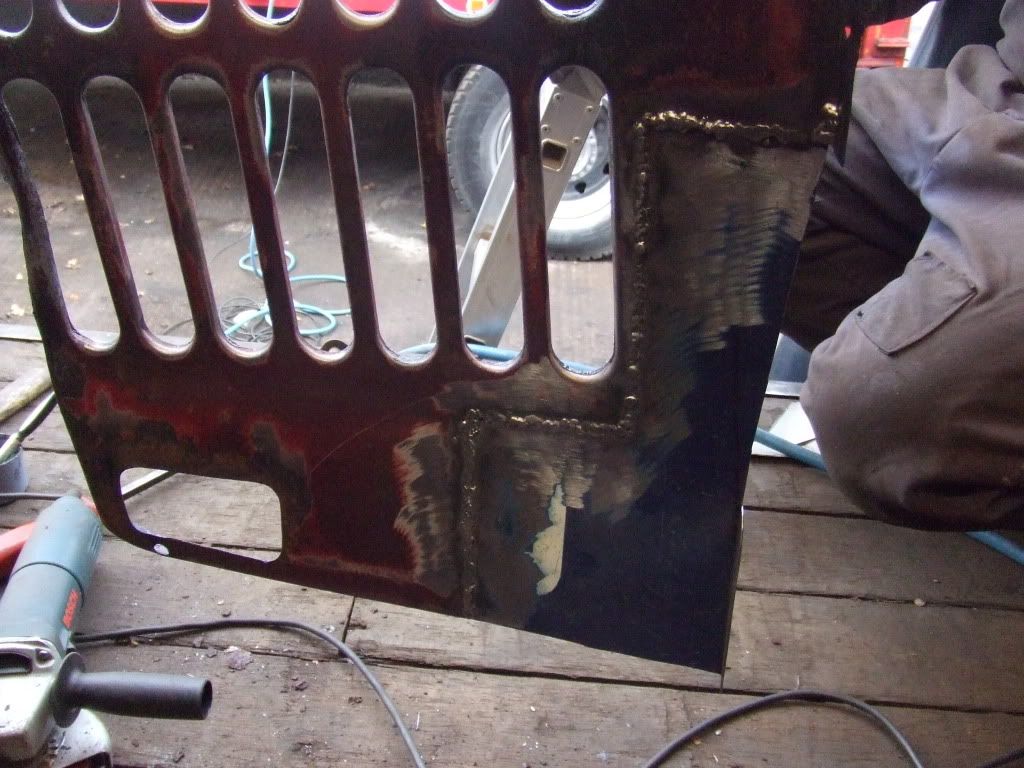
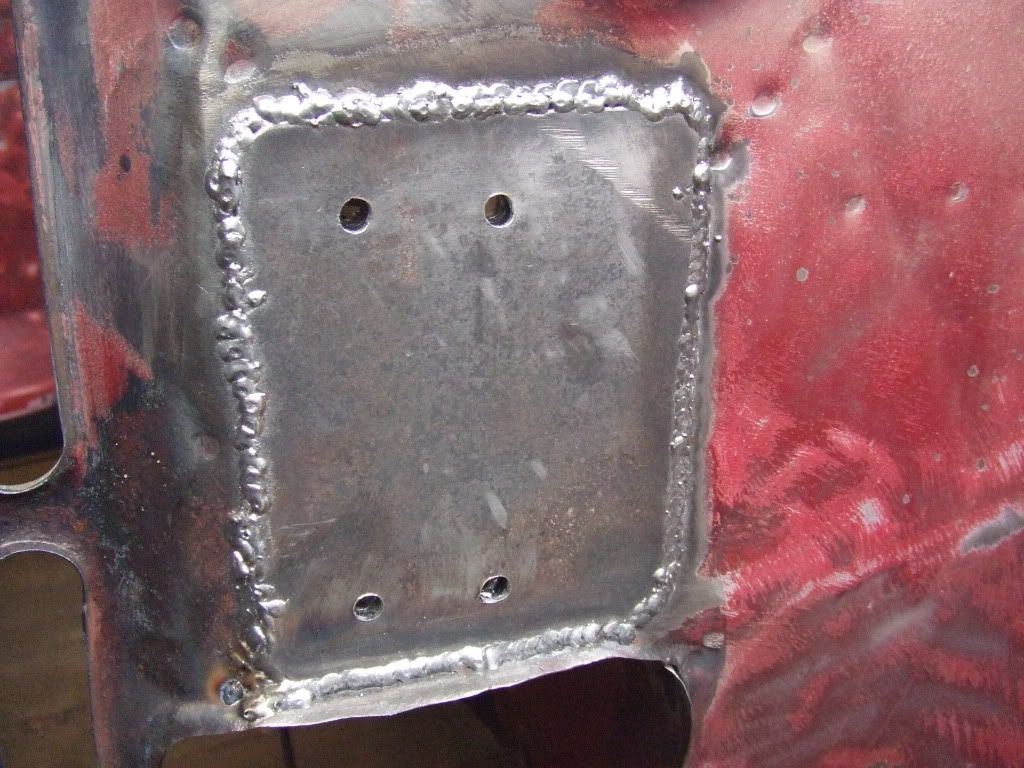
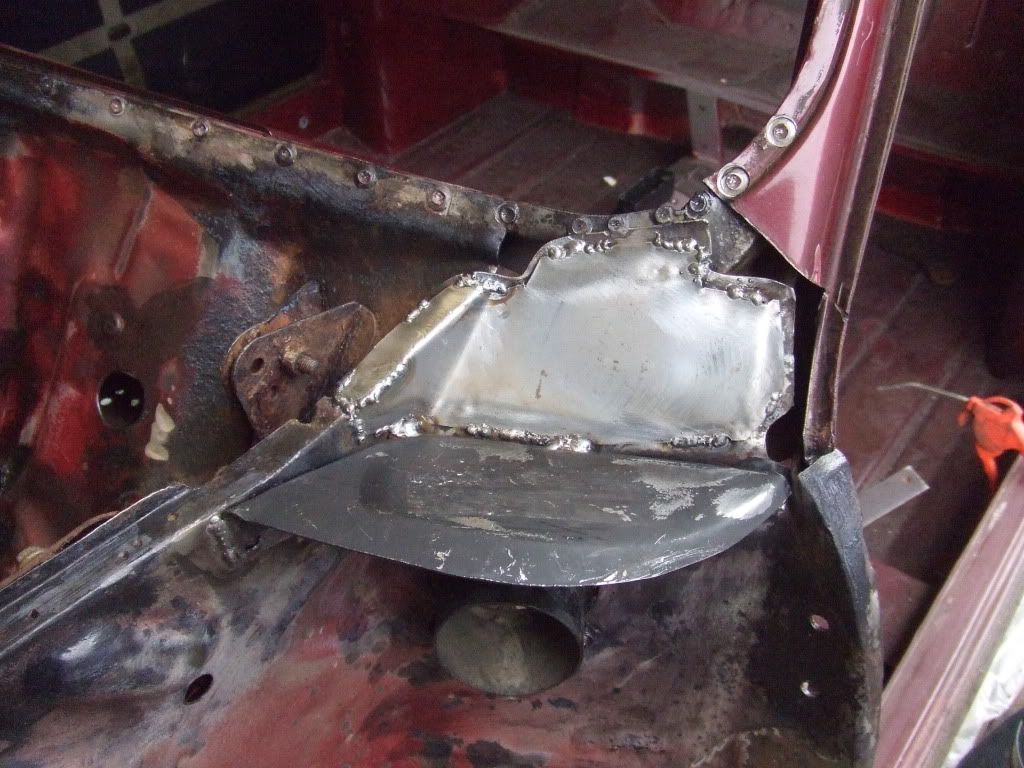
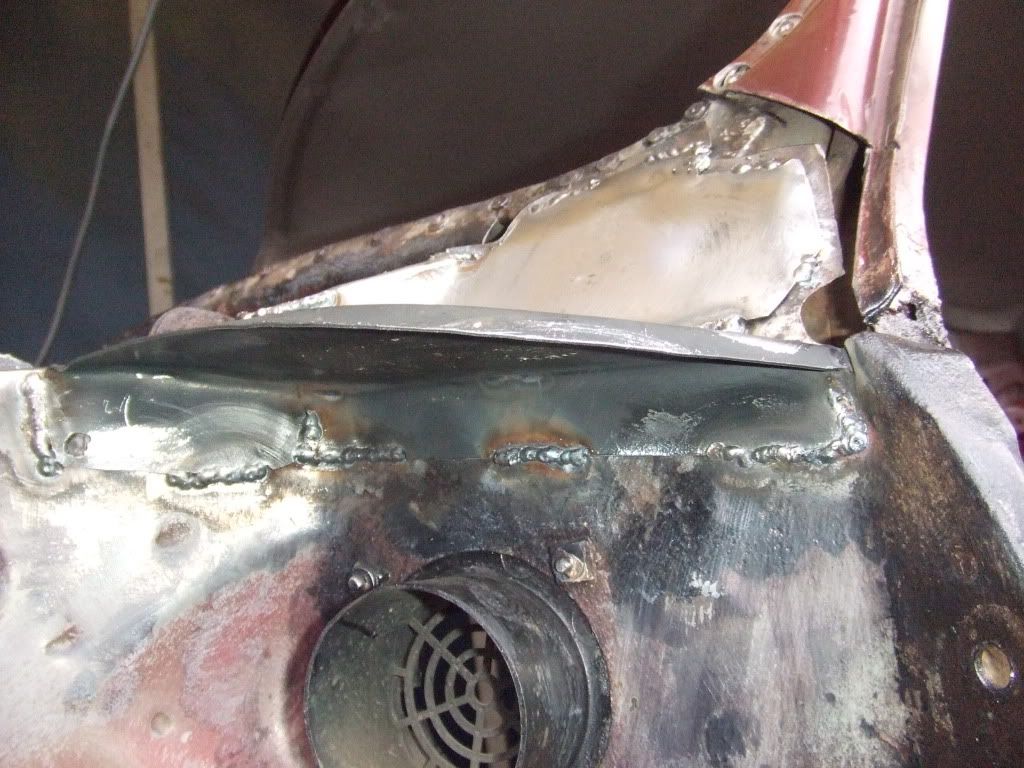
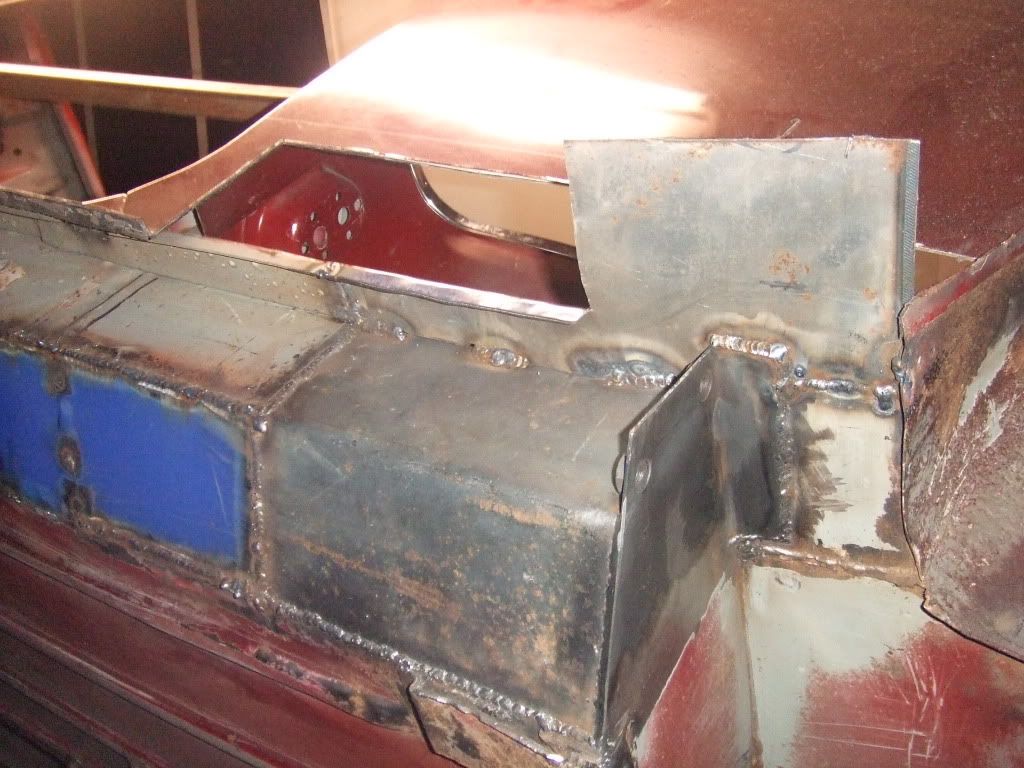
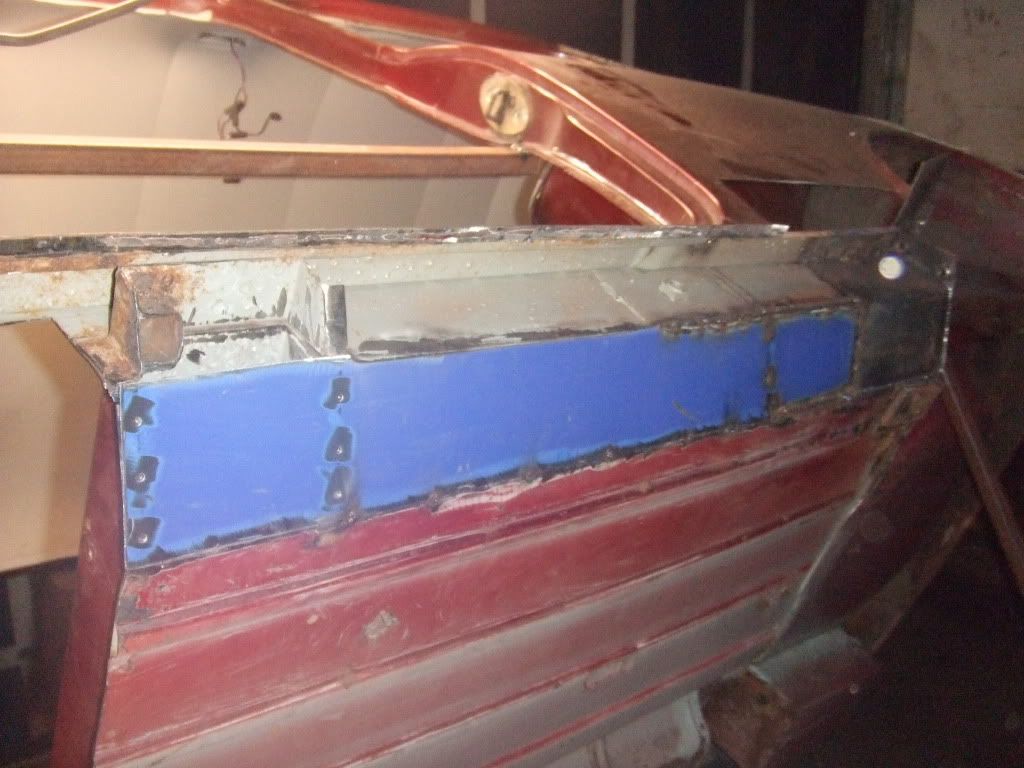
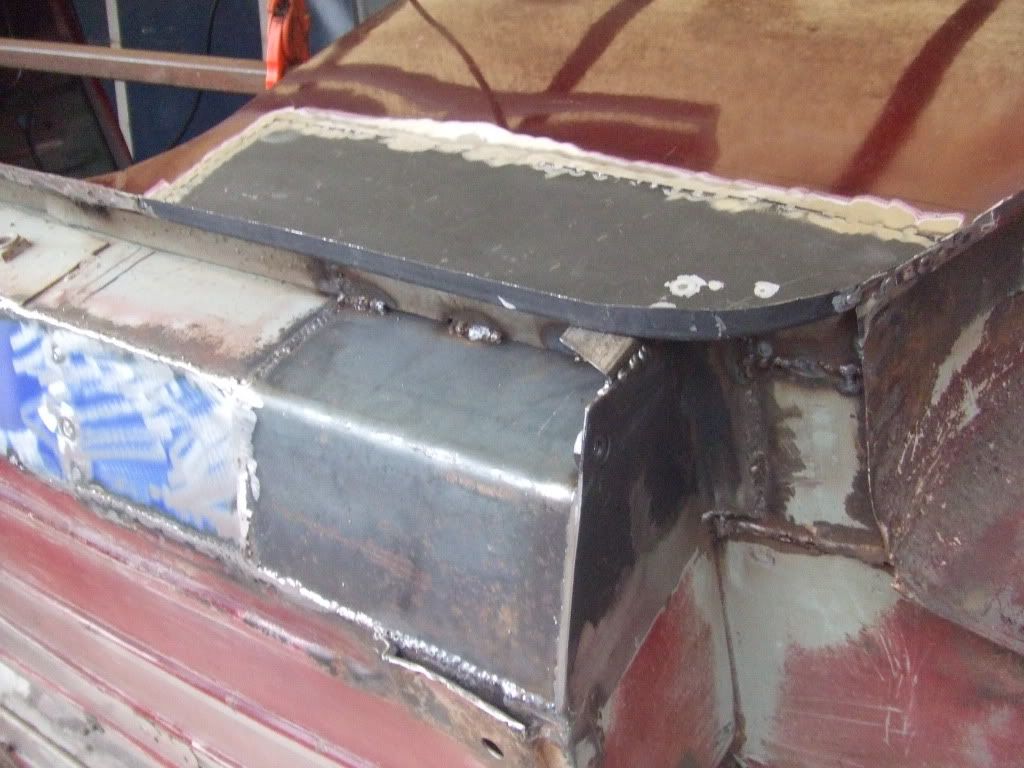
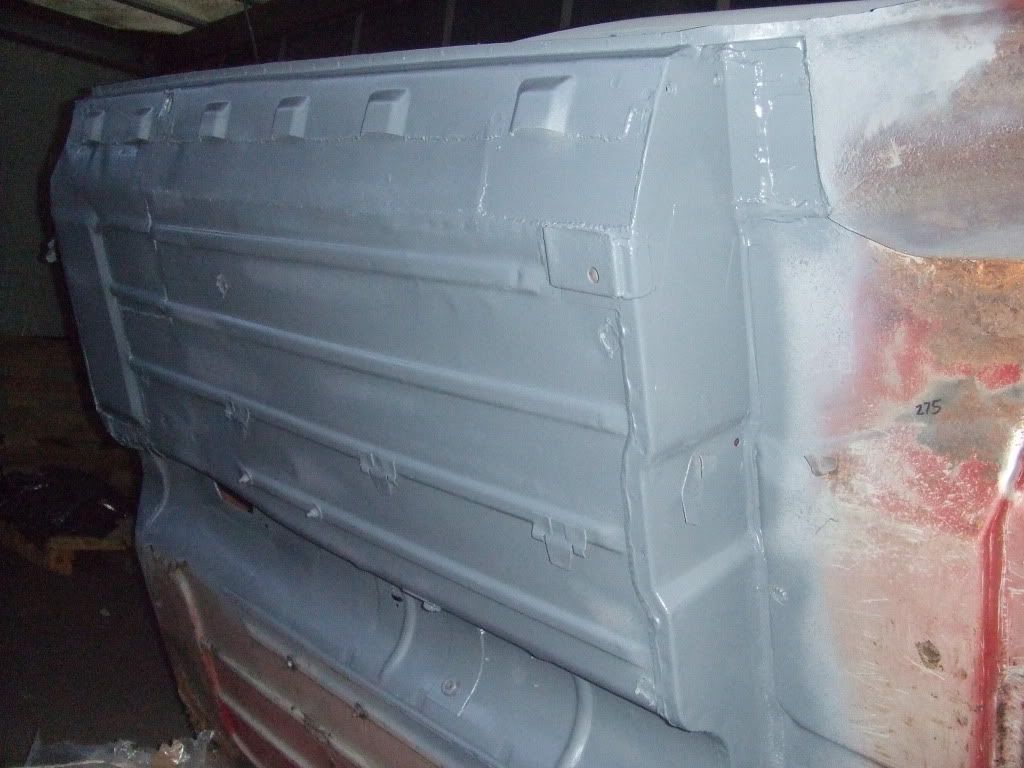
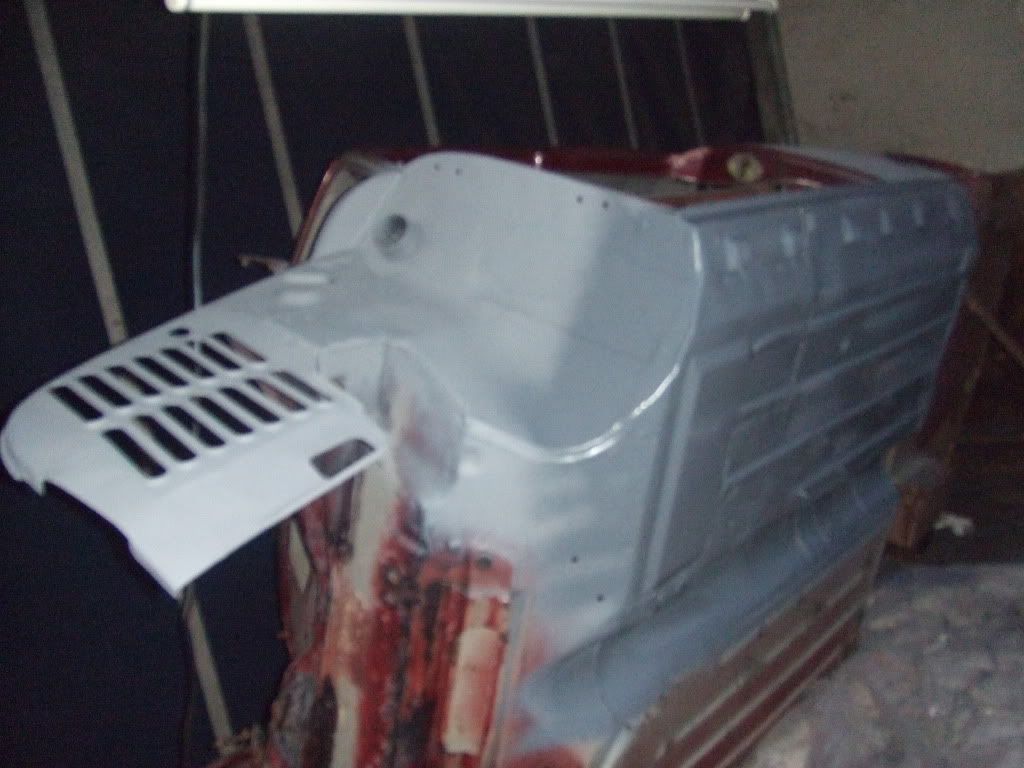
first we welded on all the patches to the N/S of the bulkhead, N/S inner wing, flitch panel and scuttle closure

Posted Image

Posted Image

Posted Image

Posted Image

Posted Image

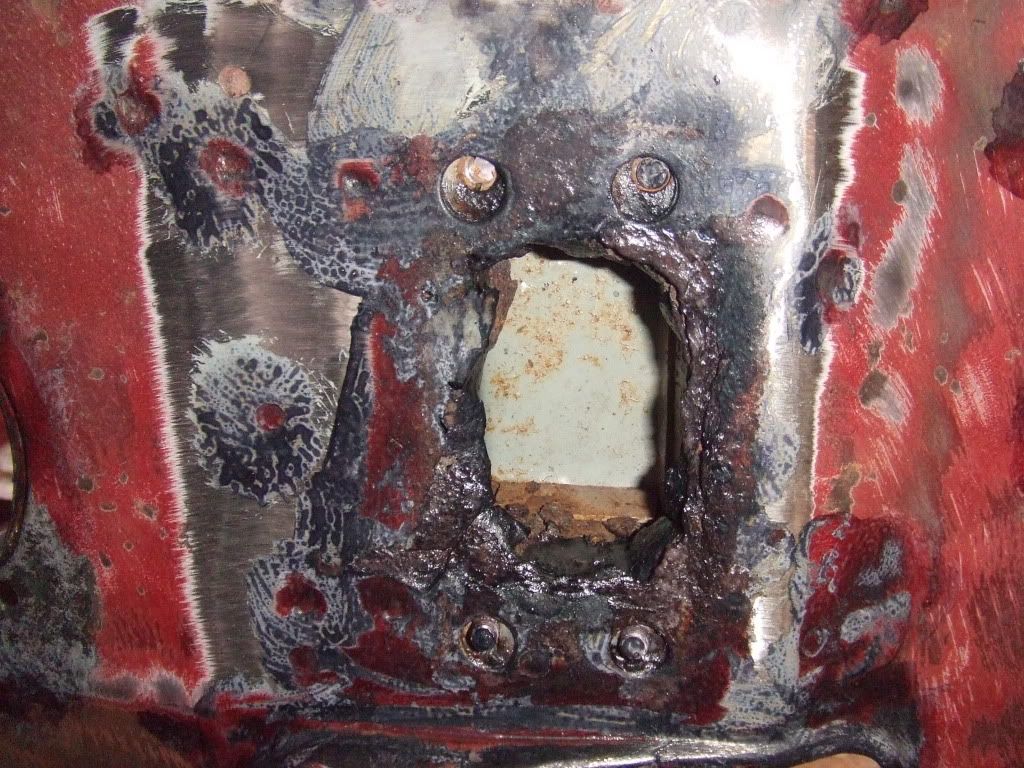
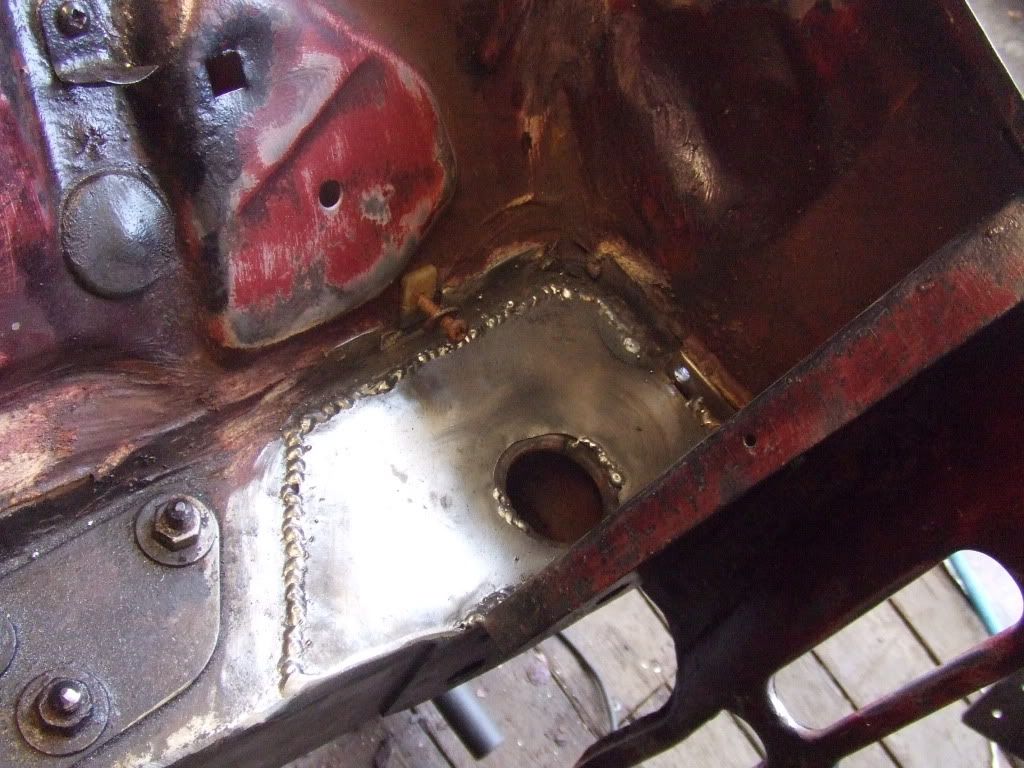
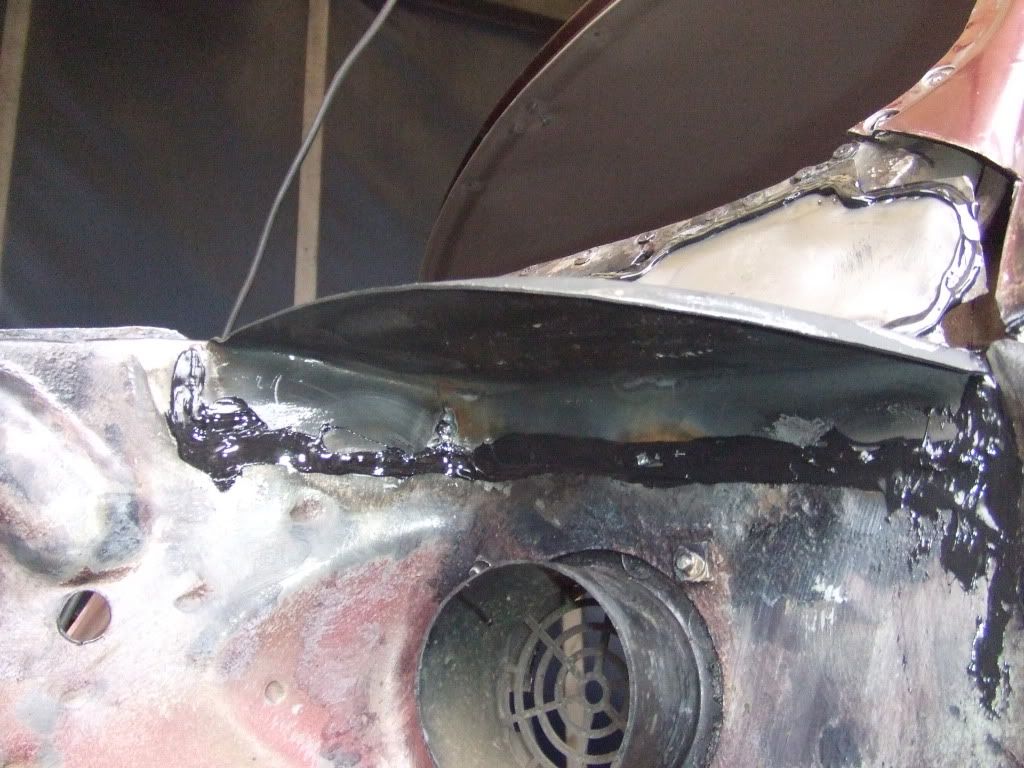
before repairing the shock mount, we filled the inside of the bulk head cross member with rust reverter

Posted Image

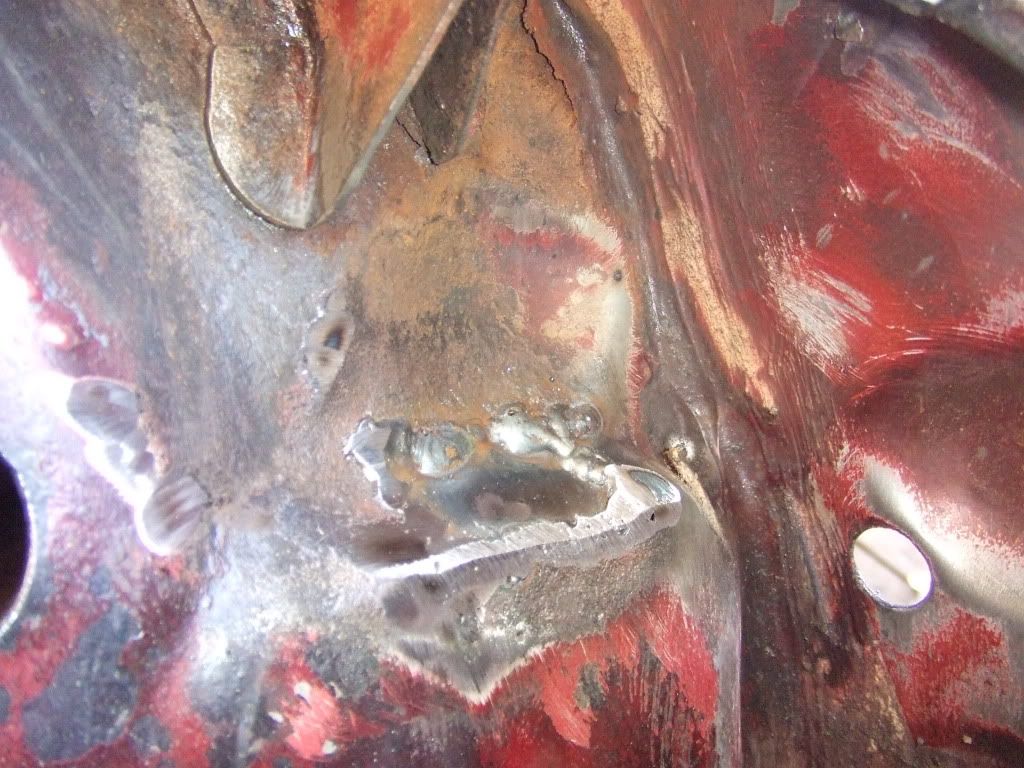
this was my first attempt at welding, i didn't even practice on off cuts first...

Posted Image

we used the new scuttle to line up the new closure

Posted Image

Posted Image

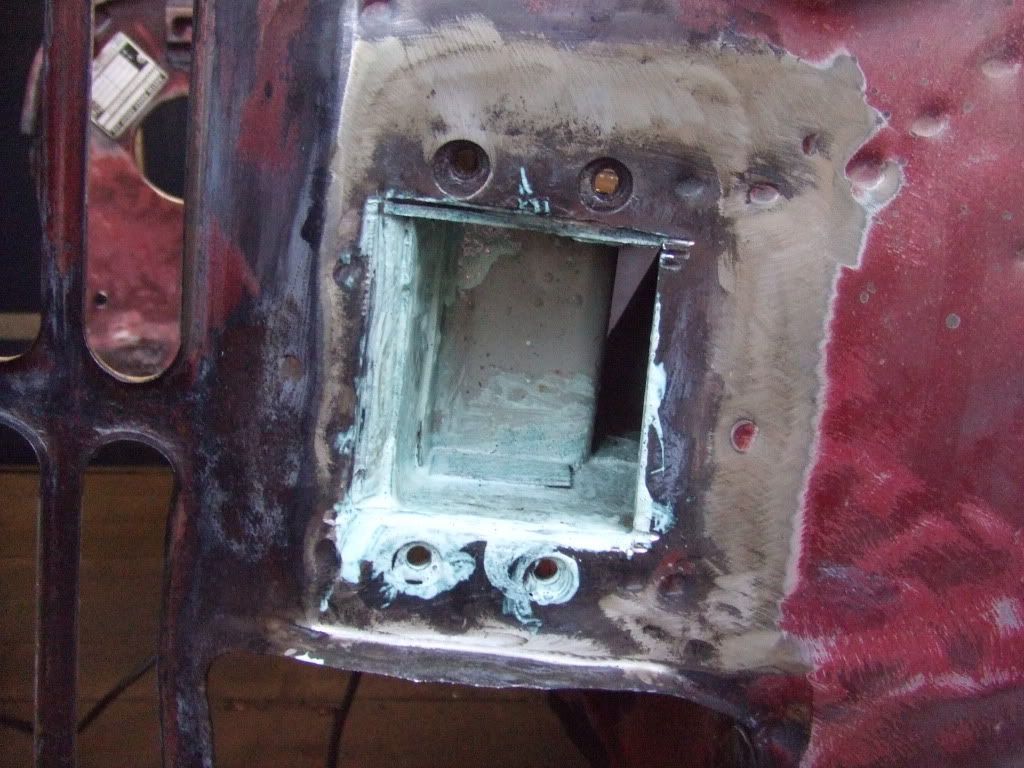
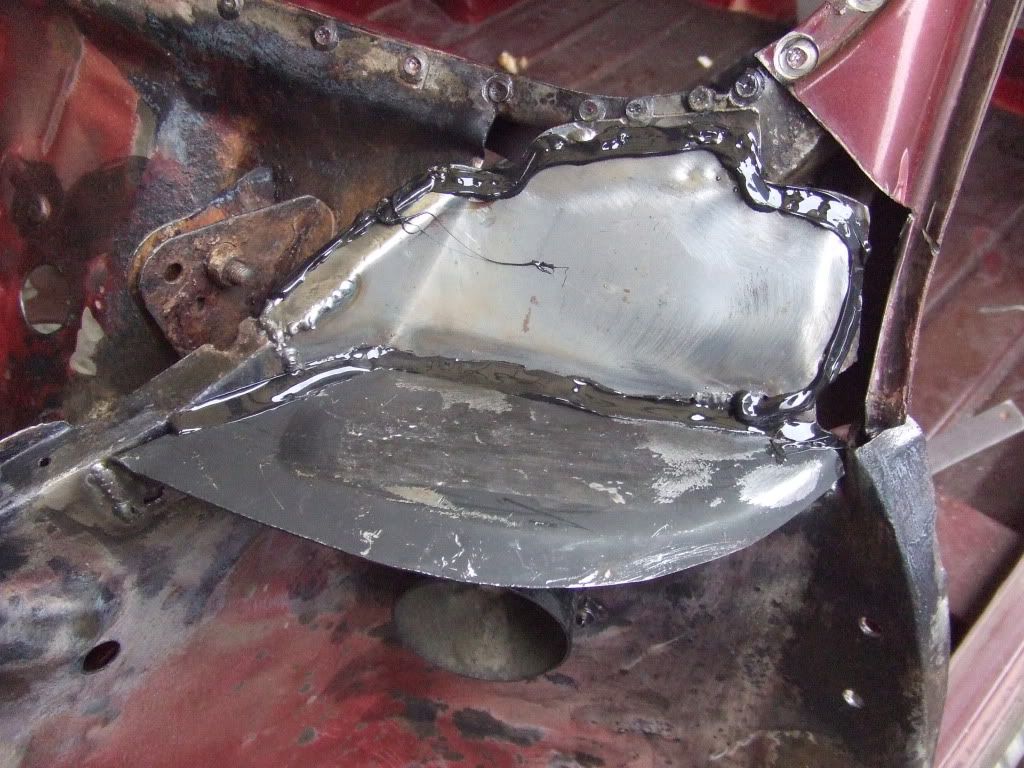
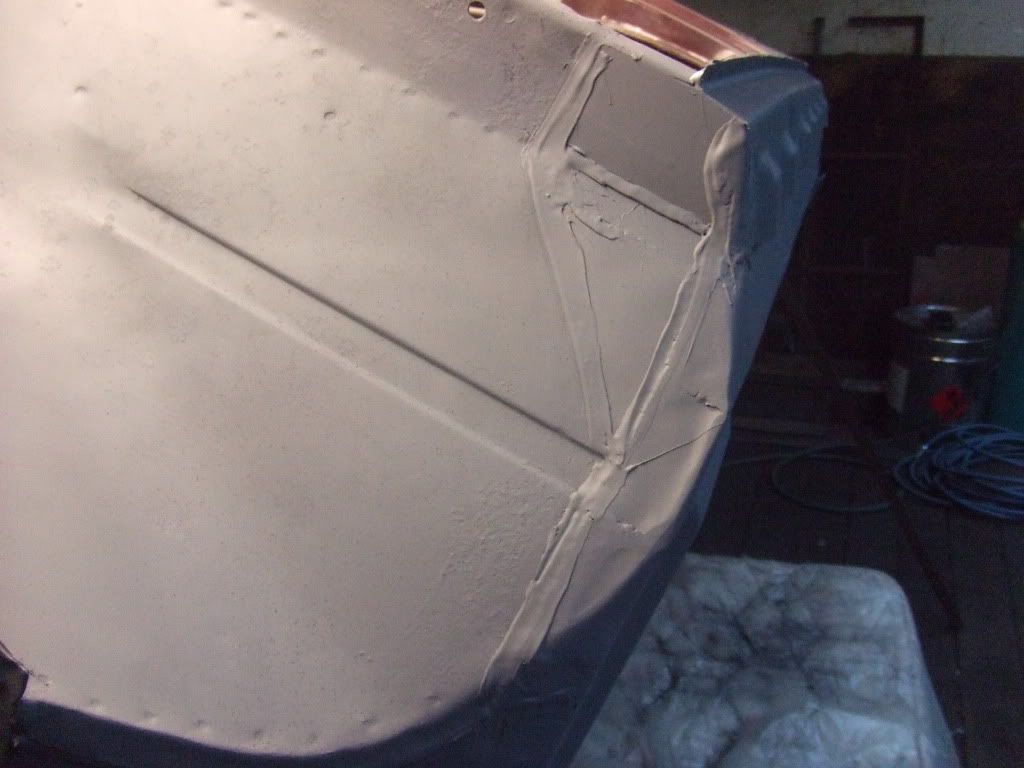
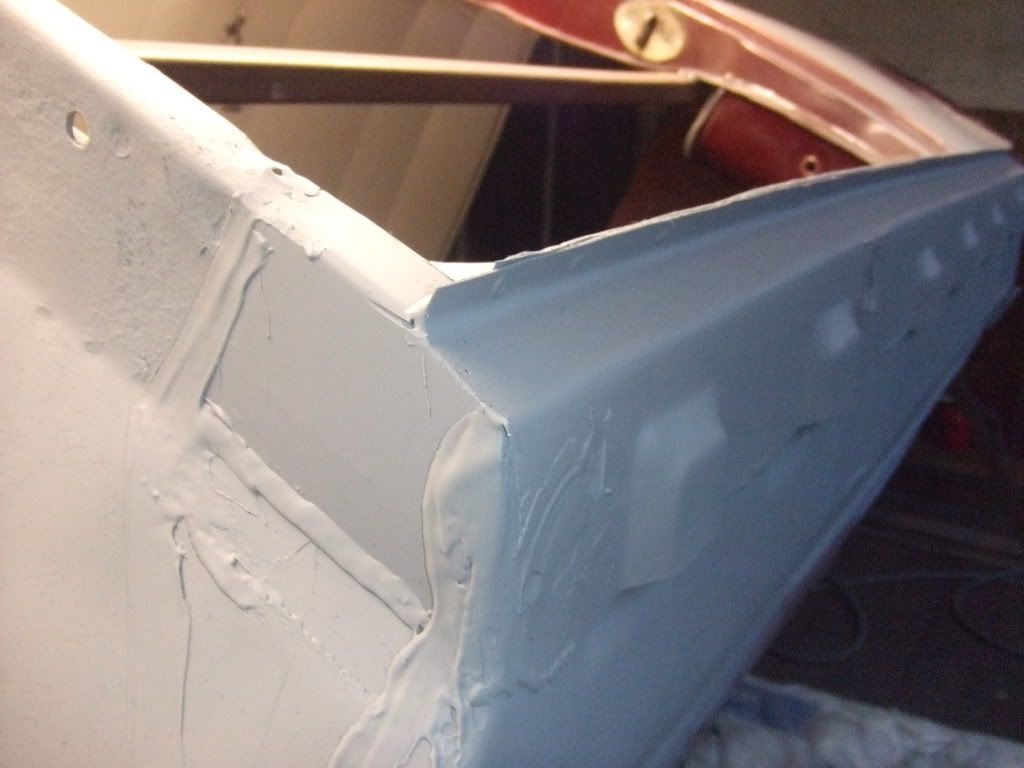
then applied some seam sealer

Posted Image

Posted Image

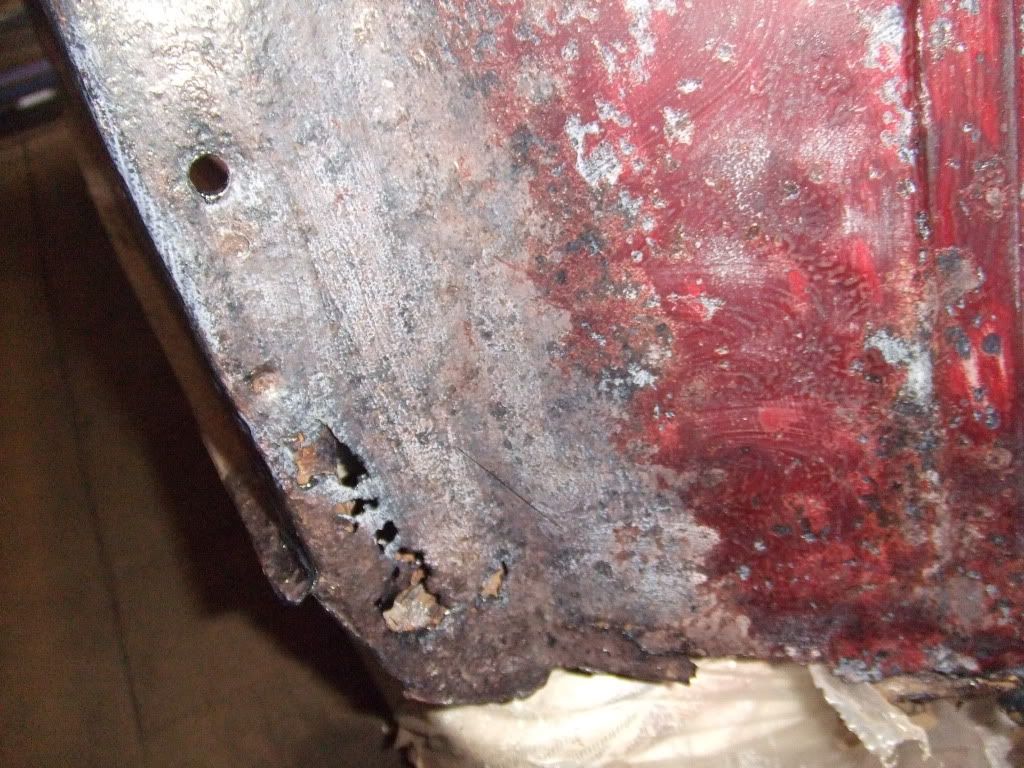
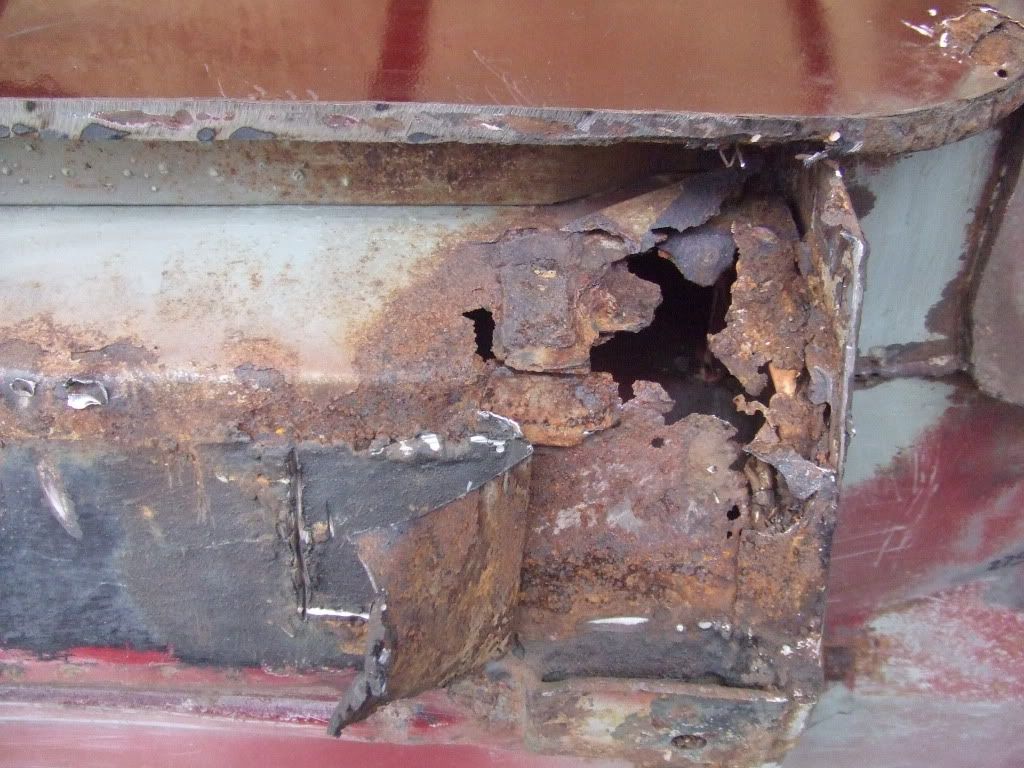
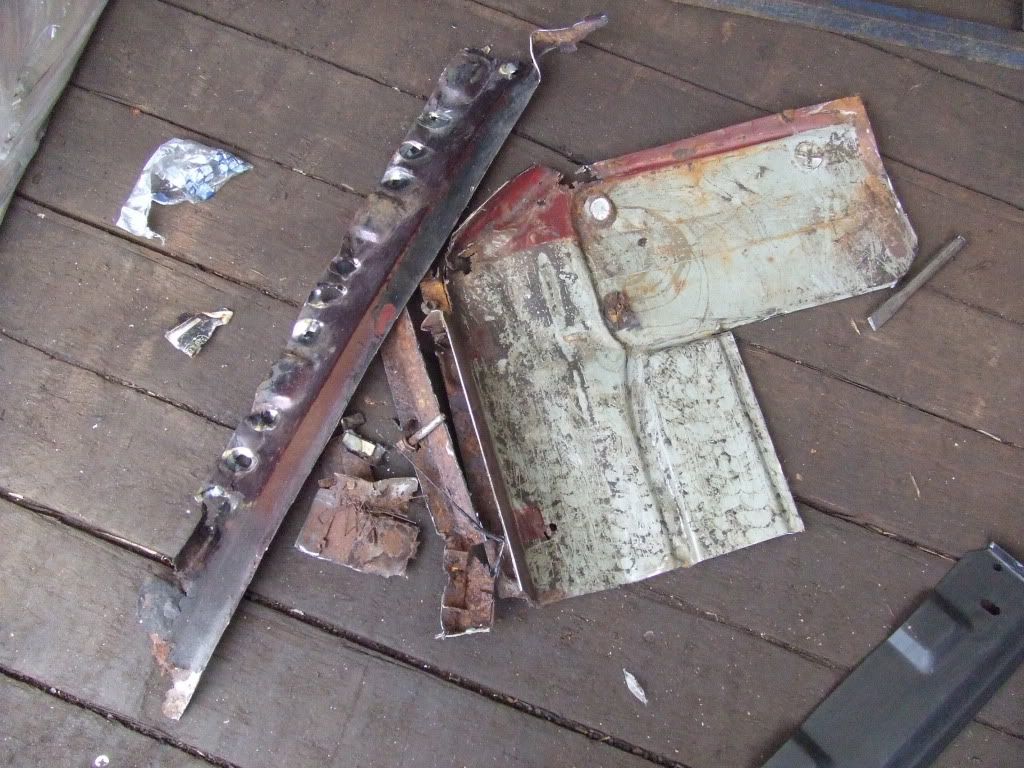
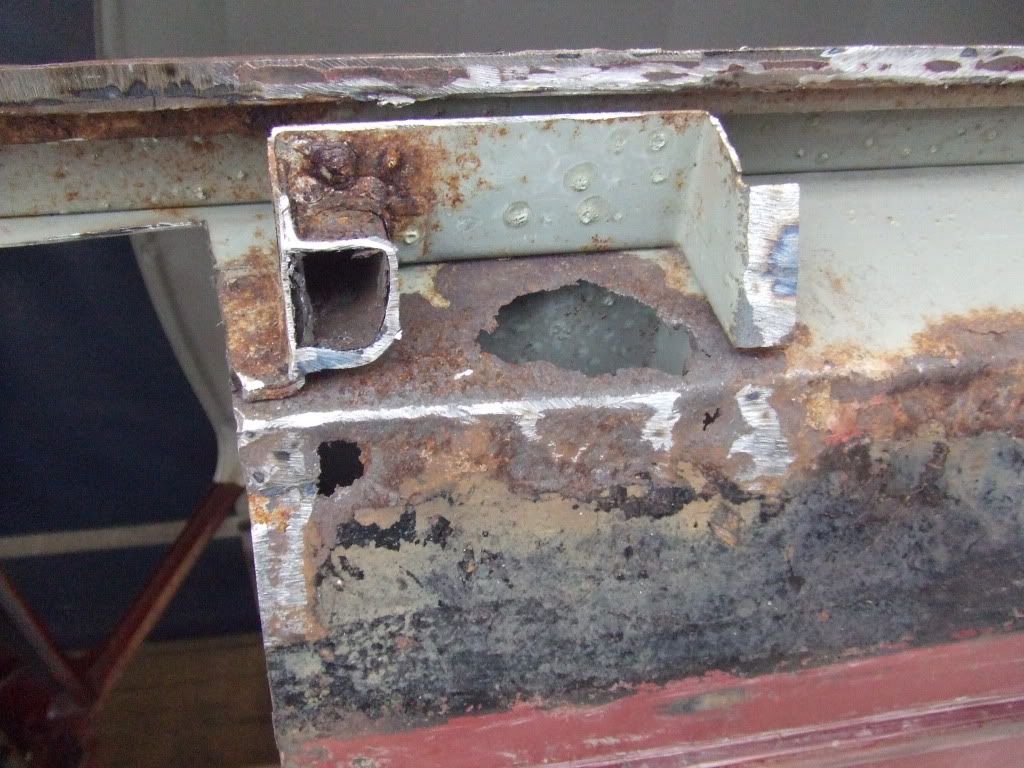
then we bit the bullet and cut out the N/S front floor pan, outer sill, subby mount, lower rear quarter and parts of the inner sill and jacking point

Posted Image

Posted Image

Posted Image

Posted Image

we ended up cutting off a lot more than we anticipated to find some solid metal :unsure: it made me feel a little sick to see cliff like this :X

Posted Image

then we started to replace the panels with fresh metal...

Posted Image

Posted Image

Posted Image

Posted Image

Posted Image

...that's better :lol:

tomorrow we will finish welding on the new part of the inner sill, front floor pan, outer sill, lower rear quarter repair...the list goes on and on >_<

Rhys

#197 Andrew O

Andrew O

    Previously known as Andrewo330.

  • Members
  • PipPipPipPipPipPipPip
  • 1,425 posts

Posted 27 February 2012 - 10:47 PM

Looking good, Did you grid down the welds after sealing ?

#198 stretch tech

stretch tech

    One Carb Or Two?

  • Members
  • PipPipPipPipPipPipPip
  • 1,363 posts
  • Location: Tamwoth
  • Local Club: A5 & Mini Mainiacs

Posted 28 February 2012 - 07:25 PM

yeah, we ground back the welds and gave them i wire brushing to roughen them up so that the sealer would stick better

Rhys

#199 grahama

grahama

    Up Into Fourth

  • Members
  • PipPipPipPipPipPipPipPipPip
  • 2,442 posts
  • Location: Warrington
  • Local Club: None in my area !!

Posted 28 February 2012 - 07:29 PM

Some great work you have done there, nie when it all starts to come together.

#200 stretch tech

stretch tech

    One Carb Or Two?

  • Members
  • PipPipPipPipPipPipPip
  • 1,363 posts
  • Location: Tamwoth
  • Local Club: A5 & Mini Mainiacs

Posted 28 February 2012 - 08:16 PM

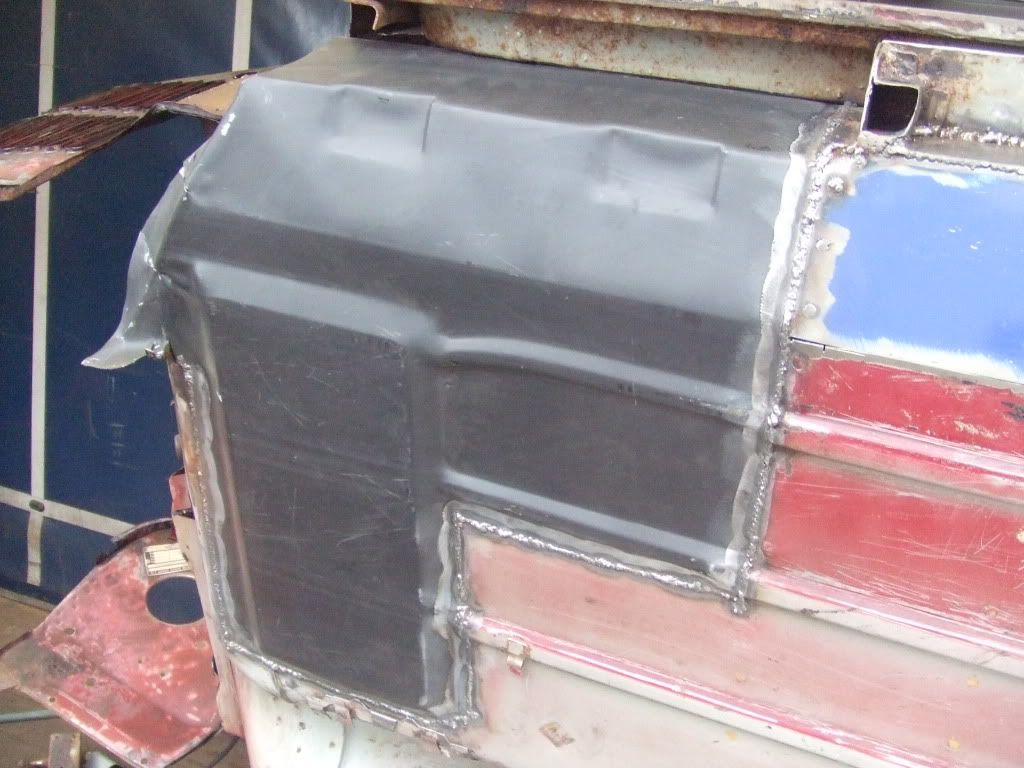
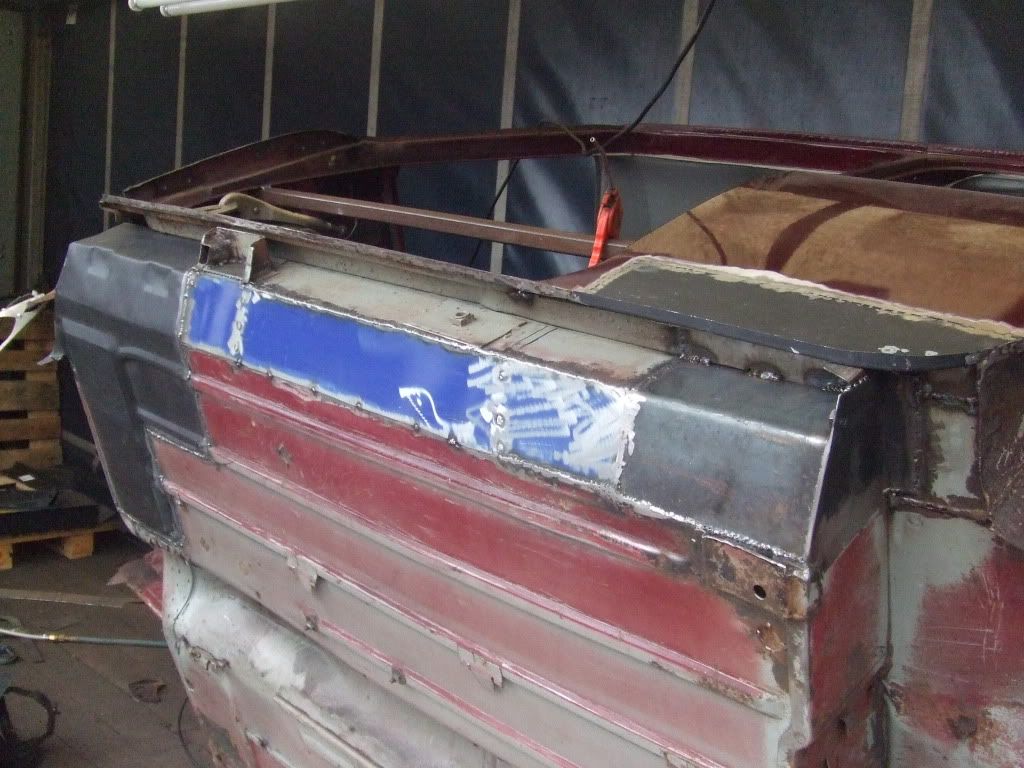
today we finished off all the near side repairs, first we tacked in the lower rear quarter repair

Posted Image

then we fitted the front floor pan...what an absolute nightmare pattern parts are >_< the folds for the inner sill were too near to each other, the foot well was too small and the channels were too narrow and in the wrong place...aarghh :!:

Posted Image

Posted Image

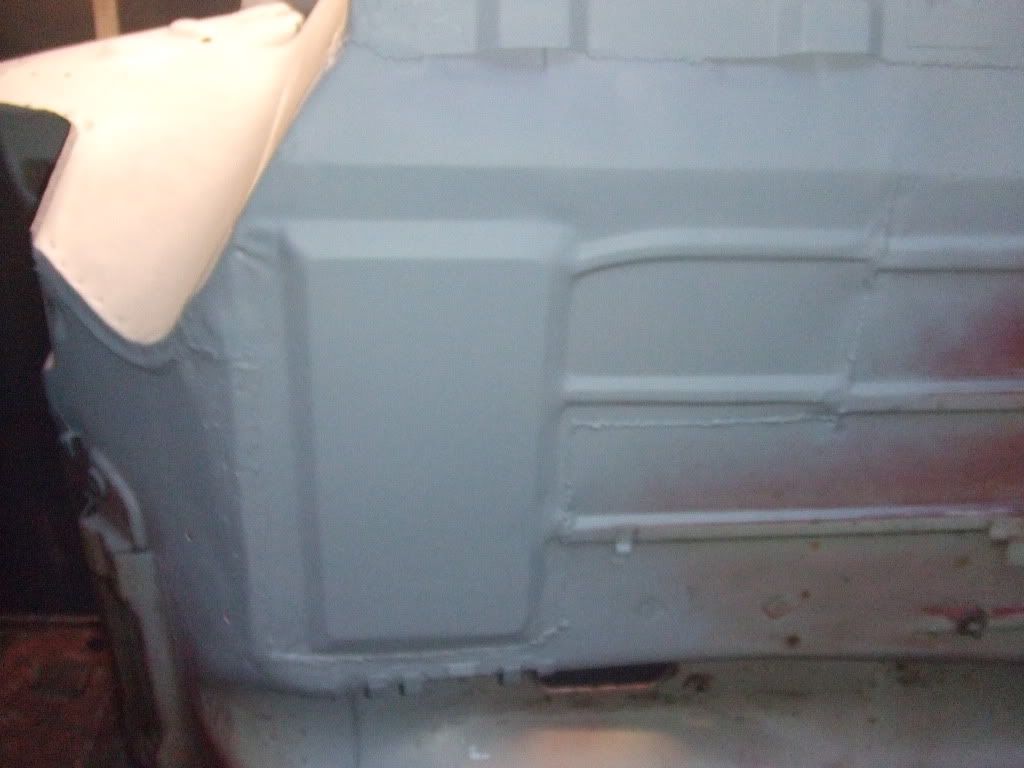
then we fitted the outer sill, seam sealed and applied a layer of primer to all the fresh new metal

Posted Image

Posted Image

Posted Image

Posted Image

Posted Image

Posted Image

Posted Image

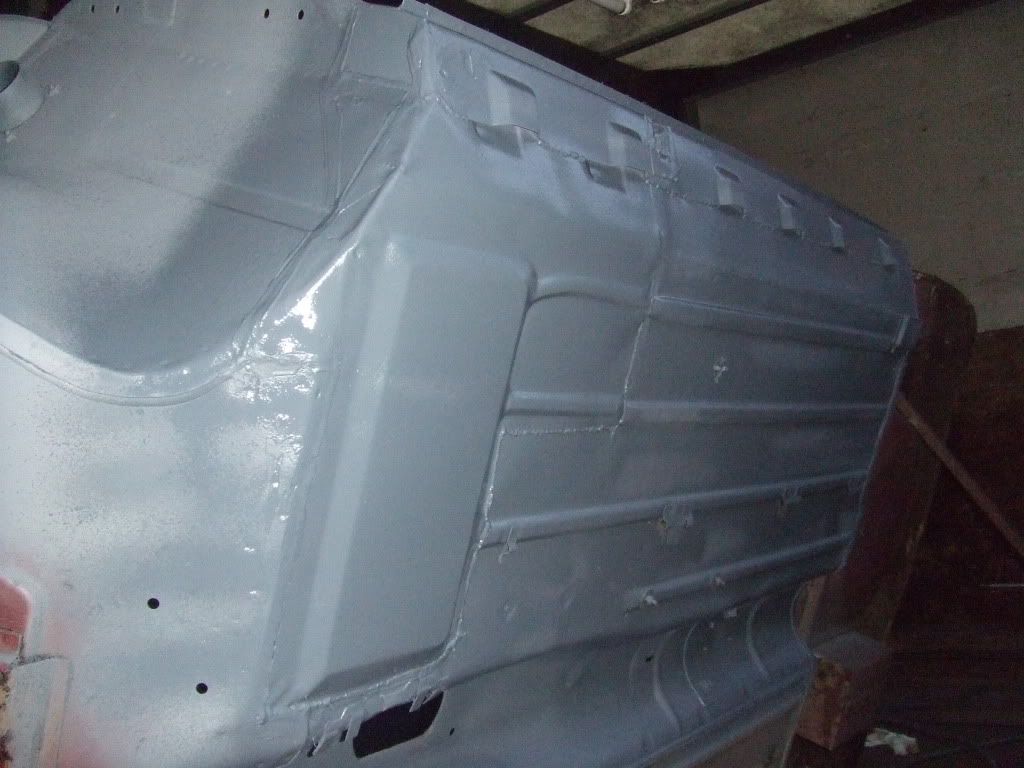
then we stone chipped the whole floor from the transmission tunnel up and rear subframe mounting panel forwards

Posted Image

Posted Image

Posted Image

we will be bush painting the underside and bulkhead/engine bay with colour matched cherry red and wax oiling when the body repairs are done

the curtain sider body we are using will be for sale when we are finished using it

Rhys

#201 stretch tech

stretch tech

    One Carb Or Two?

  • Members
  • PipPipPipPipPipPipPip
  • 1,363 posts
  • Location: Tamwoth
  • Local Club: A5 & Mini Mainiacs

Posted 28 February 2012 - 08:30 PM

Some great work you have done there, nie when it all starts to come together.


Cheers, i was glad to eventually find solid metal under all that rust, i feel much better now that we have finished this part of the body repairs

Rhys

#202 Philly1983

Philly1983

    Stage One Kit Fitted

  • Noobies
  • PipPipPip
  • 91 posts
  • Location: Newcastle Upon Tyne
  • Local Club: None Yet !

Posted 28 February 2012 - 08:55 PM

Ive just read through all of your thread, well done your doing a fantastic job and i look forward to seeing the end result!

#203 stretch tech

stretch tech

    One Carb Or Two?

  • Members
  • PipPipPipPipPipPipPip
  • 1,363 posts
  • Location: Tamwoth
  • Local Club: A5 & Mini Mainiacs

Posted 28 February 2012 - 08:57 PM

Ive just read through all of your thread, well done your doing a fantastic job and i look forward to seeing the end result!


thanks for your support...me too :lol:

Cheers

Rhys

#204 lil3on

lil3on

    Speeding Along Now

  • Members
  • PipPipPipPipPip
  • 379 posts
  • Location: wales

Posted 28 February 2012 - 09:10 PM

looking good mate :)

some grate work there!! keep it up.


Leon

#205 Gazza211

Gazza211

    Stage One Kit Fitted

  • Noobies
  • PipPipPip
  • 77 posts

Posted 29 February 2012 - 11:48 AM

Hi

Looks like its all starting to come together, just one thing, the lower quarter panel repair needs to be seam welded into the existing panel not just tacked, you are ok to spot weld on the flange but repairs to the panel need to have a continuous weld (sorry to be a kill-joy!)

Gaz

#206 stretch tech

stretch tech

    One Carb Or Two?

  • Members
  • PipPipPipPipPipPipPip
  • 1,363 posts
  • Location: Tamwoth
  • Local Club: A5 & Mini Mainiacs

Posted 29 February 2012 - 06:52 PM

looking good mate :)

some grate work there!! keep it up.


Leon


cheers pal

Rhys

#207 stretch tech

stretch tech

    One Carb Or Two?

  • Members
  • PipPipPipPipPipPipPip
  • 1,363 posts
  • Location: Tamwoth
  • Local Club: A5 & Mini Mainiacs

Posted 29 February 2012 - 06:57 PM

Hi

Looks like its all starting to come together, just one thing, the lower quarter panel repair needs to be seam welded into the existing panel not just tacked, you are ok to spot weld on the flange but repairs to the panel need to have a continuous weld (sorry to be a kill-joy!)

Gaz


hi, we were unsure what to do with the rear quarters...we want to make it strong but we thought that seem welding is un-necessary and would just risk distorting the panel...does it need to be seem welded for the mot ? as we seem welded the sill as we knew that the mot-er may fail it on spot welding the sills

Cheers

Rhys

#208 stretch tech

stretch tech

    One Carb Or Two?

  • Members
  • PipPipPipPipPipPipPip
  • 1,363 posts
  • Location: Tamwoth
  • Local Club: A5 & Mini Mainiacs

Posted 29 February 2012 - 08:28 PM

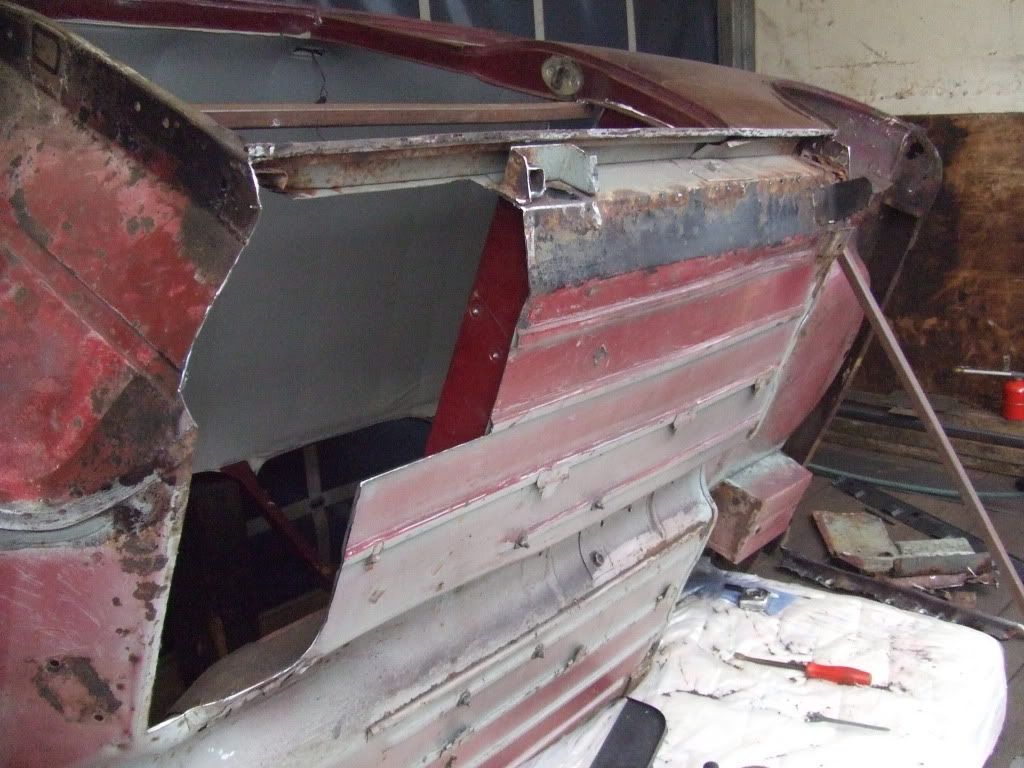
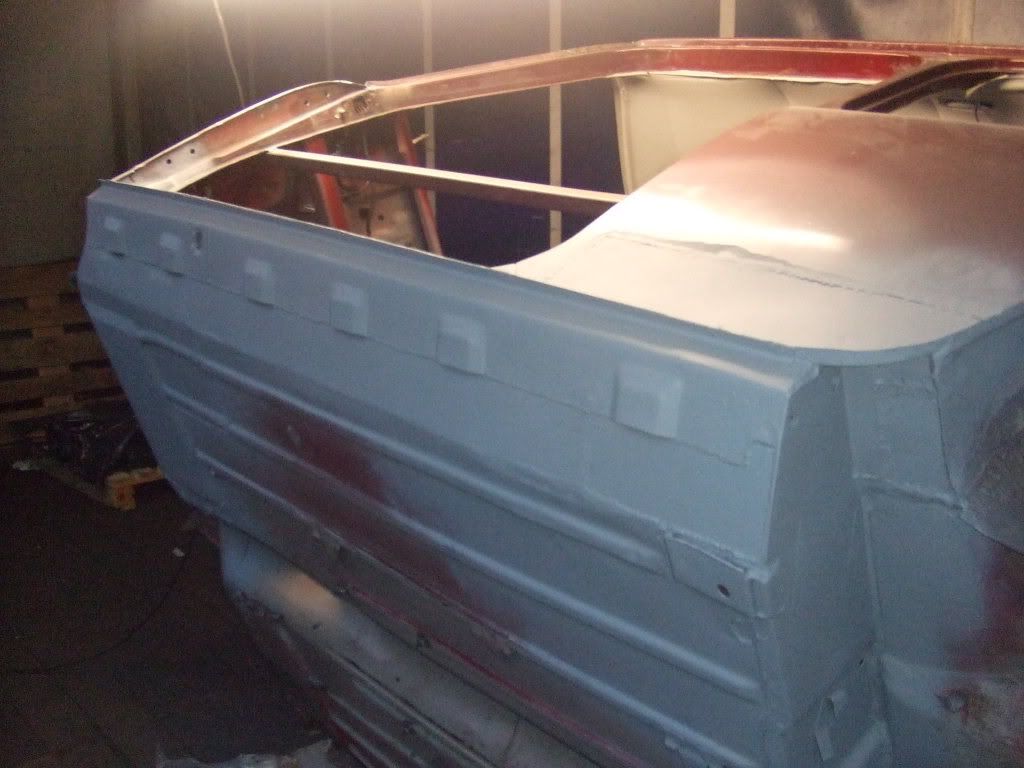
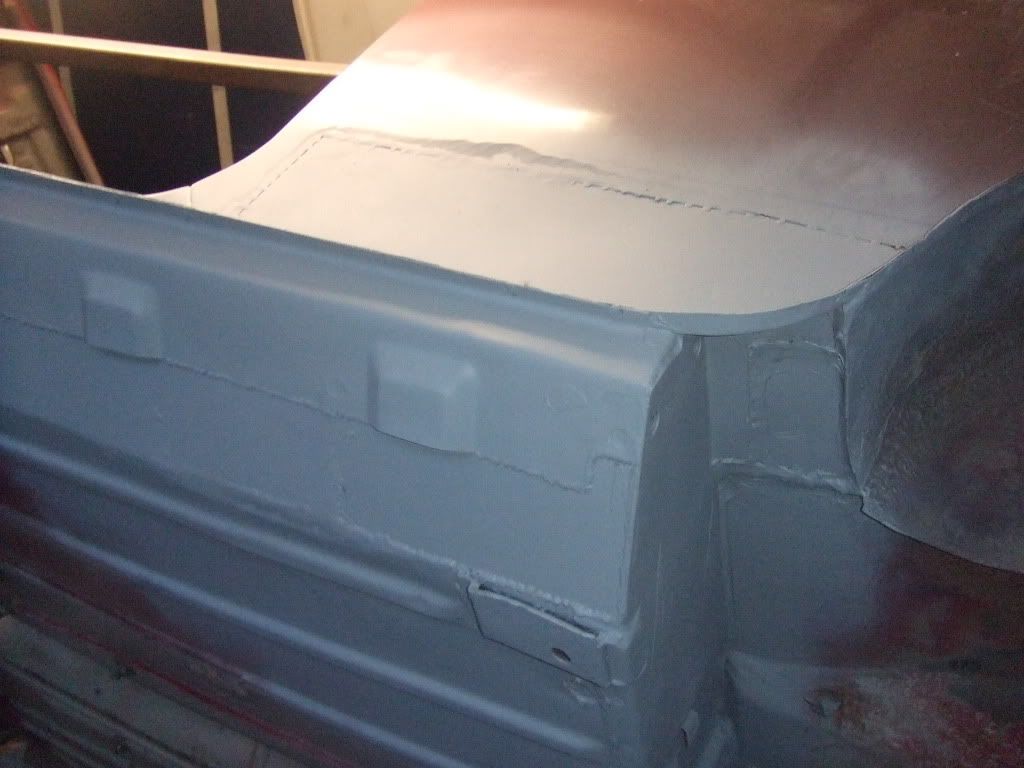
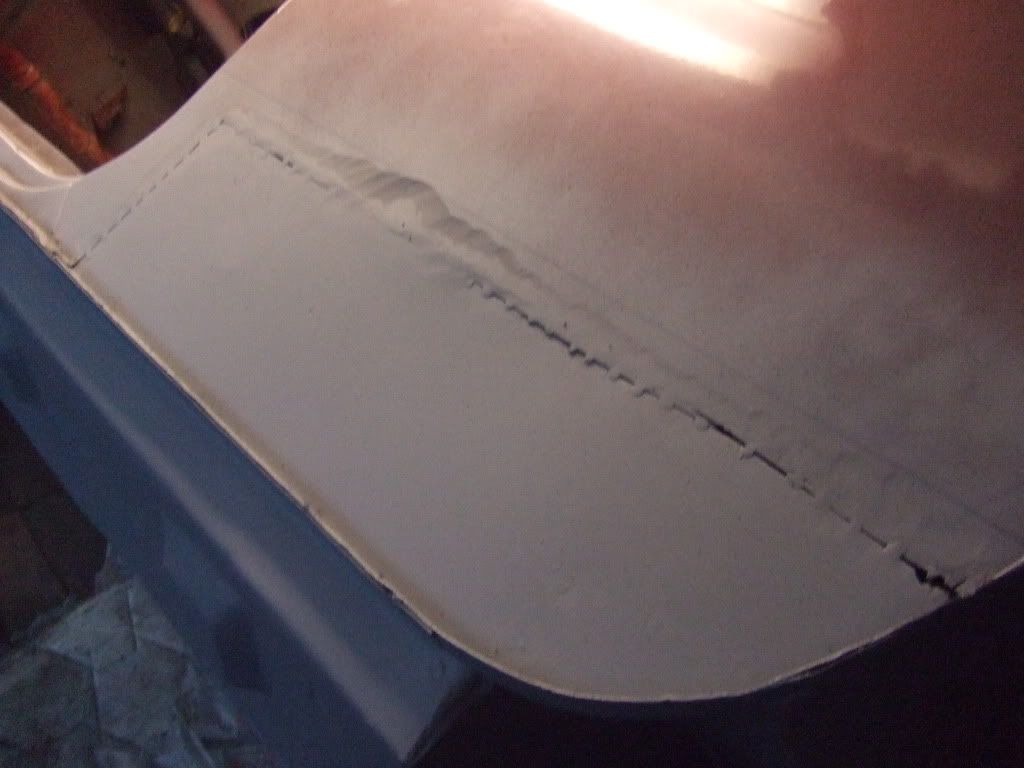
today we started to tackle the boot floor...first we removed the rear valance ( and closures ) so we could get to clean it up with the wire brush in the grinder, the valance had been filled with part of a magazine and filler :blink: we also cut out the patches of rust

Posted Image

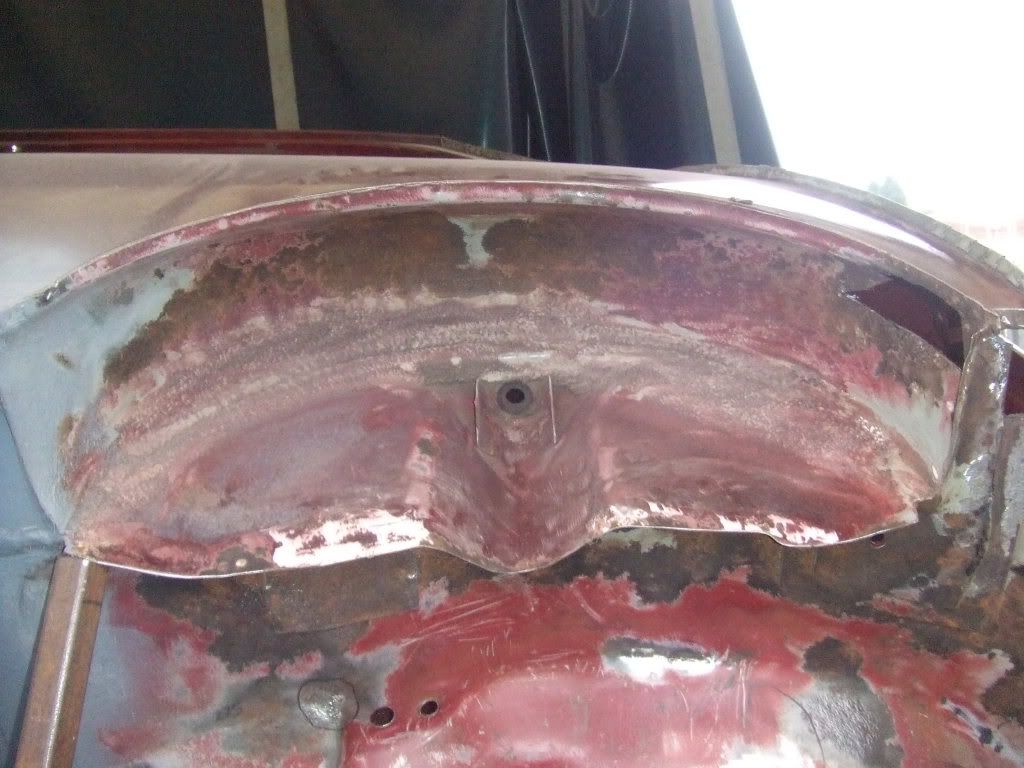
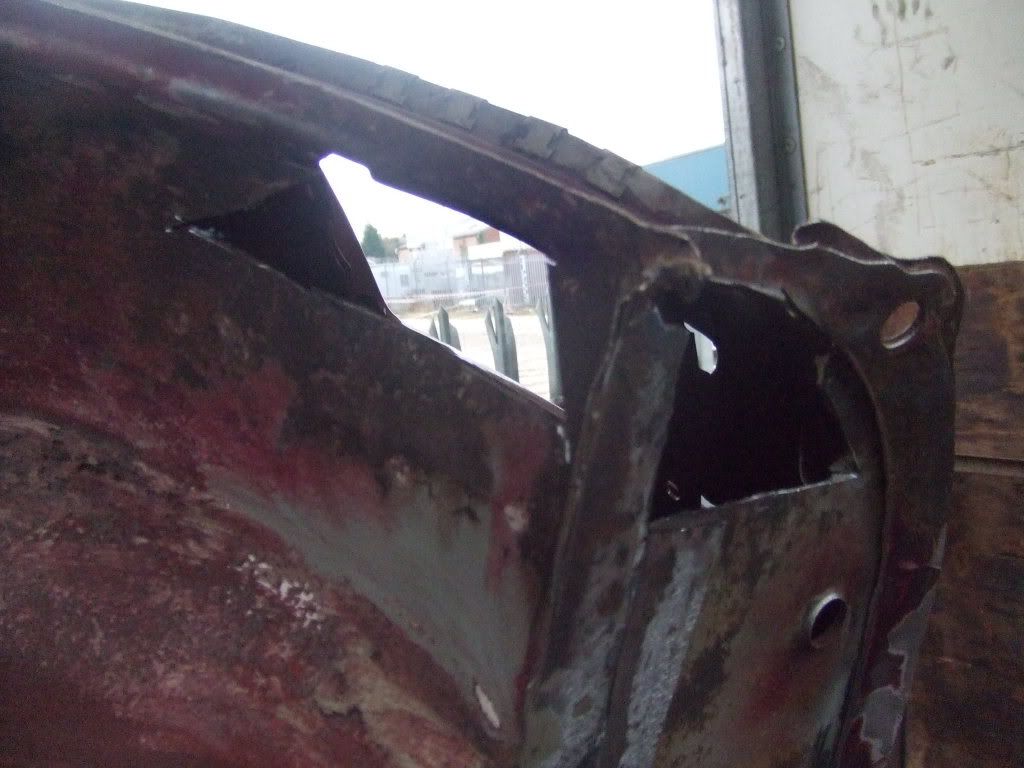
the arch wasn't too bad, just a patch on the very rear end and a patch right in the corner of the boot floor and there was two small holes broken through around the base of the seam that runs up the side of the car
Posted Image

Posted Image

Posted Image

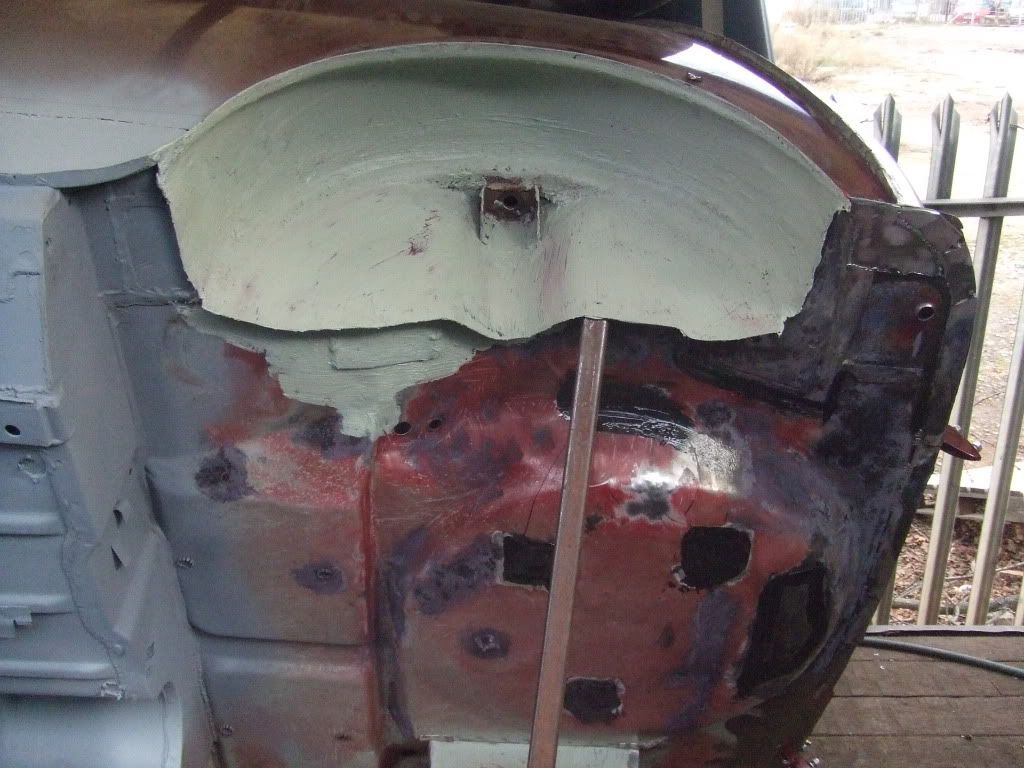
then we patched all the holes...what a nightmare that turned out to be, it was like welding tissue paper in some areas so we had to cut the holes out bigger on the area where the spare wheel sits to find solid metal. we then ground the welds back and applied seam sealer
Posted Image

we brought some brush on seam sealer for the arches ( the light green coloured stuff) and it was rubbish...it reacted with the old paint and shrunk so we wiped it all off and re applied some of the other stuff we have been using which is really thick and sticky = good stuff :lol:

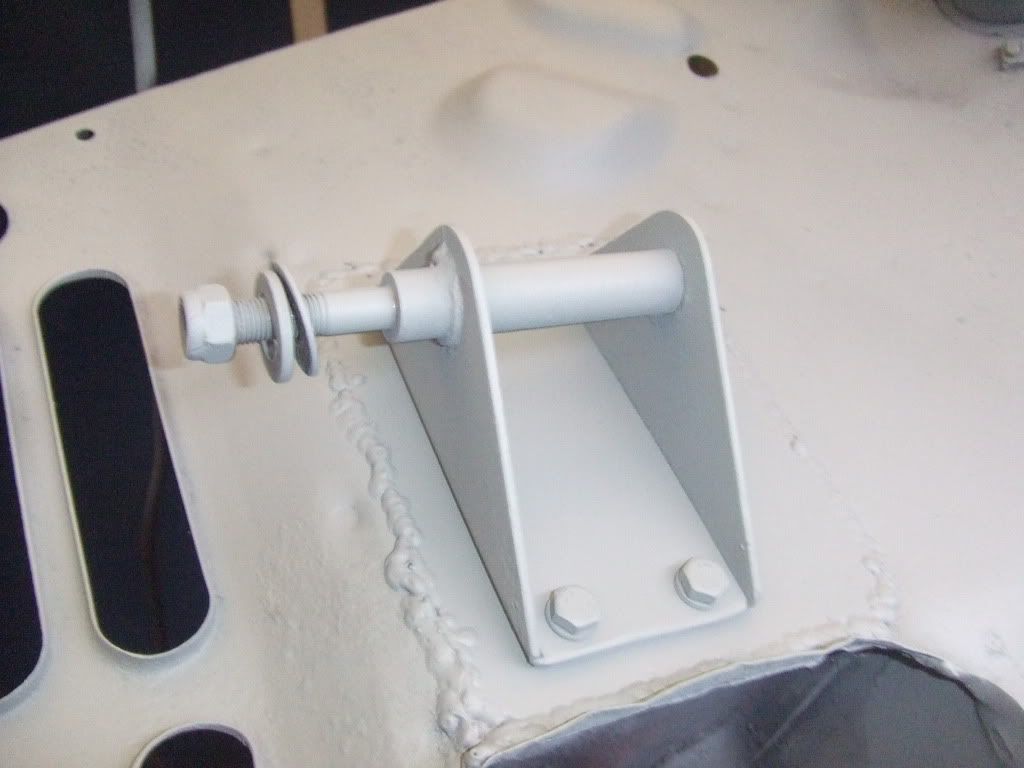
i also primed the shock mount and bolted it back on to the newly repaired inner wing
Posted Image

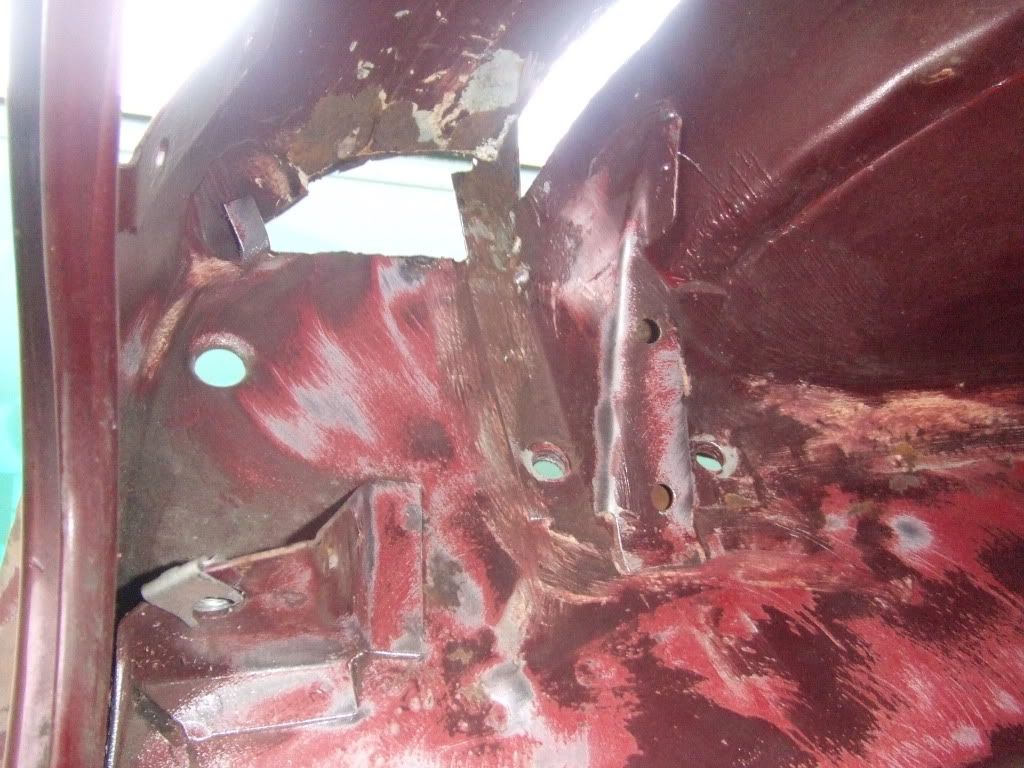
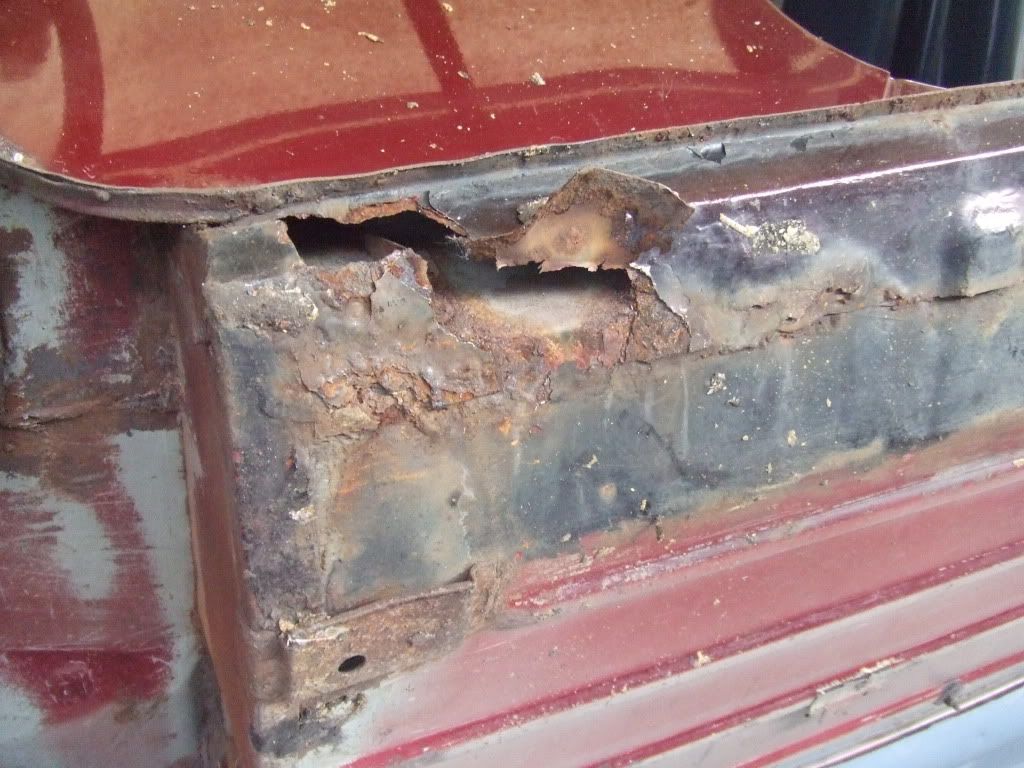
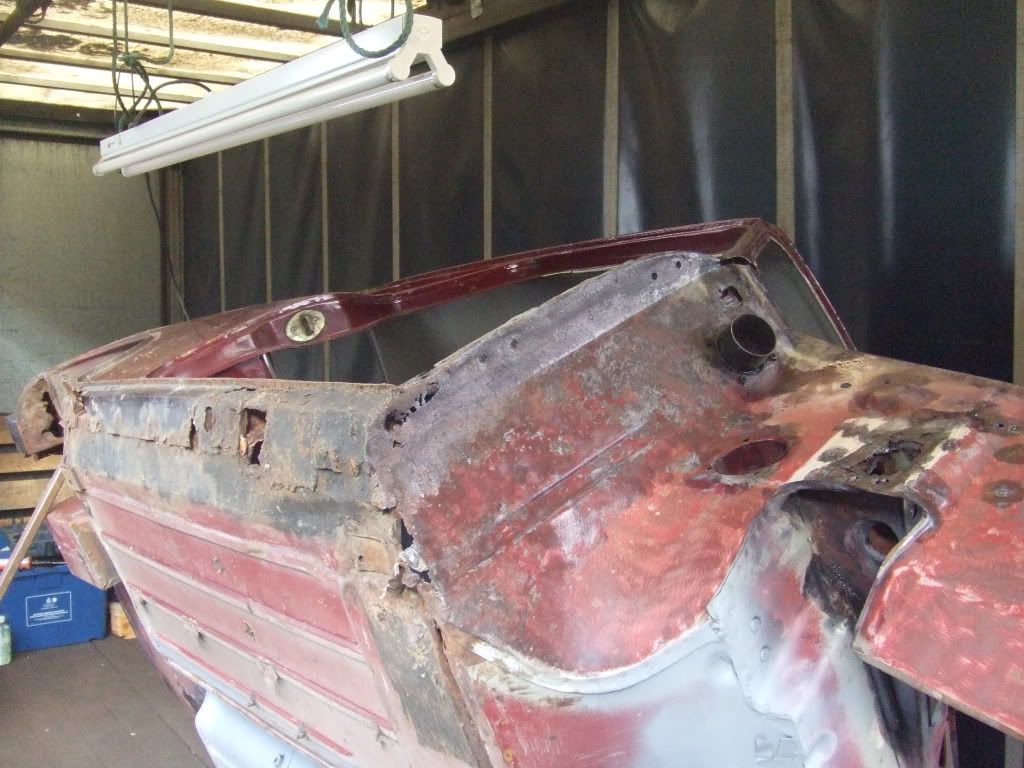
we have now finished the whole N/S half of cliff :gimme: ..........but then we turned him round to attack the O/S...oh dear, it's a little worse than the N/S was
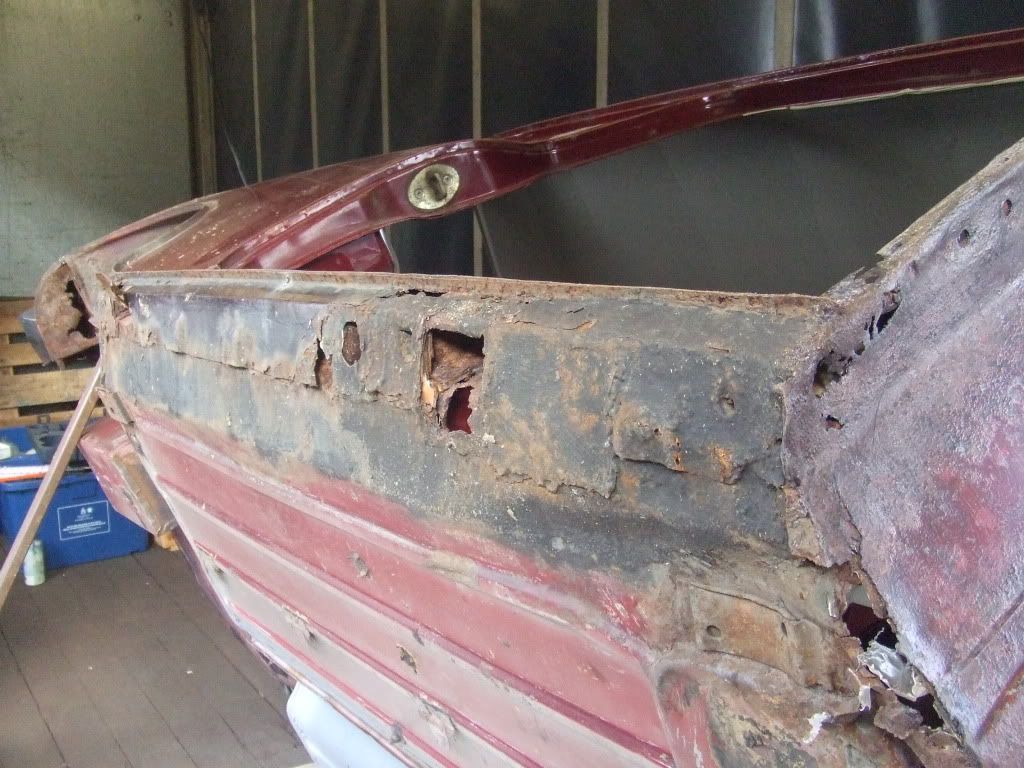
Posted Image

Posted Image

Posted Image

Posted Image

Posted Image

Posted Image

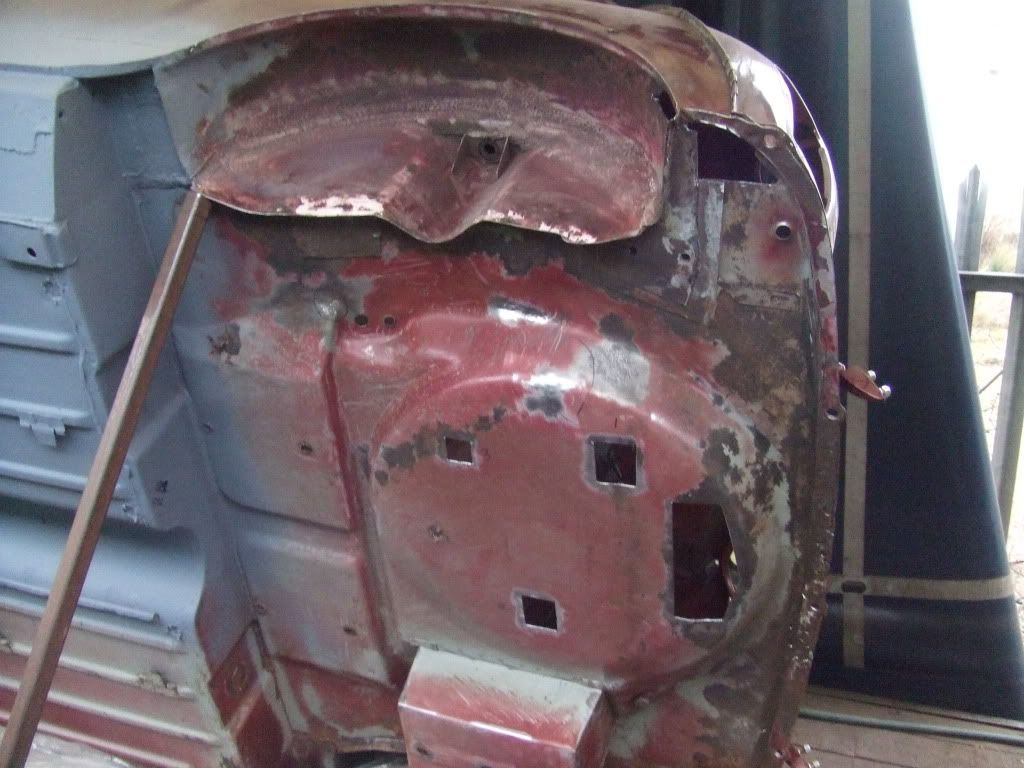
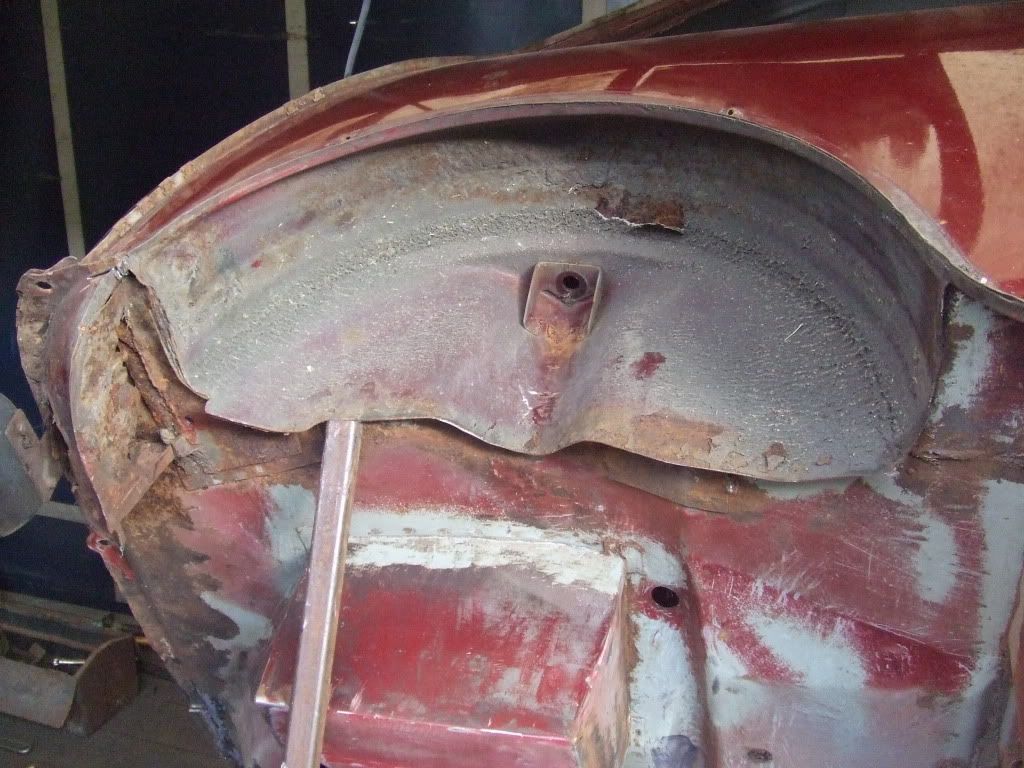
once again we bit the bullet and started to clean up the arch, the rest of the boot floor and battery box

the battery box is unbelievably solid and it needs no patches or repairs. the arch looked bad as some of the under seal had peeled away and there was lots of rust but luckily it was just surface rust and the metal is all sound...the same cannot be said for boot floor...
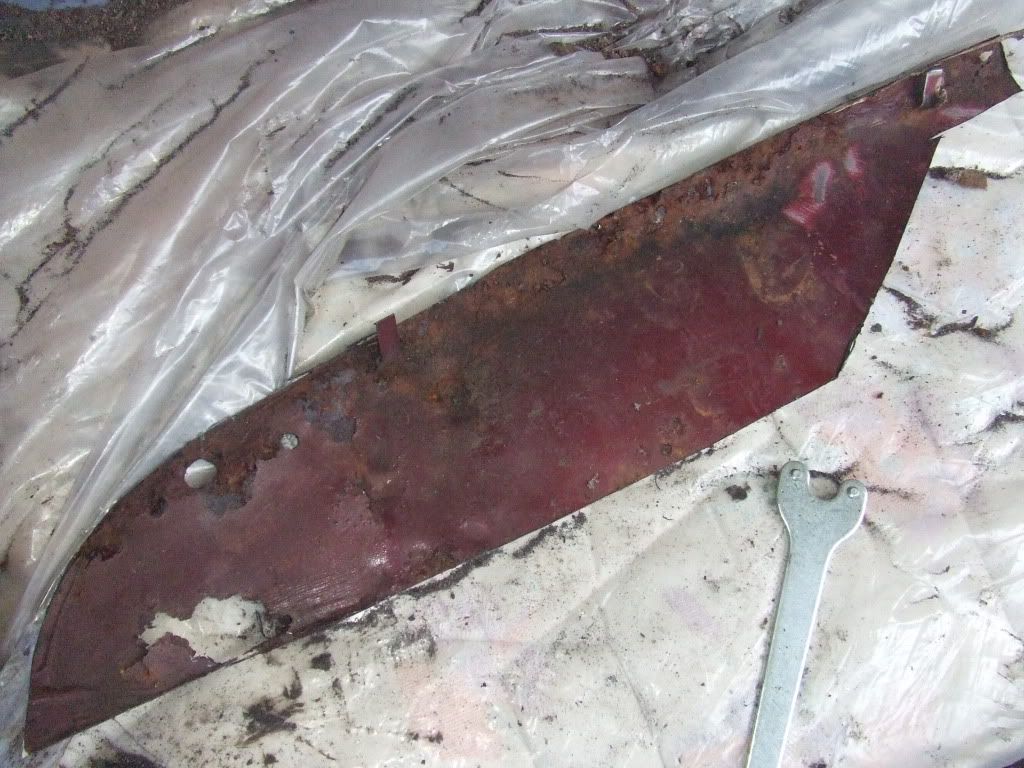
Posted Image

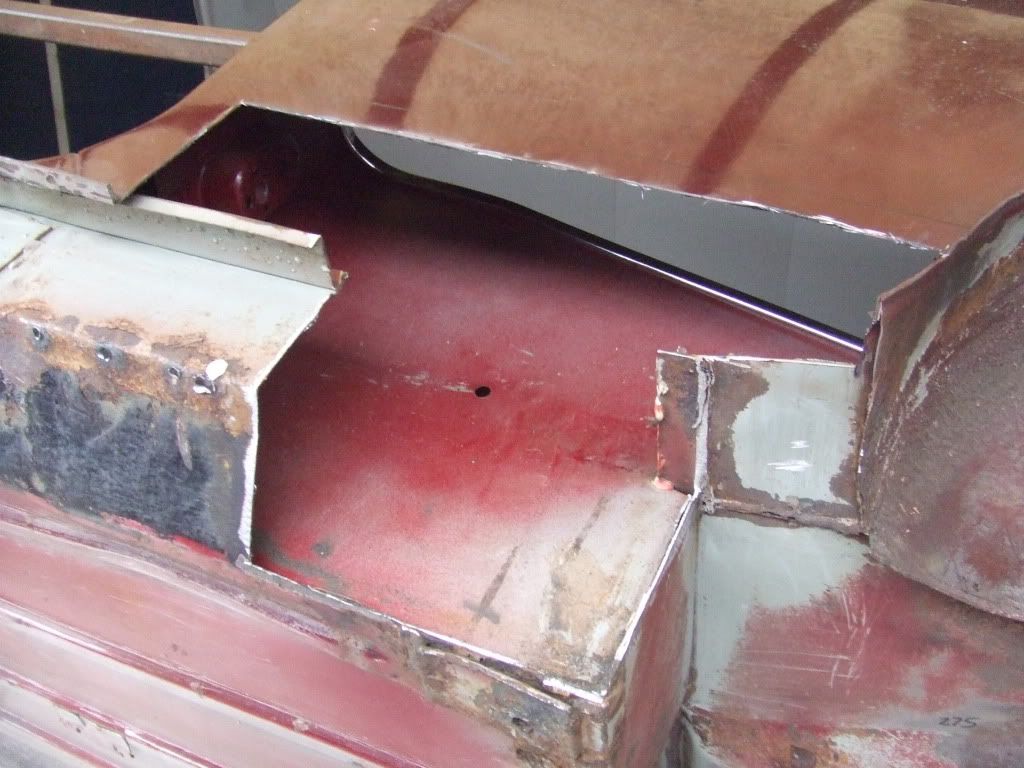
this is the patch we had to cut out from the centre of the boot all the way to the rear quarter and arch
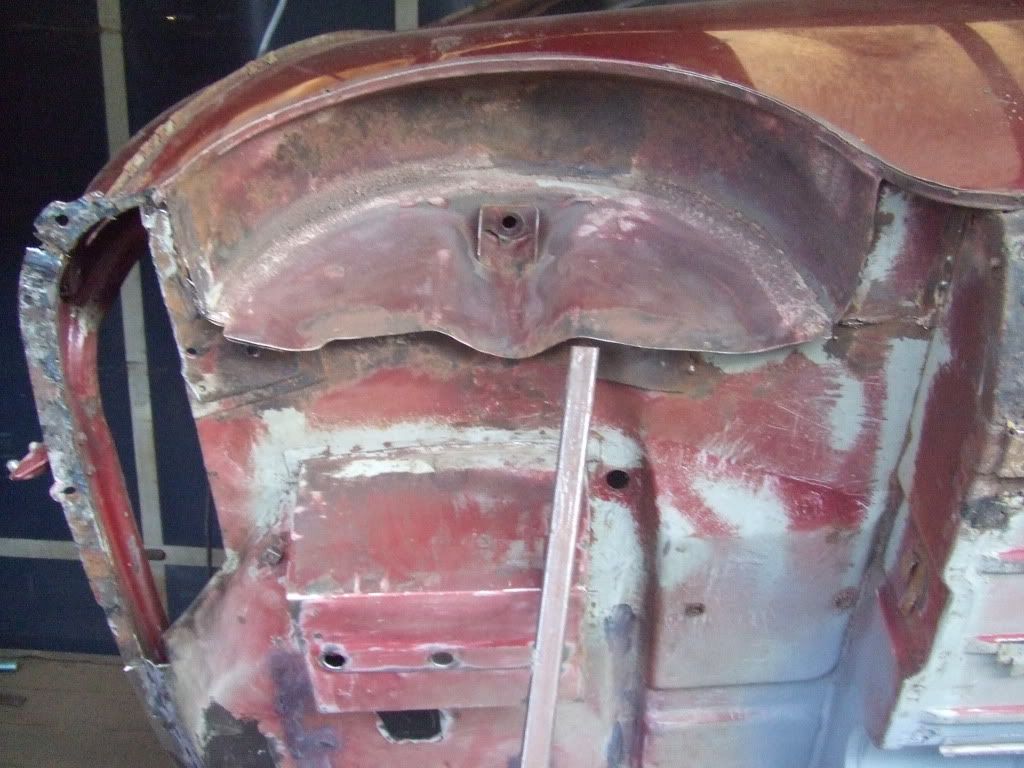
Posted Image

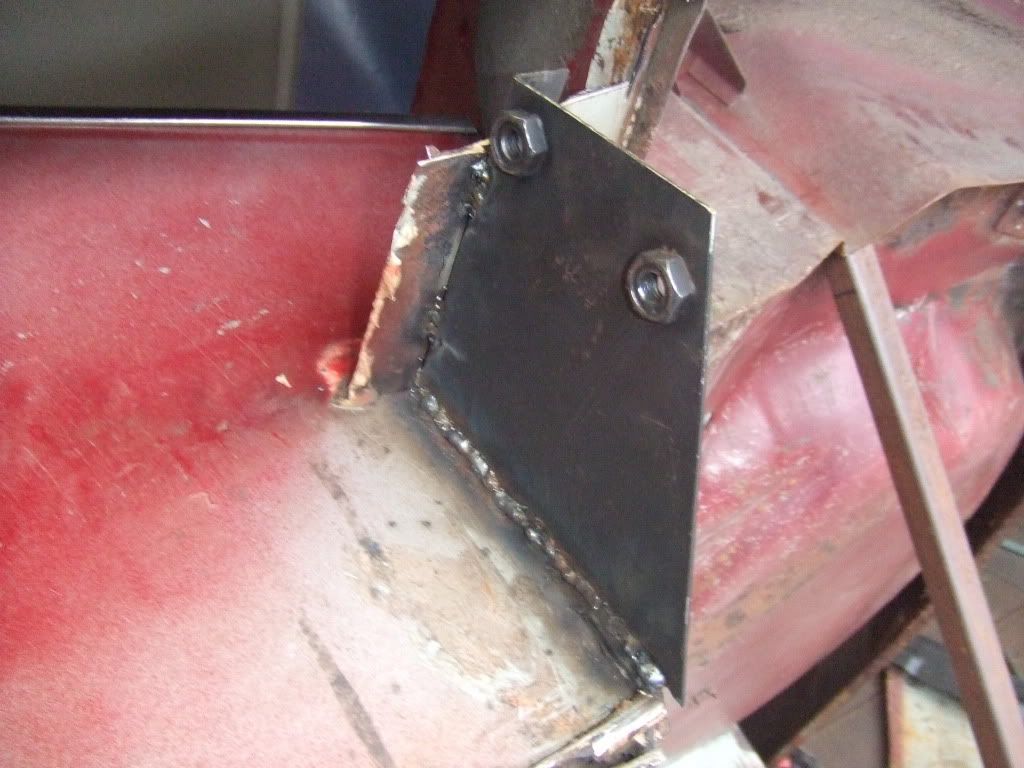
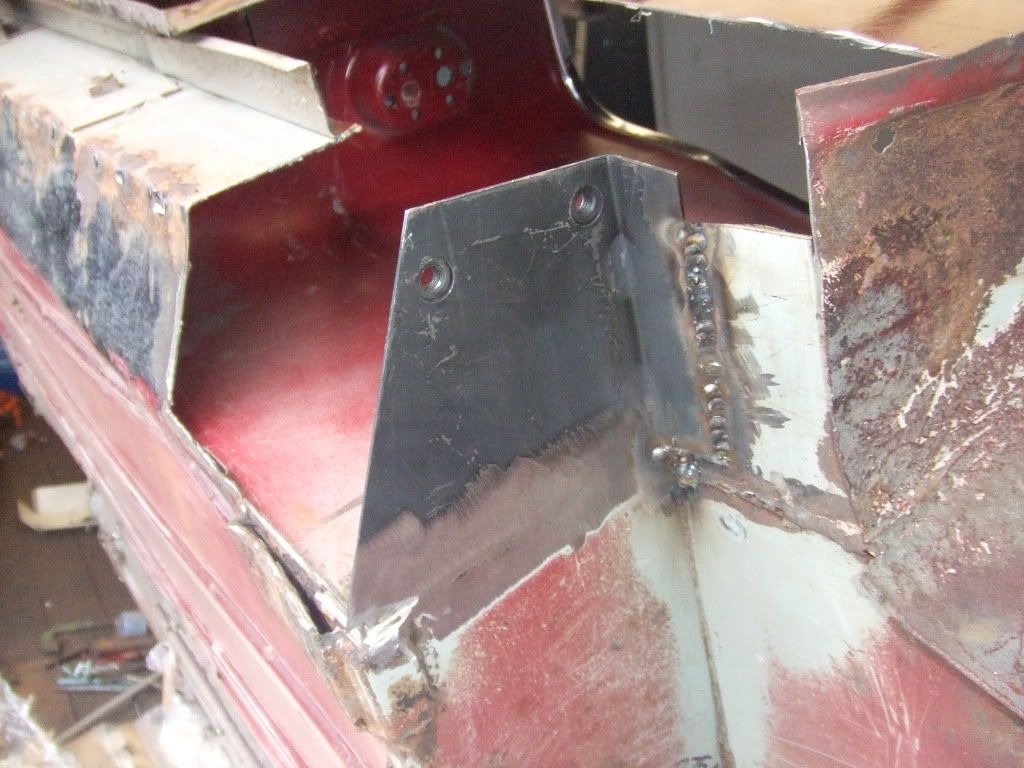
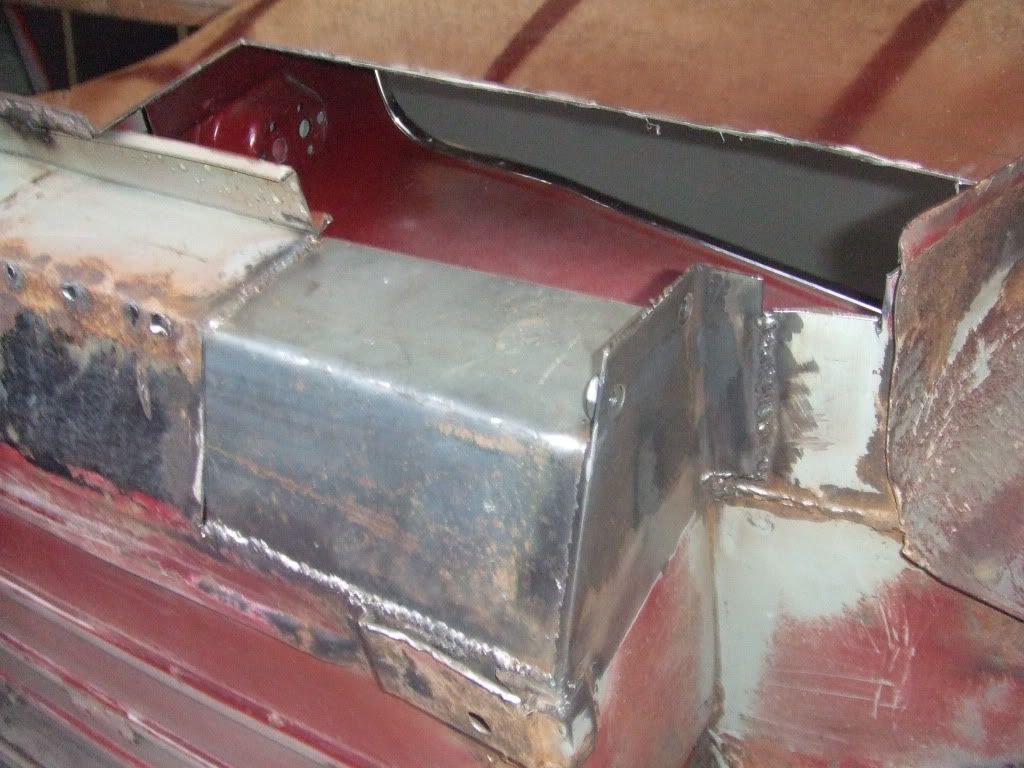
so we used fairly thick steel ( 1mm ) to repair the boot floor and reinforced the bumper flange with 2mm by 25mm flat bar
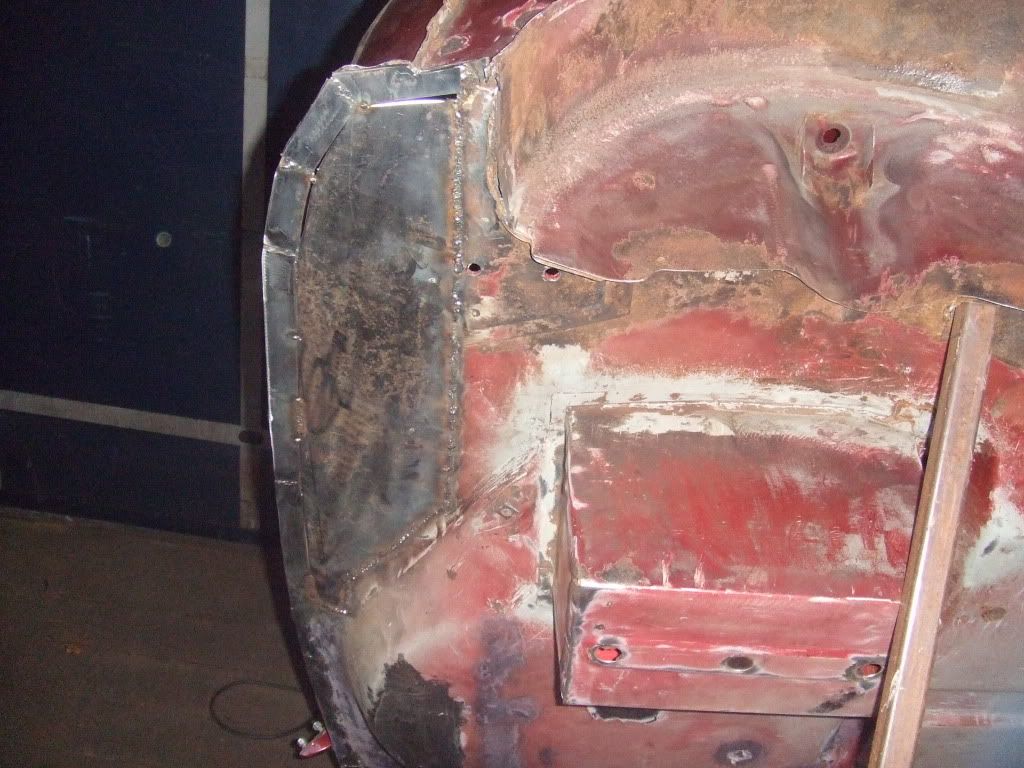
Posted Image

we will finish welding and tidying up this repair tomorrow and then seam seal, etch prime and stone chip the whole boot floor and arches...then we start on the sill :ohno: wish us luck

Rhys
#209 freshairmini

freshairmini

    Camshaft & Stage Two Head

  • Members
  • PipPipPipPipPipPipPipPip
  • 1,718 posts
  • Location: Alresford, Hampshire
  • Local Club: Winchester Area Mini Owners

Posted 01 March 2012 - 01:10 PM

I wouldn't imagine that applying seal sealer all over the arch would be a good idea. If you get any water trapped under it will rust out in no time. The idea of seal sealer is to seal seams which are usually only spot welded so would usually only have metal that is just touching together and could potentially let water in.

Hope this is of some help to you. :-)

#210 stretch tech

stretch tech

    One Carb Or Two?

  • Members
  • PipPipPipPipPipPipPip
  • 1,363 posts
  • Location: Tamwoth
  • Local Club: A5 & Mini Mainiacs

Posted 01 March 2012 - 07:47 PM

I wouldn't imagine that applying seal sealer all over the arch would be a good idea. If you get any water trapped under it will rust out in no time. The idea of seal sealer is to seal seams which are usually only spot welded so would usually only have metal that is just touching together and could potentially let water in.

Hope this is of some help to you. :-)


the arches were covered with under seal when we got it but thinking about it, we used seam sealer rather than under seal :huh: ...we have wiped it off anyway as it was rubbish but thanks for the advice pal ^_^

Cheers

Rhys



3 user(s) are reading this topic
0 members, 2 guests, 0 anonymous users


    Bing (1)