this looks great, well done


Tarmac Stage Rally Build
Started by
Italianjoblofty
, Nov 22 2011 10:00 AM
140 replies to this topic
#106

jonny f
-
- Members
-

- 1,485 posts
One Carb Or Two?
- Location: Surrey
- Local Club: Boxhill Mini Club
Posted 29 April 2012 - 07:47 PM
#107
Italianjoblofty
-
- Members
-
- 225 posts
Mini Mad
Posted 01 May 2012 - 08:03 PM
Hey guys not got any pictures worth posting yet but i have managed to wire up the engine! Managed to turn it over too but with no carb on it as im waiting on my new cokes to turn up but its proof that my wiring has worked lol, well thanks to some friends of mine :) Hoping to have some pics to update 2moro.
#108
Italianjoblofty
-
- Members
-
- 225 posts
Mini Mad
Posted 03 May 2012 - 08:07 AM
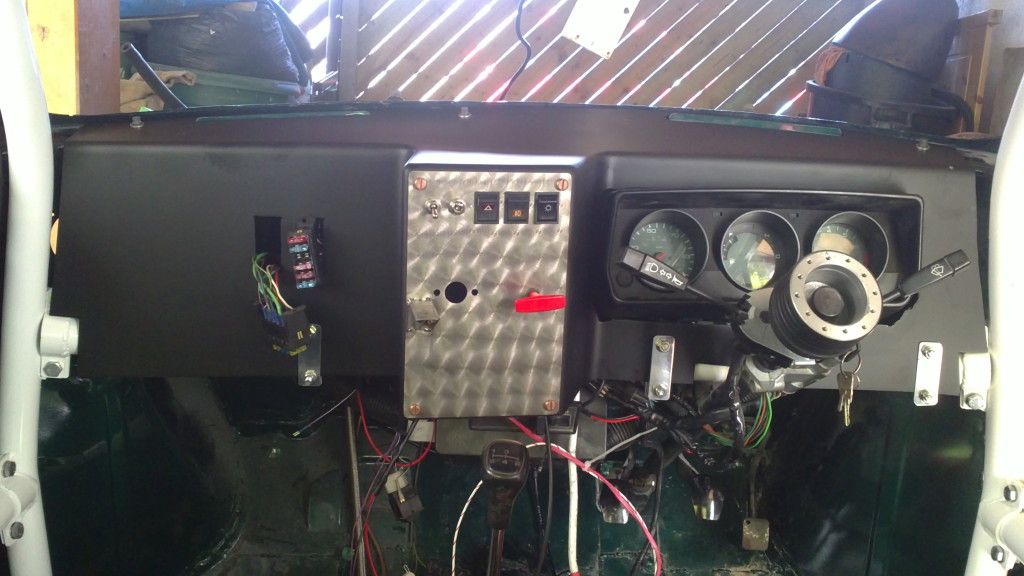
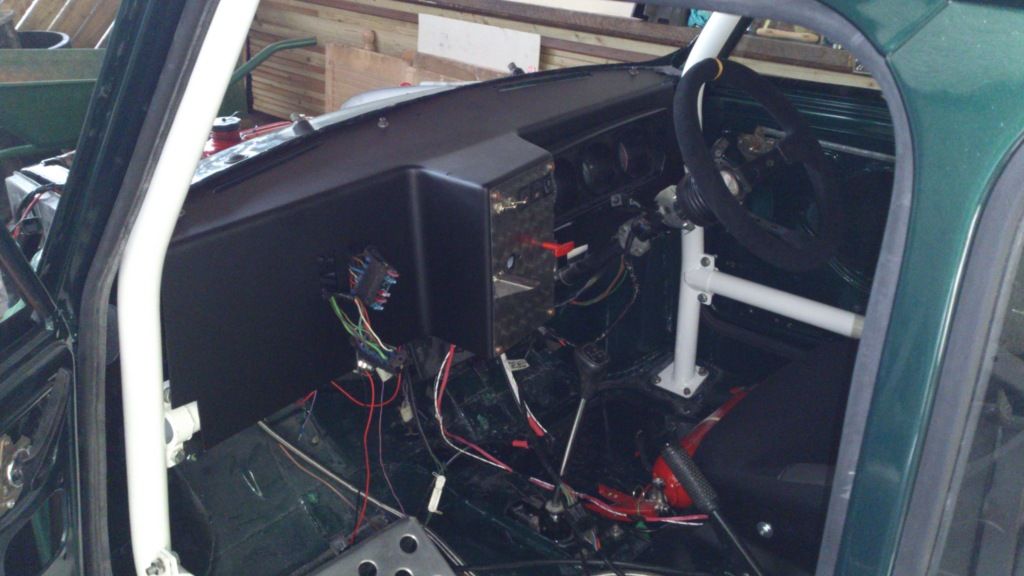
Hey Guys got a little update for you. I've been making a center consol for my dash so here it is
I've made it out of titanium. Believe it or not titanium is lovely to machine :)

I then used give it a mottles finish
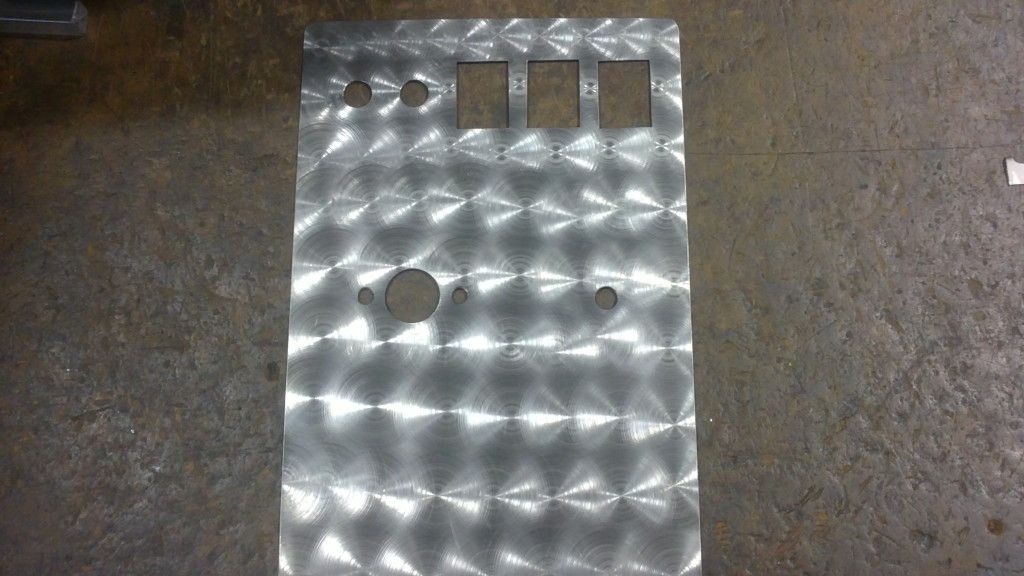
and then fitted all the bits and placed it on the dash
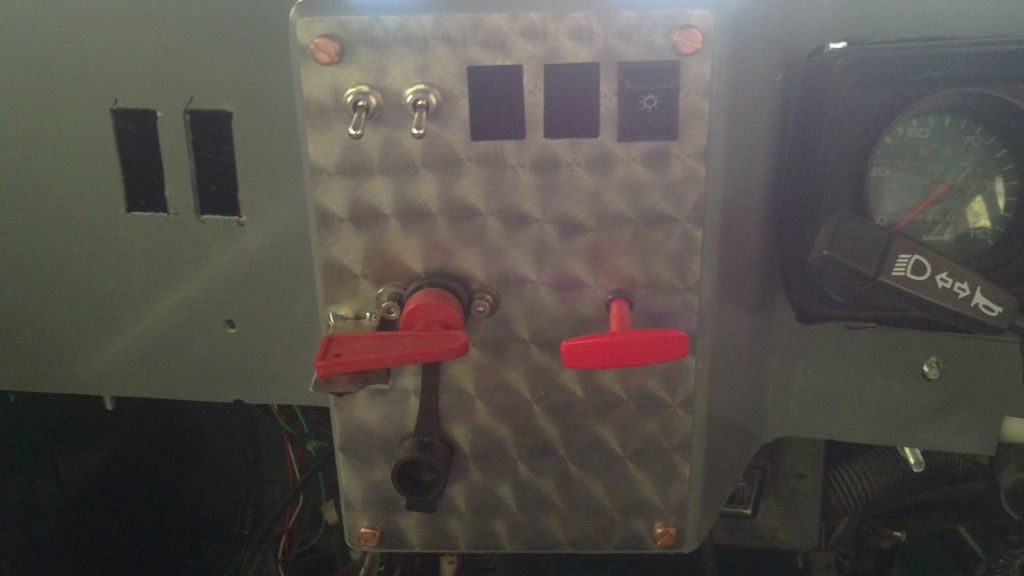
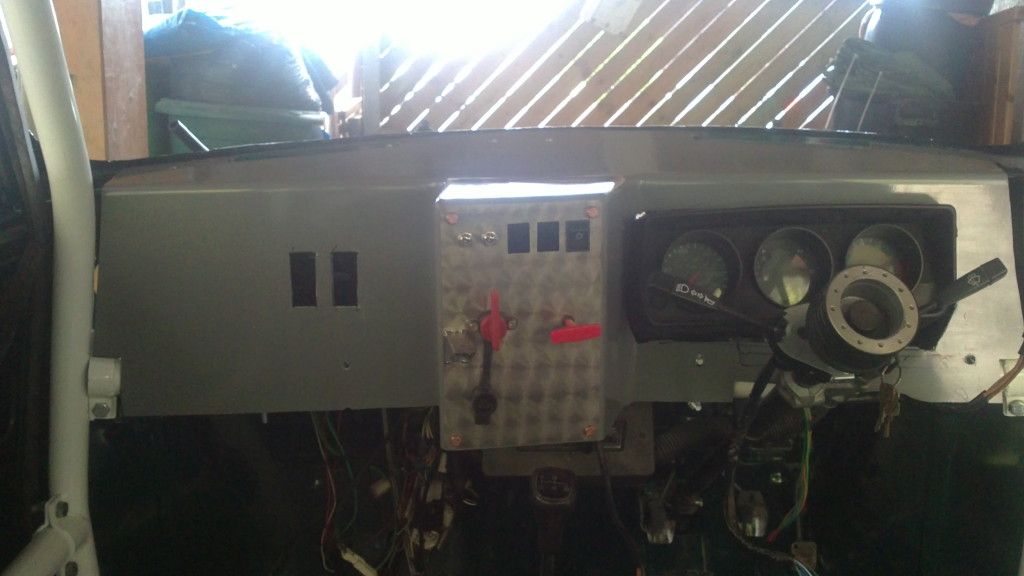
Pretty happy with the way it turned out :)
I've made it out of titanium. Believe it or not titanium is lovely to machine :)
I then used give it a mottles finish
and then fitted all the bits and placed it on the dash
Pretty happy with the way it turned out :)
#109
norris2002
-
- Noobies
-
- 73 posts
Stage One Kit Fitted
- Location: SE London
Posted 03 May 2012 - 12:42 PM
I do love a big red knob!
#110
Guest_jack mac_*
Guest_jack mac_*
-

- Guests
Posted 03 May 2012 - 06:41 PM
what tool do you use to get that effect ? was it done on a milling M/C ? Cheers Jack 
#111
Italianjoblofty
-
- Members
-
- 225 posts
Mini Mad
Posted 04 May 2012 - 08:19 AM
what tool do you use to get that effect ? was it done on a milling M/C ? Cheers Jack
Yer it was done on a milling machine mate but, you can do it by hand if you dont have acces to a machine, it just wont look as neat lol Then again for that sort of finish it doesnt really need to be neat. You can use a pillar drill if possible and also use a drill but that would be a last resort :). I used a buffing pad with some scotch bright on it with the chuck spindle at 1000 rpm. If ur still unsure of the tool give me a shout and i'll try and get a pic for you k mate.
#112
Guest_jack mac_*
Guest_jack mac_*
-
- Guests
Posted 05 May 2012 - 04:42 PM
Cheers , yeah i know what you mean , do you set the traverse going or do one bit at once ? Thanks again
#113
Guest_jack mac_*
Guest_jack mac_*
-
- Guests
Posted 05 May 2012 - 04:47 PM
In fact thinking about it that was a silly thing to say because you`d end up with lines compared to circles 
#114
Italianjoblofty
-
- Members
-
- 225 posts
Mini Mad
Posted 08 May 2012 - 06:58 AM
In fact thinking about it that was a silly thing to say because you`d end up with lines compared to circles
haha yup dude you cant use the feed like you said as you'd have a coninuous line. But in saying that you might have a new pattern lol so give it a go

#115
Italianjoblofty
-
- Members
-
- 225 posts
Mini Mad
Posted 08 May 2012 - 07:58 AM
Hey guys a little update this time. My door has now been painted so im hoping to fit that some time this week.
I have fully rebuilt my weber 45 and have been able to fit it :)
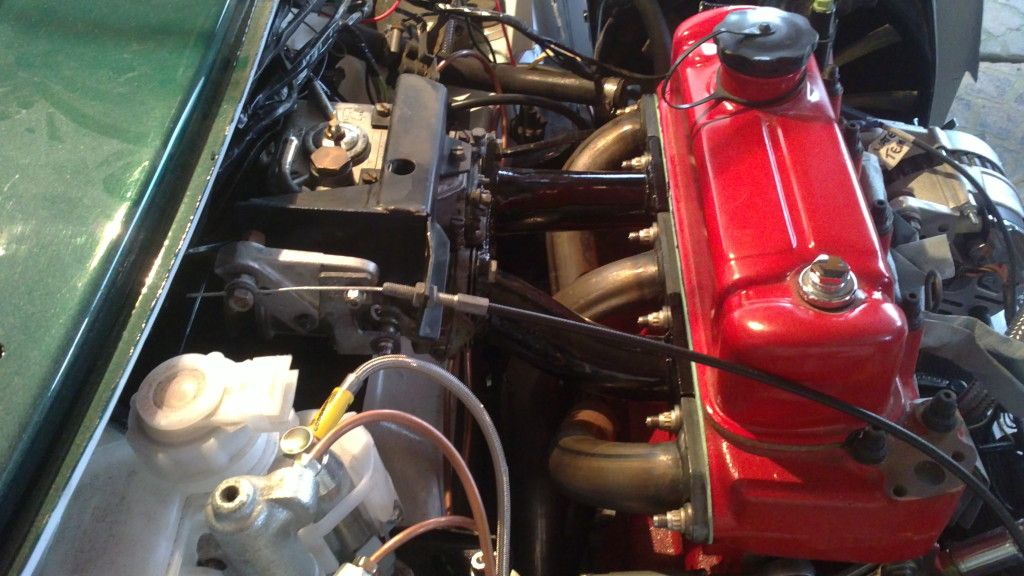
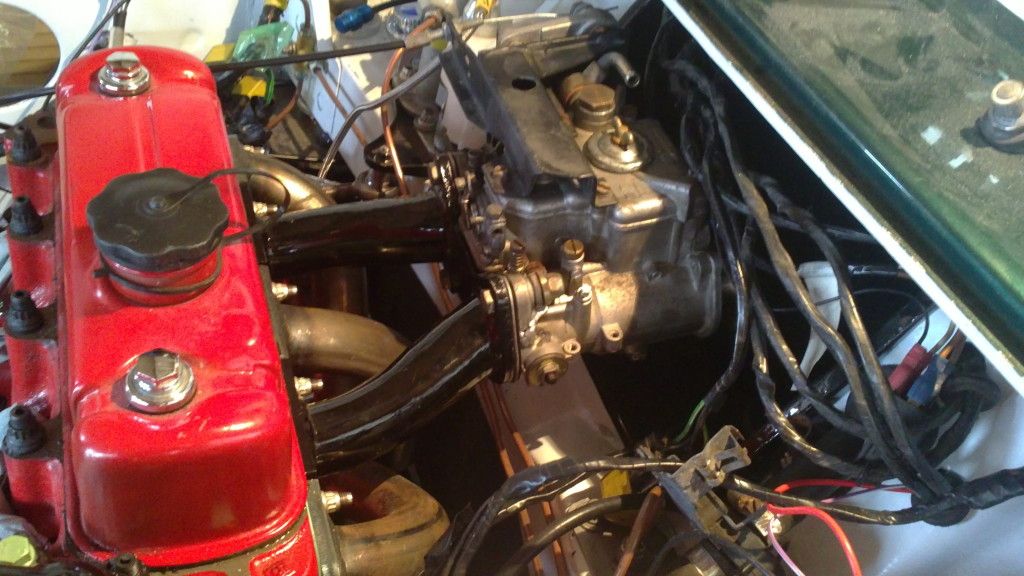
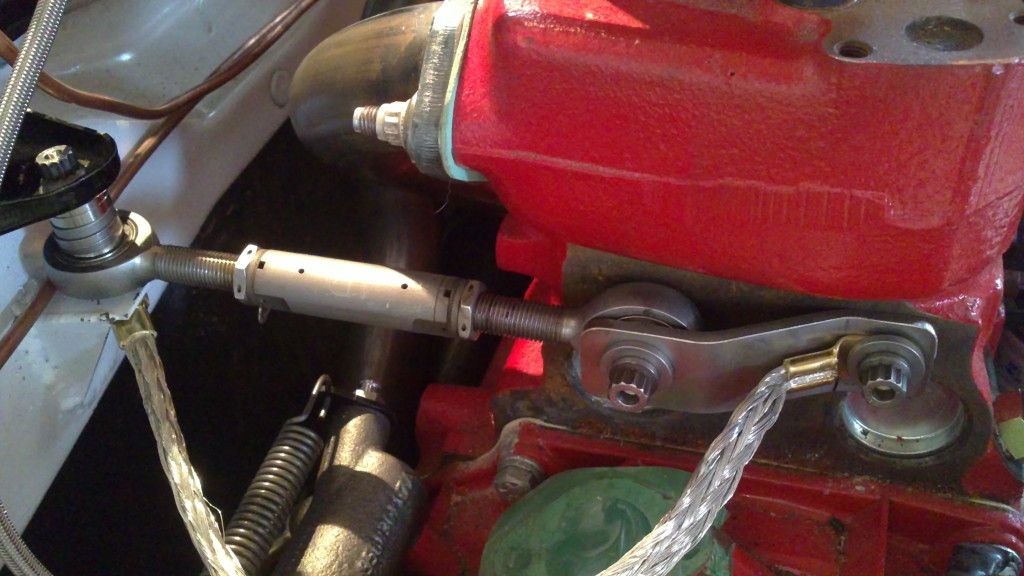
I have also made up a new engine mount as the origional did not fit once i had solid mounted the engine so this one is adjustable.
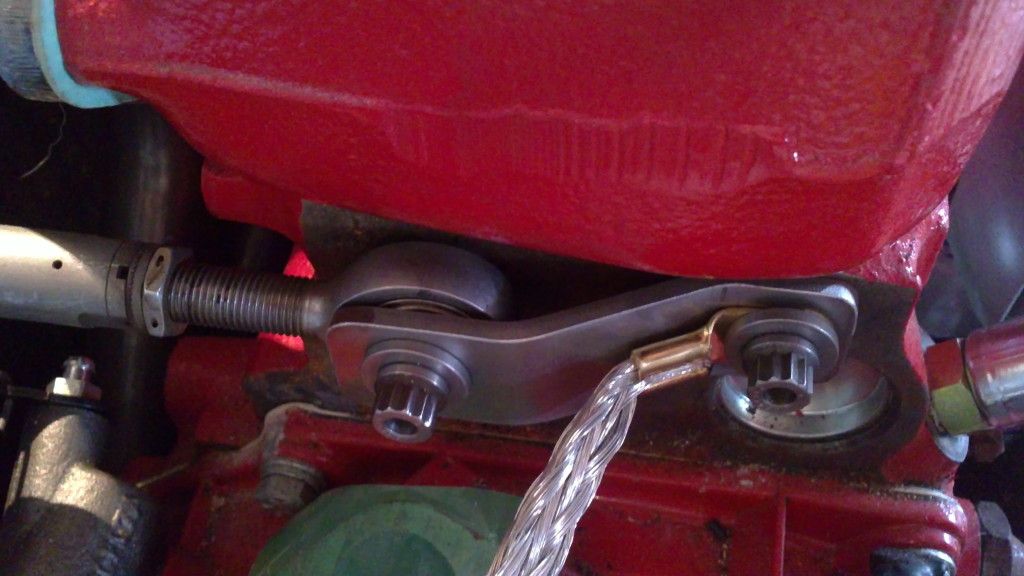
So now that my door is done i should be able to seal up the cockpit now and fit the seats and harnesses :) and hopfully rolling road next week :)
I have fully rebuilt my weber 45 and have been able to fit it :)
I have also made up a new engine mount as the origional did not fit once i had solid mounted the engine so this one is adjustable.
So now that my door is done i should be able to seal up the cockpit now and fit the seats and harnesses :) and hopfully rolling road next week :)
#116
Italianjoblofty
-
- Members
-
- 225 posts
Mini Mad
Posted 18 May 2012 - 07:39 PM
Hey guys time for a status update.
The mini has been to the rolling road WHOOP!! didnt get any figures thought as its a brand new engine so just had it set up so it'll pass emissions in the mot. So this is how it looked when i took it down. Its not complete as its still missing front end but its getting close now :)

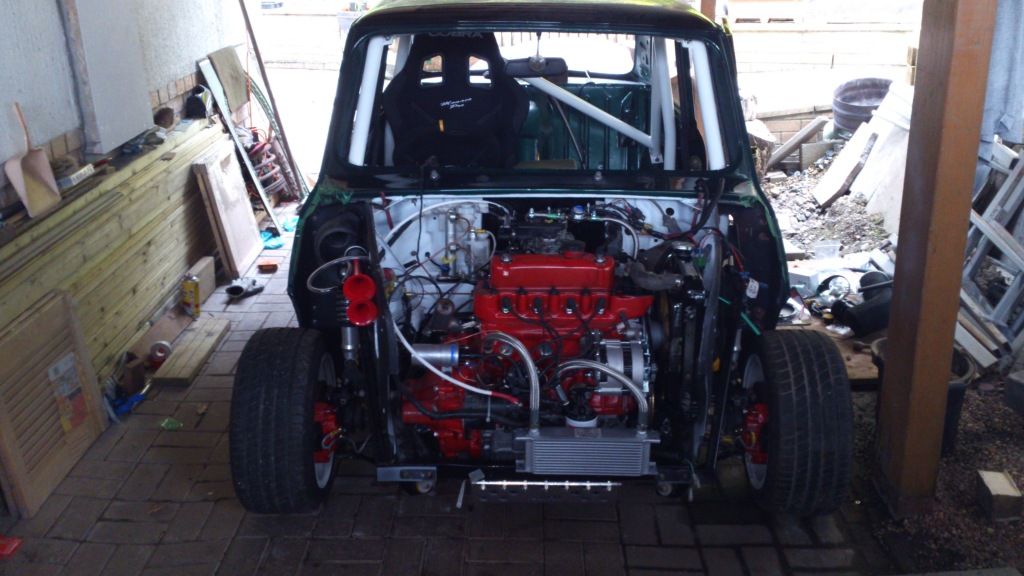
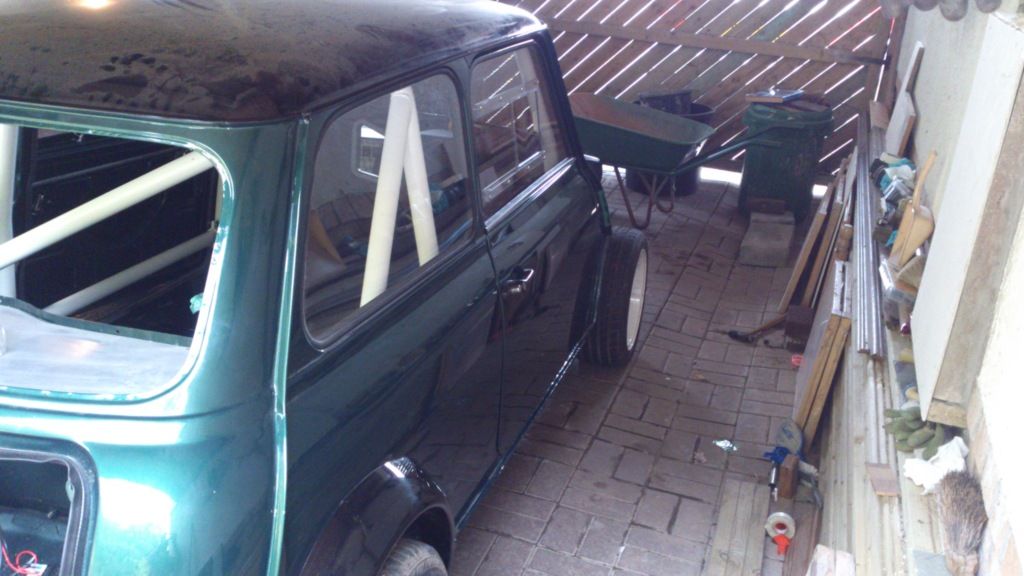

The mini has been to the rolling road WHOOP!! didnt get any figures thought as its a brand new engine so just had it set up so it'll pass emissions in the mot. So this is how it looked when i took it down. Its not complete as its still missing front end but its getting close now :)
#117
Italianjoblofty
-
- Members
-
- 225 posts
Mini Mad
Posted 28 May 2012 - 06:12 PM
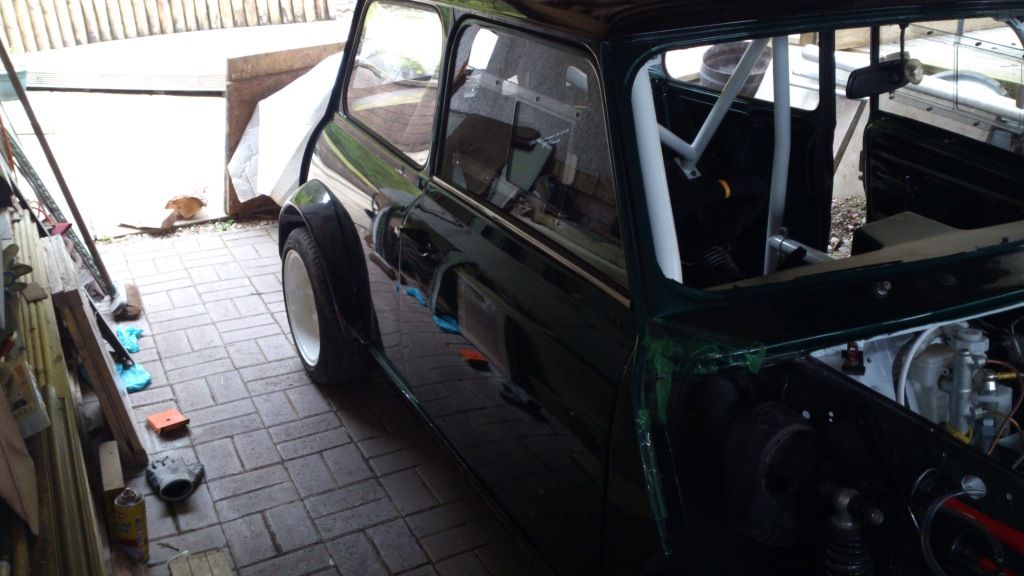
Progress is going really slow now guys im struggling with the last few bit mainly the conections of all the wiring loom. cant get my clock lights wrking, wiper motor keeps blowing fuses and my front lights seem to be missing a conection somewhere lol and thats about all i have left to do so im gonna wait untill my mate can give me a hand to finish it off. In the mean time i have fitted the front end now and here it is.
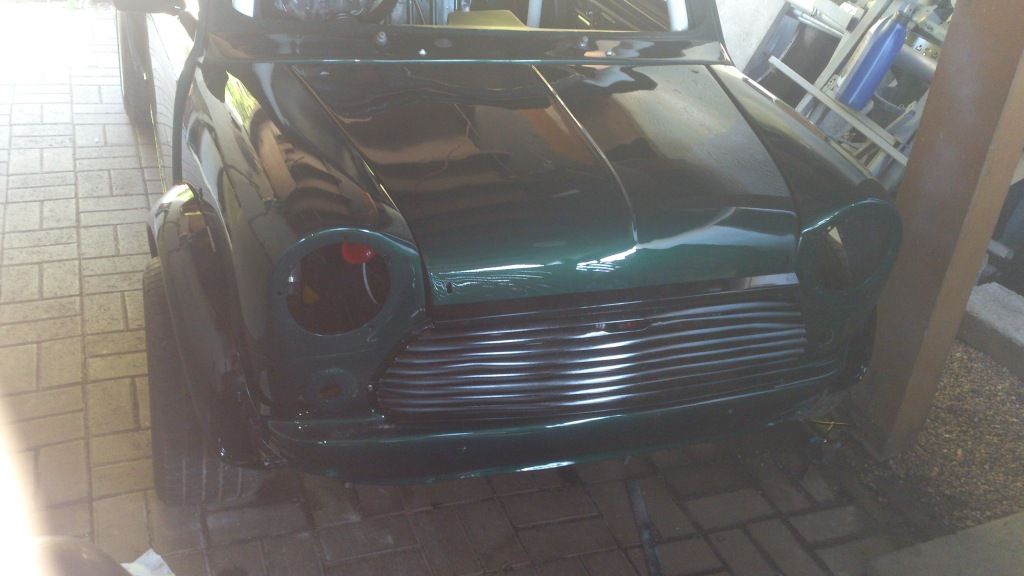
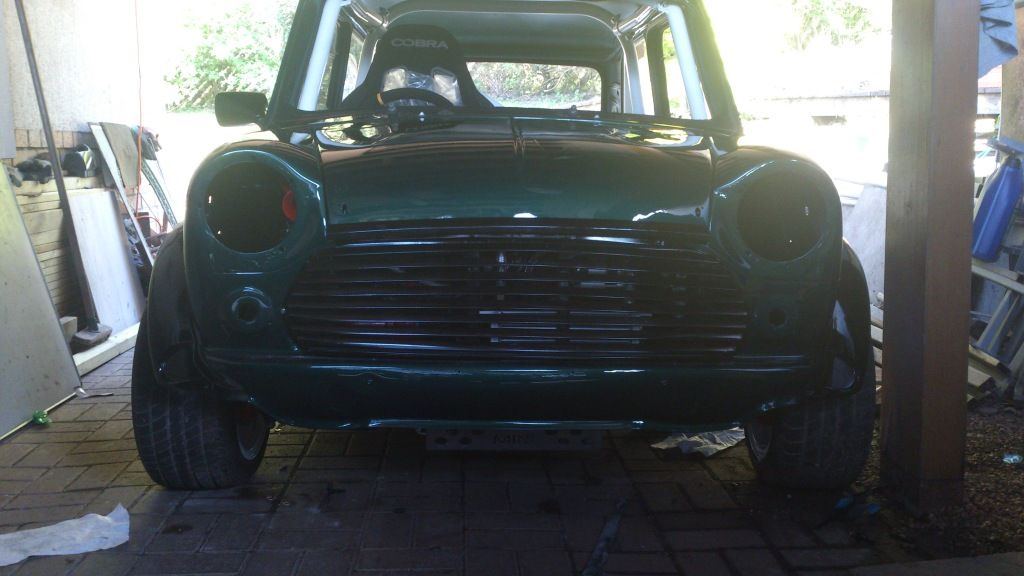
I have fitted bonnet pins as well but these are the only photos i have at the moment.
Will try and keep u updated as much as possible.
I have fitted bonnet pins as well but these are the only photos i have at the moment.
Will try and keep u updated as much as possible.
#118
norris2002
-
- Noobies
-
- 73 posts
Stage One Kit Fitted
- Location: SE London
Posted 29 May 2012 - 12:03 PM
nice nice
#119
minisi35
-

- Members
-
- 723 posts
One Carb Or Two?
- Local Club: british mini club shropshire
Posted 30 May 2012 - 07:55 AM
very nice!! Mines booked for paint in a fortnight i will catch you up lol
#120
Italianjoblofty
-
- Members
-
- 225 posts
Mini Mad
Posted 16 June 2012 - 03:28 PM
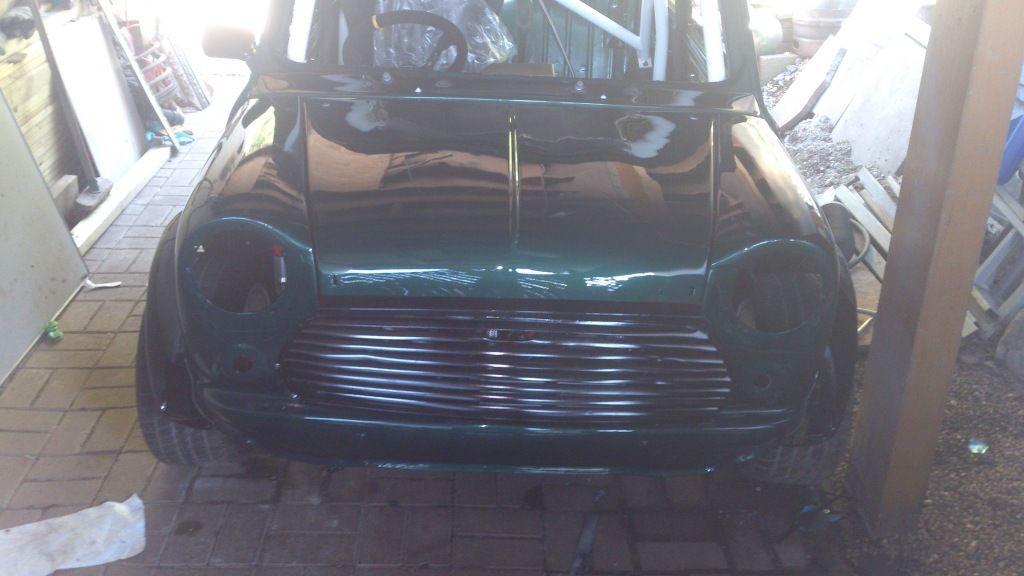
A little update guys, i have finished the fitting of my front end and attached bonnet pins which i must say look the tits! and i've also fitted my boot so here they are
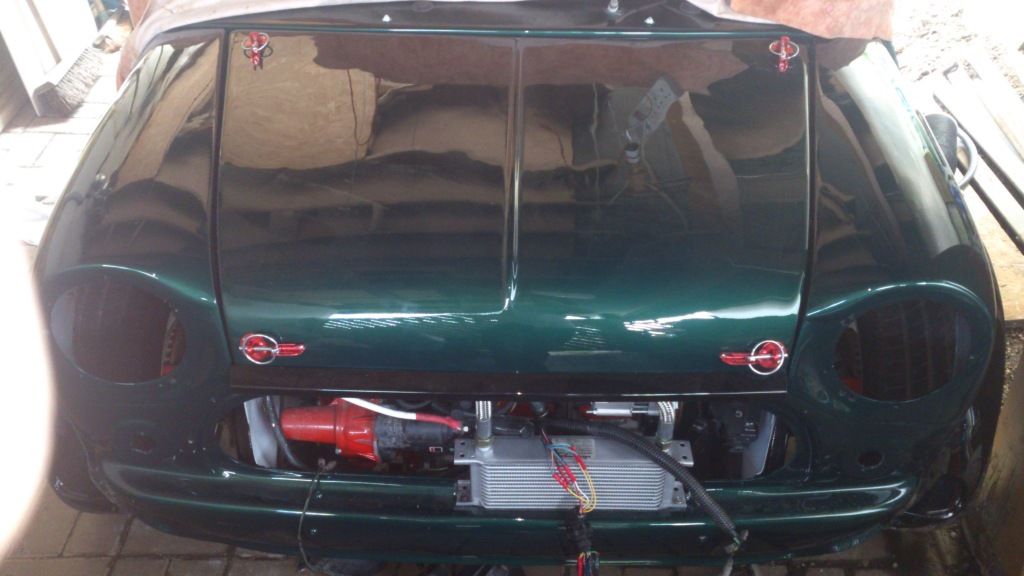
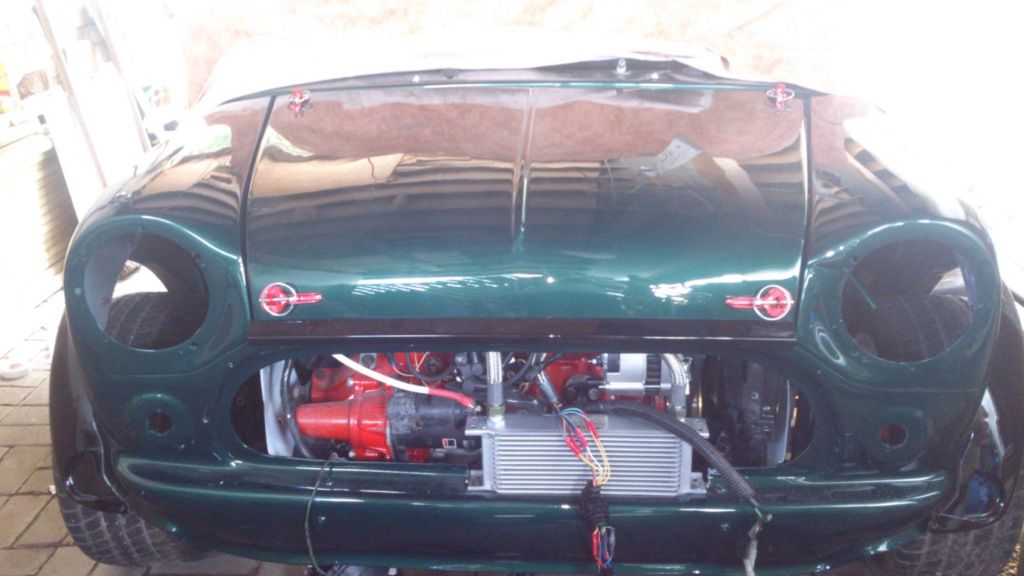
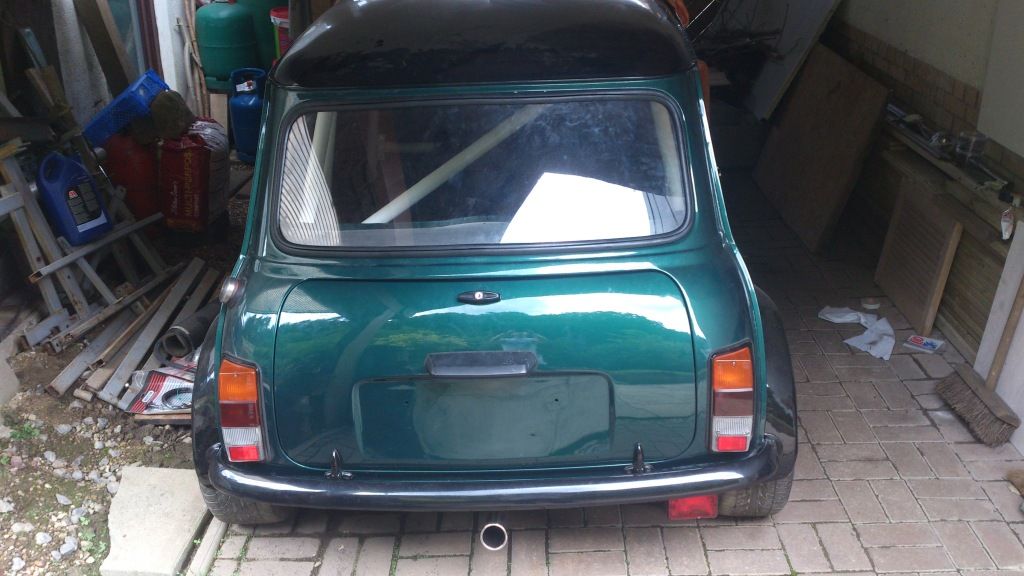

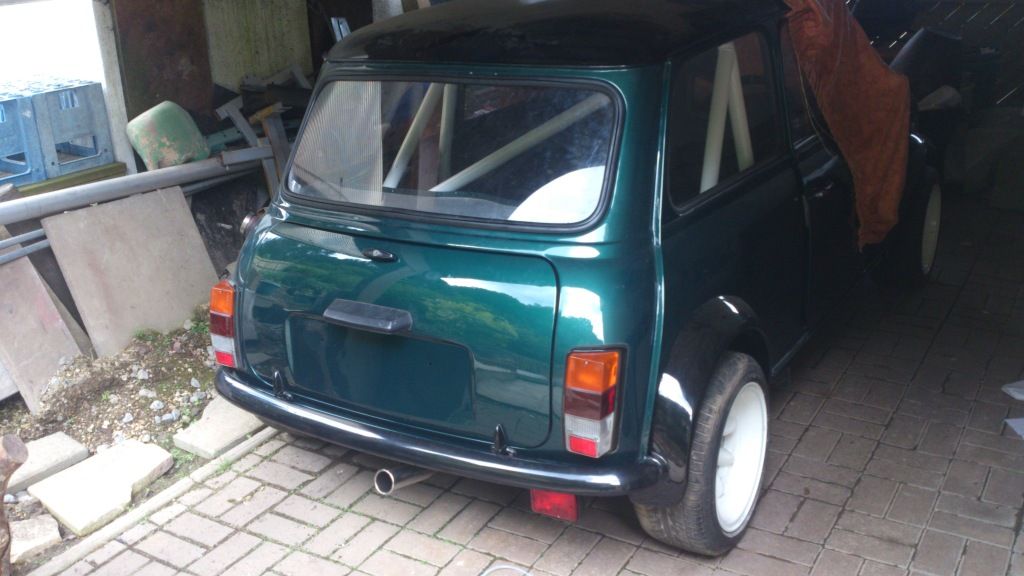
I've also managed to sort my wiring out as well so well happy with that. Im waiting on a flasher relay for my indicators and a new windscreen wiper motor and hopefully thats the electrics done and i can get her MOT'd cant wait :)
and i've also fitted my boot so here they areI've also managed to sort my wiring out as well so well happy with that. Im waiting on a flasher relay for my indicators and a new windscreen wiper motor and hopefully thats the electrics done and i can get her MOT'd cant wait :)


1 user(s) are reading this topic
0 members, 1 guests, 0 anonymous users


