

Mini Mad

Posted 03 January 2012 - 11:23 AM
Mini Mad
Posted 03 January 2012 - 11:46 AM
Mini Mad
Posted 03 January 2012 - 11:52 AM

Mini Mad
Posted 03 January 2012 - 12:02 PM

Mini Mad
Posted 03 January 2012 - 12:18 PM
Super Mini Mad

Posted 03 January 2012 - 12:20 PM

Mini Mad
Posted 03 January 2012 - 12:23 PM
Mini Mad
Posted 03 January 2012 - 12:26 PM
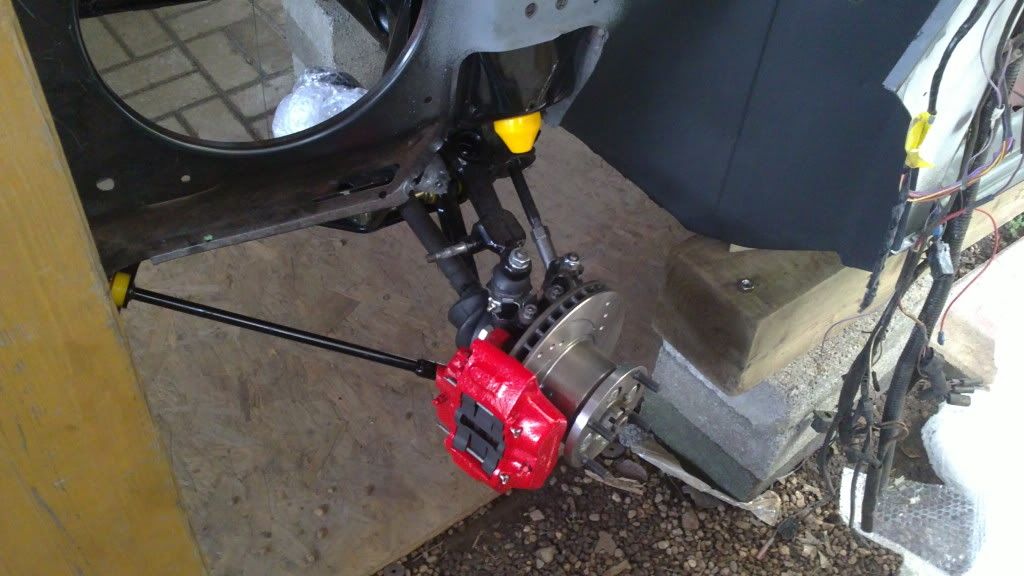
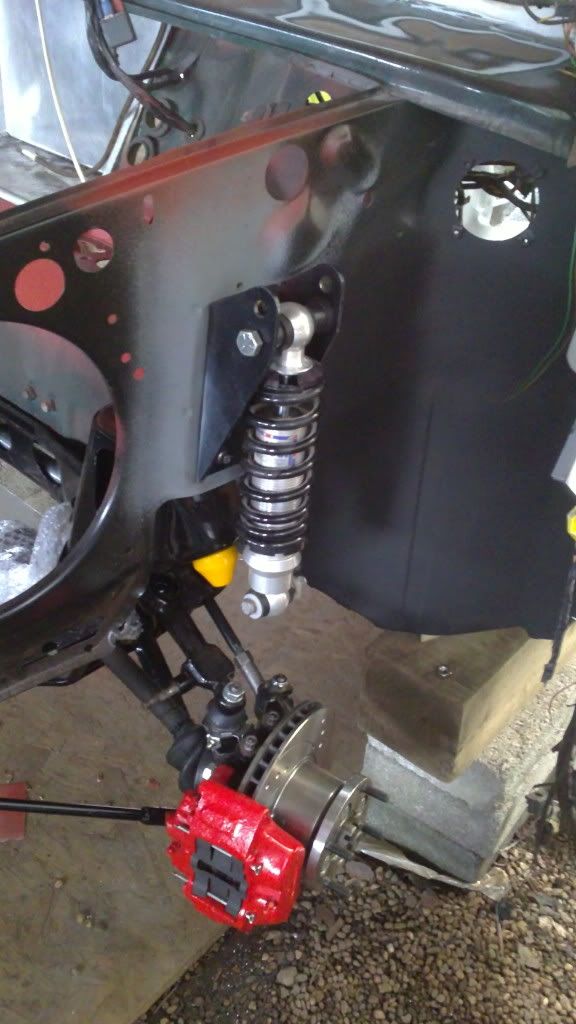
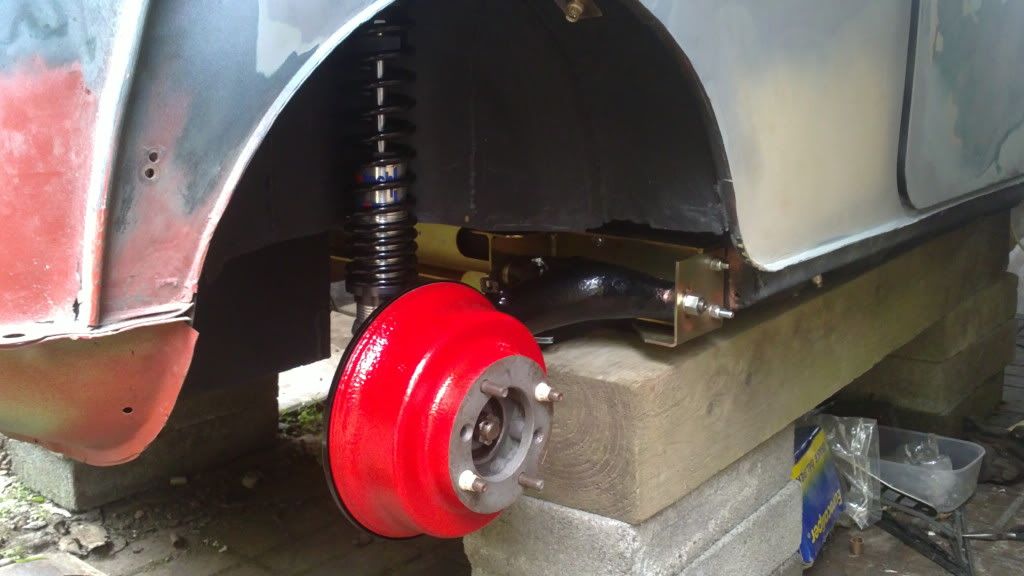
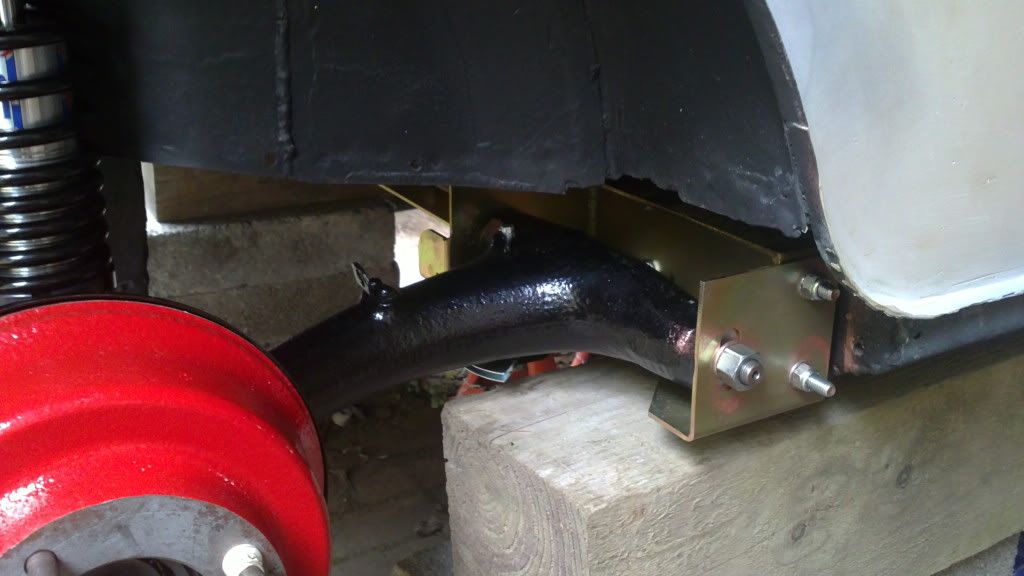
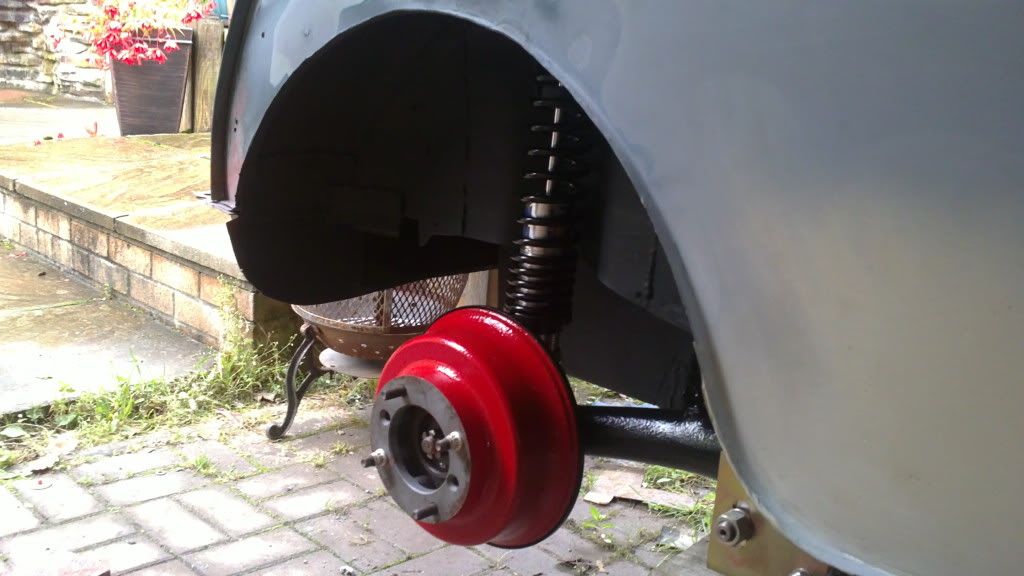
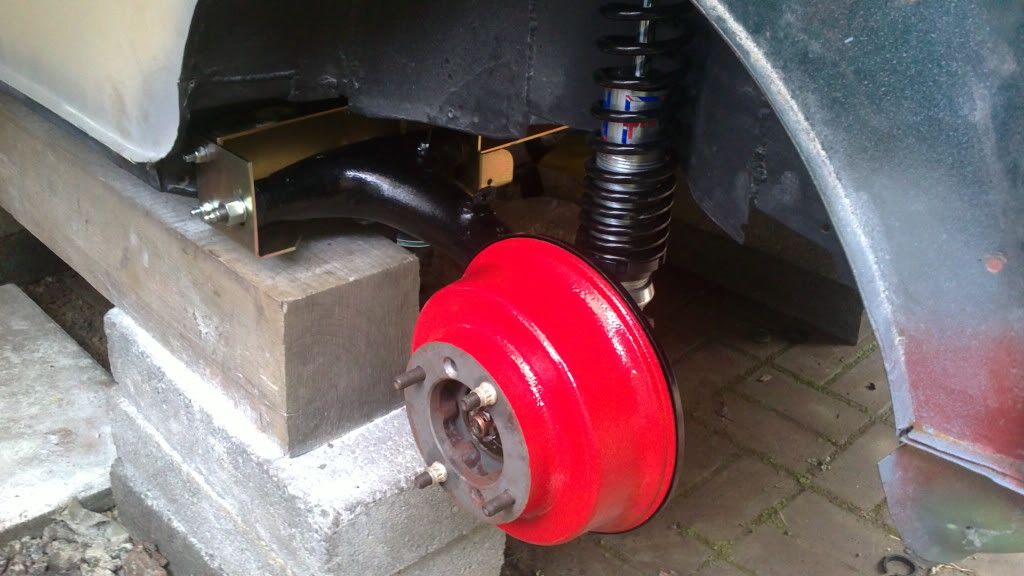
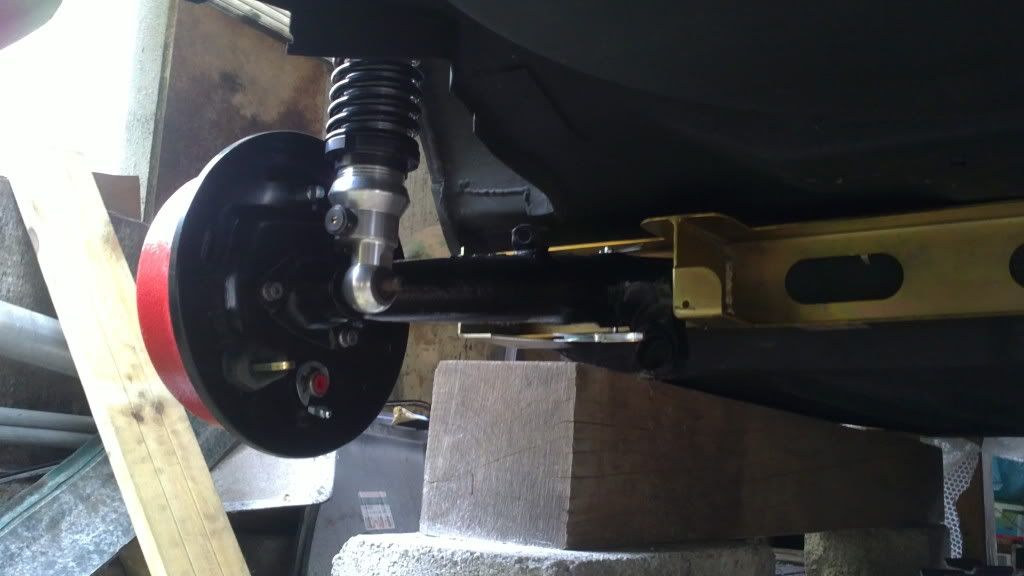
What suspension setup you going too be running buddy?
Plus what sorta figures are you aiming for with the 1380...?
Been wanting too rally prep a mini for ages, just gotta find a decent base too start with!
Mini Mad
Posted 03 January 2012 - 12:30 PM

Mini Mad
Posted 03 January 2012 - 12:36 PM

Mini Mad
Posted 03 January 2012 - 12:37 PM
Mini Mad
Posted 03 January 2012 - 12:43 PM

Mini Mad
Posted 03 January 2012 - 01:00 PM
Uncle Cooperman, Voted Mr TMF 2011

Posted 03 January 2012 - 01:31 PM
One Carb Or Two?

Posted 03 January 2012 - 04:36 PM


0 members, 1 guests, 0 anonymous users


