Jump to content


Photo

Undersealing Advice For Mpi


  • Please log in to reply
37 replies to this topic

#16 crmpicco

crmpicco

    Stage One Kit Fitted

  • Noobies
  • PipPipPip
  • 82 posts

Posted 22 November 2011 - 09:38 PM

It should be enough to start with, at least if you do run out its easy to get. DO MAKE SURE YOU READ THE TIN otherwise you may pick up the black instead of the clear. And yes that's the kit.

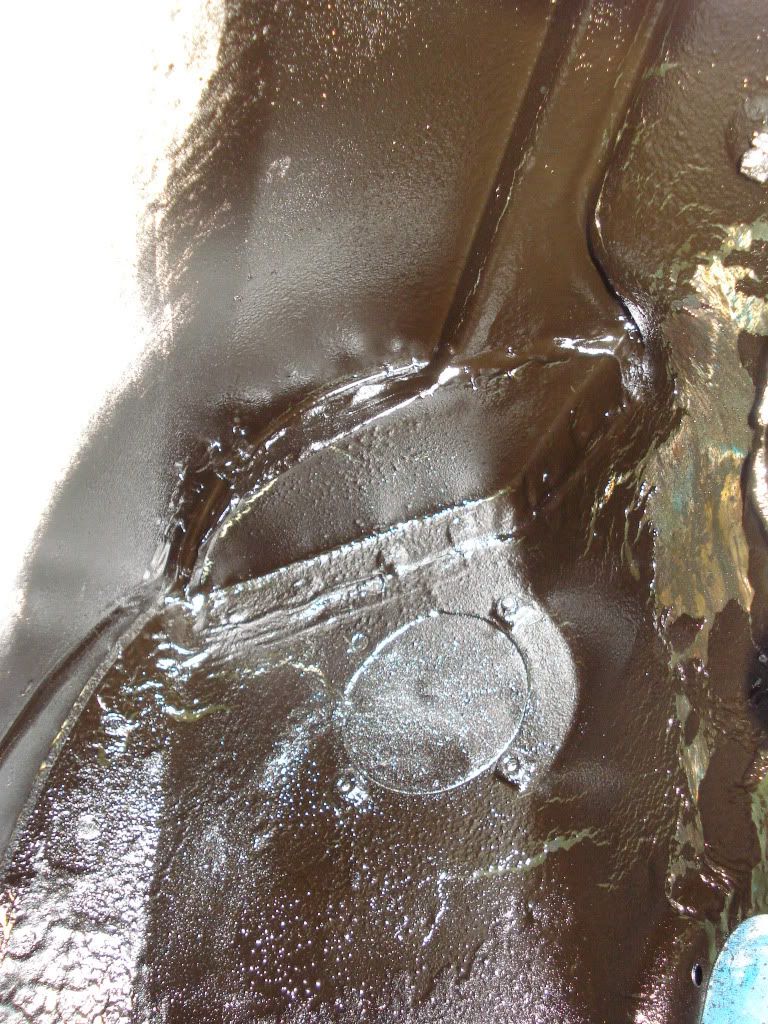
I think that's what i'll do, although i'm undecided whether to go for 2x2.5L tins along with the sprayer. I guess i'm talking £40 with one tin, although i'd like to start and finish it on Saturday. It would be a killer if I ran out when I was nearly finished and had to take a trip out to Halfords on Sunday >_<

The kit with the proper canister sounds like the best way to go as I won't need to brush it on and i'll get the sills too.

#17 sonikk4

sonikk4

    Twisted Paint Polisher!!!

  • Admin
  • PipPipPipPipPipPipPipPipPipPipPip
  • 16,033 posts
  • Name: Neil
  • Location: Oxfordshire

Posted 22 November 2011 - 09:45 PM

Take your time when you do this as it can get messy. If you get any over spray use white spirit to remove it.

Also under the bonnet right at the back of the inner wing where it goes under the scuttle both sides there maybe a piece of foam. Remove this and pump waxoyl into the cavity another renowned place for rust and then spray along the remaining underside of the scuttle. Cover the engine bay well though before doing this.

Also there is the front bulkhead cross member as well this can be accessed from within the car but its a pain to get to.

#18 crmpicco

crmpicco

    Stage One Kit Fitted

  • Noobies
  • PipPipPip
  • 82 posts

Posted 23 November 2011 - 09:57 AM

Take your time when you do this as it can get messy. If you get any over spray use white spirit to remove it.

Also under the bonnet right at the back of the inner wing where it goes under the scuttle both sides there maybe a piece of foam. Remove this and pump waxoyl into the cavity another renowned place for rust and then spray along the remaining underside of the scuttle. Cover the engine bay well though before doing this.

Also there is the front bulkhead cross member as well this can be accessed from within the car but its a pain to get to.


I will do, i'm determined to do it right first time. Do you think I should grab a couple of 2.5L tins when i'm at Halfords today? I'm presuming that the rectangular 5L tin wouldn't work with the sprayer kit or I could have bought that. Luckily I bought some white spirit last weekend when doing some decorating :) - I take it this is safe on paintwork?

I (think) I know the foam that you are talking about at the back of the engine back - do you know where the cavity is in there? Is there more than one vent in there?

#19 sonikk4

sonikk4

    Twisted Paint Polisher!!!

  • Admin
  • PipPipPipPipPipPipPipPipPipPipPip
  • 16,033 posts
  • Name: Neil
  • Location: Oxfordshire

Posted 23 November 2011 - 01:16 PM

There is no vent as such, what you have is a boxed off compartment with access only from under the inner wing to scuttle interface. If you look from inside the wheel arch you will see this
Posted Image
Although it will be obscured by the fresh air vent ducting. This is called the scuttle close out panels which seal the outer scuttle at both ends. Due to moisture build up etc these tend to rot from the inside out out like this
Posted Image
which will then start to cause corrosion on the scuttle itself a bit like this after the plate has been removed.
Posted Image

Although the pictures were taken of my Clubman and the inner wings are a different shape there is still a gap at the top where you can pump Waxoyl etc into the closed off section.

#20 crmpicco

crmpicco

    Stage One Kit Fitted

  • Noobies
  • PipPipPip
  • 82 posts

Posted 23 November 2011 - 08:39 PM

There is no vent as such, what you have is a boxed off compartment with access only from under the inner wing to scuttle interface. If you look from inside the wheel arch you will see this
Posted Image
Although it will be obscured by the fresh air vent ducting. This is called the scuttle close out panels which seal the outer scuttle at both ends. Due to moisture build up etc these tend to rot from the inside out out like this
Posted Image
which will then start to cause corrosion on the scuttle itself a bit like this after the plate has been removed.
Posted Image

Although the pictures were taken of my Clubman and the inner wings are a different shape there is still a gap at the top where you can pump Waxoyl etc into the closed off section.


Oh ok, cheers mate! So looking up from the wheel inside the wheel arch I should see this panel that I should remove? Four nuts by the looks of it? Are these found front and back?

I should have mentioned earlier (and it's just came to me) do I need to tape anything up to prevent the WaxOyl getting on it, for example the suspension, brake discs, drums etc..

Edited by crmpicco, 23 November 2011 - 08:48 PM.


#21 sonikk4

sonikk4

    Twisted Paint Polisher!!!

  • Admin
  • PipPipPipPipPipPipPipPipPipPipPip
  • 16,033 posts
  • Name: Neil
  • Location: Oxfordshire

Posted 23 November 2011 - 08:46 PM

To remove the fresh air vent first disconnect the pipe of the back of it. Then inside you need to remove the vent itself which is like a bayonet fitting so should twist off. Then you will see the four screws that hold the remainder of the vent but you dont have to do all of this. All you need to do is just disconnect the pipe up inside the wheel arch then you can spray the waxoyl up onto the scuttle close out panel . You need to spray the waxoyl into the inside of the panel from inside the engine bay where i spoke about earlier.

The nuts you see are captive and have nothing to do with the scuttle close out panel just the fresh air vent. The scuttle close out panel is welded in place.

#22 crmpicco

crmpicco

    Stage One Kit Fitted

  • Noobies
  • PipPipPip
  • 82 posts

Posted 24 November 2011 - 12:11 PM

To remove the fresh air vent first disconnect the pipe of the back of it. Then inside you need to remove the vent itself which is like a bayonet fitting so should twist off. Then you will see the four screws that hold the remainder of the vent but you dont have to do all of this. All you need to do is just disconnect the pipe up inside the wheel arch then you can spray the waxoyl up onto the scuttle close out panel . You need to spray the waxoyl into the inside of the panel from inside the engine bay where i spoke about earlier.

The nuts you see are captive and have nothing to do with the scuttle close out panel just the fresh air vent. The scuttle close out panel is welded in place.


Can the pipe be reached from up inside the wheel arch with the wheel removed?

Thanks.

#23 sonikk4

sonikk4

    Twisted Paint Polisher!!!

  • Admin
  • PipPipPipPipPipPipPipPipPipPipPip
  • 16,033 posts
  • Name: Neil
  • Location: Oxfordshire

Posted 25 November 2011 - 03:05 PM

Yes it can but once its off then blank over the vent otherwise you will end up with it in the car. Not a good look.

#24 sonikk4

sonikk4

    Twisted Paint Polisher!!!

  • Admin
  • PipPipPipPipPipPipPipPipPipPipPip
  • 16,033 posts
  • Name: Neil
  • Location: Oxfordshire

Posted 25 November 2011 - 03:07 PM

I should say as well you can see where the new waxoyl has split in quite a few places. This is because things were not thoroughly clean but this for Paddy is only a short term thing before he gets a full on resto

#25 crmpicco

crmpicco

    Stage One Kit Fitted

  • Noobies
  • PipPipPip
  • 82 posts

Posted 25 November 2011 - 03:07 PM

Yes it can but once its off then blank over the vent otherwise you will end up with it in the car. Not a good look.


OK, cheers - i'll check this out. Any ideas on the length of time it takes to dry?

#26 sonikk4

sonikk4

    Twisted Paint Polisher!!!

  • Admin
  • PipPipPipPipPipPipPipPipPipPipPip
  • 16,033 posts
  • Name: Neil
  • Location: Oxfordshire

Posted 25 November 2011 - 03:11 PM

Its down to conditons you spray the car in really. Have a look at the tin and see what it says. I sprayed and left it for four days because of my working shifts.

#27 crmpicco

crmpicco

    Stage One Kit Fitted

  • Noobies
  • PipPipPip
  • 82 posts

Posted 27 November 2011 - 11:54 AM

OK, I finished the WaxOyl'ing process yesterday (Saturday) afternoon around 5.30pm - it took me the best part of 4 hours i'd say. I had a few problems such as getting the locking ket stuck in my wrench bit and having to steep it in WD40 to get it back out! I've got a few photos that I took after I had finished and tidied up and i've got a few concerns and questions - the advice and assistance I have got from here has been invaluable so far:

1. How long does WaxOyl take to turn clear and will it definitely turn clear?
When I left it yesterday evening it was gold/bronze in colour and is not what I would have called "clear".
2. How long before the car is safe to drive?
I won't be driving the car today (Sunday), however I will need it tomorrow (Monday).
3. Could I have got WaxOyl in an area that would cause the car to fail to start?
Before I locked the garage up to come in the house I went to start the car and when I went to turn the barrel everything went dead! I tried again after checking all the fuses, none were blown so I re-tried and there was a "clicking" noise and the battery and oil lights stayed on. I left it for 5 minutes then tried again and it started as normal! Very strange and I have no idea what could have caused this. I will be going out to the car to check it this afternoon though.
4. Where are the entry points for getting into the sills with the small pipe?
I purchased the pipe extension for the WaxOyl kit as I previously mentioned, however the square hole in the sill that I believe is used with the standard Rover jack to jack the car up is closed - there's no way to get a pipe up there. It doesn't appear to be used for ventilation.
5. How thick should the WaxOyl have been put on?
I managed to go through two tins of 2.5L clear WaxOyl. I only had one so I had to go back out :( Based on the pictures did I put it on too thick?

Posted Image
Posted Image
Posted Image
Posted Image
Posted Image

#28 RawlinsGTR

RawlinsGTR

    Formally known as Dog

  • Members
  • PipPipPipPipPipPipPip
  • 1,046 posts
  • Location: Sevenoaks, Kent

Posted 27 November 2011 - 11:59 AM

That looks pretty dam well laid on.

When I put some spray on waxoil on the underside of my battery box, it came out a similar colour.

I've just checked again, and you can still see it, but it's not as obvious as it was before.

However, I did put some on the inside of my car, but I wiped it over with a cloth which took the bronze colour off, and left a clear thin layer. Looking at your photos, it looks a little rough in places, and not very smooth overall. I'd get an old, thick, soft brush and go over the thicker places with that, if it still isn't properly dry. If that doesn't work, I'll leave it to the other forum members to suggest solutions.

Make sure that you don't completely brush it all off with the brush though..

Simon.

#29 crmpicco

crmpicco

    Stage One Kit Fitted

  • Noobies
  • PipPipPip
  • 82 posts

Posted 27 November 2011 - 01:44 PM

That looks pretty dam well laid on.

When I put some spray on waxoil on the underside of my battery box, it came out a similar colour.

I've just checked again, and you can still see it, but it's not as obvious as it was before.

However, I did put some on the inside of my car, but I wiped it over with a cloth which took the bronze colour off, and left a clear thin layer. Looking at your photos, it looks a little rough in places, and not very smooth overall. I'd get an old, thick, soft brush and go over the thicker places with that, if it still isn't properly dry. If that doesn't work, I'll leave it to the other forum members to suggest solutions.

Make sure that you don't completely brush it all off with the brush though..

Simon.


Hi Simon, how long ago did you WaxOyl your car and how long did you wait before driving it again? I read on the tin that it should dry within 4 hours.

Should I wipe off the residue from the boot as I need to put the carpet and battery cover back in. I was going to just put everything on top of it as I only gave it a light covering - do you think I should wipe it off?

What do you think about the drying time?

Cheers.

#30 mike.

mike.

    Crazy About Mini's

  • Members
  • PipPipPipPipPipPipPipPipPipPip
  • 6,176 posts

Posted 27 November 2011 - 03:10 PM

What does it feel like?

On the photos it looks its it 5mm thick or more so it'll take a while to dry.


1 user(s) are reading this topic

0 members, 1 guests, 0 anonymous users