Jump to content


Photo

How To Make Panel Clamps.


  • Please log in to reply
13 replies to this topic

#1 alex-95

alex-95

    I am THE CLAMP MAKER

  • TMF+ Member
  • PipPipPipPipPipPipPipPipPipPip
  • 6,019 posts
  • Location: l

Posted 07 November 2011 - 06:14 PM

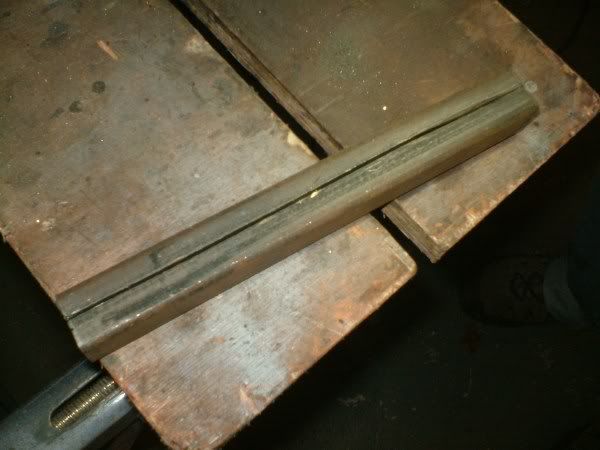
Cut a slit down the centre of a 25x25mm box section with a 1.5mm cutting disk
Posted Image
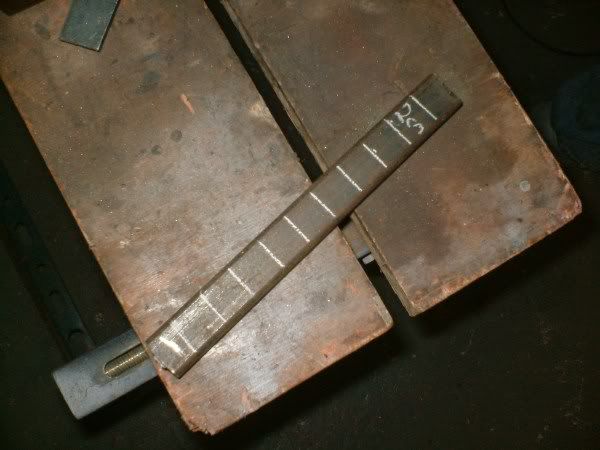
Measure 2cm lengths
Posted Image
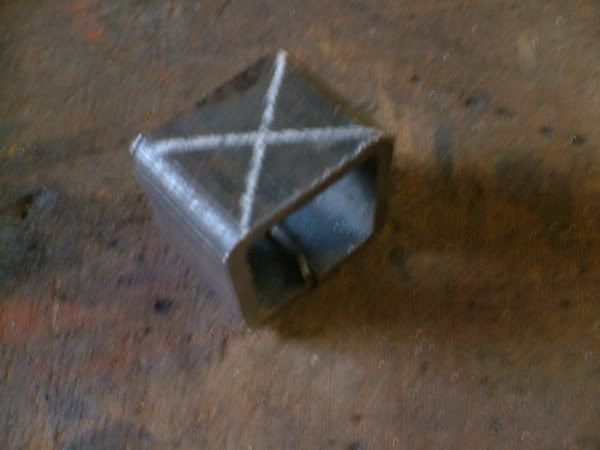
Cut the box section and then mark centre for a hole
Posted Image
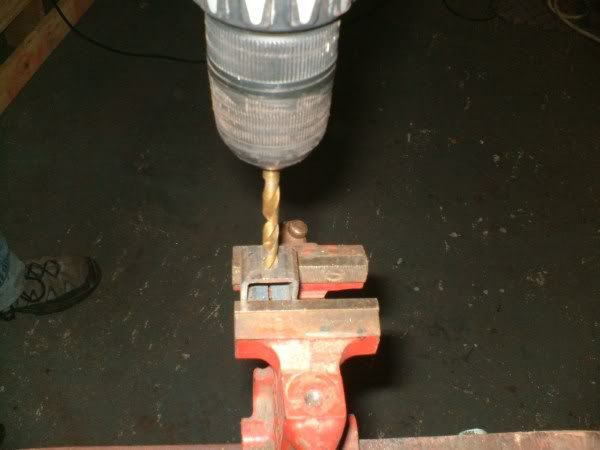
Drill a 6.5 mm hole in the centre
Posted Image
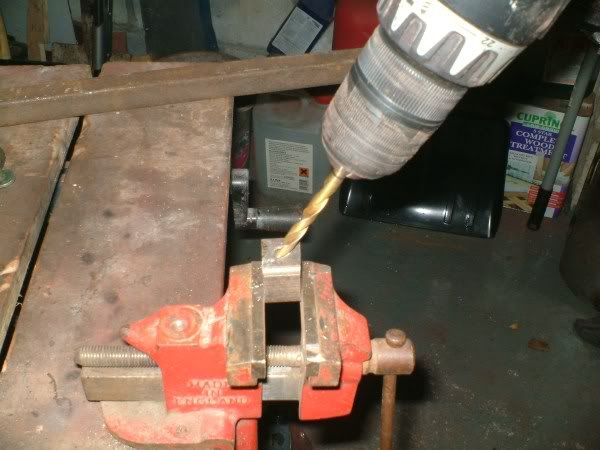
Then Drill at an angle inline with the slot, so the bolt can be inserted
Posted Image
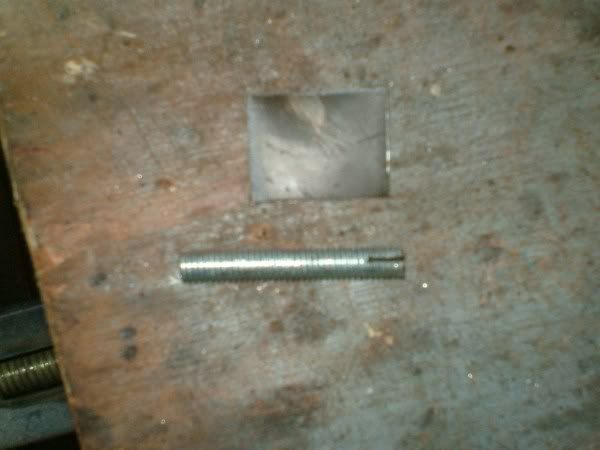
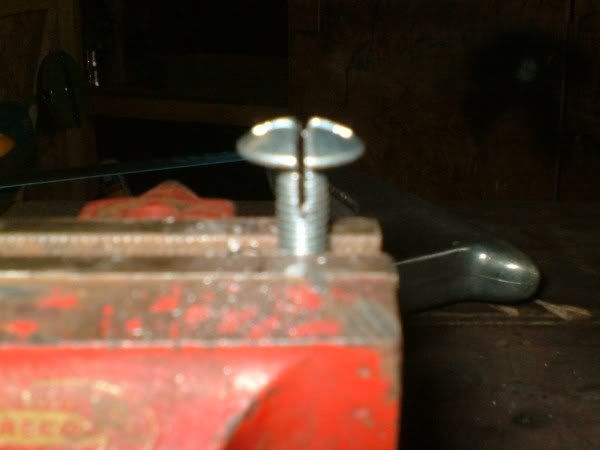
Cut a groove in a bolt for the metal to slot in
Posted Image
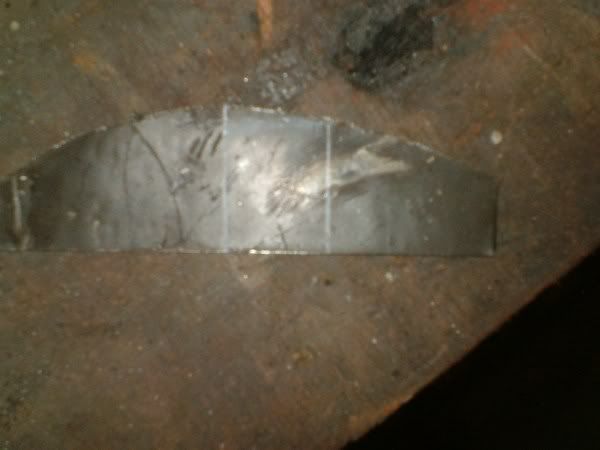
mark out a 20mm wide by 25mm long on a piece of metal
Posted Image
chop off the bolt head and cut metal
Posted Image
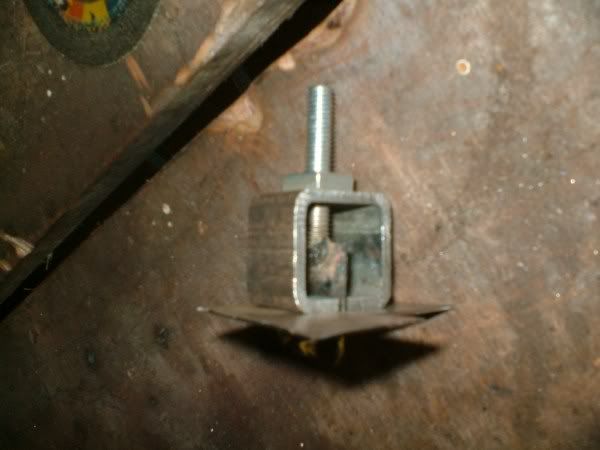
Put the metal in the slot then weld together
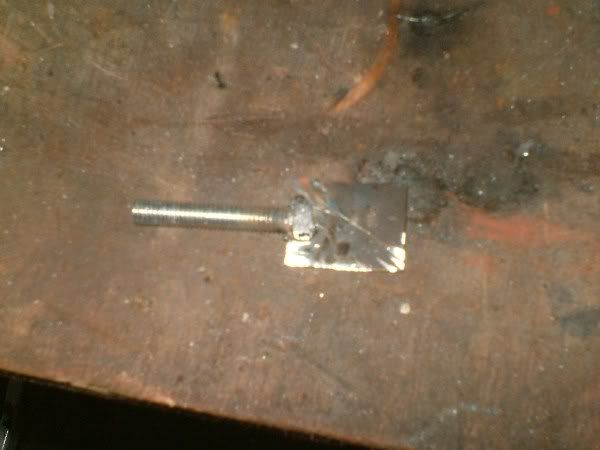
Posted Image
file the bolt and drill a 6.5mm hole in the metal for the round bar to slot in
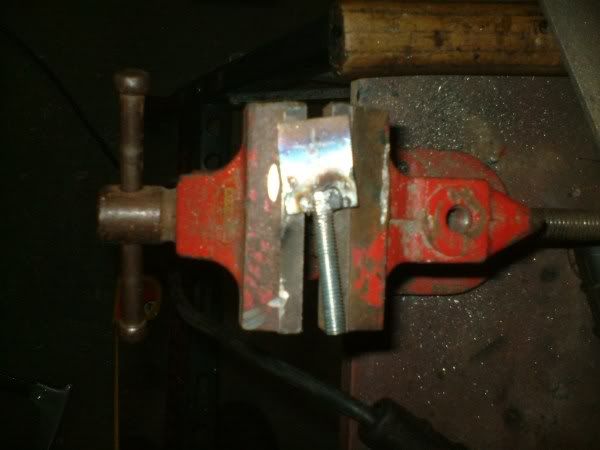
Posted Image
Cut 6mm round bar or a bolt about 2cm long
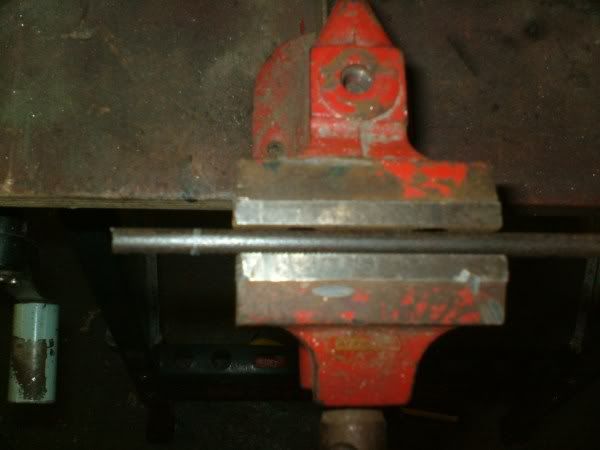
Posted Image
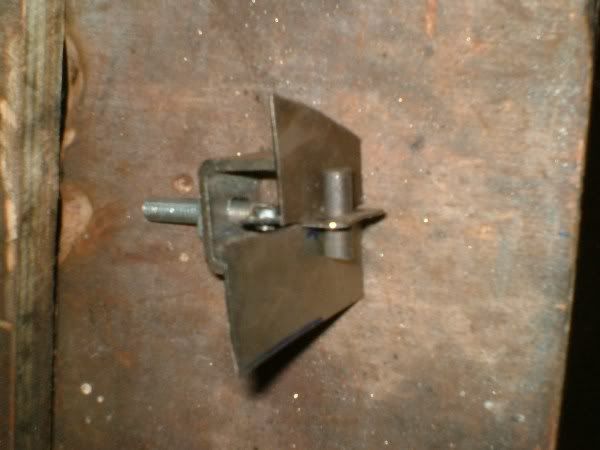
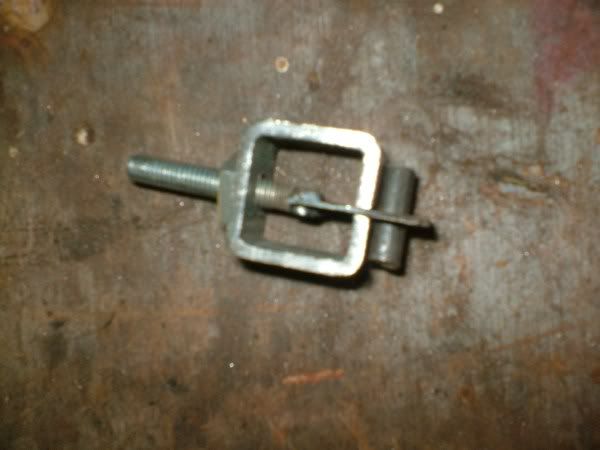
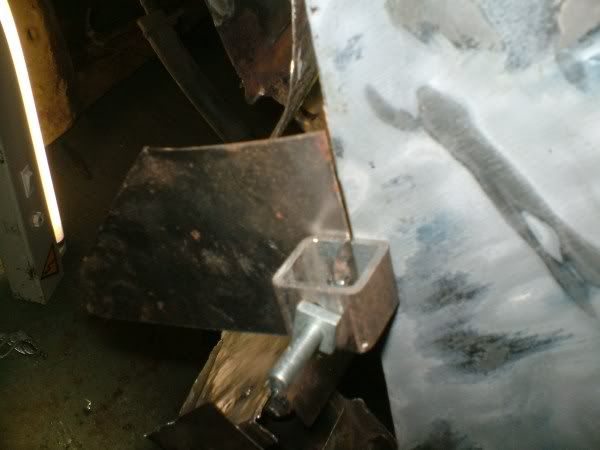
Fix together
Posted Image
Posted Image
Posted Image
Posted Image
Alex

#2 DAVEY_C

DAVEY_C

    Super Mini Mad

  • Members
  • PipPipPipPipPipPip
  • 555 posts
  • Location: kildare, ireland
  • Local Club: irish minis owner club

Posted 10 November 2011 - 01:26 PM

nice job:)

sonikk4, an idea but if you were to turn the bolt then the 6mm pin will be swiveling the other side and make it hard..... just use wing nuts:)

#3 sonikk4

sonikk4

    Twisted Paint Polisher!!!

  • Admin
  • PipPipPipPipPipPipPipPipPipPipPip
  • 15,990 posts
  • Name: Neil
  • Location: Oxfordshire

Posted 10 November 2011 - 01:40 PM

Ooops my bad, Thanks for that (Hangs head in shame) sorry what i should have said was to use a butterfly nut instead of a plain nut. (I need to get a cure for old timers disease)

#4 ibrooks

ibrooks

    One Carb Or Two?

  • Members
  • PipPipPipPipPipPipPip
  • 1,017 posts
  • Location: Darwen, Lancashire
  • Local Club: Leyland Mini Club

Posted 11 November 2011 - 11:34 AM

I've done these in the past and drilled the hole all the way through the square section before putting the slit in it. The bolt can then be inserted square and it means the clamp can be wider (longer?). There's still enough of a flat face to align panels despite the hole in the bottom. You can even make a long clamp with several bolts along it's length which can help if you need to keep a joint flat in several planes (stick a piece of copper sheet under the long clamp and you can weld from the other side between the bolts).

Iain

#5 Brams96

Brams96

    Up Into Fourth

  • Members
  • PipPipPipPipPipPipPipPipPip
  • 2,308 posts
  • Local Club: Kentish Mini Club

Posted 02 December 2011 - 03:38 PM

Great tutorial, I'm definitely going to give this a go!

#6 alex-95

alex-95

    I am THE CLAMP MAKER

  • TMF+ Member
  • PipPipPipPipPipPipPipPipPipPip
  • 6,019 posts
  • Location: l

Posted 02 December 2011 - 04:13 PM

Thanks, They are fairly easy do make and alot cheaper than buying them.

nice job:)

sonikk4, an idea but if you were to turn the bolt then the 6mm pin will be swiveling the other side and make it hard..... just use wing nuts:)

I would have used wing nuts but I was using things around the garage.

#7 Brams96

Brams96

    Up Into Fourth

  • Members
  • PipPipPipPipPipPipPipPipPip
  • 2,308 posts
  • Local Club: Kentish Mini Club

Posted 02 December 2011 - 07:05 PM

I've already made the body for 8 clamps & got everything else I need so will knock some up tonight & weld it all when I get home to my welder. Nice.

#8 superman

superman

    One Carb Or Two?

  • Traders
  • PipPipPipPipPipPipPip
  • 736 posts
  • Local Club: Dorset Mini Club

Posted 03 December 2011 - 10:44 AM

everyone hates a smart arse, but a smart arse that share's is a LEGEND, nice one thanks

#9 Marlin

Marlin

    Mini Mad

  • Noobies
  • PipPipPipPip
  • 110 posts
  • Location: Ontario Canada
  • Local Club: Durham Eastenders

Posted 31 December 2012 - 02:57 PM

Those are pretty neat. Easy to make too. I will be making a few of those for sure. Thanks for the great idea.

#10 alex-95

alex-95

    I am THE CLAMP MAKER

  • TMF+ Member
  • PipPipPipPipPipPipPipPipPipPip
  • 6,019 posts
  • Location: l

Posted 18 August 2013 - 08:08 AM

Thanks, A small bump :whistling:


#11 SAL 821X

SAL 821X

    Camshaft & Stage Two Head

  • Members
  • PipPipPipPipPipPipPipPip
  • 1,890 posts
  • Location: Hinckley
  • Local Club: Leicester Mini Owners Club

Posted 22 August 2013 - 01:42 PM

Good stuff alex I like that.


I bought 6 of ebay for about 15quid! :(


#12 Steve8274

Steve8274

    Super Mini Mad

  • Members
  • PipPipPipPipPipPip
  • 580 posts
  • Location: Wigan (north west)

Posted 05 December 2014 - 08:14 PM

Hi. I know this post is from ages ago but i just seen these and i am going to make some. what width of metal do you use for the spacer. ie. what gap is needed inbetween panels when welding together. can i use some of my old bodywork which i have cut off car. think thats about 0.9mm

thanks


#13 alex-95

alex-95

    I am THE CLAMP MAKER

  • TMF+ Member
  • PipPipPipPipPipPipPipPipPipPip
  • 6,019 posts
  • Location: l

Posted 05 December 2014 - 08:22 PM

Hi. I know this post is from ages ago but i just seen these and i am going to make some. what width of metal do you use for the spacer. ie. what gap is needed inbetween panels when welding together. can i use some of my old bodywork which i have cut off car. think thats about 0.9mm

thanks

pretty sure it is 0.9mm I used, that or 1.2.


#14 ibrooks

ibrooks

    One Carb Or Two?

  • Members
  • PipPipPipPipPipPipPip
  • 1,017 posts
  • Location: Darwen, Lancashire
  • Local Club: Leyland Mini Club

Posted 08 December 2014 - 10:39 AM

The thinner the better as you can leave less of a gap. It doesn't have to be massively strong as it's only in tension so little or no bending forces and it's only for holding the panels temporarily so 0.9 is plenty strong enough.


Iain


1 user(s) are reading this topic

0 members, 1 guests, 0 anonymous users