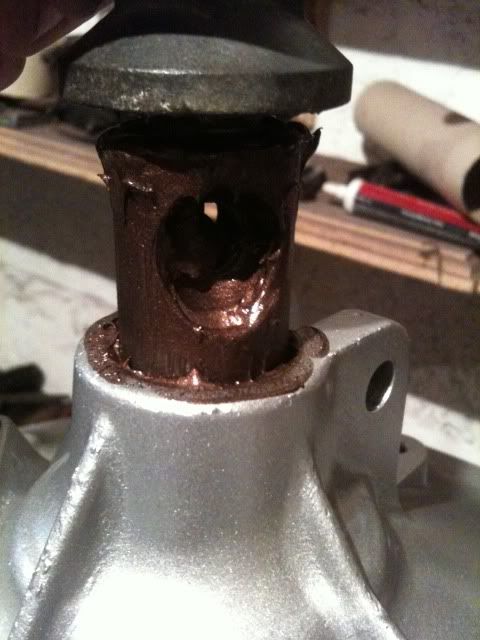
Clutch oil seal mini spares 13H2934MS pig to fit, inside lip kept deforming and the spring kept popping out crap of a job
There is a special tool for this job, called a 'top hat tool' 'cause it's shaped like a top hat (no sh*t sherlock!). It comes with a sleeve to cover the primary gear splines and you slide the seal on over the sleeve until it just touches the casing, then put the top-hat tool over the sleeve and tap the end of it which pushes the seal in squarely. Actually it has a hole in the end and you can use a flywheel bolt through the hole into the end of the crank. When the bolt is fully tightened the seal is correctly installed. But then, if you ain't got that tool ...........................!
Ahhhh well it is in now got it over the primary gear and then installed it ended up tapping it in very slowley round and round
i have set it flush i hope that is correct, i have had a pig of a day today, my son asked me to change his auxilary belt on a vectra 20T SRI we put a jack under the sump to lift the engine to get to a bolt as his forum said, we cracked it

my heart fell out when i looked under and saw the oil dripping out, it took me 30 min to get the engine mounting off a 30 seconds to put it back so we could drop the jack its about 30mm long i have a welder coming around in the morning to aloy weld it, i am still very upset
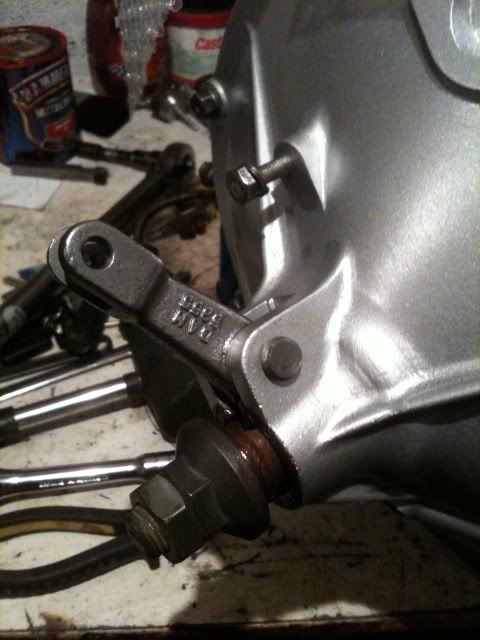
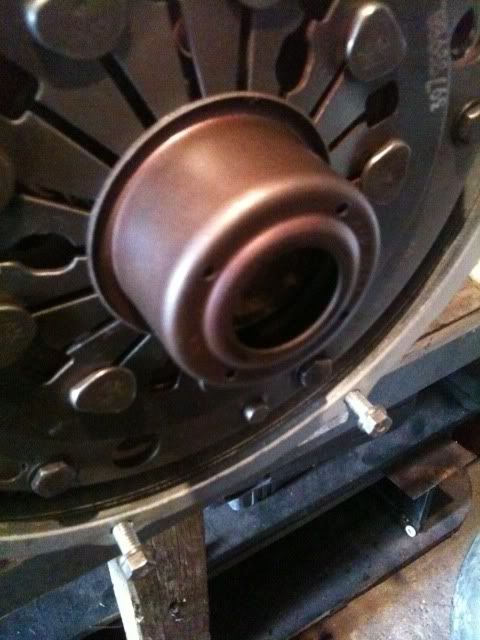
anyway i have got the clutch in the mini didn't get anything done today but tomorrow i should get the outer clutch cover on and the head i hope see how i get on, going to have a stiff drink now just hope i can sleep ohhh and on the above there was no need to jack the car the bolt didn't need to come off