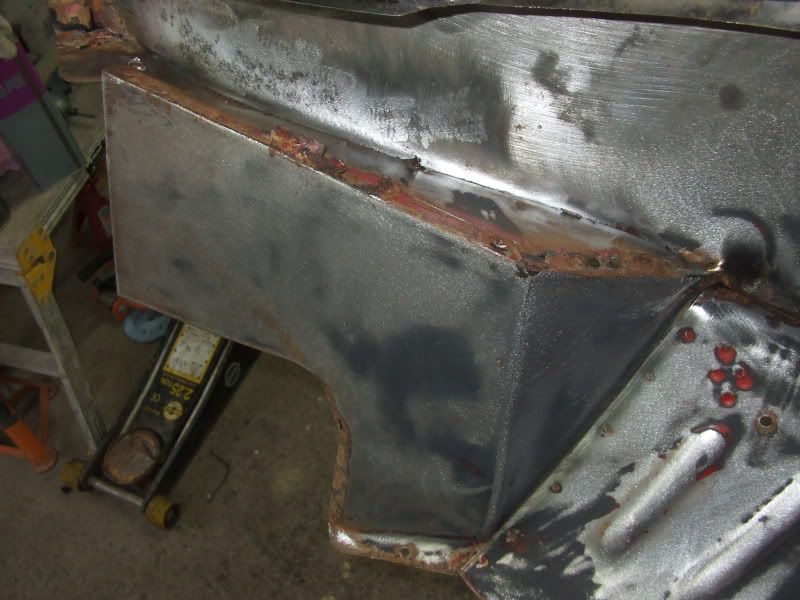
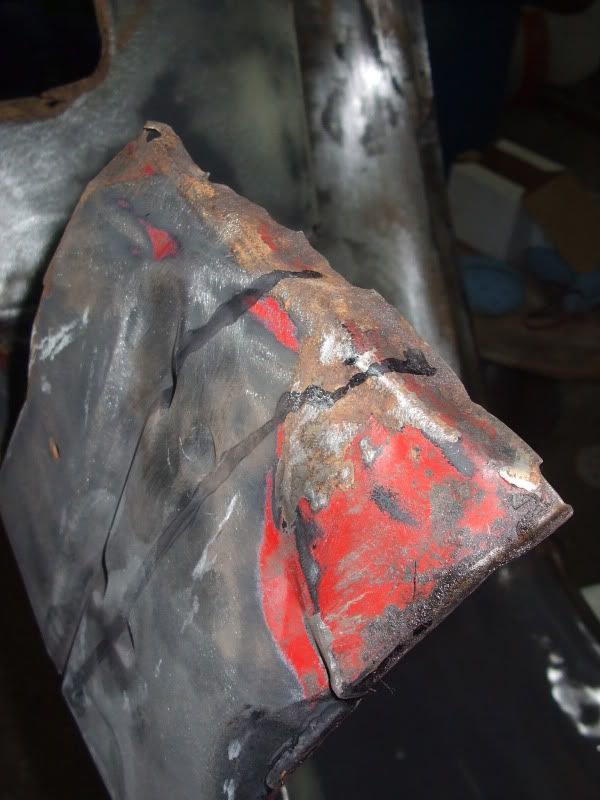
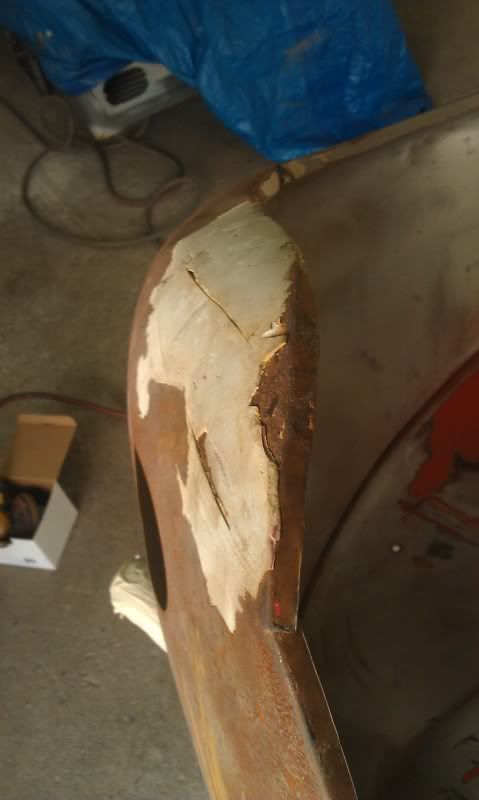
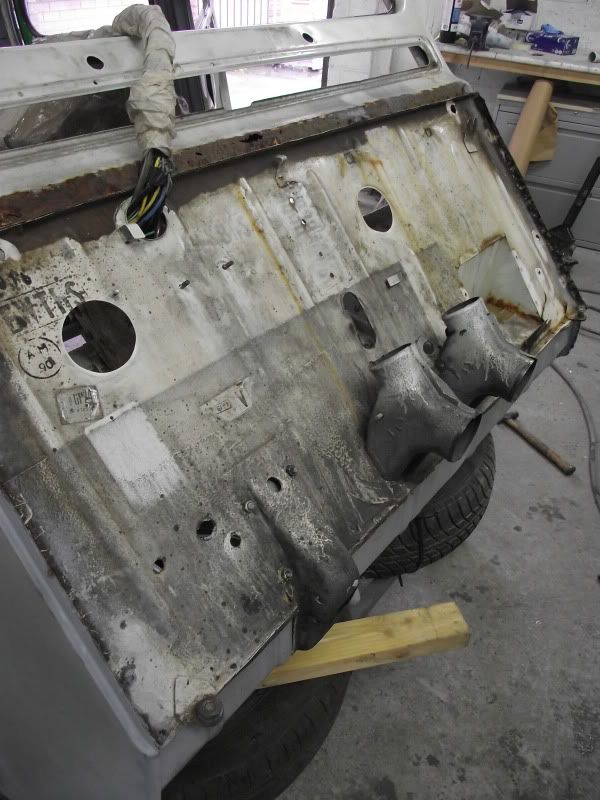
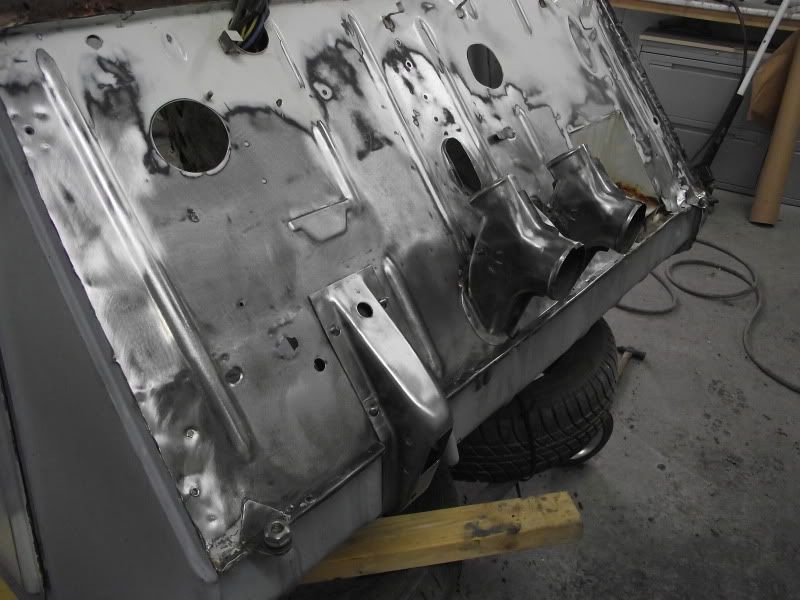
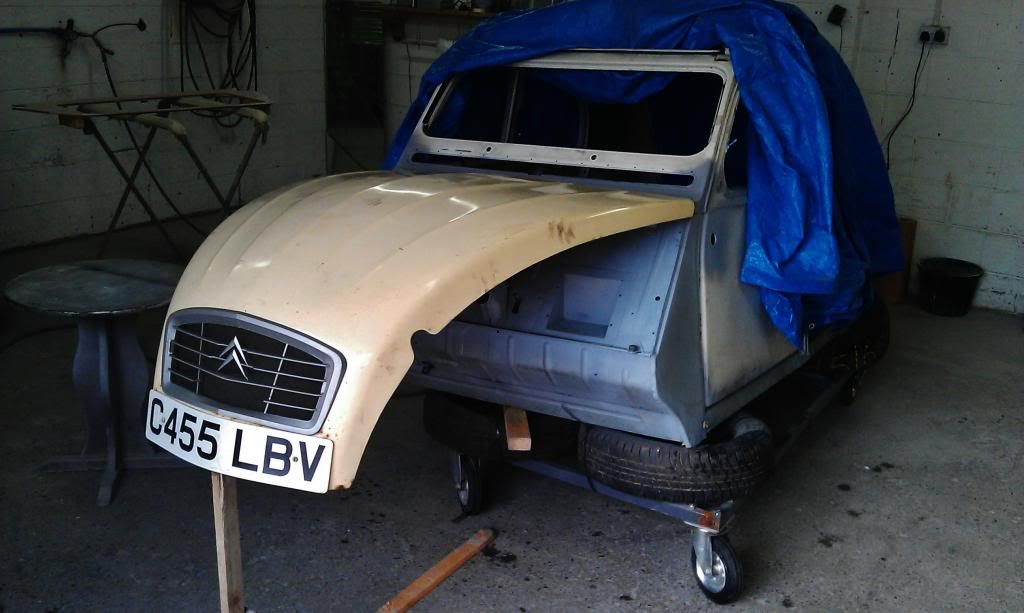
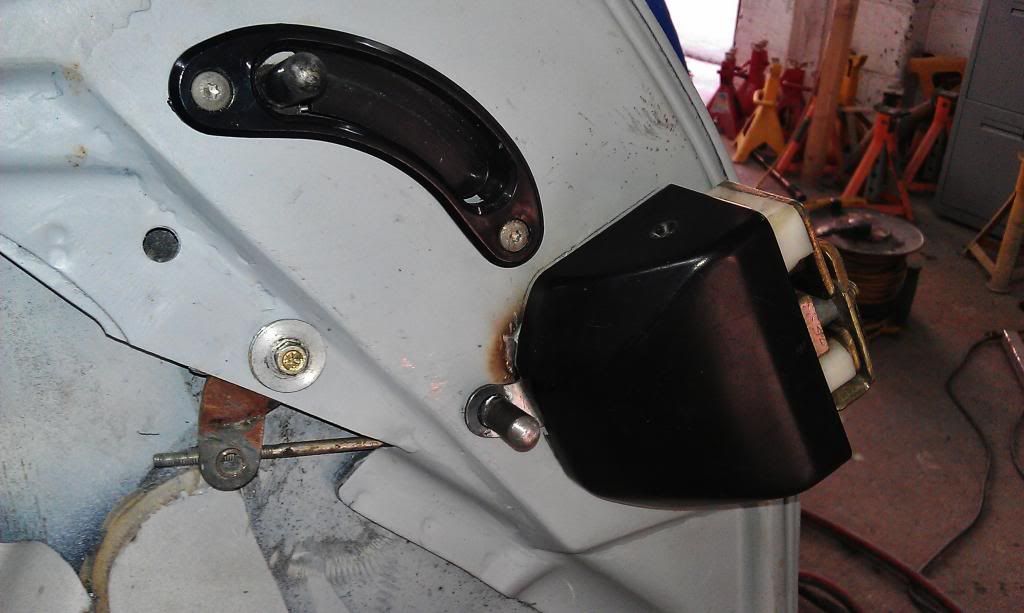
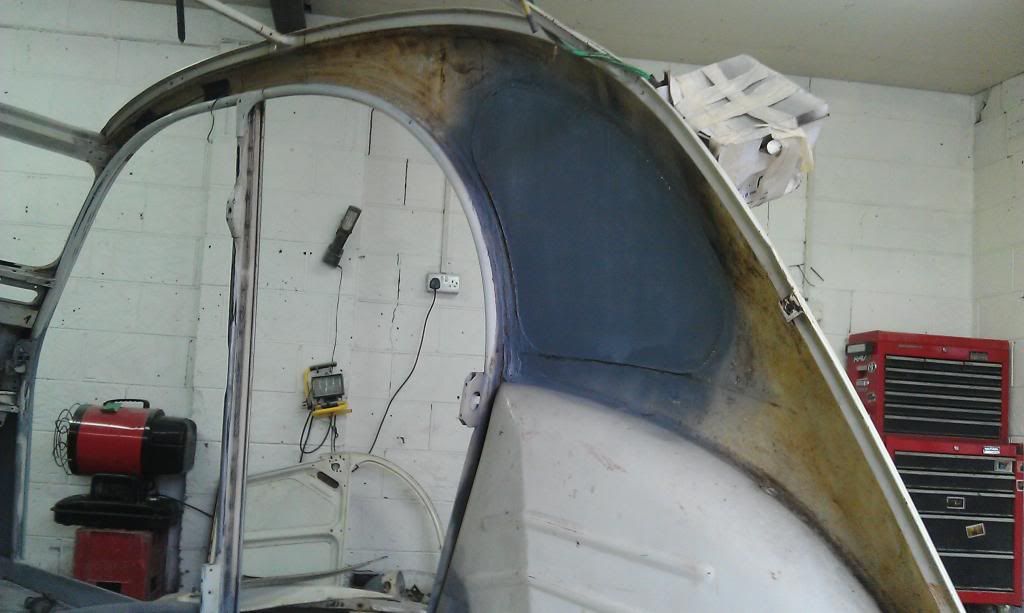
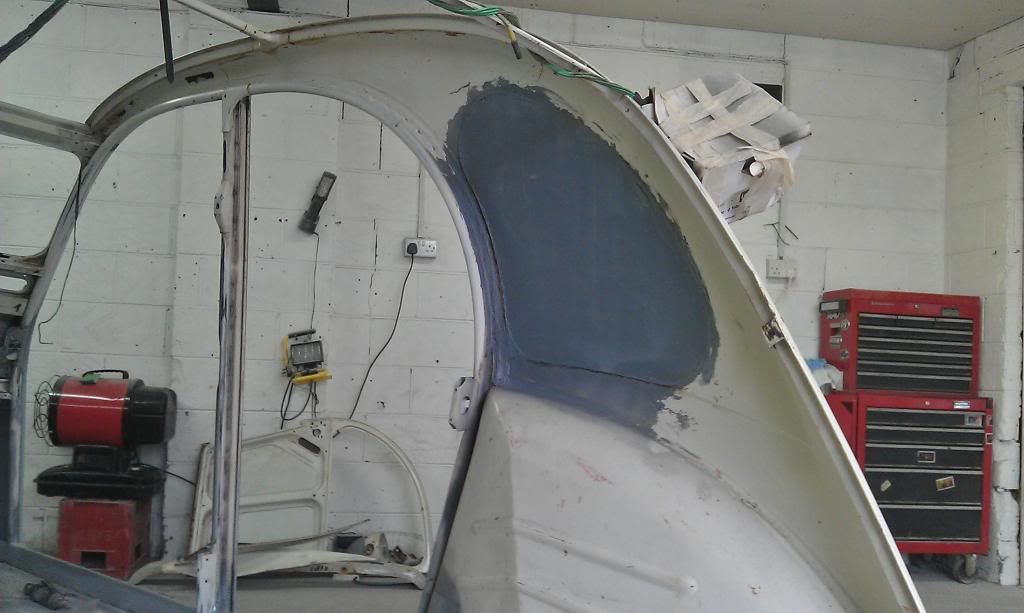
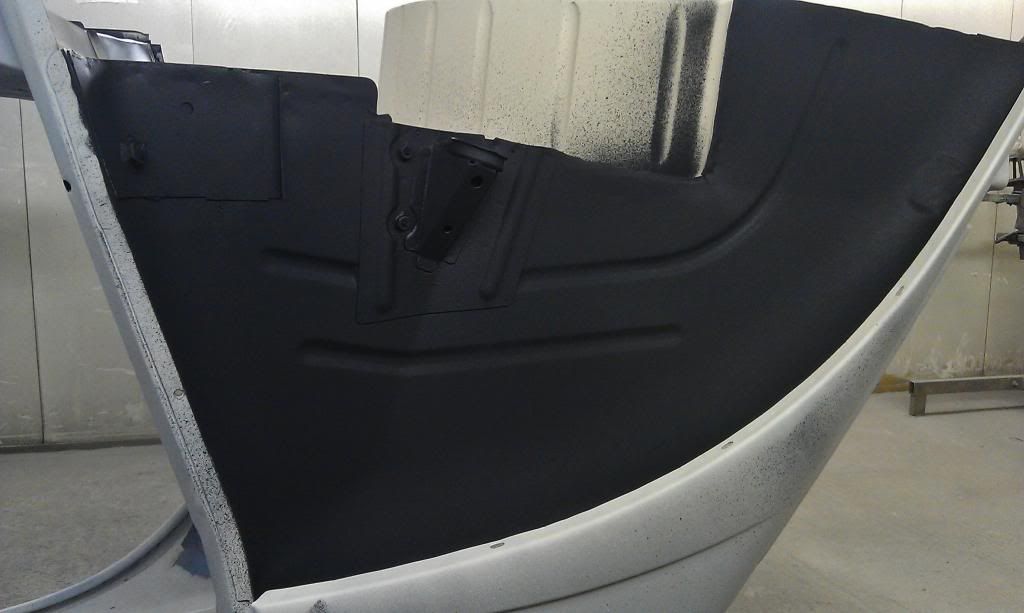
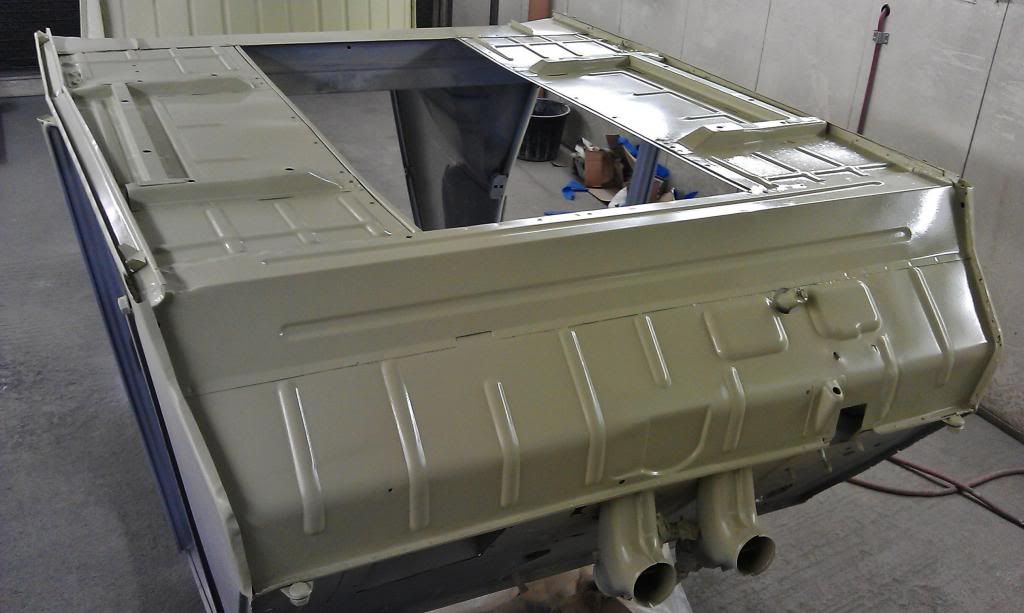
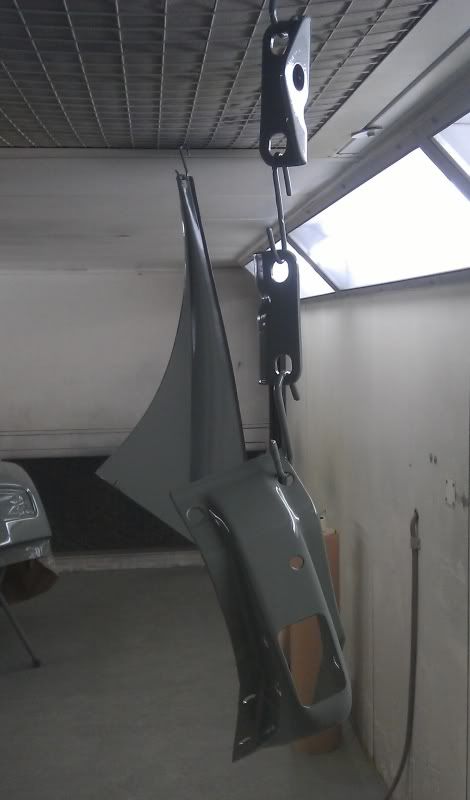
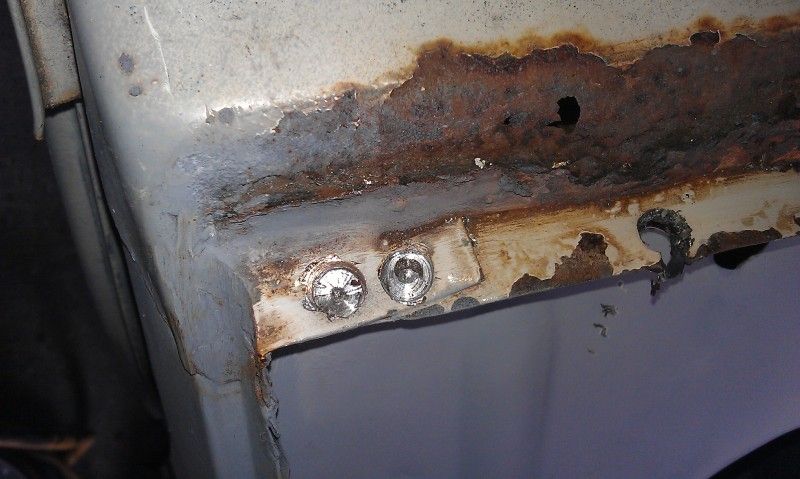
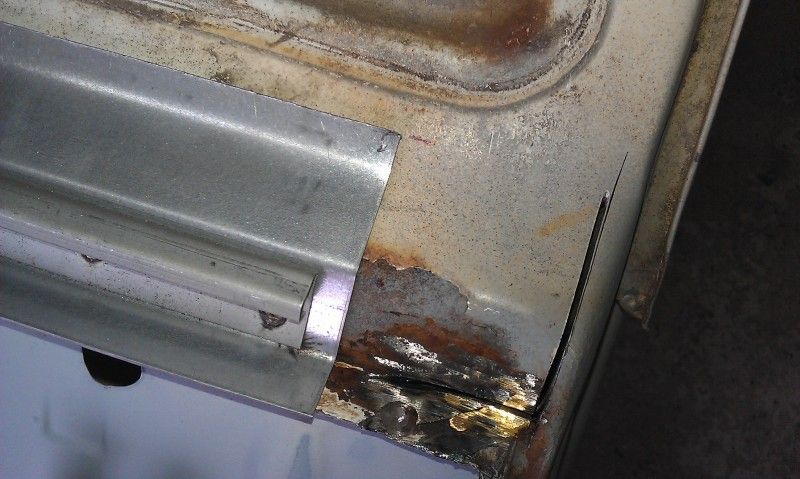
Last bit of rot was the Bonnet hinge/scuttle area. Seeing as this is an area most 2CV owners will need to fix at some point, I took detailed pics, hopefully will be of use to someone.
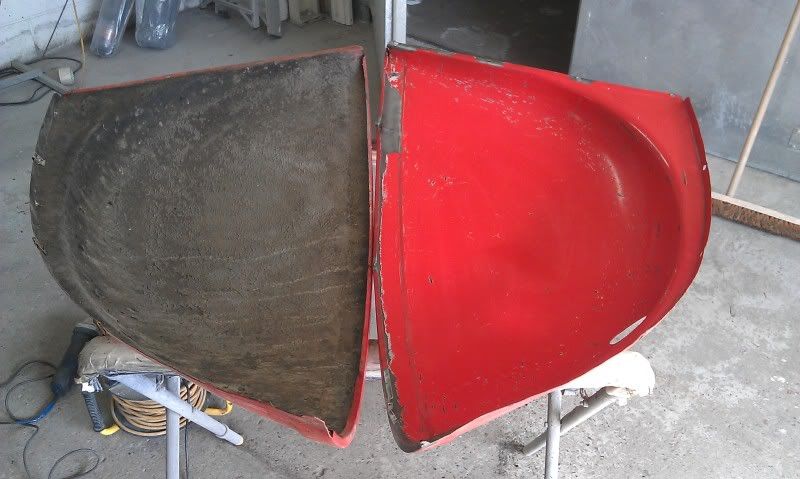
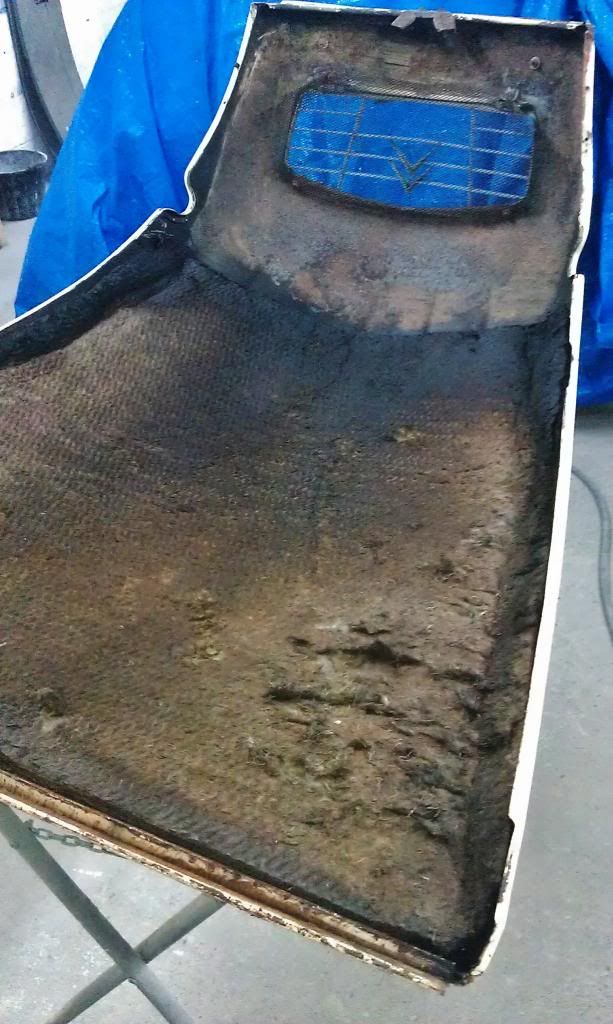
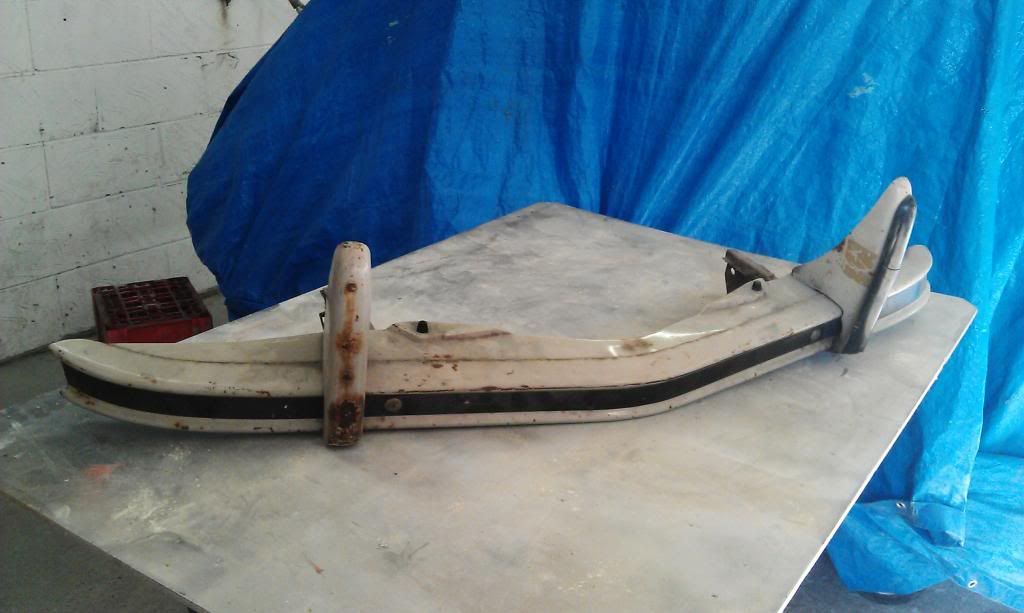
Started off with this
The first step was to drill out the spot welds on the lower lip
And remove the tabs at the ends, first by drilling out the spot welds
And then grinding the tab away, as it's brazed.
I bought the basic hinge repair section from ECAS,
http://www.ecas2cvpa...ails-p-840.htmlAt £30 it's pretty good I reckon, much thicker gauge metal then standard Citroen and Galvanised, so it'll last for a few years.
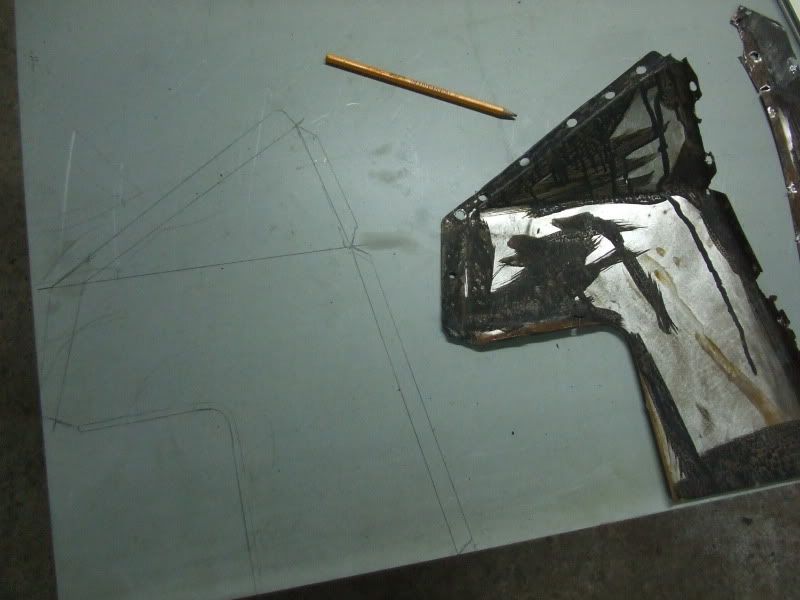
I started by sitting it on the scuttle with the old hinge removed to mark the length
At this point I noticed the repair panel was higher than I wanted, so I cut it down silghtly to about 5mm down from the curve of the flap aperture
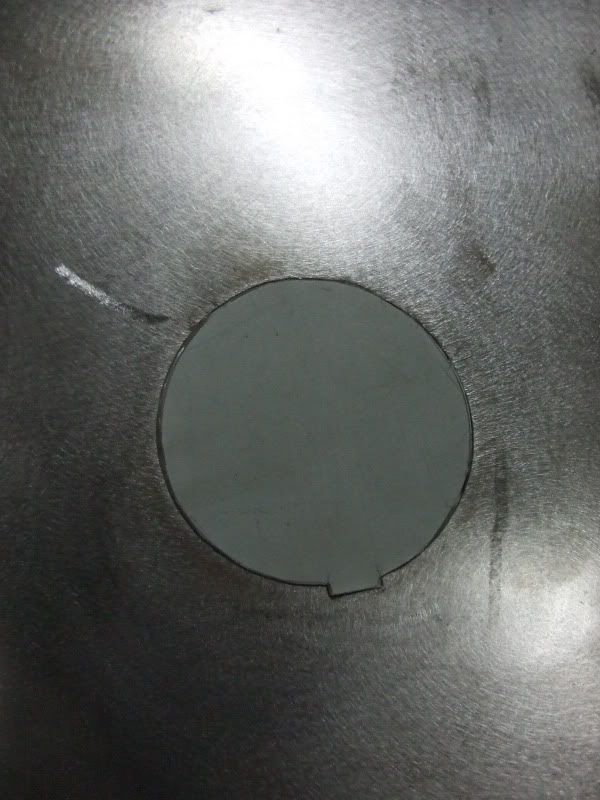
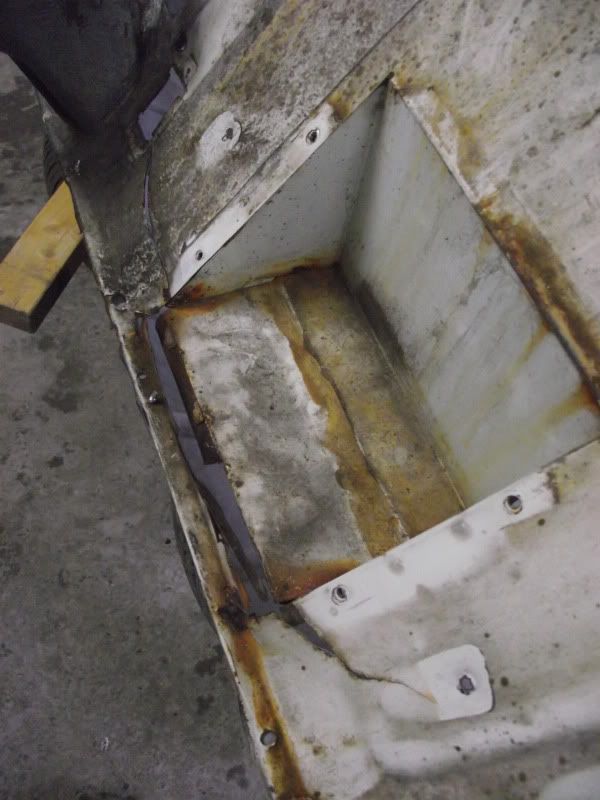
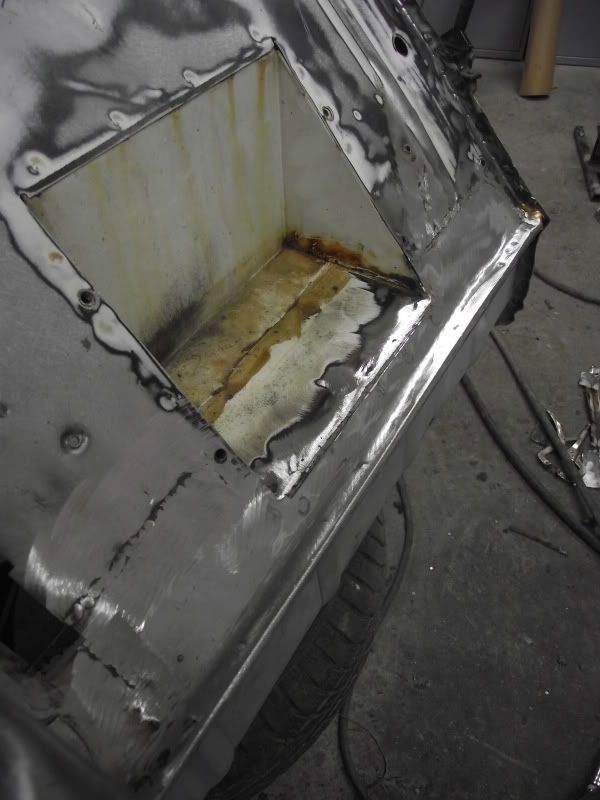
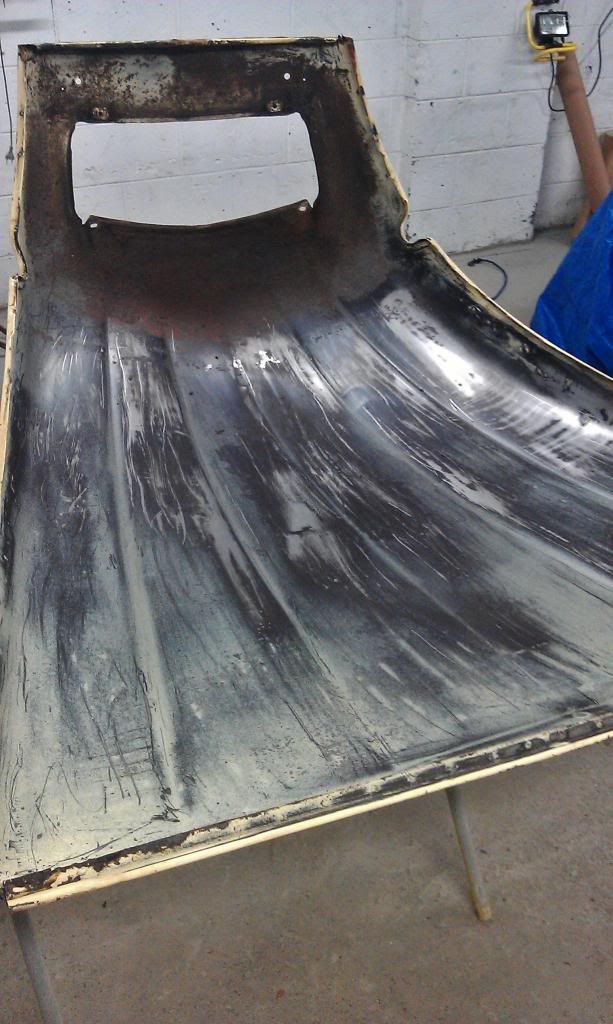
I then cut out the old panel, leaving a section at the top to be cut out later, this is so the repair panel can sit in the correct position before accurately marking the top for cutting.

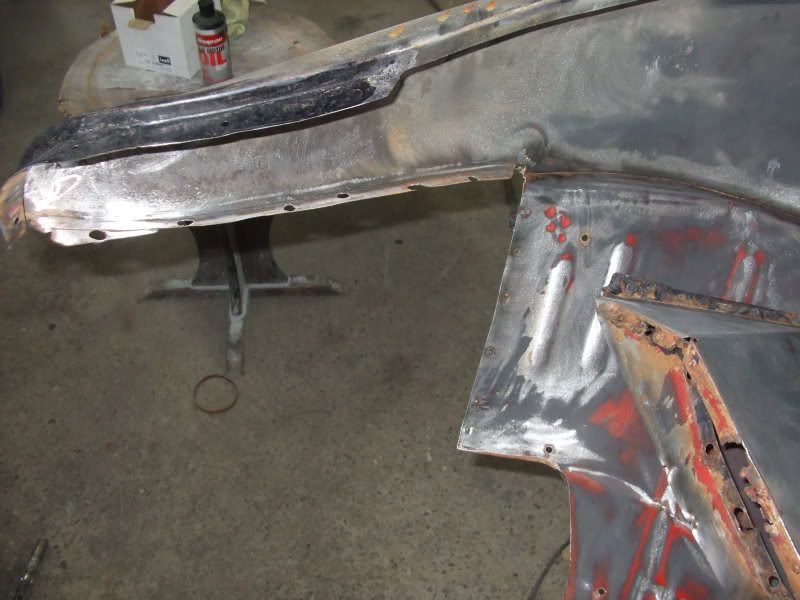
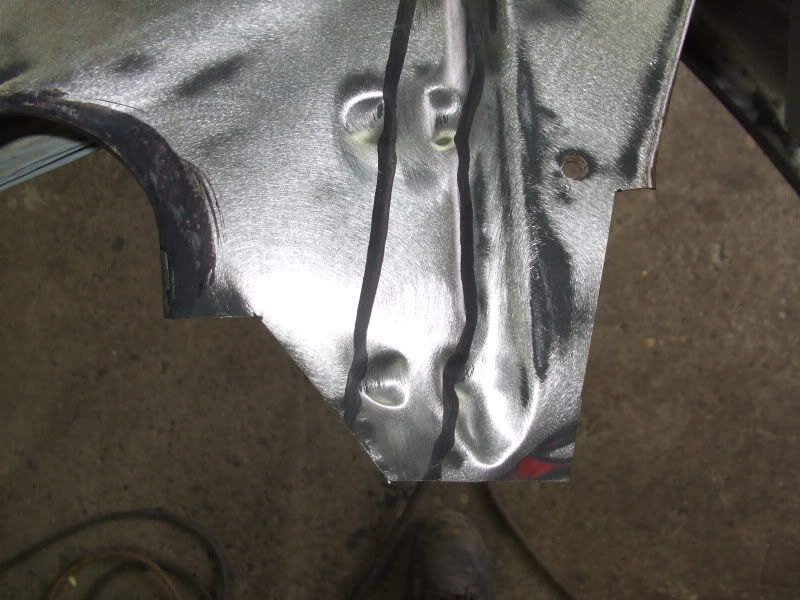
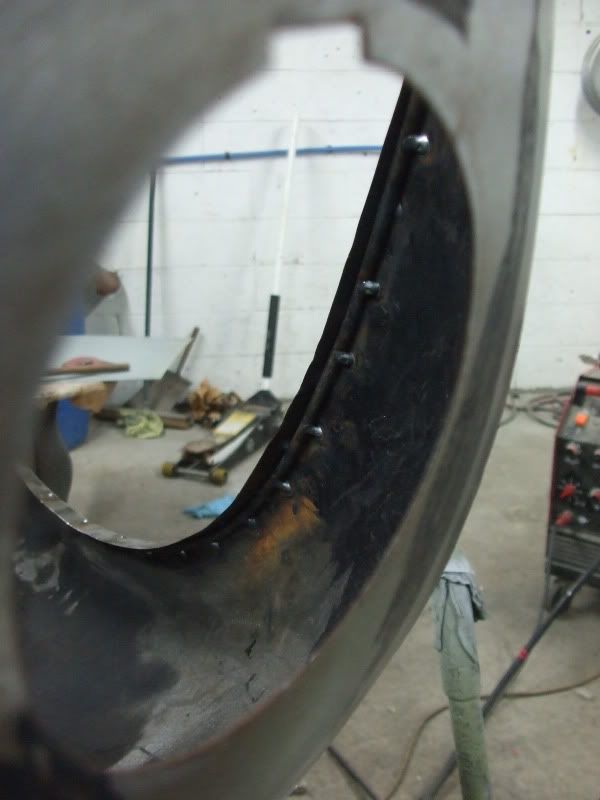
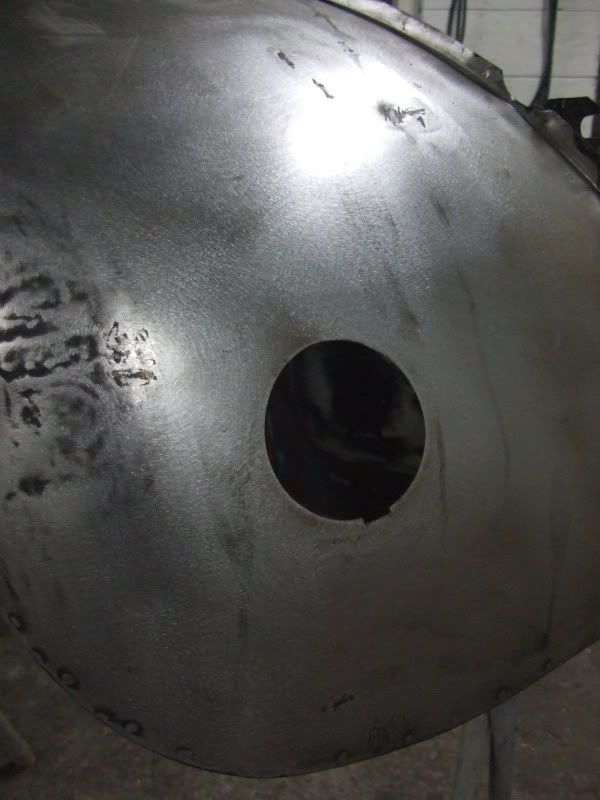
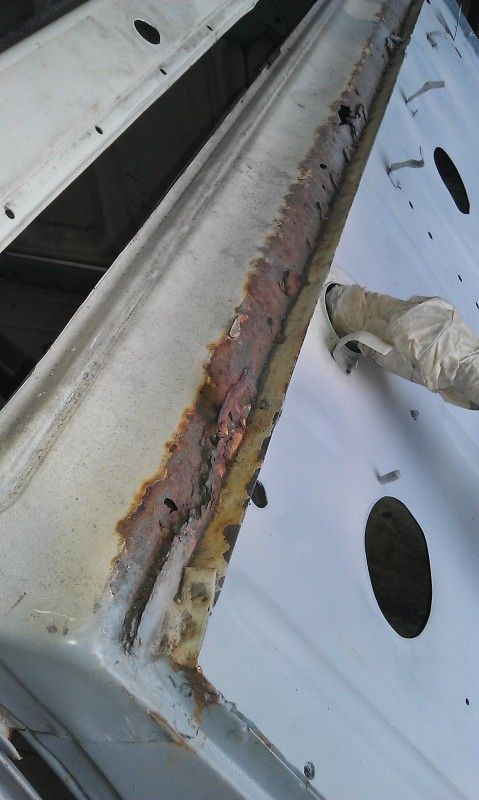
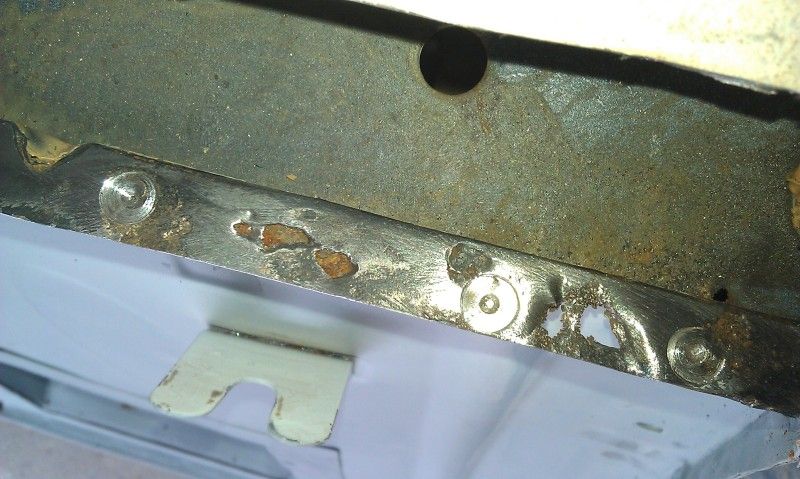
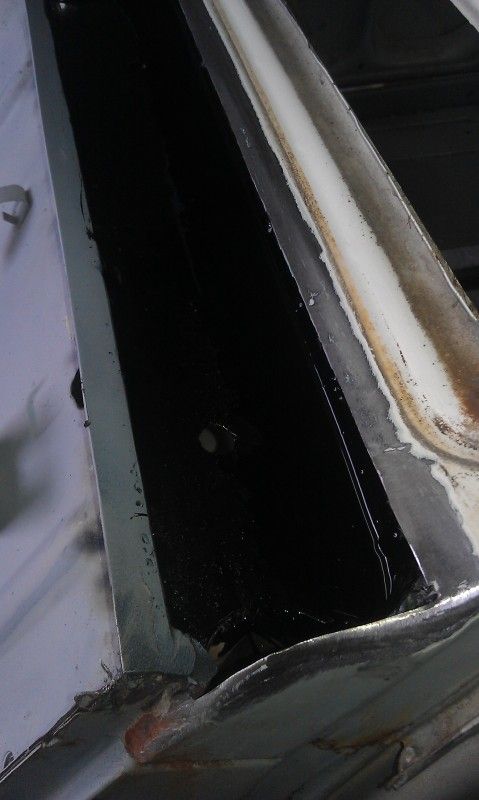
I was glad to find out the inner scuttle was very sound. However the lip at the top of the bulkhead wasn't, so I chopped that bit out, and let in new metal.
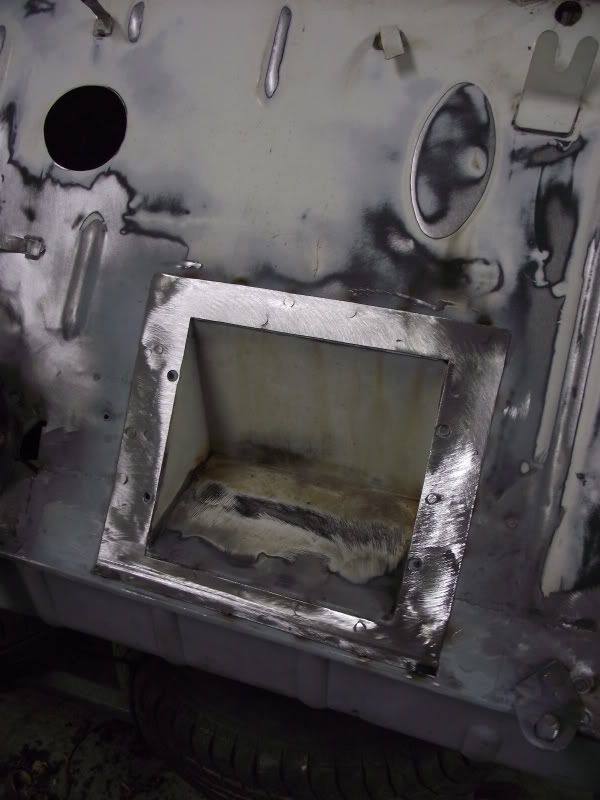
I then lay the repair panel in place, marked, and cut the remaining metal out.
I also brushed thick hammerite inside the scuttle to keep it good for a while, and applied zinc primer to the underside of the new panel.
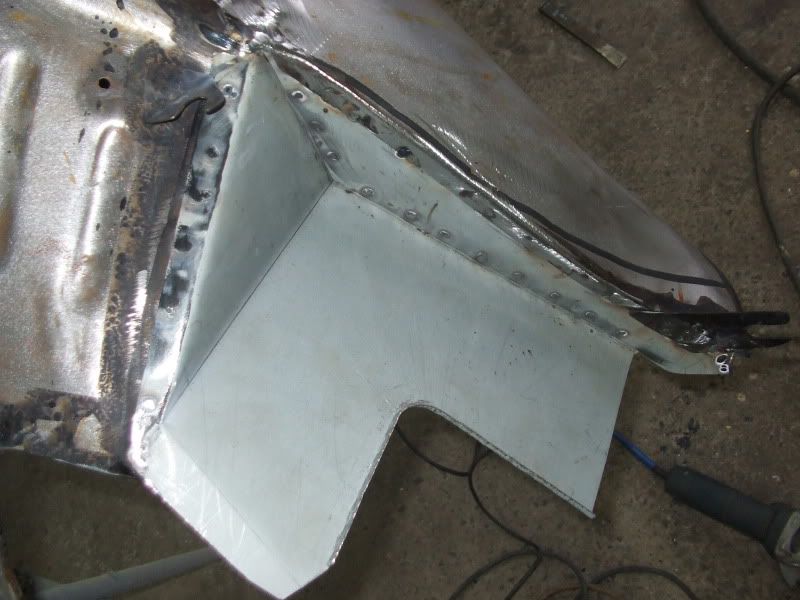
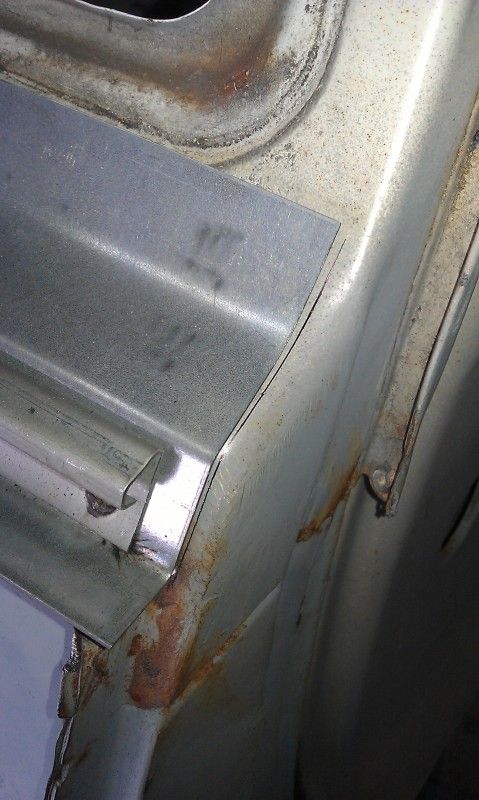
I then clamped the panel in place for welding. At this point I noticed that the curve of the area of above the hinge was too round, so I flattened it a bit in my folder. I could have fitted it as was, but it would have needed a bit more filler than I would have liked. I ground the galvanised coating off the edges of the new panel, as the fumes are bad for your elf, and it doesn't weld too well.

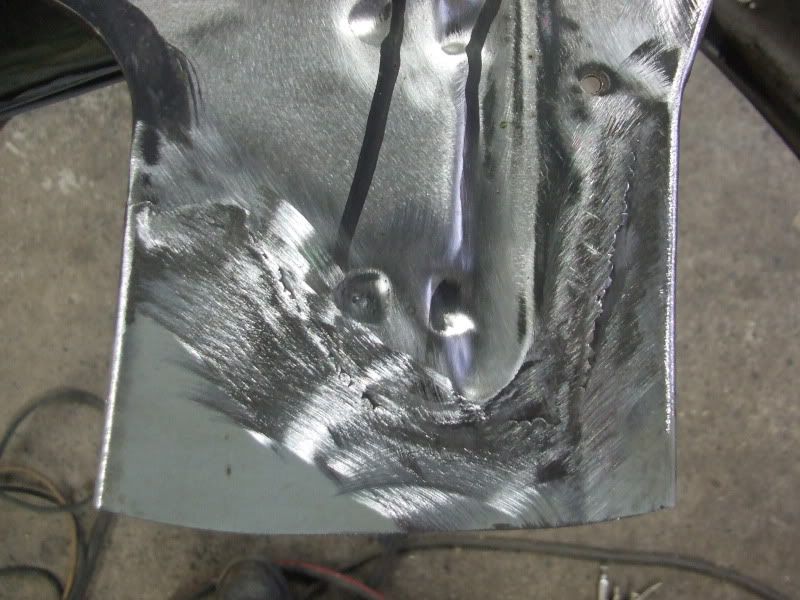
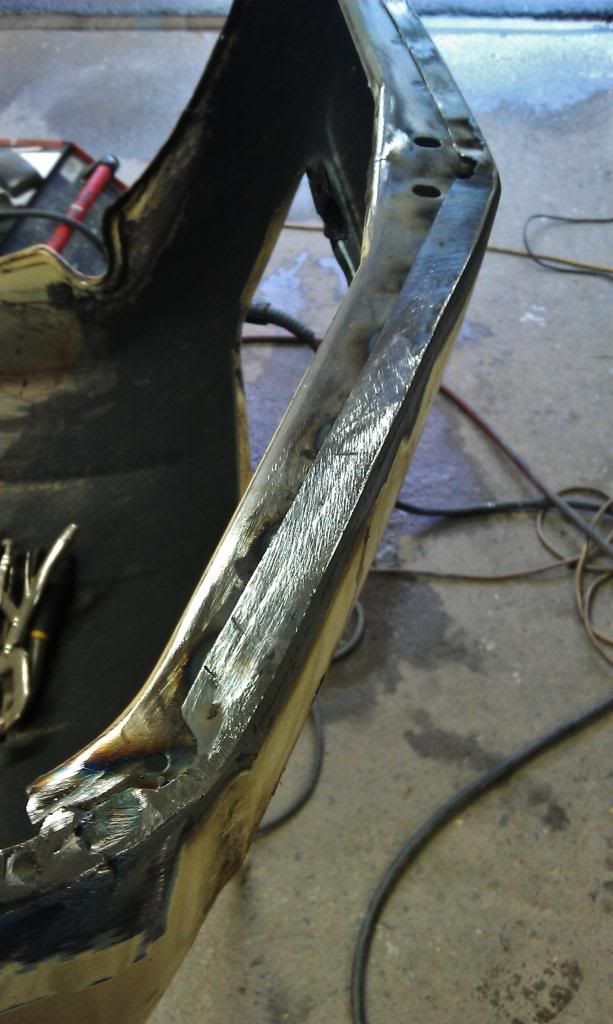
I started welding the panel in with tacks at intervals to keep the panel cool and avoid warpage, plug welding the bottom lip.
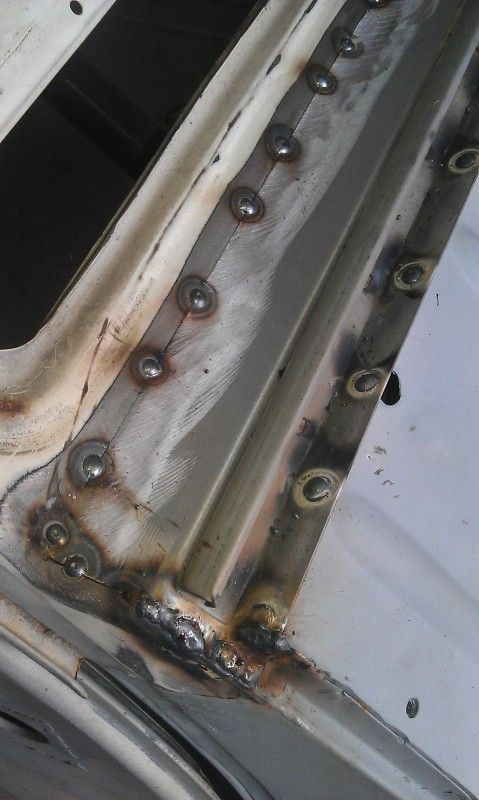
Carried on until it was welded solidly around.
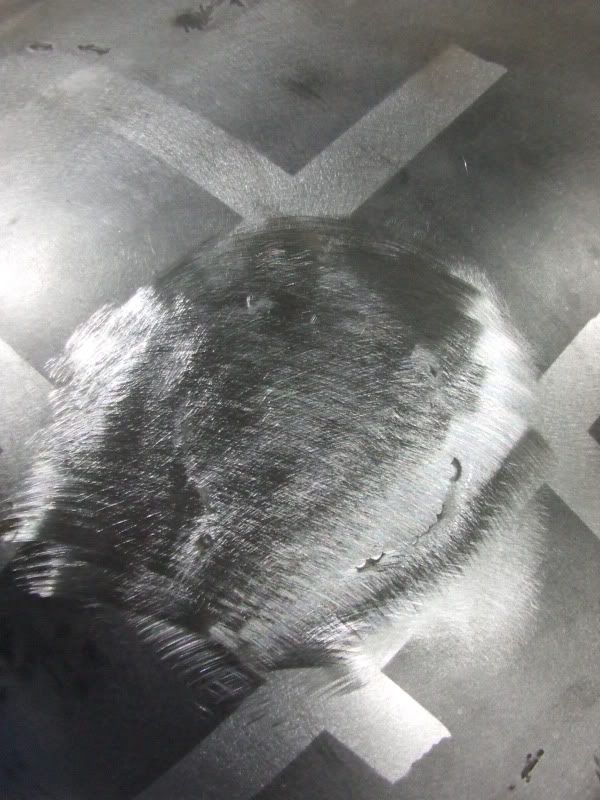
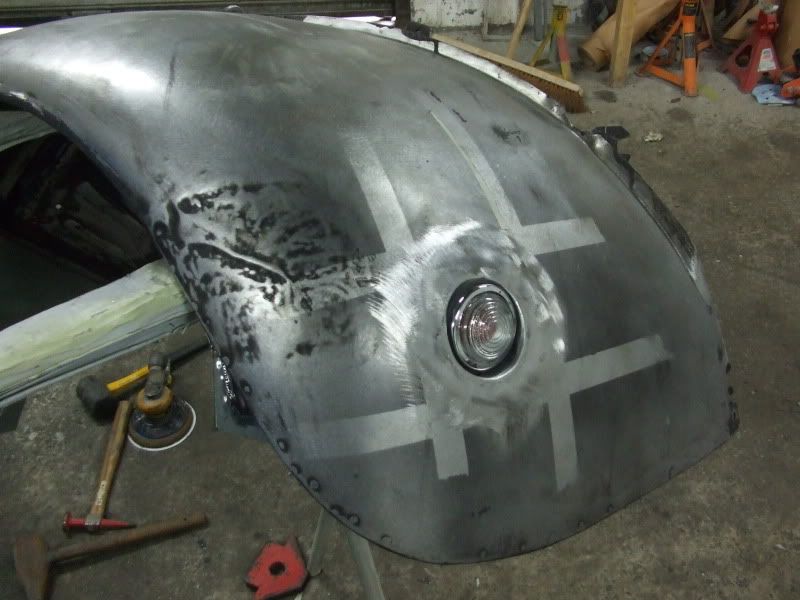
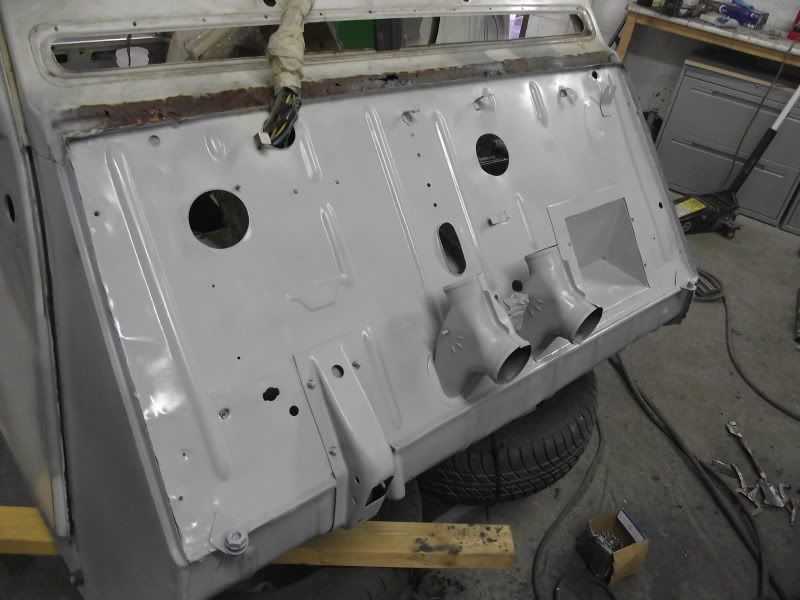
And dressed with a flap wheel and 80 grit on the sander.
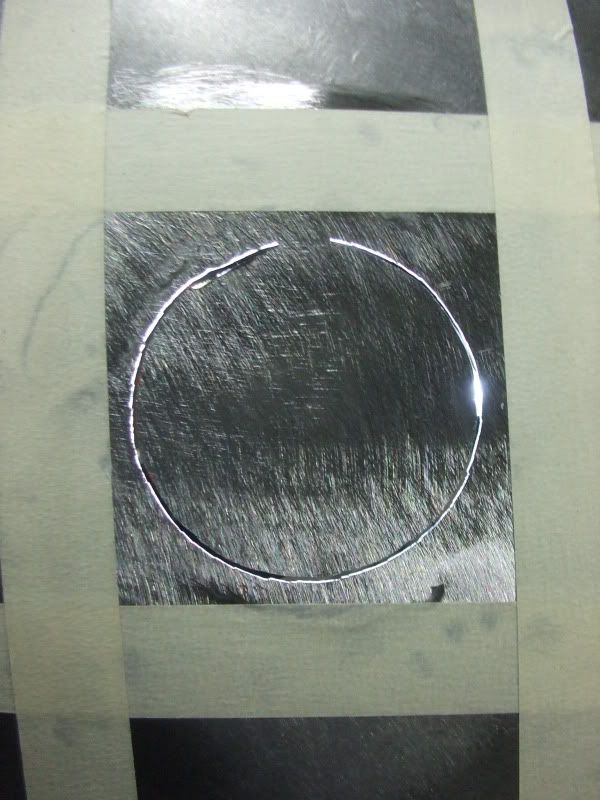
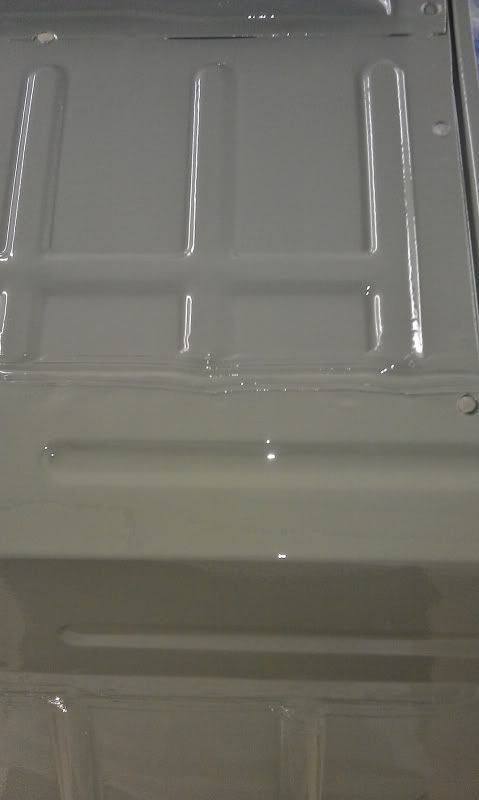
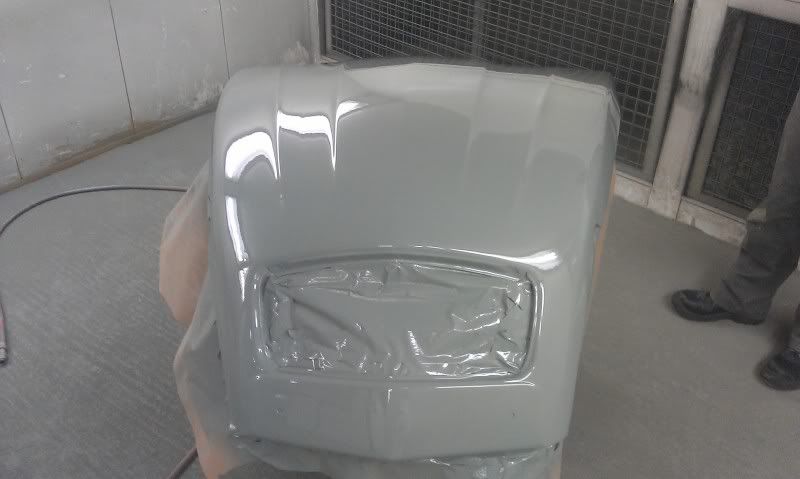
Followed by a skim of filler on any high or low sections, then a quick coat of primer to protect it from the elephants.
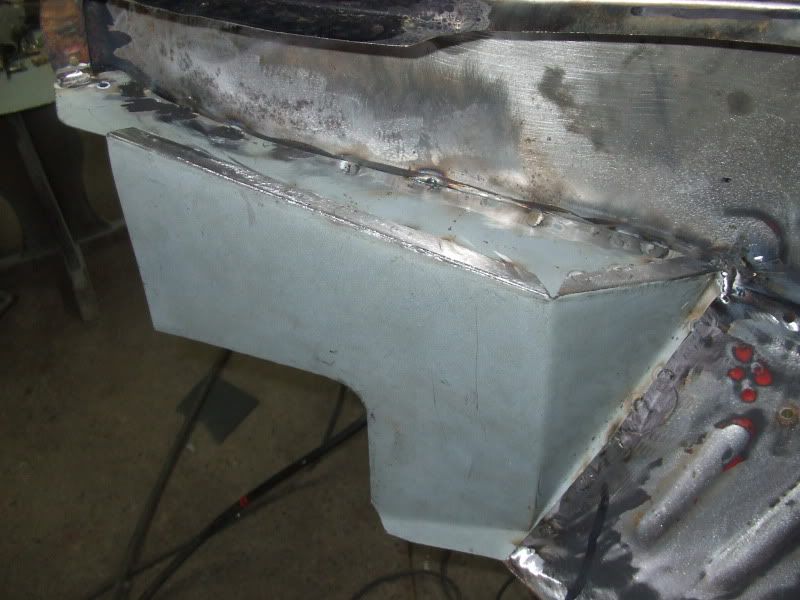
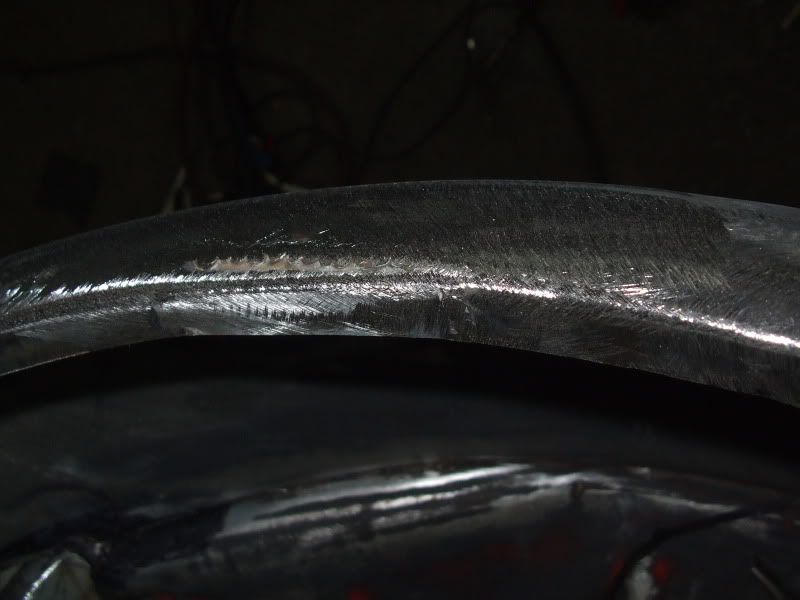
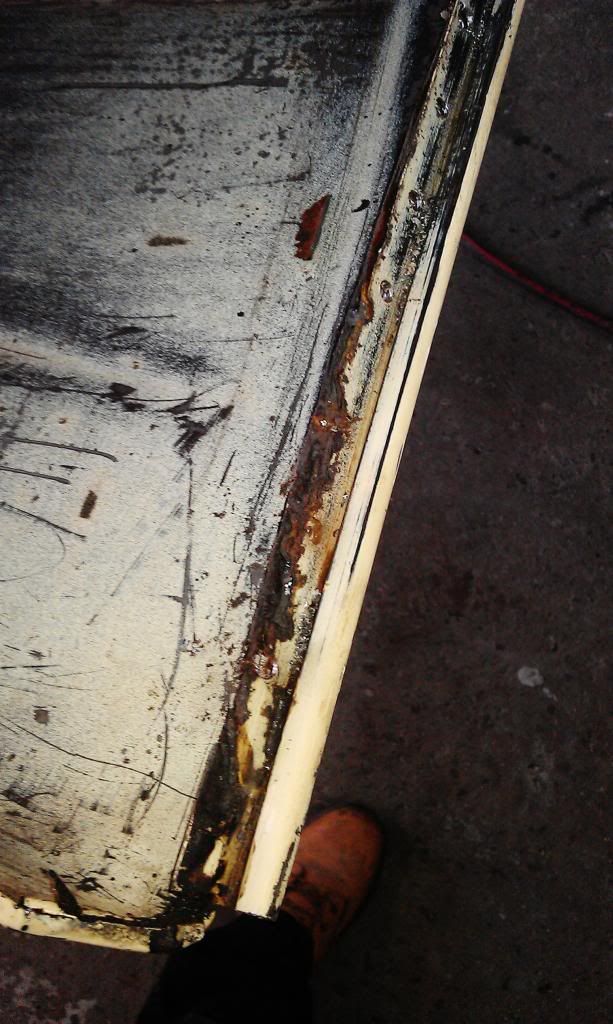
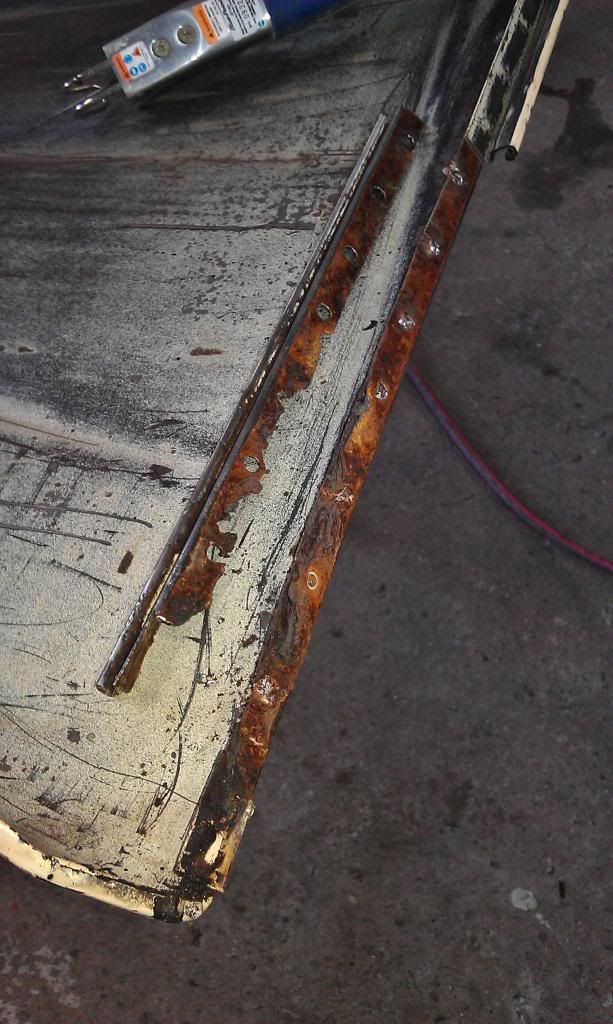
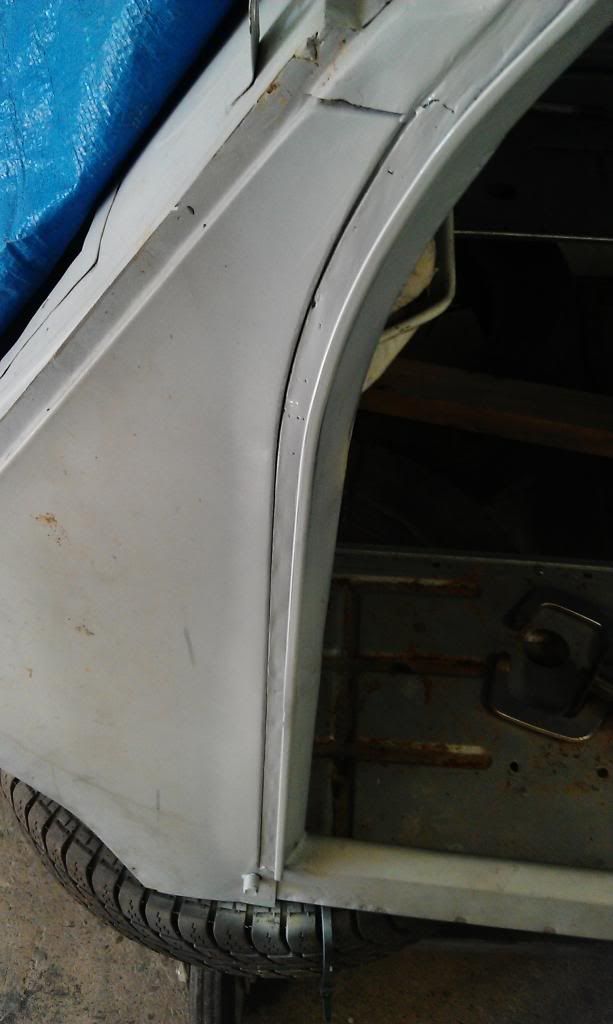
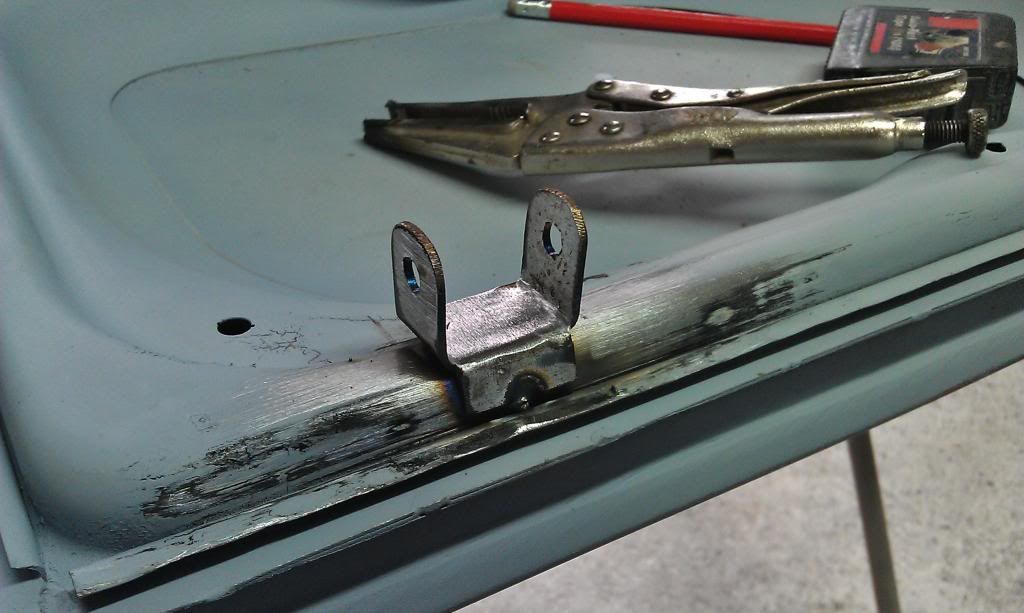
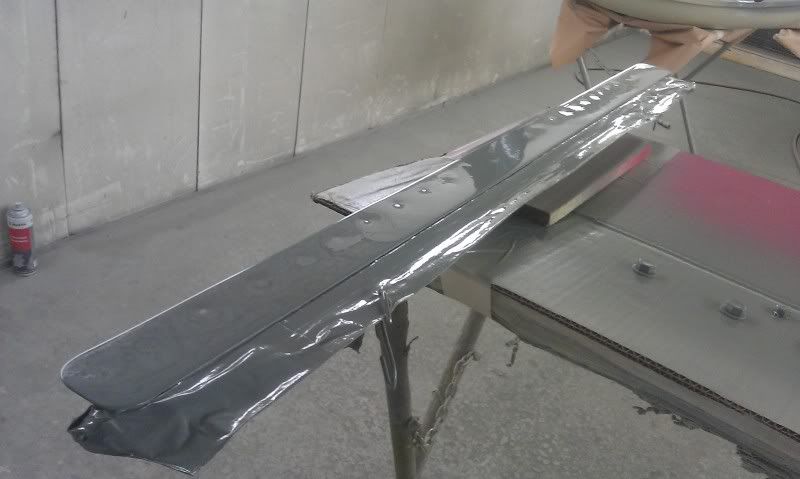
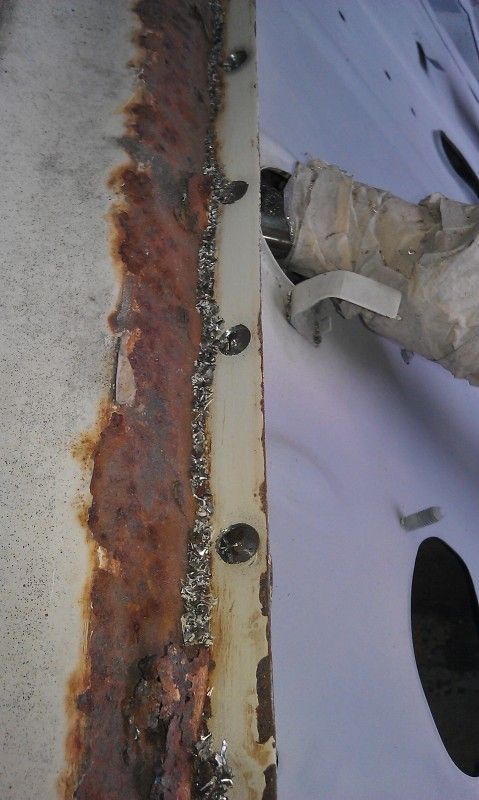
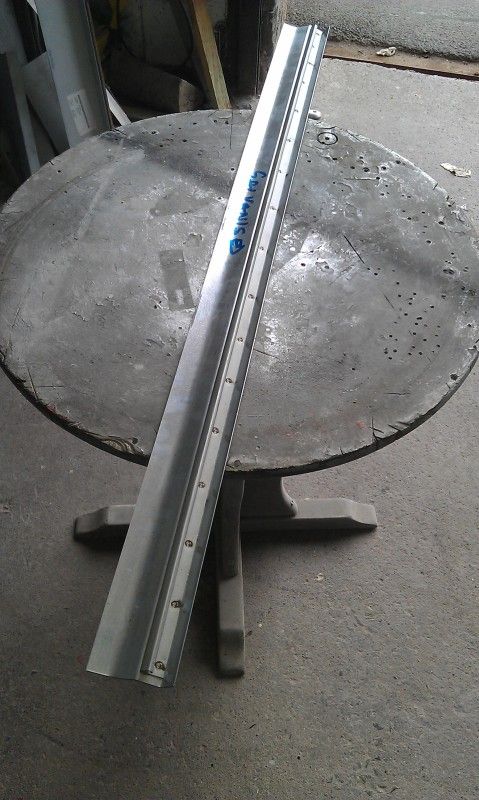
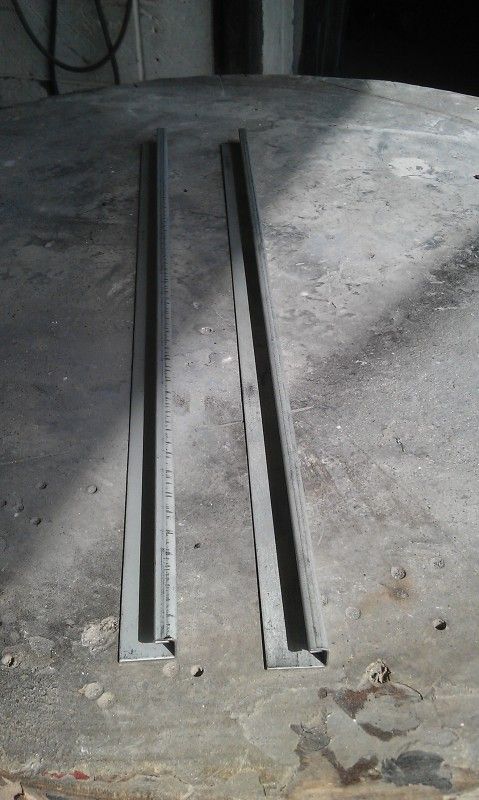
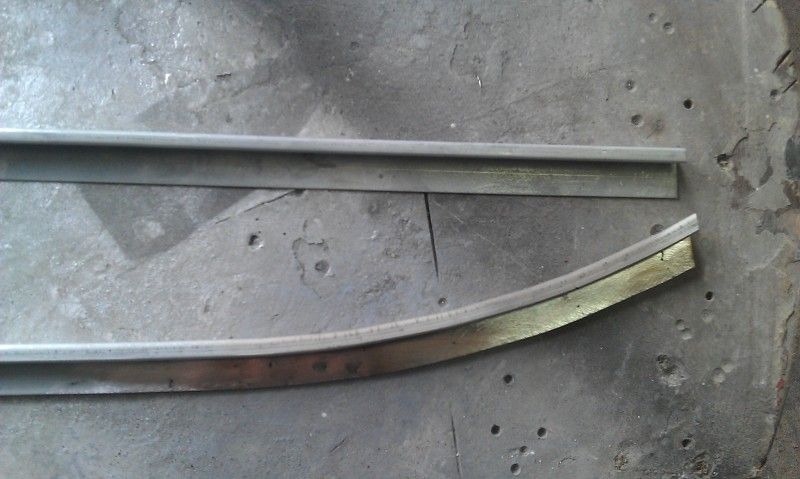
I also managed to get the drip rail completed on one side, I bought these sections from ECAS,
http://www.ecas2cvpa...long-p-367.html they were much shorter than I expected, so I used them both on the one side.
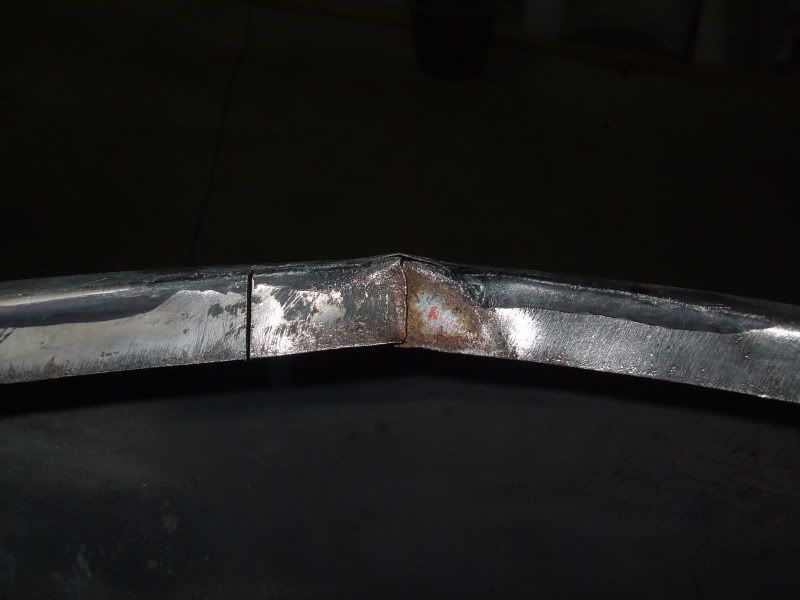
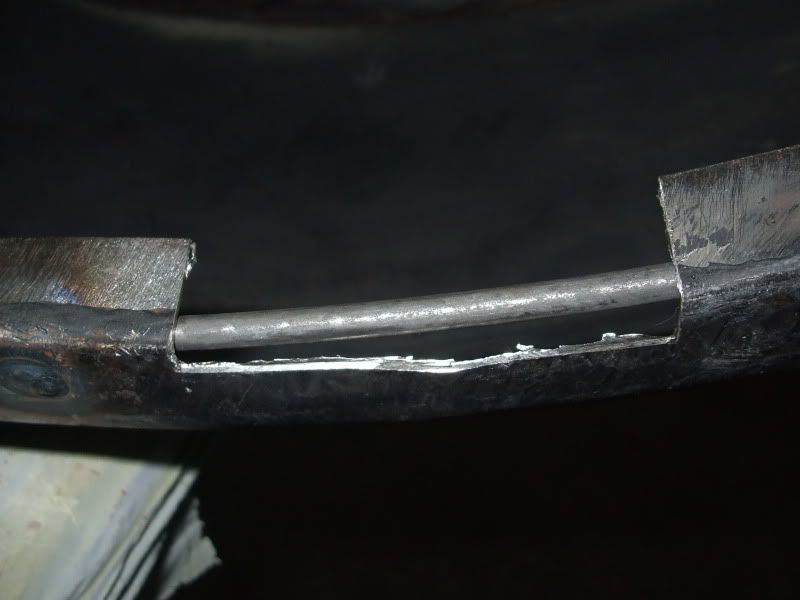
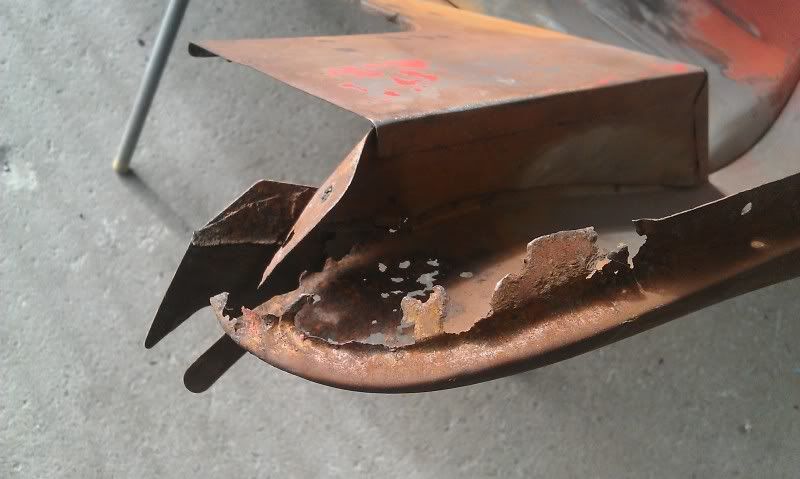
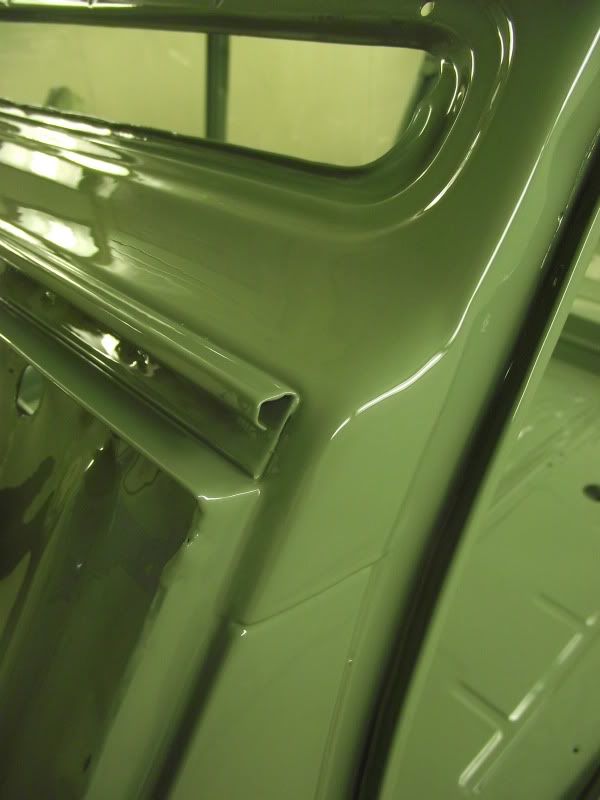
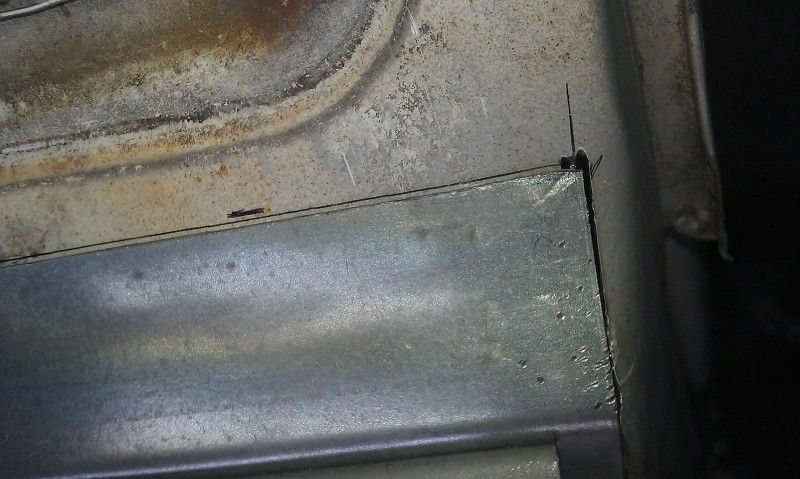
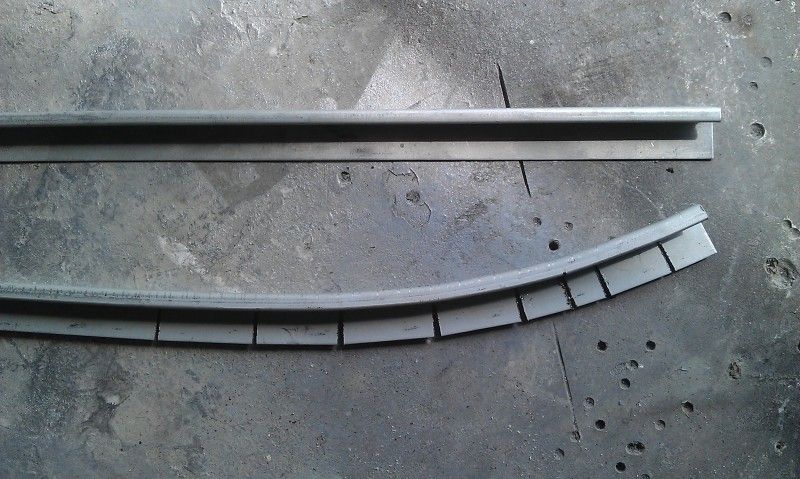
Seeing as the rot was quite high up, I had to bend one of the sections, I think ECAS/SPOG assume that people will only be replacing the straight bit..
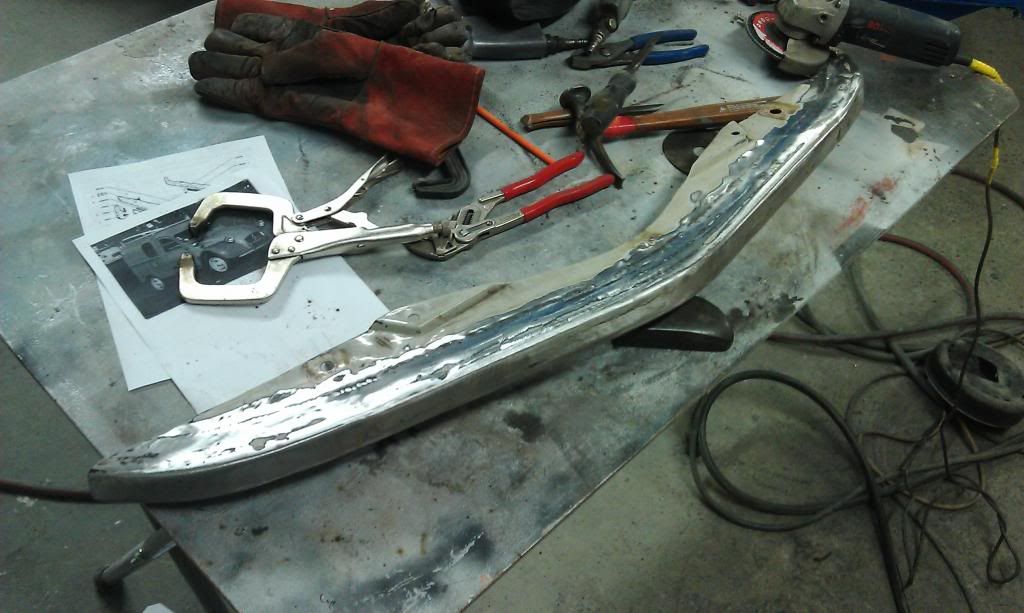
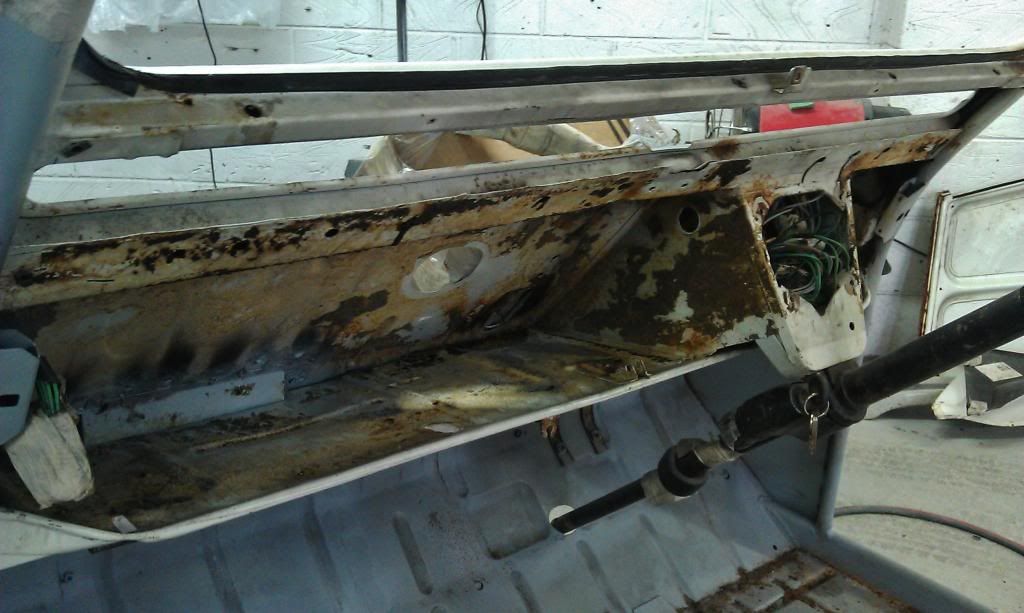
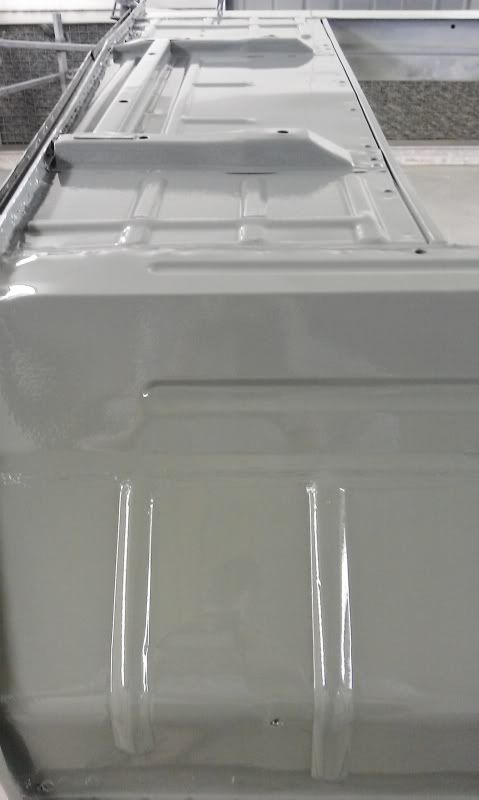
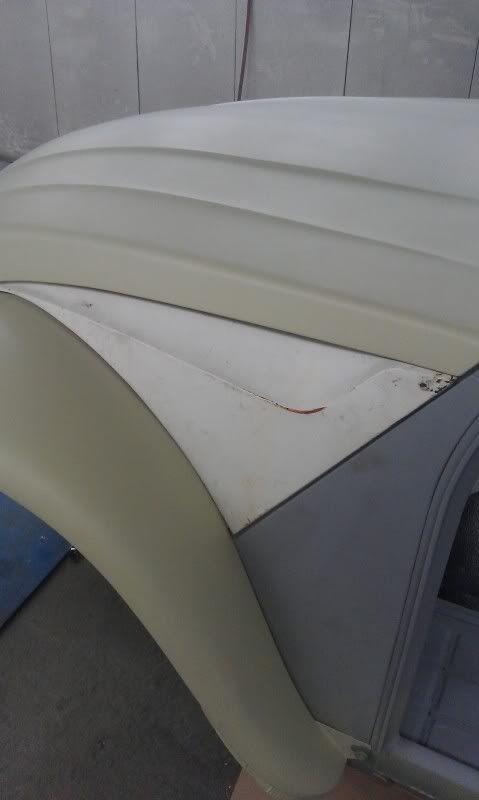
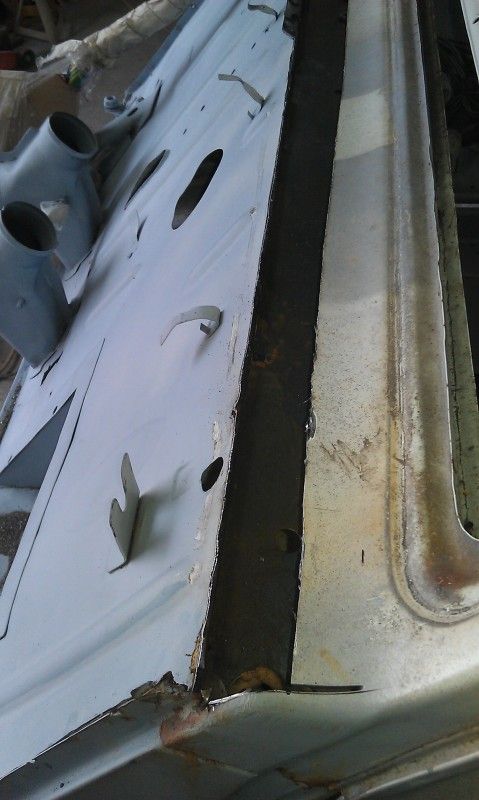
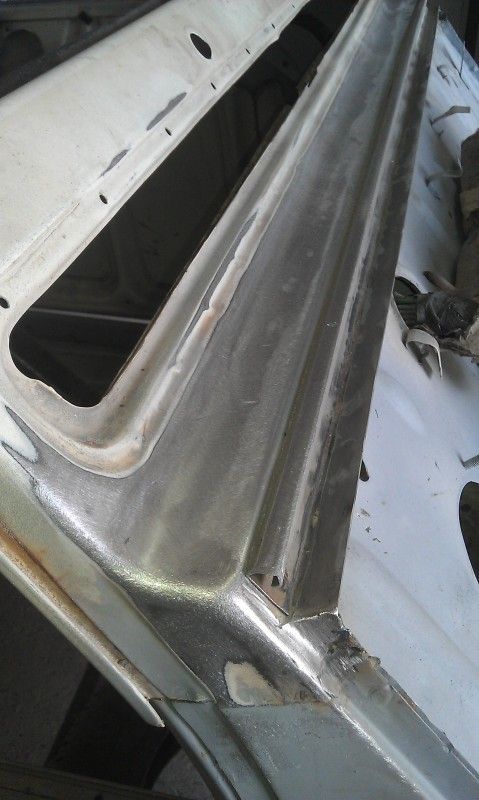
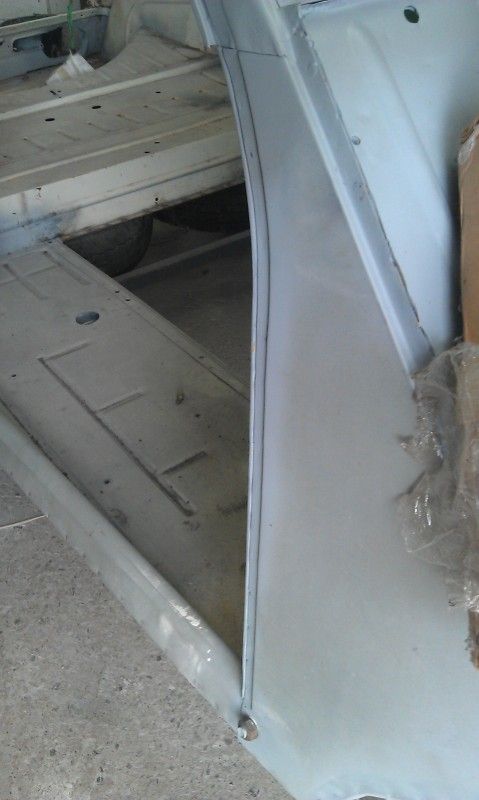
Before
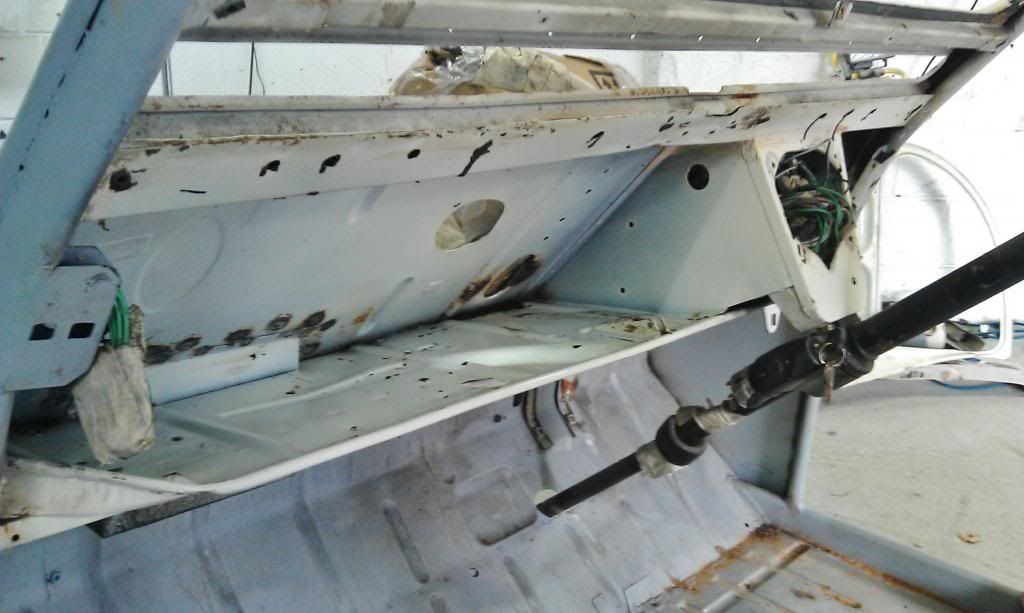
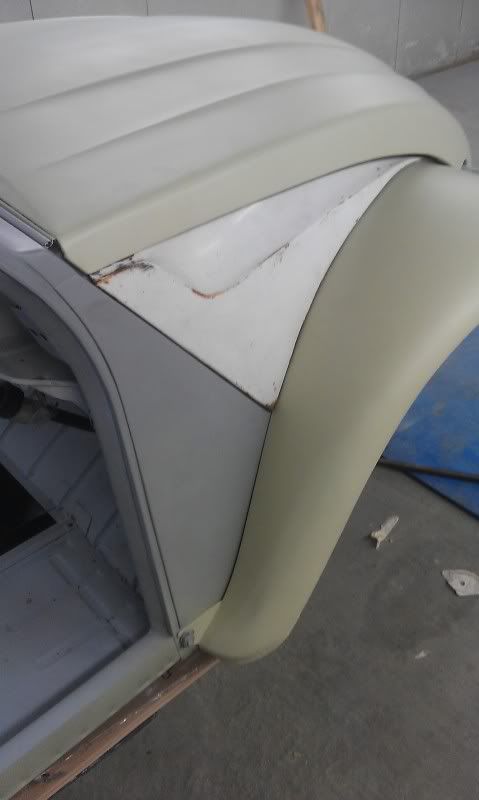
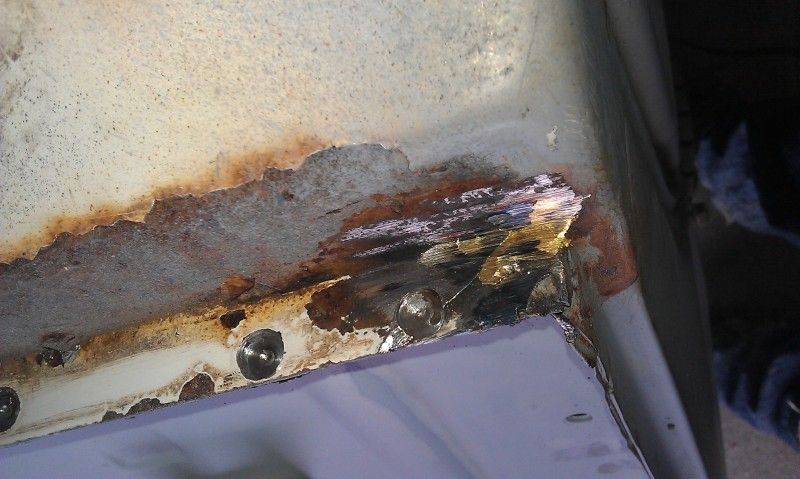
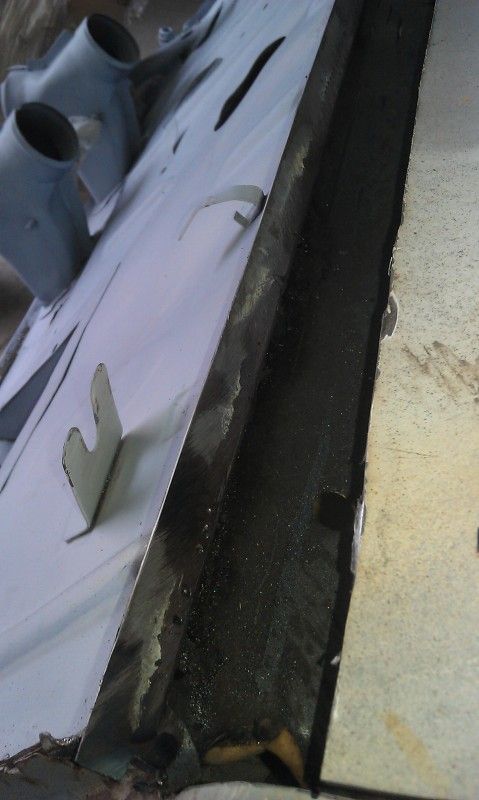
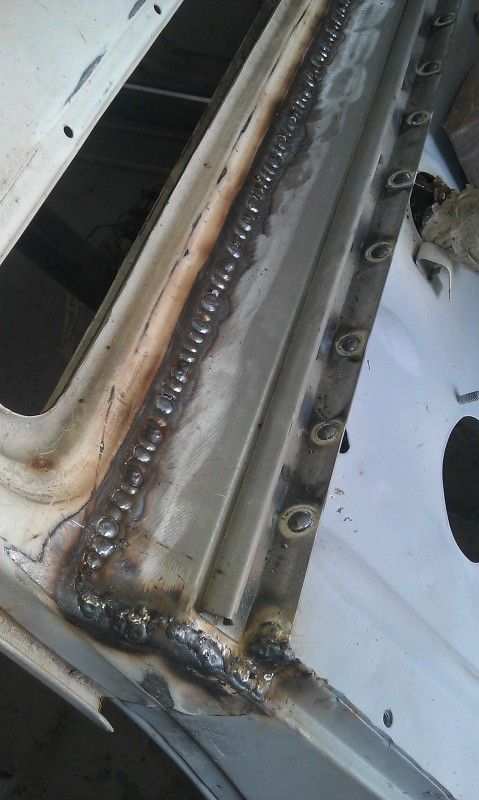
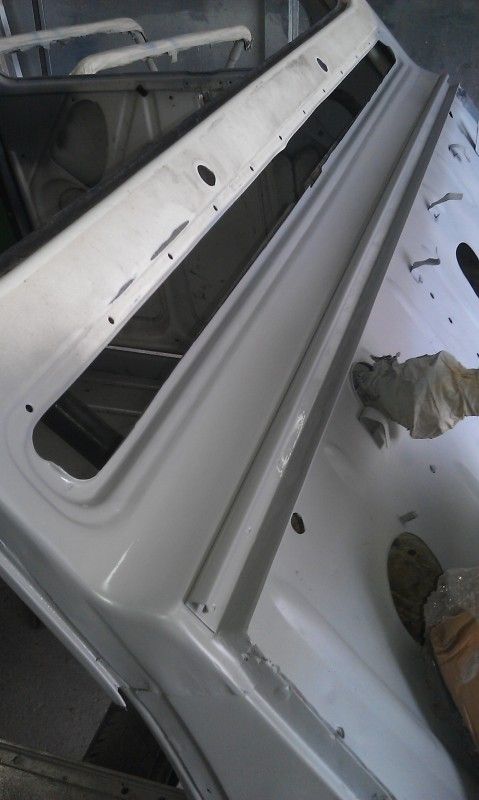
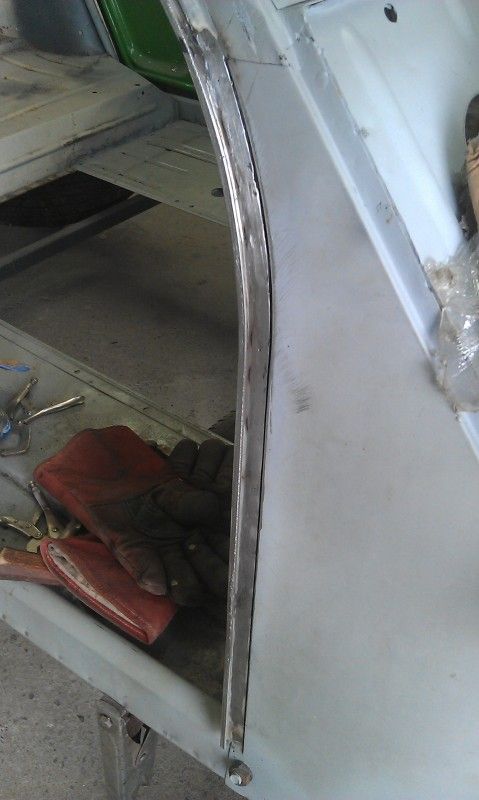
And after

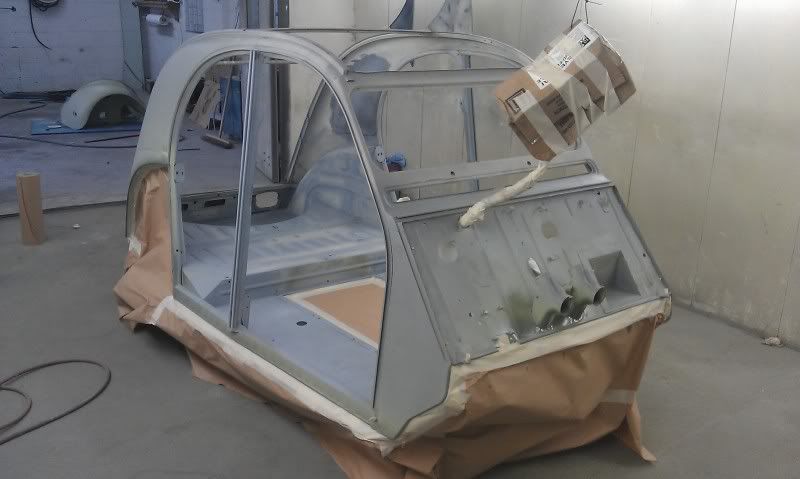
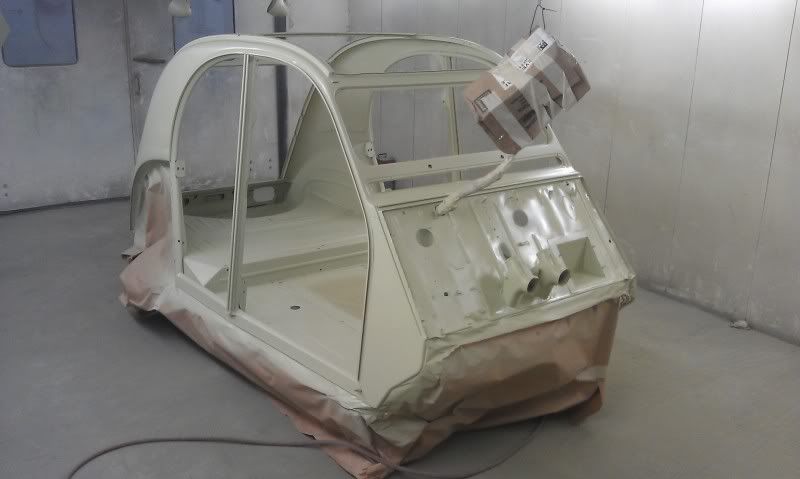
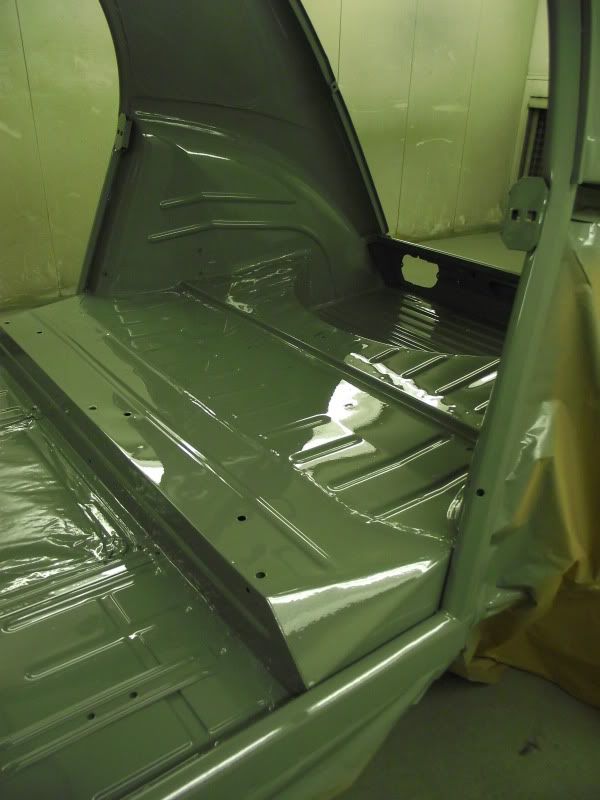
I shall order more for the other side, and once the N/S rail is done, that's all the welding on the body tub COMPLETE. Excitement all round.