In most cases some time spent with shims, slotting holes etc can work wonders and is all you will ever need, however if you are doing a full resto and want your car to have gaps that would make a Rolls Royce engineer smile then you have to go that extra mile to get it right.
Panels like door skins, A panels etc can be moved slightly but only by so much, again its the same with a door ,bonnet or boot panel.
Bonnet gapping can normally be attributed to how well the wings have been fitted and also who made the wings as well. The same can be said for most panels on a Mini.
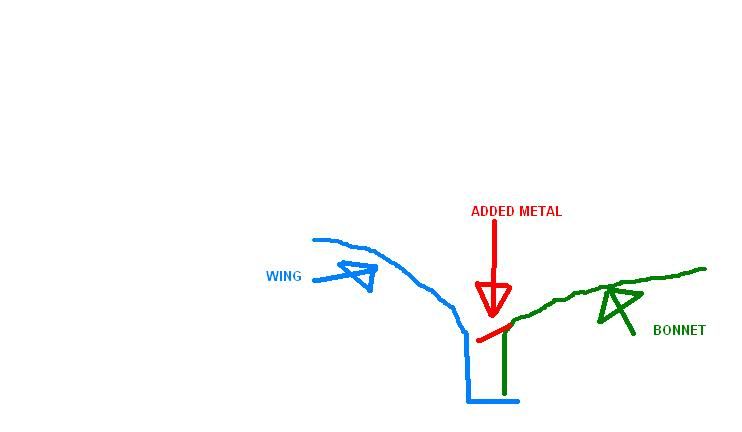
Now without removing wings etc the bonnet needs to be worked to get the gapping right. You could add a bead of weld to the edges but its such a large edge it would look rubbish. Again you could add filler but that can and will break so the best way would be to add metal to the bonnet itself.
I had this very problem with Project Erm and all of my pictures will be from this particular project. Please feel free to add any further pictures or info as this is the whole idea behind this thread.
I hold my hands up here as i boobed when i came to fitting the wings to Erm and so what i did to the bonnet is not really required if you followed what the like's of Panelbeaterpeter, Shifty etc have done.
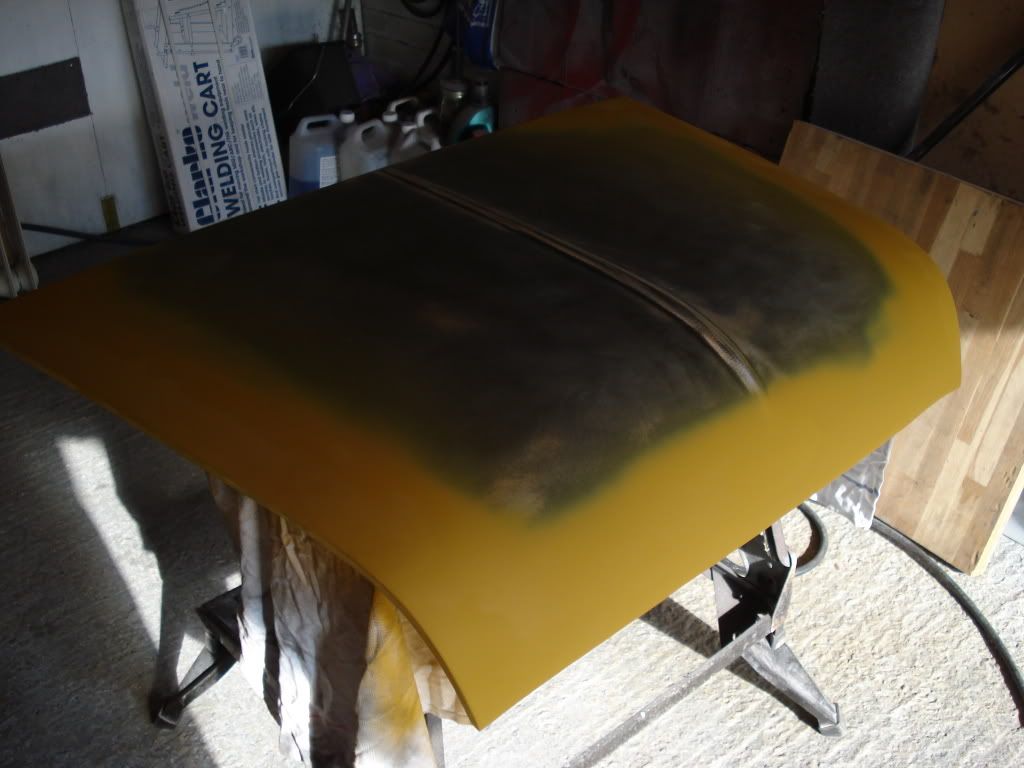
I had bought a brand new pattern bonnet and its quality shall we say was rubbish. However nothing that could not be sorted
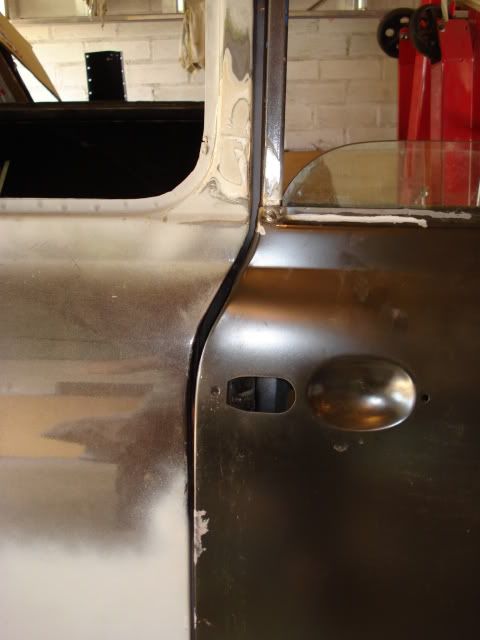
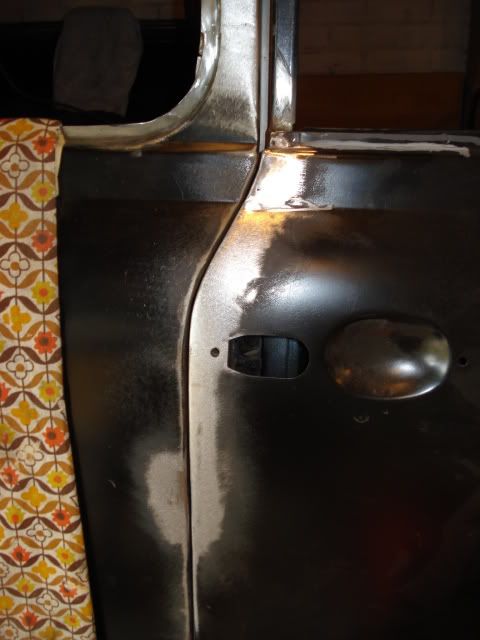
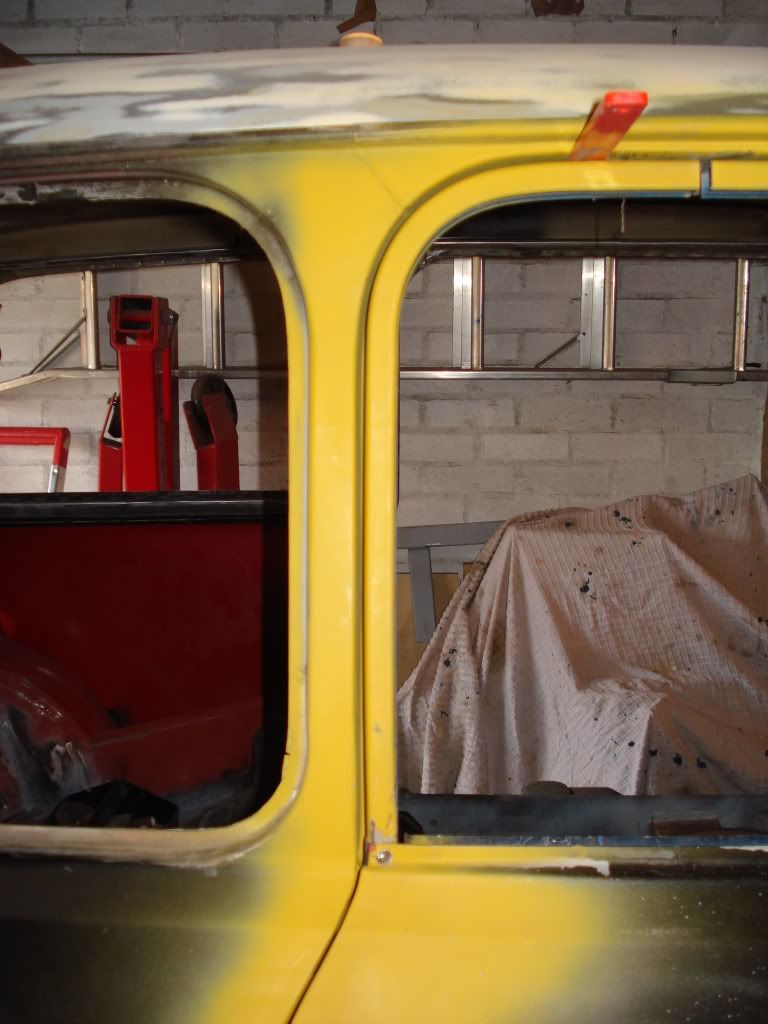
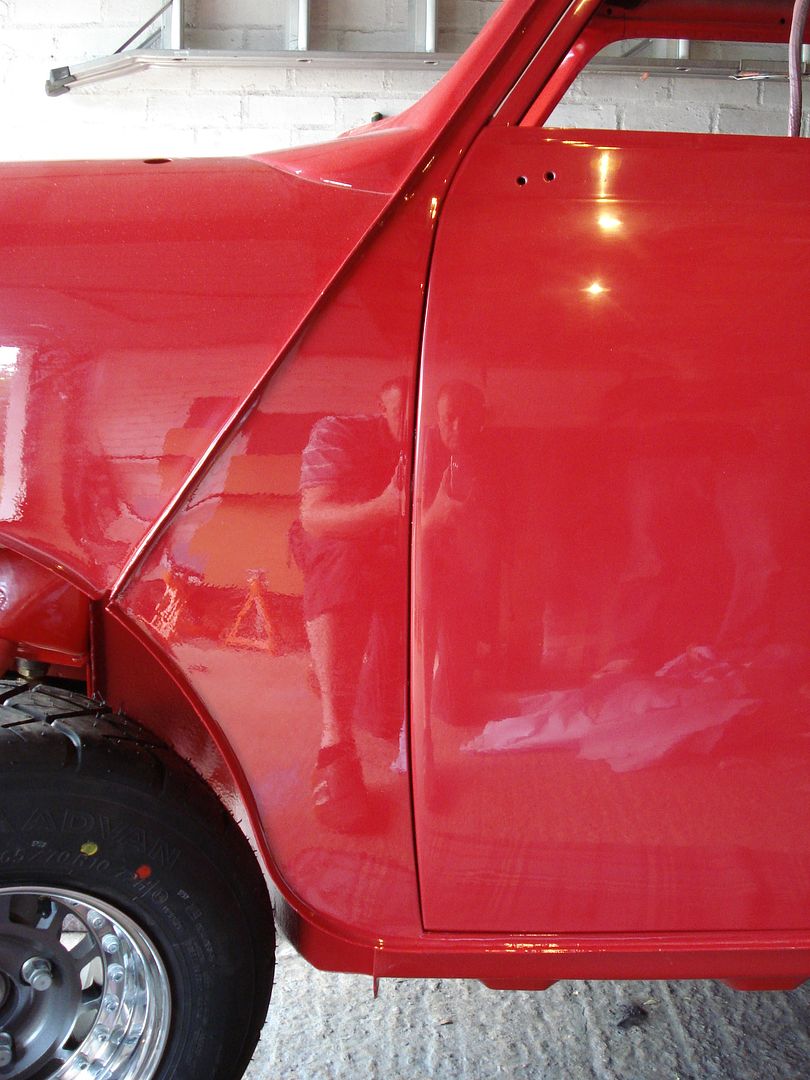
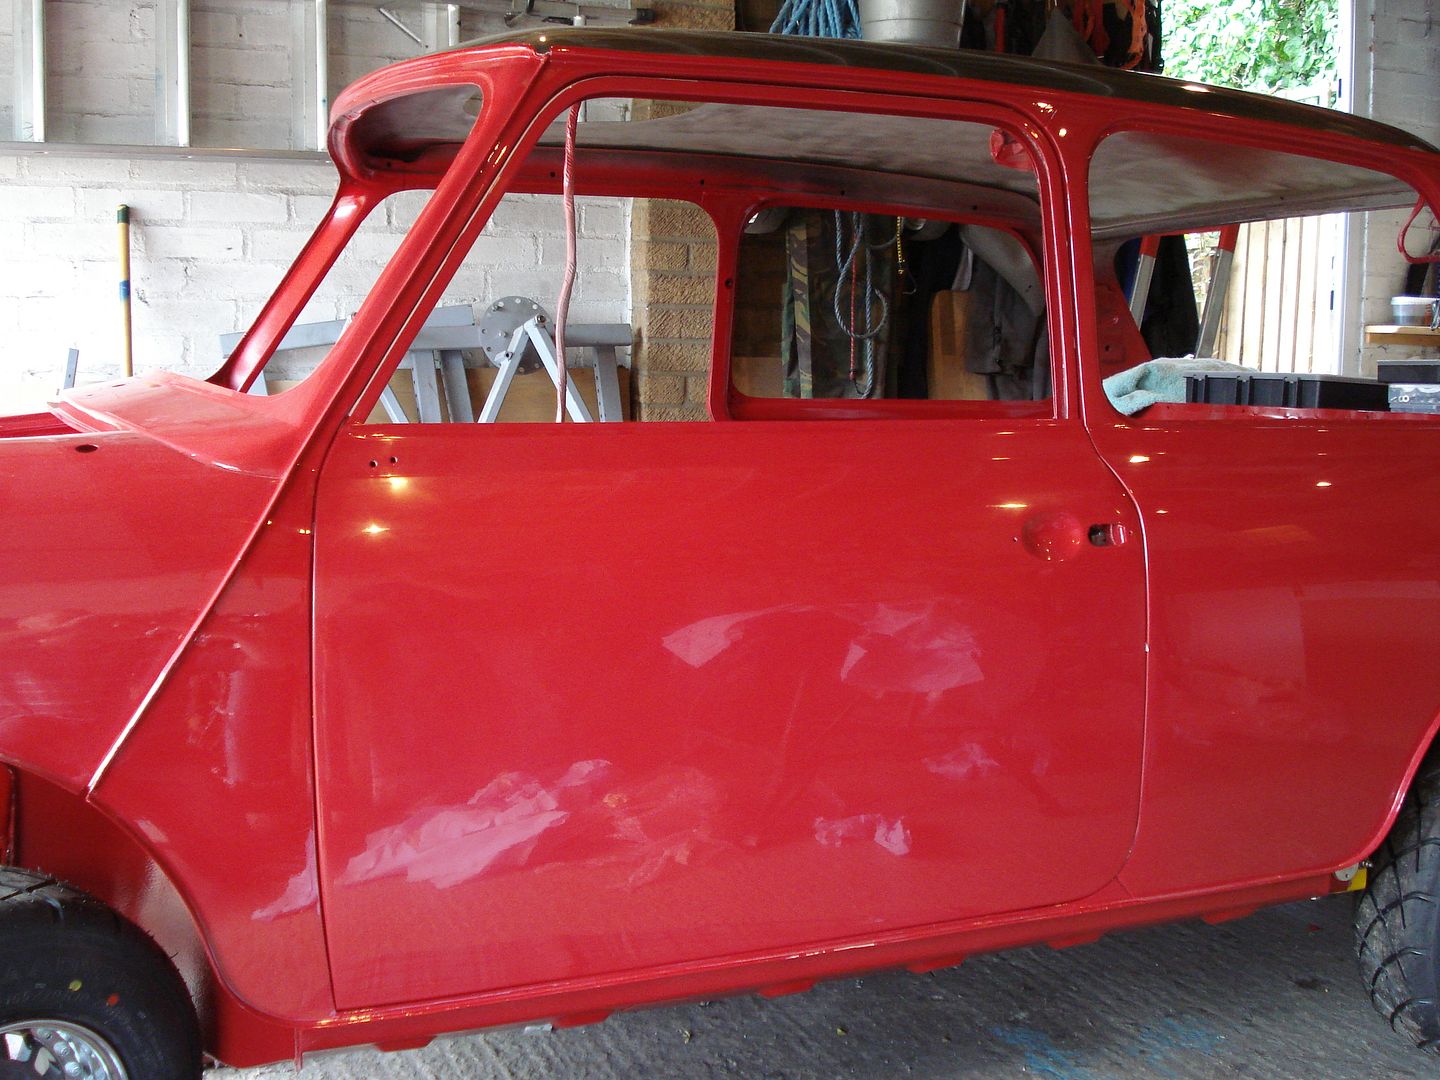
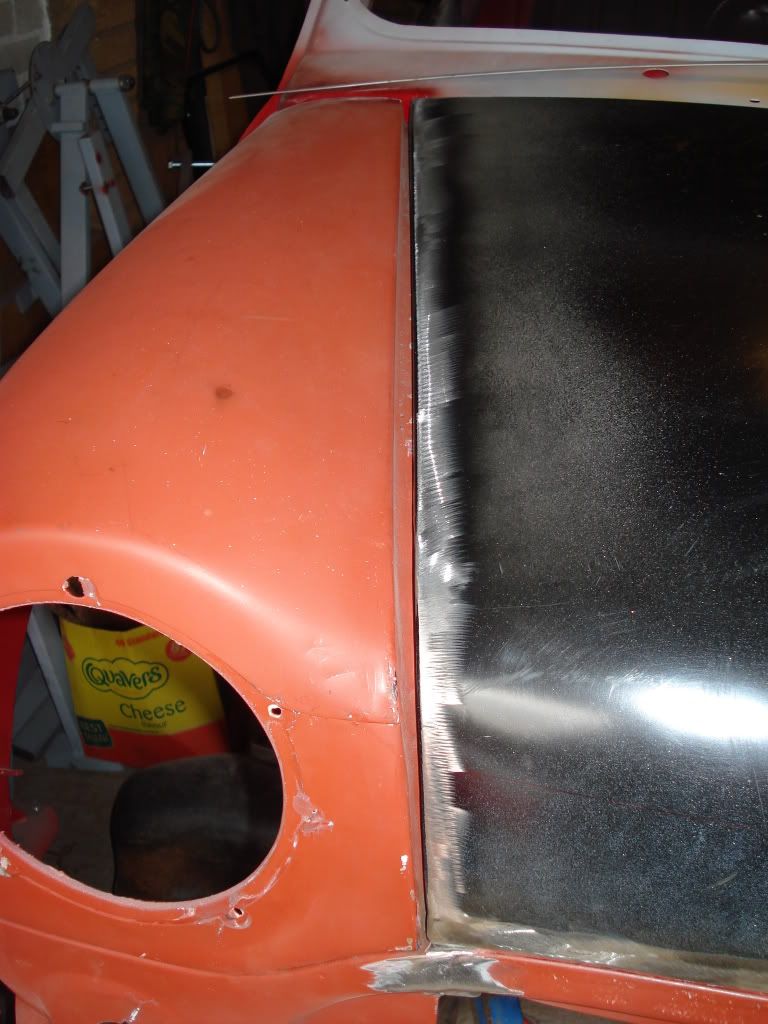
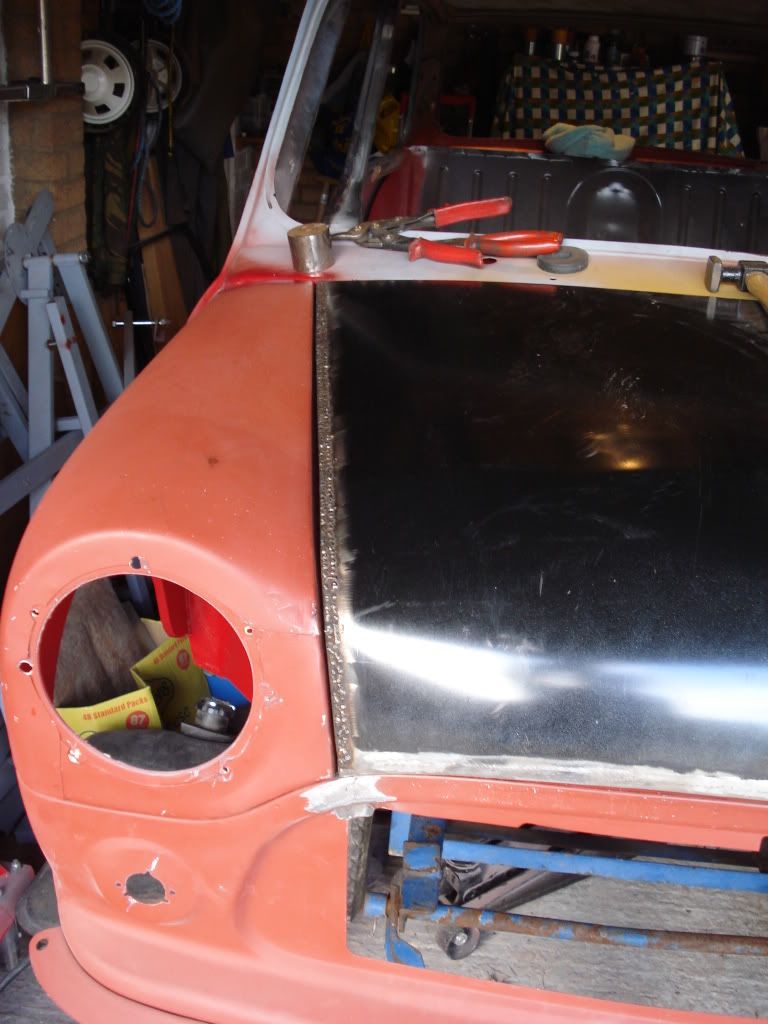
R/h side gap
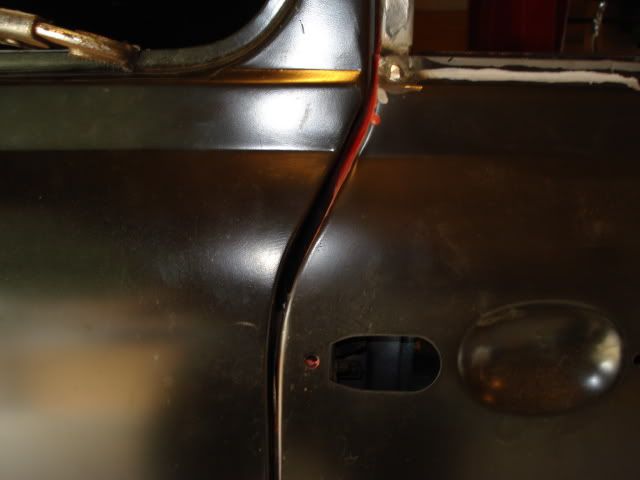
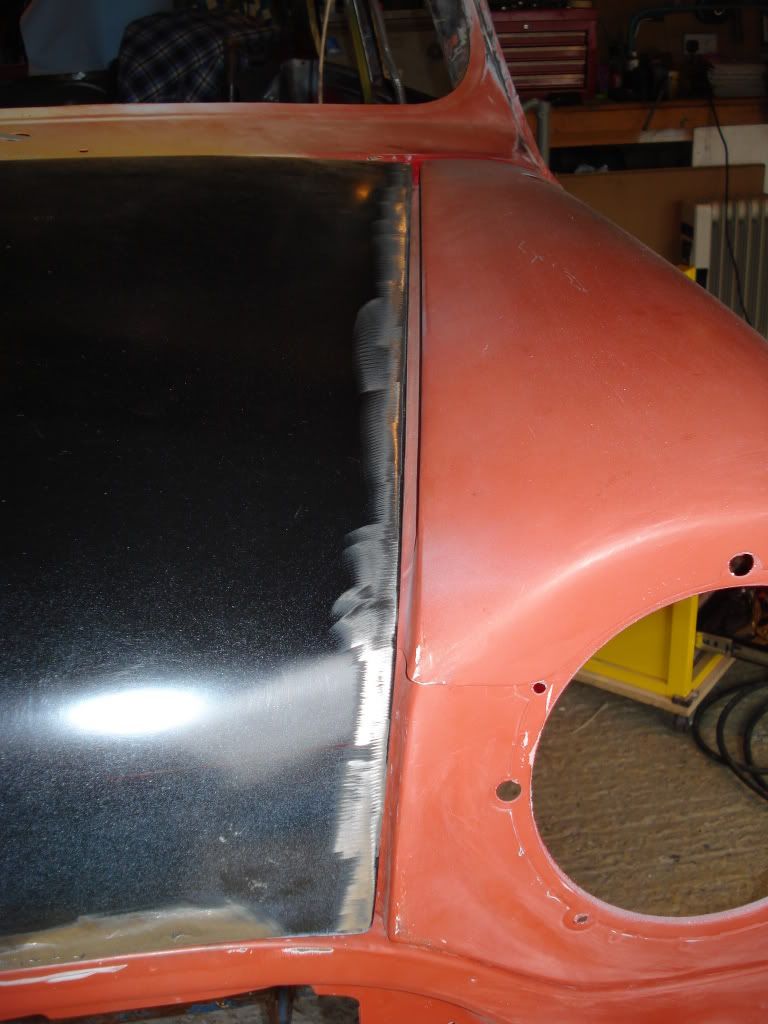
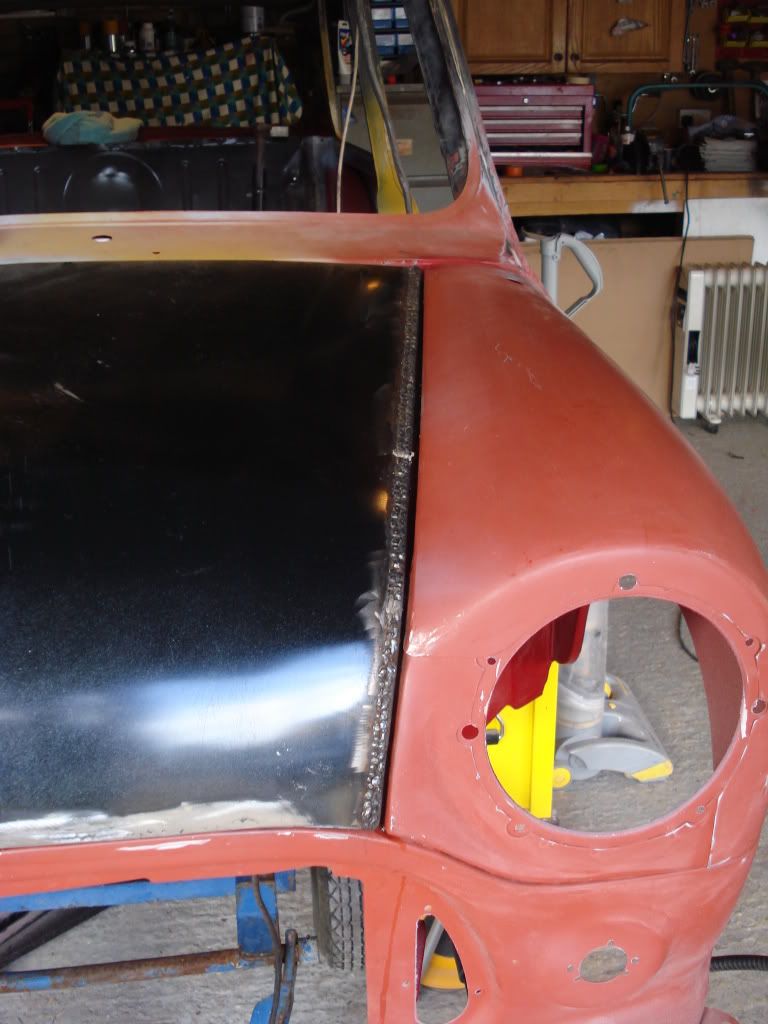
L/h side gap
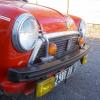
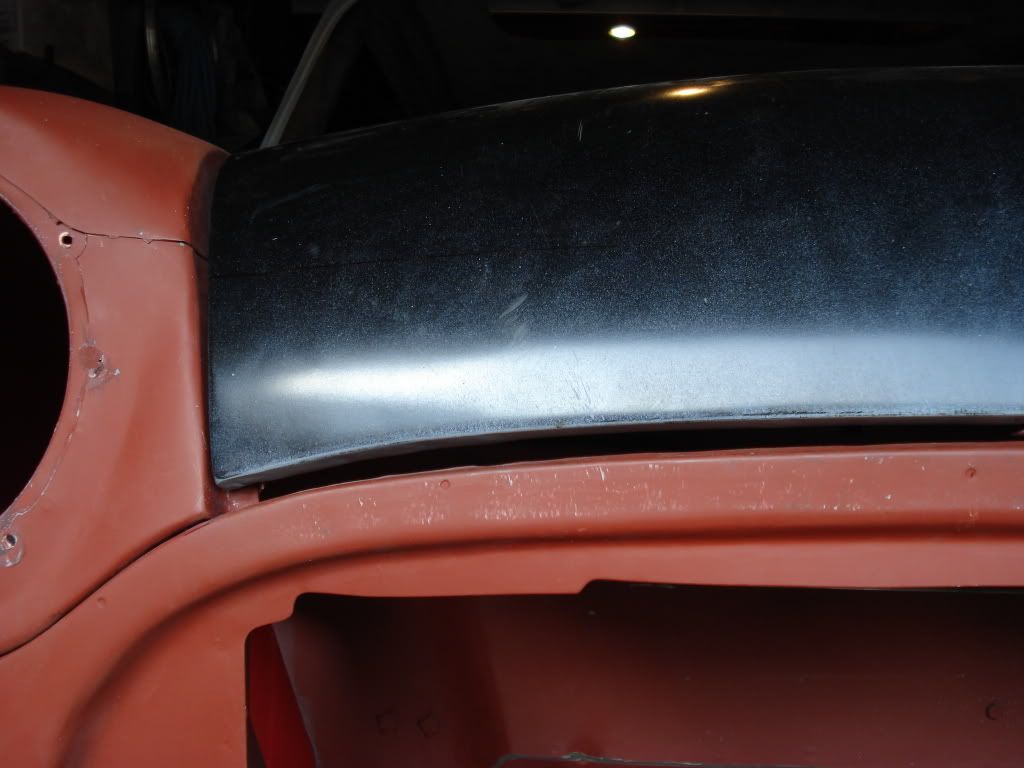
The huge gap at the front
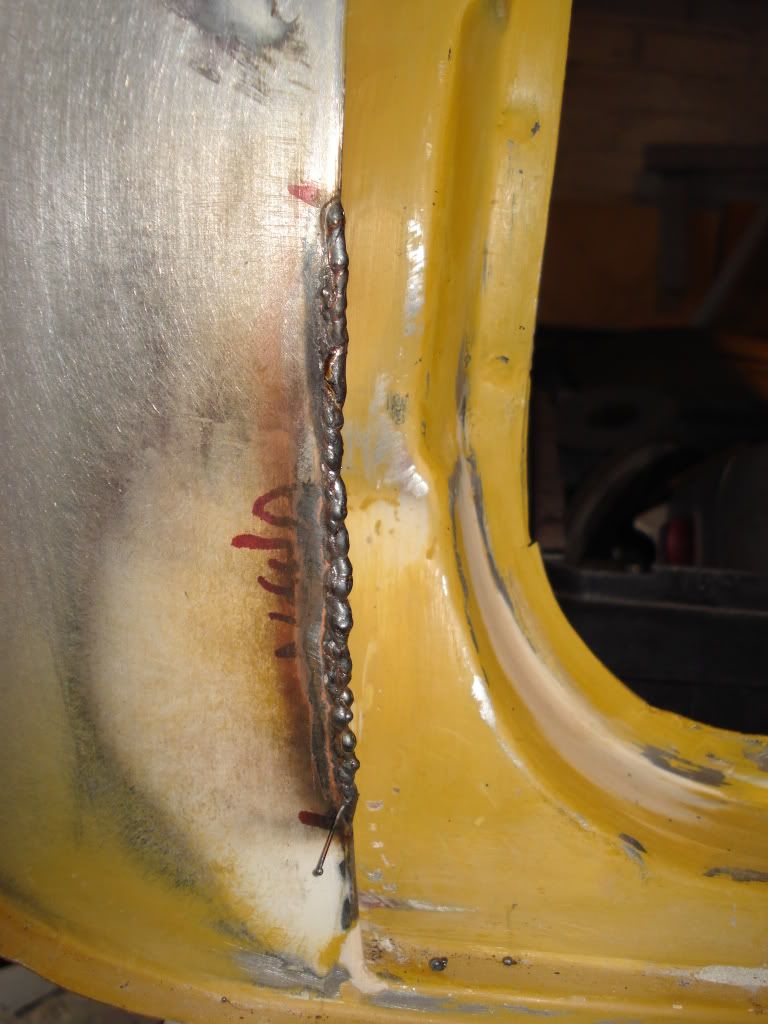
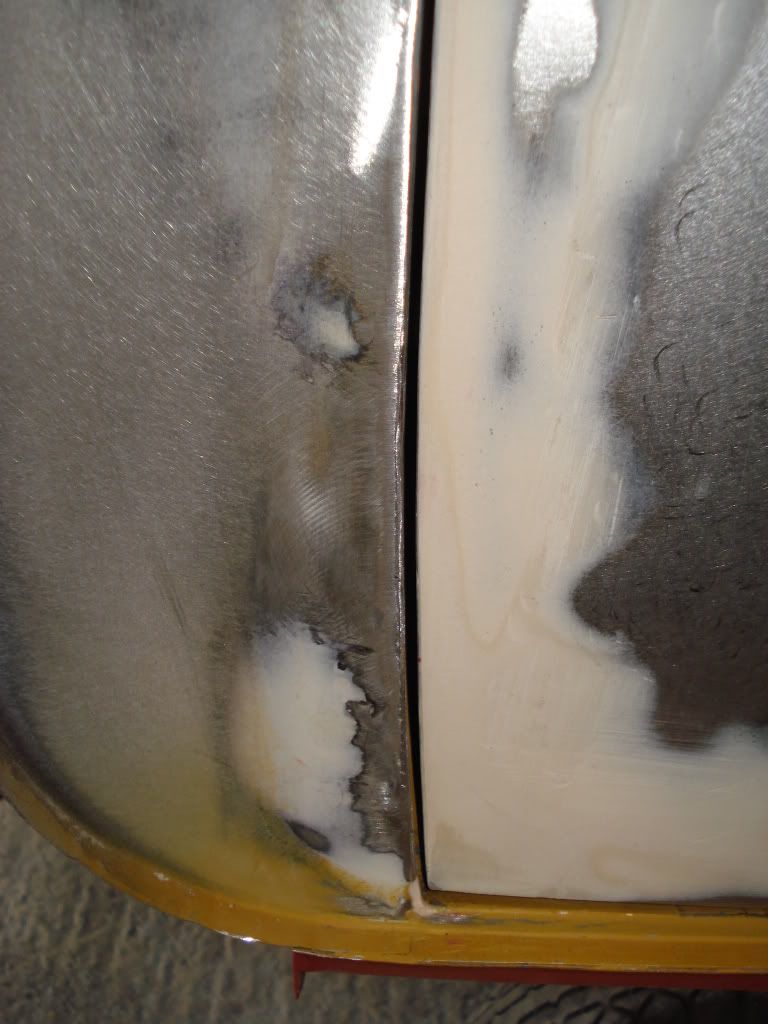
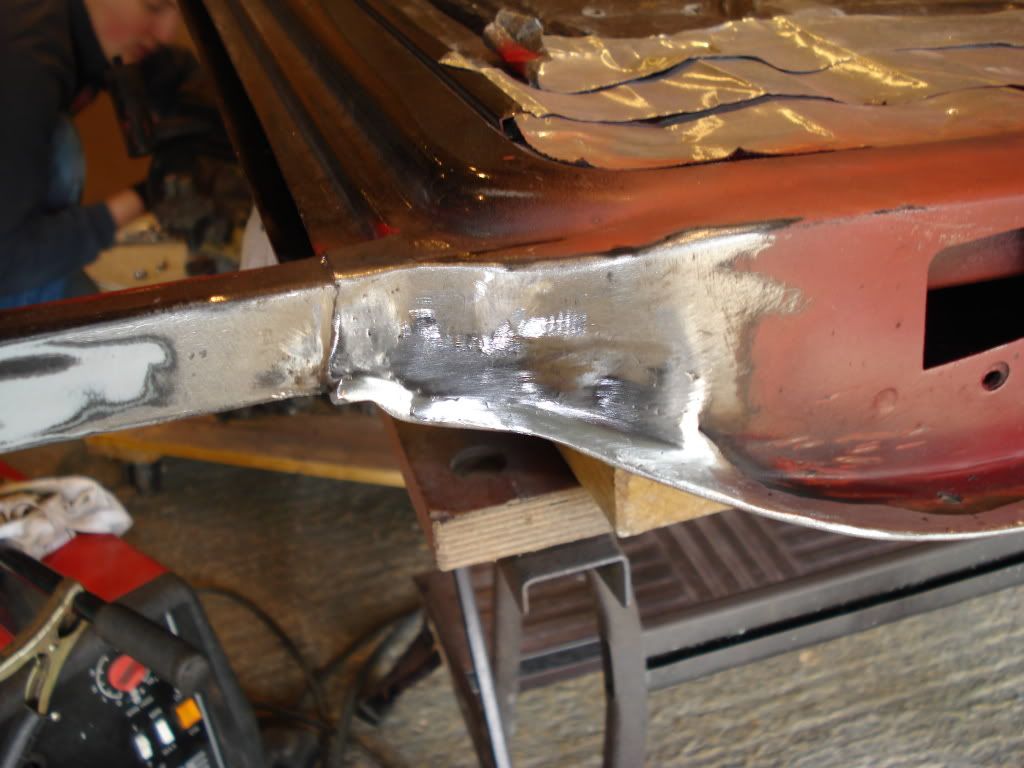
So to start with i cut myself a thin piece of steel sheet and then cut along the bonnet edge to introduce the new section like this
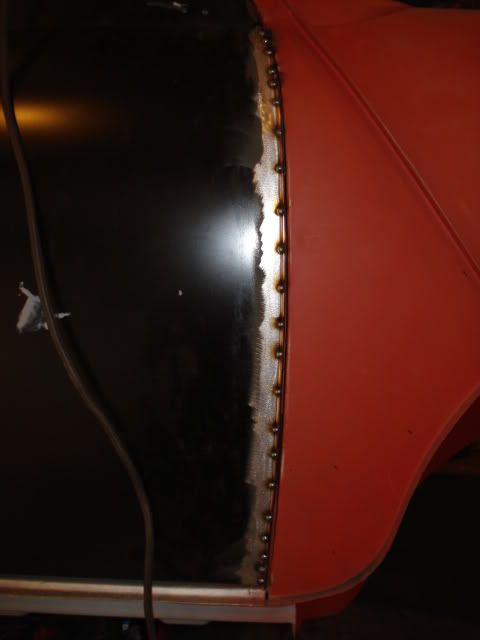
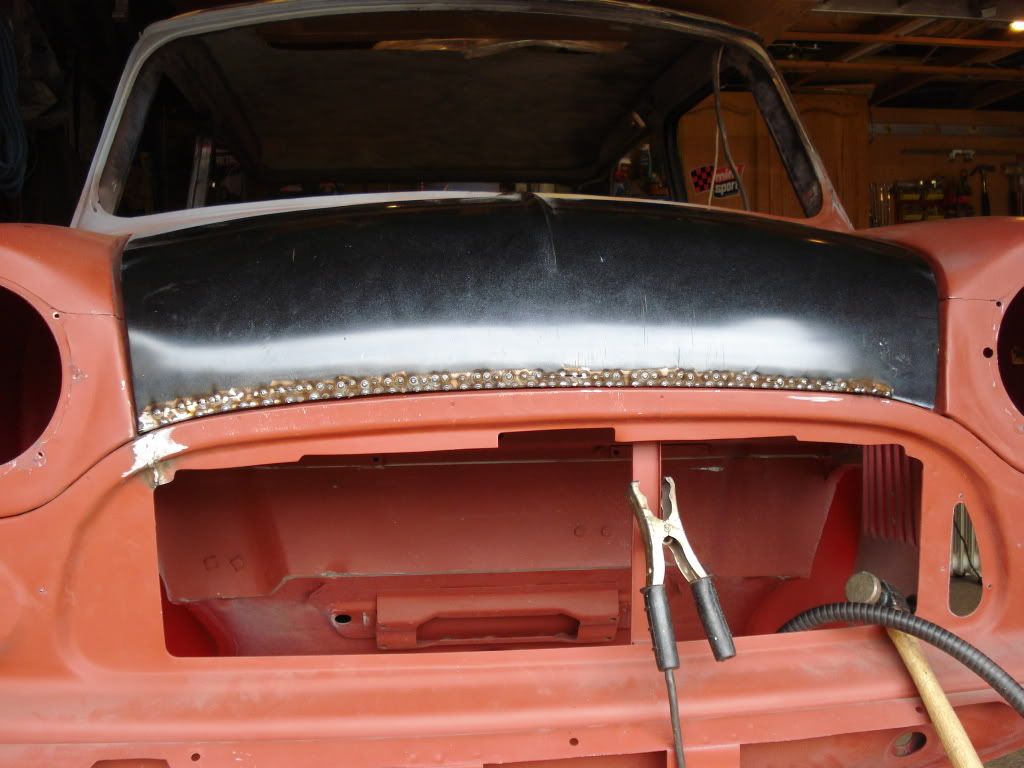
Then welded along the full length
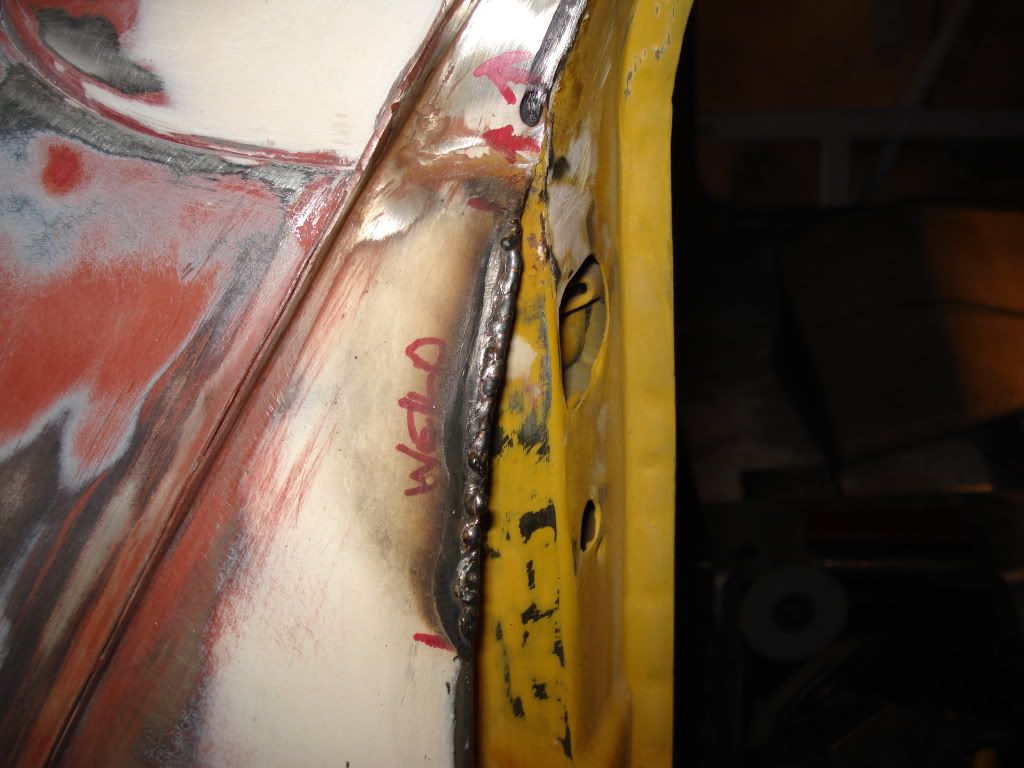
Even here this was not quite right so had to be re done in a couple of places
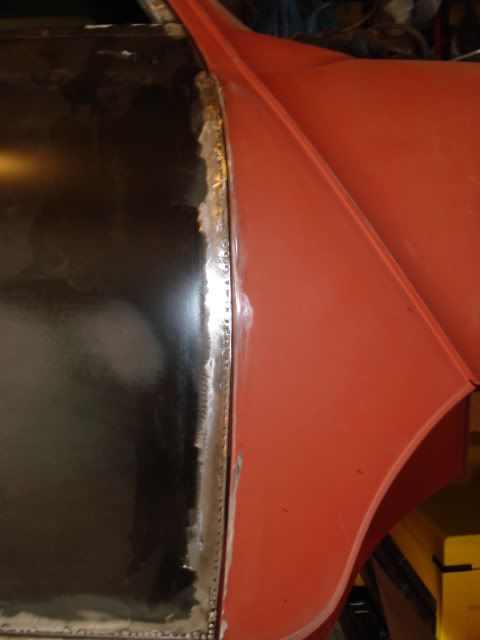
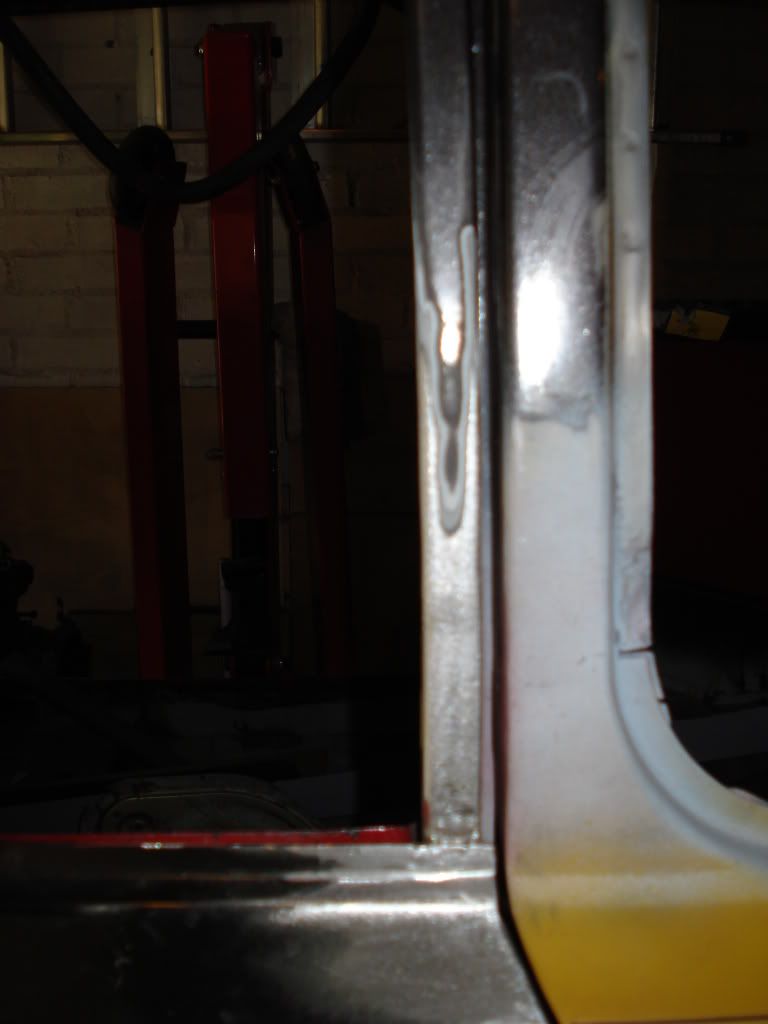
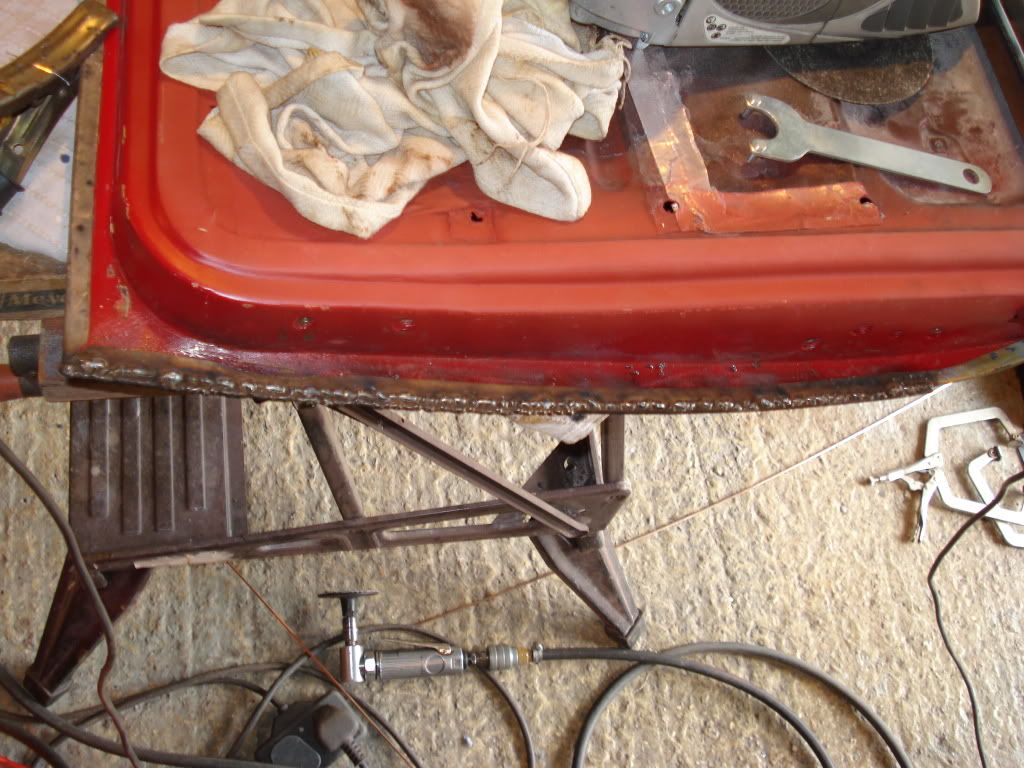
Now exactly the same was done to the l/h side
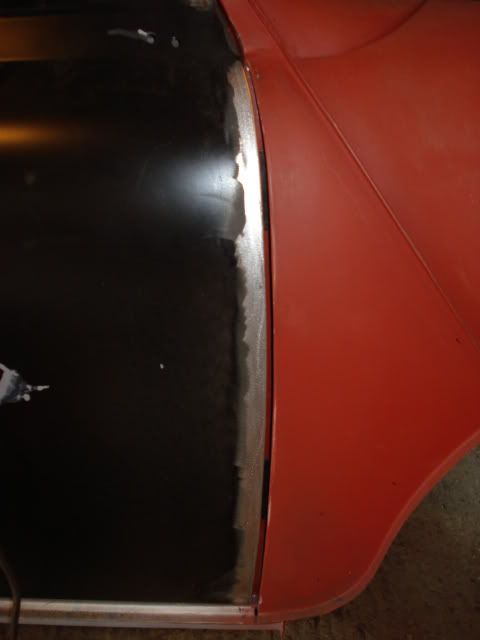
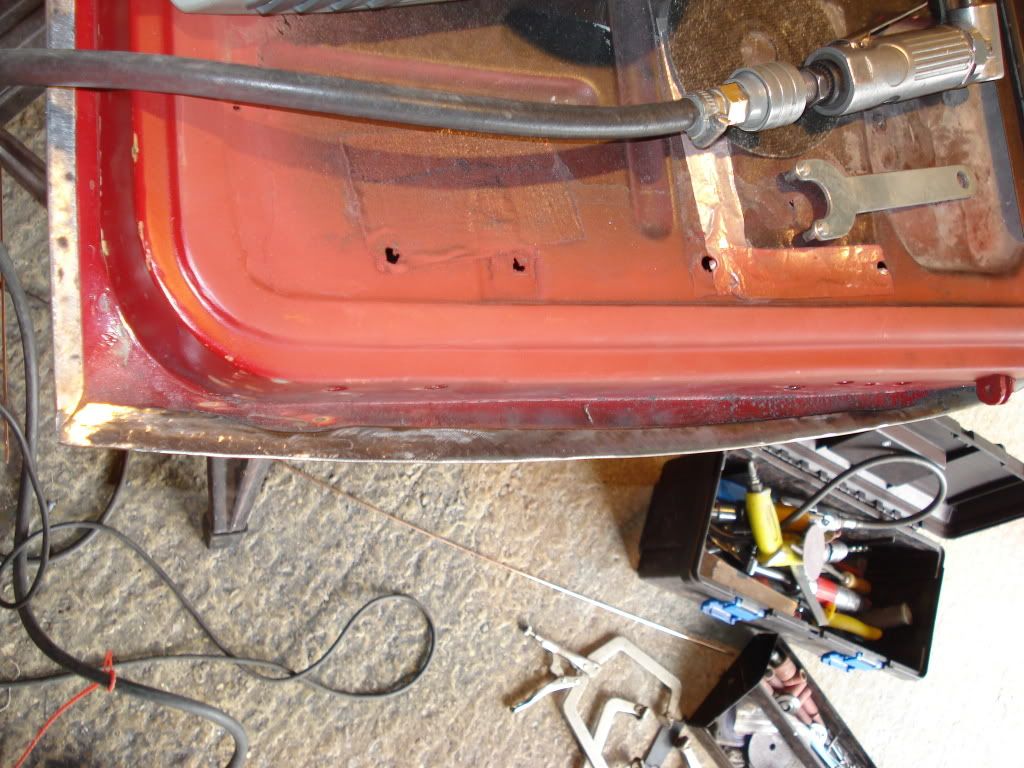
Then it was onto the front
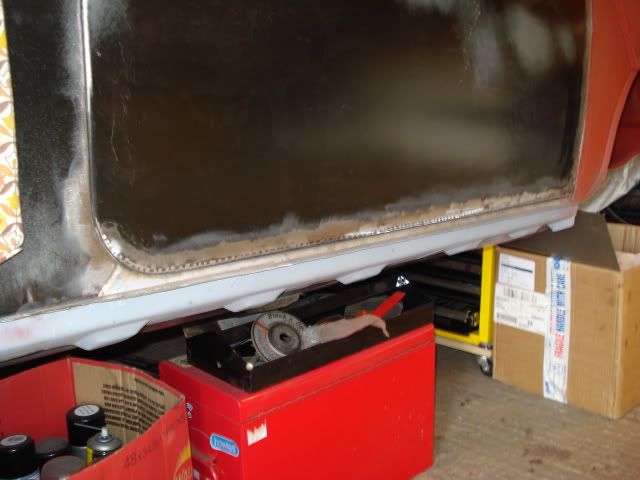
I slitted the bonnet nearly full width to pull the flange down to achieve this
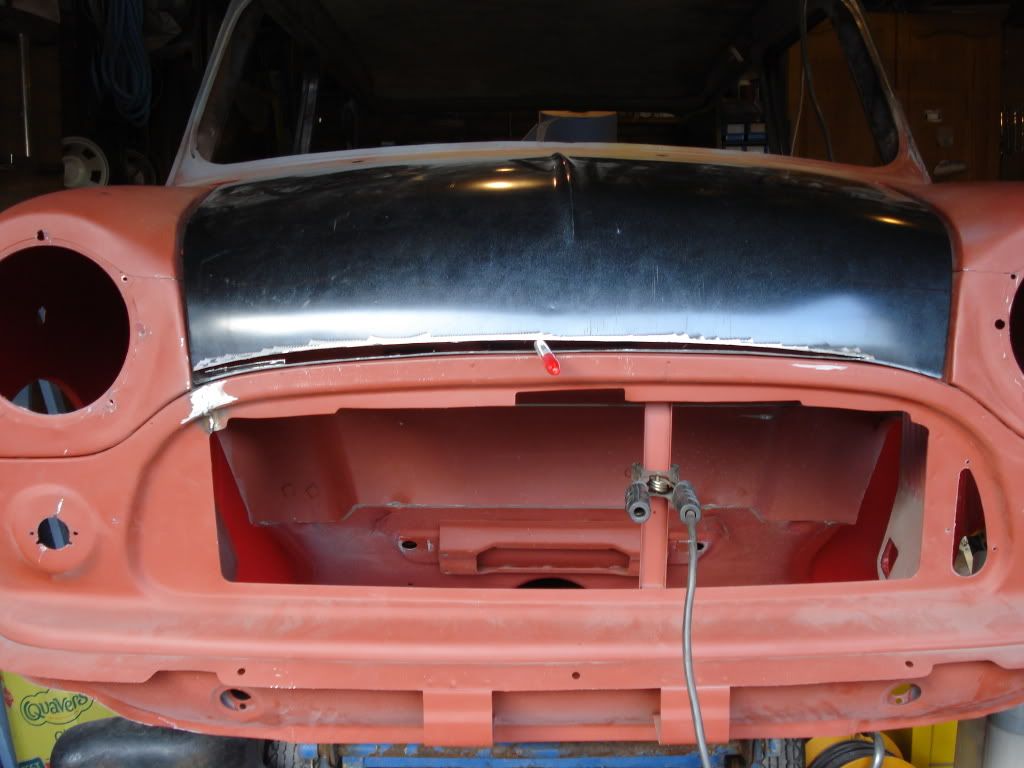
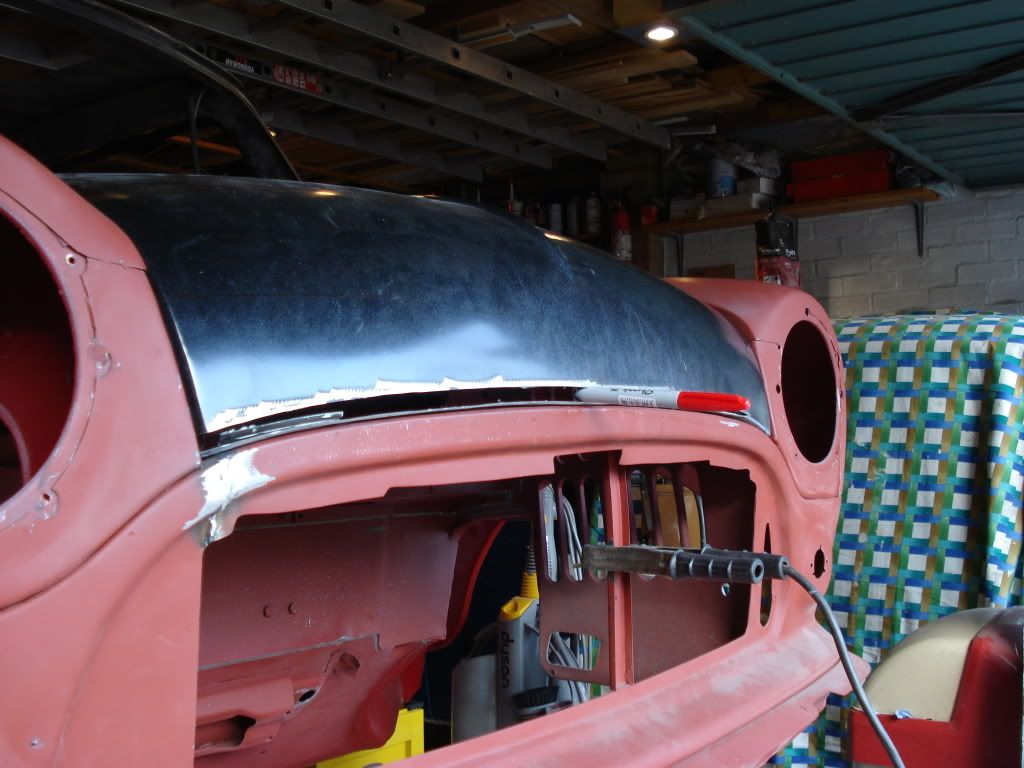
Then i cut a tapered section of steel sheet and added it to the gap like this
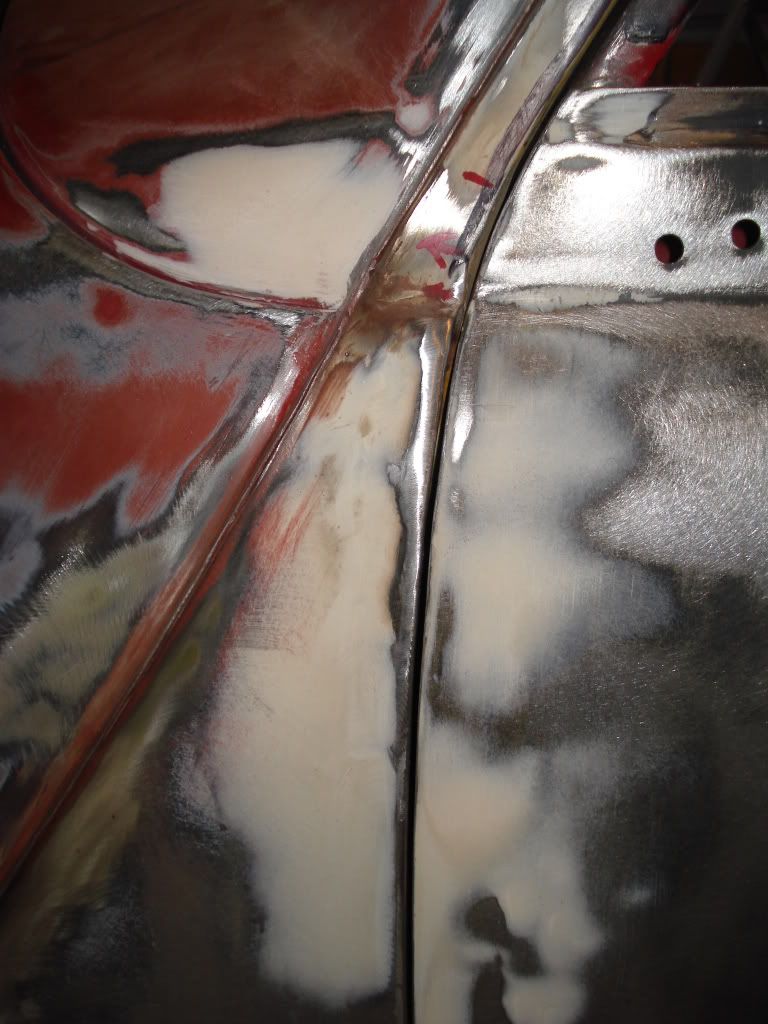
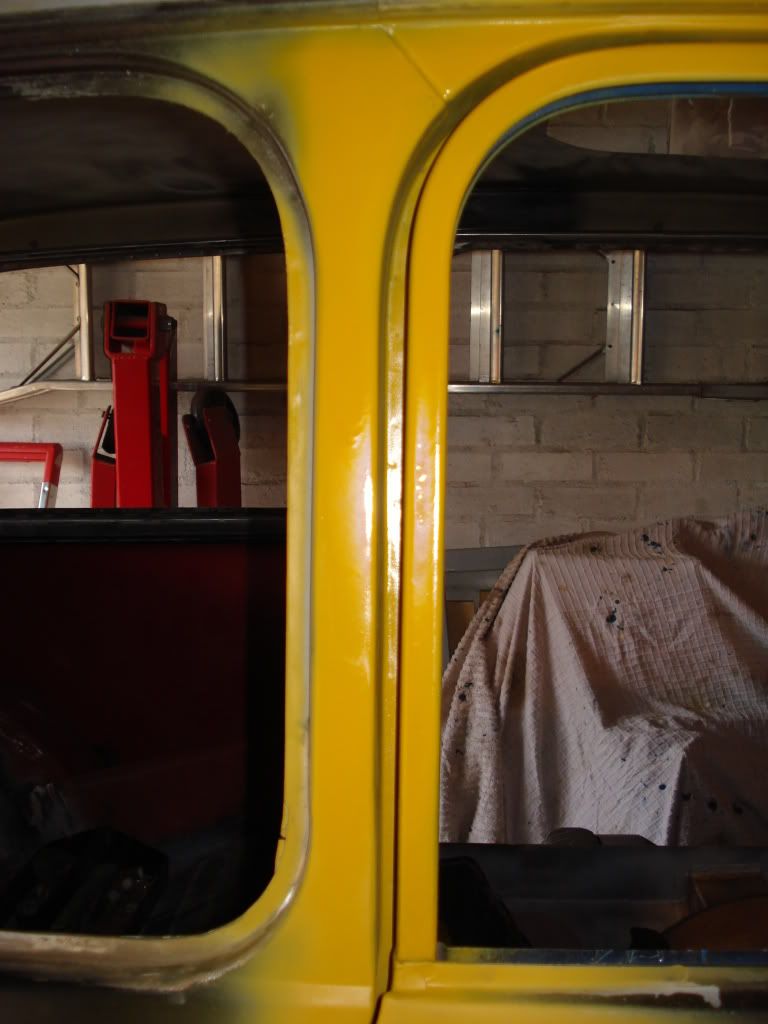
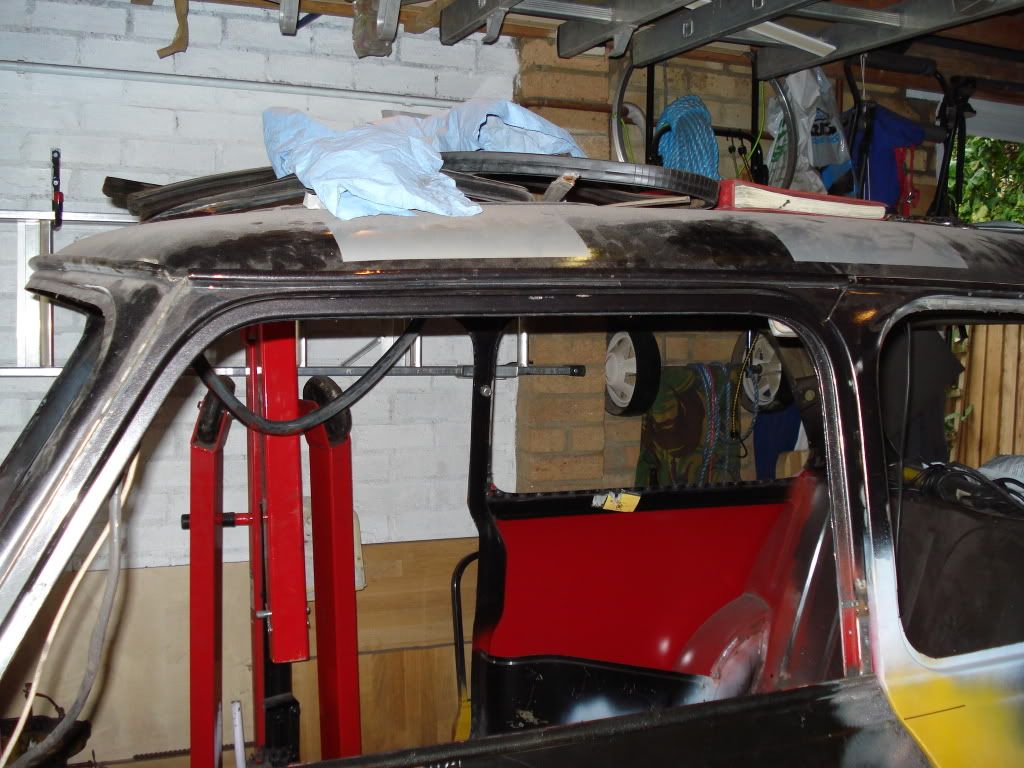
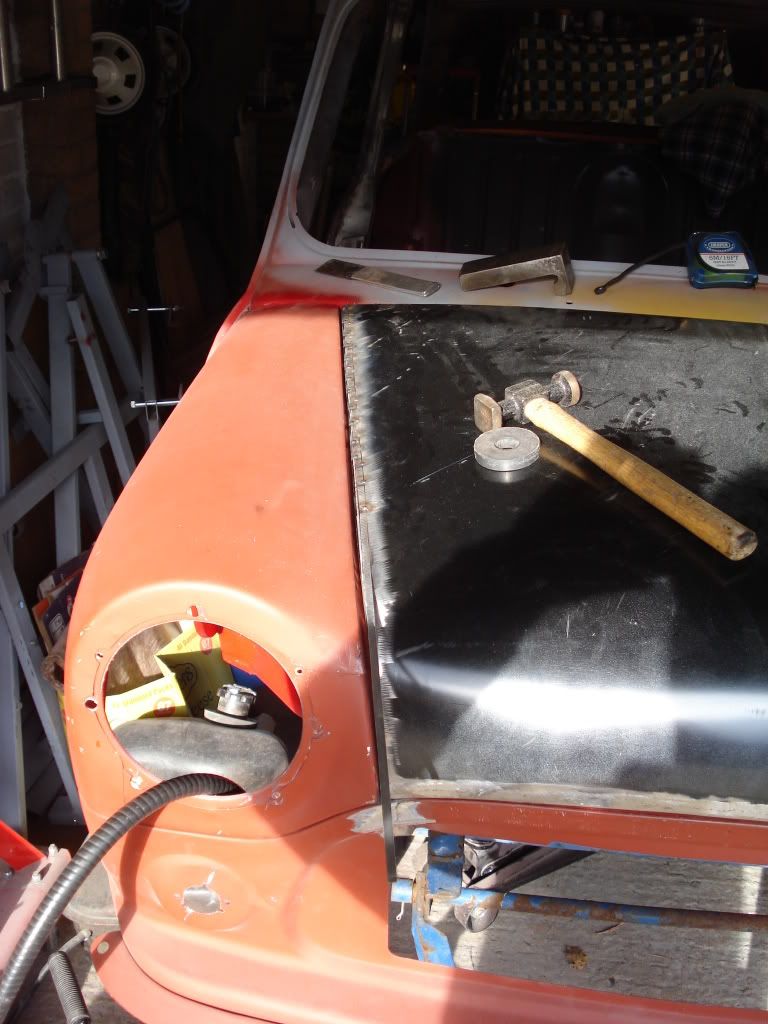
Once it was fully welded and ground down it looked like this just needing some minor hammer and dolly work then filler to finish on the outside.
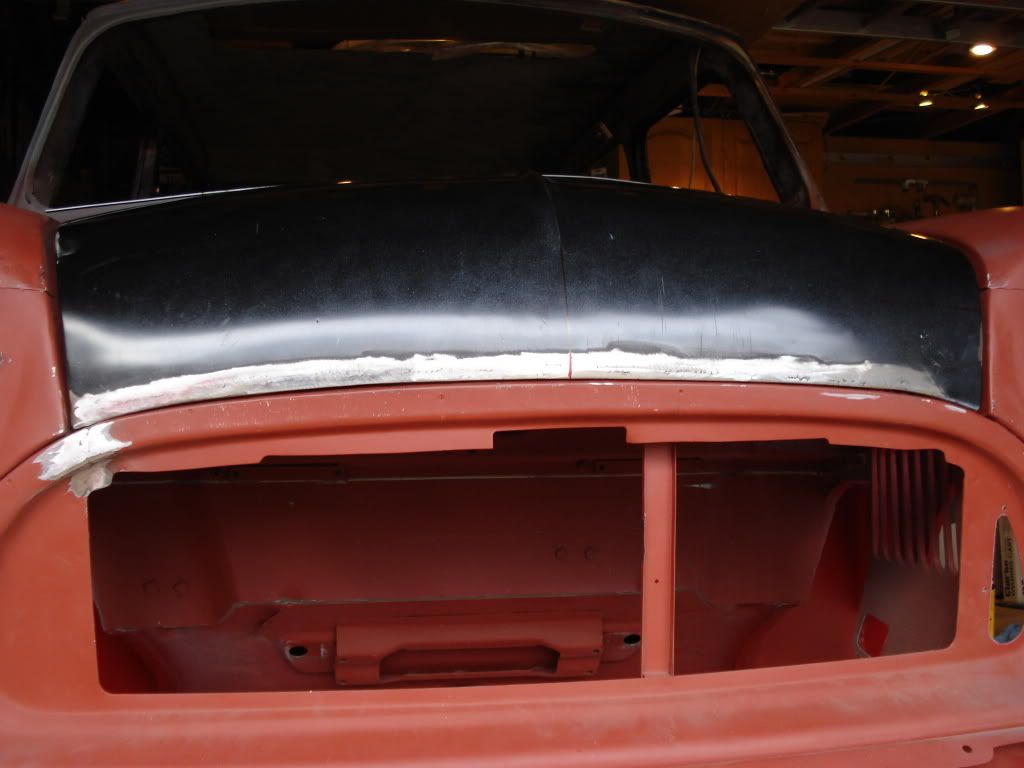
A lot of work but in the end it was worth it but also a lesson learnt for me.