Just had a quick read through this build, so lovely work there and this is coming together really well you must be happy with it :)

Alex's 1982 Hle Rebuild
#466

Posted 14 April 2016 - 05:51 AM
#467

Posted 14 April 2016 - 05:55 AM
Some very nice work there, like the nice tidy job of the mk1 rear light coversion. What colour is this going to be in the end?
#468

Posted 14 April 2016 - 06:57 AM
Well done Alex, absolutely fantastic. A very detailed and thorough restoration.
Are you spraying this in your garage and are you using Celly?
#469

Posted 15 April 2016 - 09:07 AM
How did you manage to get the pin out of the boot hinges to seperate them?
Did you drill it out and replace with a different type of pin?
Thanks
#470

Posted 15 April 2016 - 10:08 AM
This is looking so sweet mate! Awesome work
Cheers mate, Getting there now, haven't got much time to finish it off for Mini in the park!
Just had a quick read through this build, so lovely work there and this is coming together really well you must be happy with it :)
Some very nice work there, like the nice tidy job of the mk1 rear light coversion. What colour is this going to be in the end?
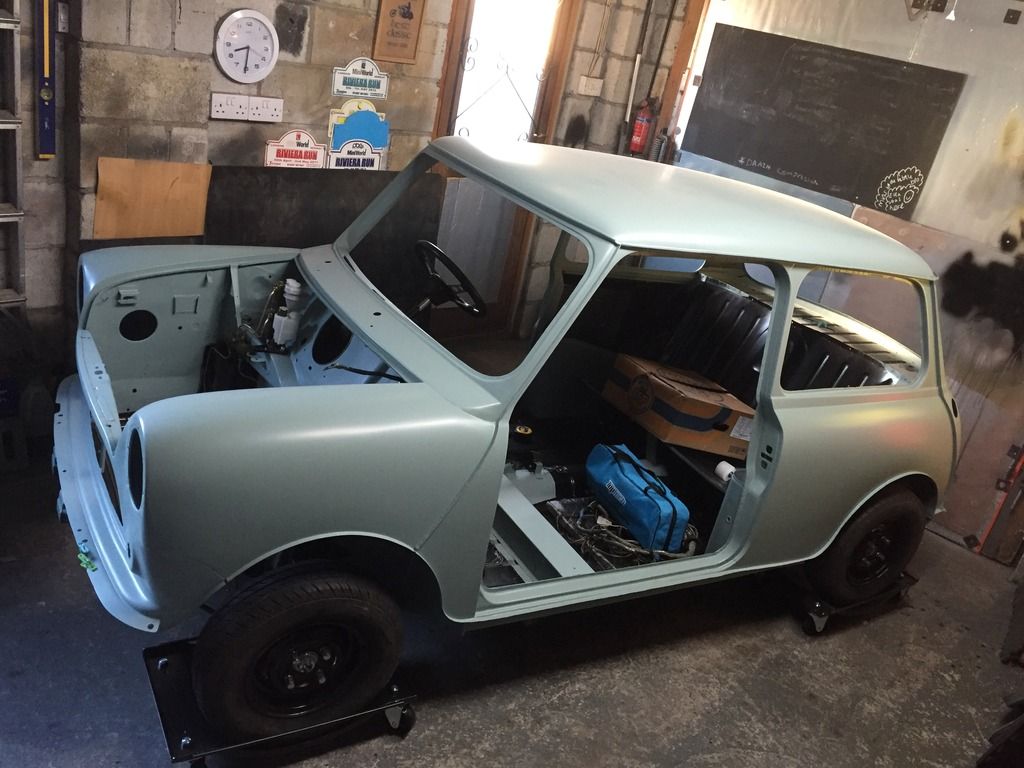
Thanks, Yeah the mk1's turned out quite well, much better than the little plates that you get. all Smoke grey.
Well done Alex, absolutely fantastic. A very detailed and thorough restoration.
Are you spraying this in your garage and are you using Celly?
Cheers jonny, yep spraying it with celly in the garage. We've got 2 extractor fans to get rid of the mist and the 3m filter masks which I think you've got?
How did you manage to get the pin out of the boot hinges to seperate them?
Did you drill it out and replace with a different type of pin?
Thanks
The earlier hinges have holes both sides so just used a punch. The earlier ones aren't as rounded as the later one (couple of pictures of that on previous pages). I've got a later set that has the blind hole that i've split but I used my older type ones to do it. I drilled through to the hinge pin and nocked it through. I can write up how I done that if you like?
#471

Posted 26 May 2016 - 09:02 PM
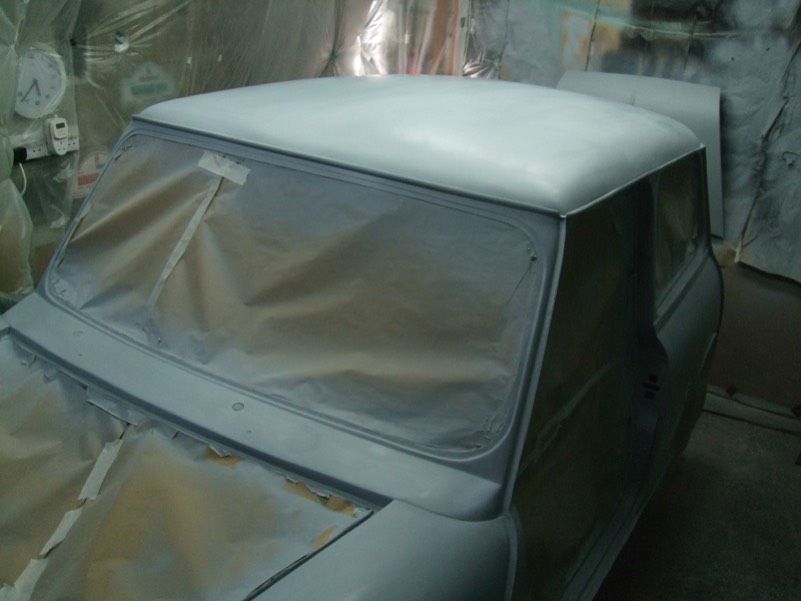
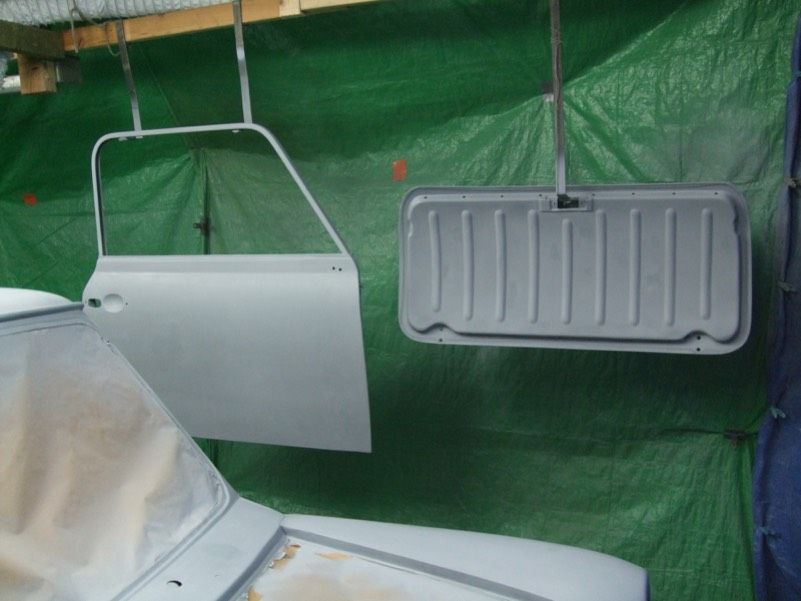
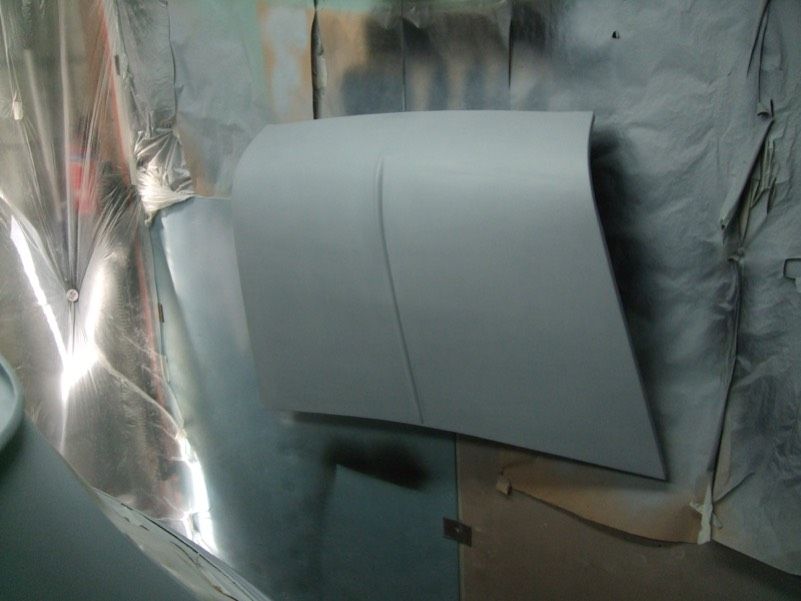
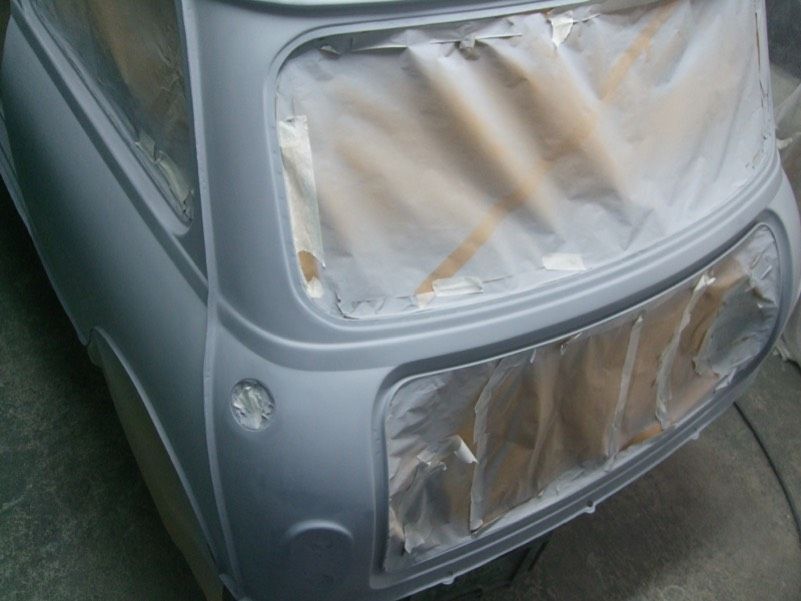
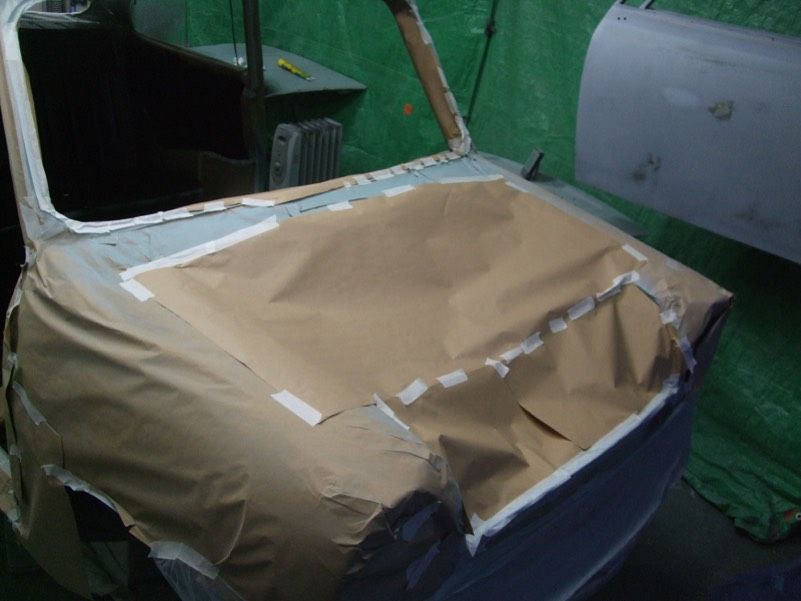
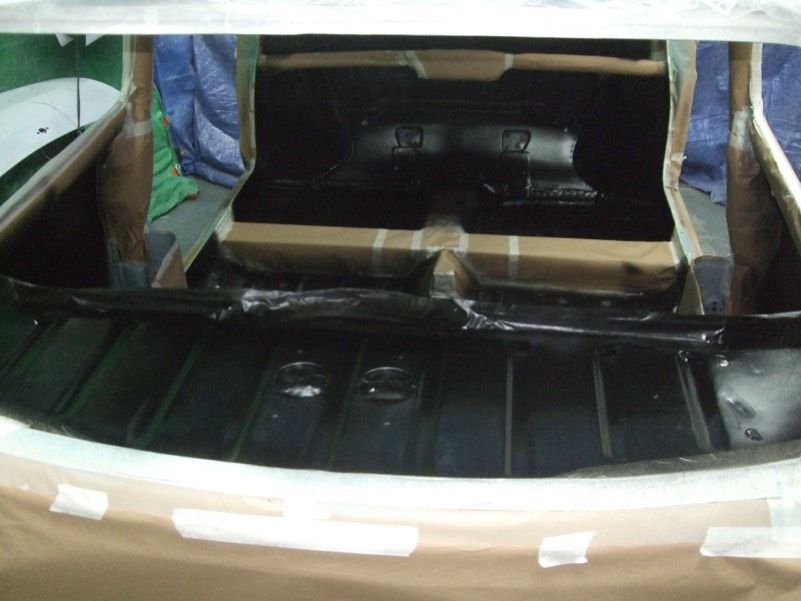
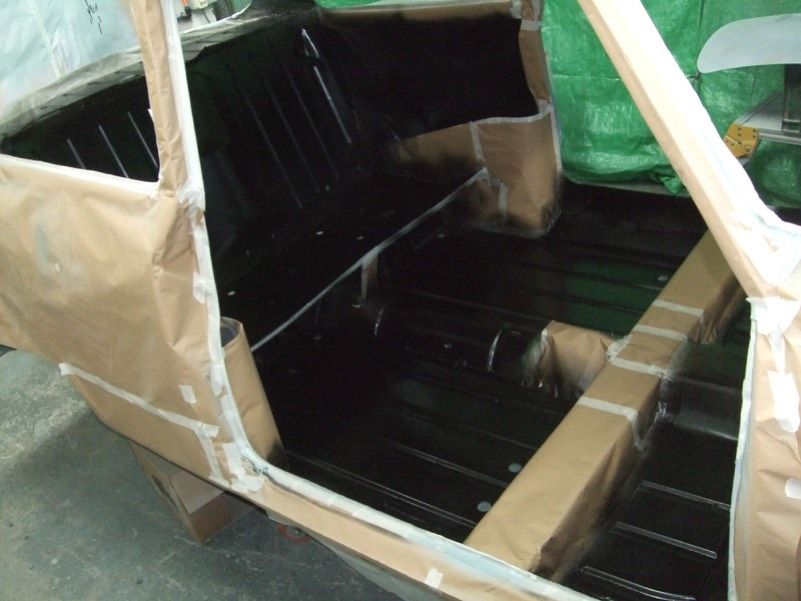
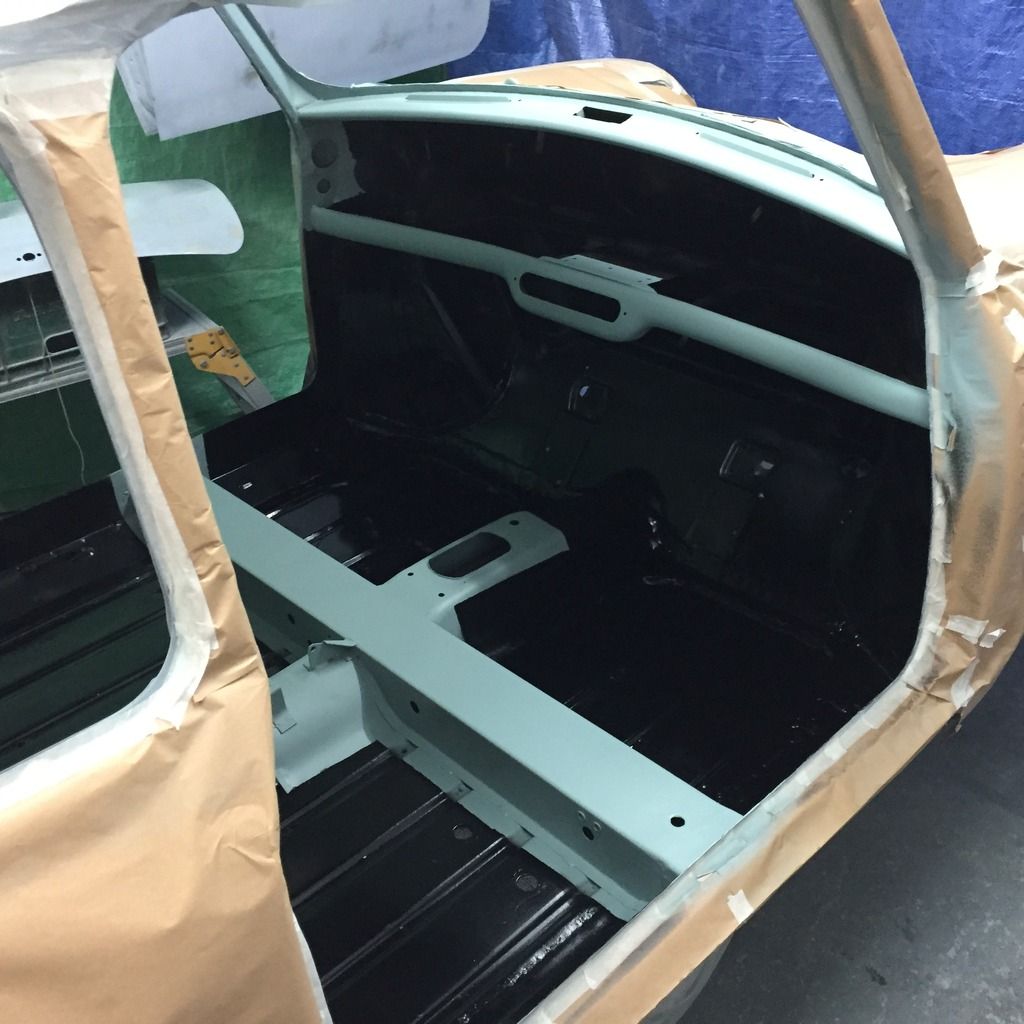
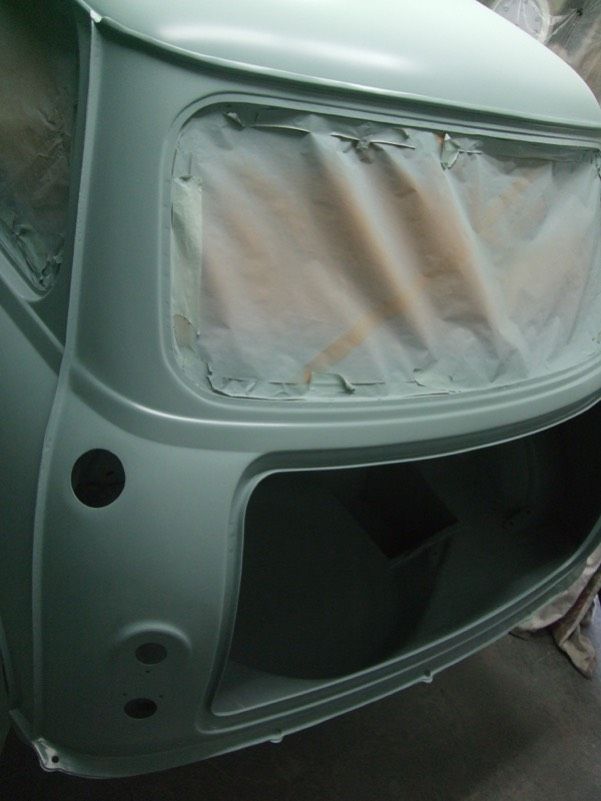
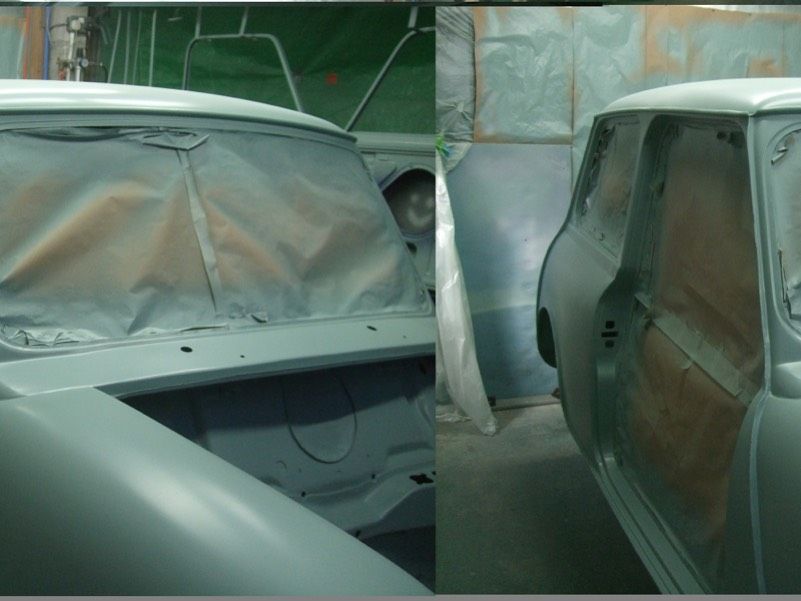
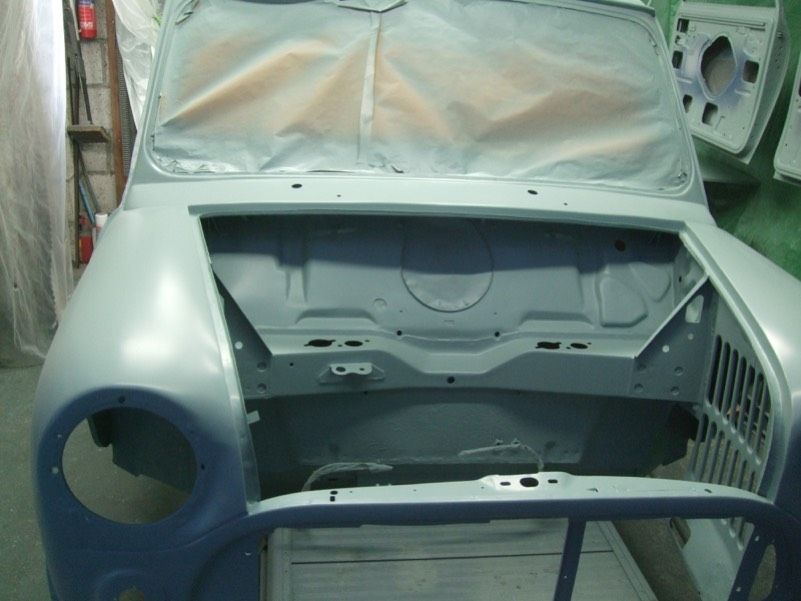
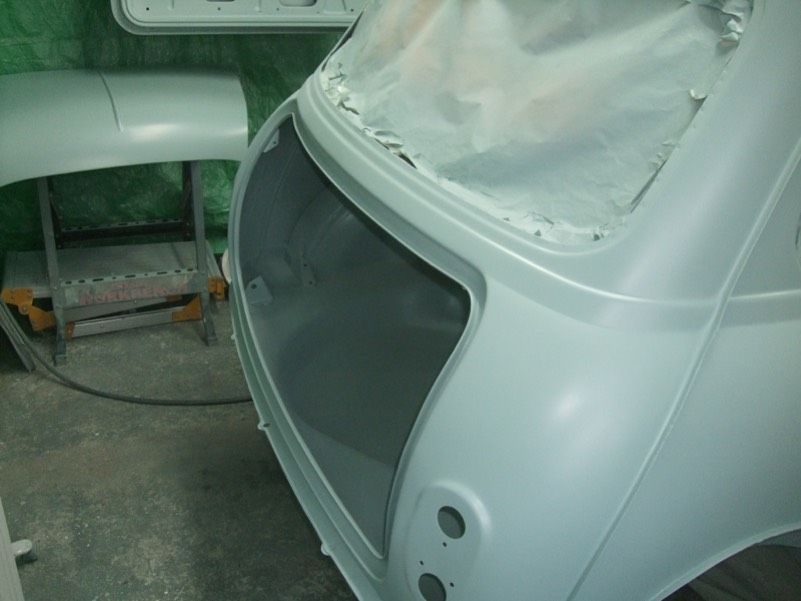
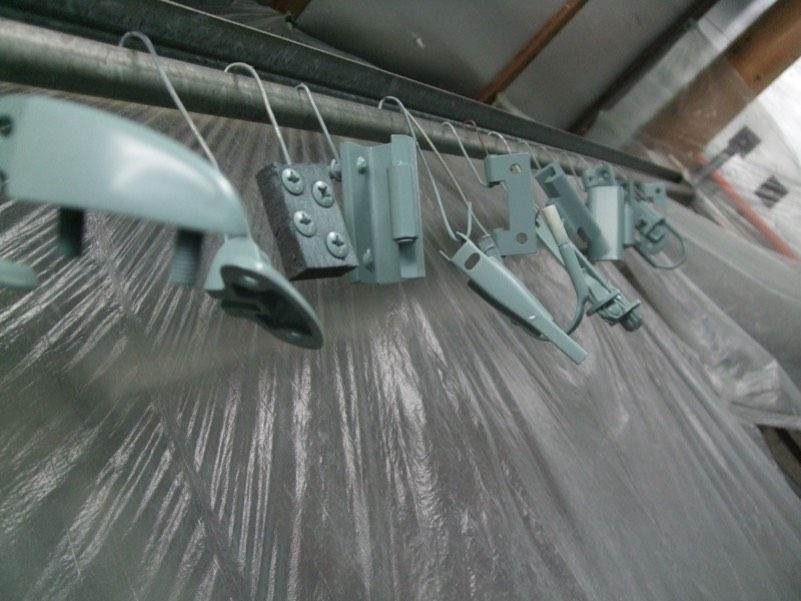
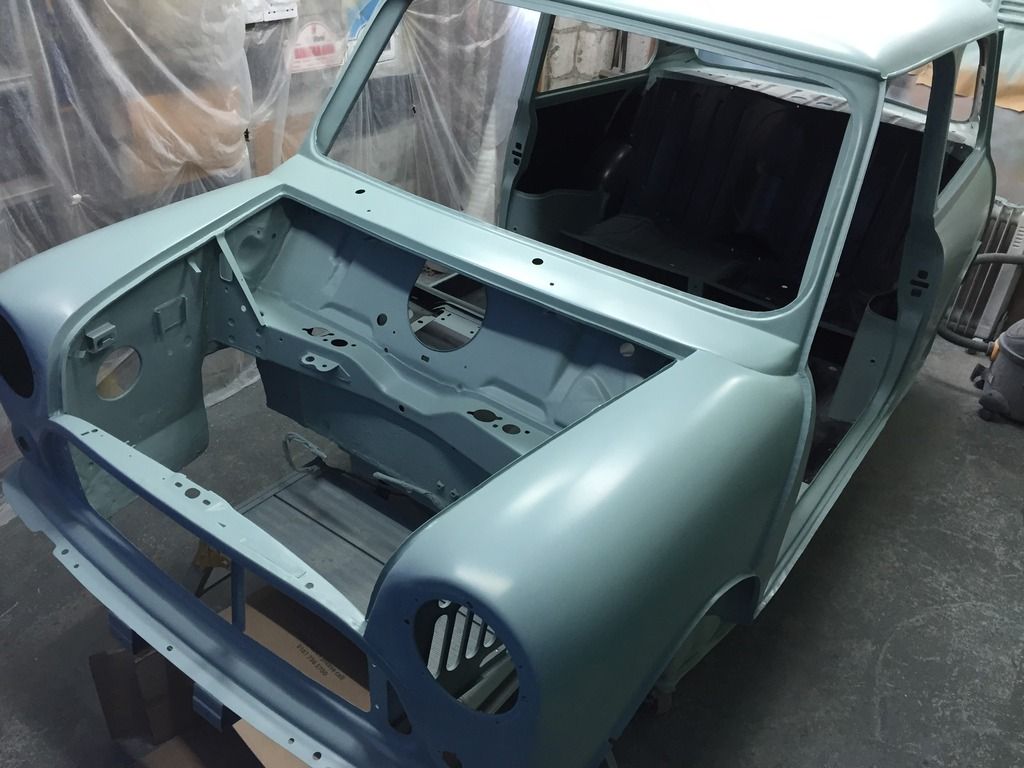
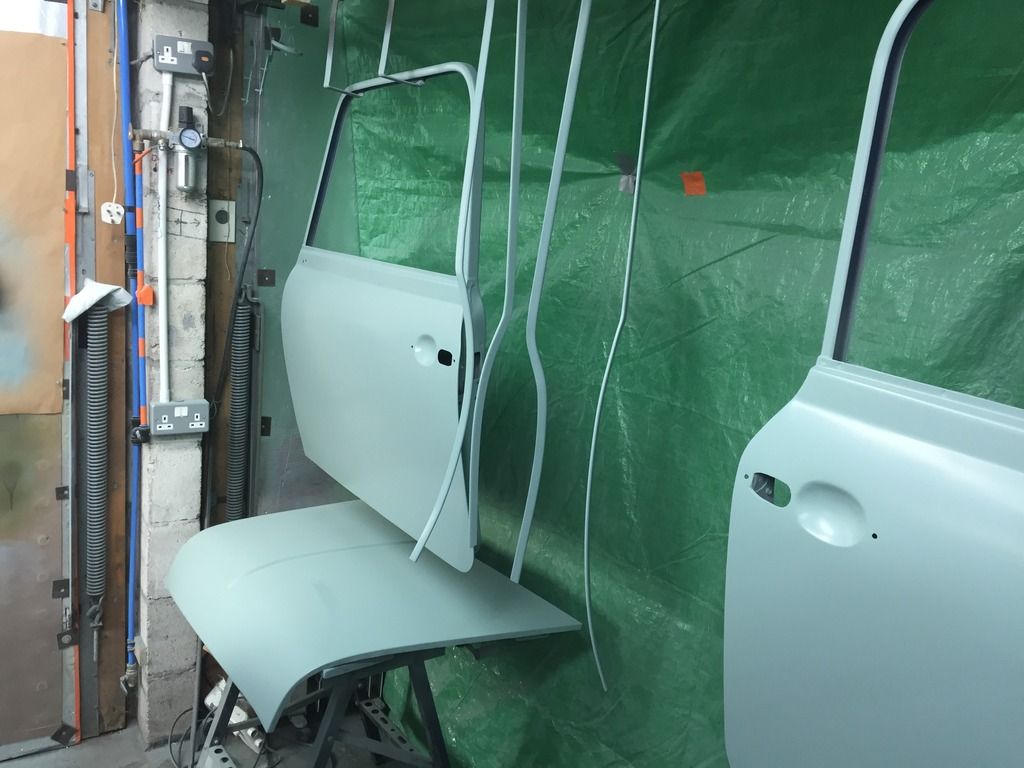
Right then, bit of an Update..,
Got the majority of it premiered and sanded down,
masked up the outside to spray the inside the colour, which was then sprayed and masked for the floors to be painted black.
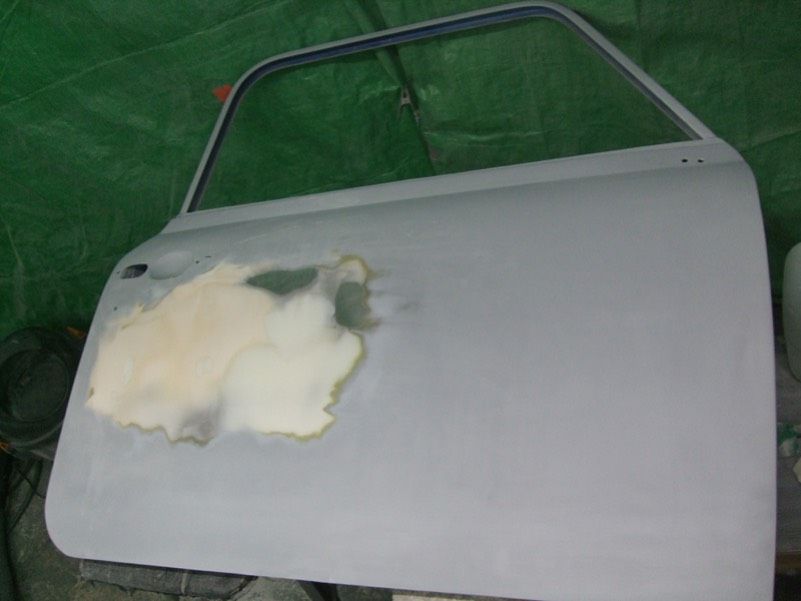
Then took some 120 grit to the nice prepared drivers door ![]() , there was some pin holes so had to rub it back.
, there was some pin holes so had to rub it back.
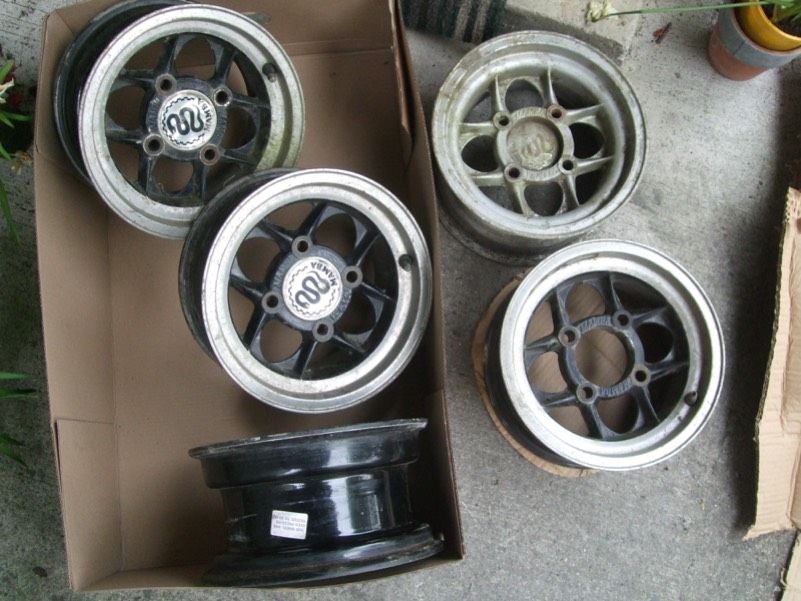
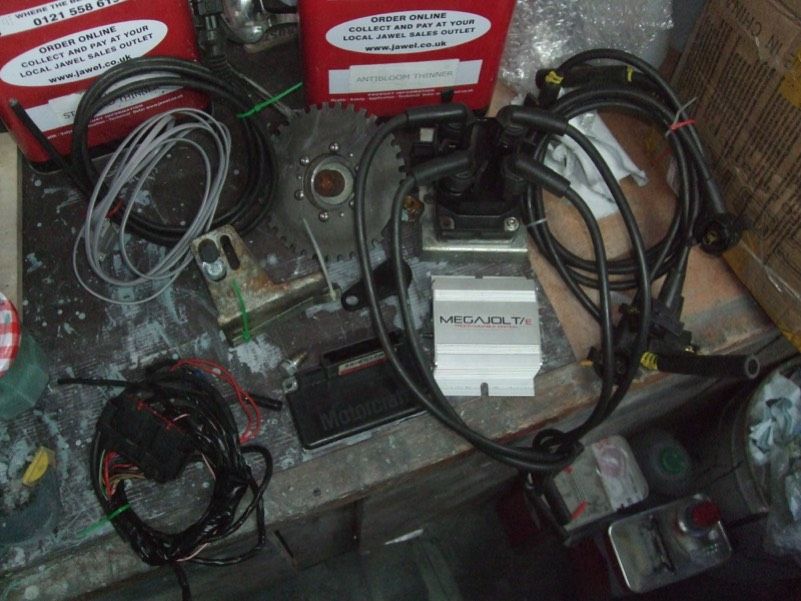
Got some more wheels and a mega jolt for the 1293 when it's built.
Will update some more tomorrow...
![]()
![]()
![]()
![]()
#472

Posted 27 May 2016 - 07:42 AM
Cracking on with this Alex, my full day on the Mini has been scuppered by the weather I'm afraid.
Front end has now been re-built, just need to finish of a few plug welds and dress down. I then plan to paint the inside and out this week, it's 1/2 term so no teaching ![]()
Keep going the end is in sight!!
#473

Posted 27 May 2016 - 09:17 PM
Cracking on with this Alex, my full day on the Mini has been scuppered by the weather I'm afraid.
Front end has now been re-built, just need to finish of a few plug welds and dress down. I then plan to paint the inside and out this week, it's 1/2 term so no teaching
Keep going the end is in sight!!
cheers, should be able to et it rolling this week as I have it off. oh no.
Pretty much there now then, We wish we booked a week off to get the painting down.
So then, it was pretty much painted of last weekend, just need to finish the hinges and little bits and finish painting the outside of the boot as we had a bit of a problem with a black mark on it that wouldn't disappear which turned out there was not primer in a tiny spot.
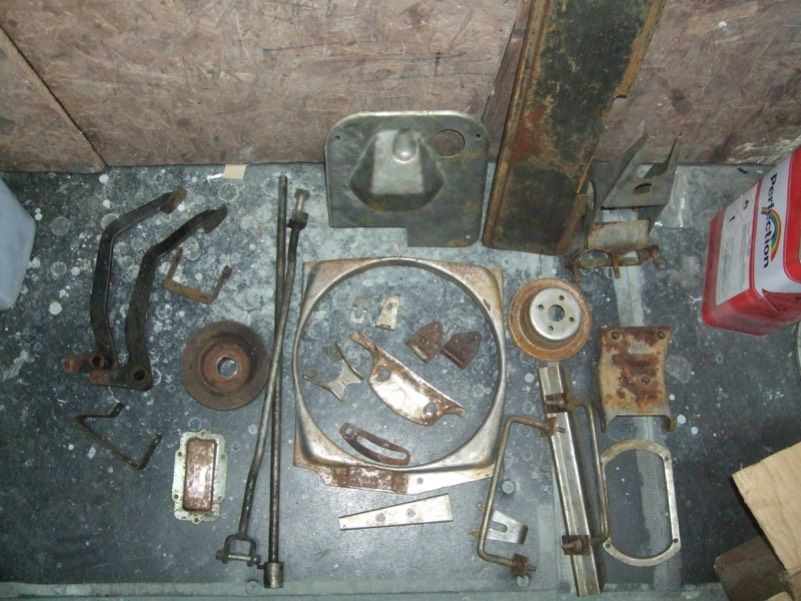
Got some bit's paint stripped ready for sand blasting and maybe powder coating. I made a repair piece to weld the bulkhead blanking plate and welded the mk1 rear number plate hanger together today and ground it down as I had 2 of them one with rust on the top and one with rust on the bottom so made a good one out the 2.
Edited by alex-95, 27 May 2016 - 10:24 PM.
#474

Posted 07 June 2016 - 09:01 PM
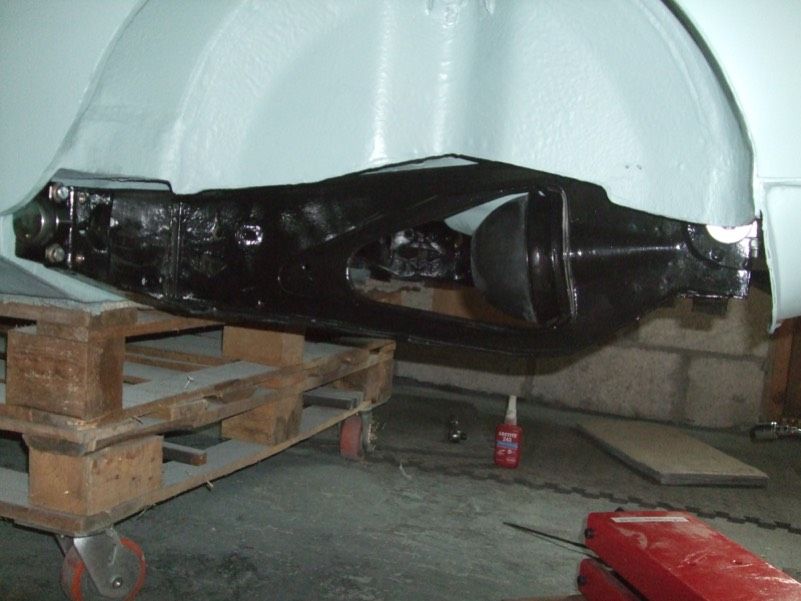
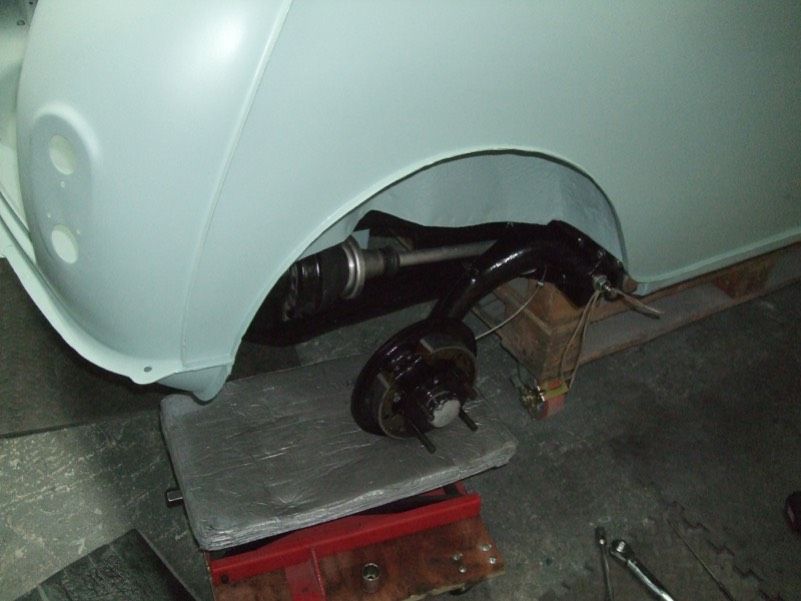
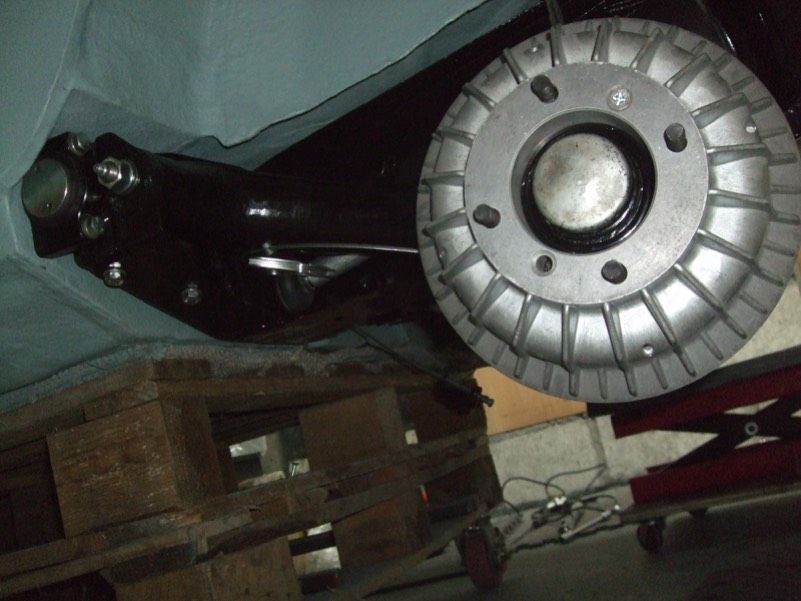
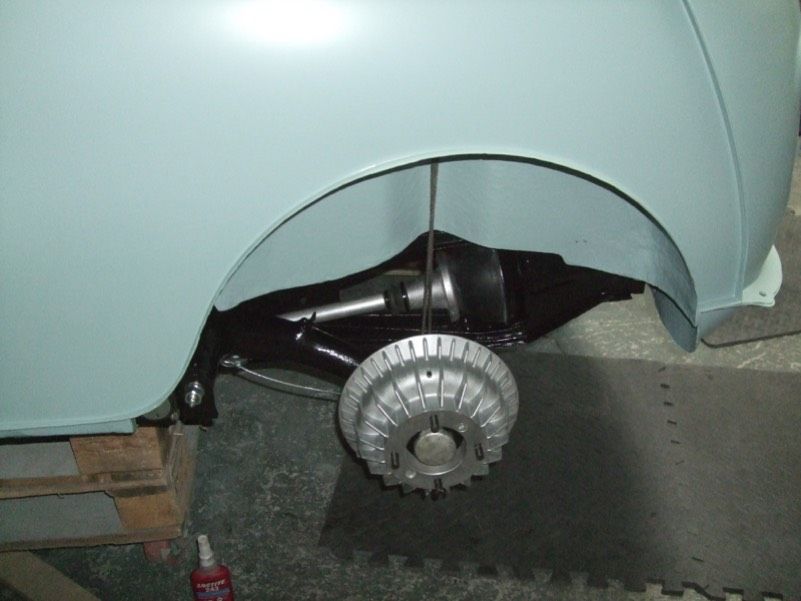
Right then, front a rear subframes are on!
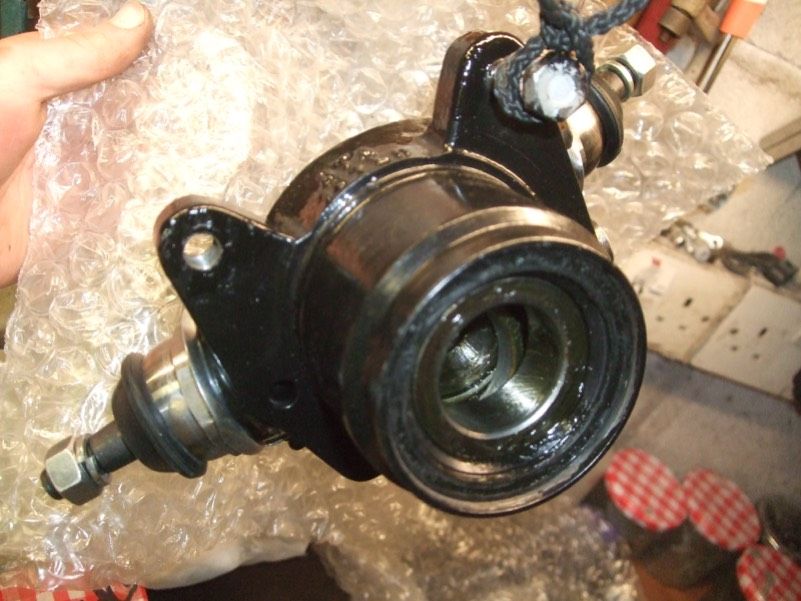
I had last week off so took down the tarpaulins and other spraying stuff, Then I messed about with the ball joints as I was waiting on my minispares order with nuts and bolts and other bits I needed.
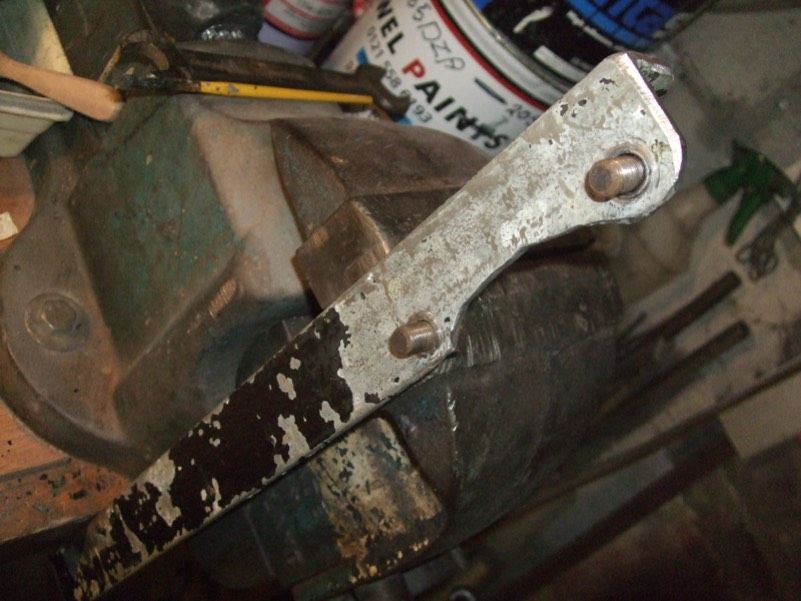
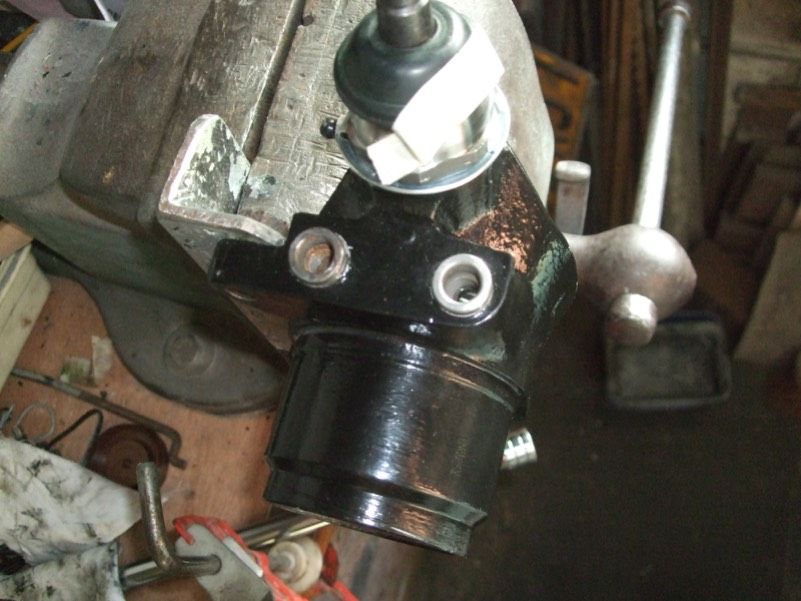
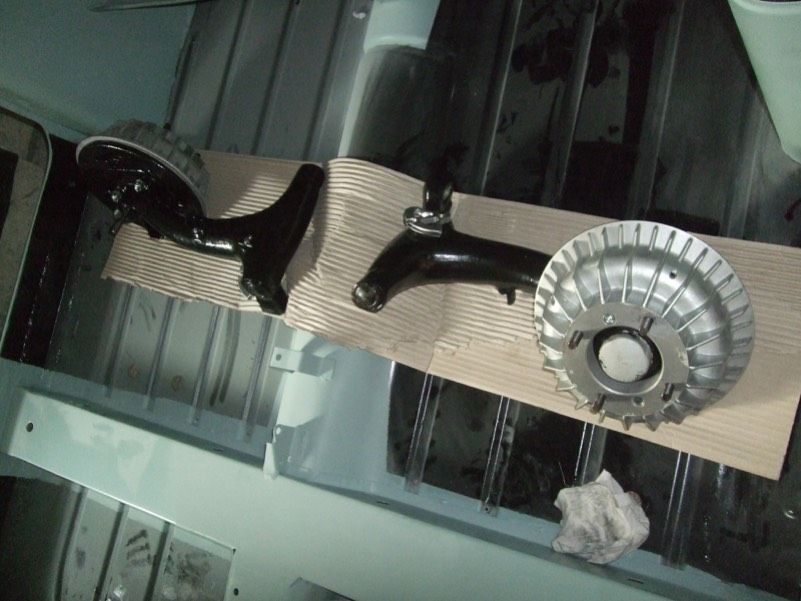
I made up this to hold the hubs in the vice.
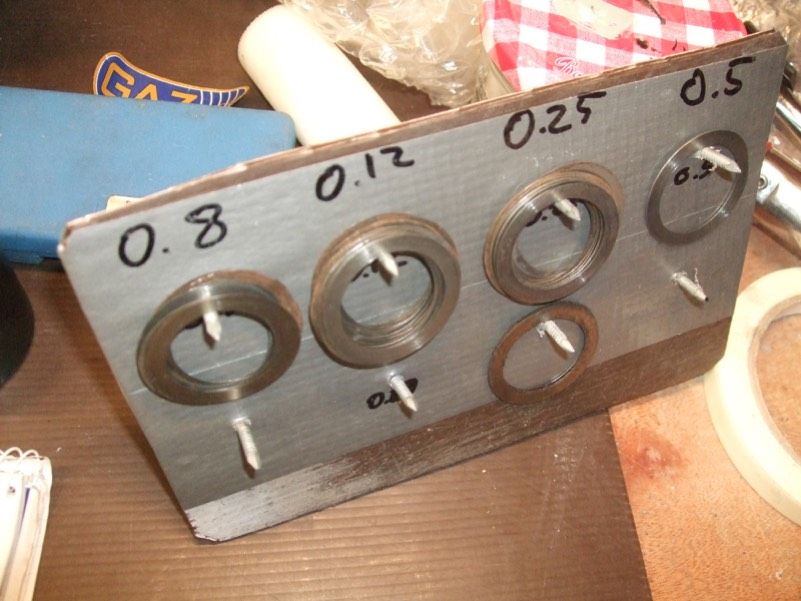
Many shims...
A lot of messing about
I ended up with 2 like this.
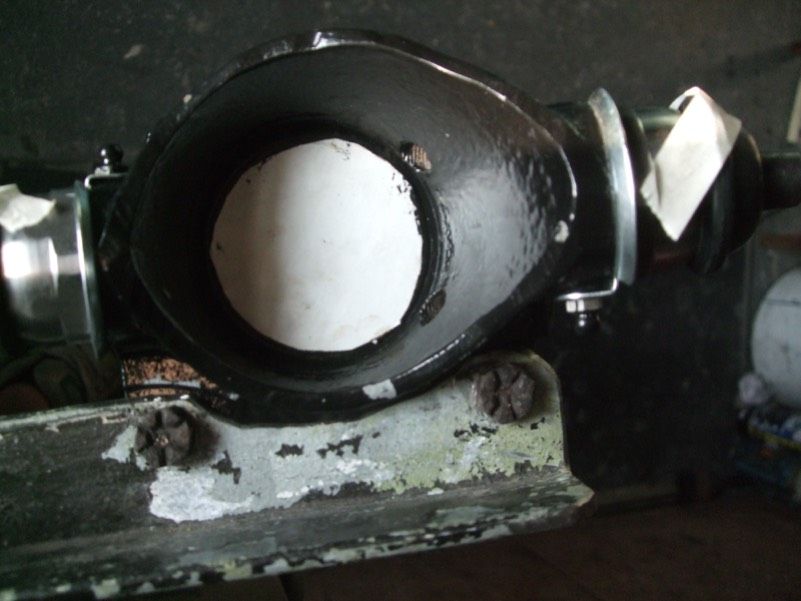
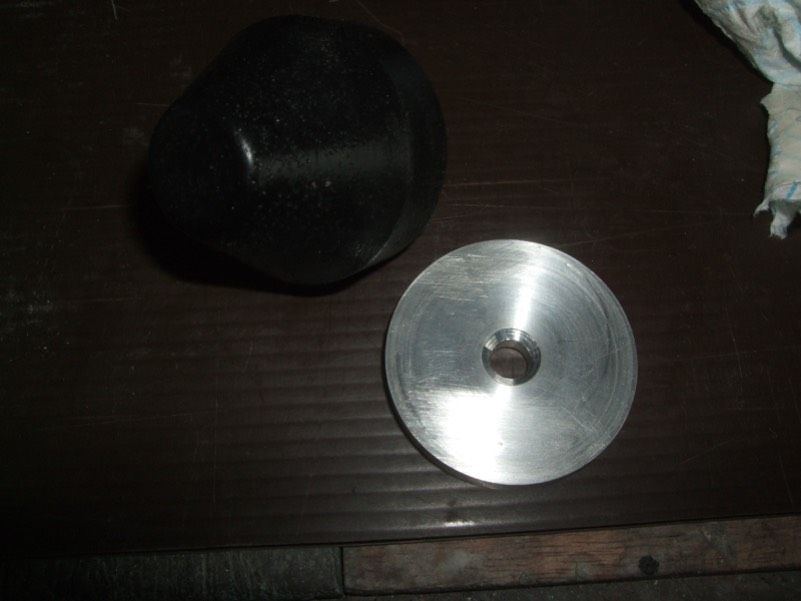
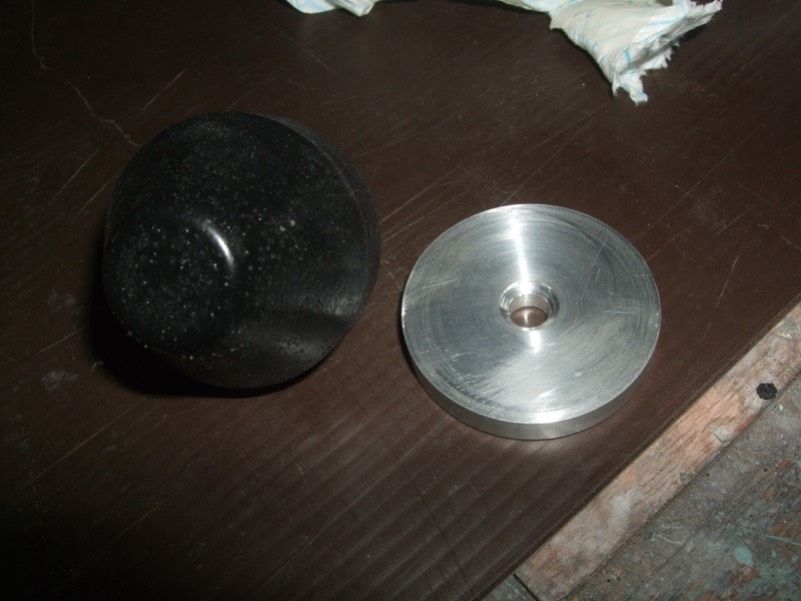
Made up 2 ali washers to go between the bumpstops.
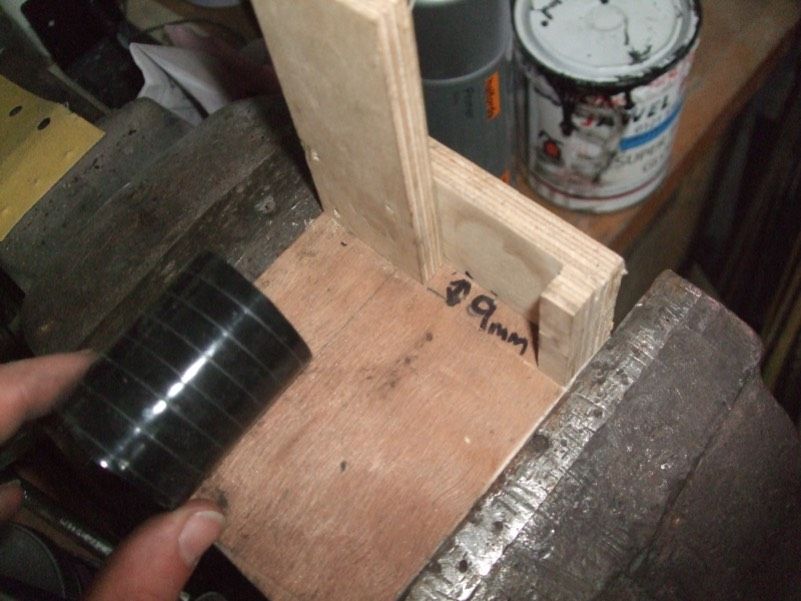
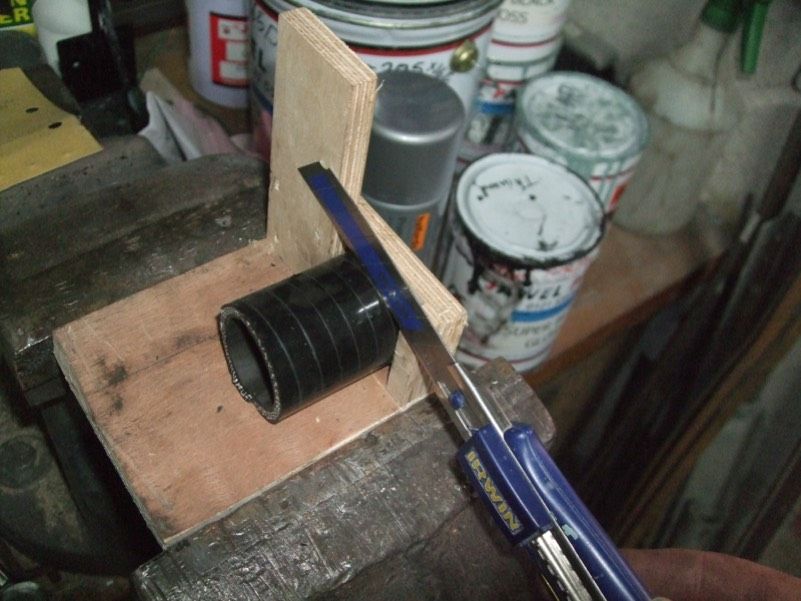
Got some 30mm silicone pipe to make the radius and top arm seals rather than having the rubber ones perish in 5 minutes. and made a jig to cut them square using 9mm ply.
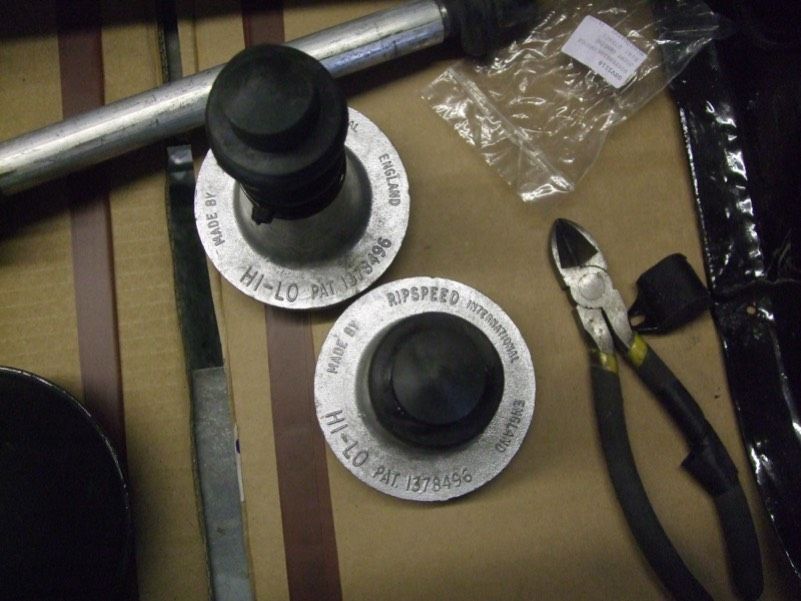
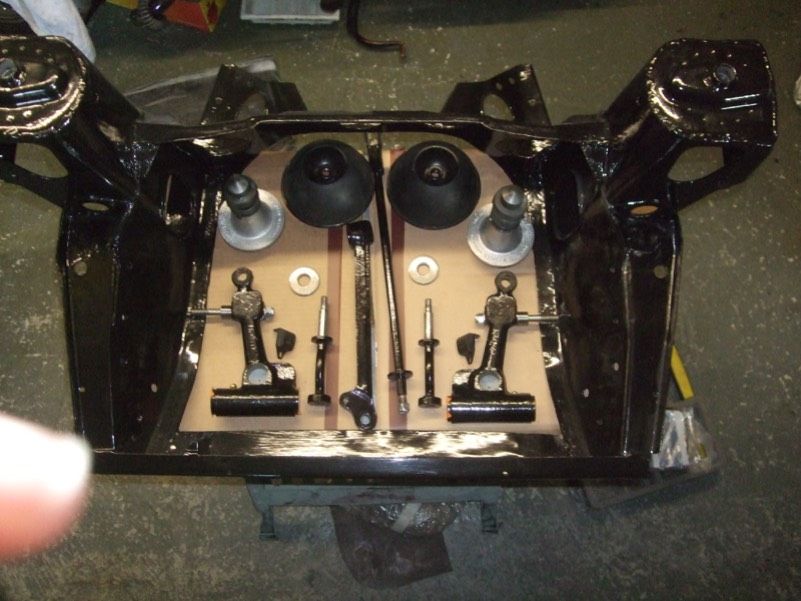
Front sub parts, I bought some '70's rip speed hi-lo's
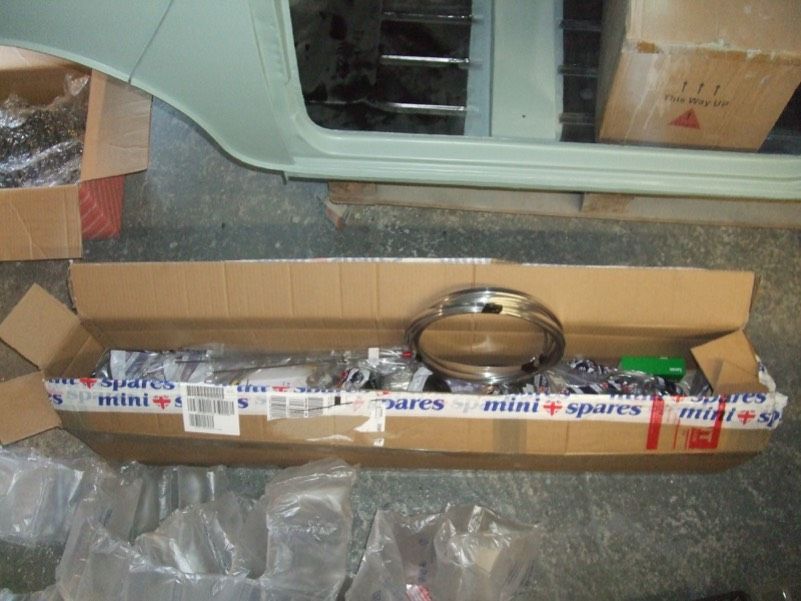
Then My minispares order arrived so could start building
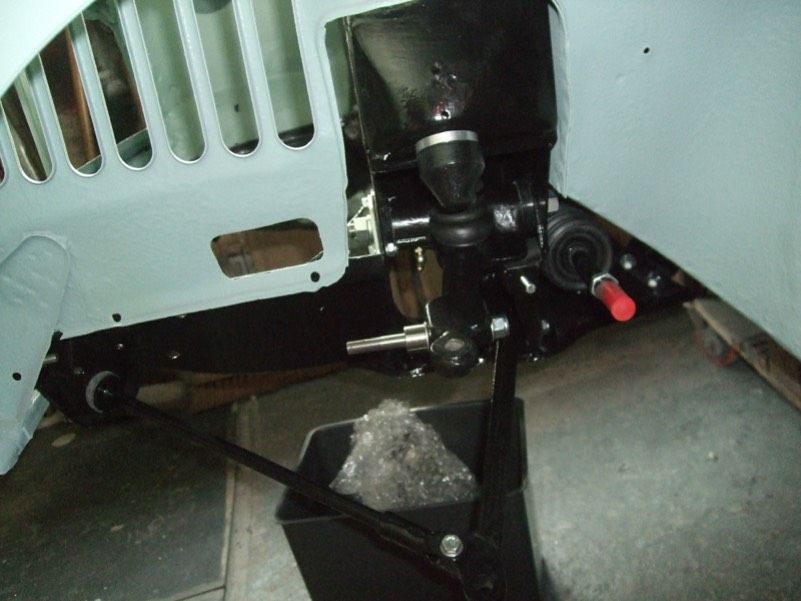
Built it up and installed it and the steering rack.
Built up the radius arms with my DSN quadrants.
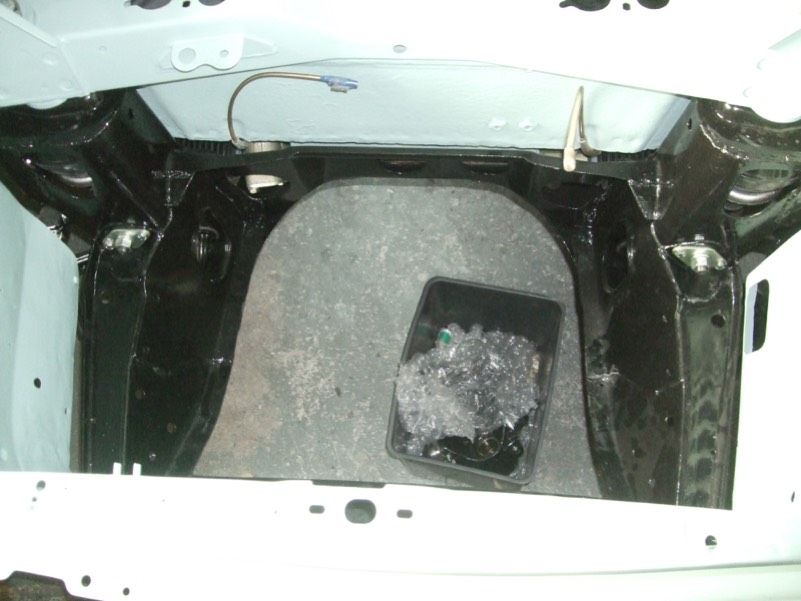
Fitted the rear subframe
and in the past 2 evening I got the radius arms fitted.
I also chucked one of my wheels on and I think they are going to be sticking out too much but am hoping to get away with it, I've got plenty of other sets of wheels to choose from anyway.
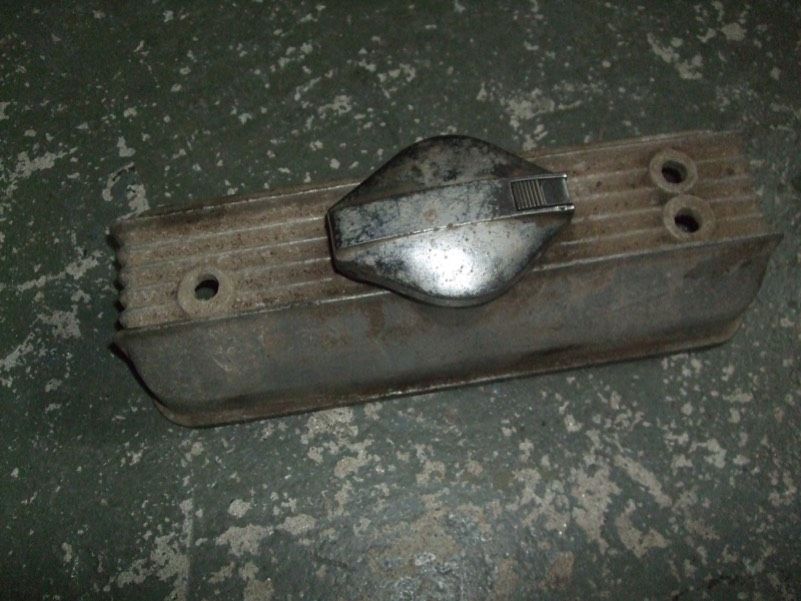
oh and got a new rocker cover.
#475

Posted 08 June 2016 - 06:31 AM
#476

Posted 08 June 2016 - 07:02 AM
Coming on nicely!!
#477

Posted 08 June 2016 - 08:10 AM
What does lowering the bump stop do ?
#478

Posted 08 June 2016 - 05:15 PM
Really starting to come together nicely! I have the same rocker cover.
Cheers Jared, Yeah Hopefully it'll be done for Mini in the park in august... Just got to give it a good polish, it's hard to find unusual rocker covers.
Looking great. I have seen the silicone tube solution for the crap rubber seals a couple of times on here now, they seem to work well. Where did you get the pipe from?? If it was just spare pipe you had could you measure the internal and external diameter for us all plz.
Coming on nicely!!
Thanks graham, Yeah I would have thought they'd be better in the long run. I got this stuff from eBay, didn't come with the logo on as well which was a bonus. It's 30mm ID and about 40mm OD (will check). I think 28mm would be better for the bush side (maybe the top arms too if they are that size but think they are the bigger size?) as the 30mm wasn't as tight as Liked it to be.
What does lowering the bump stop do ?
There was a washer on it before, just made it the same size. It gives less travel on the suspension, not sure why it's there.
http://www.minispare...on~.aspx?1~8~66
1 user(s) are reading this topic
0 members, 1 guests, 0 anonymous users


