Alex's 1982 Hle Rebuild
#451

Posted 22 February 2016 - 07:12 PM
#452

Posted 22 February 2016 - 09:15 PM
Well done Alex (again) nice to be in a position ready to paint.
Couple of questions:
1. In your post you mentioned a "thin coat of dolphin glaze: on the filler - what's that stuff - never heard of it.
2. Are you having any issues with surface rust after cleaning off such large areas?
3. Did you use a D/A sander to clean off the paint?
#453

Posted 22 February 2016 - 10:26 PM
Looking good.
Cheers Mate
Well done Alex (again) nice to be in a position ready to paint.
Couple of questions:
1. In your post you mentioned a "thin coat of dolphin glaze: on the filler - what's that stuff - never heard of it.
2. Are you having any issues with surface rust after cleaning off such large areas?
3. Did you use a D/A sander to clean off the paint?
Thanks jonny,
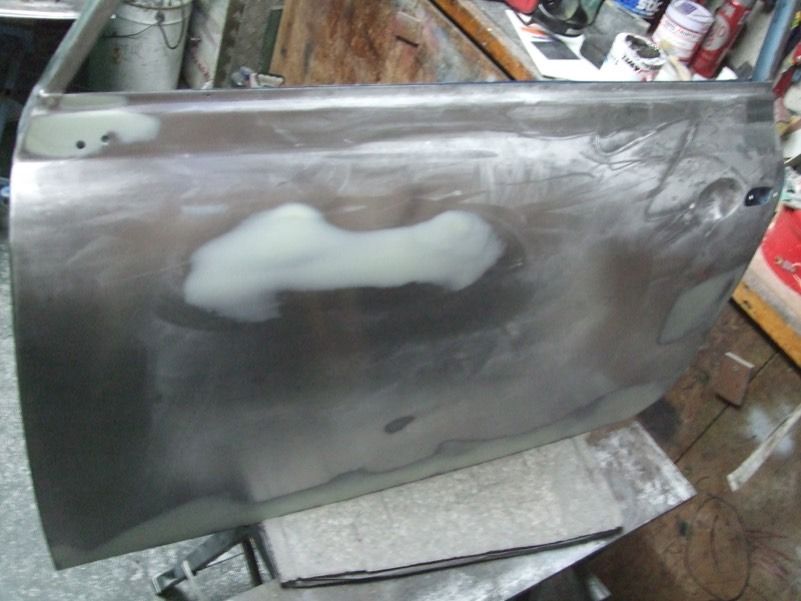
It's u-pol stuff, just runnier filler really and finer. http://www.u-pol.co.uk/product-cat/100/dolphin-glaze™-premium-self-levelling-finishing-glaze.htm I used their fantastic filler for the main area's.
Not really, there are a few places thats a bit rusty but thats where it was rusty before so I'm going to wirebrush and deox it.
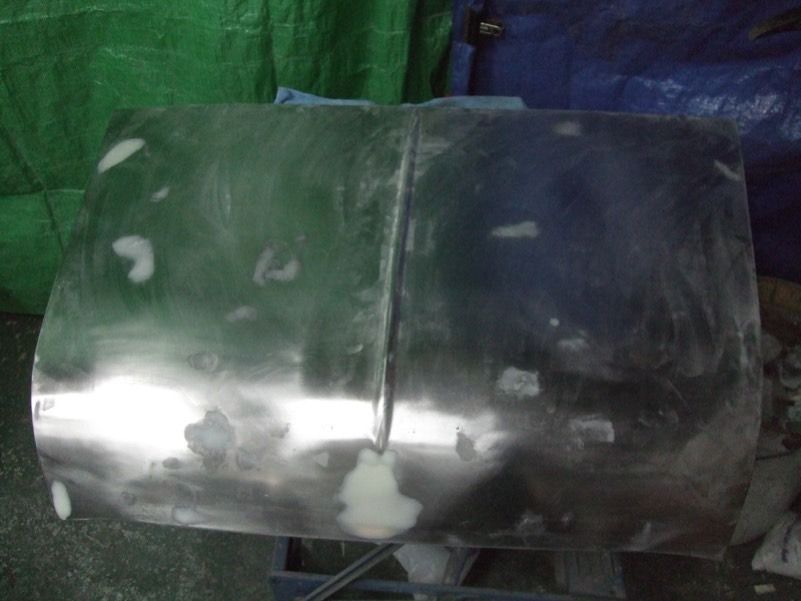
Some places I wire brushed, some we scraped off the majority and then DA'ed it. For the door's and bonnet we used the below poly discs on the drill.

#455

Posted 23 February 2016 - 06:05 PM
What DA are you using? I am looking at buying one, this one perhaps?
I've got this one http://www.ebay.co.u...koAAOSwwbdWHnHT. I would have thought they'd all be roughly the same.
#456

Posted 23 February 2016 - 08:19 PM
#457

Posted 13 March 2016 - 08:44 PM
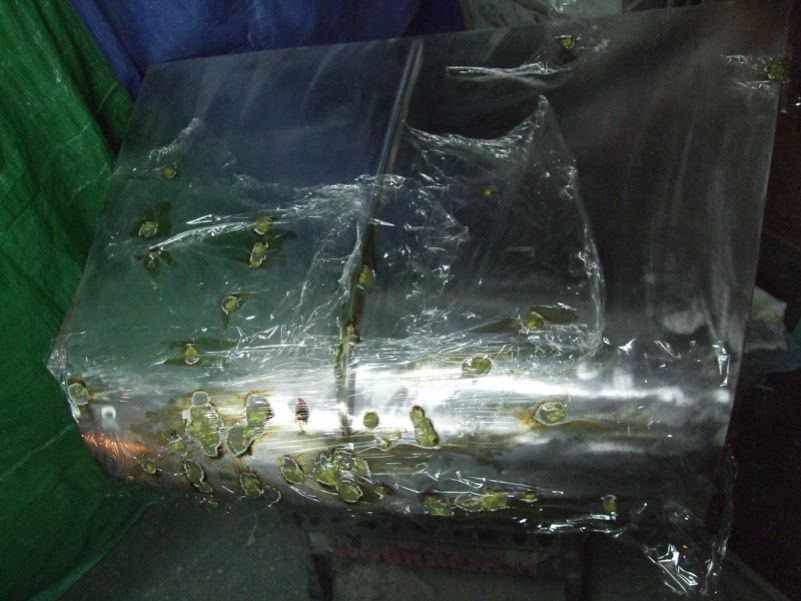
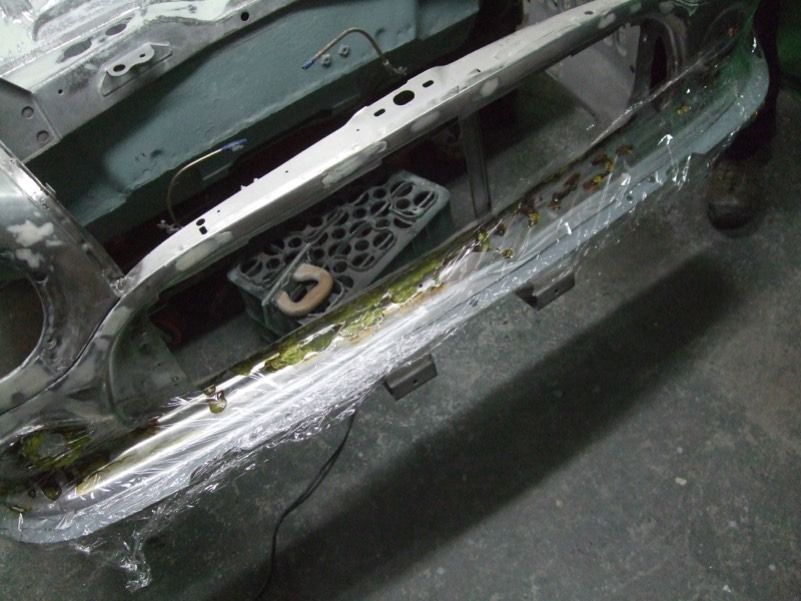
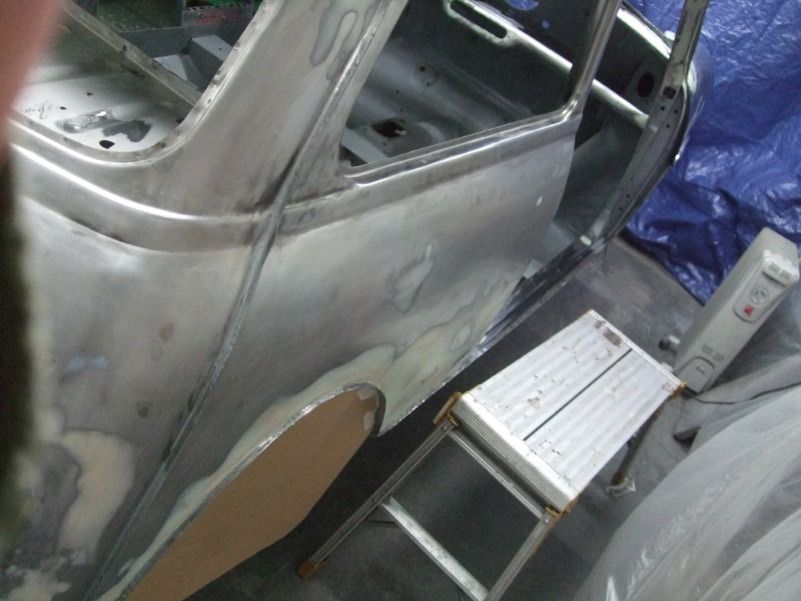
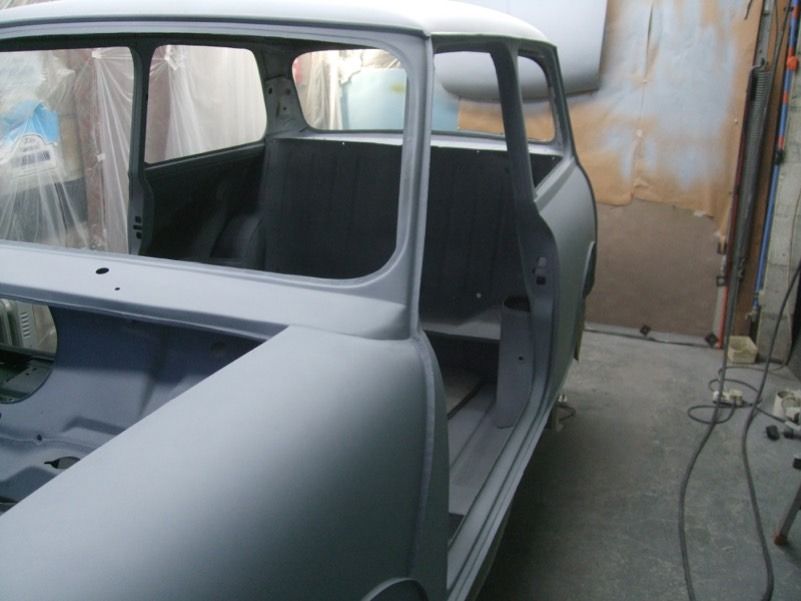
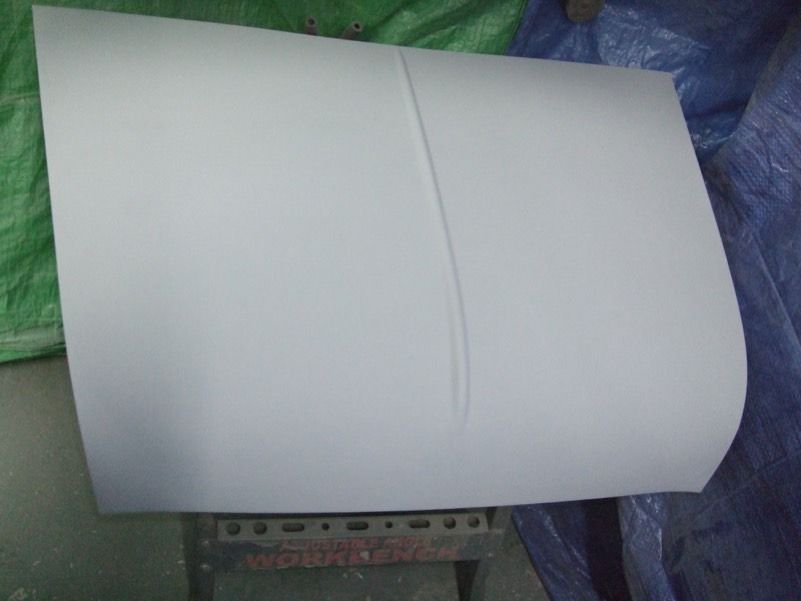
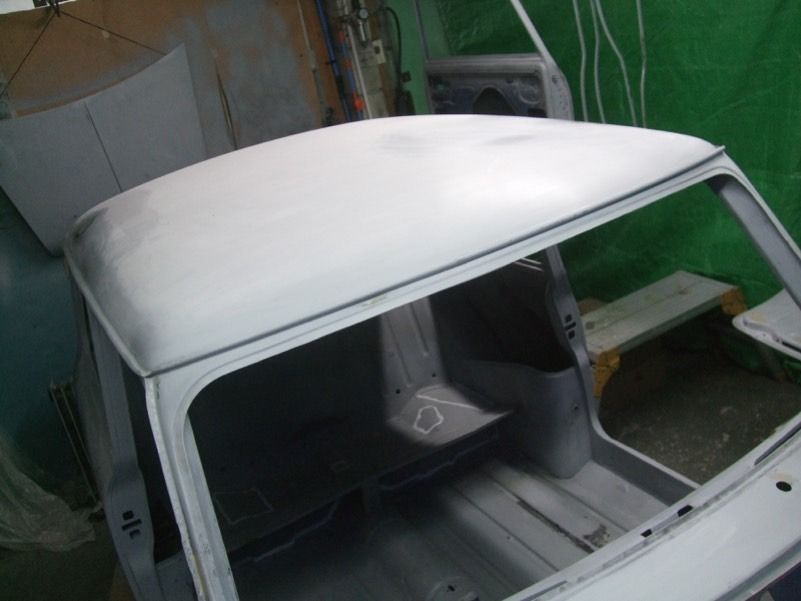
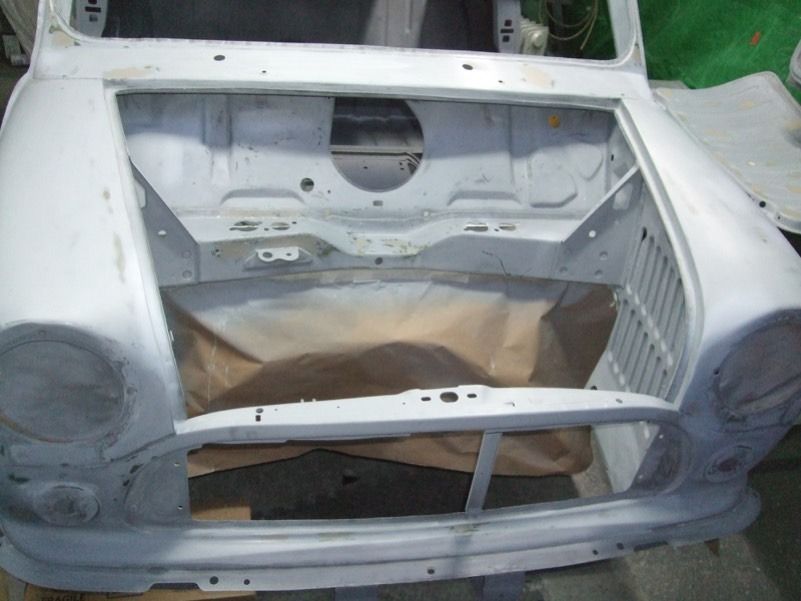
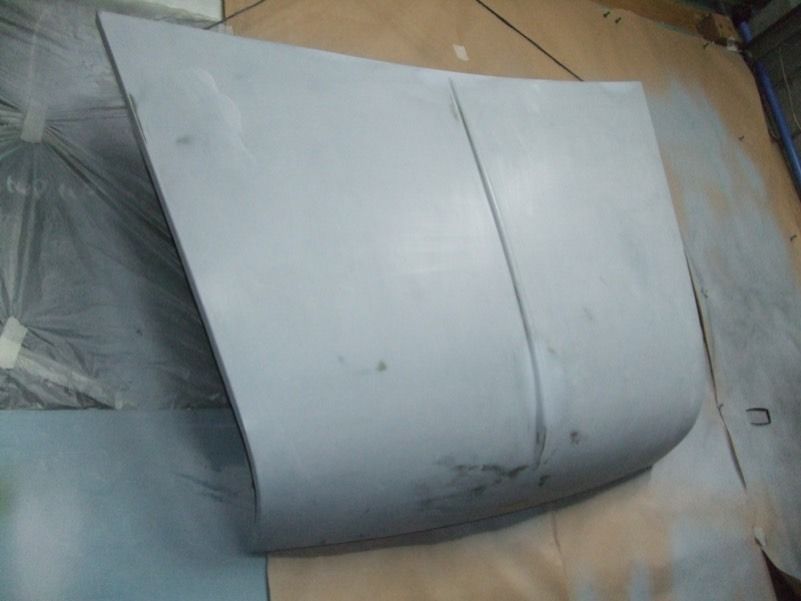
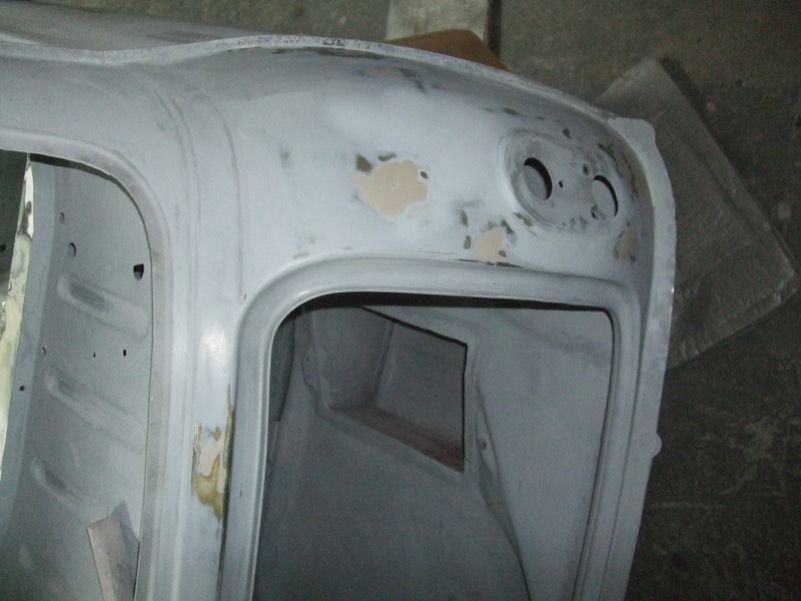
Like usual nothing goes to plan, It didn't get sprayed the next week or the week after due to things cropping up.
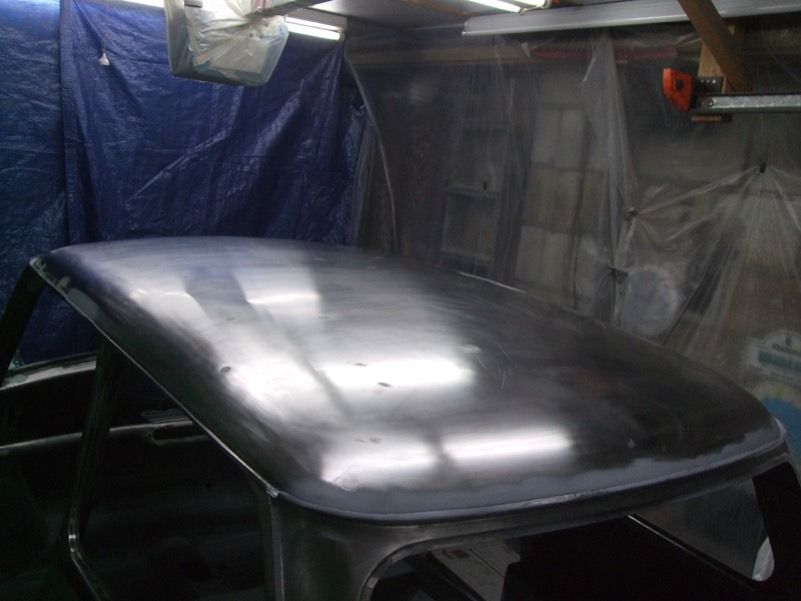
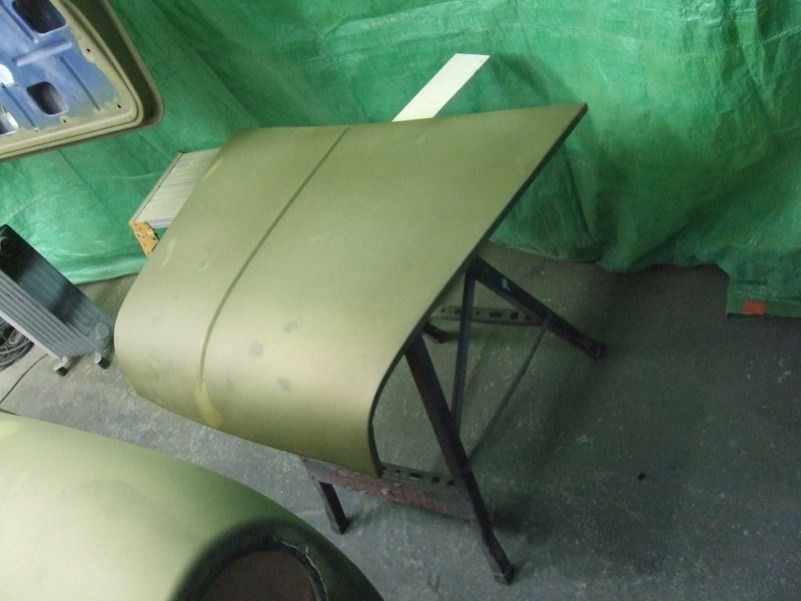
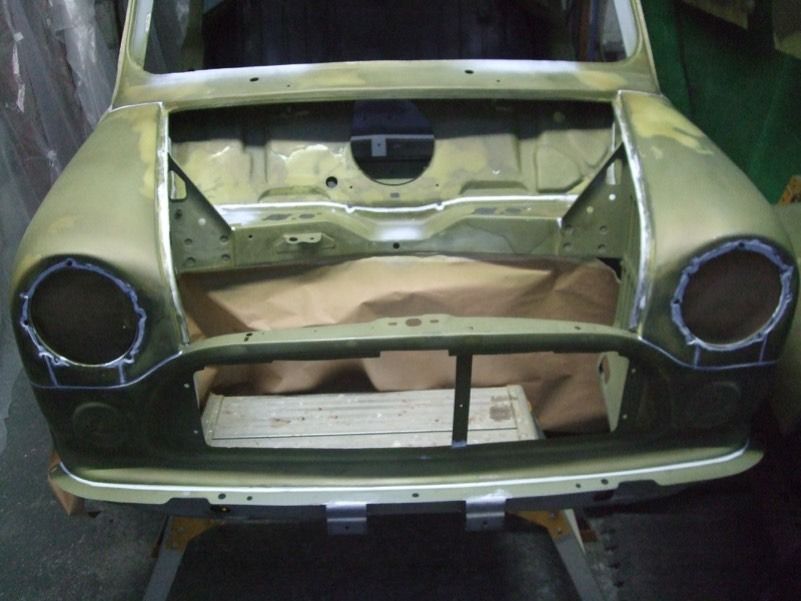
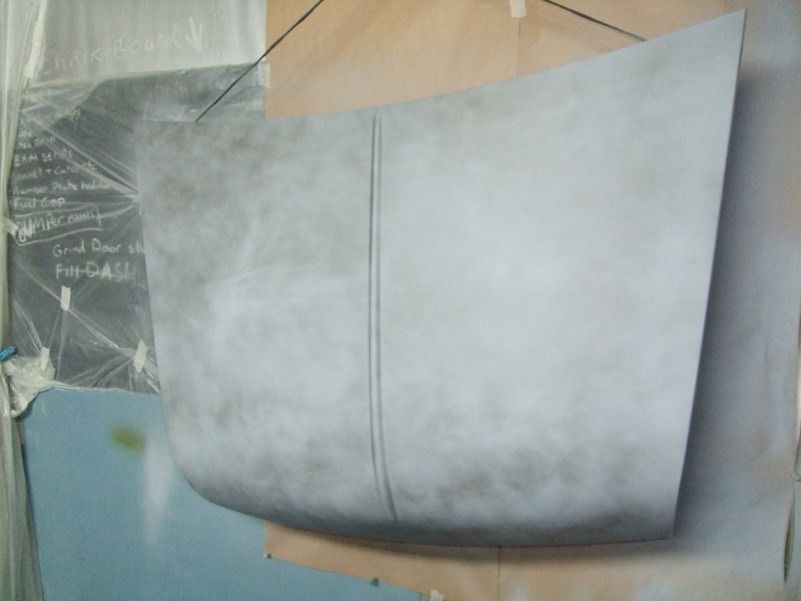
Anyway, cleaned the rust on the bonnet and front panel.
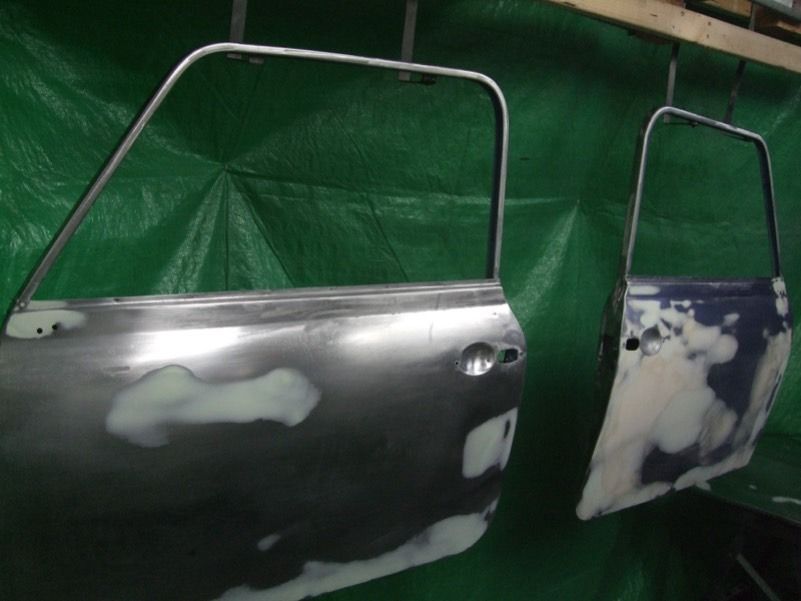
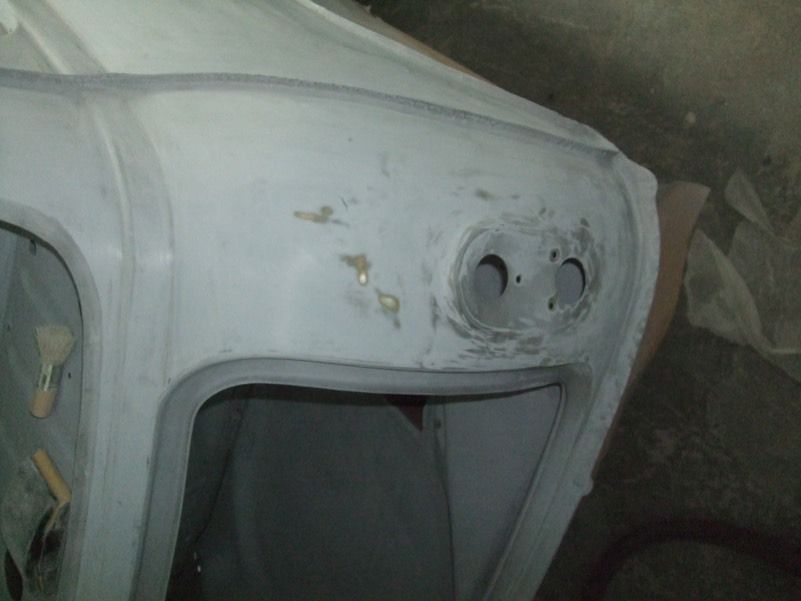
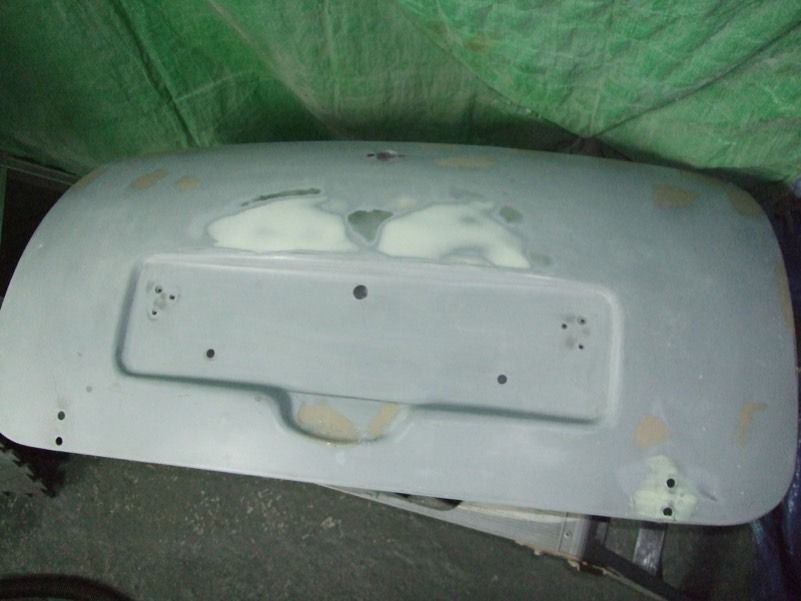
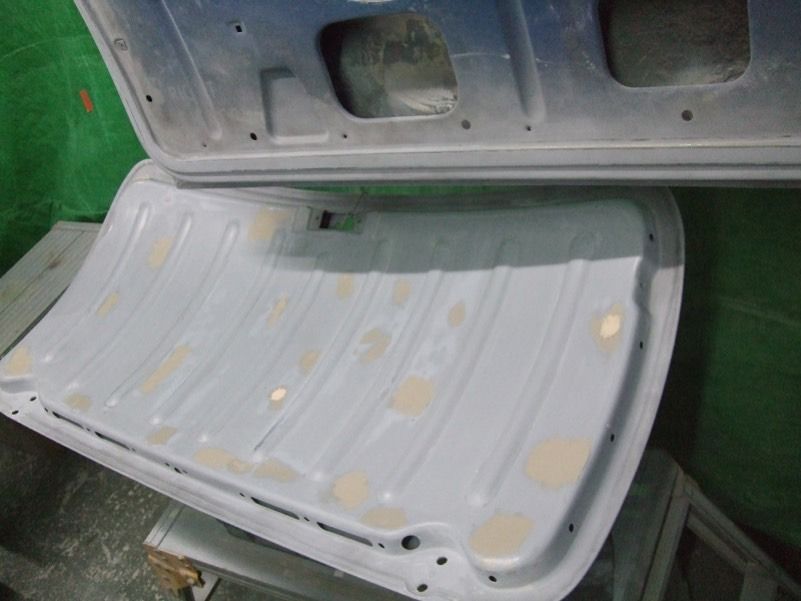
A bit more filler work
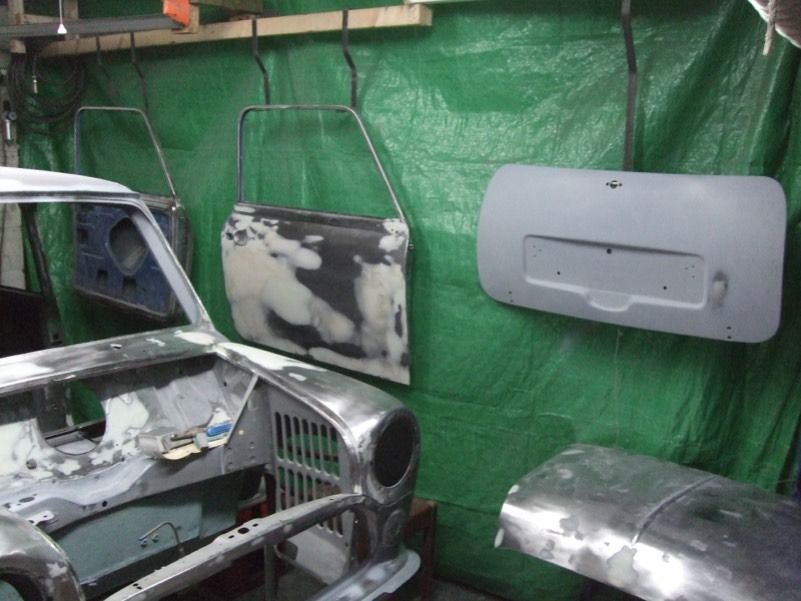
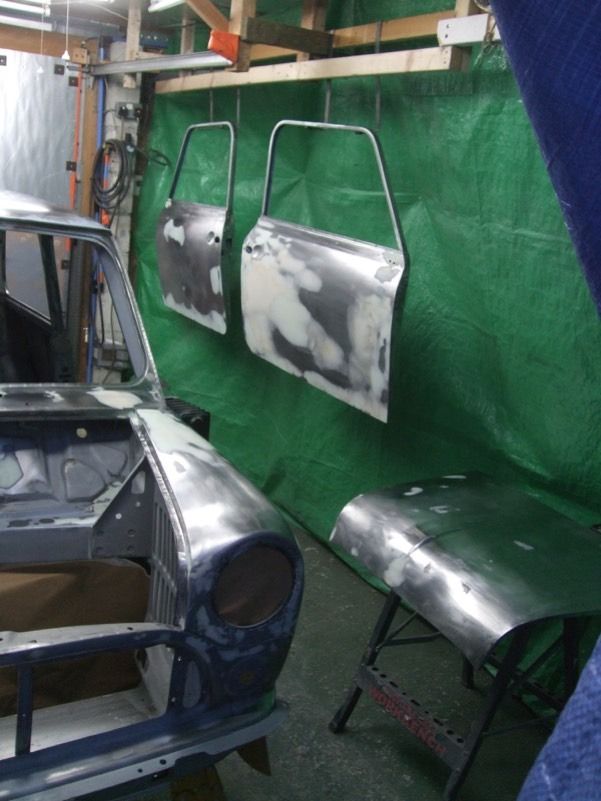
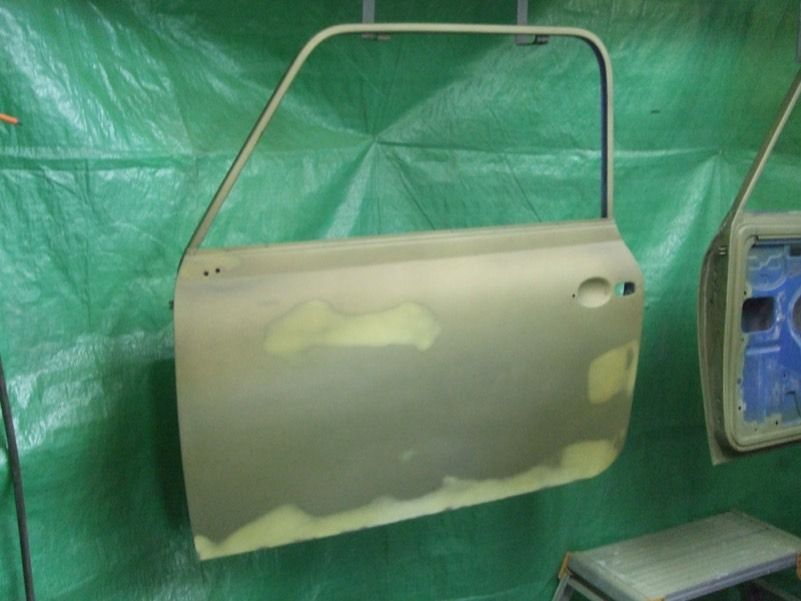
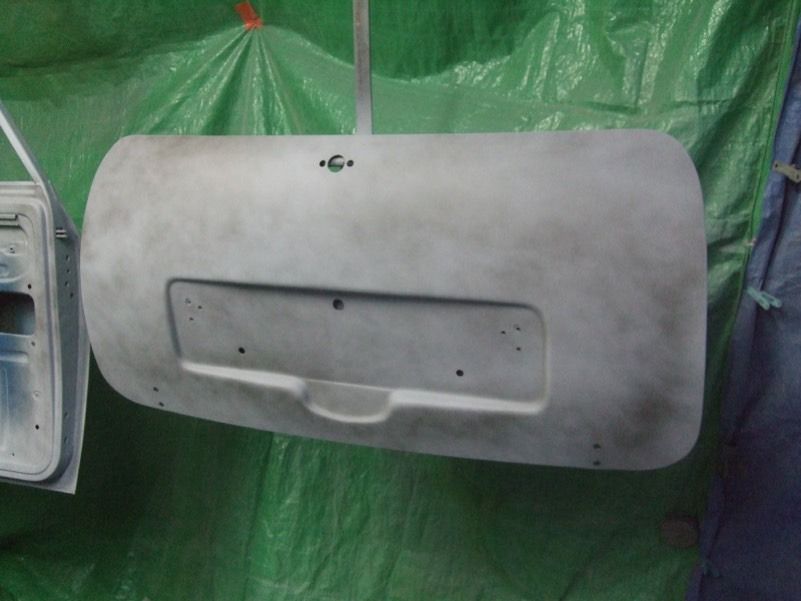
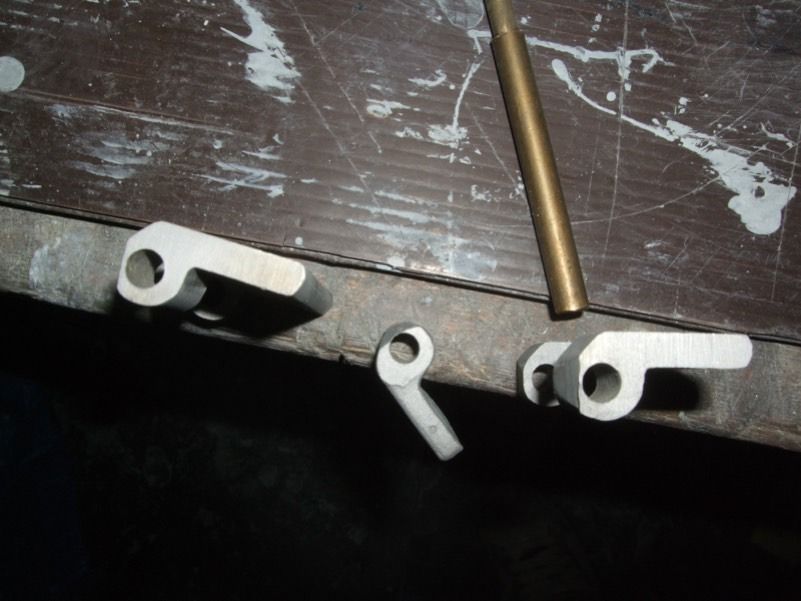
then made some hooks to hold the boot and doors.
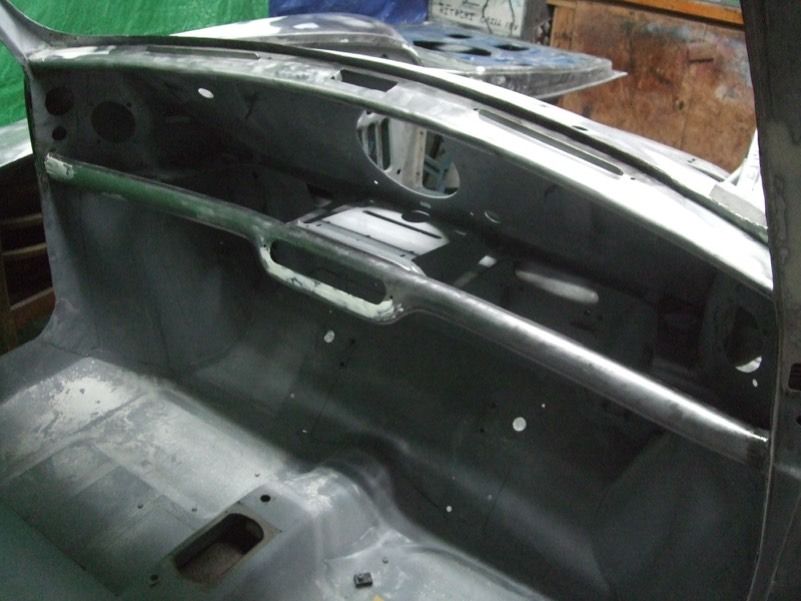
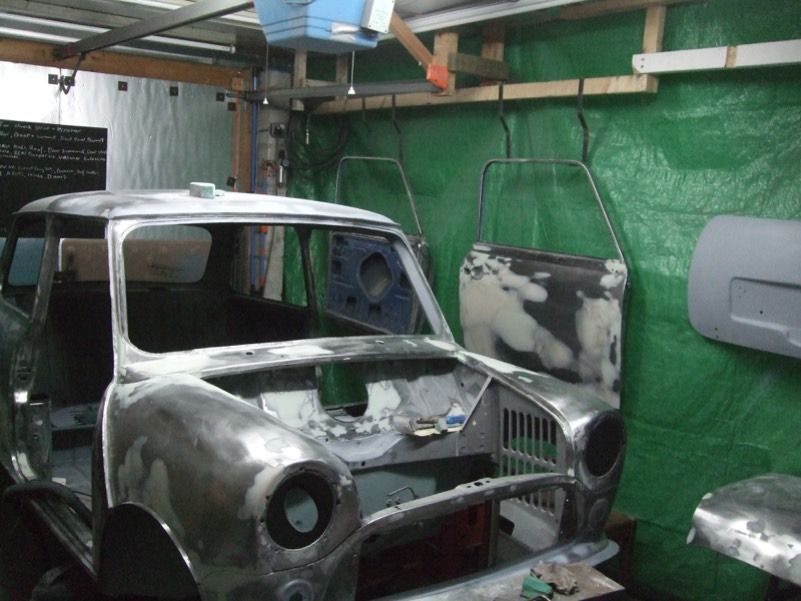
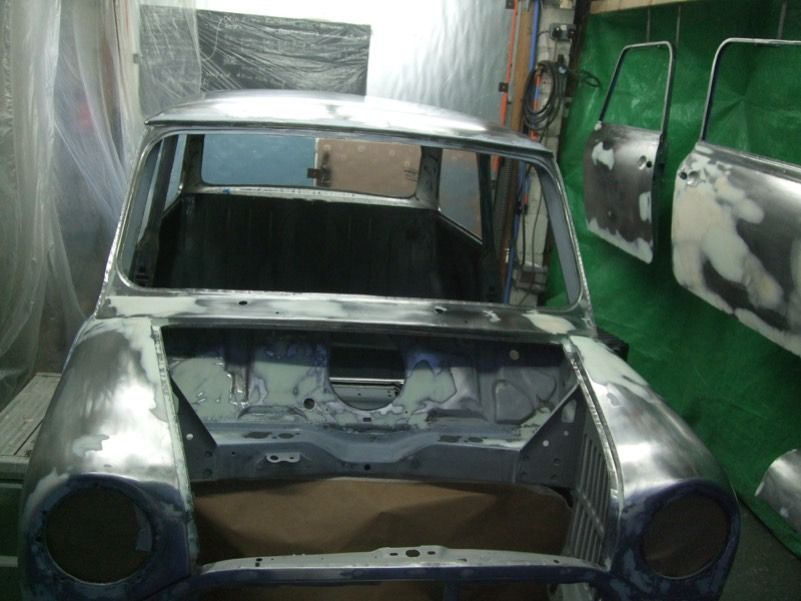
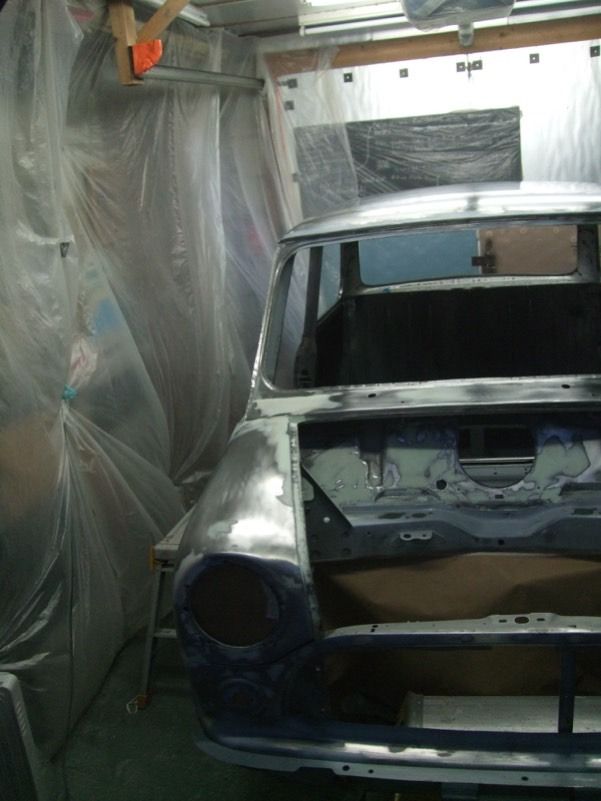
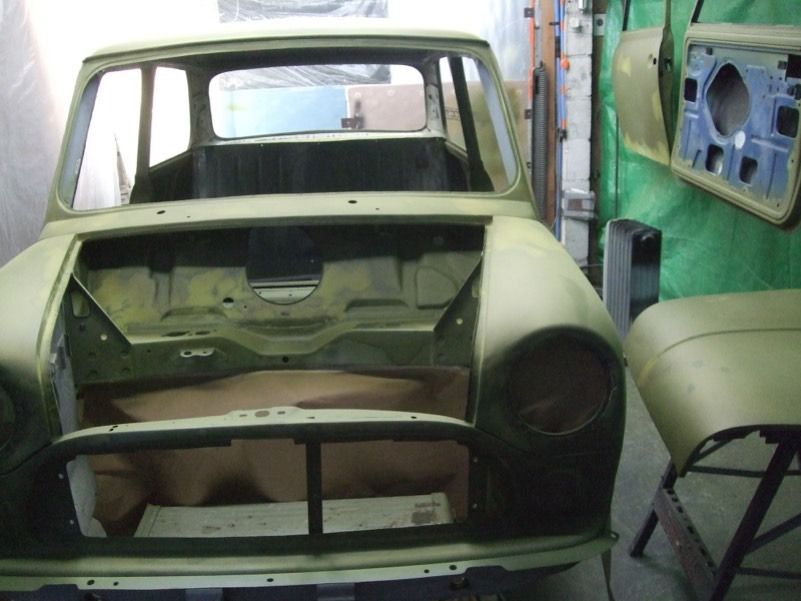
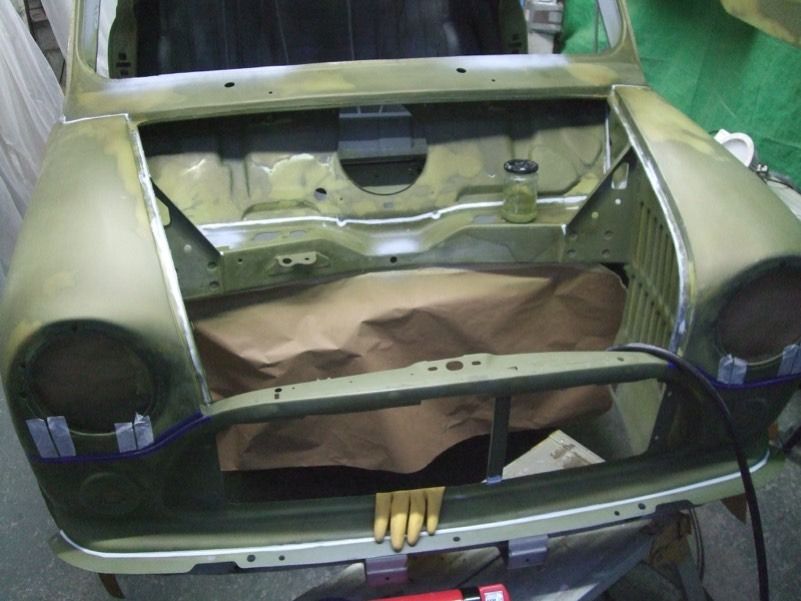
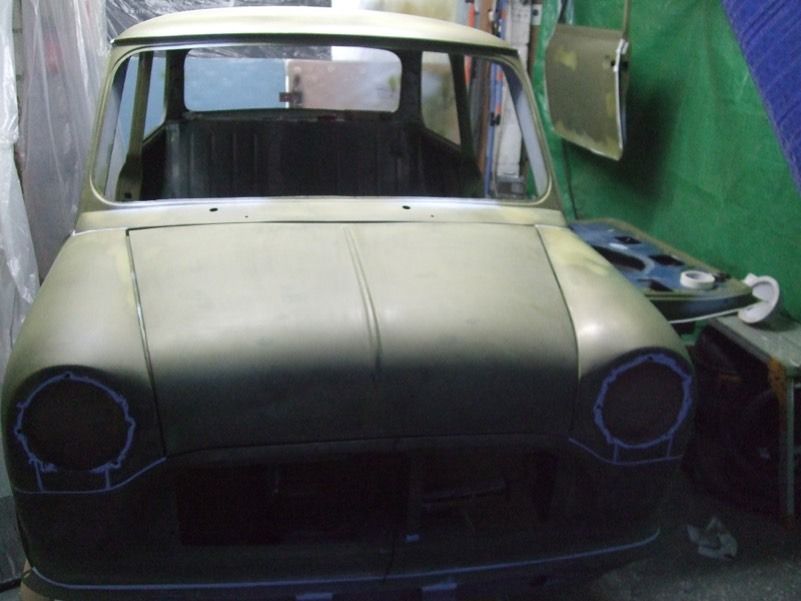
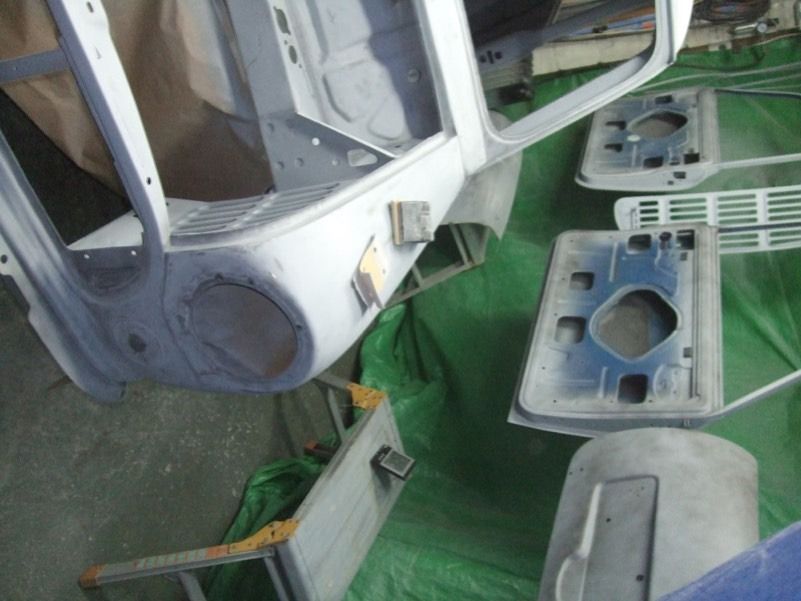
and everywhere masked up and panel wiped ready for the etch coat.
and finally etch is on
So hopefully we can get all the little bits like the boot hinges and seam strips cleaned and etched during the week and a coat of primer on Thursday evening... oh and the seam sealing ...
#458

Posted 13 March 2016 - 09:43 PM
#459

Posted 14 March 2016 - 10:26 PM
Well done mate looking great all the body prep takes the mick, painstaking job so time consuming.
Cheers mate, Yeah takes up plenty of time to get it right. I know for the next build not to repair the wings and front panel as they took a lot of work to get right. I didn't think I'd see the day when it's at this stage ![]()
#460

Posted 15 March 2016 - 12:15 PM
superb work, its nice to see your progress mate. it will be nice to see it in paint
#461

Posted 06 April 2016 - 07:35 PM
#462

Posted 06 April 2016 - 09:25 PM
superb work, its nice to see your progress mate. it will be nice to see it in paint
Cheers mate, Yeah looking forward to it ![]()
Any updates
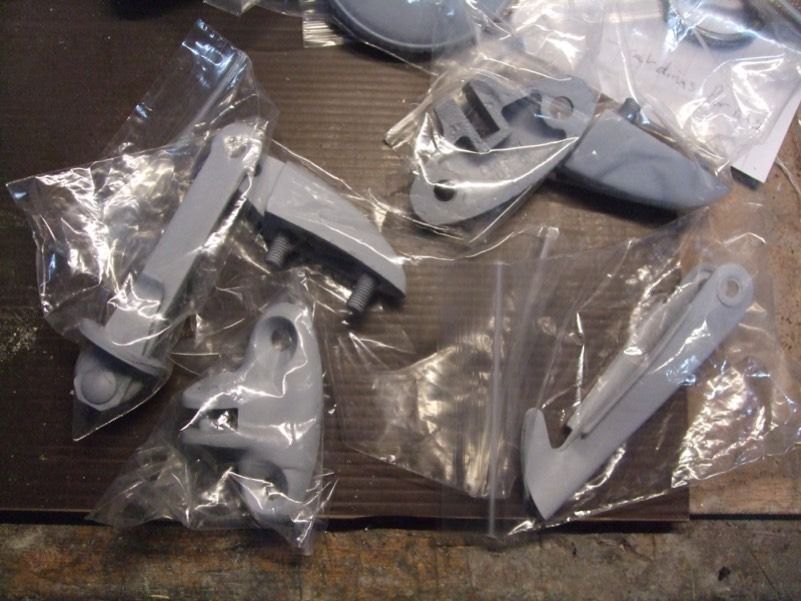
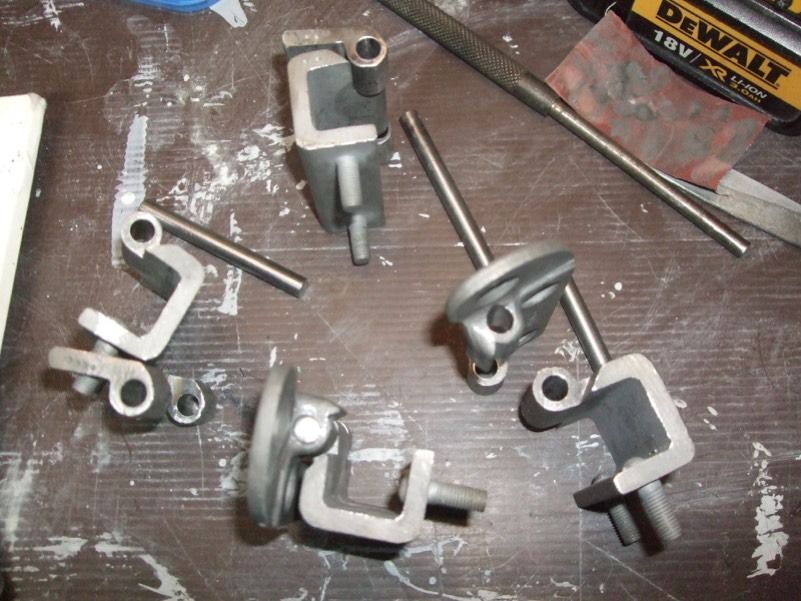
I've got some photos to post up, finished off all the seam sealing and stone chipped the sills and front valance tonight. All the hinges and little bits like that are cleaned and in primer, door hinges knocked apart, reamed to 9/32 and for 9/32 silver steel pins (just need to pin the pin to stop it moving), And its in primer! ![]() and did some more welding on it after the primer
and did some more welding on it after the primer ![]() . I'll try and get some pics up this weekend but will probably be in the garage till 10.30 tomorrow rubbing bits down.
. I'll try and get some pics up this weekend but will probably be in the garage till 10.30 tomorrow rubbing bits down.
#463

Posted 10 April 2016 - 08:59 PM
Right update time, Didn't get as much as I wanted done (again) this weekend but thats the problem when you have a mini on the road.
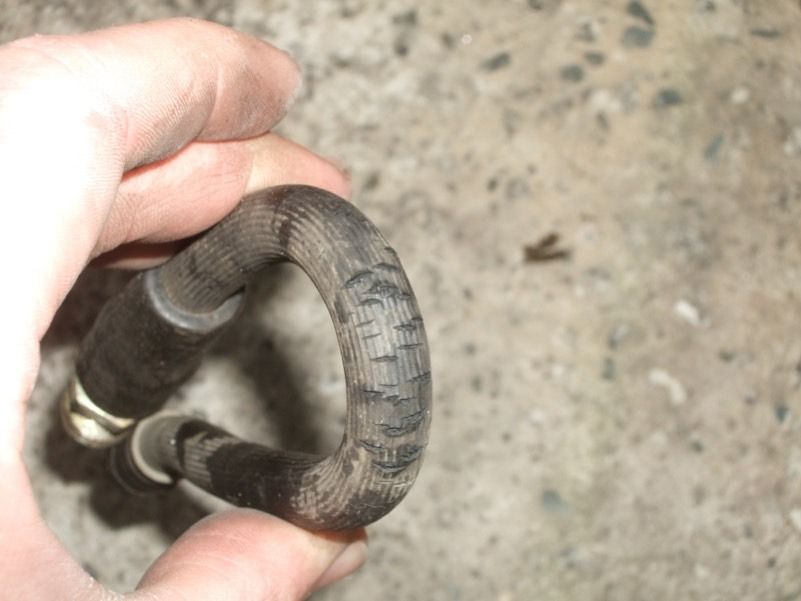
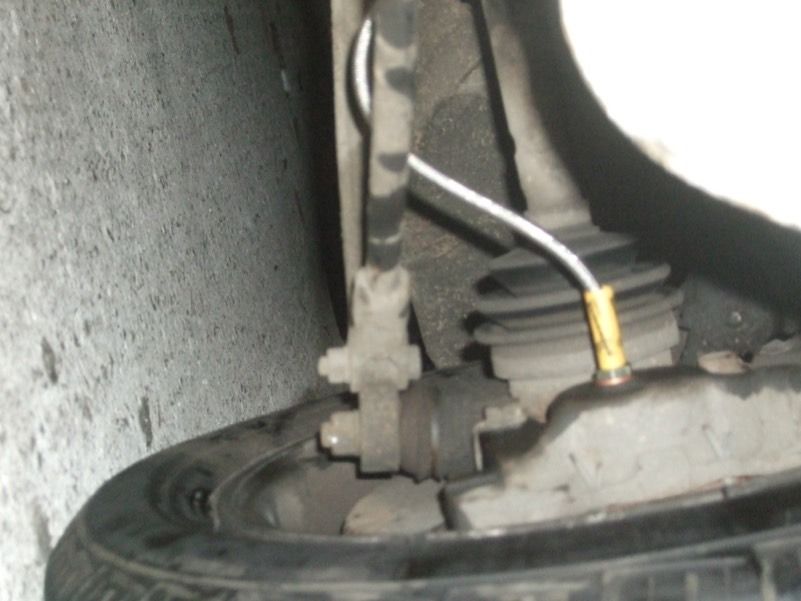
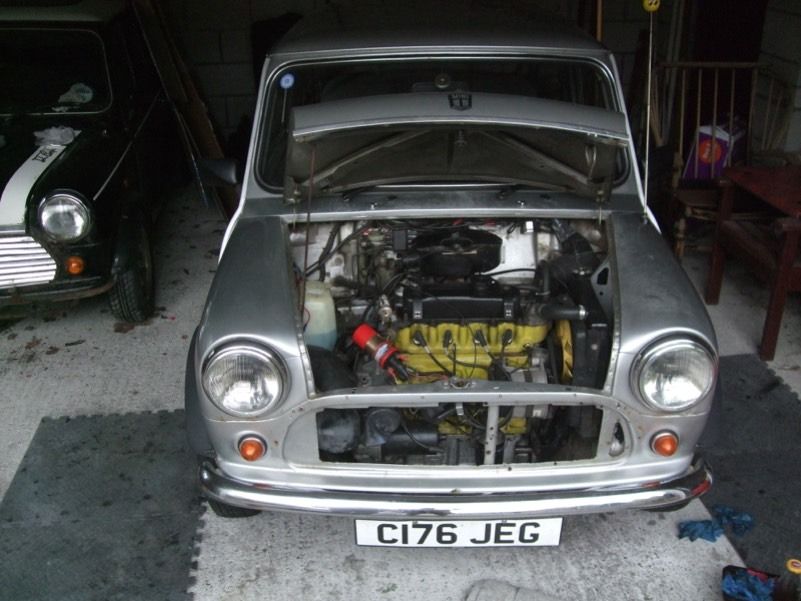
We ended up giving the ritz a checking over today as the MOT is this friday. Everything going well, ball joints, wheel bearings etc then had a look at the front rubber brake hoses, We fitted new ones under 2 years ago...
So had to raid my project parts for my good ridge braided hoses ![]()
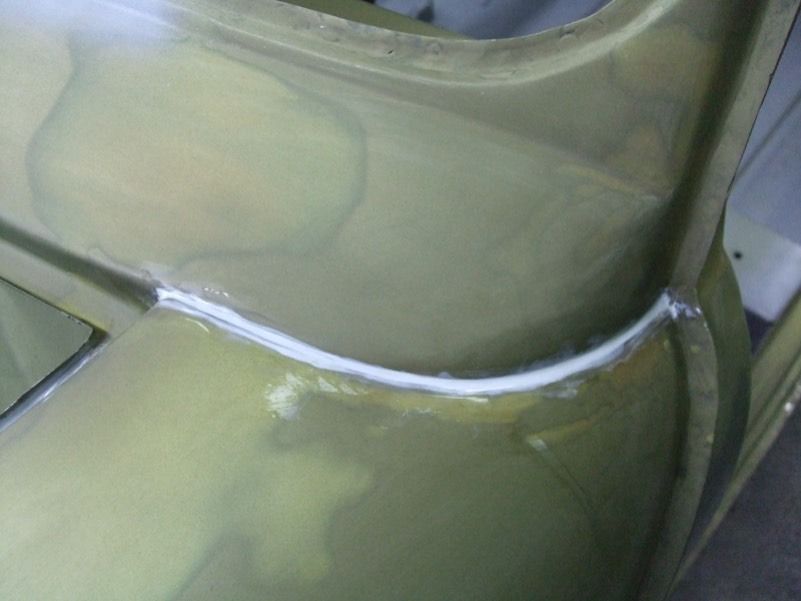
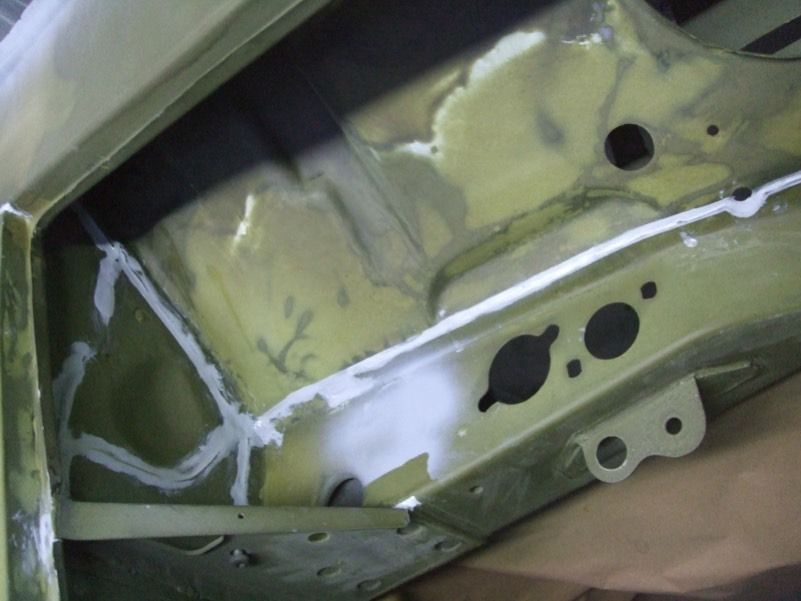
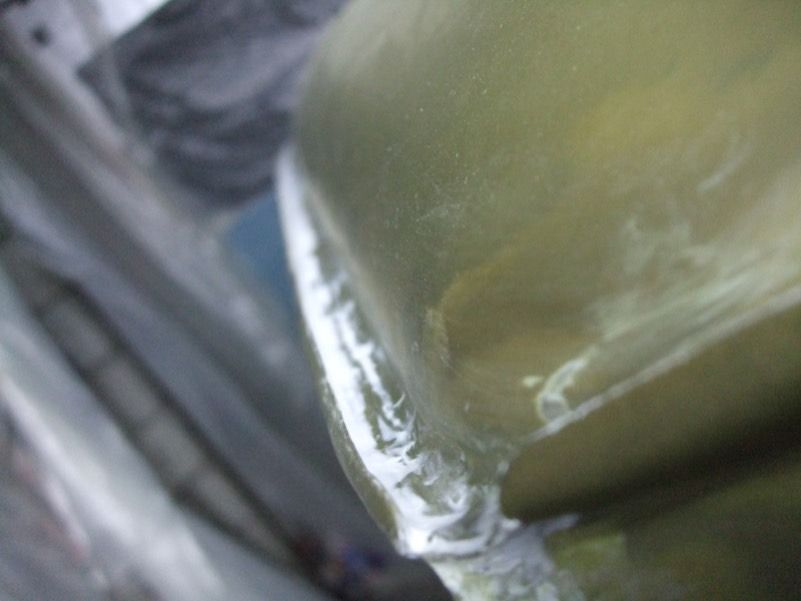
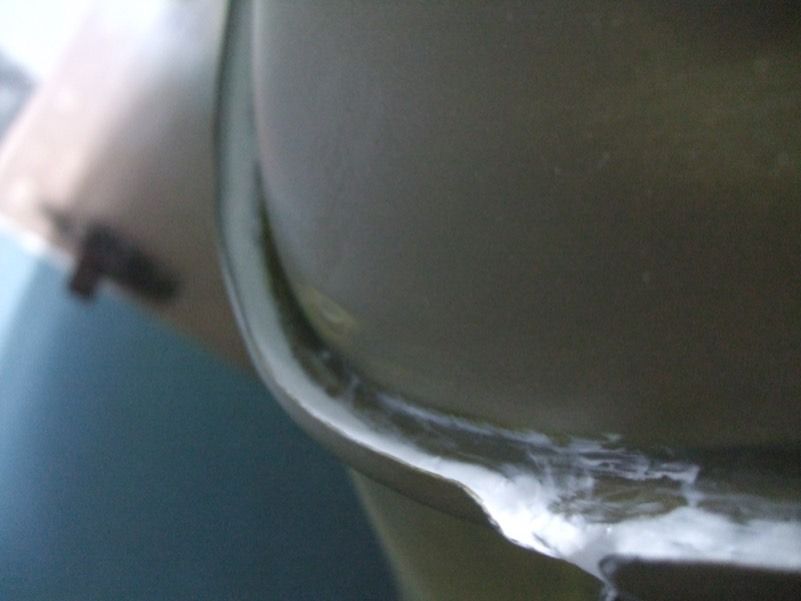
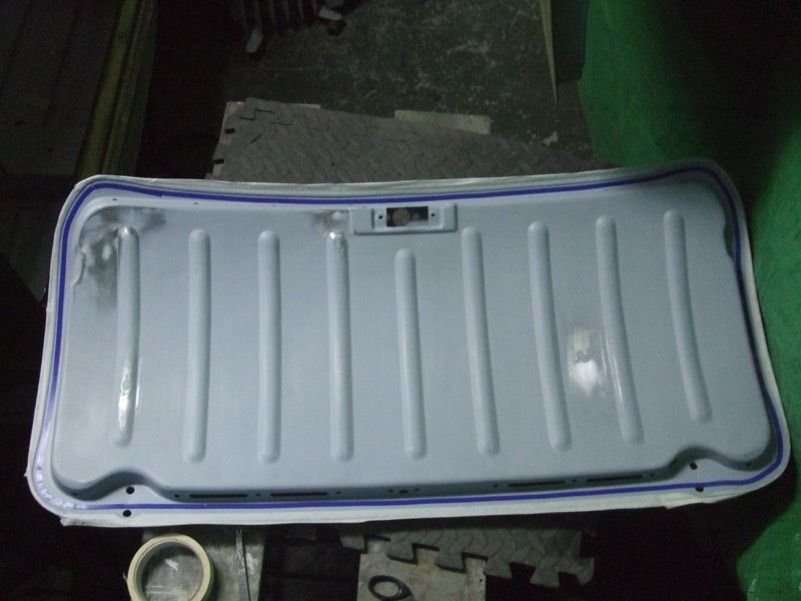
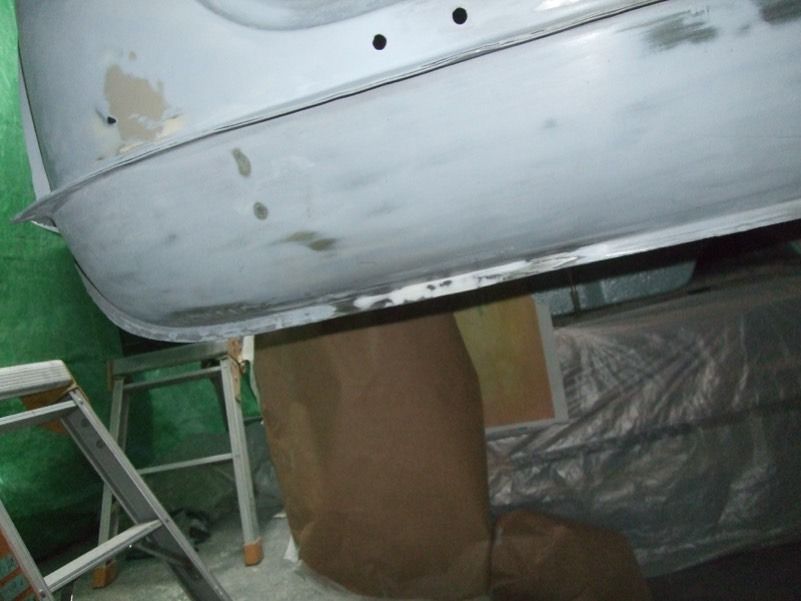
Anyway, Seam sealing I masked up the majority of the joints to get a neat edge.
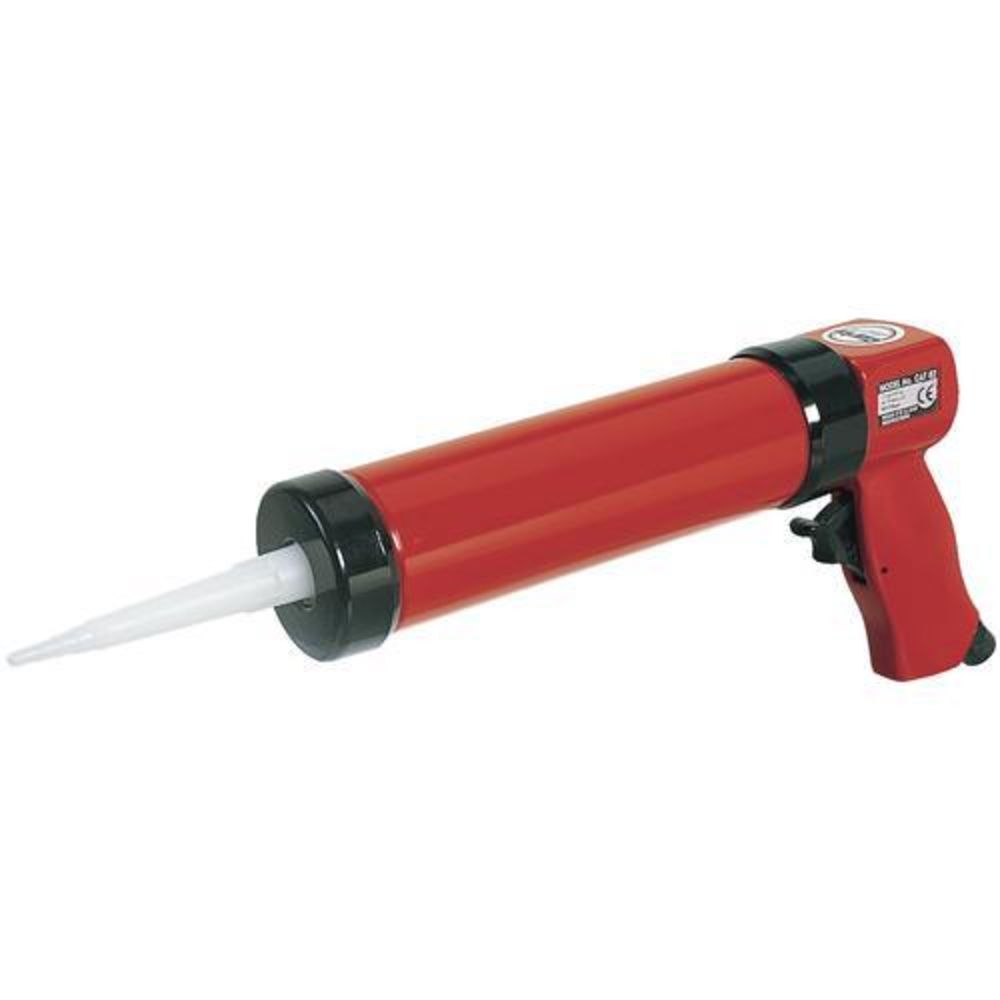
I used this clarke air gun which was about £20 and saved hell of a lot of time and effort. Just stuck it on the heater to make the sealant come out easier. and used the marigold type gloves to smooth it off as the thinners and some edges ripped the thin latex type gloves in seconds.
I think the boot was the neatest bit of seam sealing.
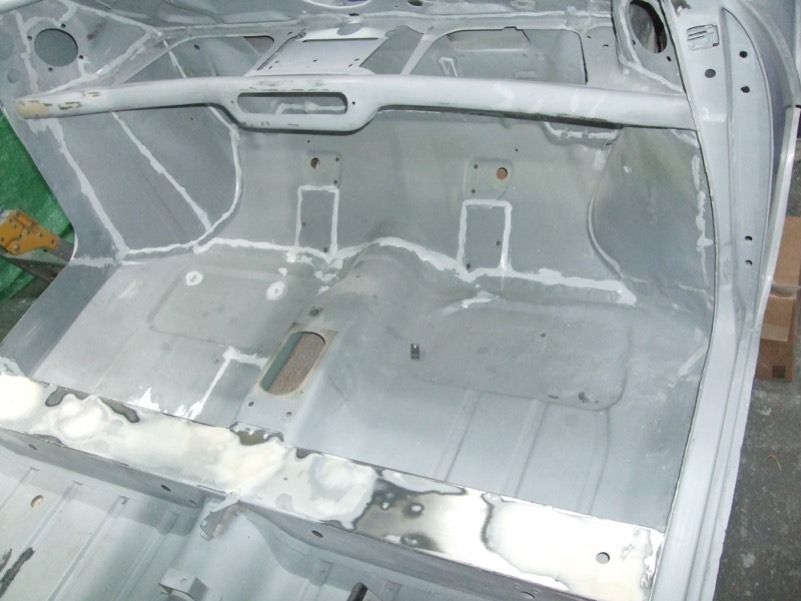
oh and gave up masking for the inside but can't be seen anyway.
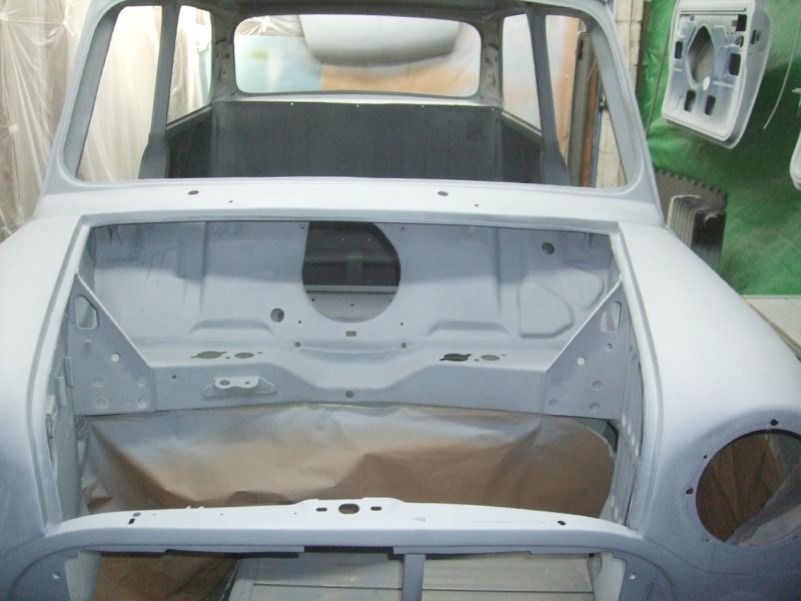
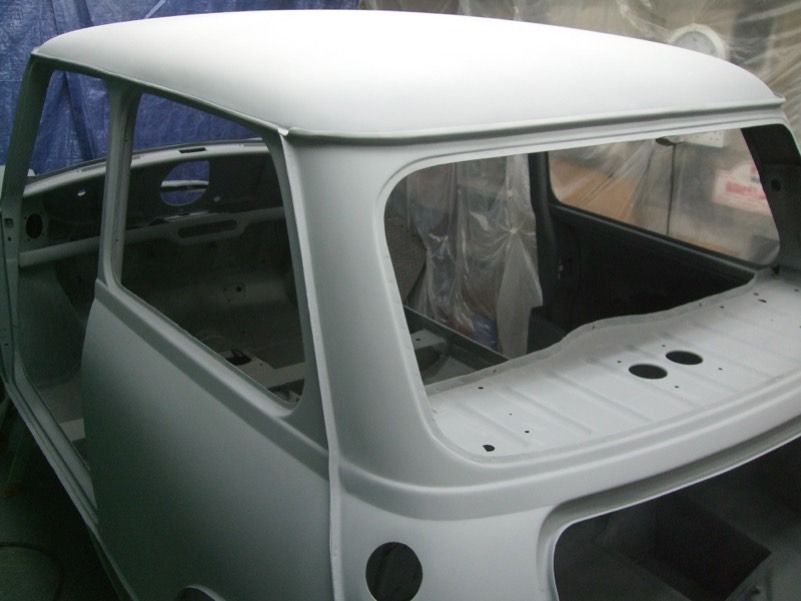
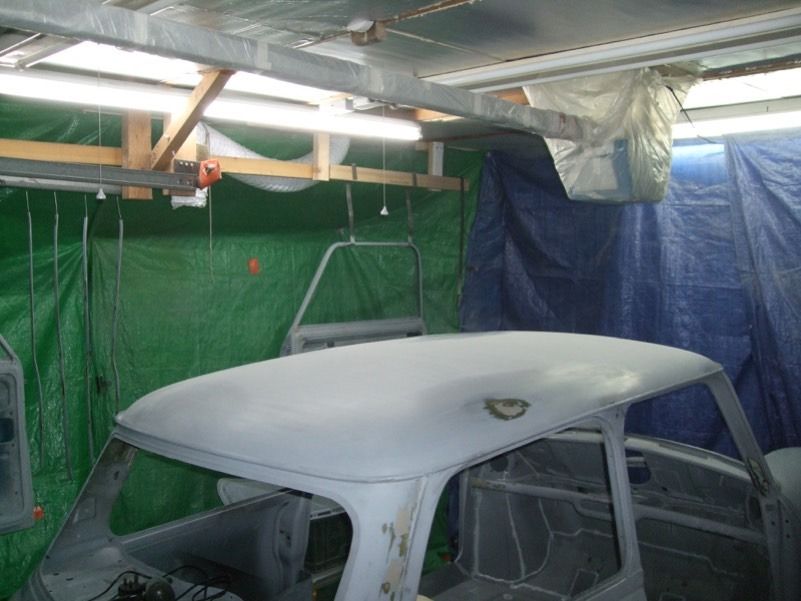
then PRIMER!
then Guide coat
Then lots of rubbing down, stoppering and a bit of filling (bit on the cross member as there was a few dents).
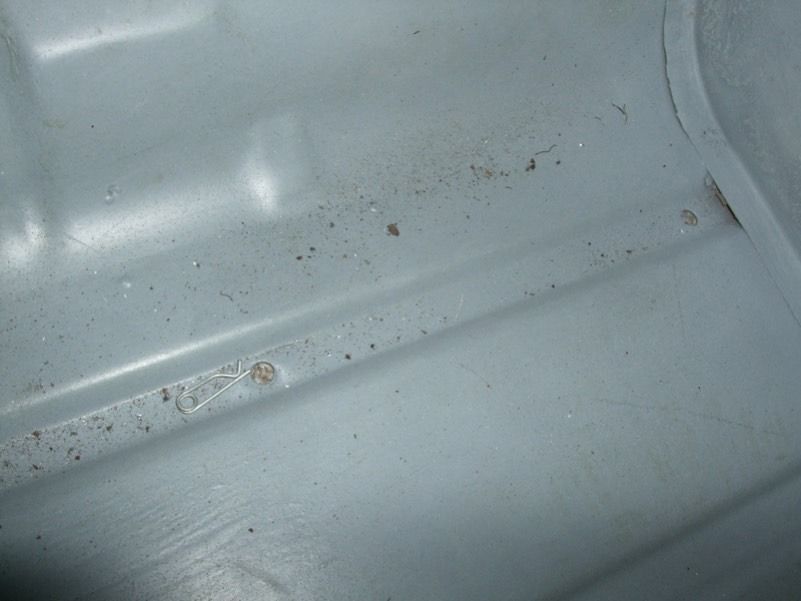
When we spray the inside a load of debris come out of the cross member so once everything was dry I got the air line in and blew it out, managed to find and R clip, I wondered where that had got to.
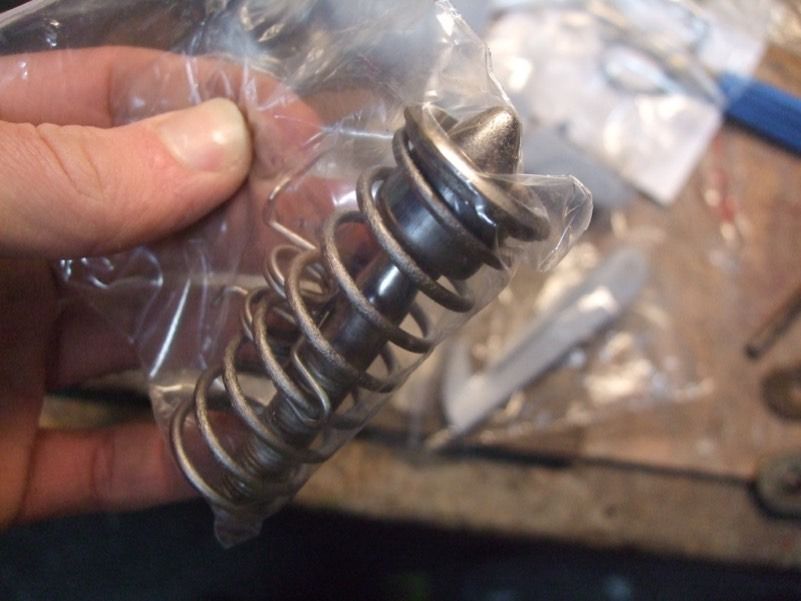
I also cleaned the boot hinges bonnet hinges, bonnet catch etc
#464

Posted 10 April 2016 - 08:59 PM
Hmm had too many photos...
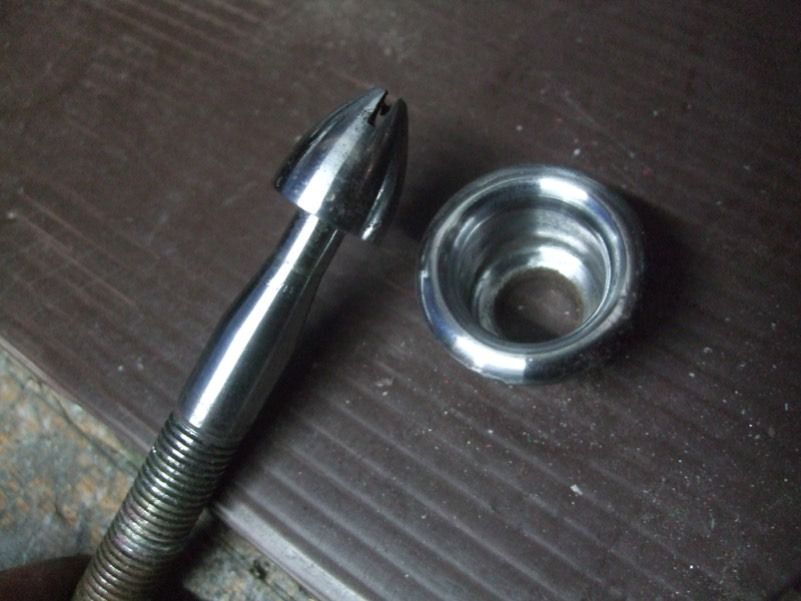
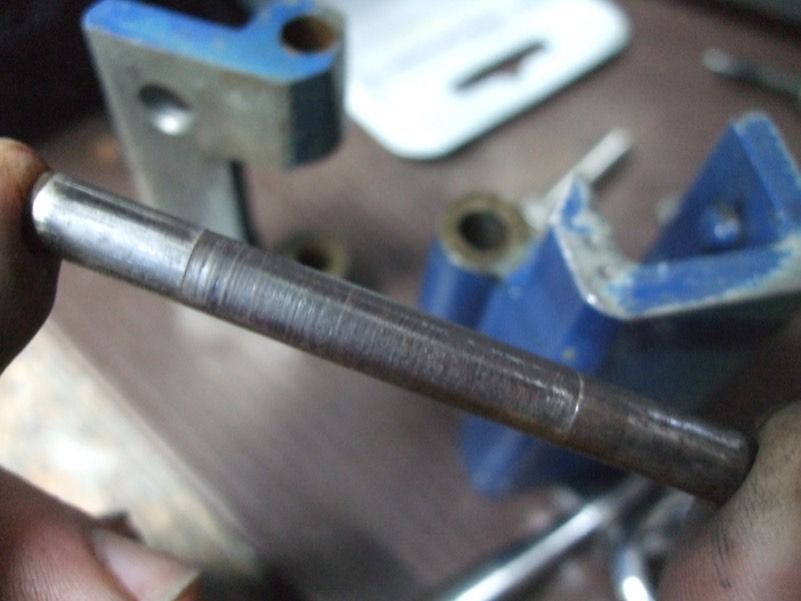
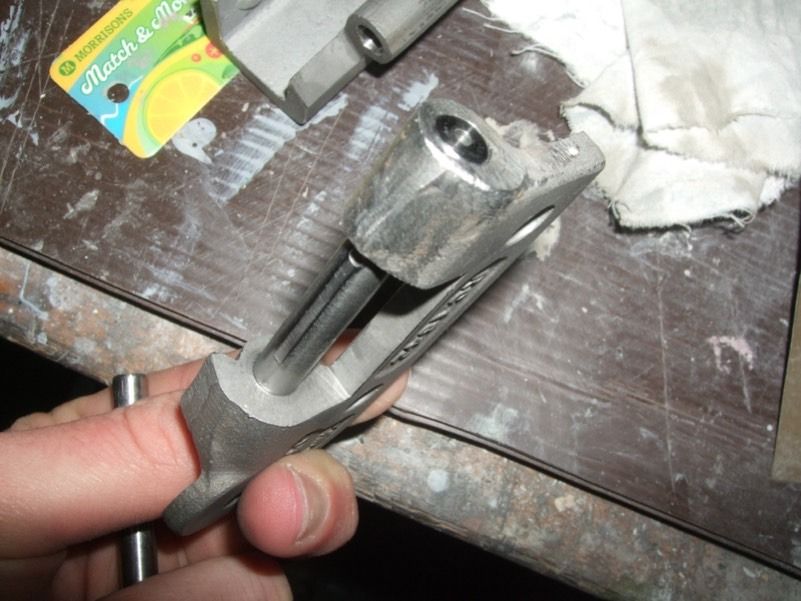
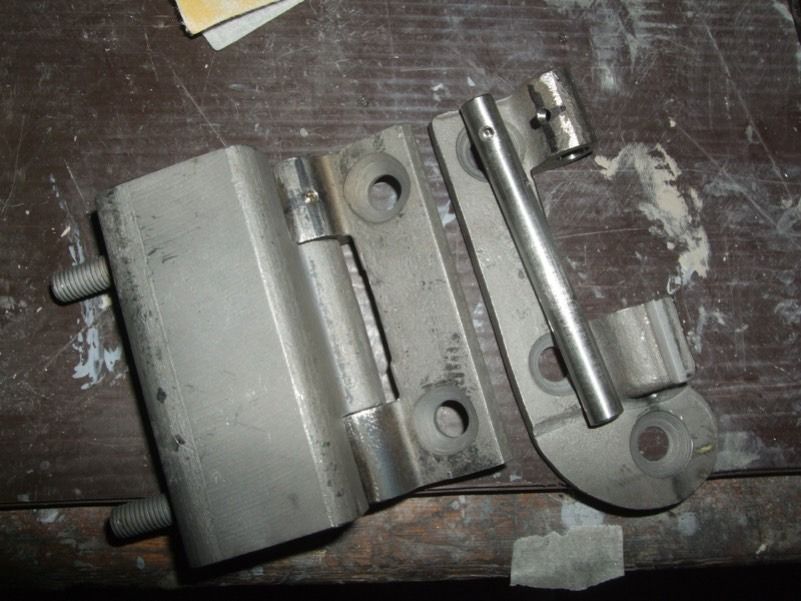
Door hinges apart, you can see why they were a bit sloppy.
Cleaned them and had to weld them due the some being a bit thin on the top edges where they had been ground too much? before.
all welded, drilled and reamed out to 9/32 and the silver steel cut.
Then I cross drilled them in the middle part of the hinges and a hole down the middle. and a flat put on going down the middle part of the hinge. The top of the hole will be plugged so nothing can get down it and then oil can be put in the grub screw hole below and oil the moving part of the hinge.
Then fitted them back together, drilled a 2.5 hole to pin them, tapped the hinge to M3 and drilled the pin to 3.2mm so that a M3 grub screw can be put in.
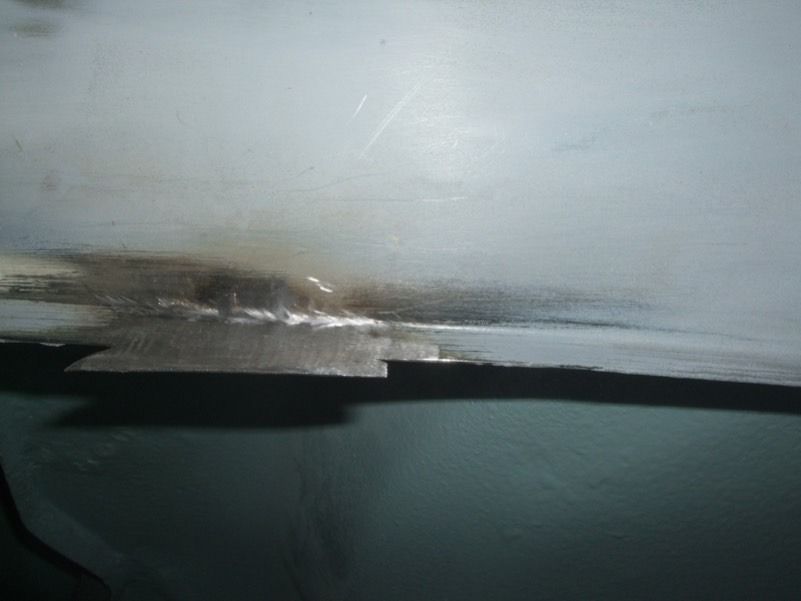
And the other bit of welding I done. Can you guess where it is?
And thats about it i think, other than fitting a better extraction fan and etch premiering the door hinges.
#465

Posted 11 April 2016 - 12:37 AM
This is looking so sweet mate! Awesome work
4 user(s) are reading this topic
0 members, 2 guests, 0 anonymous users
-
Bing (2)


