working on a mini on the last day of the year, my fav too, looks great again like your very handy woodworking skills. have a prosperous mini year. see you on the other side ![]()

Alex's 1982 Hle Rebuild
#391

Posted 31 December 2014 - 11:44 PM
#392

Posted 03 January 2015 - 09:49 AM
Alex - nice to see you are still working on this, I too am trying to re-furbish a 1982 Austin HLE 1000 but I have no room in the garage around the Mini to work so I need good weather to be able to unload and make space :-(
I have virtually rebuilt the back end, footwells and sills but not ventured into the front yet, I was hoping to get it through an MOT and tackle the front later??
#393

Posted 04 January 2015 - 09:04 PM
working on a mini on the last day of the year, my fav too, looks great again like your very handy woodworking skills. have a prosperous mini year. see you on the other side
And the first day to ![]() . cheers
. cheers
Alex - nice to see you are still working on this, I too am trying to re-furbish a 1982 Austin HLE 1000 but I have no room in the garage around the Mini to work so I need good weather to be able to unload and make space :-(
I have virtually rebuilt the back end, footwells and sills but not ventured into the front yet, I was hoping to get it through an MOT and tackle the front later??
Thanks, You should get/make a trolley so you can just roll the stuff outside and throw a tarpaulin over it ![]()
Your work looks great, I would do the front while it's stripped down then you can paint the whole thing.
#394

Posted 04 January 2015 - 09:05 PM
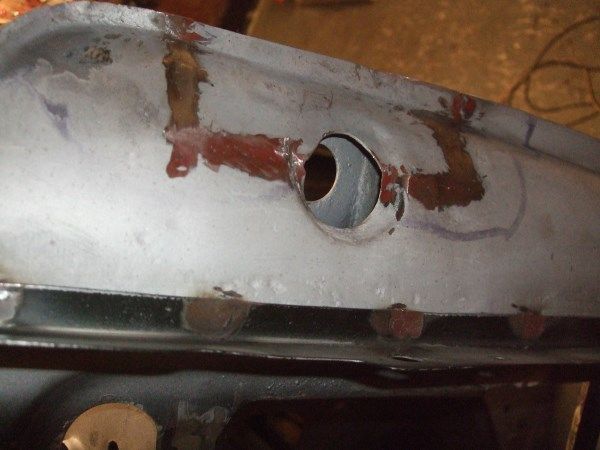
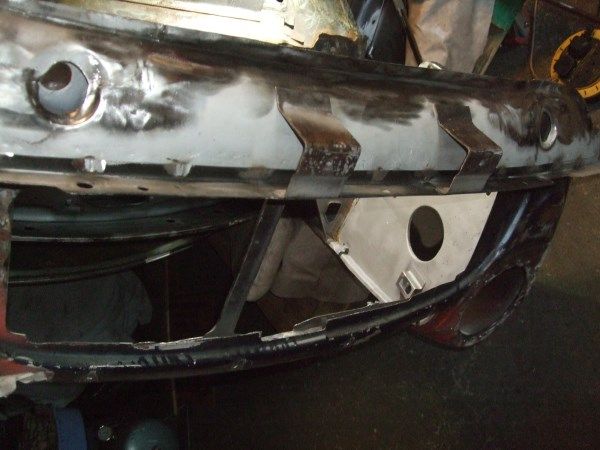
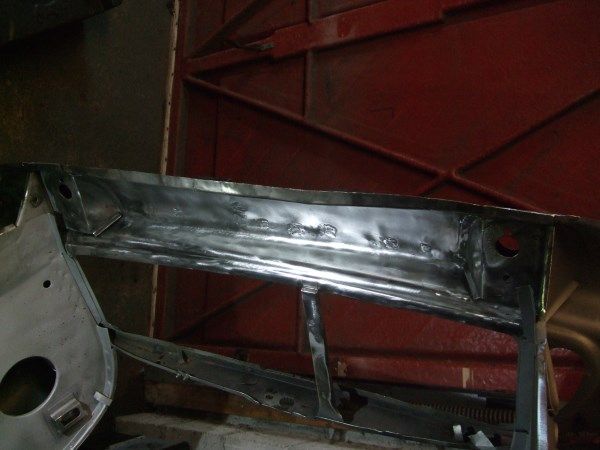
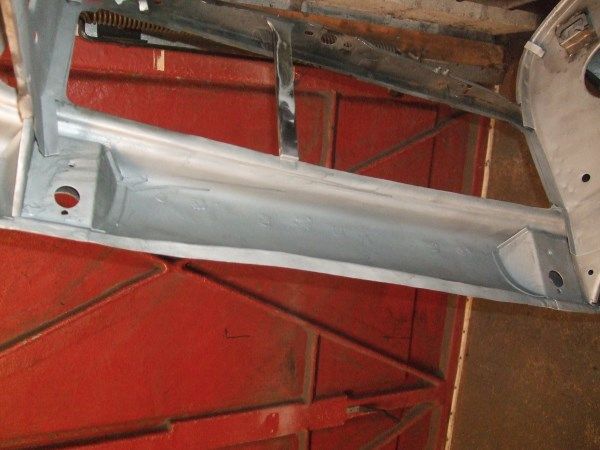
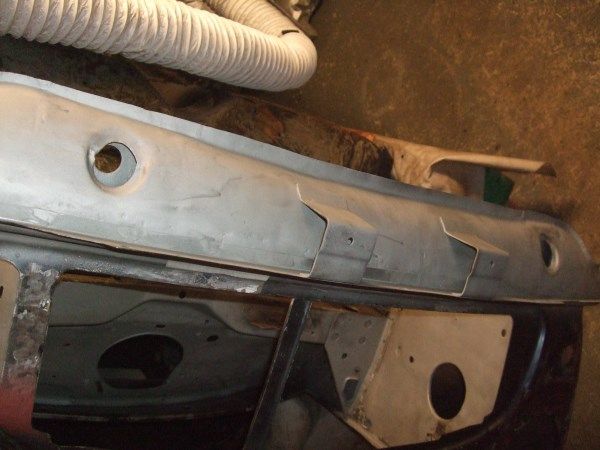
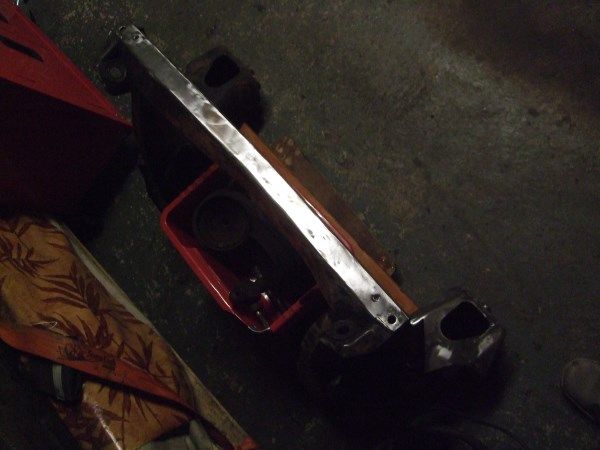
So over the past days I ground down and wire brushed the front valance.
and painted it
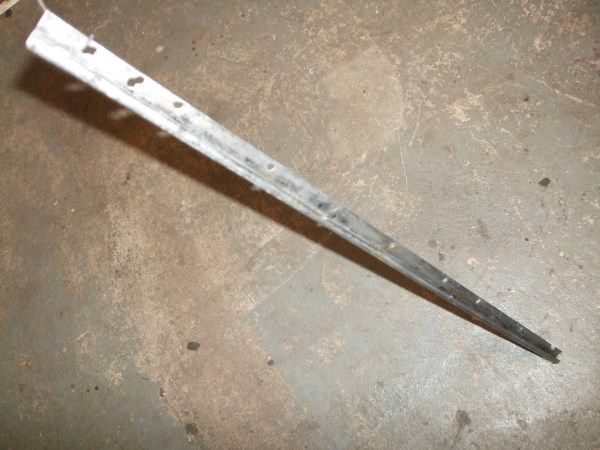
I removed the bonnet stay bracket wire brushed it and welded it back on.
Then I removed the brake and fuel brackets as I'll be replaceing these for P clips.
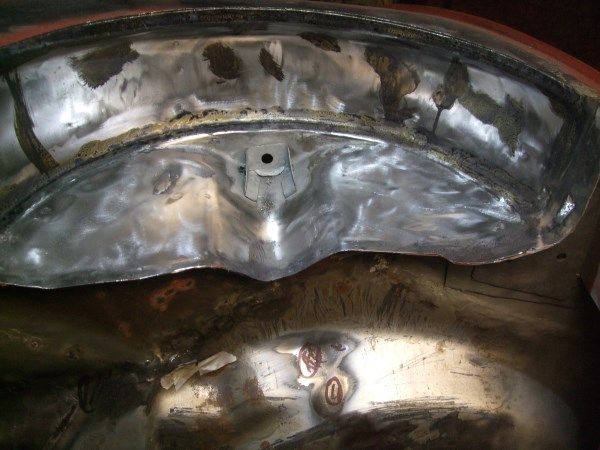
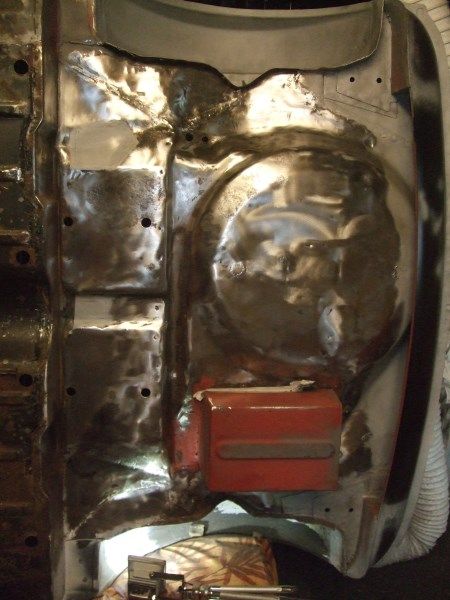
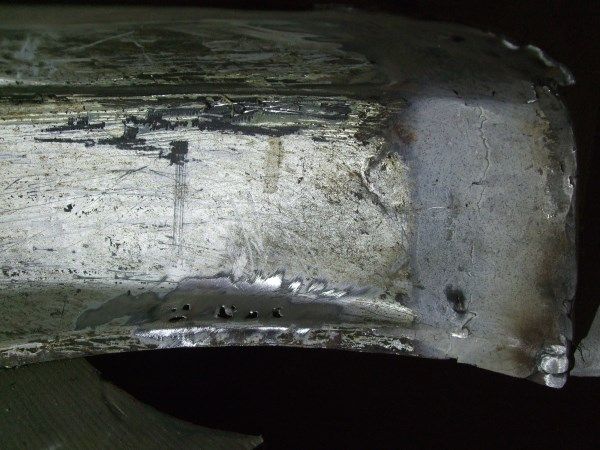
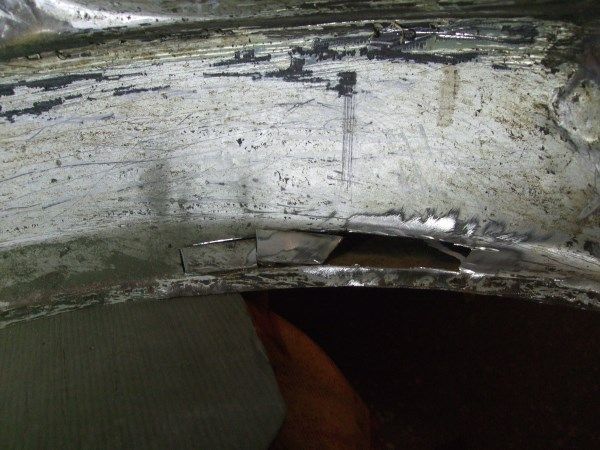
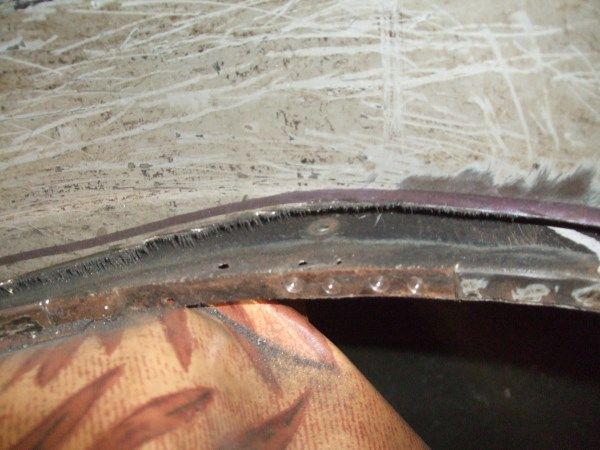
Cut out a bad repair I had down on the rear arch and welded in another.
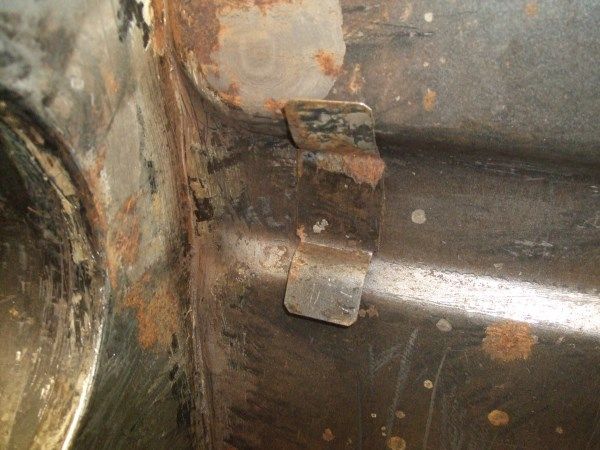
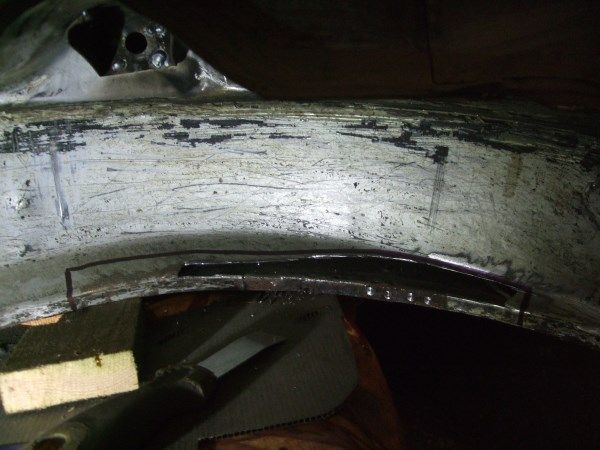
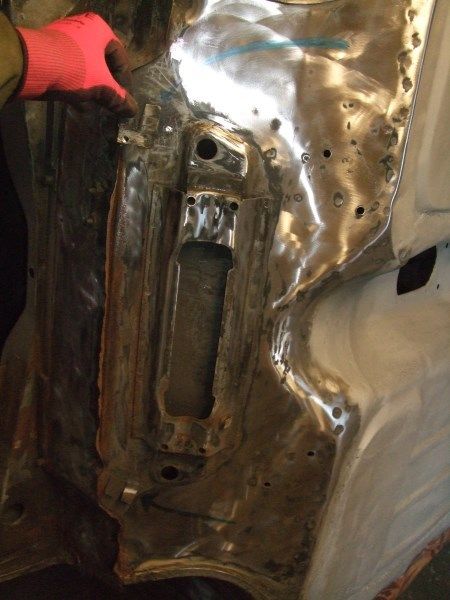
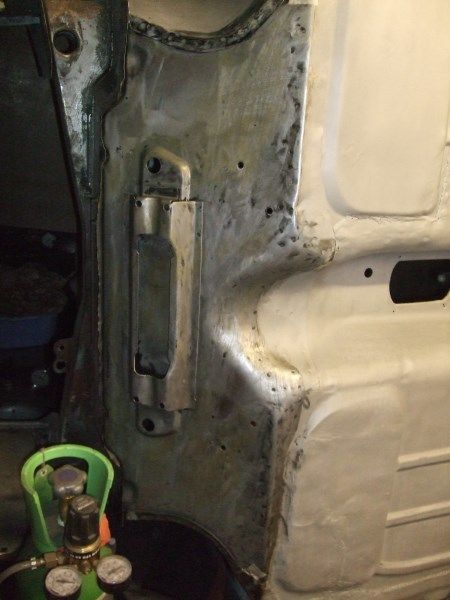
Set about removing this bracket which didn't end well
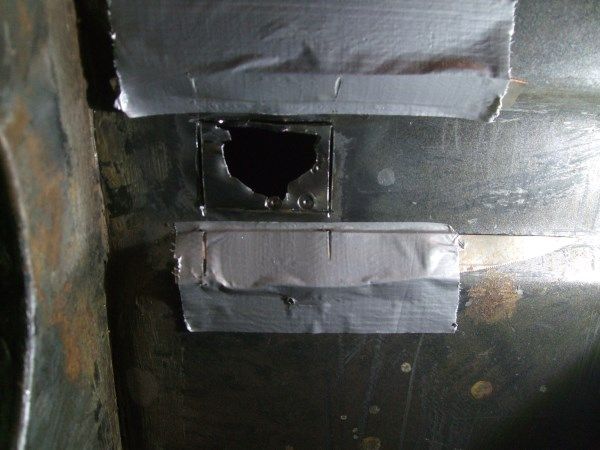
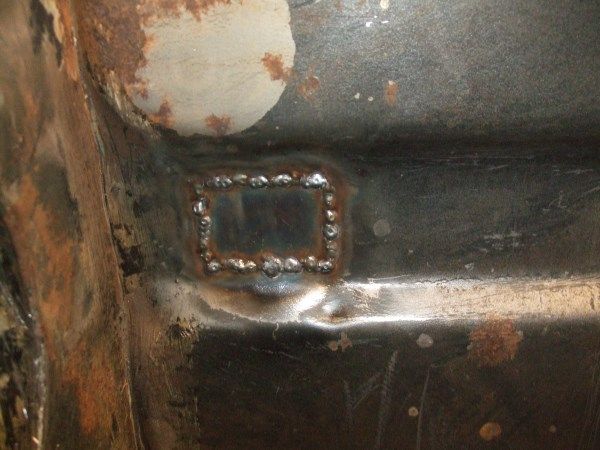
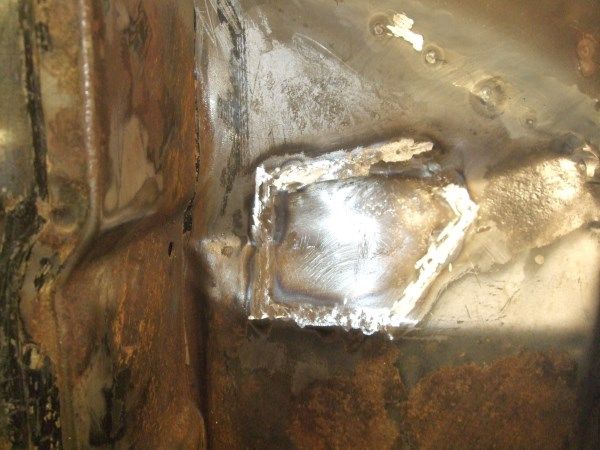
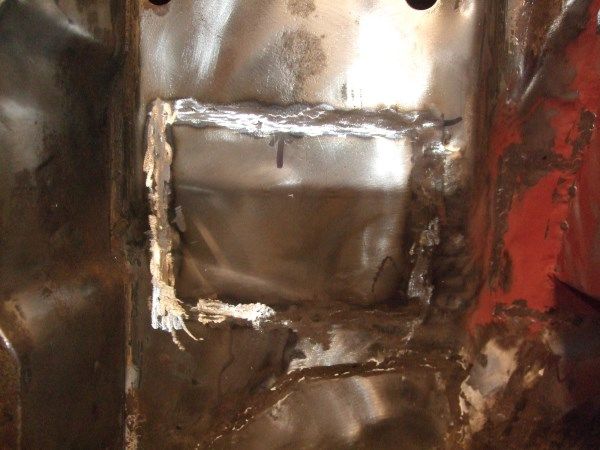
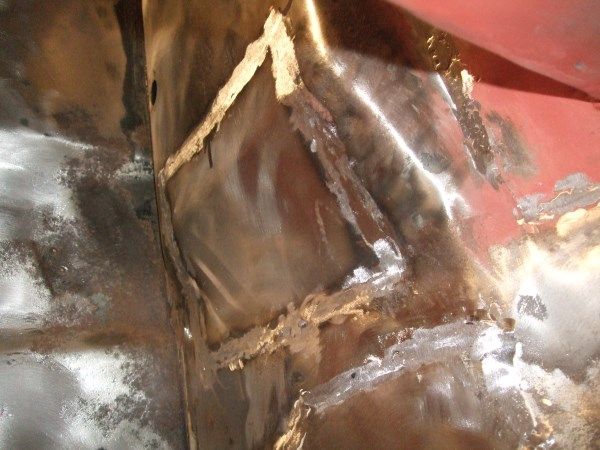
damn spot welds, So cut out a sqaure ready for another bit to be welded into place. I taped on to scraps of metal so that when I was cutting I didn't cut into the rear seat.
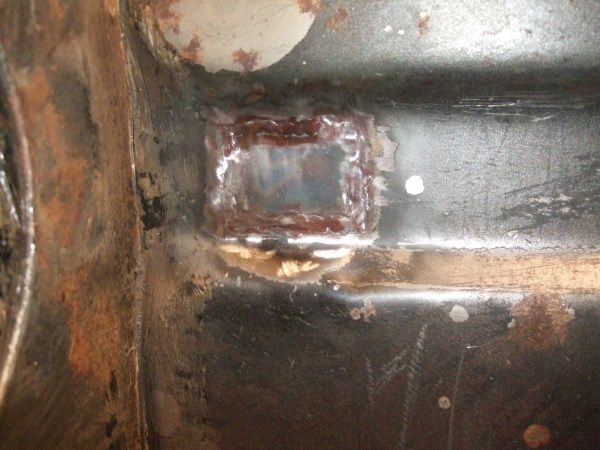
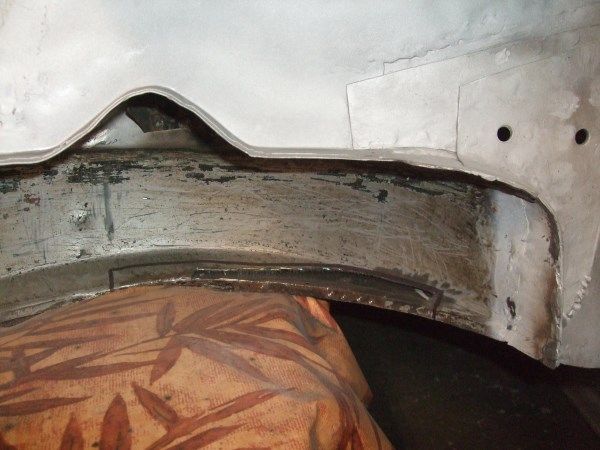
Ground it down as well as the other patch above it.
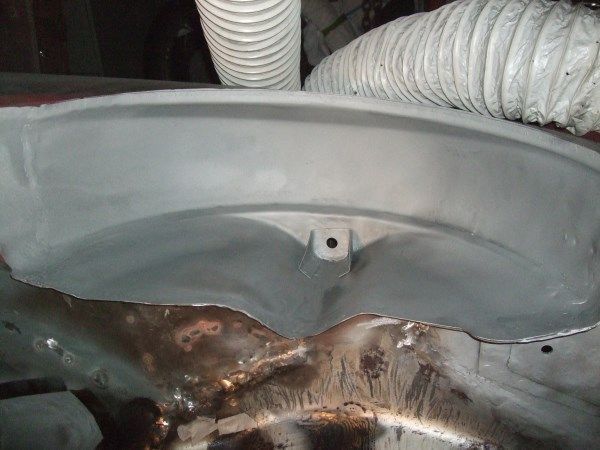
Wire brush the rear arch and rust treated a few areas.
And painted it.
Thats about it for this week/end other than scraping off the front subframe ready for wire brushing which I'll hopefully do in the evenings.
Any comments welcome
#395

Posted 11 January 2015 - 08:57 PM
Thursday after work I started stripping off the paint off the front subframe.
So friday I started cleaning of the boot floor using the new grinder pads that I got, pics of them in a mo.
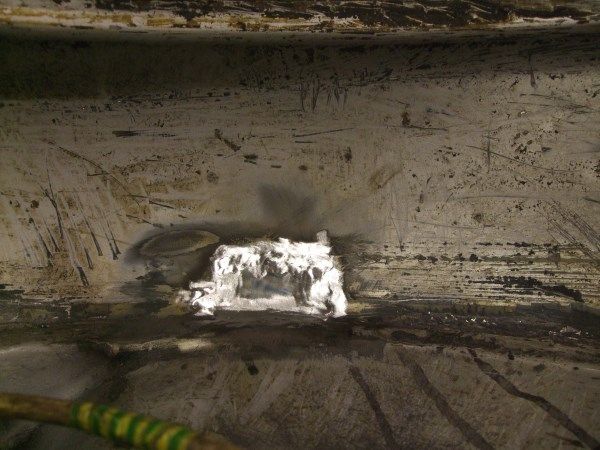
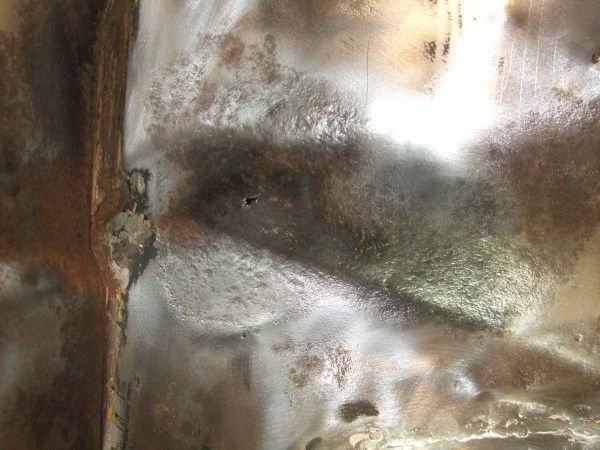
then wipped over a suspicous area with a wire brush which revealed this;
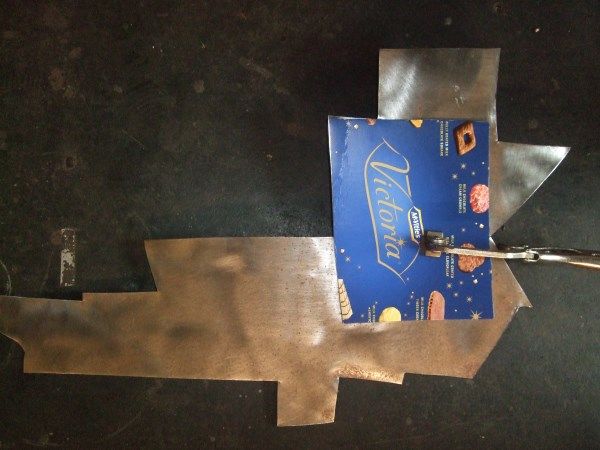
so cut it out and made a new piece, just enough room on the sheet.
Bent it to the original shape, I just put it in the vice and bent it with my hands so that you don't get a distinctive crease on it more of a curve as original.
and welded in and ground down.
these are the wheels that I used, very quick at removing the paint. I did wire brush some rusty areas.
so yesterday I finished wire brushing the rusty areas and gave it a couple of coats of por15 metal ready (or what ever it's called.
And I had the afternoon in the garage today so welded a few areas up and started cleaning off the drivers wheel arch Where I found a "small patch.
Which of course got a bit bigger.
and a bit bigger.
and now needs a patch on the rear 1/4 panel. So I've got that waiting for me next weekend ![]()
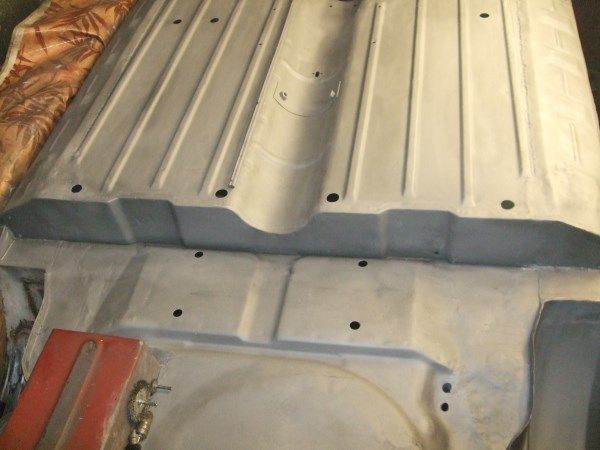
And I managed to spray the boot floor with the zinc spray.
Alex
#396

Posted 11 January 2015 - 10:34 PM
you love it....nearly there for some paint...
#397

Posted 12 January 2015 - 09:24 PM
you love it....nearly there for some paint...
![]() Yeah looking forward to getting some underseal and paint on, then I can get the subframes on.
Yeah looking forward to getting some underseal and paint on, then I can get the subframes on. ![]()
#398

Posted 12 January 2015 - 09:38 PM
Making superb progress
#399

Posted 12 January 2015 - 09:38 PM
#400

Posted 18 January 2015 - 08:48 PM
Making superb progress
Doing some nice work there mate keep up the good work.😃
Thanks Guys.
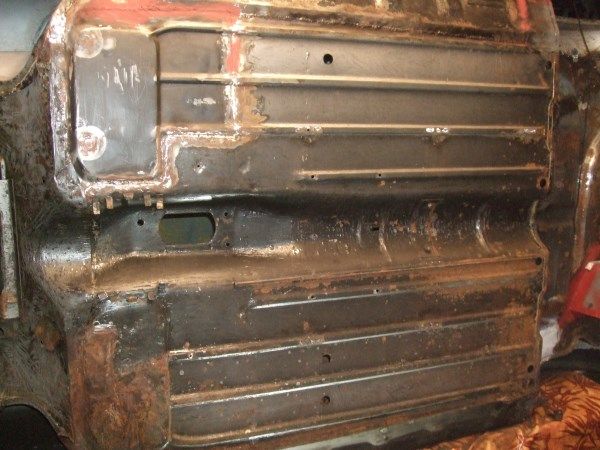
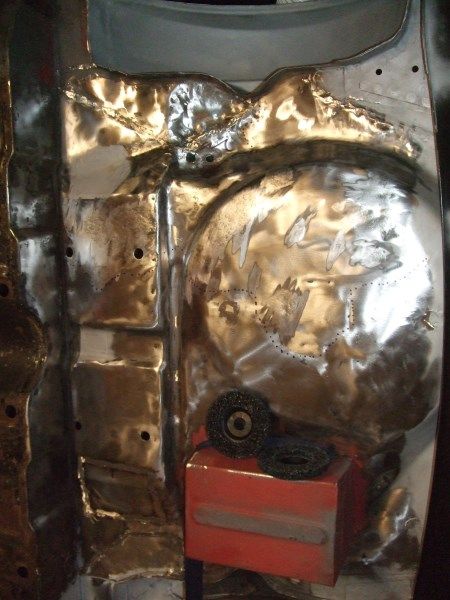
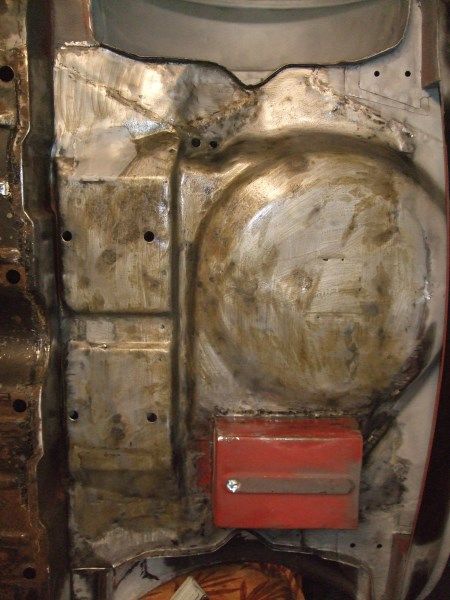
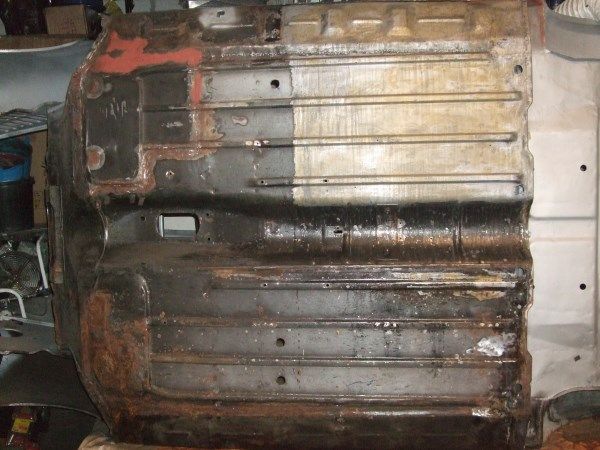
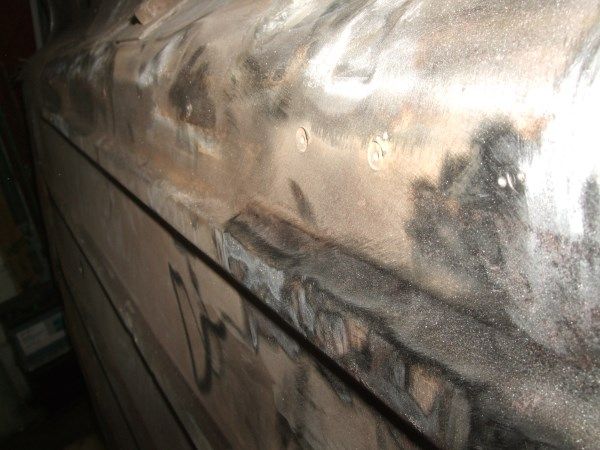
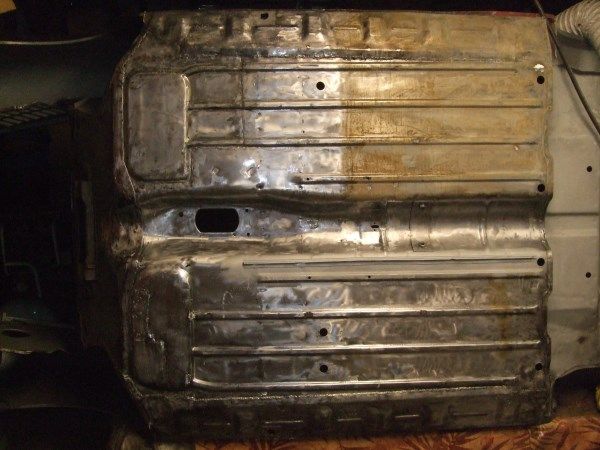
This weekend I cleaned off the floor, Didn't bother with the rear arch as I am hoping to get someone to the part out for me for the panel rather than making one.
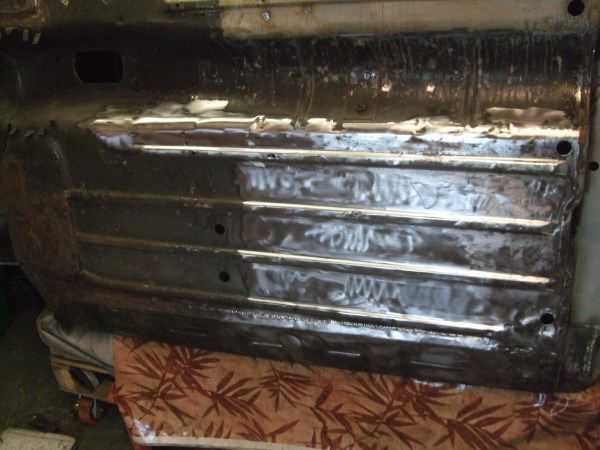
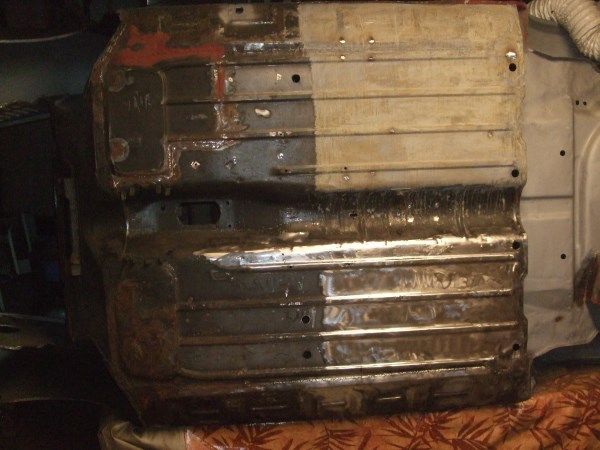
So Done it in 1/4s using the grinder discs for the majority oof the paint and rust, then wire brushed the rest.
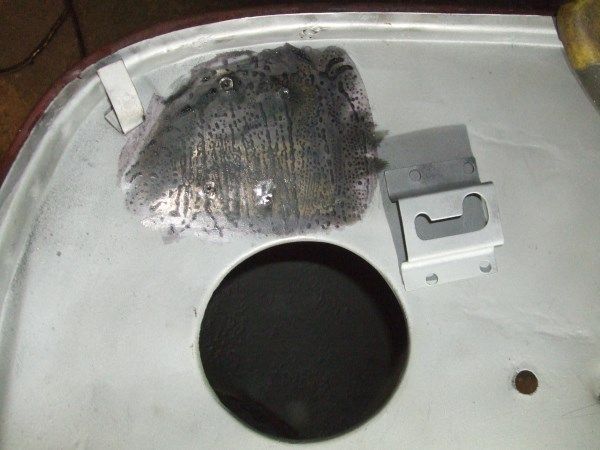
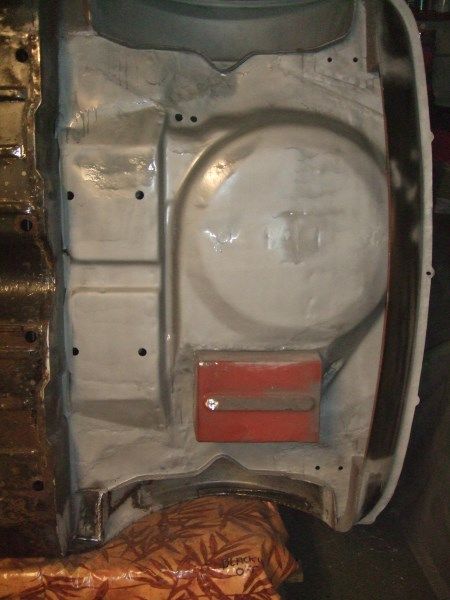
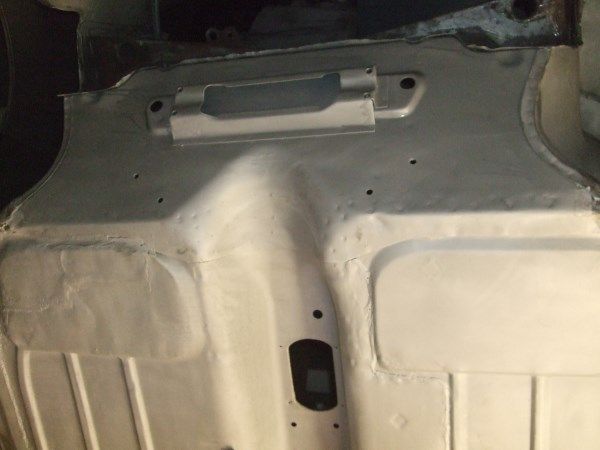
I decided to remove the battery cable holder thing
and wire brush and rust treated it.
And what it looks like now, I sprayed the battery cable thing and the floor where it's mounted and welded it on today. Should be able to give it a coat of the zinc spray tomorrow evening.
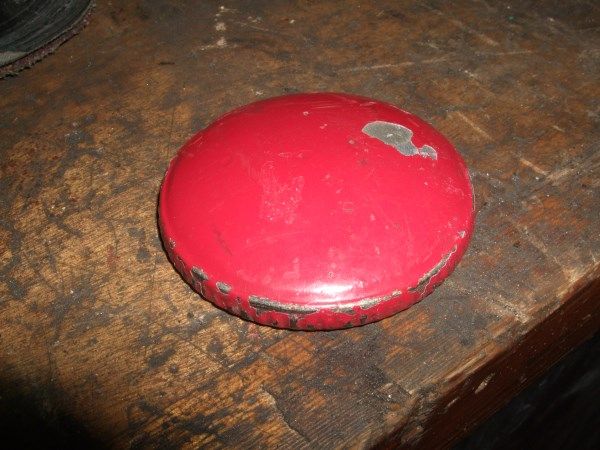
I also picked up a couple of parts including this petrol cap, I've got a plan for it, which involves a bit of cutting ![]() .
.
Cheers
#401

Posted 18 January 2015 - 08:54 PM
Bet your satisfied getting all the underneath back to bare metal ready for paint.
#402

Posted 08 February 2015 - 07:38 PM
Bet your satisfied getting all the underneath back to bare metal ready for paint.
Yeah, hopefully have it stone chipped in the next couple of weeks.
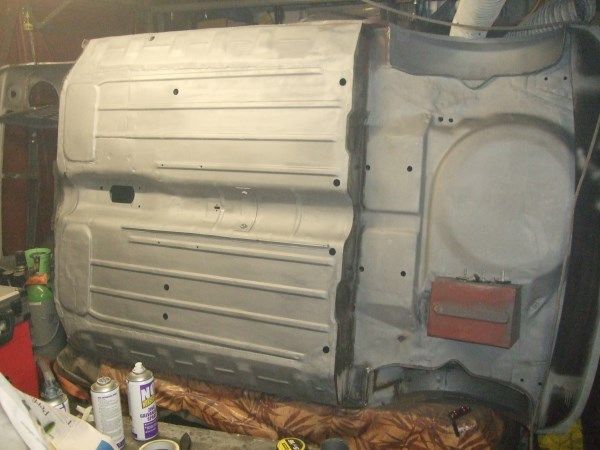
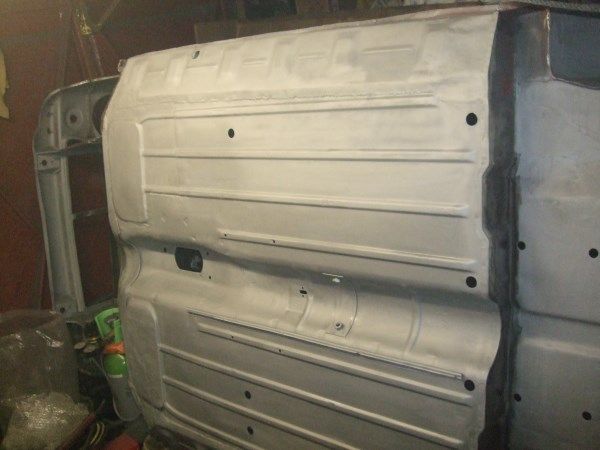
So I've been doing a couple of bit's on the ritz so not done much on this one, I did manage to get the floor sprayed and the heel and toe board all wirebrushed and painted. I had to make a small repair on the lip that meets the toeboard as it was a bit rusty.
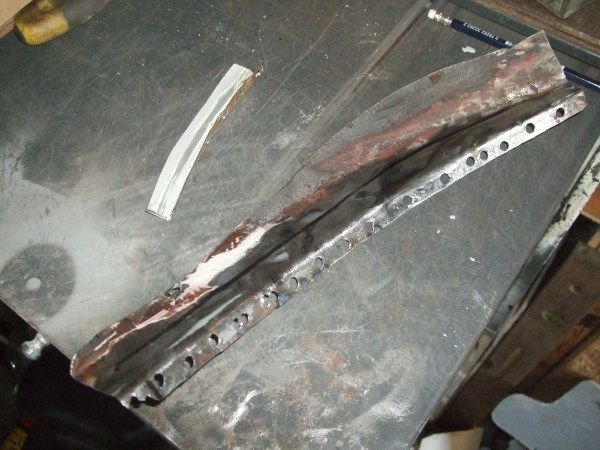
I Also got this rear arch peice off of Andi-p. It was a PITA to seperate the 1/4 panel from it. I cut it to size and wire brushed it ready for welding in next week.
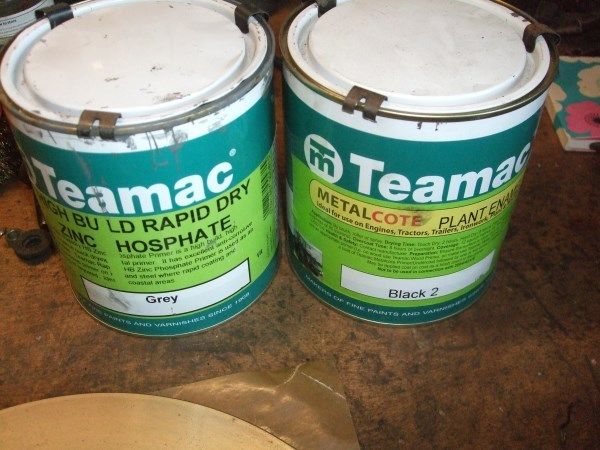
And finally picked up some paint for the subframes and other suspension bits, seems like good stuff, much better than the thin hammerite.
#403

Posted 08 February 2015 - 07:52 PM
looking good! must have taken ages to strip the hole of the underneath! hats off to you!
#404

Posted 08 February 2015 - 09:49 PM
Looking great again
#405

Posted 09 February 2015 - 08:12 PM
looking good! must have taken ages to strip the hole of the underneath! hats off to you!
Cheers mate, took a little while and still need to do the rear arch and under the front dross member
Looking great again
Thanks Mate.
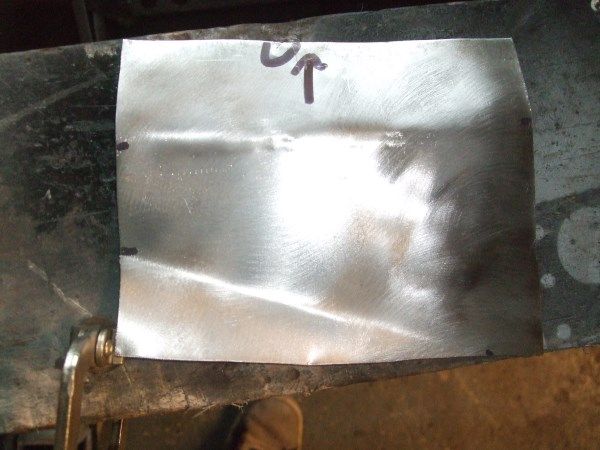
I got the rear arch repair panel sand blasted today and I rust treated in ready for being painted and welded on next weekend.
3 user(s) are reading this topic
0 members, 3 guests, 0 anonymous users


