I wish you the very best with this task.

Alex's 1982 Hle Rebuild
#361

Posted 30 October 2014 - 08:27 PM
#362

Posted 30 October 2014 - 10:51 PM
Looking good mate! It's really getting there now. 5 years in the making! (well, almost...). It will be a hell of the day when you drive this daily!
#363

Posted 31 October 2014 - 09:33 PM
I wish you the very best with this task.
Cheers
Looking good mate! It's really getting there now. 5 years in the making! (well, almost...). It will be a hell of the day when you drive this daily!
Cheers Craig, it does sem like it is now the wing is on, Doesn't seem that long ![]() . I hope it is
. I hope it is ![]() I've kind of finalised the colour and styling, so I'd better buy paint quick before I change my mind
I've kind of finalised the colour and styling, so I'd better buy paint quick before I change my mind ![]()
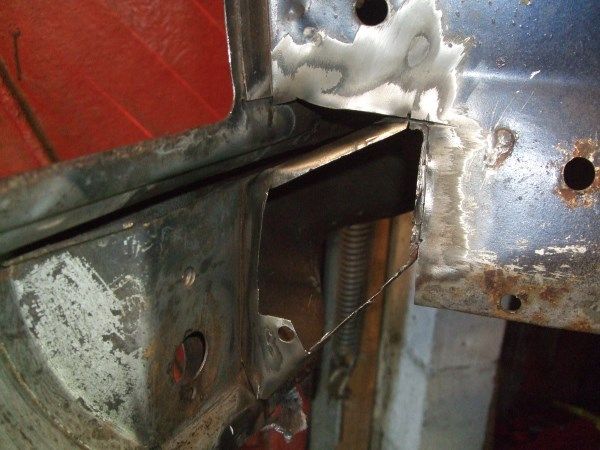
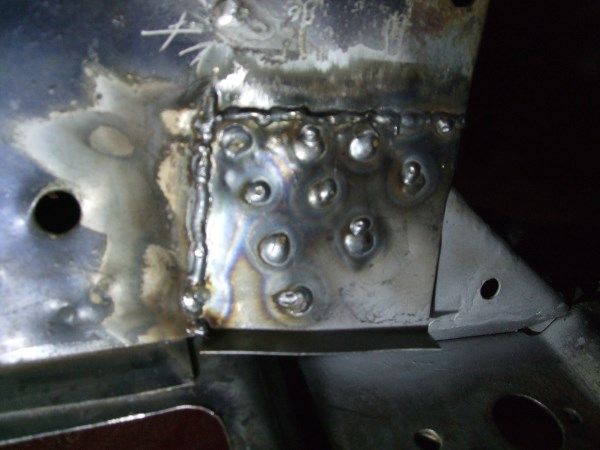
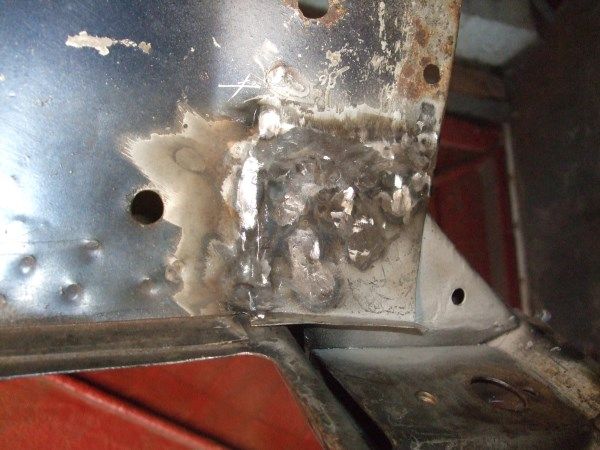
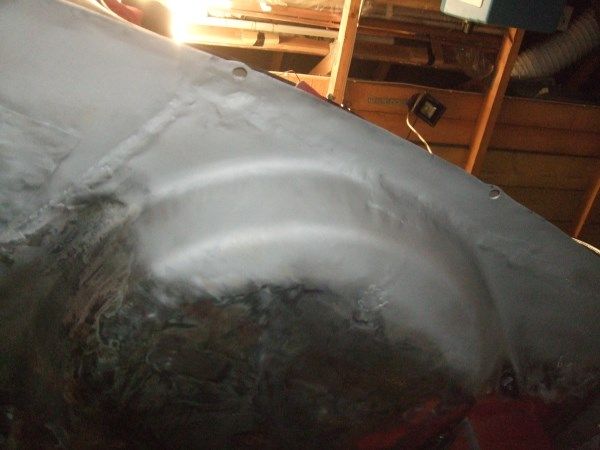
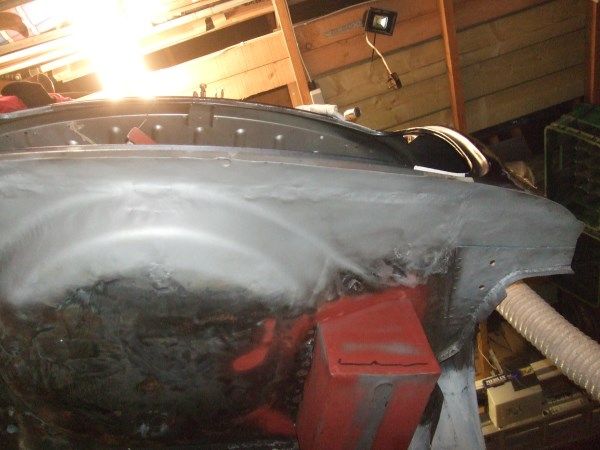
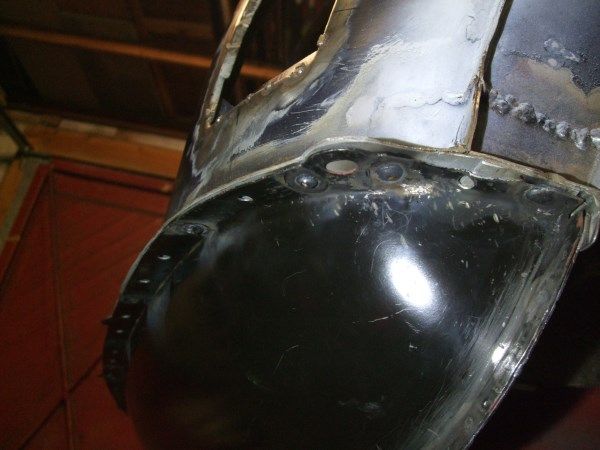
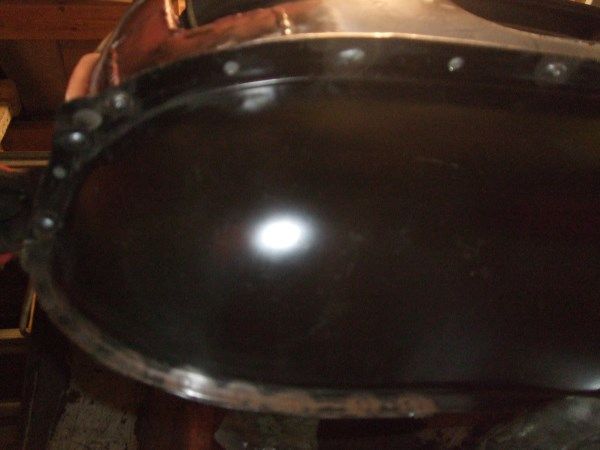
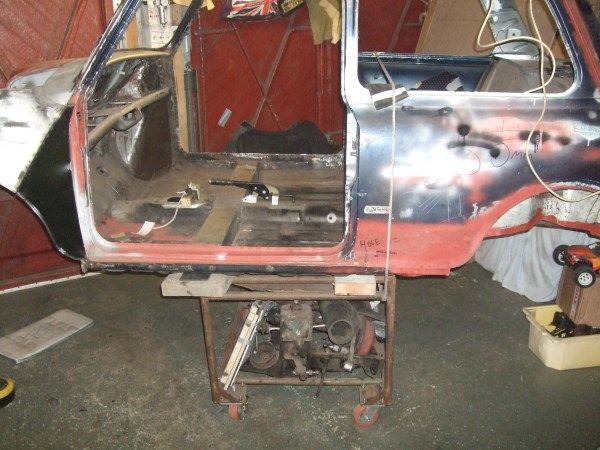
I finished welding the wing on last friday and started grind down the welds today, and also cut out the corner of the drivers sider inner wing as it was badly repaired.
#364

Posted 31 October 2014 - 09:35 PM
Do it mate! We have a life time to have a Mini in every colour. NO GOING BACK! ![]() BUY THAT PAINT
BUY THAT PAINT
#365

Posted 31 October 2014 - 09:41 PM
Do it mate! We have a life time to have a Mini in every colour. NO GOING BACK!
BUY THAT PAINT
haha, I should need it soon anyway for when I turn it on it's side to stone chip/underseal the underside and paint on top ![]()
#366

Posted 02 November 2014 - 09:53 PM
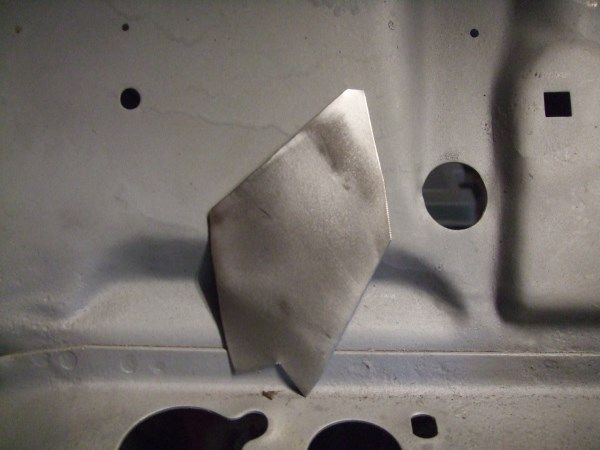
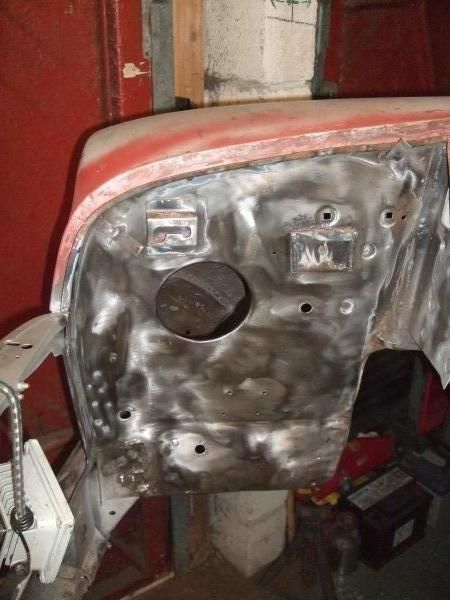
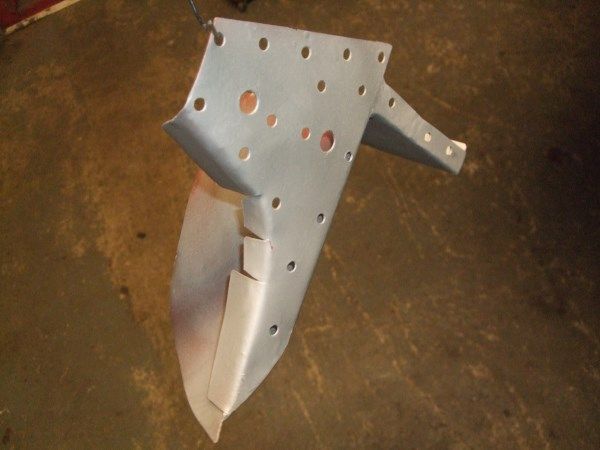
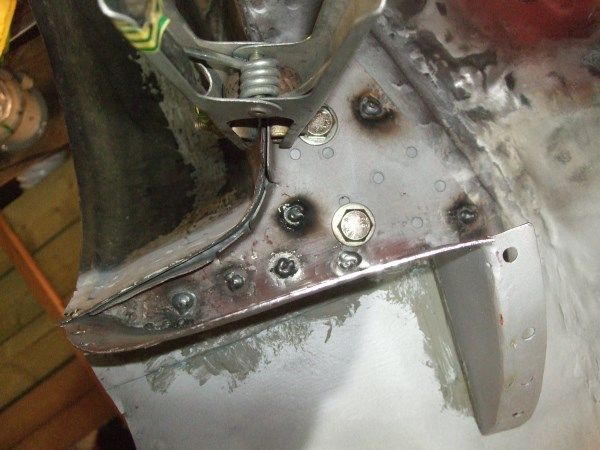
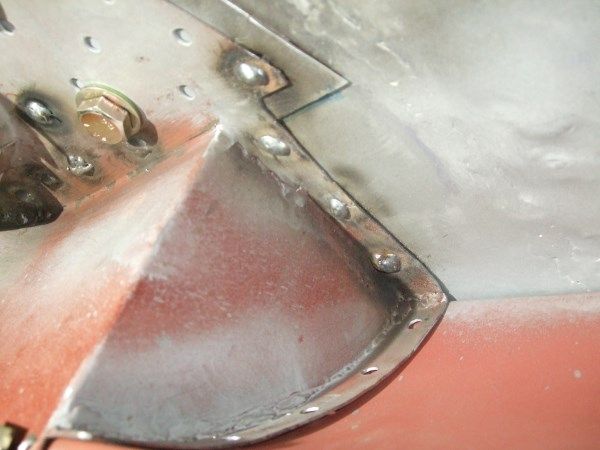
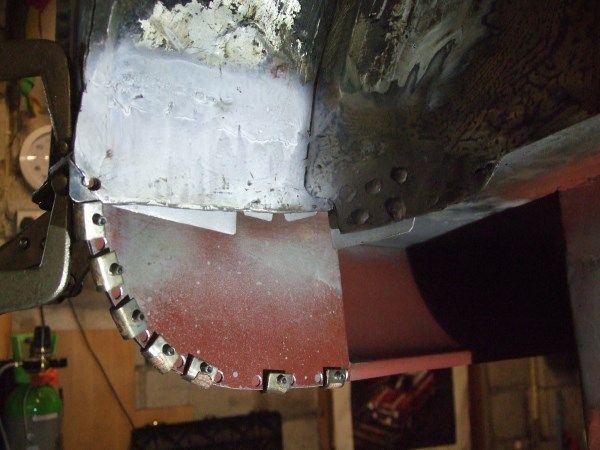
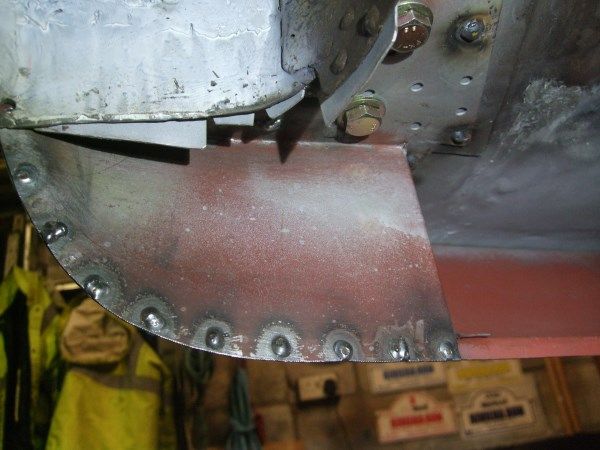
So abit more work this weekend, got the front panel to inner wing attacher thingy cut out.
Made a cardboard template and cut it out in metal
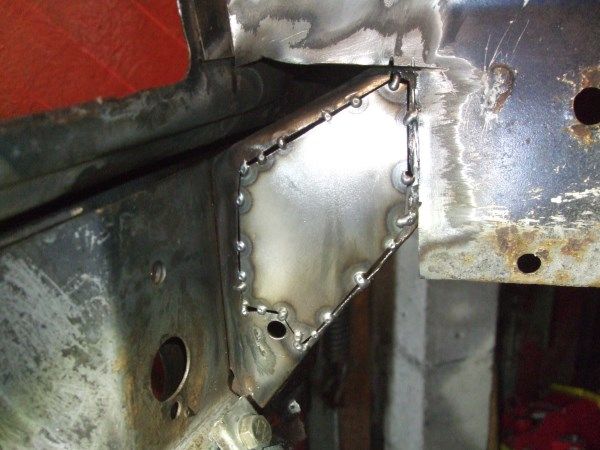
Bent it into shape and tacked it in.
Fully welded it, ground it down and gave it a coat of zinc spray.
Then I marked out where plug welds could be done and drilled holes for them and welded it in after a bit of filing here and there to get it to fit better.
And ground that down and straightend it out with hammer and dolly.
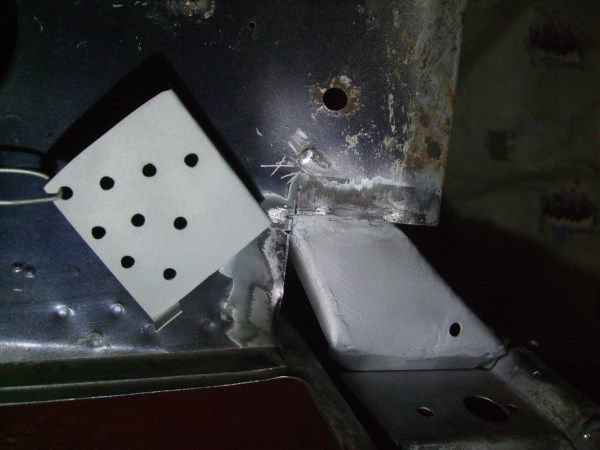
Cut the 2 welds off the a-panel for it to move a bit as there was a big gap between the a-panel and flitch lip. then using a bit of hardwood with a bit of metal on top, a pair of grips and starting off the bend with a hammer we squeezed the lip over, then finished it off with a mole grips .
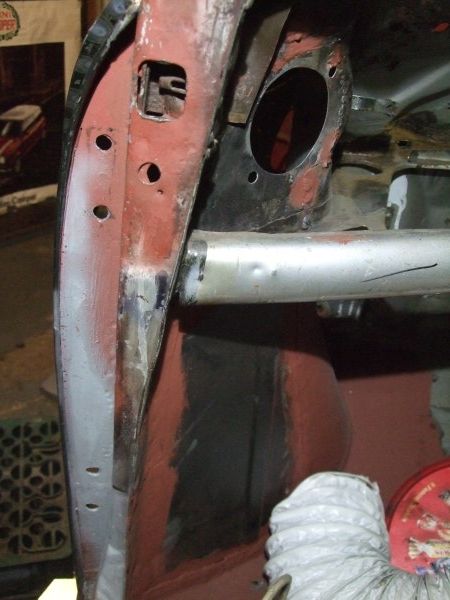
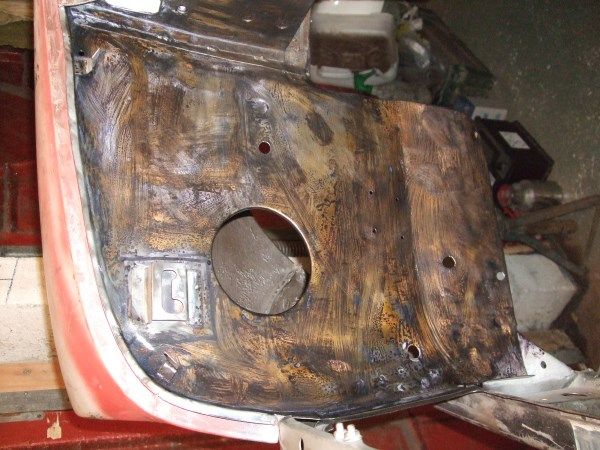
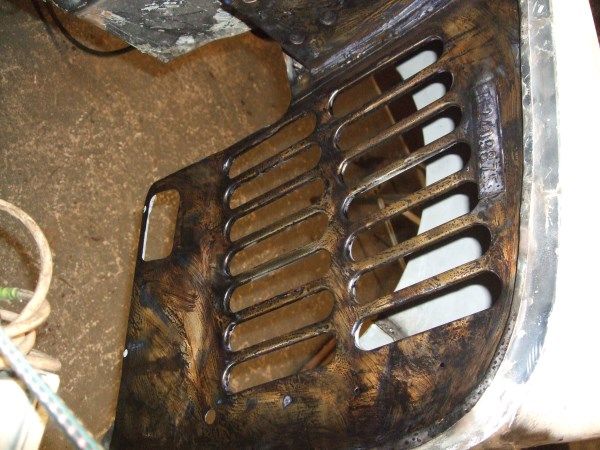
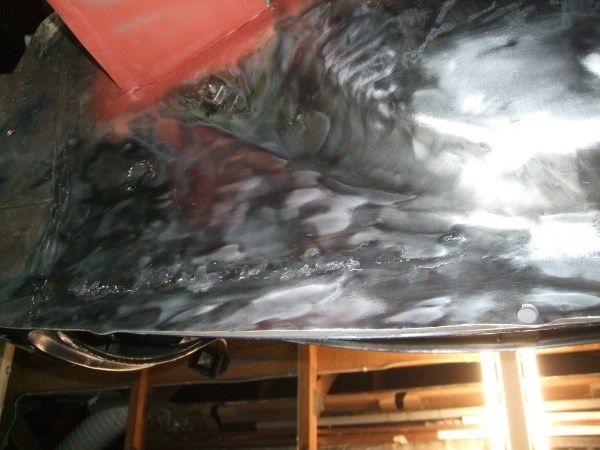
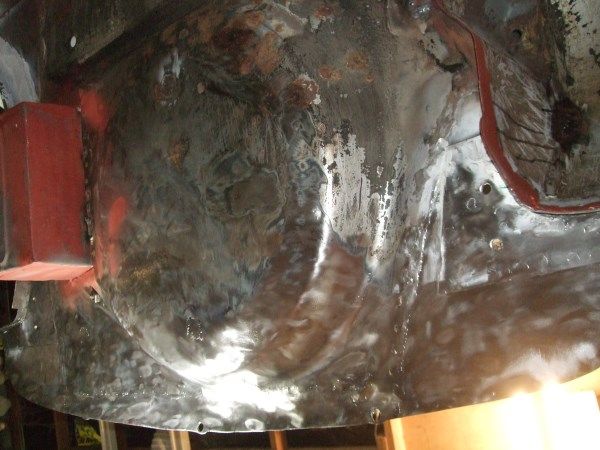
And started cleaning off the inner wings, Just needs going over the rusty spots with a wire brush.
Thats it for this weekend
Any comments welcome.
#367

Posted 12 November 2014 - 12:59 PM
Keep it up mate and it won't be long till it's in colour! great work.
#368

Posted 18 November 2014 - 08:03 PM
Keep it up mate and it won't be long till it's in colour! great work.
Cheers mate, I hope so!
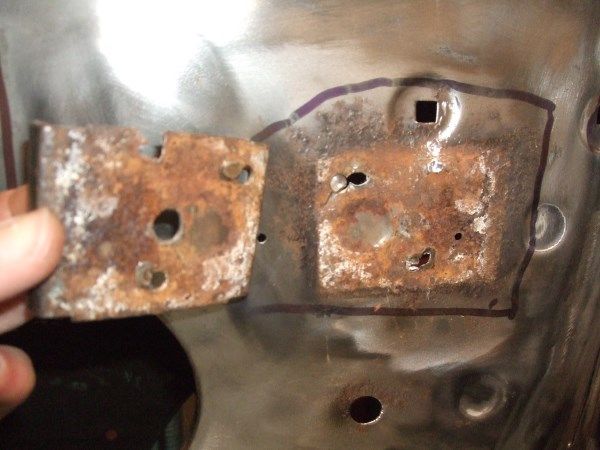
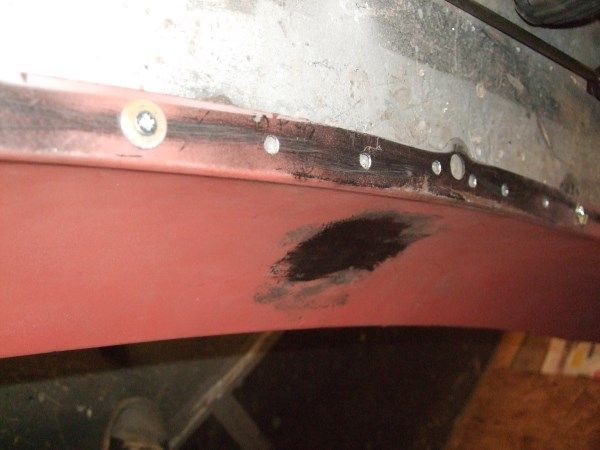
Last weekend I finished cleaning the inner wing,the washer bottle mount was a bit rusty so I took it off revealing this.
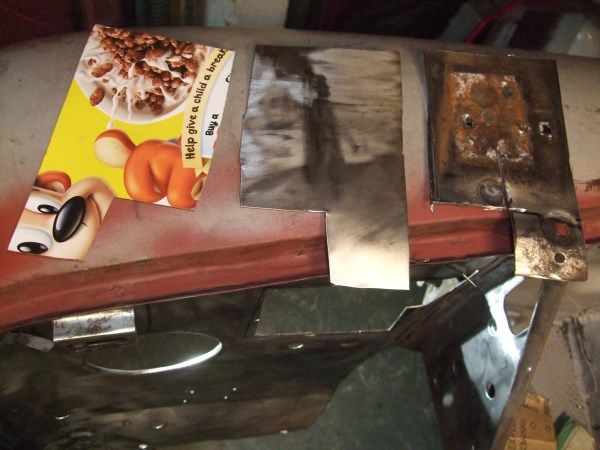
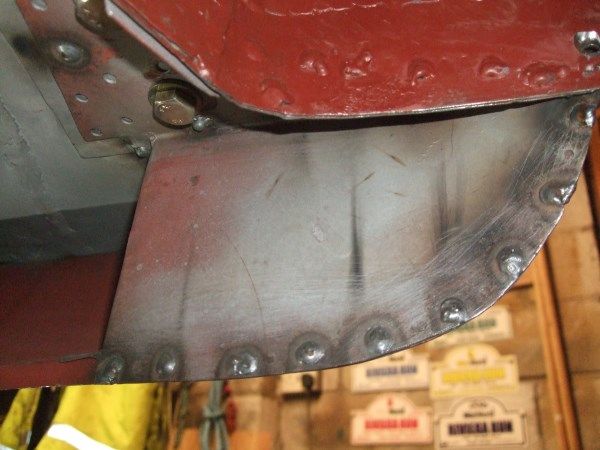
So I cut out the rot, and the little indents which I don't think are used, made a CAD template and made up a new panel. you can just see the hole in the inner wing.
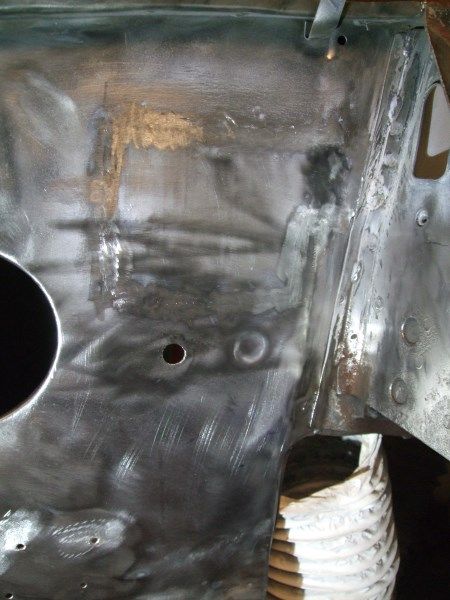
Then tacked in the corners and welded it in with a bit of persuasion to line it up. and ground it down.
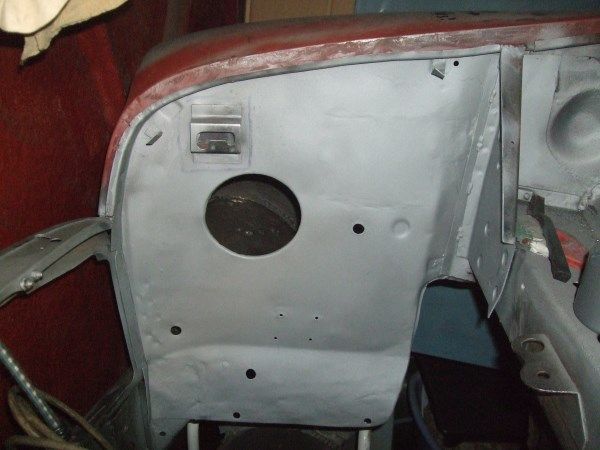
Then finished going over the other rusty spots and paint with a wire brush and kurusted bothe sides
And finally gave them a coat of the zinc spray.
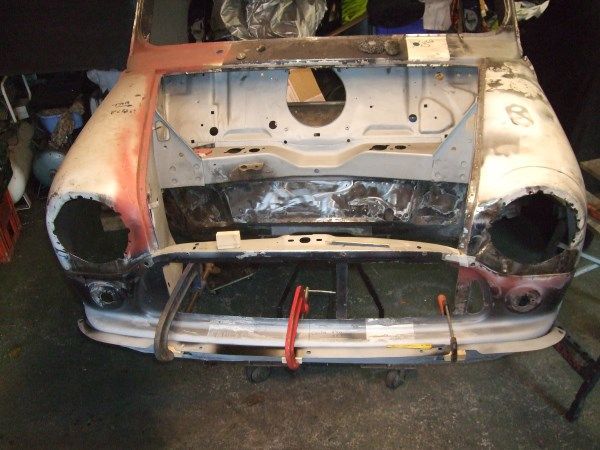
Then I started cleaning off the front panel for where the bumper lip mounts to so should be able to get that welded on soon. O might just put a few spot weld on until I flip it on it's side so make welding easier.
Cheers
Oh and got this too ![]() Another engine for this project
Another engine for this project ![]() I'll make a thread for it in a mo.
I'll make a thread for it in a mo.
#369

Posted 18 November 2014 - 08:34 PM
Looking good, great thread by the way
#370

Posted 18 November 2014 - 09:32 PM
#371

Posted 24 November 2014 - 08:23 PM
Looking good, great thread by the way
Cheers Mate
Good going. Working as a team to get the hle's back on the road.
Thanks, It wont be original unfortuantly, A part of me wishes I did but then I don't think I'd enjoy it as much.
I did manage to get some bits done on it this weekend between messing around with the sprite. I mangaed to get the front panel mostly derusted which will allow me to fit the lip this weekend coming with a bit of fettling and I started cleaning the drivers inner wing, which I wish I done properly before I fitted the wing ![]()
#372

Posted 25 November 2014 - 07:13 AM
Can be a bit awkward with wing on but doable.
#373

Posted 01 December 2014 - 09:42 PM
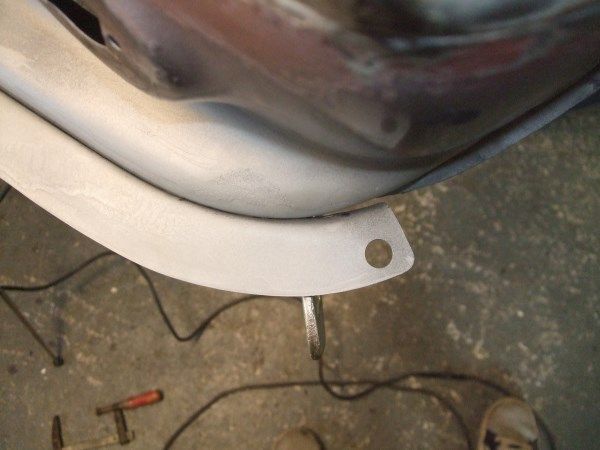
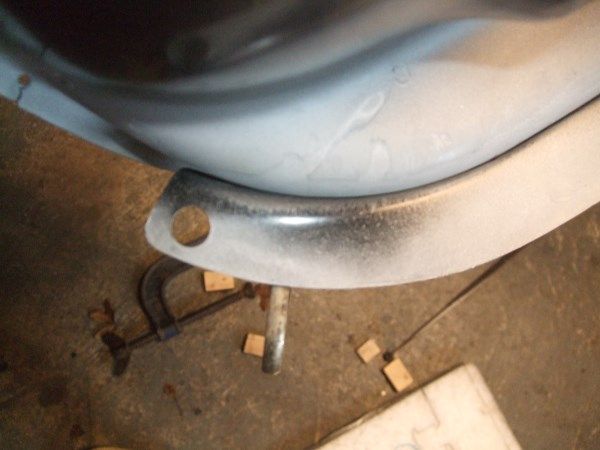
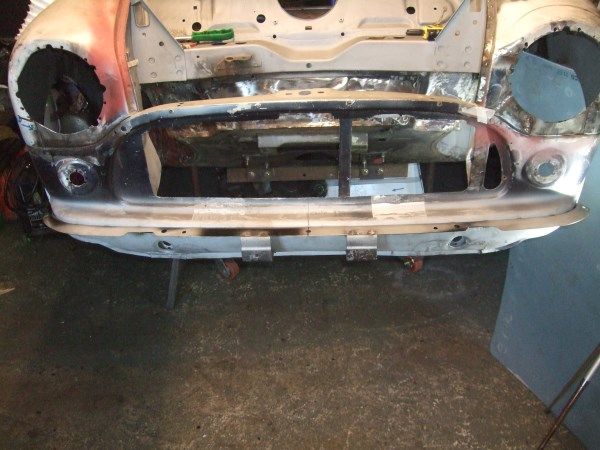
During the week dad gave the front panel and a few areas of the bumper lip (as it had a few rust spots on it ![]() ) a coat of the zinc spray so that I could weld on the front bumper lip. I measured the center of the car a drew a line then took some measurement off the sprite and clamped it into place. ready for plug welding.
) a coat of the zinc spray so that I could weld on the front bumper lip. I measured the center of the car a drew a line then took some measurement off the sprite and clamped it into place. ready for plug welding.
And all welded on including the numberplate brackets. I did start grinding down the welds too.
Then I started on the rear valance. getting it and the closures lined up.
Drilled a few holes for plug welding.
ground down some of the welds that I hadn't ground down enough before and wire brushed where the valance will go as you can't get to it when it's on.
Then I rust treated it and gave it a coat of the zinc spray as well as the valance lip and closures.
and friday we moved the frame that it's on to the middle and removed the front wheels so that we can fit the valance.
That was it for this weekend, the valance should go on next weekend then it can be flipped onto it's side, wirebrushed and undersealed.
#374

Posted 01 December 2014 - 09:45 PM
Good progress there mate
#375

Posted 07 December 2014 - 09:00 PM
cheers hendred.
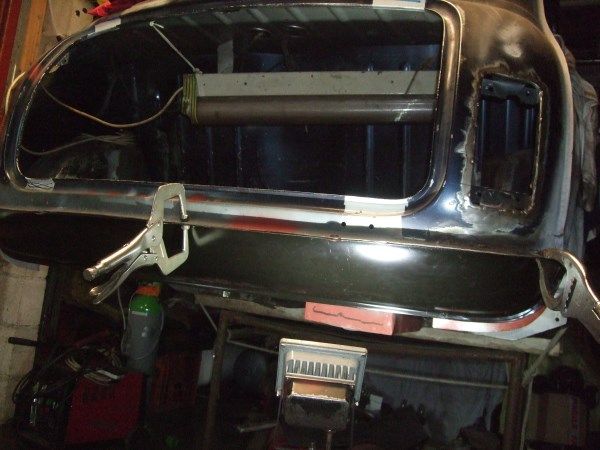
Friday I started fitting the rear valance and closing panels, I bolted up the closures and then clamped the valance in place to check the fitment, with that all OK I started welding them on, was a PITA clamping the closures on as they are to deep to fit the normal clamps on But managed it in the end with a different type clamp and a hammer ![]() .
.
I haven't done all the plug welds as I think it'll be easier to do them when it's on it's side.
So with both of them on I reclamped the valance on I marked out the curve of the it to closures and cut off the excess and then welded it on in a few places.
And welded the closures to the valance
Then today I welded up some holes on the front panel where arches were fitted and then gave the inside a clean out ready for tipping it on it's side in the next week.
Thats it for this weekend, i may try and do some bits during the week like a few bit of welding that needs doing before it's flipped.
1 user(s) are reading this topic
0 members, 1 guests, 0 anonymous users


