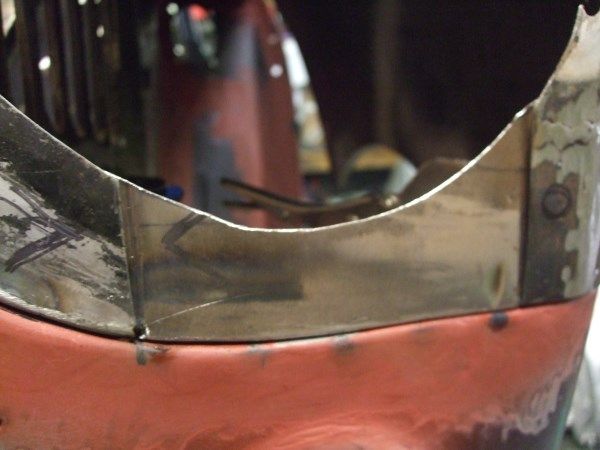
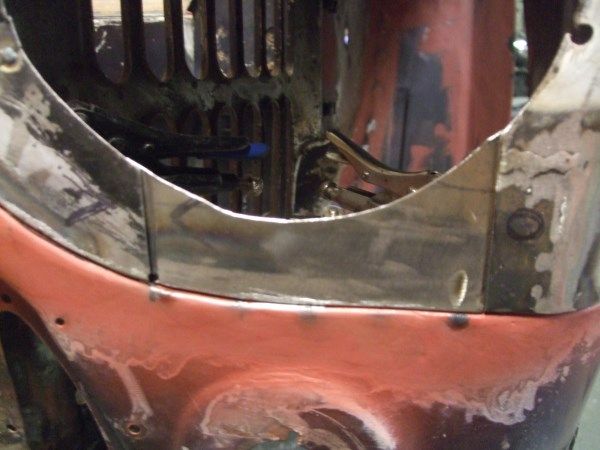
nice work Alex, a bit positive criticism, when you fabricate pieces, make them wider to start with and fabricate an angled piece for strength, as in the front panel lip, angled bit sitting snug behind the vertical front panel, when attaching/welding yr wing its better to grind it back any excess rather than being a bit to short, it's always better that way. as for your doorstep, I would have gone for a full step and post, you got a few to many welds there at the moment I feel, weakens and opens more to the rust virus no matter how many layers of paint. I hope this is helpful ![]()

Alex's 1982 Hle Rebuild
#331

Posted 11 November 2013 - 10:37 PM
#332

Posted 12 November 2013 - 08:14 PM
nice work Alex, a bit positive criticism, when you fabricate pieces, make them wider to start with and fabricate an angled piece for strength, as in the front panel lip, angled bit sitting snug behind the vertical front panel, when attaching/welding yr wing its better to grind it back any excess rather than being a bit to short, it's always better that way. as for your doorstep, I would have gone for a full step and post, you got a few to many welds there at the moment I feel, weakens and opens more to the rust virus no matter how many layers of paint. I hope this is helpful

Cheers minimuk. I think I know what you mean (Dad made tha panel ![]() ) It would have been quite difficult to put a right angle on that peice, It should be wide enough
) It would have been quite difficult to put a right angle on that peice, It should be wide enough ![]() . I should have done really, But it's alot cheaper to repair it
. I should have done really, But it's alot cheaper to repair it ![]() .
.
#333

Posted 12 November 2013 - 08:28 PM
nice work Alex, a bit positive criticism, when you fabricate pieces, make them wider to start with and fabricate an angled piece for strength, as in the front panel lip, angled bit sitting snug behind the vertical front panel, when attaching/welding yr wing its better to grind it back any excess rather than being a bit to short, it's always better that way. as for your doorstep, I would have gone for a full step and post, you got a few to many welds there at the moment I feel, weakens and opens more to the rust virus no matter how many layers of paint. I hope this is helpful

Cheers minimuk. I think I know what you mean (Dad made tha panel
) It would have been quite difficult to put a right angle on that peice, It should be wide enough
. I should have done really, But it's alot cheaper to repair it
.
Like yr optimism, I was just thinking a few years down the line....carry on Braveheart.... ![]()
#334

Posted 12 November 2013 - 08:38 PM
nice work Alex, a bit positive criticism, when you fabricate pieces, make them wider to start with and fabricate an angled piece for strength, as in the front panel lip, angled bit sitting snug behind the vertical front panel, when attaching/welding yr wing its better to grind it back any excess rather than being a bit to short, it's always better that way. as for your doorstep, I would have gone for a full step and post, you got a few to many welds there at the moment I feel, weakens and opens more to the rust virus no matter how many layers of paint. I hope this is helpful

Cheers minimuk. I think I know what you mean (Dad made tha panel
) It would have been quite difficult to put a right angle on that peice, It should be wide enough
. I should have done really, But it's alot cheaper to repair it
.
Like yr optimism, I was just thinking a few years down the line....carry on Braveheart....
Haha, Thanks ![]()
#335

Posted 14 November 2013 - 07:10 PM
You get an A+ for your hard graft and determination! ![]()
#336

Posted 14 November 2013 - 08:09 PM
You get an A+ for your hard graft and determination!
Thanks ![]()
#337

Posted 17 November 2013 - 08:04 PM
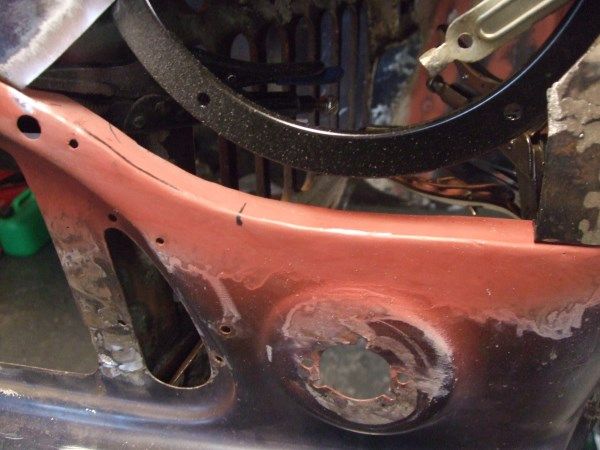
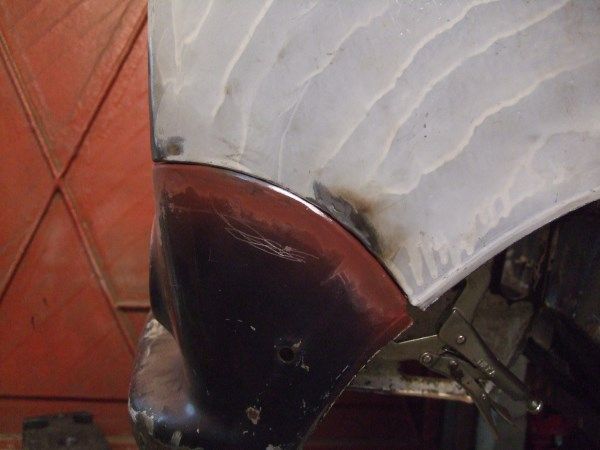
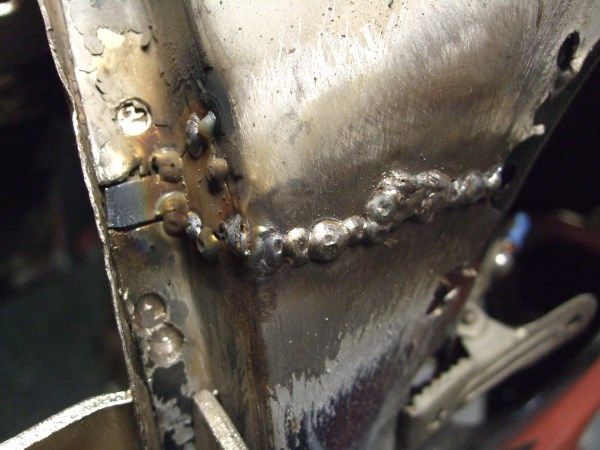
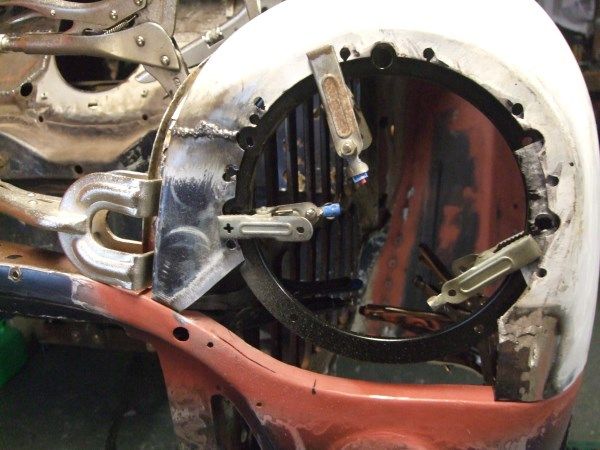
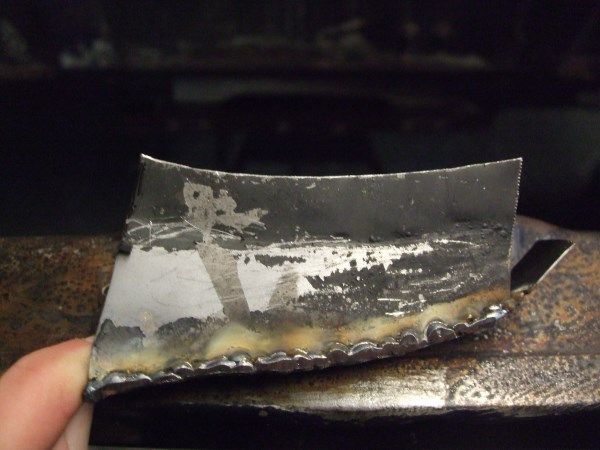
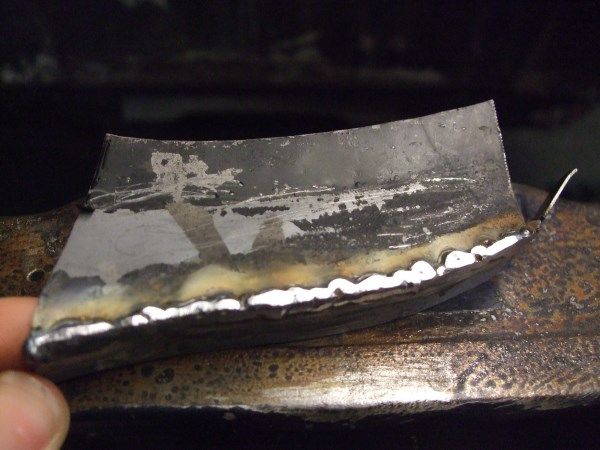
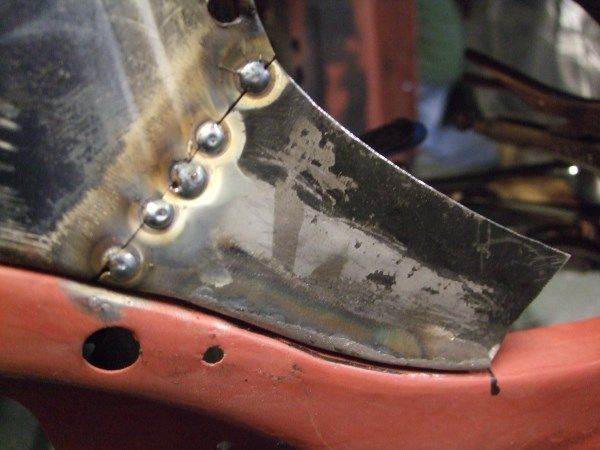
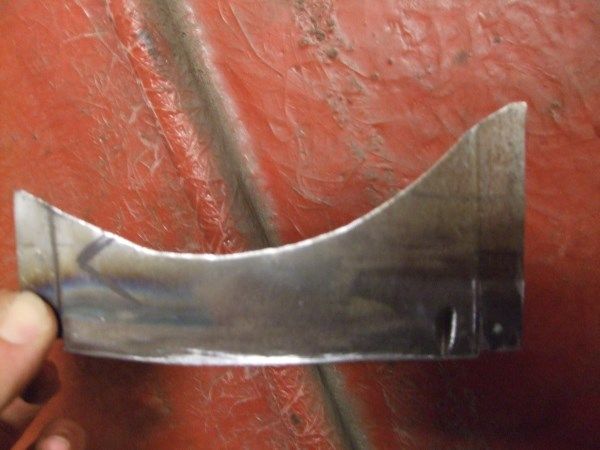
yesterday we trial fitted the wing. first dad ground the welds down on the front panel.
clamped down
Welded on this bit.
then welded a lip onto this bit.
welded it on.
And made this part which took a little while to get it to sit right on the front panel lip.
Thats pretty much it.
Alex
#338

Posted 17 November 2013 - 08:12 PM
Looks like you will have some clean tight wing seams there! Well done ![]()
#339

Posted 18 November 2013 - 12:41 PM
That is looking really good mate well done very tidy and clean!
#340

Posted 18 November 2013 - 08:02 PM
Looks like you will have some clean tight wing seams there! Well done
Thanks Dan, they're not too bad ![]()
That is looking really good mate well done very tidy and clean!
Cheers Ash ![]()
#341

Posted 19 November 2013 - 03:22 AM
This is coming on so well mate, well done!!!
Edited by Mini-Mad-Craig, 19 November 2013 - 03:22 AM.
#342

Posted 19 November 2013 - 06:44 AM
that's a hell of a good job your doing!
#343

Posted 19 November 2013 - 07:18 PM
This is coming on so well mate, well done!!!
Cheers craig, it's definitely picking up pace. ![]()
that's a hell of a good job your doing!
Thanks ![]()
#344

Posted 24 January 2014 - 12:36 PM
Just read from start to finish
Great job you doing, great skills & patience
Keep it up.
#345

Posted 24 January 2014 - 05:53 PM
bloody brilliant build mate! love all the little reapirs! reminds me alot of my mini. me and my dad mad/reparied most parts!
keep up the good work!
2 user(s) are reading this topic
0 members, 2 guests, 0 anonymous users


