Top work! Love the fact you do those tiny bits where most people would just either buy a whole new panel, or fill with paint haha ![]()

Alex's 1982 Hle Rebuild
#316

Posted 03 September 2013 - 07:55 PM
#317

Posted 03 September 2013 - 07:57 PM
#318

Posted 03 September 2013 - 08:53 PM
Top work! Love the fact you do those tiny bits where most people would just either buy a whole new panel, or fill with paint haha
Cheer's nathan, It's much more fun (and cheaper) to make panels yourself ![]()
you guys in Cornwall? I'm only in devon.. (keep me informed with any meets and idk how to keep up)
I think there is a few club meets and riviera run in may is the only I can think of.
#319

Posted 28 October 2013 - 08:22 PM
![]()
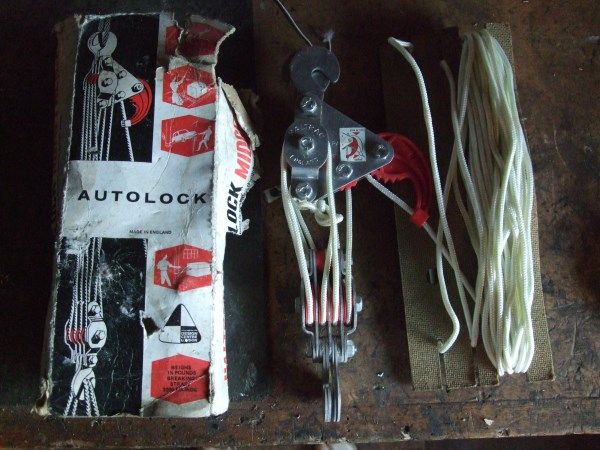
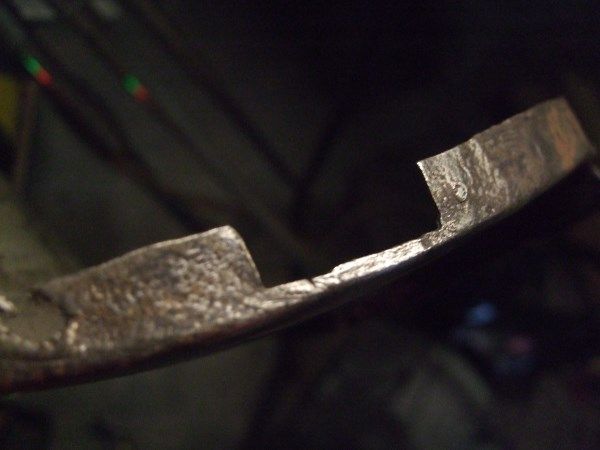
Haven't really done much for a while again, We took the Ritz to castle combe so had to a few jobs on that. Anyway We got another hatrac hoist brand new in the beaten up box and the rope still in the plastic. But today I did get a bit of work done.
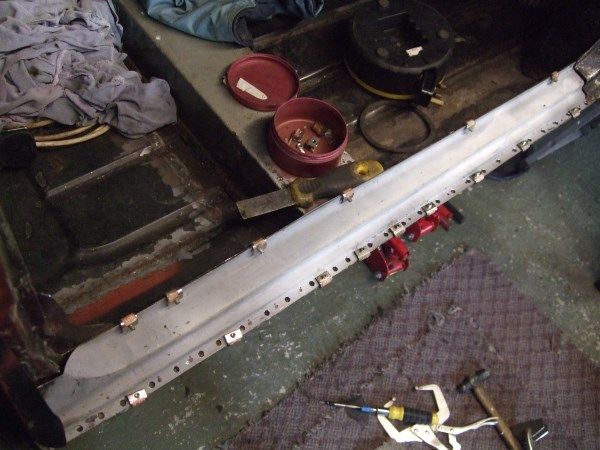
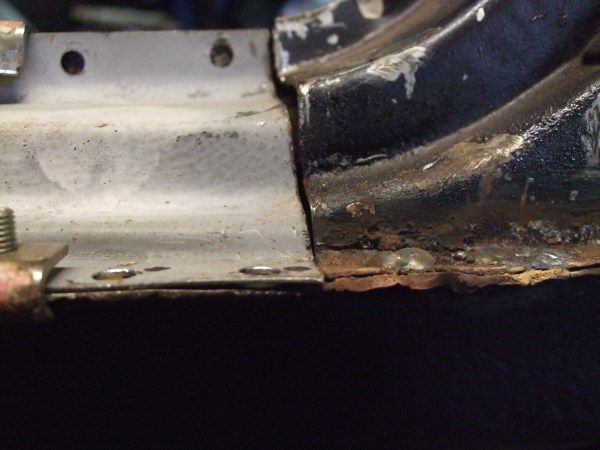
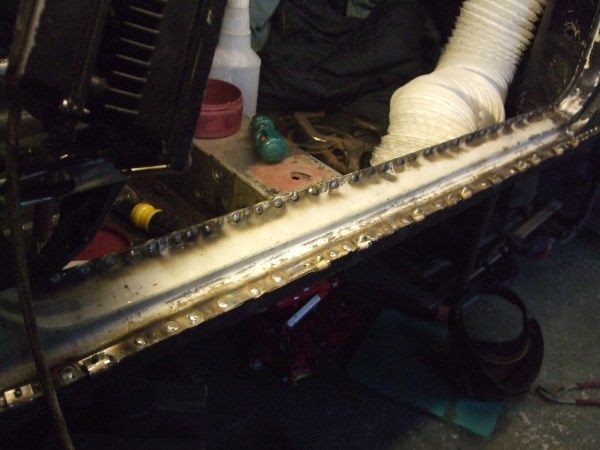
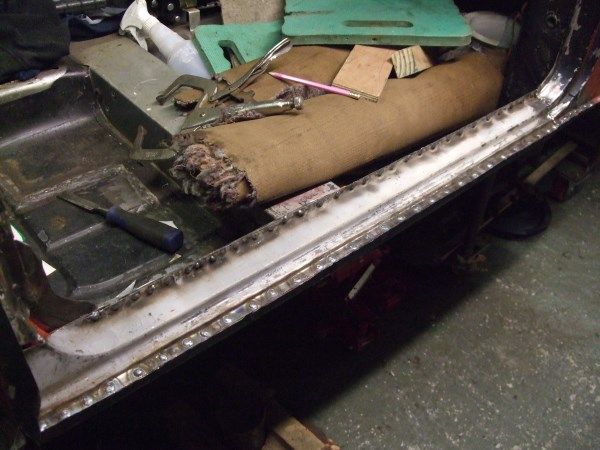
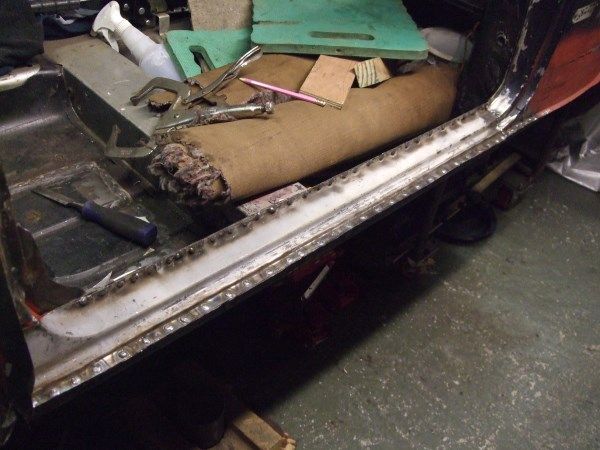
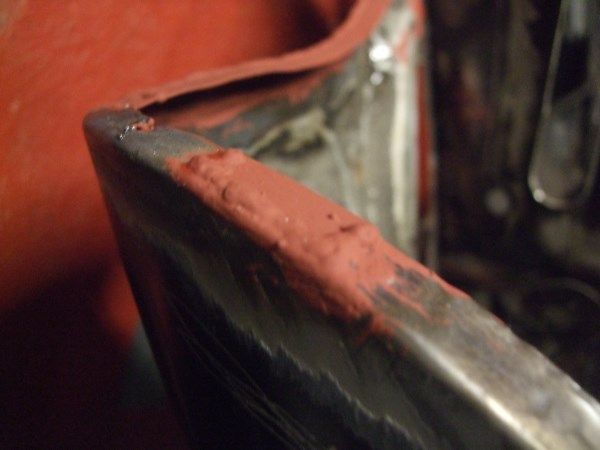
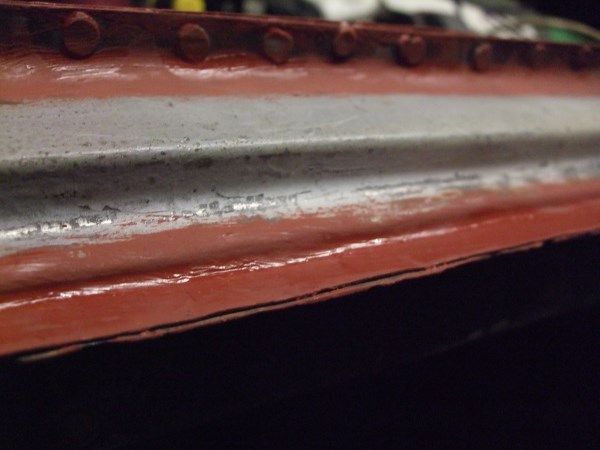
The next thing we have to do is the door step, so I trial fitted it to see what needs doing to it (it is a pattern one so I knew it would ![]() ).
).
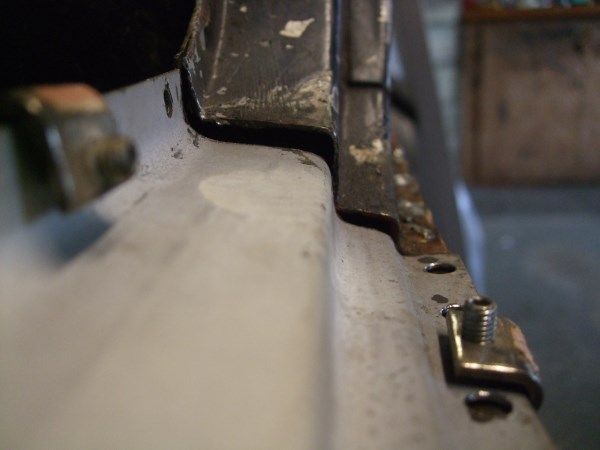
Not a good fit at all, I'm not sure wether to adjust it or get a genuine one.
Then I did a bit of grinding and cutting out.
Time seems to fly by when you forget to change the clock in the garage back ![]() so come in at 4.15 not 5.15
so come in at 4.15 not 5.15 ![]()
#320

Posted 28 October 2013 - 08:23 PM
Haven't really done much for a while again, We took the Ritz to castle combe so had to a few jobs on that. Anyway We got another hatrac hoist brand new in the beaten up box and the rope still in the plastic. But today I did get a bit of work done.
The next thing we have to do is the door step, so I trial fitted it to see what needs doing to it (it is a pattern one so I knew it would).
Not a good fit at all, I'm not sure wether to adjust it or get a genuine one.
Then I did a bit of grinding and cutting out.
Time seems to fly by when you forget to change the clock in the garage backso come in at 4.15 not 5.15
I did the same.. I was working :/ stopped at 5 to 5 instead of 5 to 6
#321

Posted 29 October 2013 - 07:13 PM
![]()
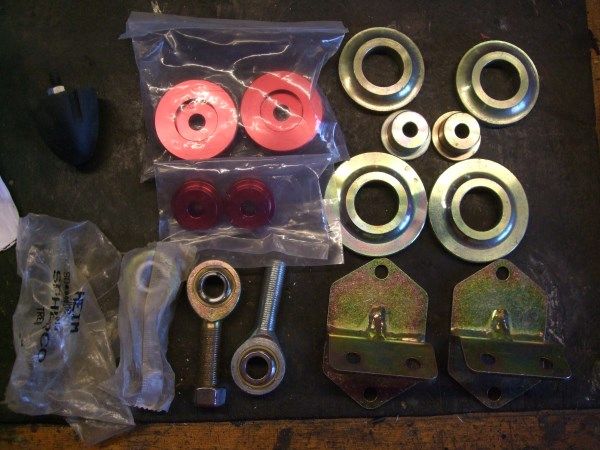
A little parcel arrived today with my solid mounts and some surprise added extras ![]()
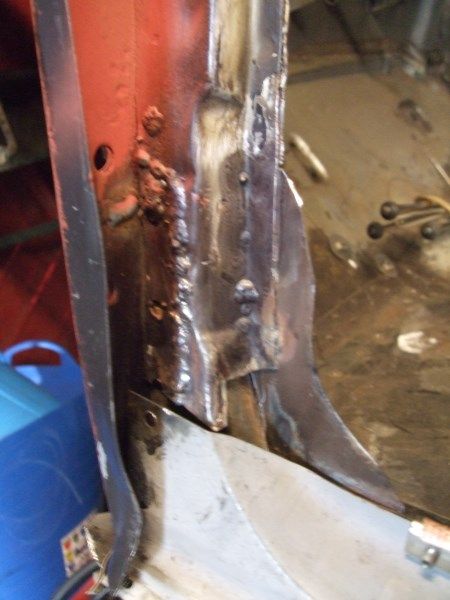
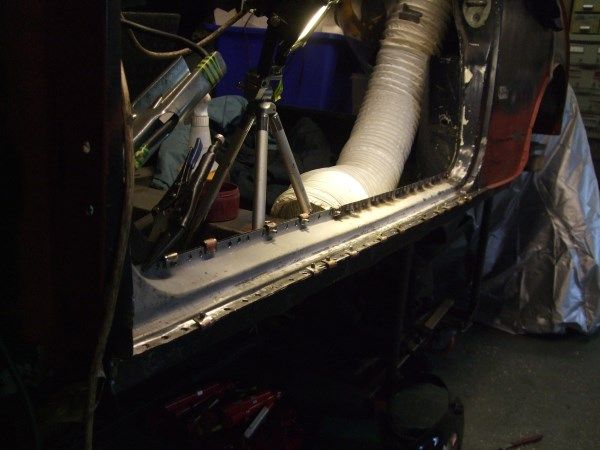
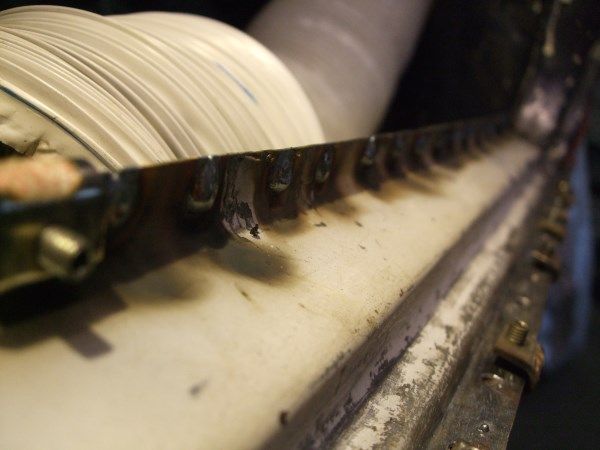
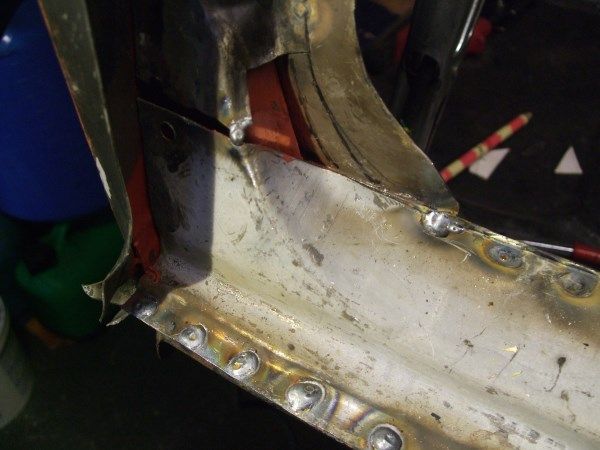
So today we had to tweak the door step,we flattened the first fold up from the bottom and rebent it. drilled the holes for plug welding, Lined it up as best as we could and welded it in.
bit crappy welds on the top, must of been a bit dirty or no gas for a second.
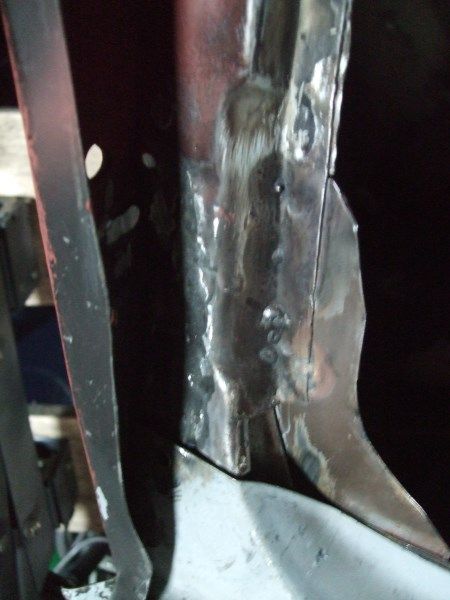
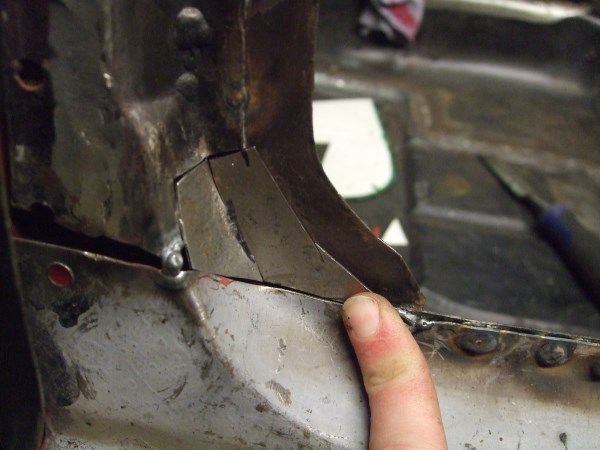
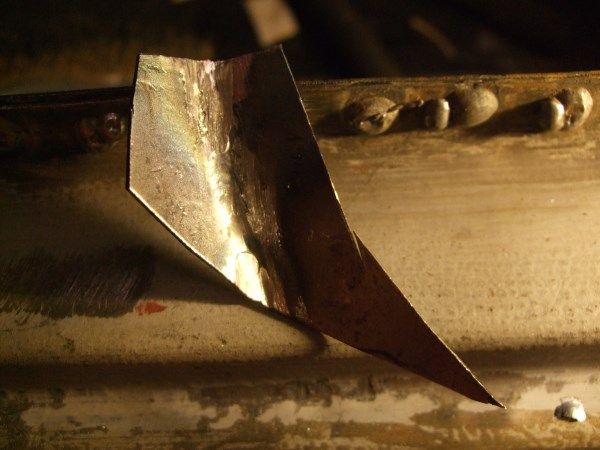
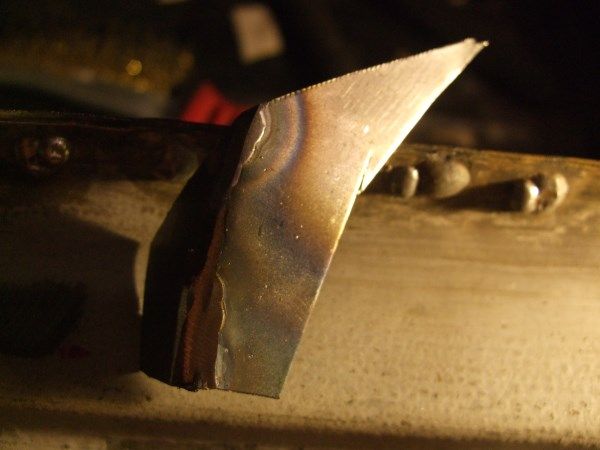
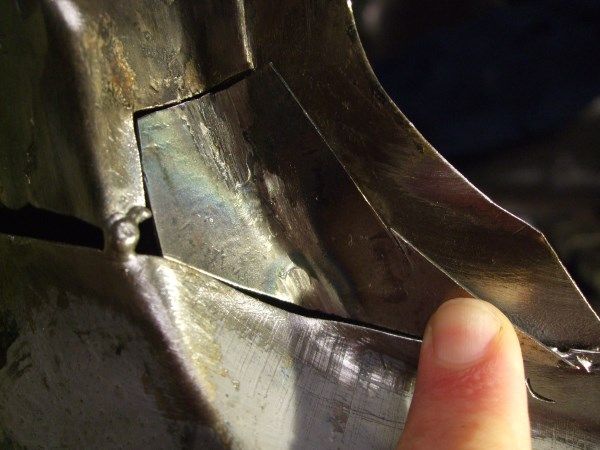
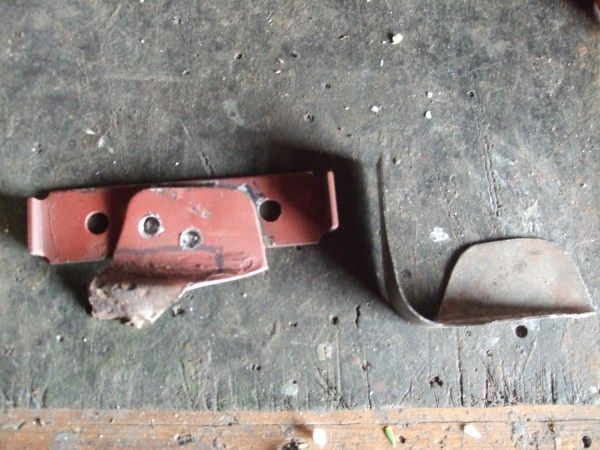
Made a panel out of card then out of sheet, just need to adjust it a tad and weld the cuts, then I can weld it in.
Any comments welcome
Alex
#322

Posted 29 October 2013 - 08:35 PM
#323

Posted 29 October 2013 - 08:43 PM
It sure aint coming off in a hurry though
#324

Posted 29 October 2013 - 08:52 PM
Great fabrication Alex! Its just a shame these pattern parts aren't a bit more accurate! I wish id spent a bit more time making my doorsteps fit better. I've ended up with a bit of a step in the contours. It'll be fine though lol. Keep up the great work mate! Joe
Thanks joe, It can't be that hard to get them right ![]() . it's not too bad but you can see where the original is more squarer on the folds and the pattern is rounded
. it's not too bad but you can see where the original is more squarer on the folds and the pattern is rounded ![]() . It doesn't matter to much really, the door/rubbers will be covering it most of the time.
. It doesn't matter to much really, the door/rubbers will be covering it most of the time.
Quality work! and ye, the door steps are poor. made to fit over rotten ones, which is why people have to adjust them so much.
It sure aint coming off in a hurry though
Cheers nath, I did think about getting a genuine one but it's about £30 and doesn't have the front and back bits on it just a straight panel, it'll do ![]() Haha, Dad said that I should have had more plug welds
Haha, Dad said that I should have had more plug welds ![]() , it was quite enjoyable plug welding though
, it was quite enjoyable plug welding though ![]()
![]()
#325

Posted 03 November 2013 - 07:53 PM
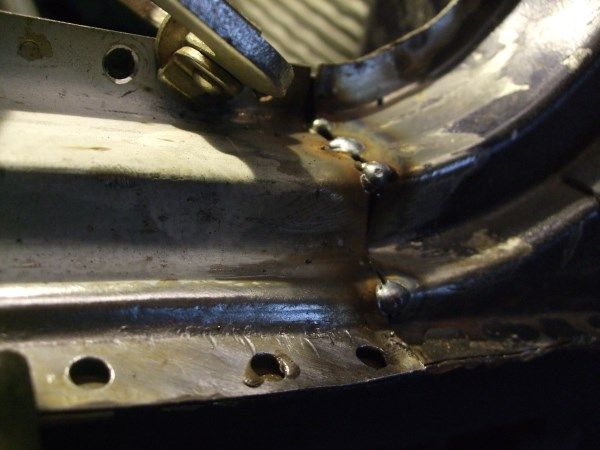
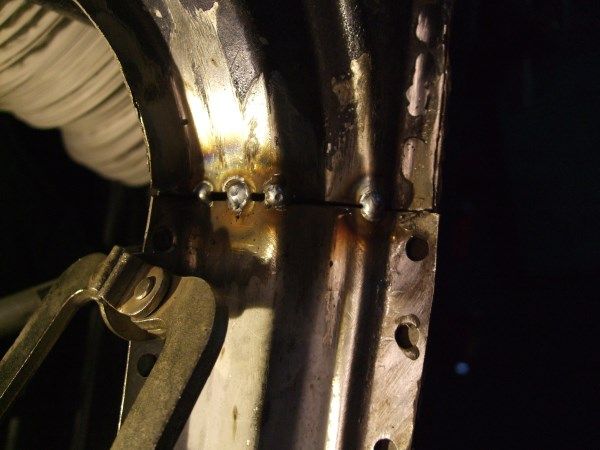
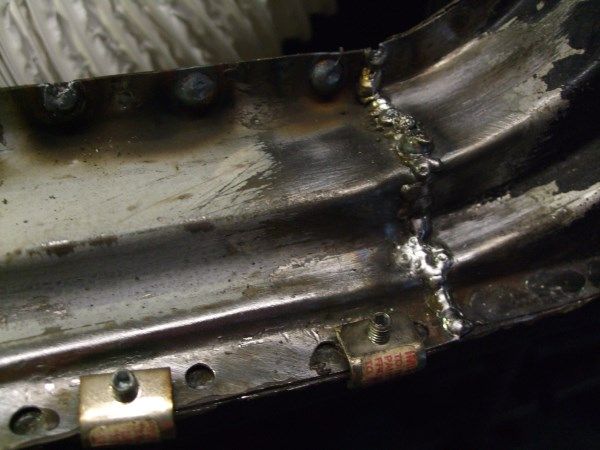
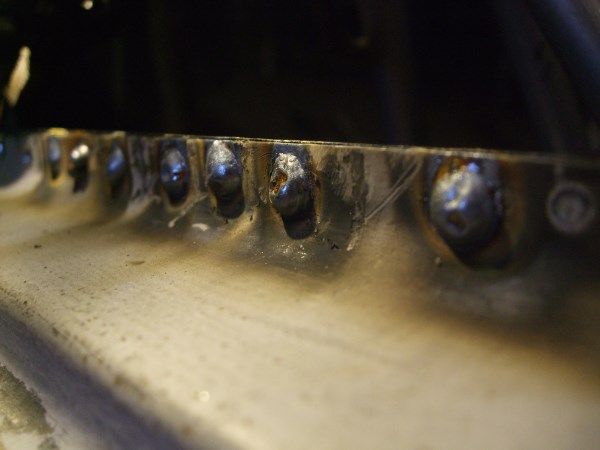
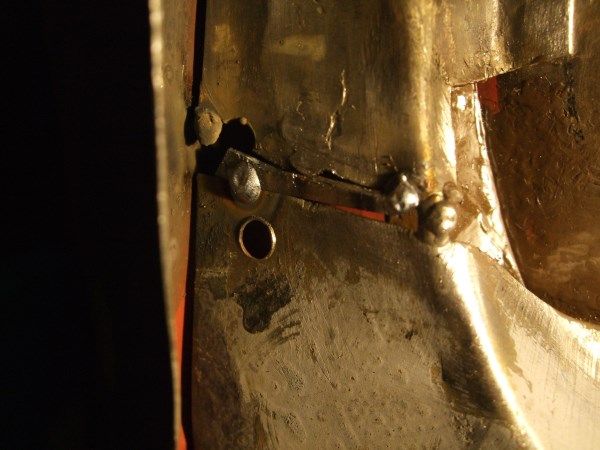
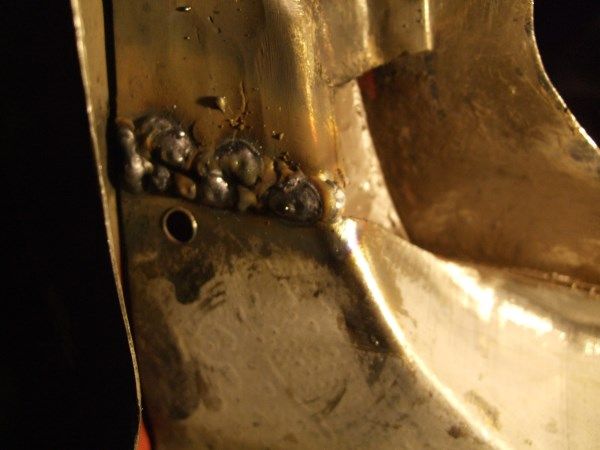
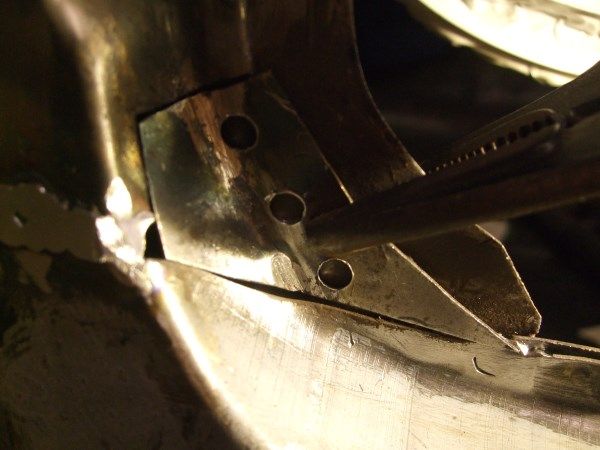
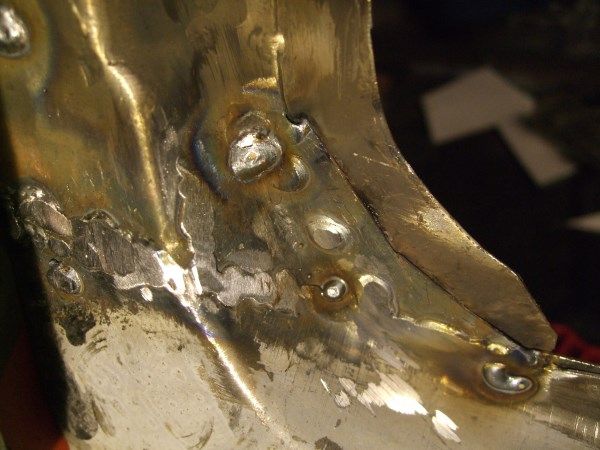
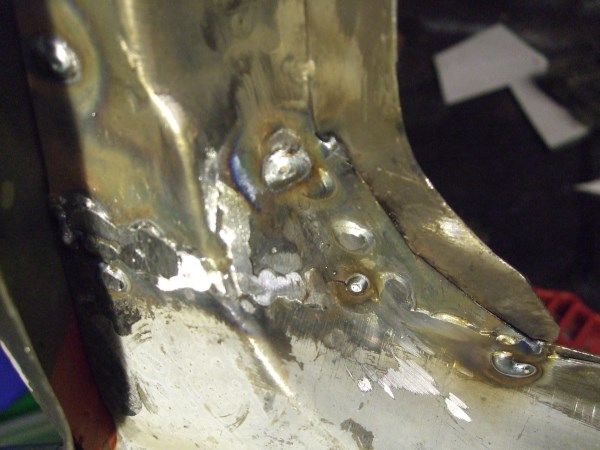
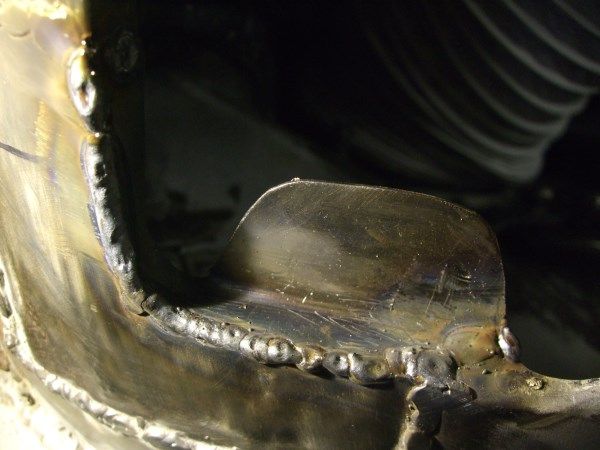
Had a couple of hours in the garage today so carried on with the small peice that we made last time.
first I ground down the plug weld nearest to the a post so that I could fit the repair peice.
then I welded the cuts after getting it right and ground it down.
then used a bit of offcut sheet to fill the gap between the old and new a post/door step.
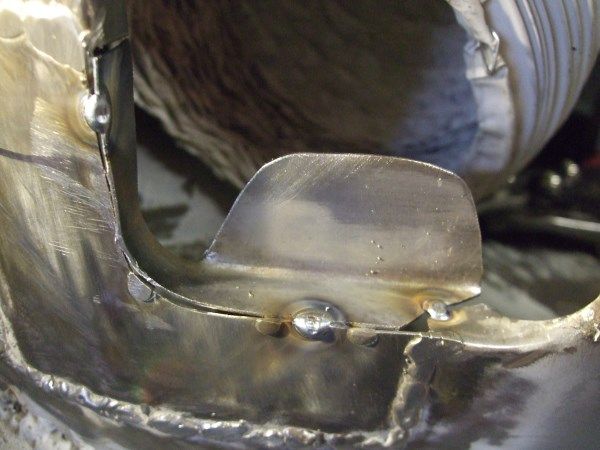
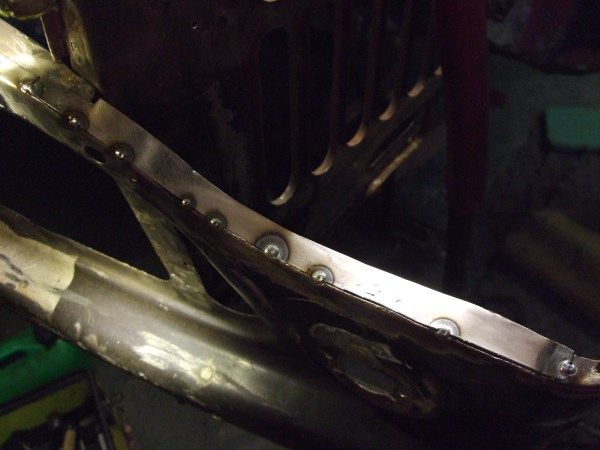
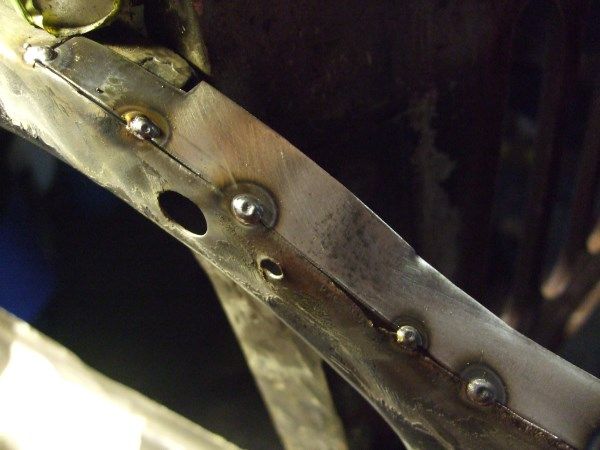
I gave the small repair peice a coat of hammerite and drilled holes for plug welding.
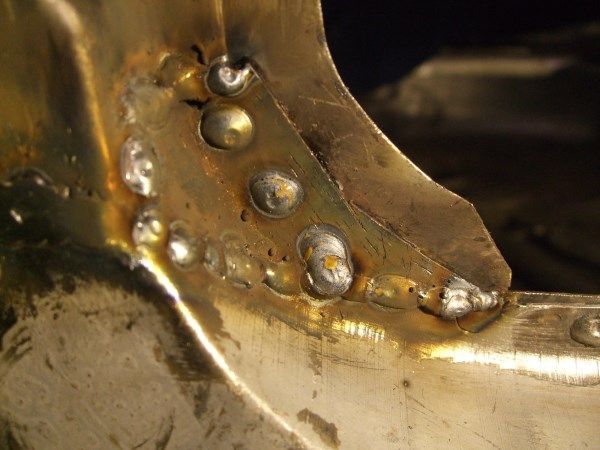
and welded it in.
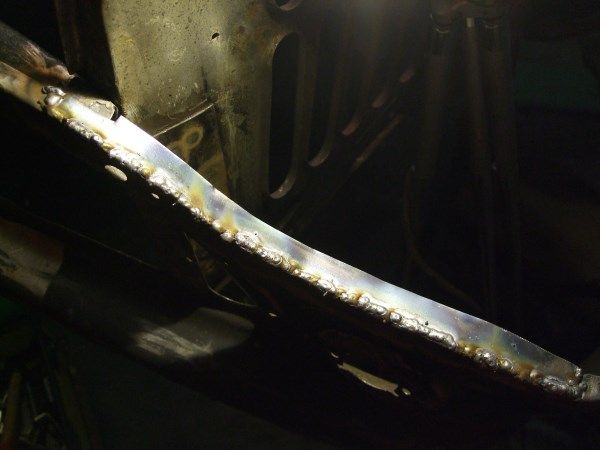
and ground it down and rewelded it where I couldn't get after I tacked it. and also filled 2 holes that had been drilled.
Any comments welcome.
Alex
Edited by alex-95, 03 November 2013 - 09:00 PM.
#327

Posted 04 November 2013 - 06:56 PM
Thanks
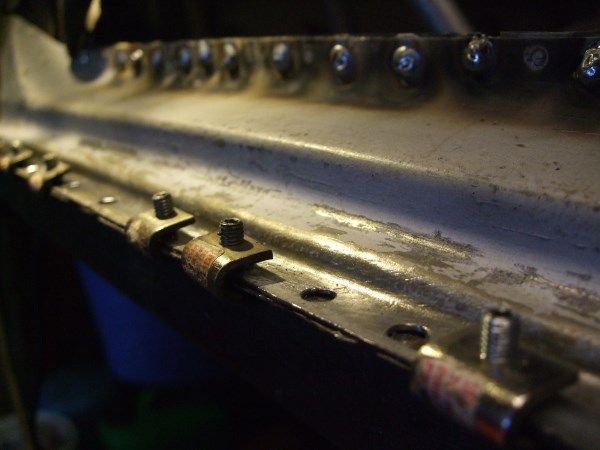
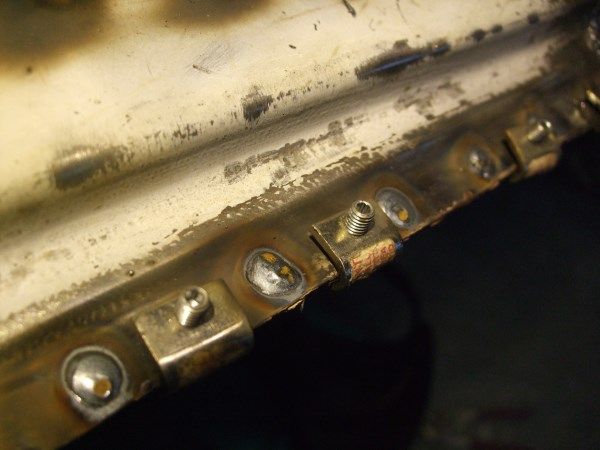
The clamps are called ezyearth clamps used for earthing sinks and radiators etc. They are very useful, don't get in the way as much as the other type and aren't that expensive so you can have lot's. Have a look at this link ----> http://www.theminifo...2-panel-clamps/
Edited by alex-95, 04 November 2013 - 06:59 PM.
#328

Posted 10 November 2013 - 08:01 PM
Done a bit more this weekend. Straightened out the bottom flitch lip, wire brushed and painted and folded it back, just need to decide wether to plug weld it or seam weld it? I wirebrushed the joggled bit of the flitch, painted it and plug welded it.
I've decided to go with mark 2/3 lights so need to fit the bottom bracket on the passengers side.
drilled out the spotwelds on the old bit that I kept just in case ![]() . and made a new bit for it to attache to.
. and made a new bit for it to attache to.
tacked it in
and welded it in, I drilled 2 holes for spot welding the bracket on but need to get the mk2 lights to make sure it's in the right place.
then tacked on the lip on the front panel that was made a little while ago.
and fully welded it
and made a repair for anothe part of the front panel.
and welded it in.
Then I ground down and rewelded a few areas that needed doing. and started grinding down the plug welds on the door step
thats about it really, I was hoping to run out of gas today as it says it's emty so that we can get it refilled during the week fo next weekend, but it's still going ![]()
Any comments welcome,
Alex
#329

Posted 10 November 2013 - 08:32 PM
#330

Posted 10 November 2013 - 08:43 PM
Awesome as usual. Grinding those plug welds is a right ball ache lol.
Thanks Nathan, Haha the bottom ones aren't too bad, the others are a bit annoying, especially trying to get them exactly flat and not grind away too much/the surrounding area ![]() .
.
1 user(s) are reading this topic
0 members, 1 guests, 0 anonymous users


