Alex's 1982 Hle Rebuild
#286

Posted 27 January 2013 - 09:55 AM
Graham
#287

Posted 27 January 2013 - 10:08 AM
Cheer's, It's alot more satisfying to make the panels rather than buying the whole section, and cheaper tooImpressive stuff! I'm liking how you are knocking up the repair panels where possible - that's a great way to learn!
Thanks Graham, I can't remember what gauge the metal is, but I'll post up how I made them tonight with a few measurement too. I think they move them quite far back, the second hole on mine is where the last hole on the originals would be.Comming on Alex. What gauge metal did you make the seat brackets out of and how much further back will the seats sit??
Graham
Alex
#288

Posted 27 January 2013 - 04:05 PM
#289

Posted 27 January 2013 - 07:22 PM
The original brackets are needed to get the holes in the right places, and the distance between the 2 uprights.
The 40mm peice is an 80mm peice cut in half.
This make's one bracket
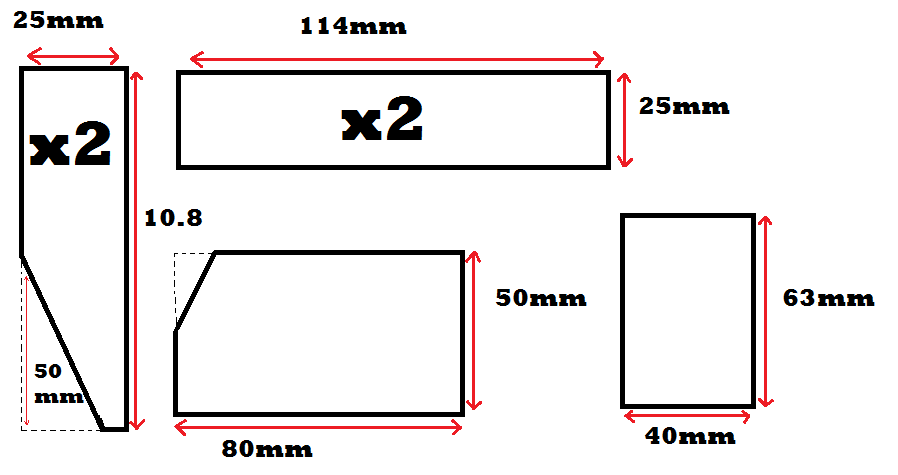
Once these are cut out:
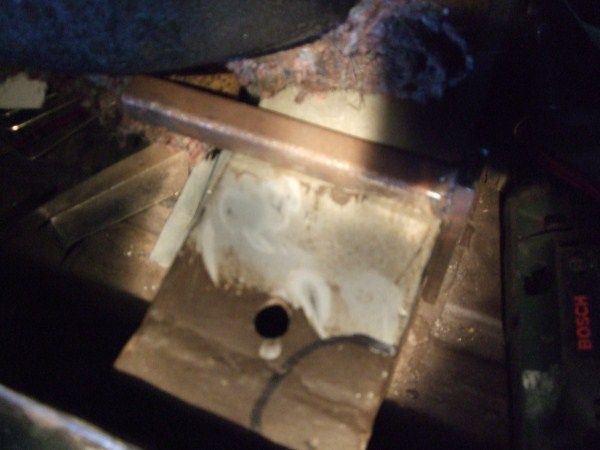
First off I welded 2 peices of metal to the angle of the cross member.
I welded the 2 25mm peices together using the angle gauge made.
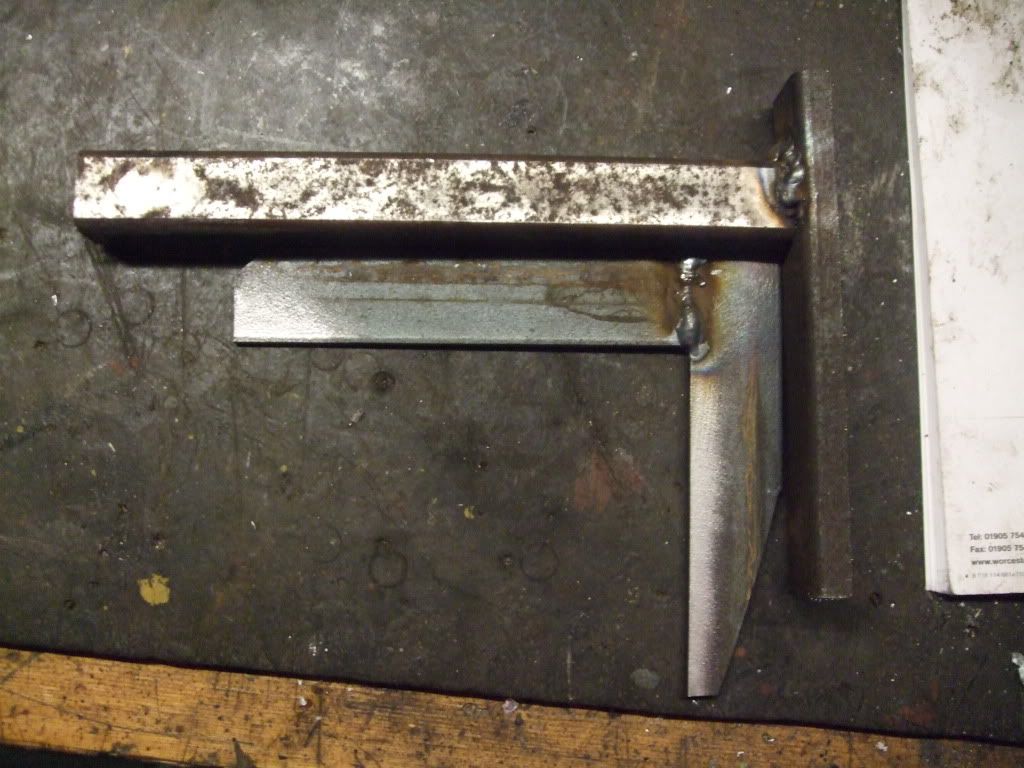
grind down the welds and curve the tops.
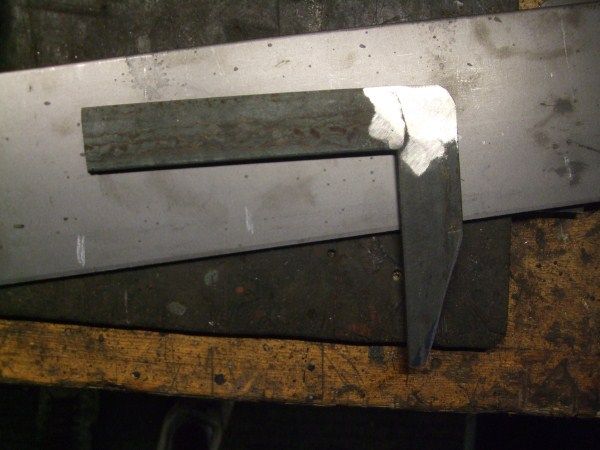
Drill holes about 20mm from eachother by clamping the 2 together.
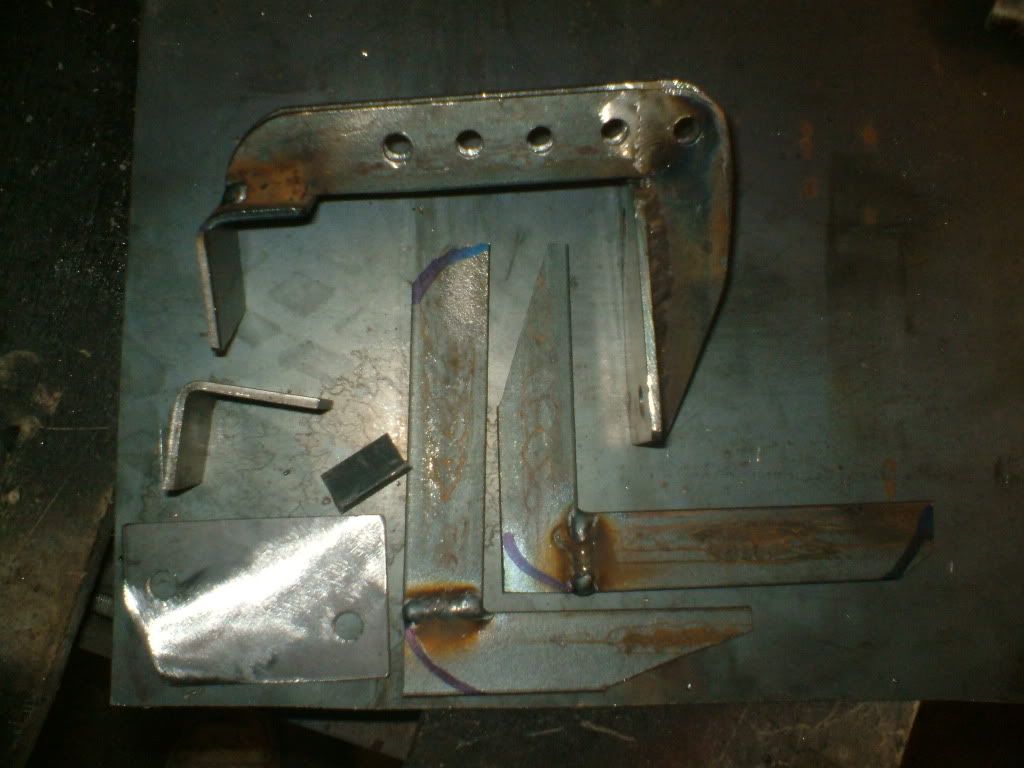
With the original bracket mark and drill holes for the bolts. Like above ^^
Then weld it together, again checking where the holes are and where the right angle peice goes.
Then weld in a small peice of metal between to strengthen it.
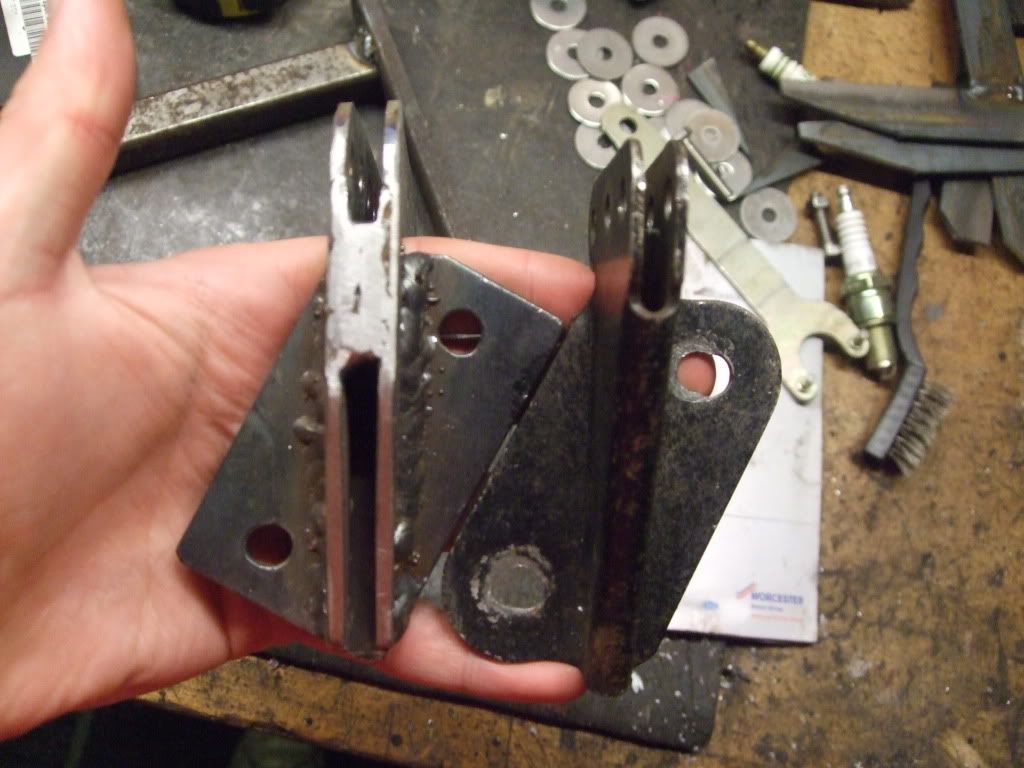
Drill 2 holes in the 40mm peice of metal to secure it to the cross member (we are going to use Rivnuts) then Bend it 90 degrees. and weld it on, so then when it's welded fits over the cross section.
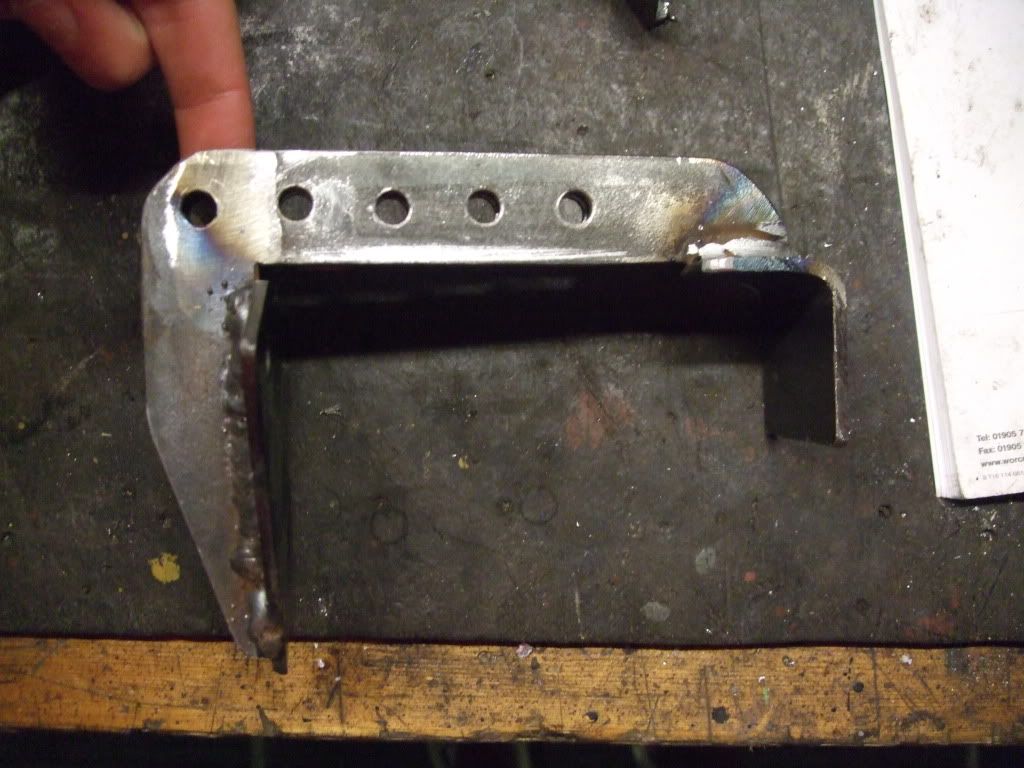
This is all the peices.

All finished
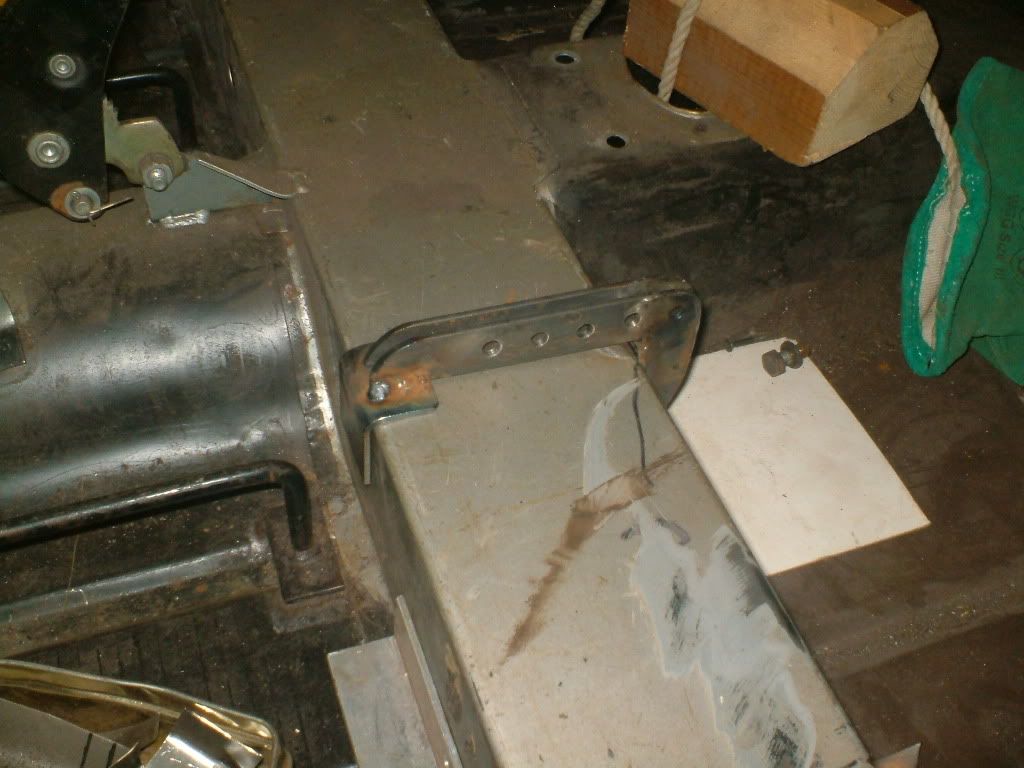
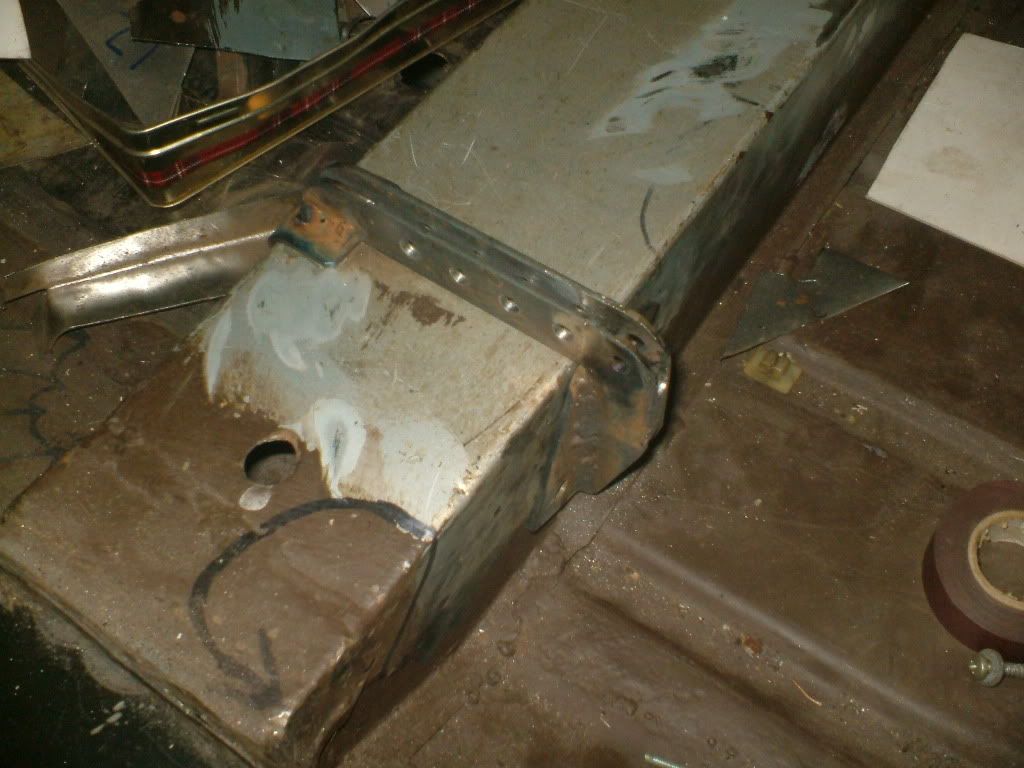
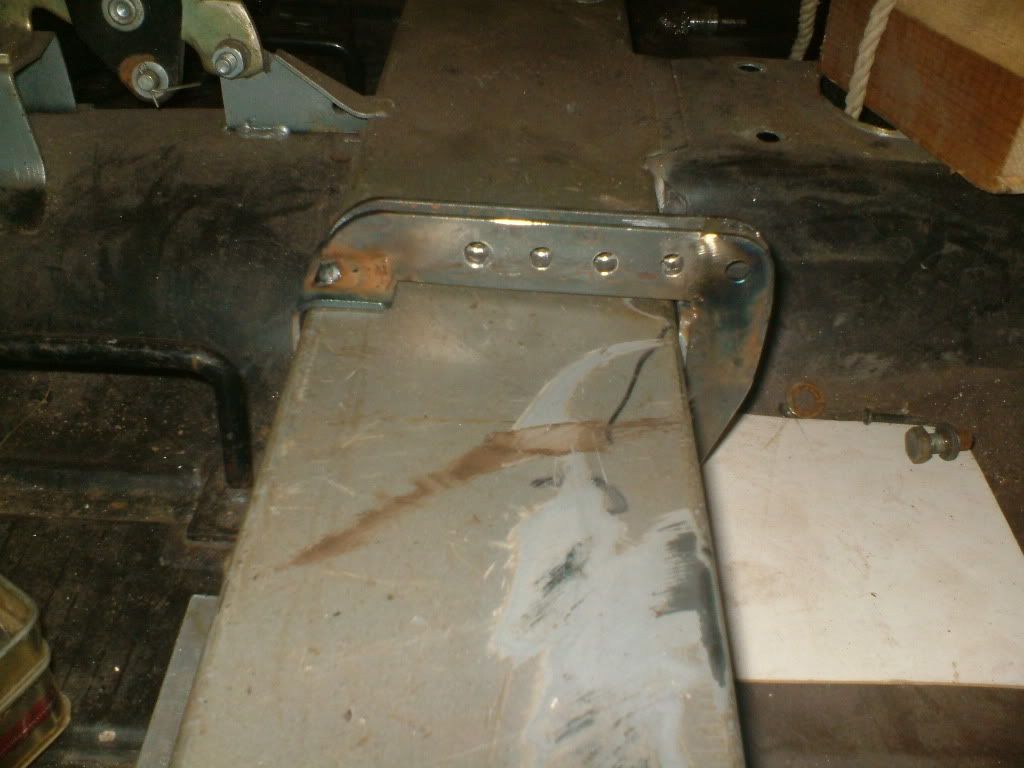
How far it's moved back. It want move any further back else it'll foul the rear bin.
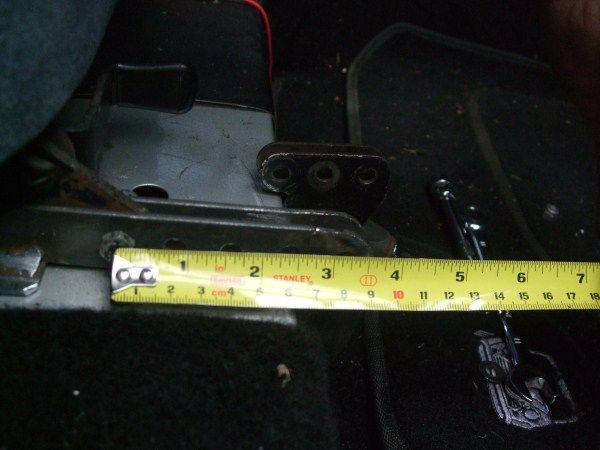
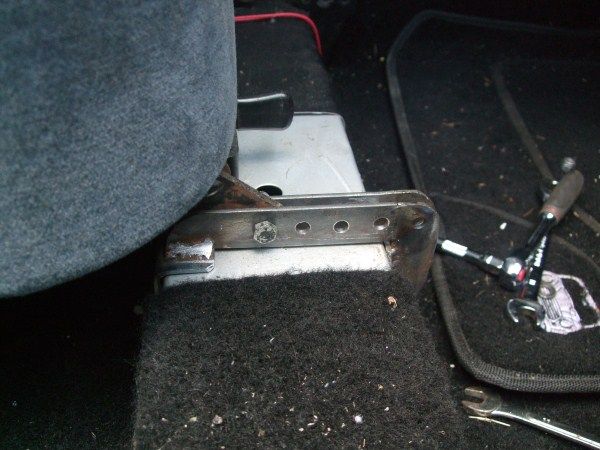
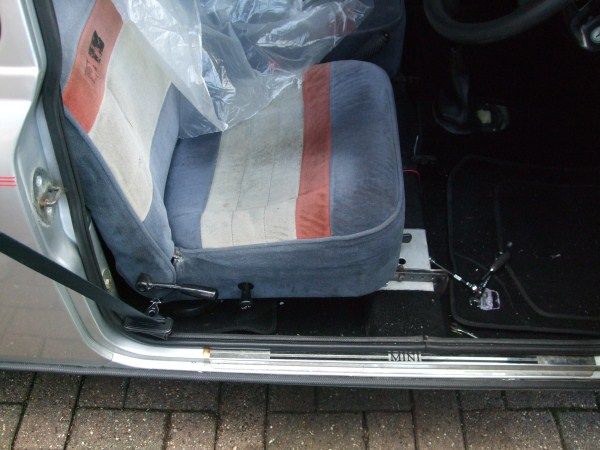
You may have to move the seat catch rails as it's to far back, I would drill one hole so that you can bolt it in two positions. where the last red dot is.
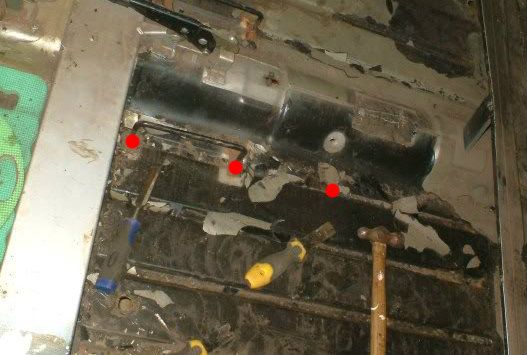
It's a lot more difficult to explain than i thought, If you need any help just ask.
Hope this helps
Alex
#290

Posted 28 January 2013 - 10:21 AM
#291

Posted 28 January 2013 - 10:31 AM
Cheer's, I think I will tonight.Perfect Alex, might be a useful guide to many, maybe post it in the tech section and a moderator may pin it so it's not lost.
Also For the catch rail's put a bolt in the spare hole so if need be the bar can be moved forward and back easily.
#292

Posted 31 January 2013 - 09:17 PM
#293

Posted 31 January 2013 - 09:18 PM
#294

Posted 31 January 2013 - 09:59 PM
Haven't thought about brackets for the steering wheel, Got plenty of time to do it thoughany special brackets for the steering wheel ....
might need to lower that one from standart
Cheer's craig, I should be able to get on with it a bit more this weekend.They look brilliant mate... well done. Can't wait to see more progress on this
#295

Posted 02 February 2013 - 02:47 PM
#296

Posted 02 February 2013 - 09:36 PM
Cheer's Driezzie.nice thread alex !
#297

Posted 18 February 2013 - 10:35 AM
#298

Posted 18 February 2013 - 09:59 PM
Cheer's Todd, The fronts not too bad, much more fun repairing it. They're pretty easy to make, and alot cheaper than buying them, Here's my "how to guide2 with a couple more pictures http://www.theminifo...-seat-brackets/, sounds funLooking good, Alex! I'd have given up on that front end a looooooooong time ago! Thanks for sharing the secret of the seat brackets, I might have to knock some off as my car came with none, I sat down in it to roll it down the driveway and fell backwards onto the back seat! D'oh!
I've owned it for 3 years today
#299

Posted 22 February 2013 - 07:28 PM
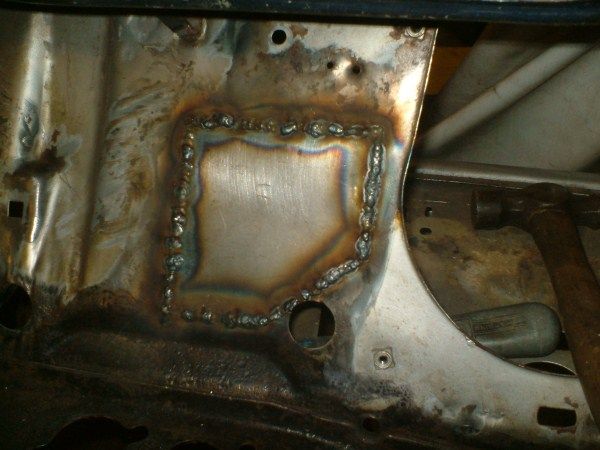
Welded the repair I made.
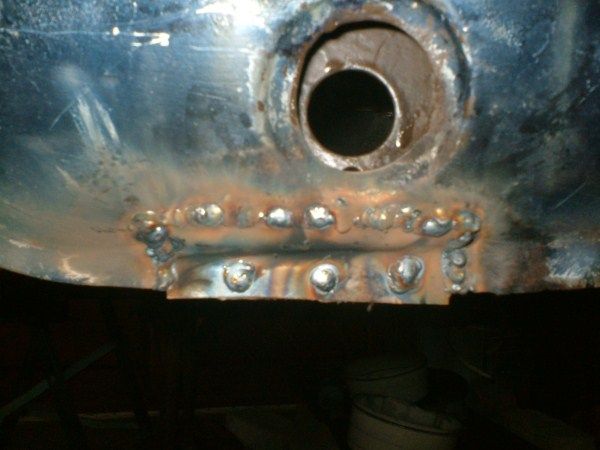
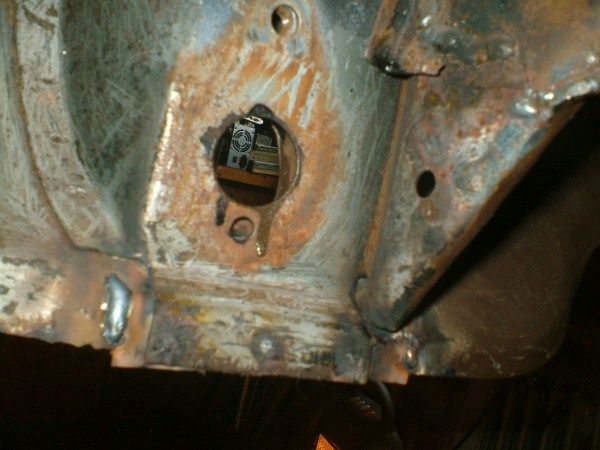
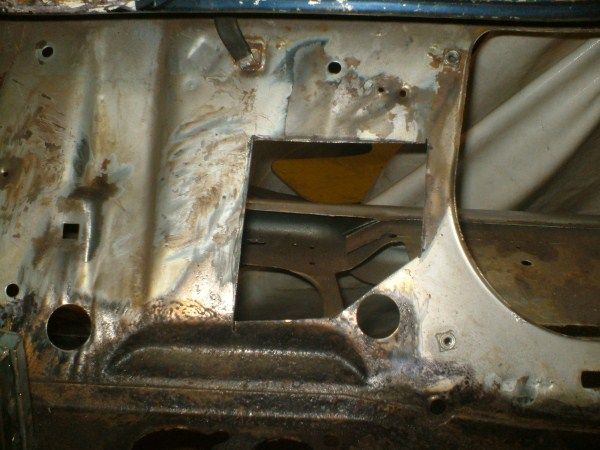
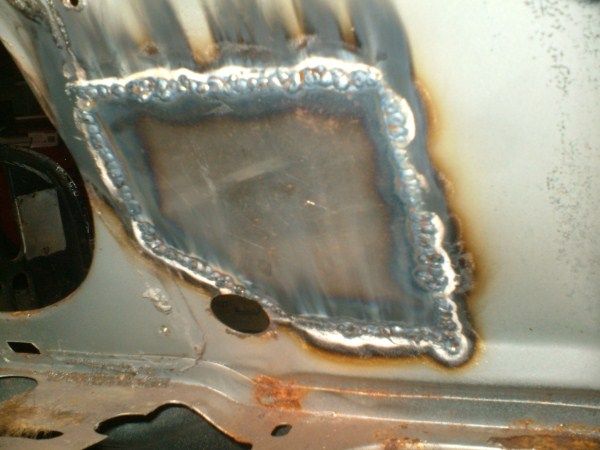
Then done a repair on the bulkhead.
Cut out.
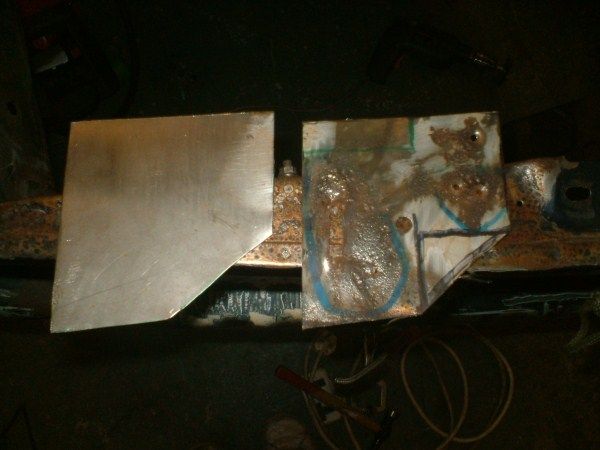
Old and new.
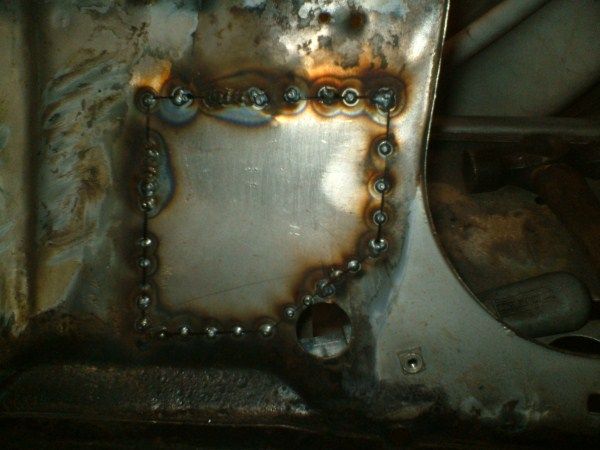
Fully welded
inside
Thats about all I done today, other than wire brushing the number plate and front bumper mount things.
Any comments welcome.
Edited by alex-95, 22 February 2013 - 07:46 PM.
#300

Posted 02 March 2013 - 09:00 PM
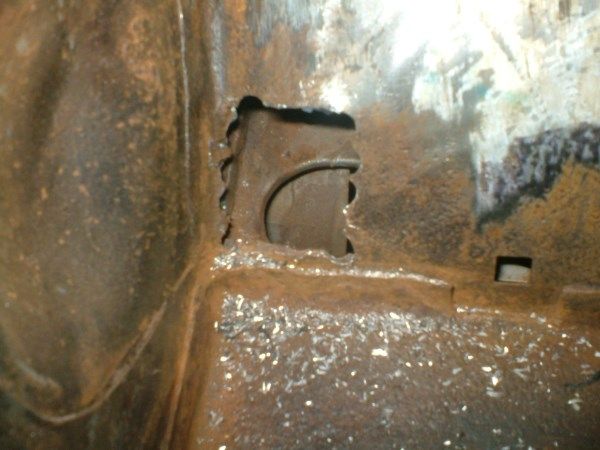
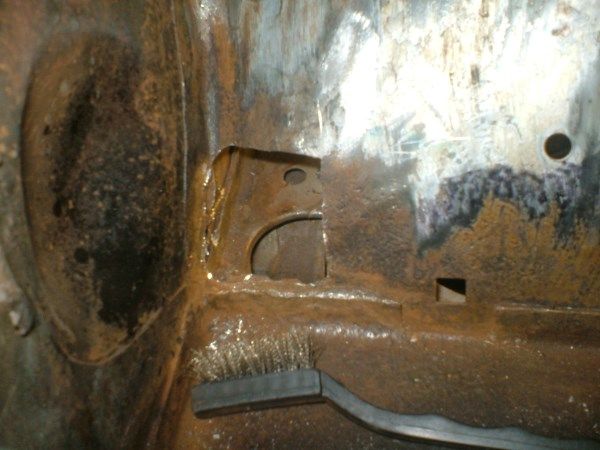
And welded in a new peice in and ground down, which was also a pain.
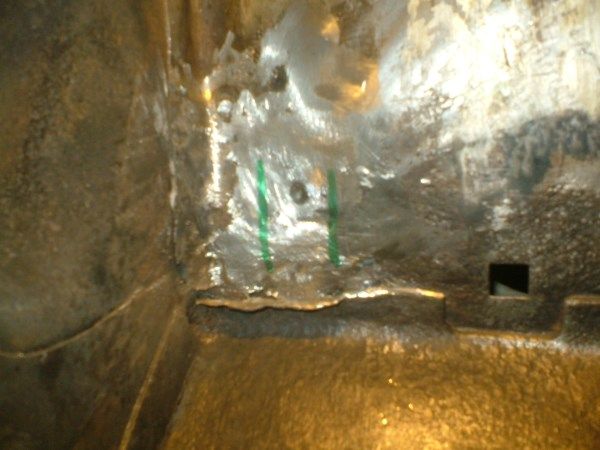
While I was welding it in Dad took off the last peice of the wing.
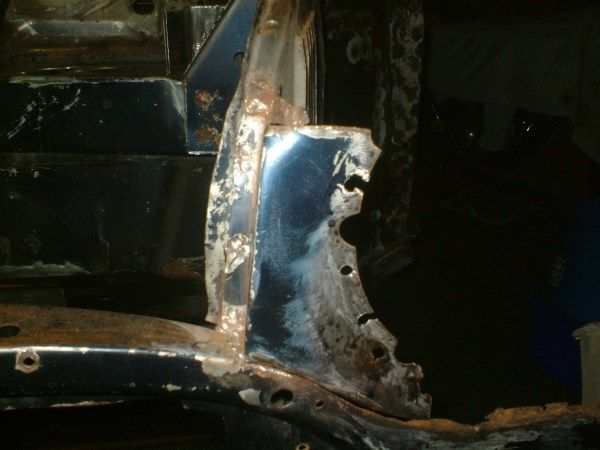
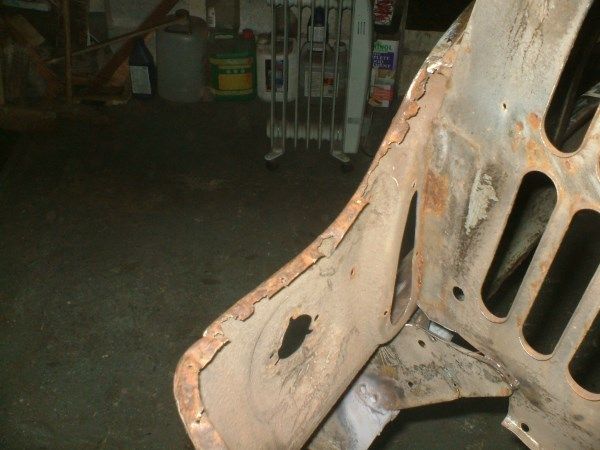
So today made a new peice for it.
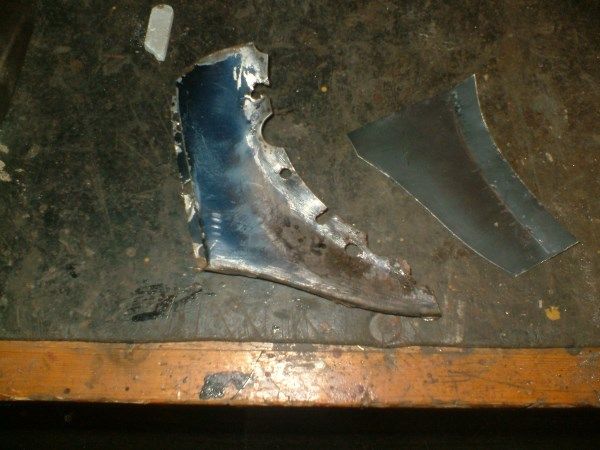
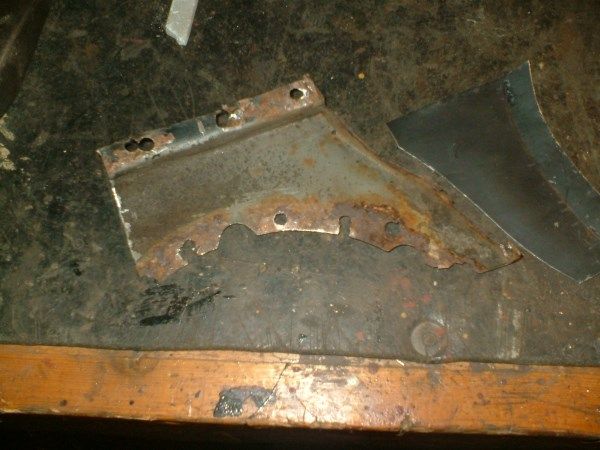
Dad took off the mounting bracket that fits between the inner wing and front panel.
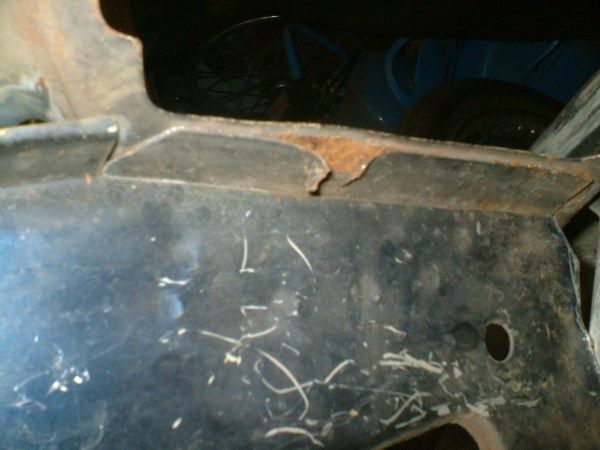
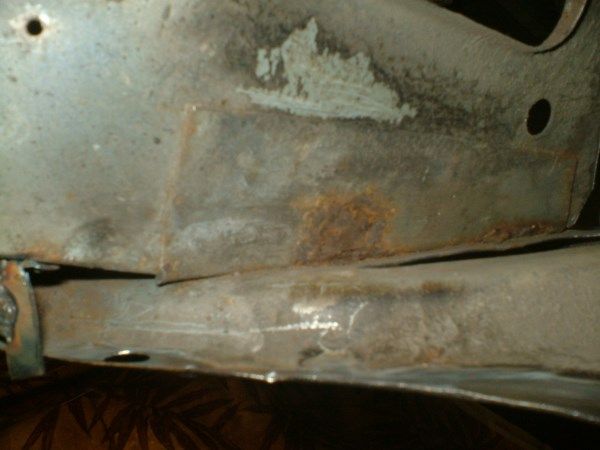
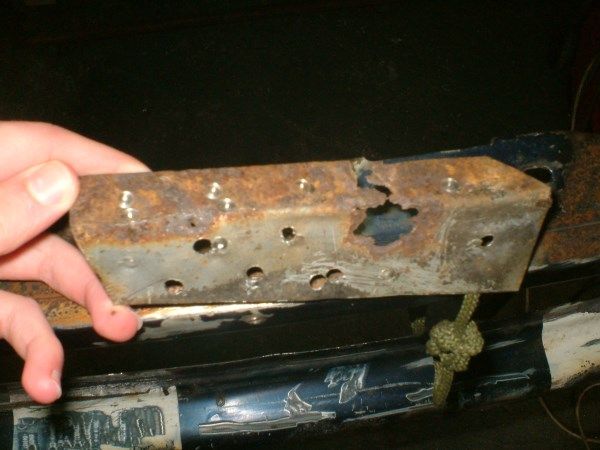
Made a new peice and welded it in.
I cut out and welded in the inner wing repair.
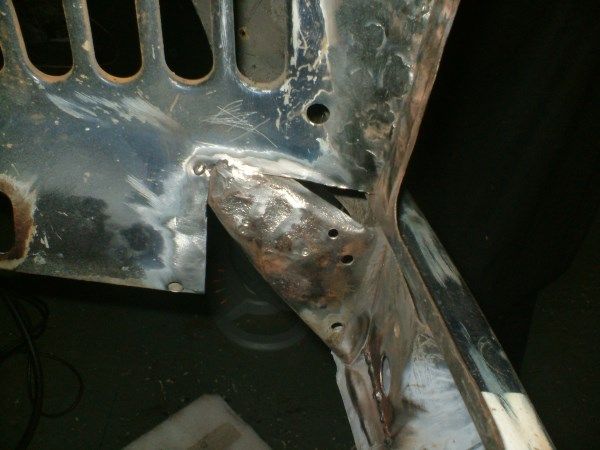
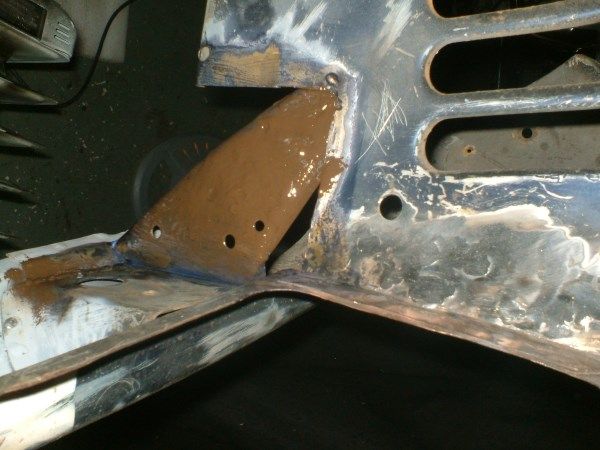
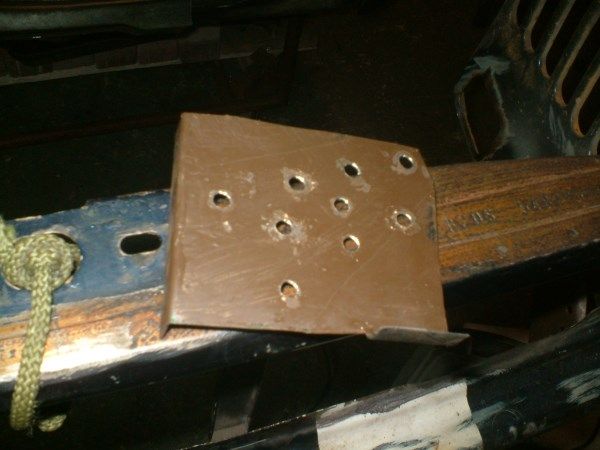
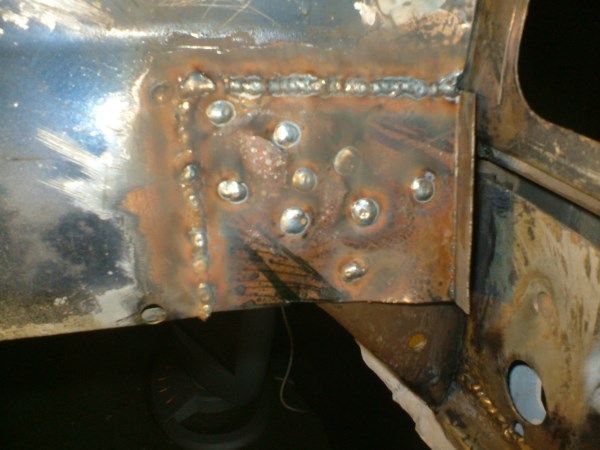
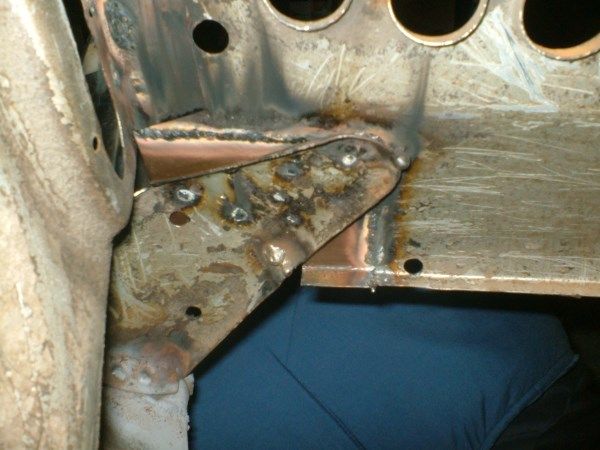
I had to drill out the bottom to plugs and redo them as they didn't catch.
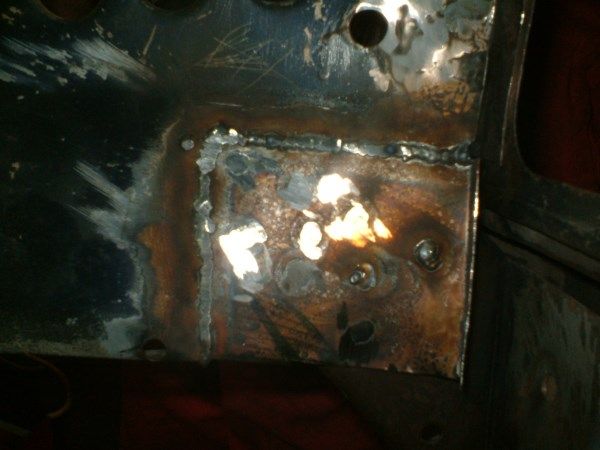
We did do a few other bits and fitted the seat brackets in the RITZ.
Any Comments welcome.
Alex
9 user(s) are reading this topic
0 members, 1 guests, 0 anonymous users
-
Bing (8)


