Alex's 1982 Hle Rebuild
#226

Posted 14 October 2012 - 09:40 PM
#227

Posted 15 October 2012 - 08:47 AM
Don't take this the wrong way, but.....If you want to leave the pan in position you need to drensh the toeboard bit in Kurust, Maybe a bit late for this but.......personally I would sand flat the new welds, drill them out, cut of the rusted toeboard bit by 1 inch above the new pan(use as template) and weld in the new bit to complete the toe-board ledge, then spotweld the new pan back in position.
Then again that is what I would have done or would do if I where you, rust is a VIRUS, you can't cover it up you need to get rid.....
#228

Posted 15 October 2012 - 11:15 AM
Nice and neatly done mate looking great!Any feedback good or bad.
#229

Posted 15 October 2012 - 02:42 PM
Cheer's noah, I don't see any point in them, I'm going to weld up the other ones in the floor to.Looks good, glad you welded up the holes, thats what I'm planning on doing, they don't make sense to me?!
#230

Posted 15 October 2012 - 02:53 PM
I wire brushed as much as I could then kurusted it as far as i could, I have some spray stuff that i can squirt in the hole and I'm going to spray a load of waxoyl in as well. Yeah I wire brushed the lip and a couple of inches up, gave it a coat of kurust and then a coat of the poo brown hammerite.Hi Alex, yr inner sill repair looks good nd the toggled wnd looks fine, the floorpan looks square in position I am sure yr happy with that,one comment I would like to make,...before you welded the inner-sill repair onto the crossmember end, did you rust treat inside the crossmember?(If not, Use diitrol 'rust preventing spray' or waxoit the inside crossmember asap), and the the new footwell lip to toeboard, I can see you have spowelded that one already, did you rust treated the toeboard lip before offering the new pan,....?
Don't take this the wrong way, but.....If you want to leave the pan in position you need to drensh the toeboard bit in Kurust, Maybe a bit late for this but.......personally I would sand flat the new welds, drill them out, cut of the rusted toeboard bit by 1 inch above the new pan(use as template) and weld in the new bit to complete the toe-board ledge, then spotweld the new pan back in position.
Then again that is what I would have done or would do if I where you, rust is a VIRUS, you can't cover it up you need to get rid.....
It's plugged in now so isn't coming out
#231

Posted 15 October 2012 - 02:53 PM
Cheer's AshNice and neatly done mate looking great!
Any feedback good or bad.
#232

Posted 15 October 2012 - 03:05 PM
#233

Posted 15 October 2012 - 03:47 PM
#234

Posted 15 October 2012 - 03:50 PM
all good then,....poo brown hammerite.....izza rusty colour....a bit decieving. if the metal was thick enough after wire brushing yr ok as is.
#235

Posted 15 October 2012 - 03:52 PM
Cheer's joe, It is, I need to get this area finished asap so I can take the engine outLooking good Alex. Really coming on now. Keep up the good work. Joe
#236

Posted 15 October 2012 - 04:13 PM
Cheer's joe, It is, I need to get this area finished asap so I can take the engine out
Looking good Alex. Really coming on now. Keep up the good work. Joe
how you taking the engine out? lifting it out or dropping the subframe out the bottom? we lifted the body off mine and dropped the complete subframe. dunno which is easiest to be honest. lol. just don't forget to disconnect the speed sensor from the gearbox (like I did! haha)
oh, and watch the petrol pump on the back of the engine. I somehow managed to snap one of the pipes off mine.. still not quite sure how.. lol
keep up the good work. Joe
Edited by joezone2001, 15 October 2012 - 04:14 PM.
#237

Posted 15 October 2012 - 04:18 PM
We're going to lift the body and pull out the subframe to. I think I'll check a few times that i've disconected it all
Cheer's joe, It is, I need to get this area finished asap so I can take the engine out
Looking good Alex. Really coming on now. Keep up the good work. Joe
how you taking the engine out? lifting it out or dropping the subframe out the bottom? we lifted the body off mine and dropped the complete subframe. dunno which is easiest to be honest. lol. just don't forget to disconnect the speed sensor from the gearbox (like I did! haha)
oh, and watch the petrol pump on the back of the engine. I somehow managed to snap one of the pipes off mine.. still not quite sure how.. lol
keep up the good work. Joe
#238

Posted 21 October 2012 - 05:48 PM
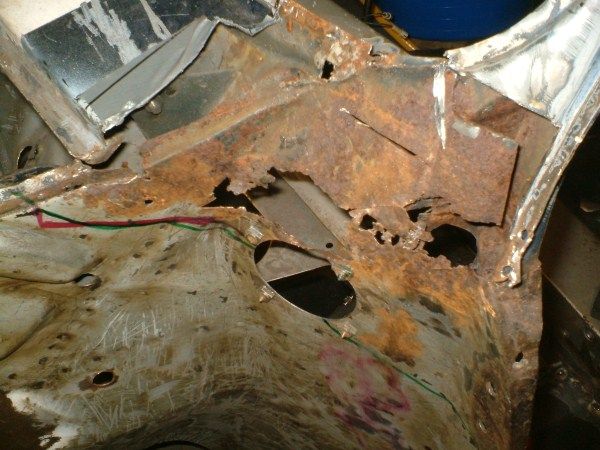
We started by cutting out the rust and the part behind.
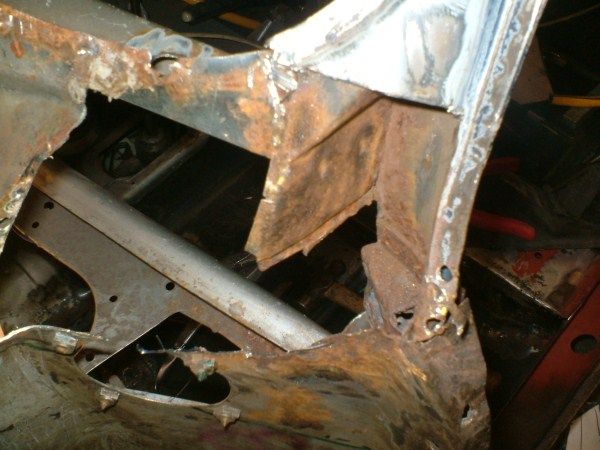
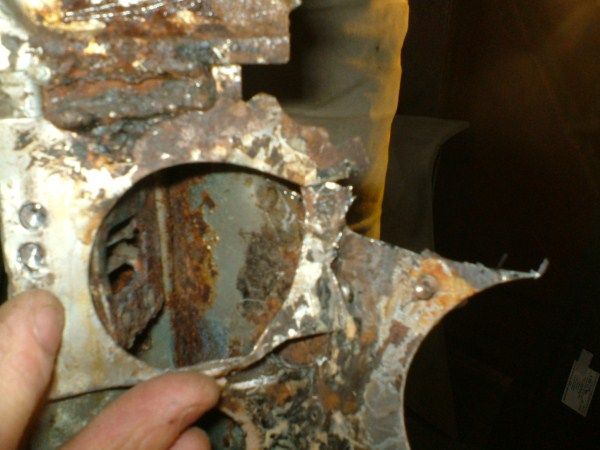
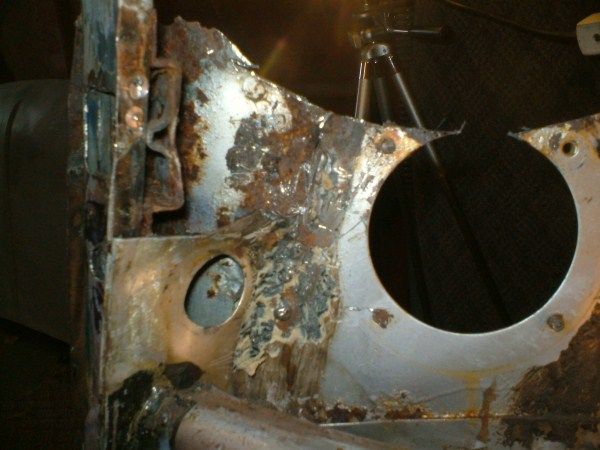
Made a new peice for where the door stop thing goes through?
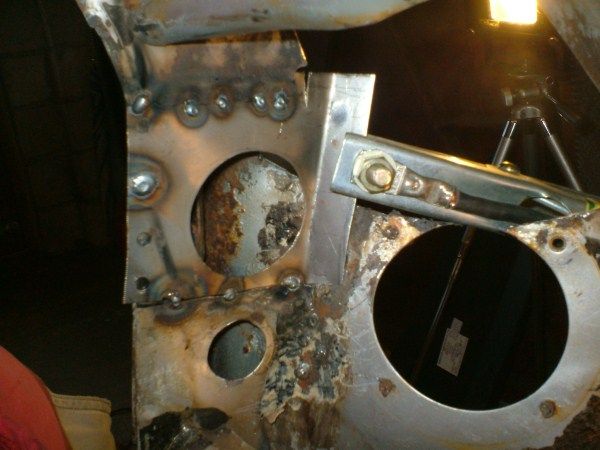
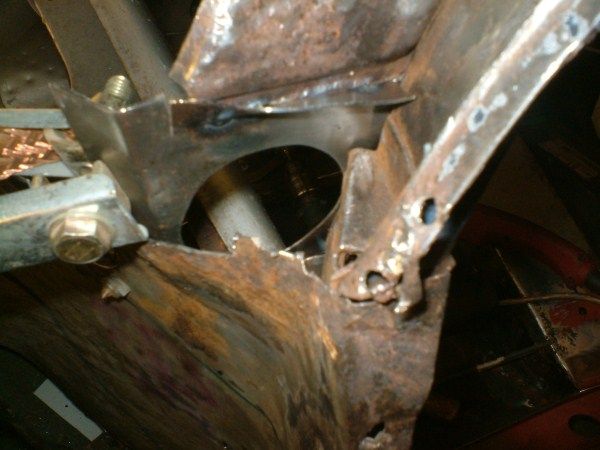
Then we cut out the top peice where the wing sits.
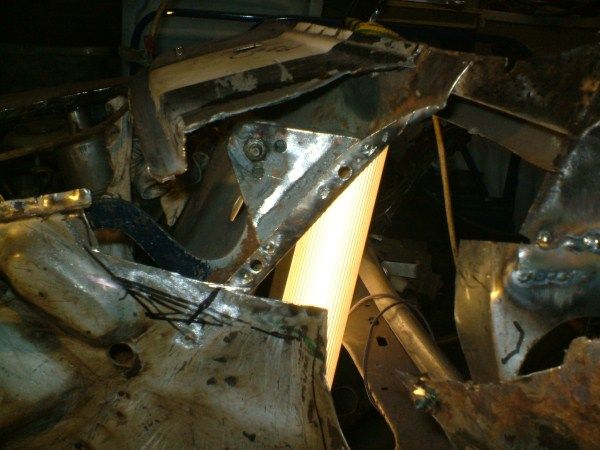
Made a new peice and tacked it in. I also welded on the nut on for the bonnet hinge as it's a pain to get to.
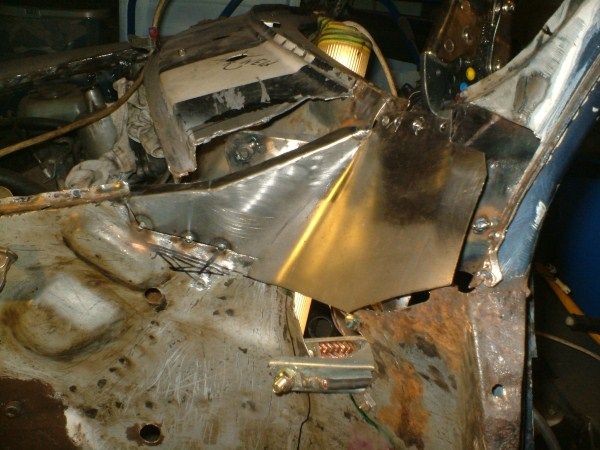
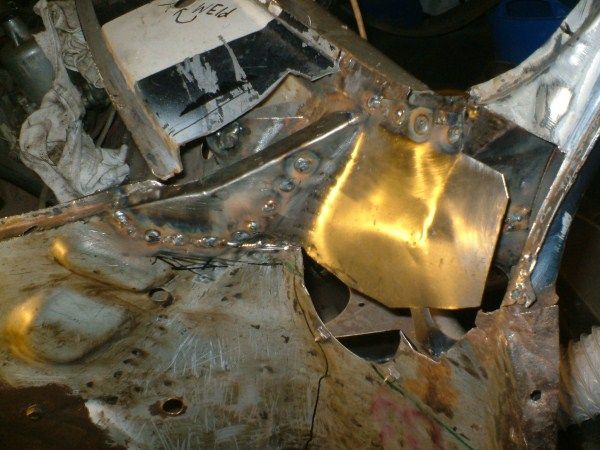
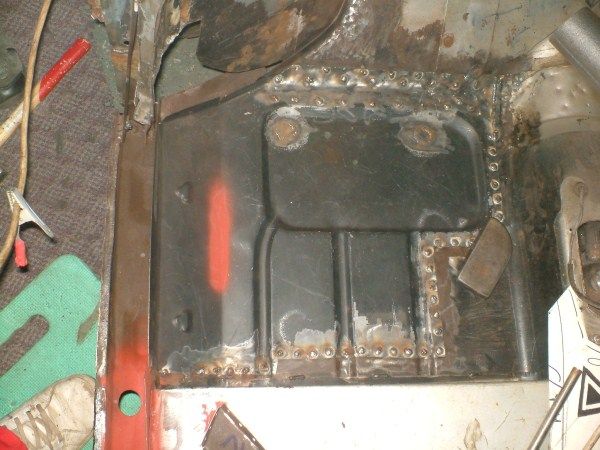
Today we finished plug welding the floor pan
Then we set about cutting the flitch off
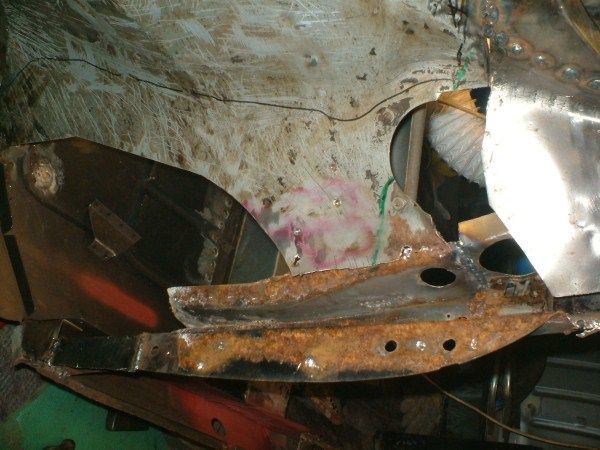
Wire brushed the door post
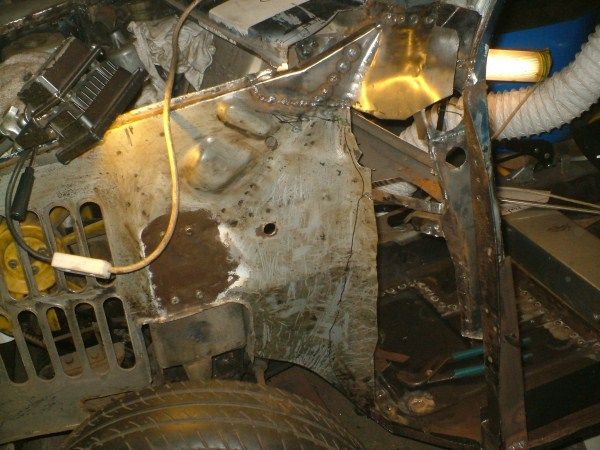
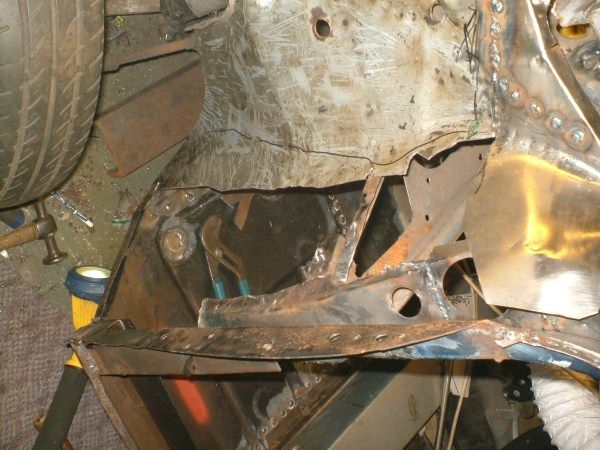
There was no piece joining the flitch to the top of the a pillar, so we made a peice to fit in so it's not loose.
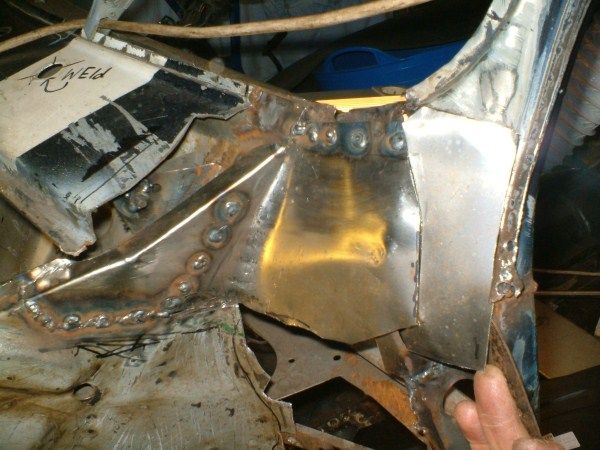
I then gave the door post a coat of kurust.
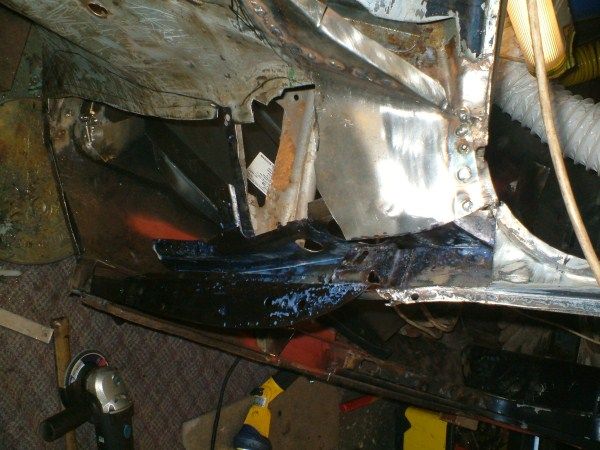
We're going to joggle the original flitch so left about a centimetre of overlap.
And thats how we left it.
Alex
#239

Posted 21 October 2012 - 05:56 PM
Needed this thread on my first resto when i had no clue where to weld...maybe because it was all rust lol!
Looking forward to the end result
#240

Posted 21 October 2012 - 06:59 PM
Bet you can't wait to drive it?
We have just bought a 1982 HLE aswell with only 14,000 on the clock.
Alex
1 user(s) are reading this topic
0 members, 1 guests, 0 anonymous users


