My Latest Toy... Jago Geep
#1

Posted 25 September 2011 - 05:52 PM
After looking at various road buggys, I stumbled onto the Jago OC via looking at a rather cheap Jago Samurai. After deciding I just couldn't let the Samurai off for being so god damn ugly, I started to warm to the Geep...
One instantly caughty my eye, but I wasnt willing to do the 400 mile trip, and pay what the fella wanted for it! (£750)
A couple of weeks later, it cropped up on ebay where I took a punt and put in my highest bid without seeing the car! A few minutes later and it was mine for the sum of £560!
A cheap train ticket (£38), and i was on my way to Sheffield!
Overall the trip took me 12 1/2 hours, and I got home on 30 quids worth of fuel! Result!!!
To save my little fingers, I have just copied and pasted the thread from pistonheads!
#2

Posted 25 September 2011 - 05:54 PM
This name however I can't for the life of me remember, so here I am with a new account!
I previously owned a non SVA'd Freestyle buggywhich I bought a couple of years ago when I sold my Elise due to impending new family!
How ever after a year of stripping paint, undoing rusty old bolts, painting things and not actually doing any driving what so ever I got fed up and sold it!
Which brings me nicely onto my new project!
I wanted something cheap, fun and nothing to offensive looking.
It also had to have 3 seats, or at least room to add another seat if it were only a 2 seater!
A Jago Geep. DONE!
I bought it off a guy who's on the Jago OC, but actually purchased it off of eBay after deciding it wasn't worth what the guy was asking for it!
So after handing over 560 notes, a 12 1/2 hour hourney I ended up home on a sunday evening with this....
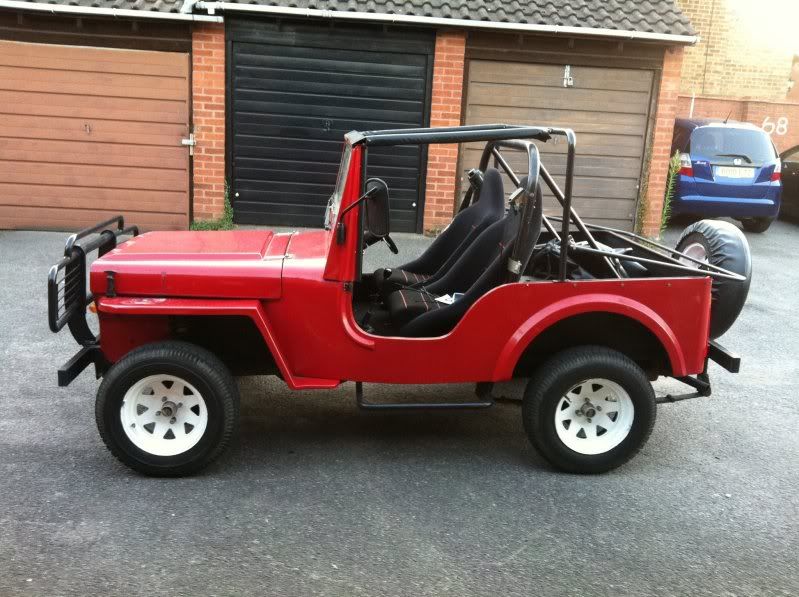
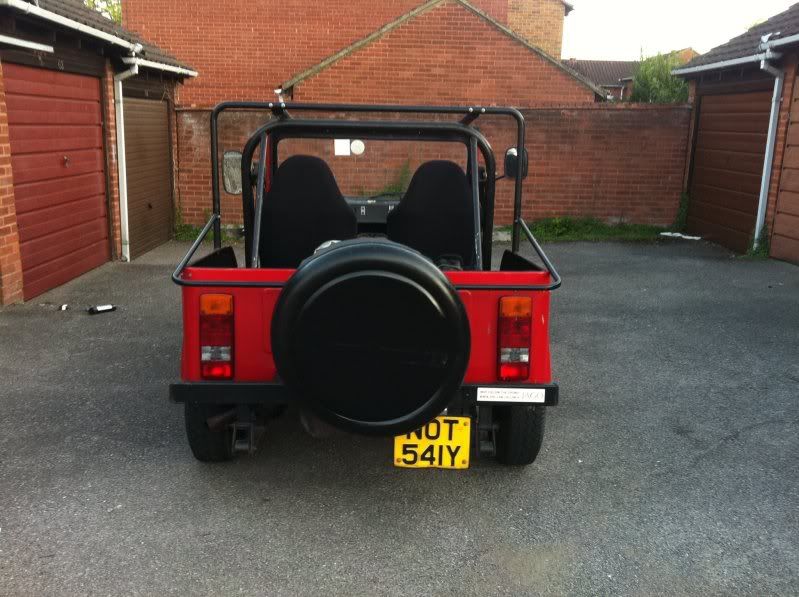
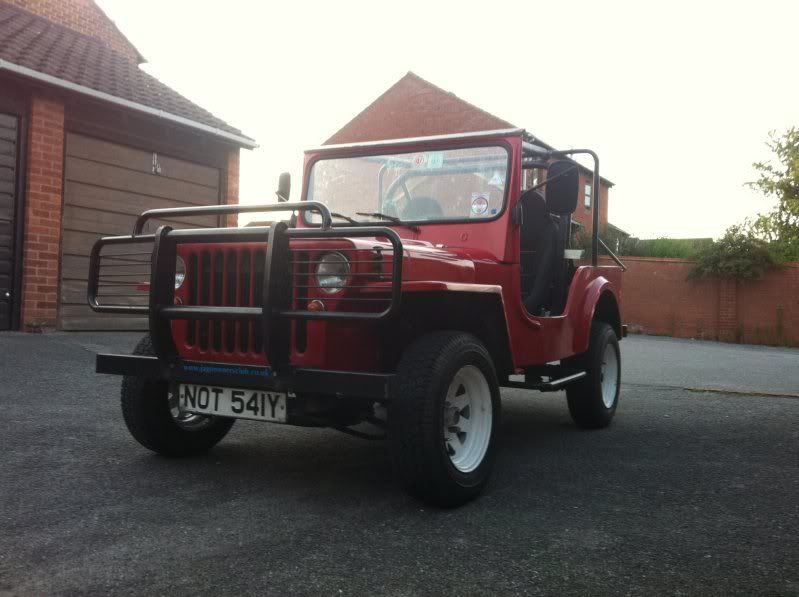
After an evening of fiddling and pretending I knew what I was doing I ended up with this!
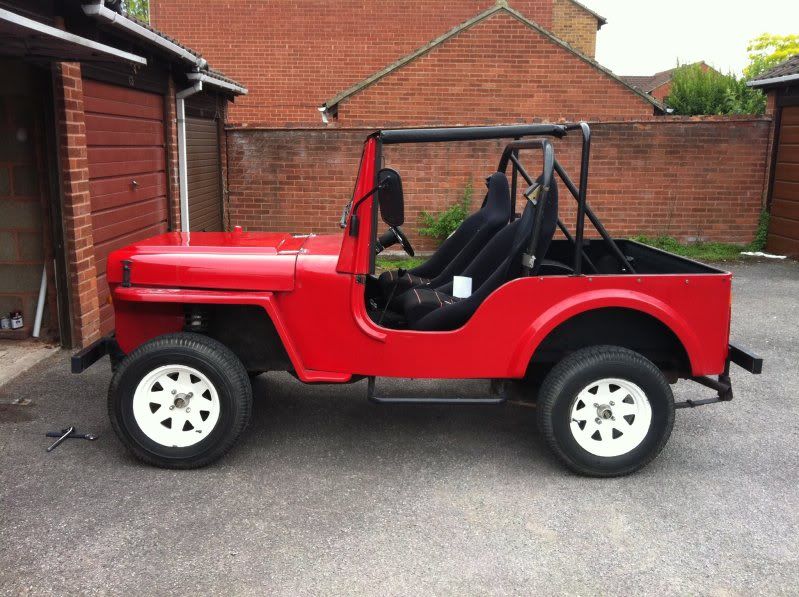
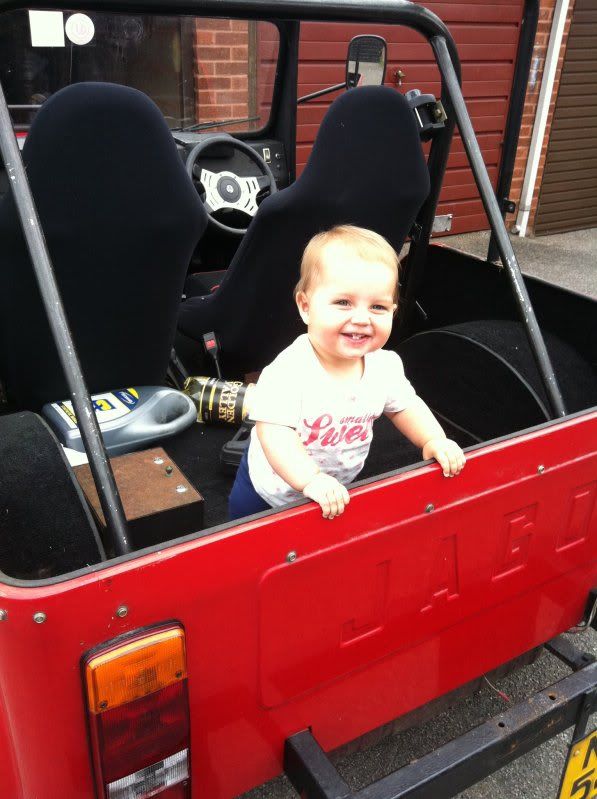
Also got approval from the pork chop and mrs!

Last friday I had the day off, so spent the afternoon giving it a good hoover, polish and general clean up!
He now looks a lot fresher, smells a lot nicer and is generally all round a lot happier! (he told me so)
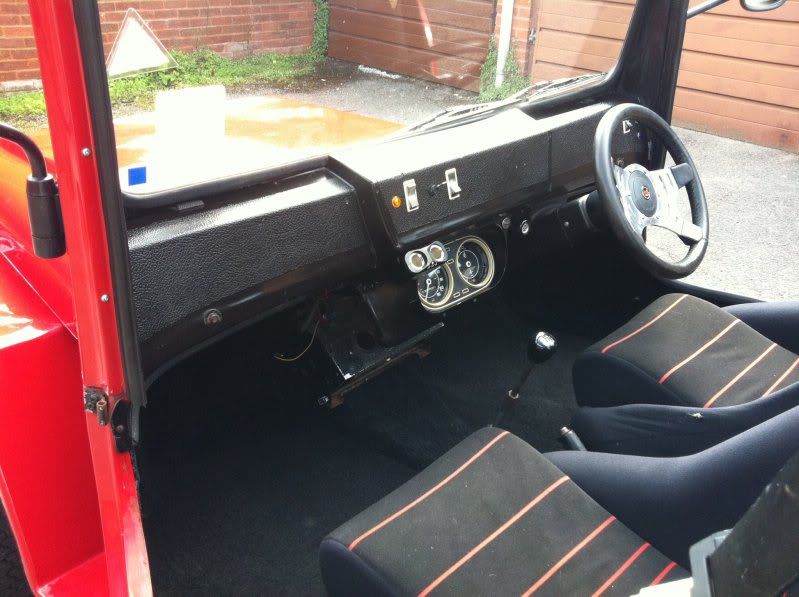
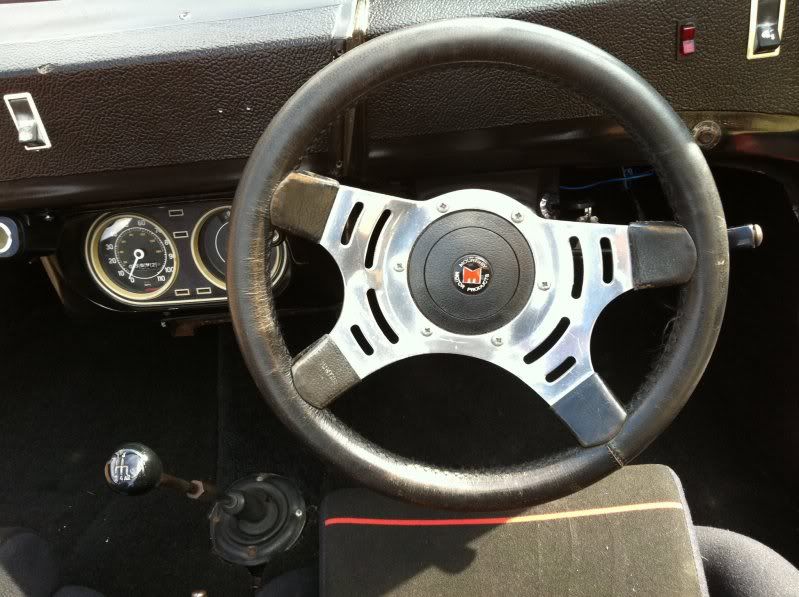
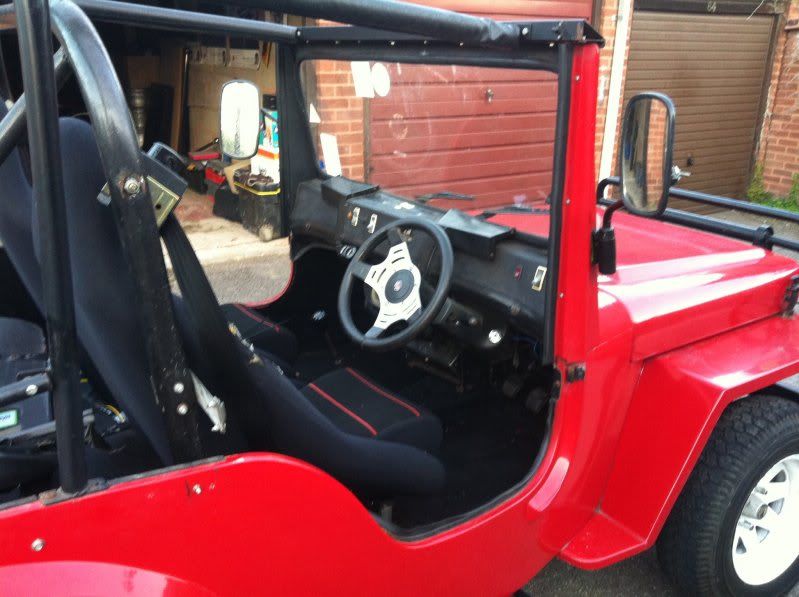
Over the last couple of evenings I have been attacking the front bumper with a wire wheel to remove the years of thick black hammerite.
It is now fully cleaned up and I even got a bit adventerous (SP) and sprayed some primer on it!
Will upload some pics when i'm next on, as im lazy and watching my beloved Arsenal!
So the plans are to basically smarten him up, put on a set of 15'' Wellers with some aggresive tyres, new exhaust as this one has a couple of holes in it, and fit a 3rd seat!
All the work however will be carried out in my garage which has no electricity or heating, so progress in the winter months will probably be non-existant!
Well that's all for now!
Bruce
#3

Posted 25 September 2011 - 05:55 PM
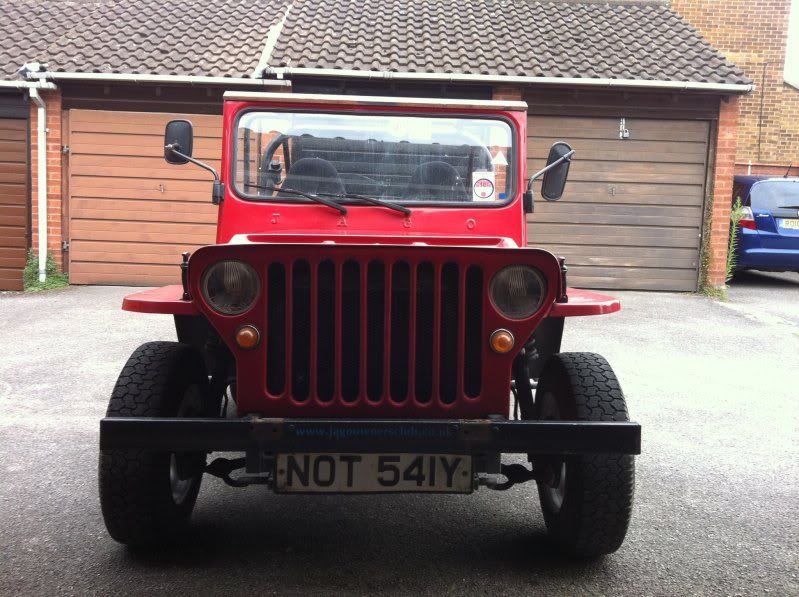
The front bumper is now painted satin black and looking ten times better! I have a few 'process' pics but wont bore you with em' as its all pretty standard stuff!
I also decided to paint the 'chrome' indicator bezels as they were rusty and rubbish!
As I was smartening up the front, I decided to re-paint the rad, and give the front mesh a quick dust with black paint to!
I also had a new front number plate made up, which I have now decided I don't want to use as I need a square one! <rolls eyes>
This is how the front of the old boy now stands!
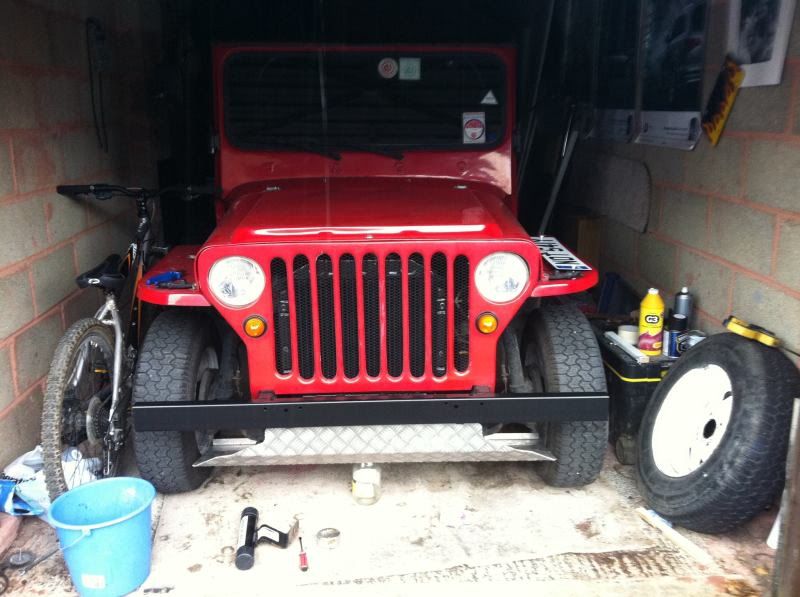
I'm yet to cut the ali bash guard down and mount it, but this is the next job on the hit list!
Seems to be coming together nicely!
Got to try and source some nice cheap seats now to replace the manky old buckets, and also get a third to fit in the back!
#4

Posted 25 September 2011 - 06:17 PM
After a quick investigation, the loom is a mess! It looks like it has been cut around so much I think it may be worth just getting a haynes manual, an old Mk1 escort loom and starting again!
#5

Posted 27 September 2011 - 09:02 PM
#6

Posted 29 September 2011 - 06:34 AM
#7

Posted 29 September 2011 - 07:08 PM
#8

Posted 29 September 2011 - 07:13 PM
I remember these from years ago!!
#9

Posted 29 September 2011 - 08:50 PM
I plan to keep the wellers, but I want 15'' so I can fit some aggresive tyres on them. Currently I cant find any tyres with an aggresive enough tread to go on the 14's!
Its a 1300 X-flow engine, which is fine for me as its cheaper to tax, and I will be driving around with the family in it, so speed will obviously be the last thing on my mind!
No more progress as of yet, although I hae to investigate as to why the rear lights arent coming on with the headlights.
Any tips on how to do this?!
#10

Posted 30 September 2011 - 07:42 AM
I'd start by checking the bulbs then the voltage at the rear light cluster.
If there is 12V then likely an earth fault.
If no 12V you need to find a point further up the loom where the you can check the vlotage, possibly the switch or the fuse.
#11

Posted 30 September 2011 - 08:16 AM
#12

Posted 07 October 2011 - 10:02 PM
#13

Posted 08 October 2011 - 04:08 PM
He was given it, but the fella who gave it to him used to be something to do with the Jago OC. Dont know if he created it or what, but it was his pride and joy! It had been stood for 10 years up until early this year....
As to the wiring, I've decided the wiring is such a mess im going to pull out the old loom (if you can call it that!!!), and replace it with a modified 7 loom...
Will post the progress pics up when I start with it!
#14

Posted 09 October 2011 - 02:26 PM
I took a few pics so you can see for yourselves what I have to work with here!


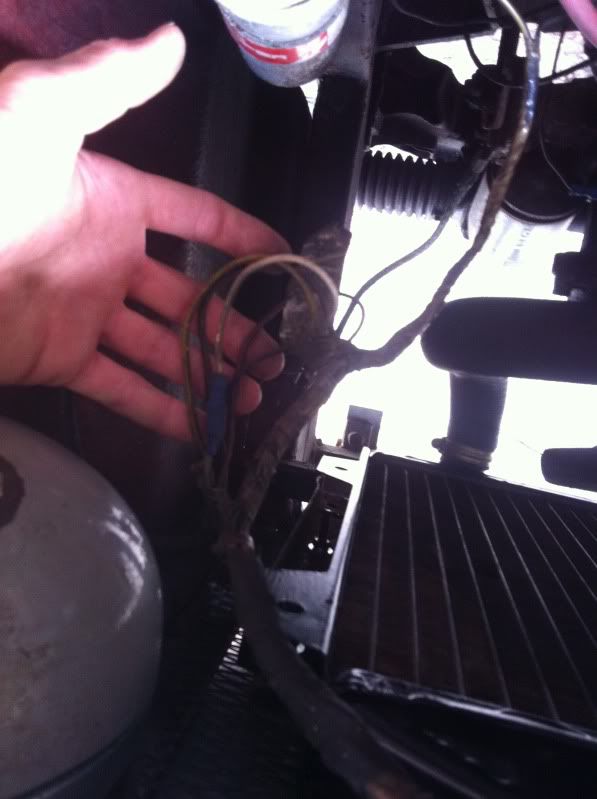
On a slightly more interesting note, I pulled the dash forward to see what the wiring was like behind that, and found these...

Tickets from 96! But even better, reckon KFC will still give me my free chicken and chips?!
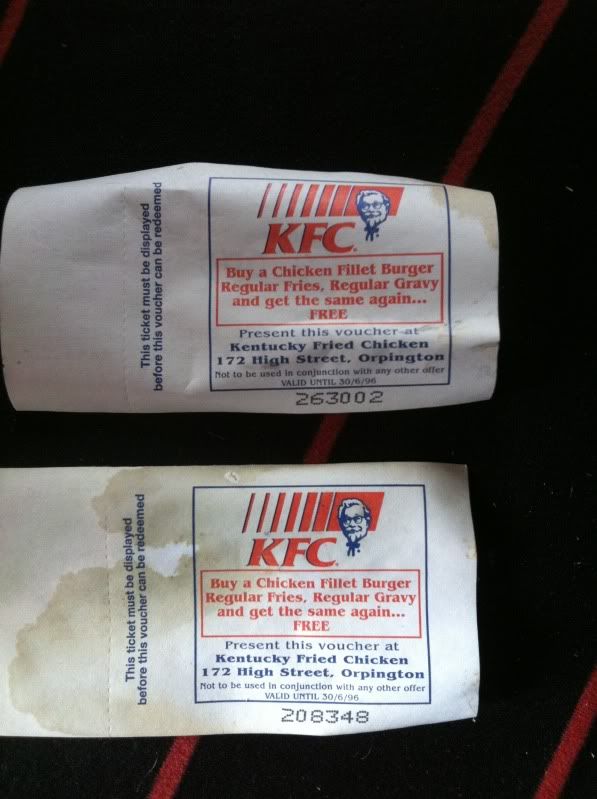
Also found this one from 95!

#15

Posted 02 February 2012 - 08:02 PM
When i bought this car the general idea was to smarten it up, and turn it into something that looks a little less 'thrown' together and more professionally built...
The Geep itself it pretty untidy, so the current area im working on is the dash. This was the original, so was littered with holes and switches that have been added over the years, and now most of them are reduntant.
I originally wanted to move the clocks to behind the steering wheel, but after test fitting it was too difficult to see the dials, and would of sat just off centre of the wheel.... which would of drove me crazy!
So the next best thing I decided was to leave them where they are, but try to make them look a little less of an after thought!
This is the original finish of the dash which I am smoothing out...

I next sanded the dash down with 120 which left me with this finish...

I didn't sand the rough surface off completly as the original fibreglassing is quite un-even, and the more I sanded the more the dash lost its over all flatness...
Holes and clock fascia fibreglassed in...


And this is how the dash currently stands...
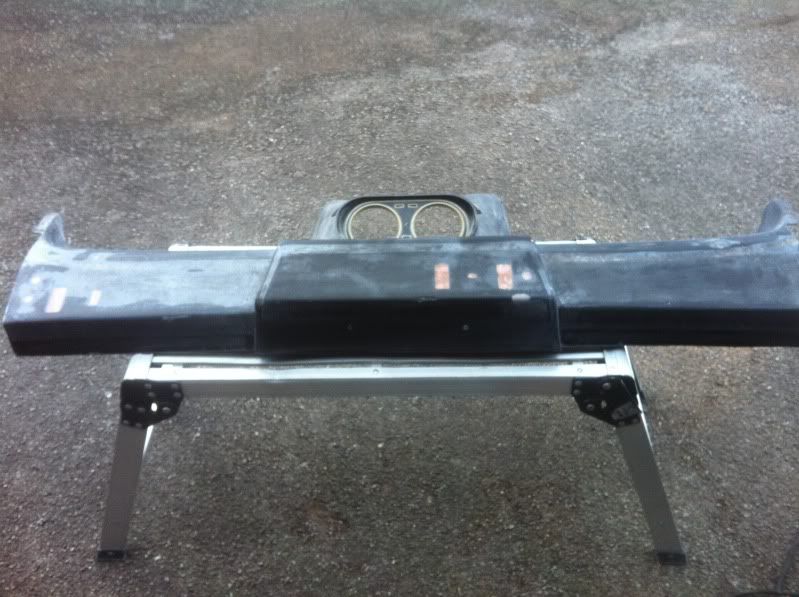
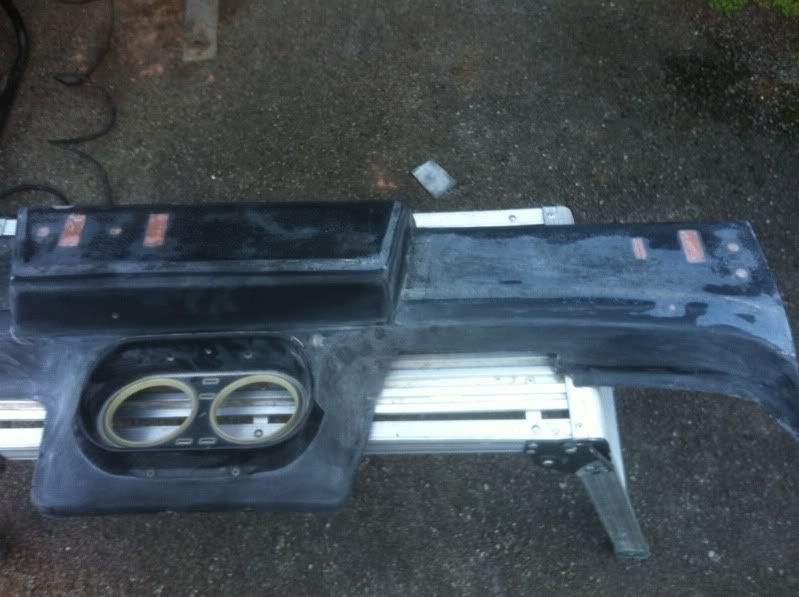
You can see where I have fibreglass out the step where the rough surface meets the smooth face. Im yet to blend the fascia in, but this will be done next time I can escape to the garage for a couple of hours!
Over all its coming along quite nicely, and hopefully it will look a touch more modern once its all sprayed up and fitted out!
1 user(s) are reading this topic
0 members, 1 guests, 0 anonymous users


