Jump to content


Photo

1980 Clubman Estate..another Sandglow


  • Please log in to reply
68 replies to this topic

#16 mini-adam

mini-adam

    Stage One Kit Fitted

  • Noobies
  • PipPipPip
  • 79 posts
  • Location: Co. Tyrone

Posted 06 November 2012 - 12:57 PM

getting stuck into body work prep and no surprises so far

roof had a small ding and easily sorted

Posted Image

one side getting 2pk primer

Posted Image

bonnet had a wee bit of rough edge along the front, sorted that and primed

Posted Image

and doors needed sanded smooth

Posted Image

rear doors had a few holes along the bottom

Posted Image

#17 ClubbyAsh

ClubbyAsh

    Mini Mad

  • Noobies
  • PipPipPipPip
  • 149 posts
  • Location: Lincolnshire

Posted 06 November 2012 - 04:11 PM

This is going to look sweet for sure dude, looks tidy!

#18 mini-adam

mini-adam

    Stage One Kit Fitted

  • Noobies
  • PipPipPip
  • 79 posts
  • Location: Co. Tyrone

Posted 07 November 2012 - 10:08 AM

getting into more body work and tackled the bubbling to the bottom of the rear doors. Once I got through thick isopon discovered these..

Posted Image
Posted Image

doors were primed with several coats and flattened

Posted Image

eventually picked the colour after much thought and ending up with snowberry from the 1960's, although I think it wasn't used on clubmans.. but what the heck I like it

Posted Image

so to the underside, makes all the effort worthwhile when colour coat goes on

Posted Image
Posted Image

wheel wells

Posted Image

engine bay

Posted Image
Posted Image

went to the interior

Posted Image
Posted Image

Edited by mini-adam, 10 November 2012 - 11:13 AM.


#19 mini-adam

mini-adam

    Stage One Kit Fitted

  • Noobies
  • PipPipPip
  • 79 posts
  • Location: Co. Tyrone

Posted 05 December 2012 - 09:13 PM

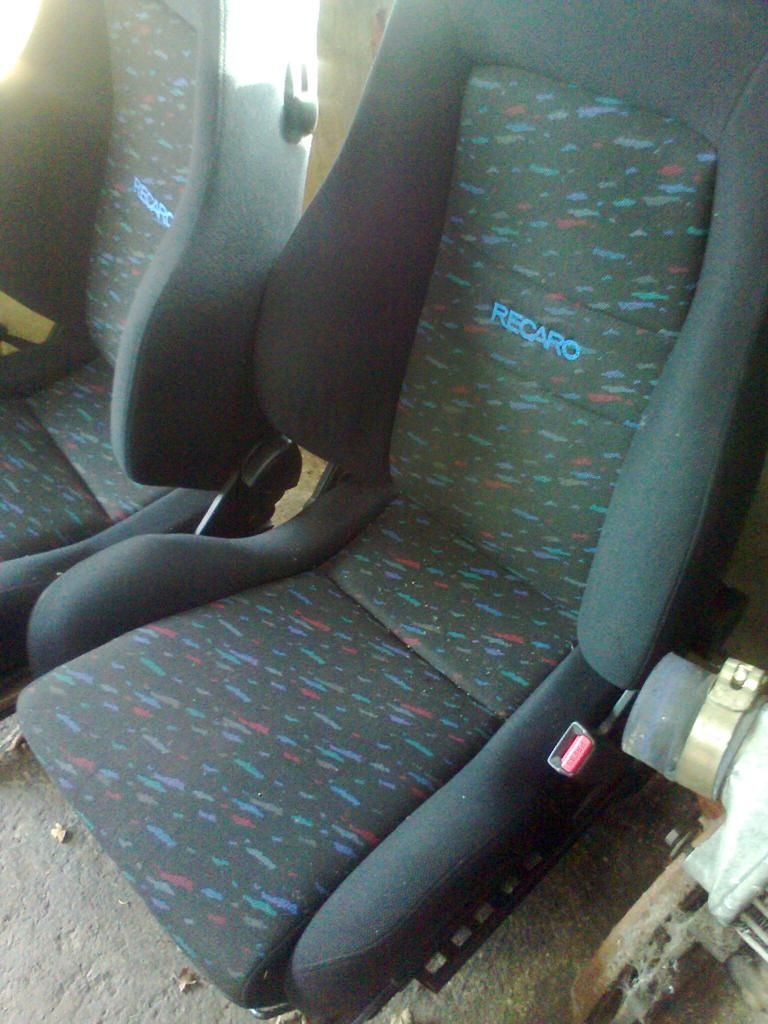
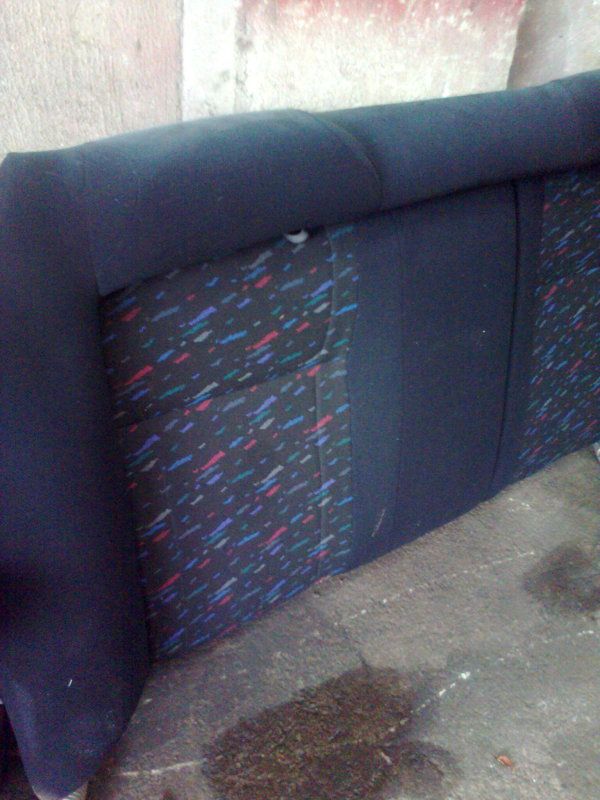
Was thinking about the interior and was on the lookout for black seats out of a mgzr but found these at a
scrapyard which came out of a evo 1. and couldnt resist them. Done a bit of head scratching about the fit of the rear seats

Posted Image

Posted Image

#20 mini-adam

mini-adam

    Stage One Kit Fitted

  • Noobies
  • PipPipPip
  • 79 posts
  • Location: Co. Tyrone

Posted 09 December 2012 - 11:46 AM

missed this bit out of earlier post.. was working on the underside to get it cleaned up, previous body shop didn't do this bit, so it will throw up a few surprises.

I'll let the pics do the talking..
Posted Image
Posted Image
Posted Image

tank out and looks like loads of grease and sealer applied in the factory. Hope it has worked in keeping rust at bay.
Posted Image

cleaned up and rust treated (dark areas)
Posted Image
Posted Image

#21 mini-adam

mini-adam

    Stage One Kit Fitted

  • Noobies
  • PipPipPip
  • 79 posts
  • Location: Co. Tyrone

Posted 17 January 2013 - 09:22 PM

had a go at the front subframe, wasn't too bad so wire brush on the 4" grinder and half an hour later all cleaned down

Posted Image
Posted Image

now a coat of etch

Posted Image

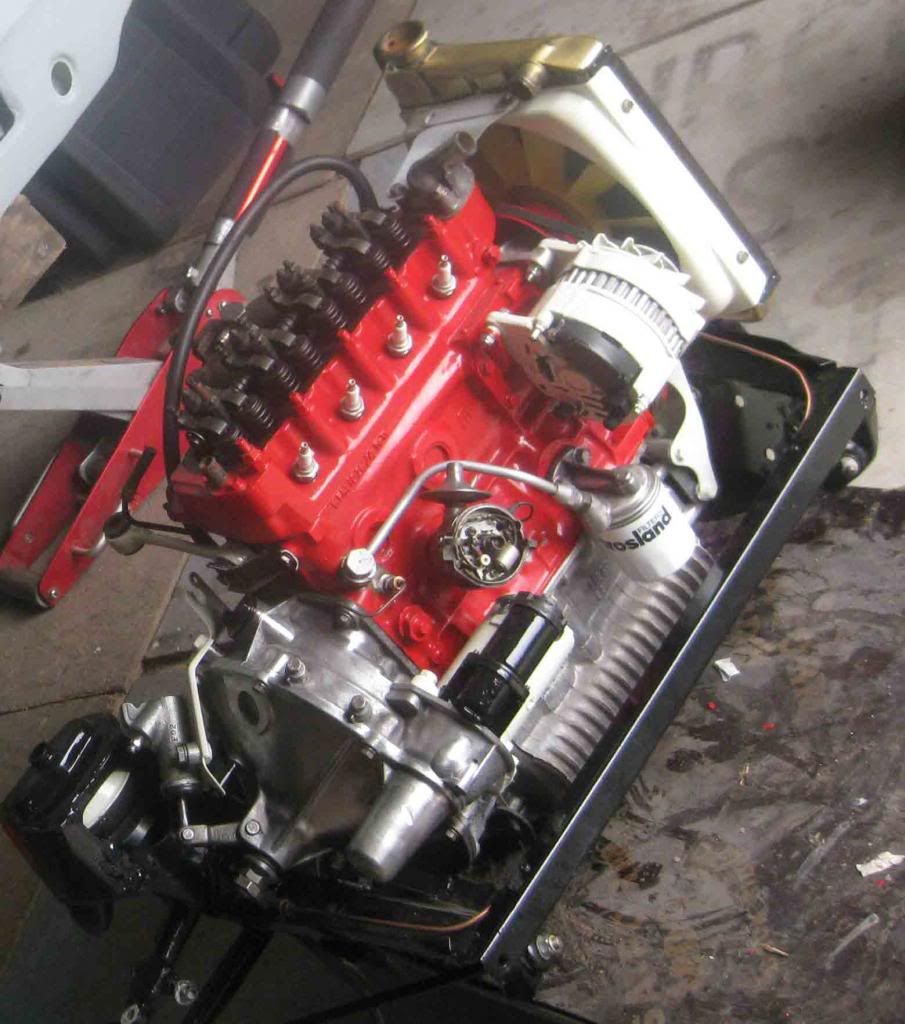
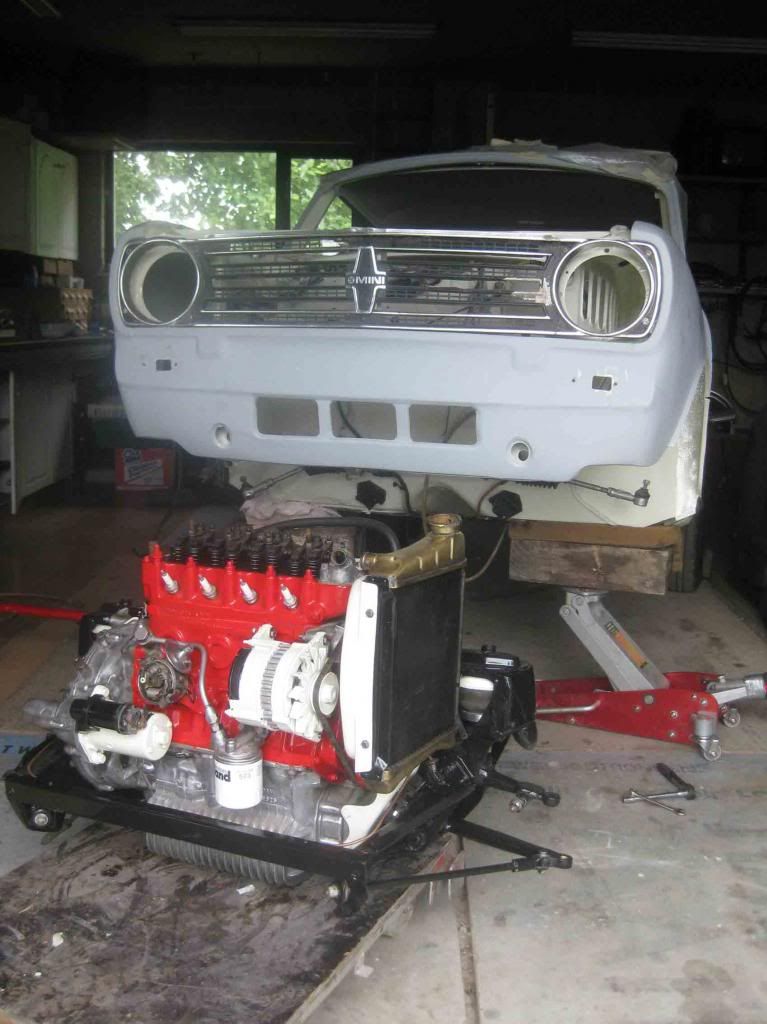
now dunno why but didnt take photos of the engine the way it was but got it mounted to its subframe and ready to go in

Posted Image

Posted Image

Posted Image

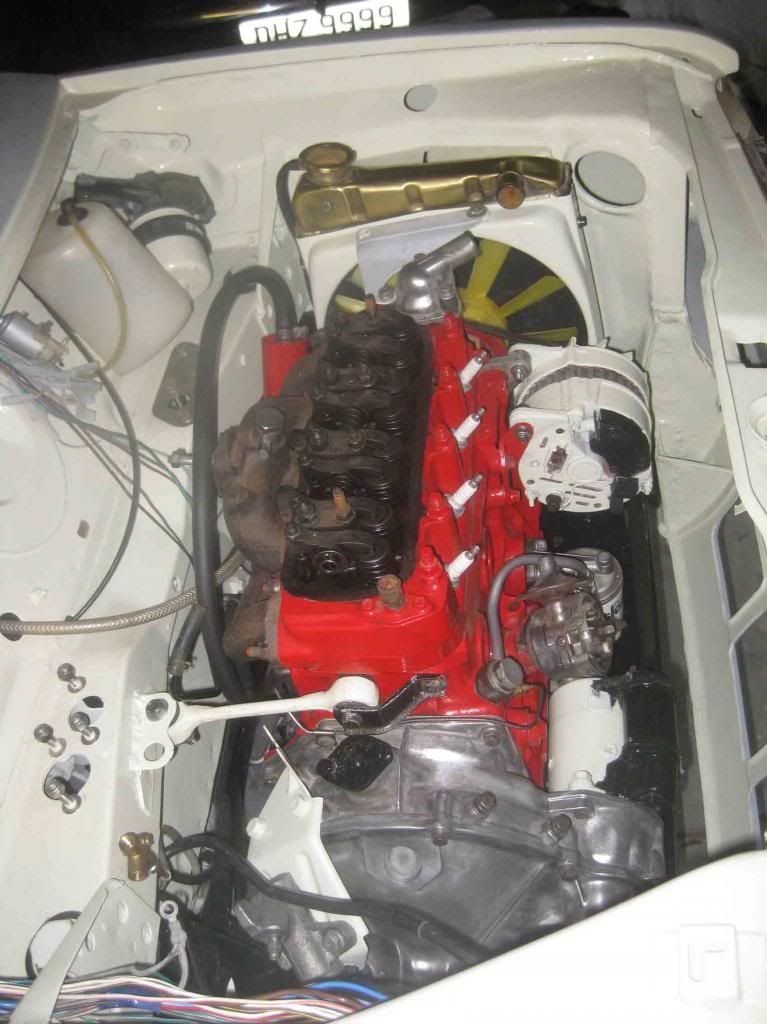
and its in

Posted Image

wiper motor fitted

Posted Image

still a lot of work to do ...

#22 mini-adam

mini-adam

    Stage One Kit Fitted

  • Noobies
  • PipPipPip
  • 79 posts
  • Location: Co. Tyrone

Posted 20 February 2013 - 03:39 PM
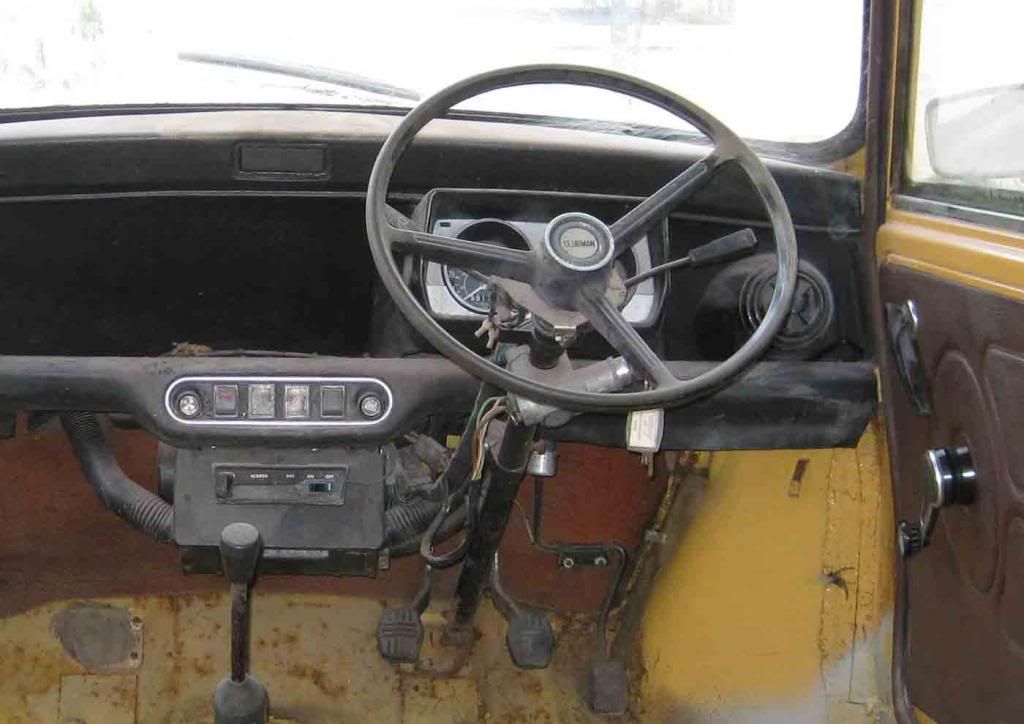
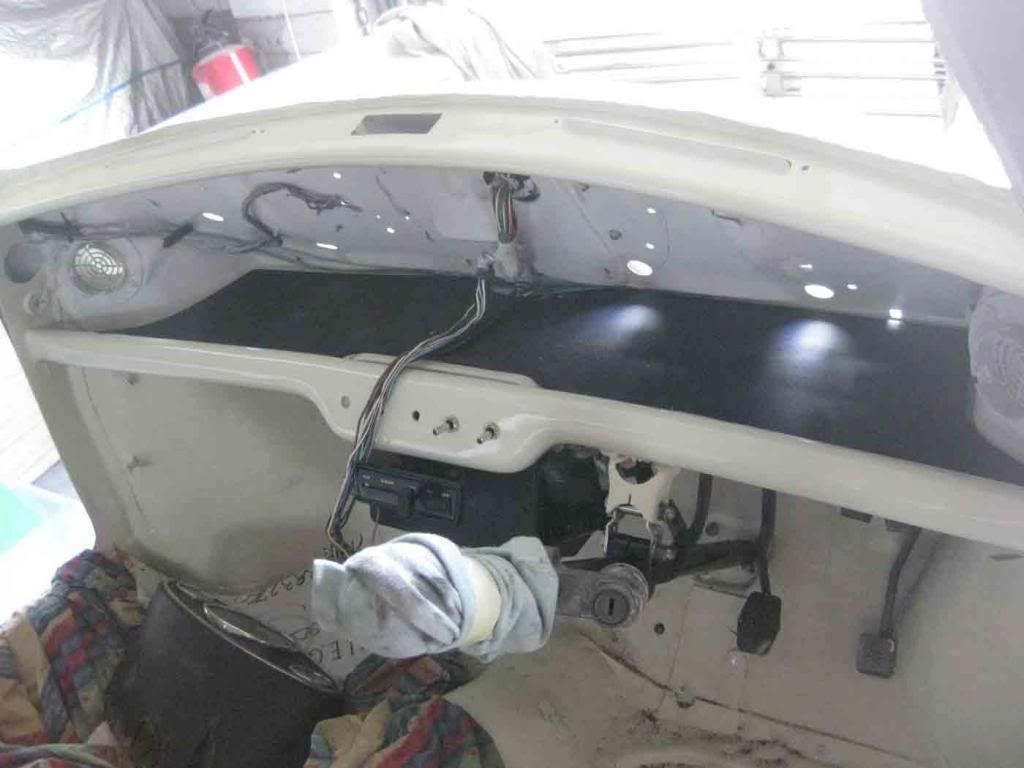
looked at replacing the 2 clock dash with the centre type binnacle and decided I'd give it a go

here's the pic of it before..
Posted Image

then in the process of changing, done the switch panel flush and fitting flick switches, cloth over the steering column as I got a few scratches on the forehead :shy:
Posted Image

#23 ChrisCityE

ChrisCityE

    Speeding Along Now

  • Members
  • PipPipPipPipPip
  • 418 posts
  • Location: Bristol

Posted 20 February 2013 - 04:07 PM

Only just spotted this, great build. I miss my Estate now though!

Snowberry is an awesome colour in the daylight, looking forward to seeing this one done.

#24 mercenary62

mercenary62

    Speeding Along Now

  • Members
  • PipPipPipPipPip
  • 359 posts
  • Location: some where in the 70s
  • Local Club: mini clan

Posted 20 February 2013 - 05:41 PM

lovelly job your making of that mate ,keep it up, loving the pics

#25 F1L8EY

F1L8EY

    Super Mini Mad

  • Members
  • PipPipPipPipPipPip
  • 600 posts
  • Location: Cornwall

Posted 20 February 2013 - 07:53 PM

lovely looking build :D will be following this

#26 creakyjaws5533

creakyjaws5533

    My jaw needs oiling. Where's the WD40??

  • Members
  • PipPipPipPipPipPipPip
  • 1,195 posts
  • Location: Bristol

Posted 20 February 2013 - 08:25 PM

Absolutely beautiful car hope to own one one day

#27 mini-adam

mini-adam

    Stage One Kit Fitted

  • Noobies
  • PipPipPip
  • 79 posts
  • Location: Co. Tyrone

Posted 22 February 2013 - 12:43 PM
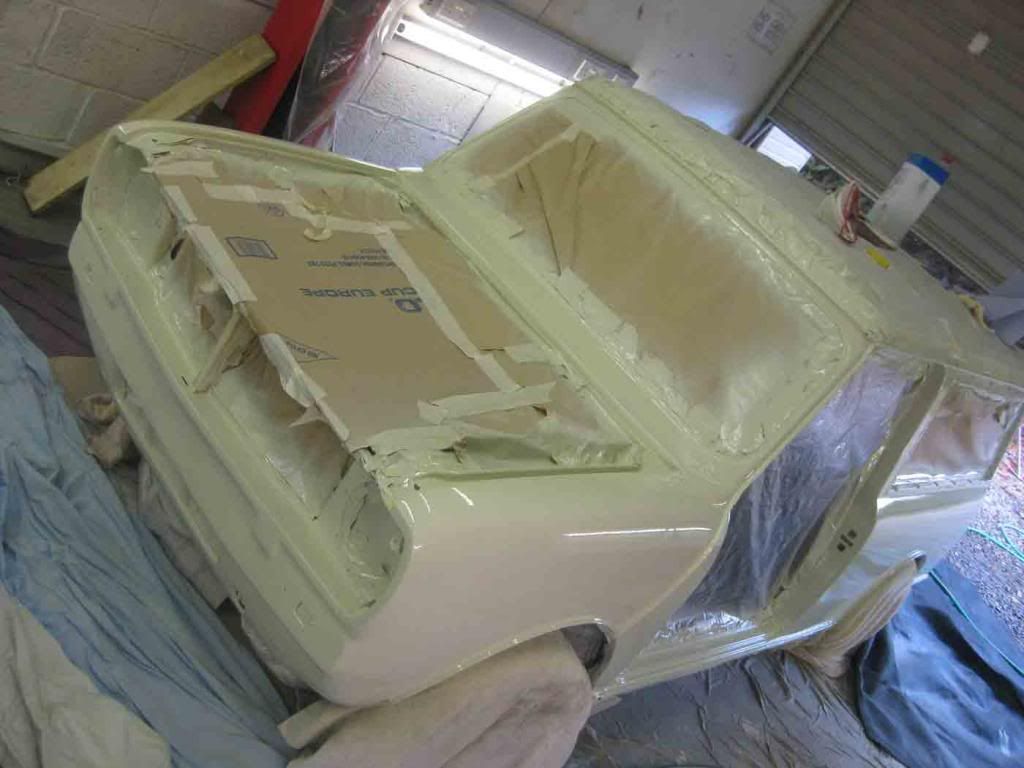
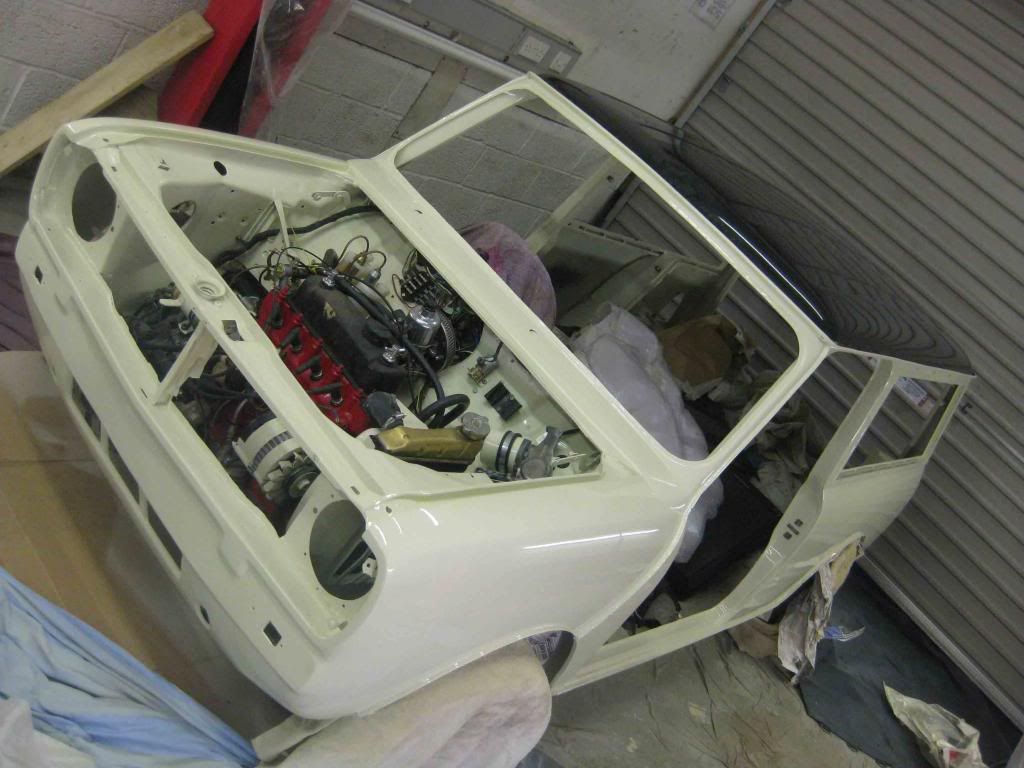
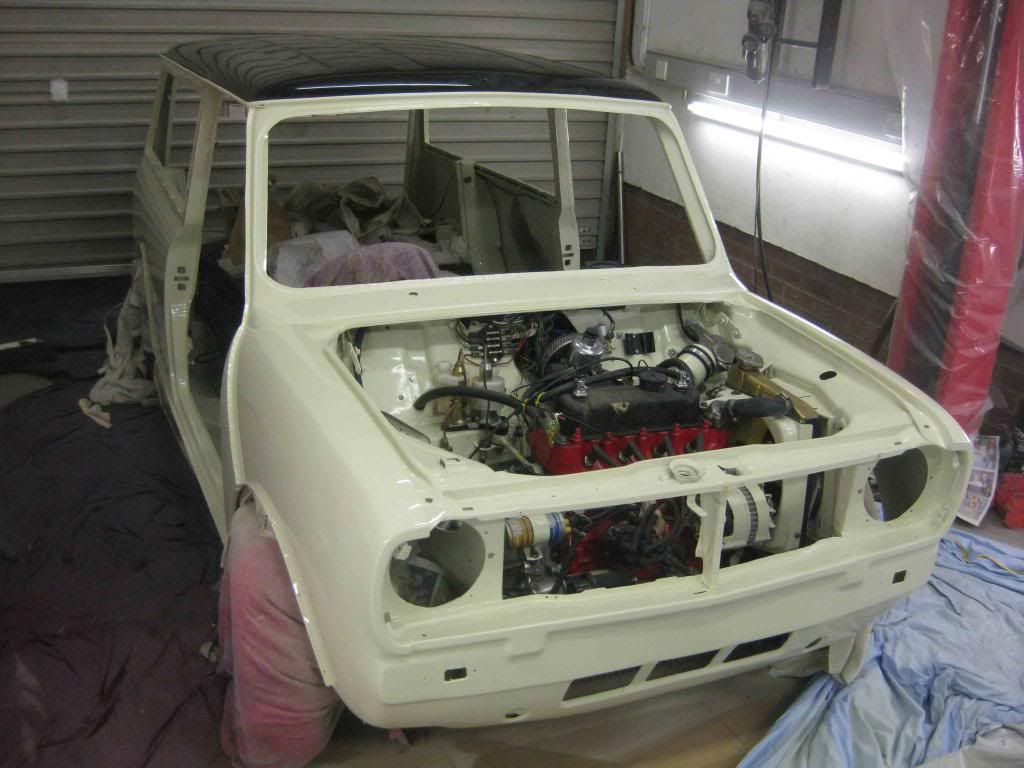
Now that the underside is done and engine is in, I turned my attention to the exterior paint. To be honest it daunted me a bit cause I've only done small stuff before, never a whole car, Got a ballpark quote from a bodyshop of £1400 and thats with me putting on base primer and leaving it for them to apply a sealer primer and top coats. A lot of money to shell out, so I bit the bullet, ordered more paint and started the prep work.

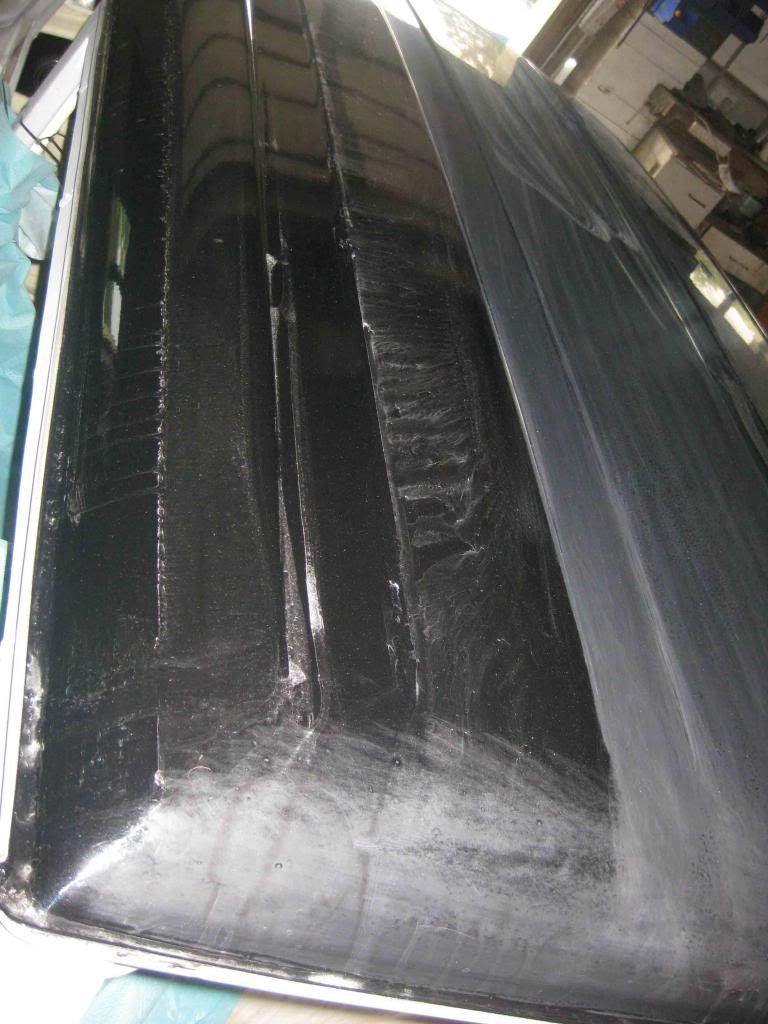
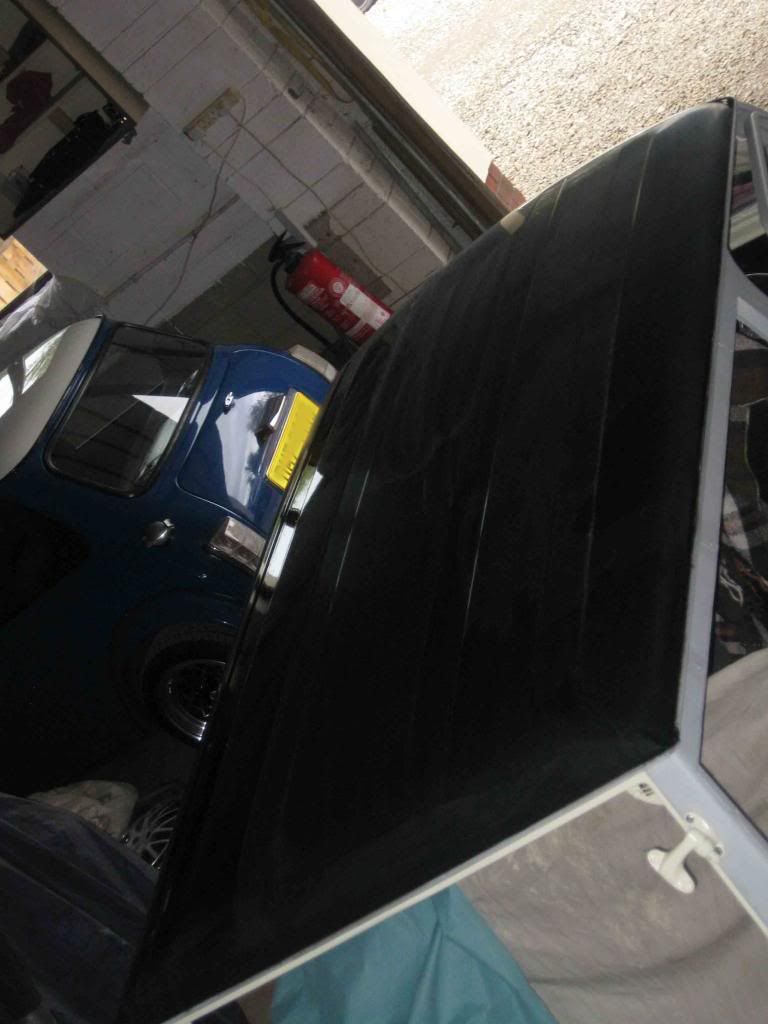
Wanted a black roof as I thought all the one colour might be too plain. Settled on a black pearl waterbase, (same code as my ford fiesta panther black).

Done the roof first, motor factors made the paint wrong shade and gave me the litre FOC. Applied it anyhow to help kill the grey primer and then the proper panther black shade.
Waterbase went on Ok and dried quite quickly, Laquer attracted dust particles, but will come out with sanding later.

Here's the pic of it done and laquer getting 2000 wet 'n dried.. Looks a mess to be honest...
Posted Image

but turned out OK in the end..
Posted Image

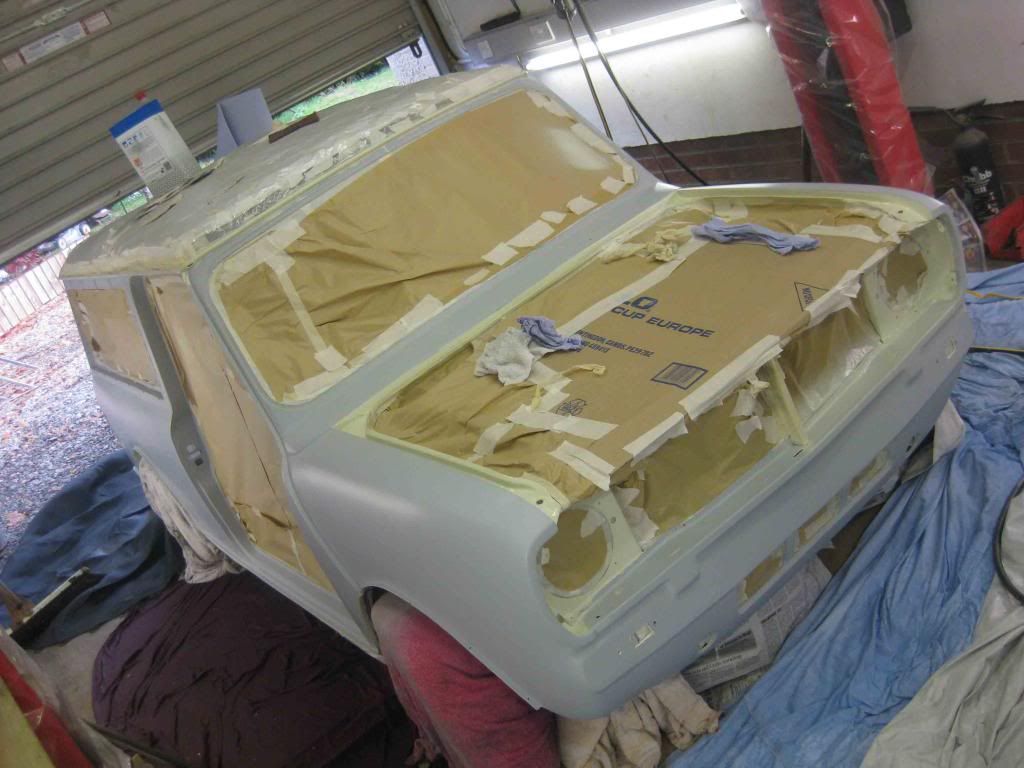
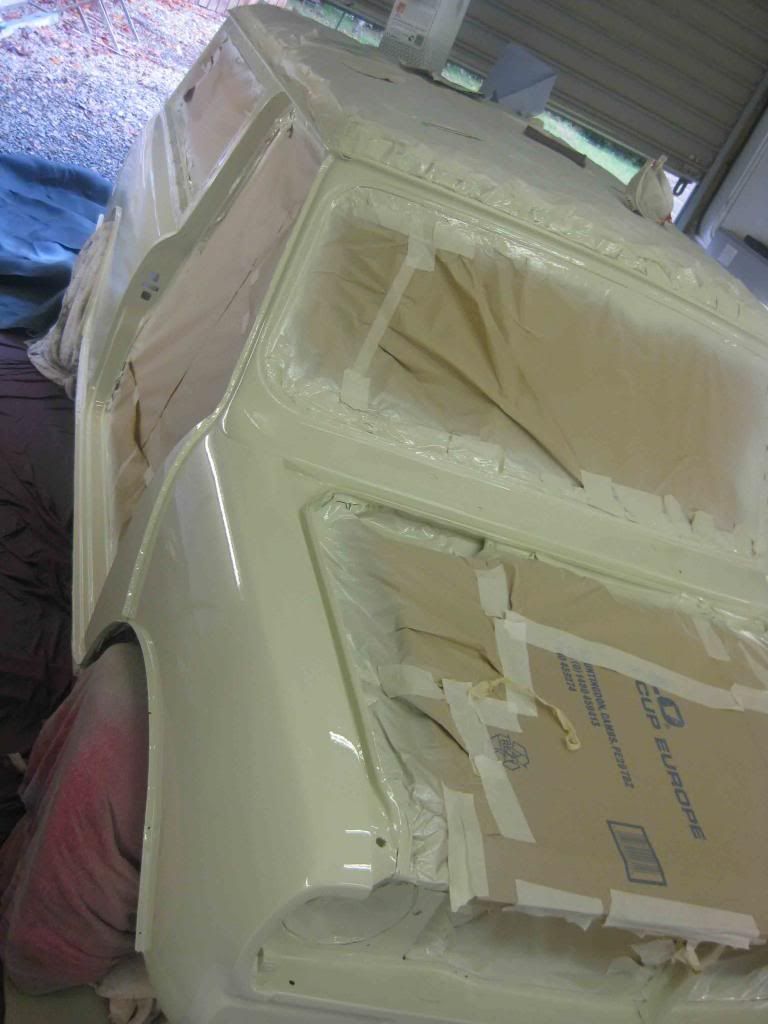
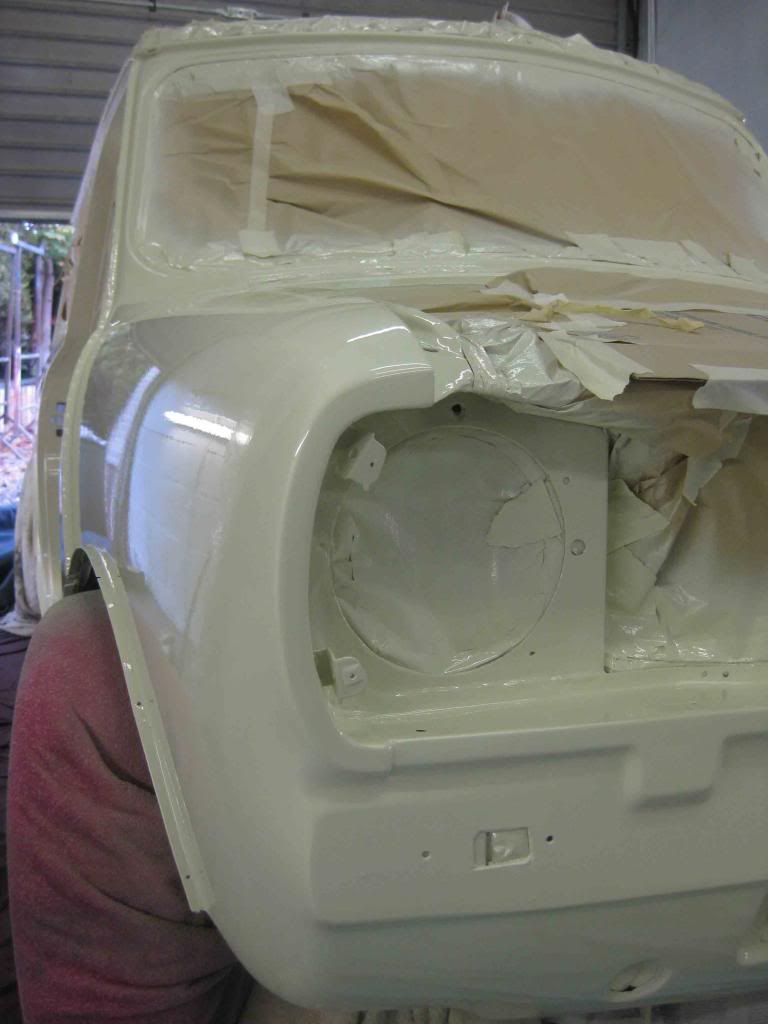
so now for the 2k snowberry
Posted Image

not the ideal place for spraying but this part of the garage has less dust and easily heated
Posted Image

Posted Image

Posted Image

Posted Image

so with all the paper removed...
Posted Image

Posted Image

Edited by mini-adam, 22 February 2013 - 12:46 PM.


#28 F1L8EY

F1L8EY

    Super Mini Mad

  • Members
  • PipPipPipPipPipPip
  • 600 posts
  • Location: Cornwall

Posted 22 February 2013 - 05:27 PM

for a done in my garage at home paint job that looks fantastic!! i noticed you've got rid of the licence plate brackets are you running bumperless too ??

Filbey

#29 grahama

grahama

    Up Into Fourth

  • Members
  • PipPipPipPipPipPipPipPipPip
  • 2,442 posts
  • Location: Warrington
  • Local Club: None in my area !!

Posted 22 February 2013 - 07:28 PM

Hi,

looks good. I am glad you have gone through putting the engine back as you have done as this is my next major job.

Paint job is excellent !

Graham

#30 ClubbyAsh

ClubbyAsh

    Mini Mad

  • Noobies
  • PipPipPipPip
  • 149 posts
  • Location: Lincolnshire

Posted 22 February 2013 - 11:58 PM

This is looking better everytime i check this thread out, the colour is gorgeous and engine looks tidy as! Can't wait to see it complete!


2 user(s) are reading this topic

0 members, 2 guests, 0 anonymous users