dom

Leyland Mini 1000 1980 Restoration Project
#106

Posted 22 January 2012 - 10:27 PM
dom
#107

Posted 22 January 2012 - 11:03 PM
Dan
#108

Posted 23 January 2012 - 10:43 AM
As has been said before, fantastic repairs, invisible, love to have the time / talent !! Keep progress comming and as Hugh said roof guttering repair is a hard one to get looking good, and yours is great.
Graham
#109

Posted 23 January 2012 - 11:11 AM
What's the differance between grinding disc and cutting disc?
Sorry for asking
by the way, your work is outstanding :) keep it up :)
#110

Posted 23 January 2012 - 11:33 PM
Thanks Graham, the trouble with the roof gutter is it curves two ways. It has the rolled edge and the curve that follows the roof. Small sections aren't too bad but I'd hate to have to do any bigger repairs.
Hi Craigr91, if you mean cleaning the paint from the metal, I use wire wheels on drill, sanding discs on drill and Strip and Clean discs on the angle grinder. To grind down welds I use flap discs on the angle grinder, 40 grit and 80 grit. If by grinding disc you mean the thicker 6 mm discs for angle grinder, I don't tend to use them that much. I find flap discs much better and give a smoother finish. Cutting discs are usually a lot thinner, 1-2 mm and are more brittle so should only be used for cutting. Hope that answers the question.
#111

Posted 24 January 2012 - 07:55 AM
#112

Posted 31 January 2012 - 12:07 AM
#113

Posted 31 January 2012 - 12:34 AM
#114

Posted 31 January 2012 - 11:18 PM
Just to recap, this is the repair from page 1.
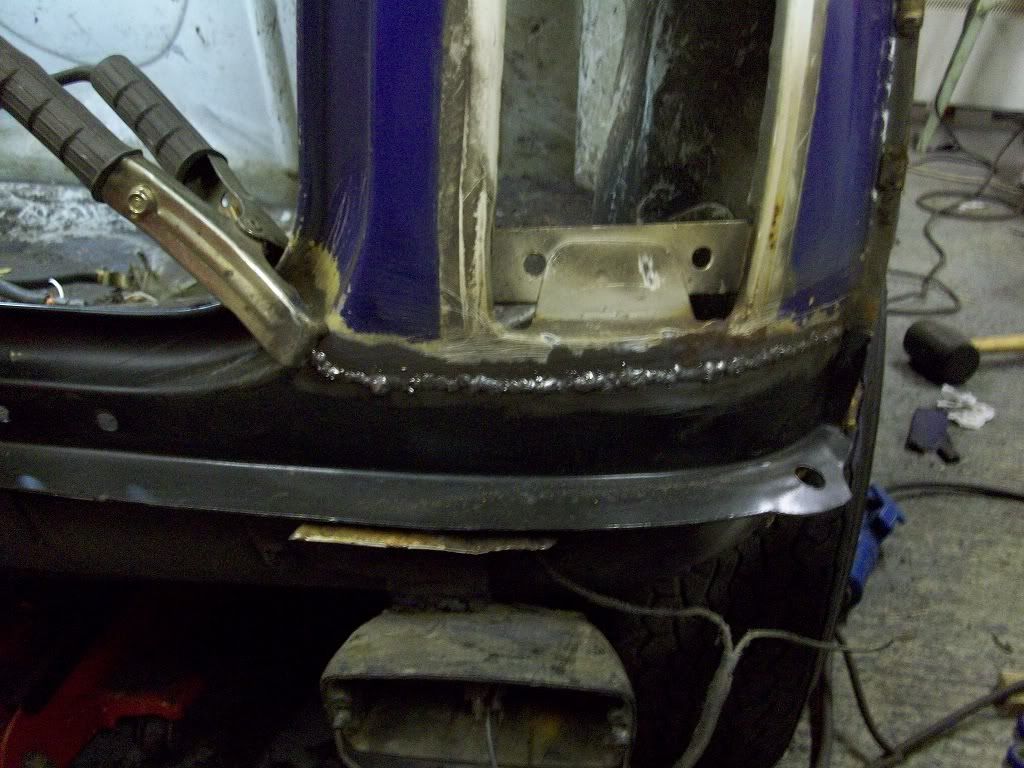
With the welds dressed back and blended with the DA sander.
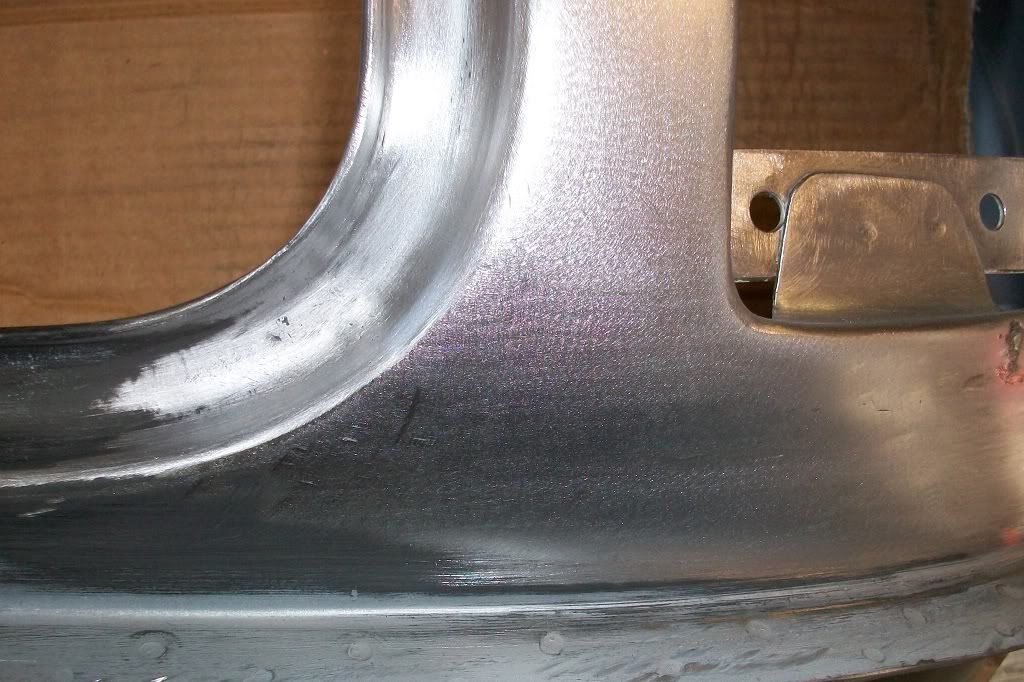
Had a few spots of rust that the repair panel didn't quite cover.
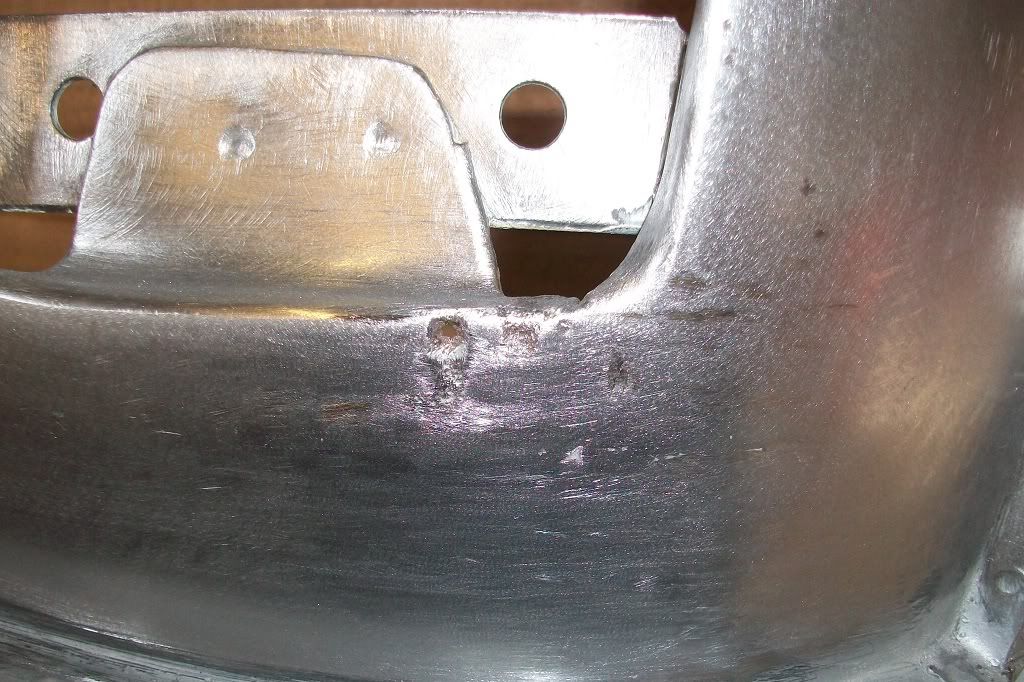
So just drilled out the rusty bits with a large drill bit, but not drilling right through.
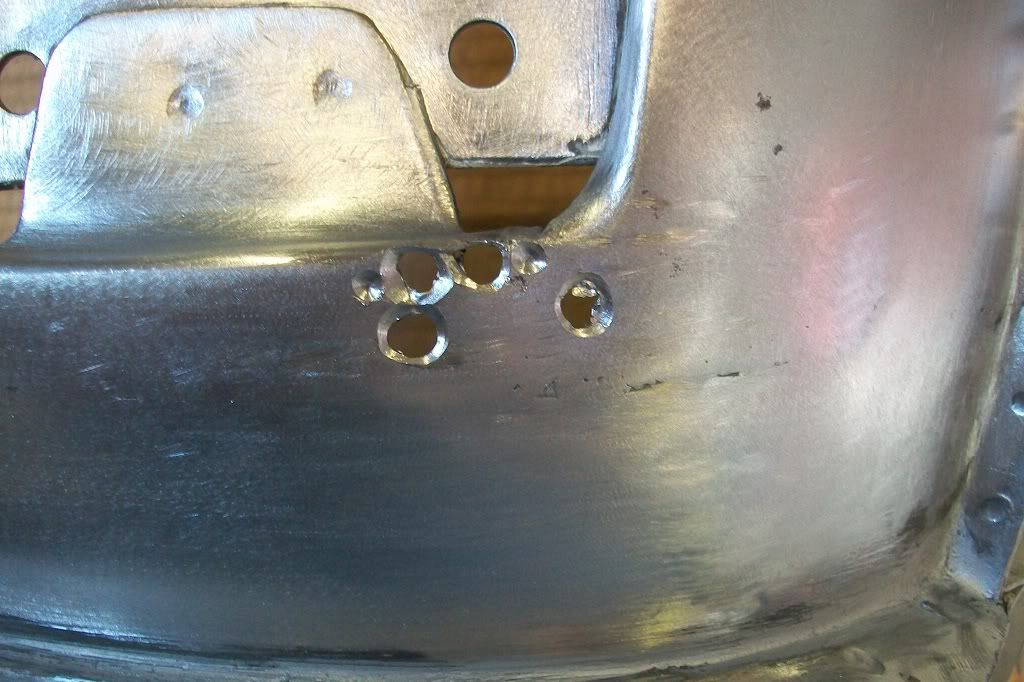
Then just welded the holes up.
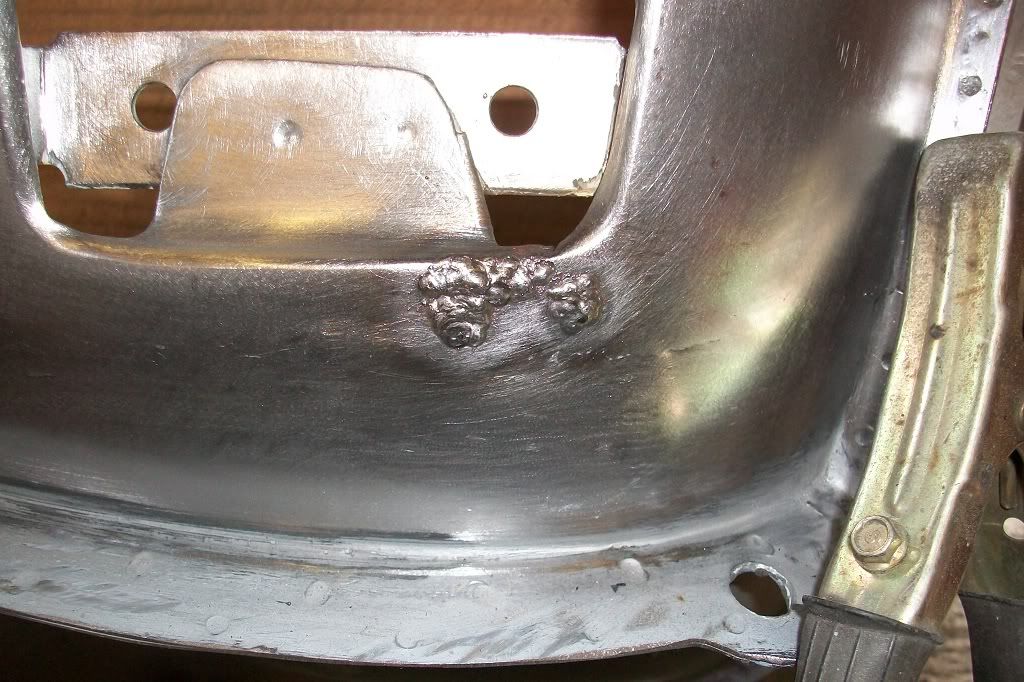
The finished repair.
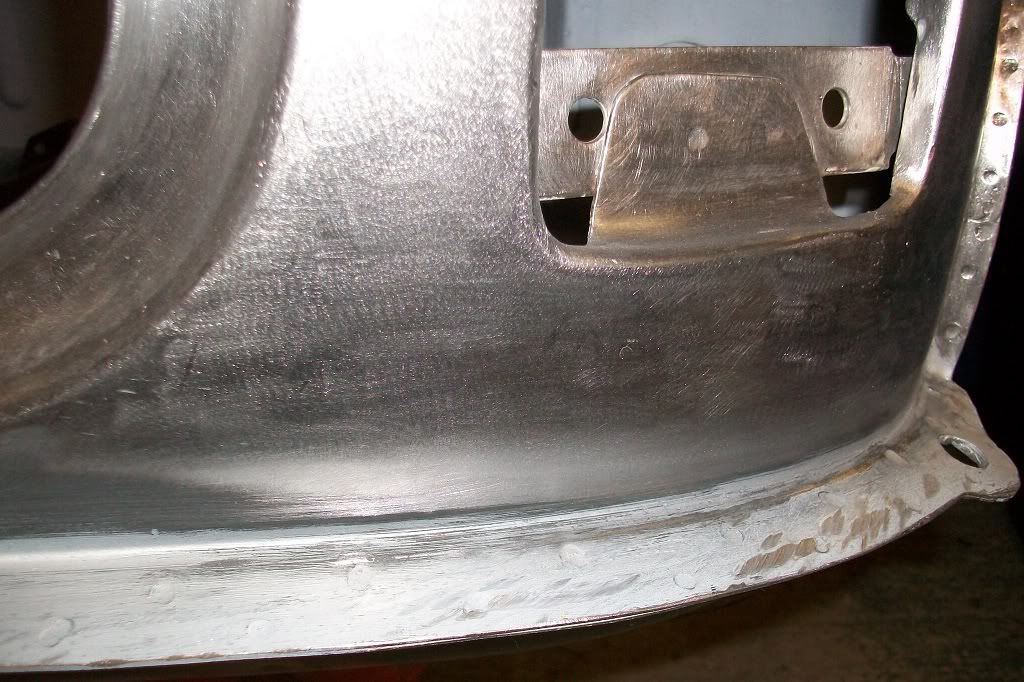
This is the passengers side as well.
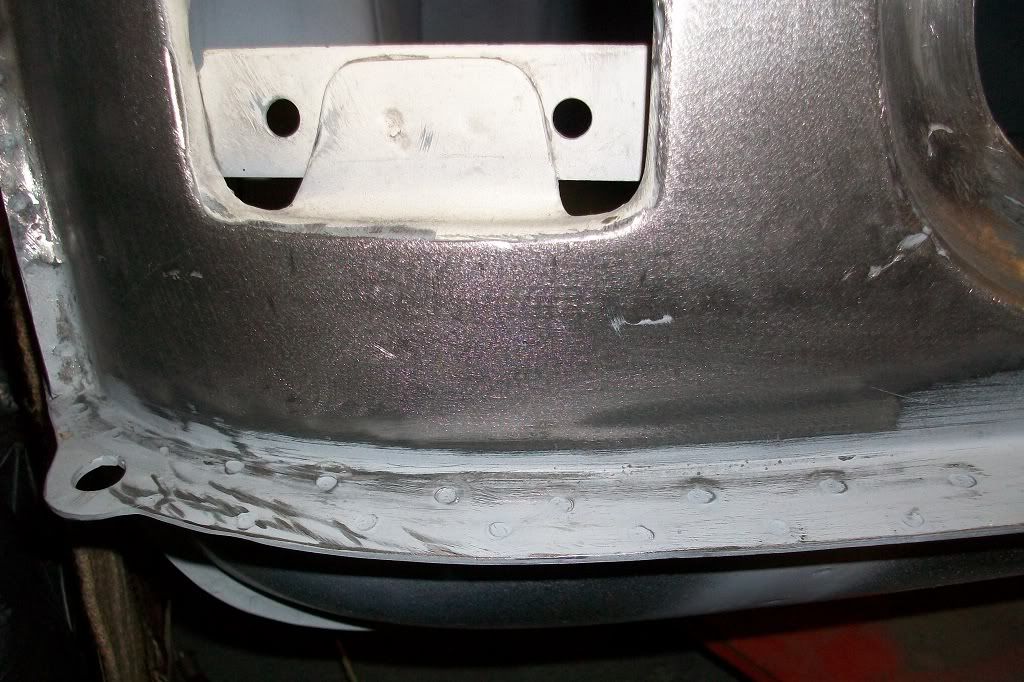
Then added a fine skim of filler to level up.
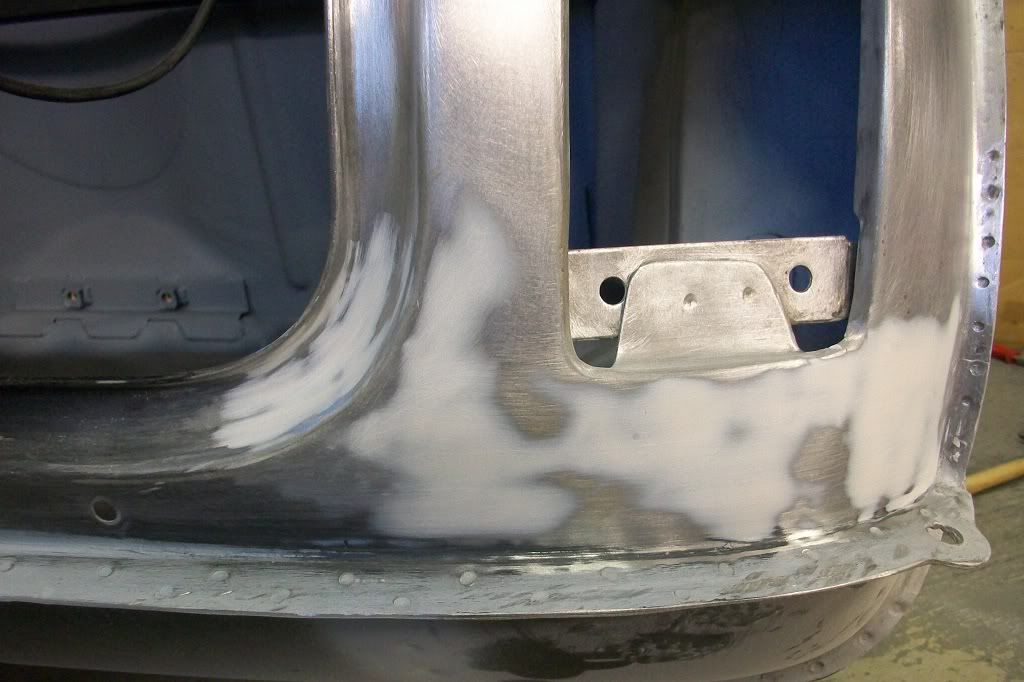
Not much i'm affraid but i'll try and get some more pictures uploaded soon.
#115

Posted 31 January 2012 - 11:30 PM
#116

Posted 01 February 2012 - 03:09 PM
Bloody great work.
Graham
#117

Posted 01 February 2012 - 03:37 PM
#118

Posted 01 February 2012 - 10:39 PM
Stop with the invisible repairs !!!! Making me look like the amateur I am !!!
Bloody great work.
Graham
Sorry Graham, i'll try and tone it down a bit. I'll post some out of focus pictures if that helps!
Thanks 2-alex-2 and bcjames for your kind comments.
#119

Posted 02 February 2012 - 09:48 PM
This is the build which I will be using for reference when I start my own. Not sure if I will be able to shape the metal bits so accurately and use so little filler, but it is a standard to aim for.
Keep up the good work! I am sure we all await seeing the finished car with considerable interest.
#120

Posted 06 February 2012 - 09:55 PM
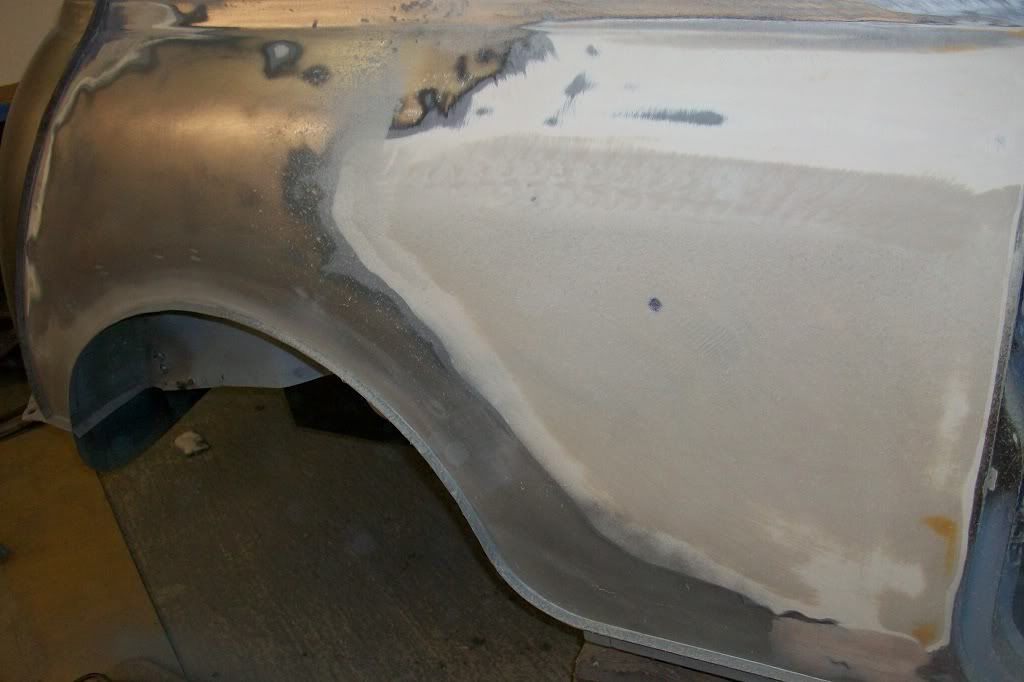
Then started to deal with another rusty hole on the drivers rear quarter above the window.
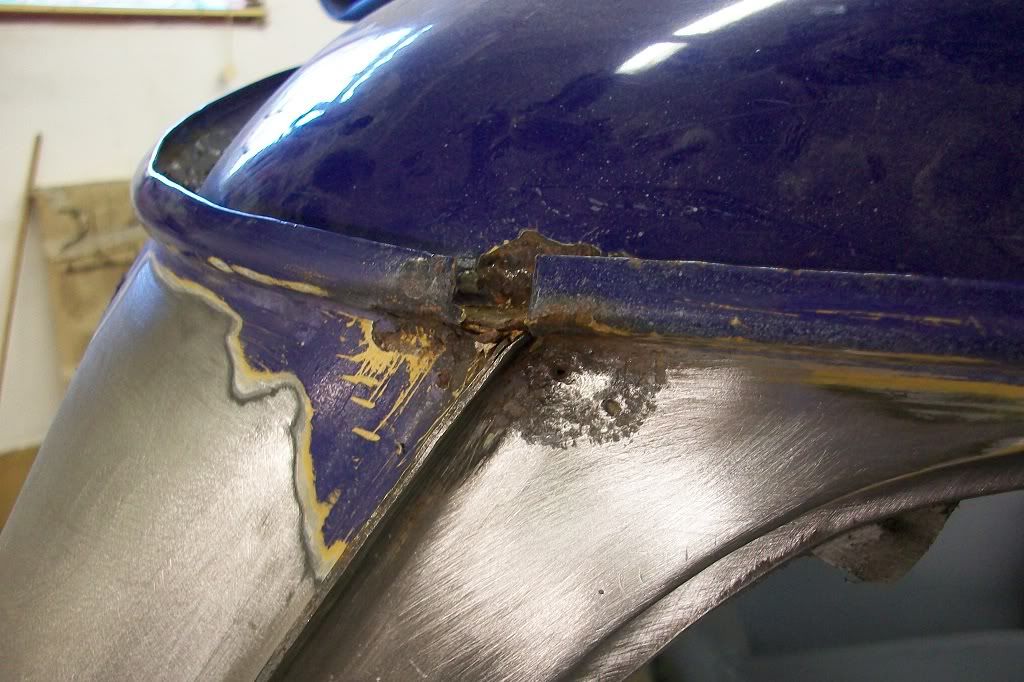
Pieces made up and welded in.
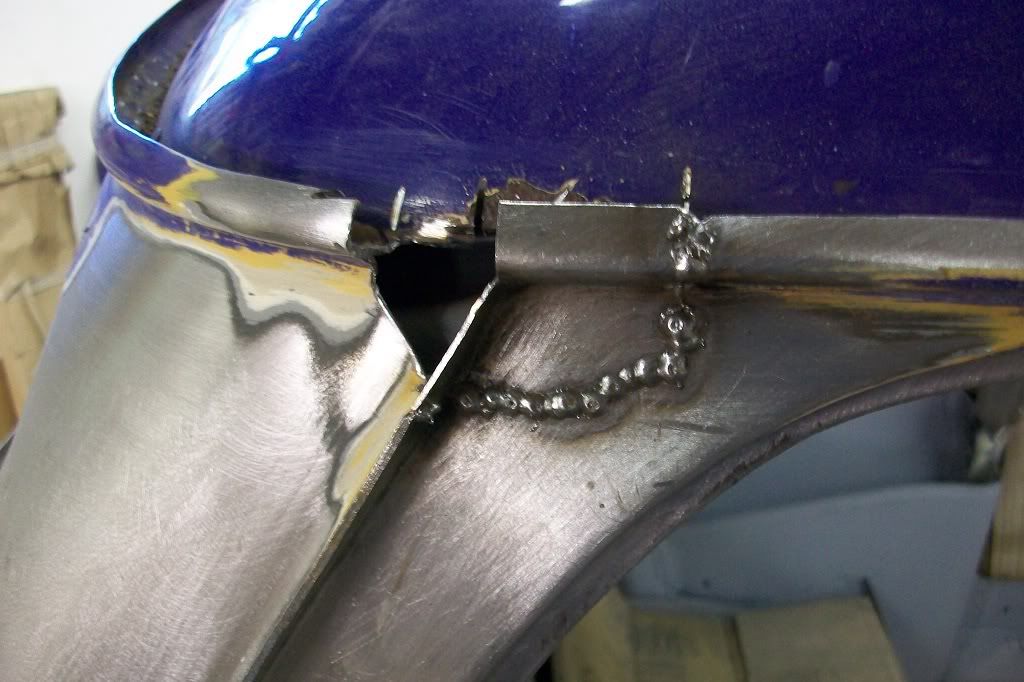
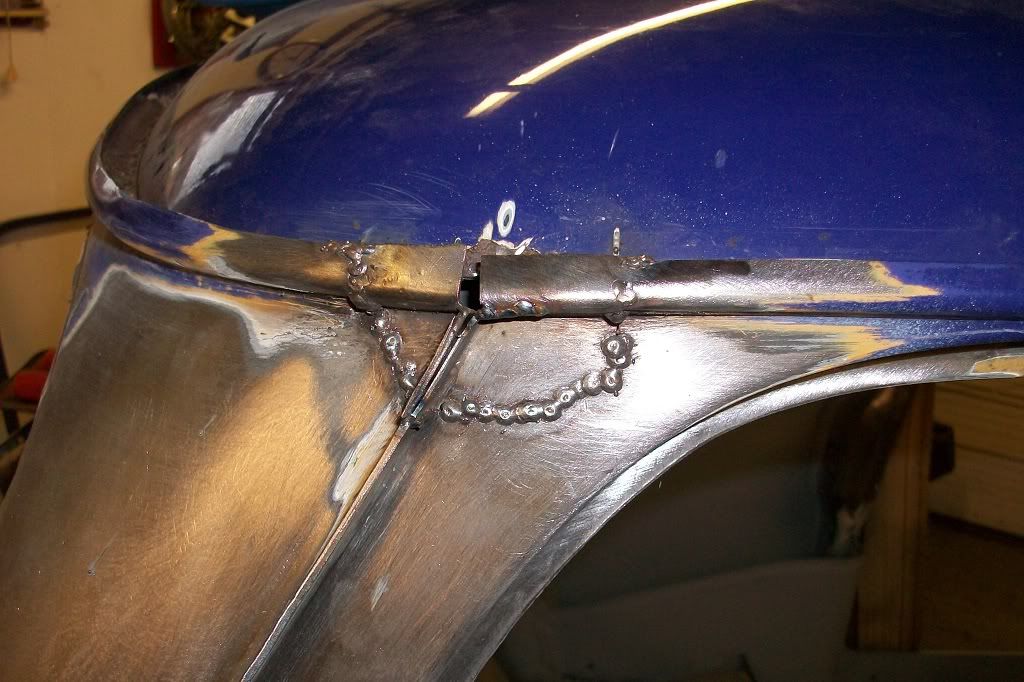
I've not ground them down yet so will show that another time. Next I decided to have a go at the drivers rear window repair. I had actually attempted this previously with small lengths of angle but was not happy with it. So after how the passengers side turned out, I decided to chop it out and start again. New waist rail temporarily clamped in to align repair piece.
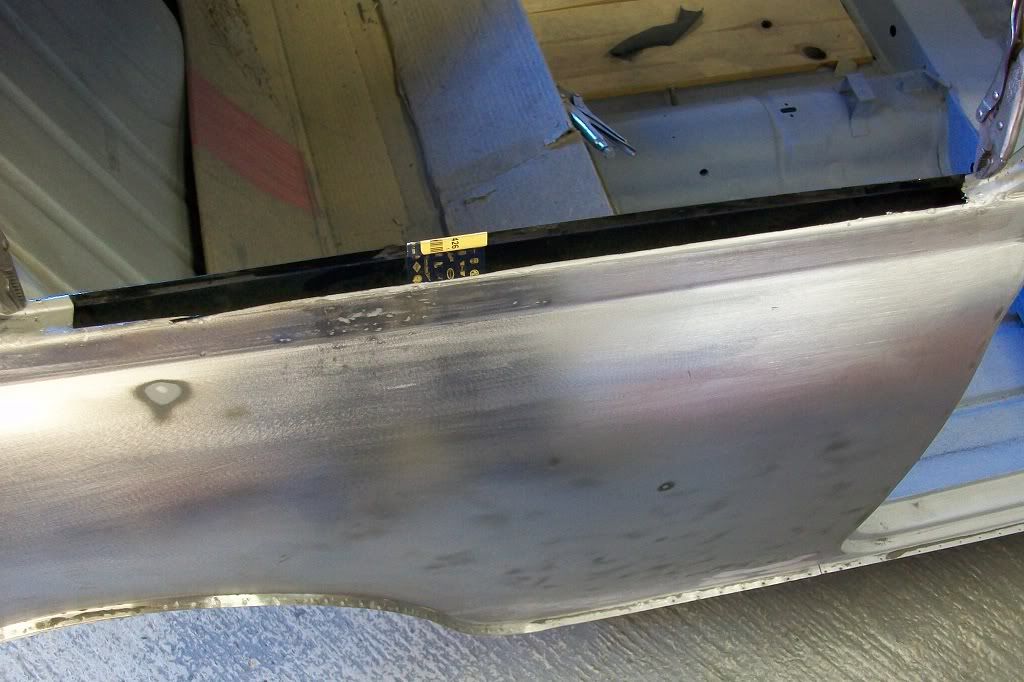
A new piece folded in the metal folder and tacked in.
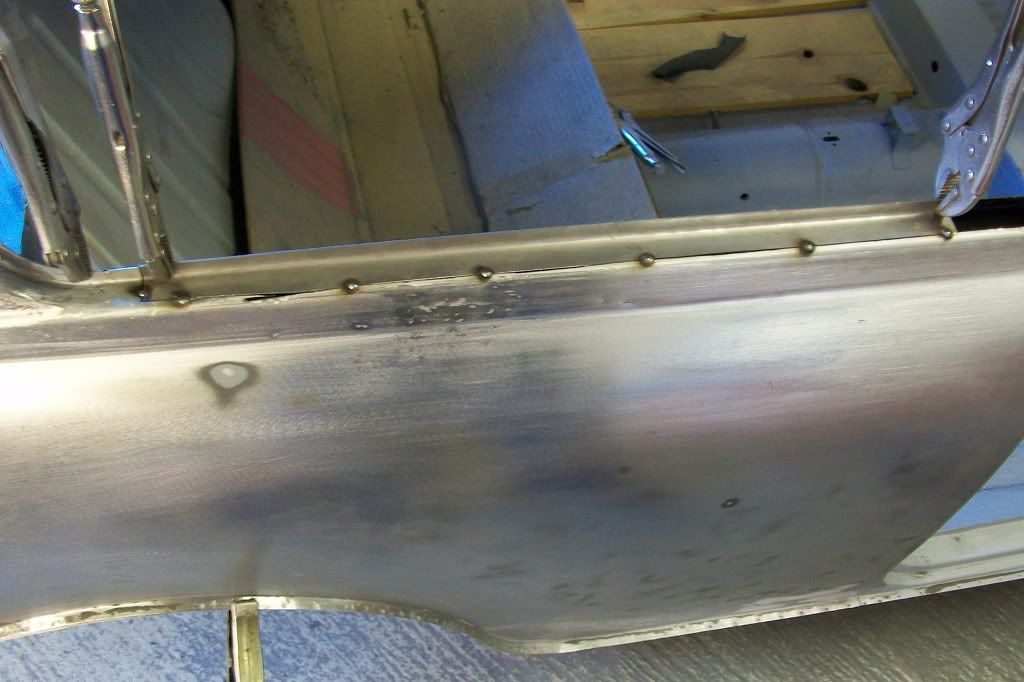
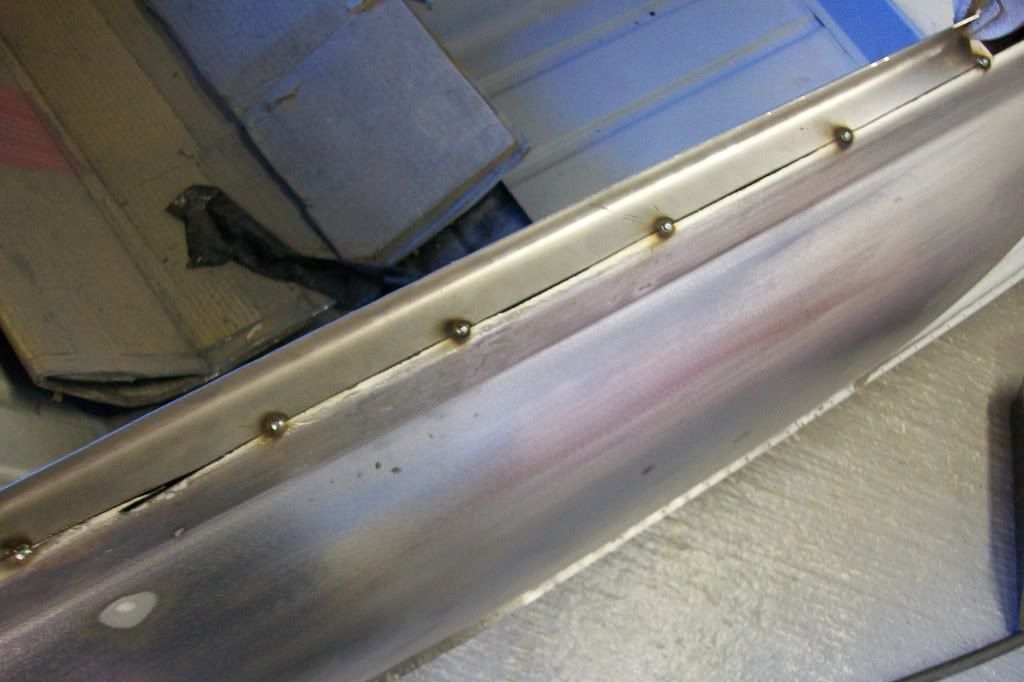
Small piece made for the front and tacked in.
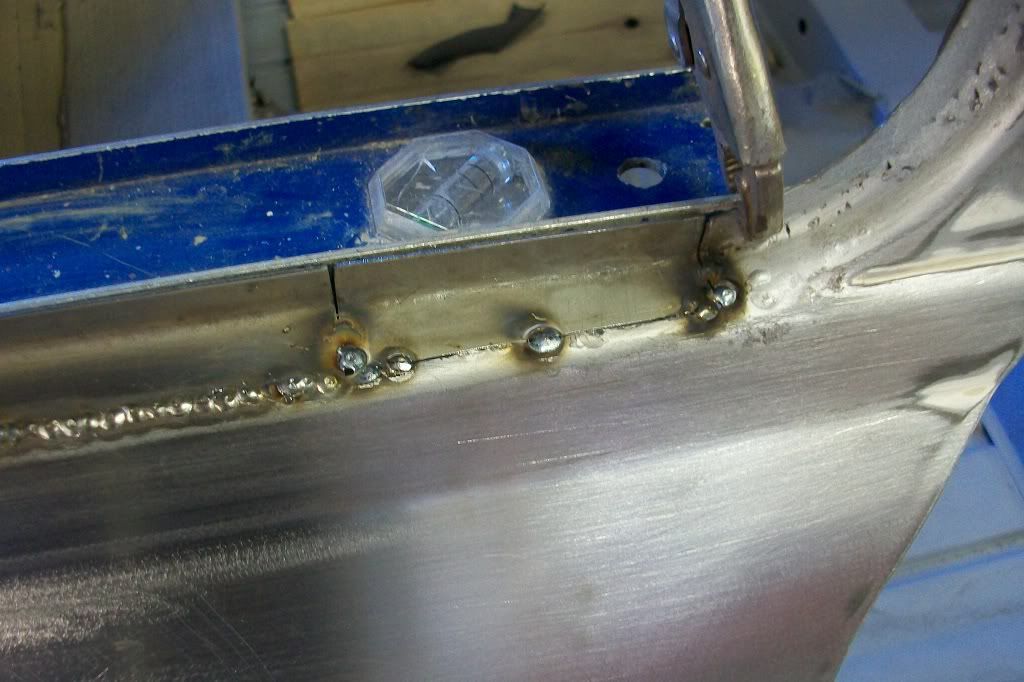
Welded up.
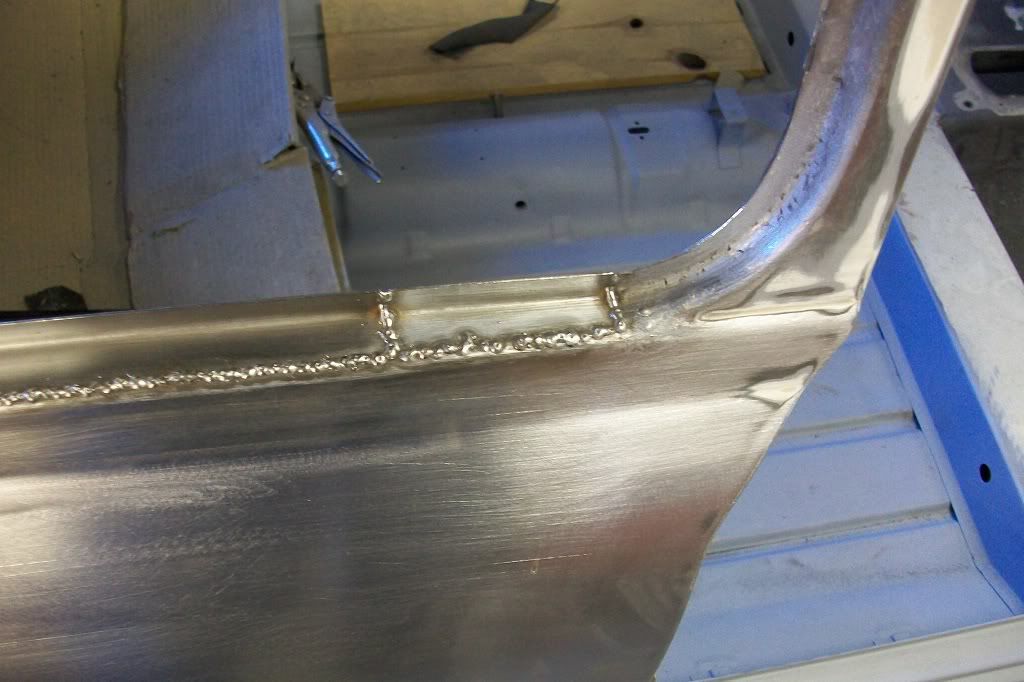
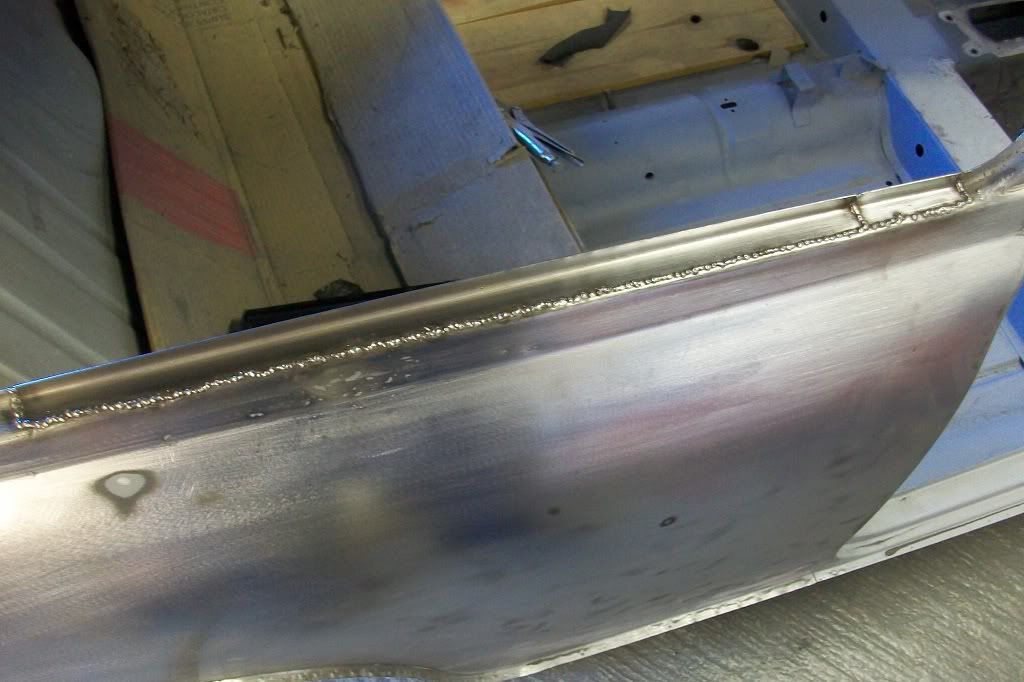
I've not got a photo of it ground down yet but with the welds being that bit closer to the curve, it's a lot harder to get right. If you ever have to do anything like this, try to keep as much metal as possible from a curved edge. I'll add a some more in a few days.
Thanks.
1 user(s) are reading this topic
0 members, 1 guests, 0 anonymous users


