
Leyland Mini 1000 1980 Restoration Project
#91

Posted 09 January 2012 - 08:27 PM
#92

Posted 09 January 2012 - 09:09 PM
#93

Posted 09 January 2012 - 10:33 PM
#94

Posted 15 January 2012 - 08:21 PM
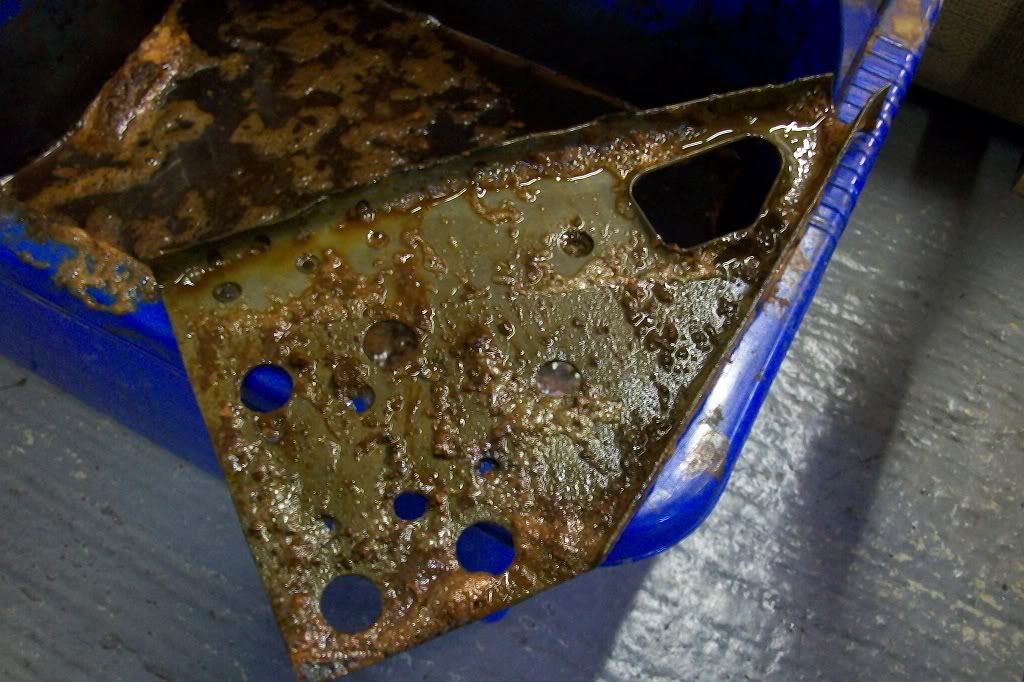
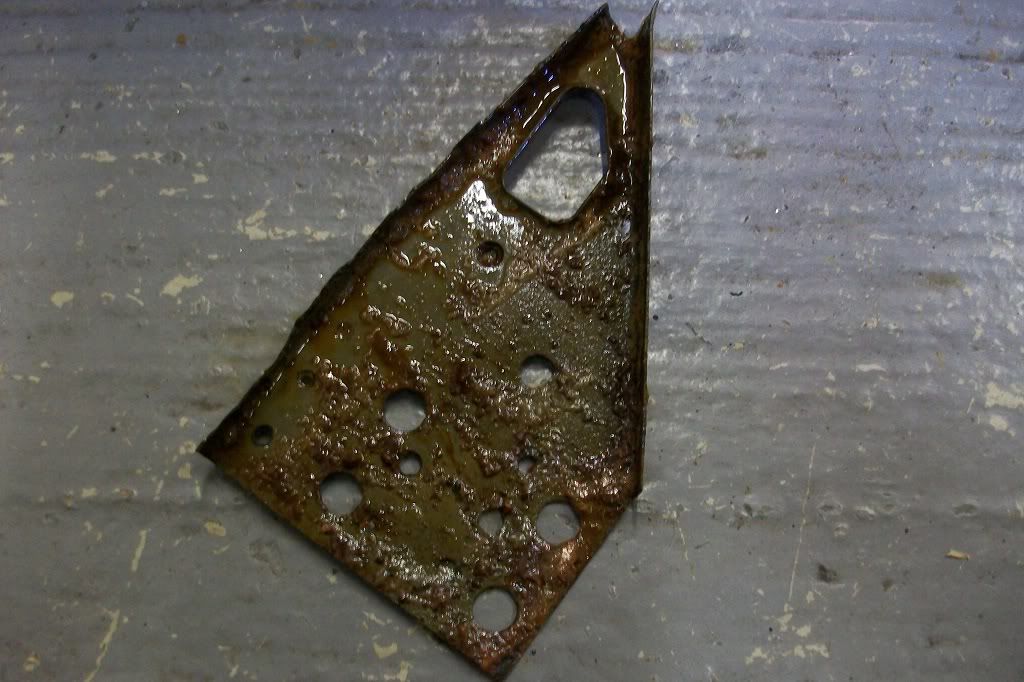
I didn't get a picture when washed off but you'll see the panel welded back on shortly. Next, after getting all the rust out of the crossmember, from where brake fluid had leaked and eaten the paint away, I had to apply a thin skim of filler to level up all of the pits.
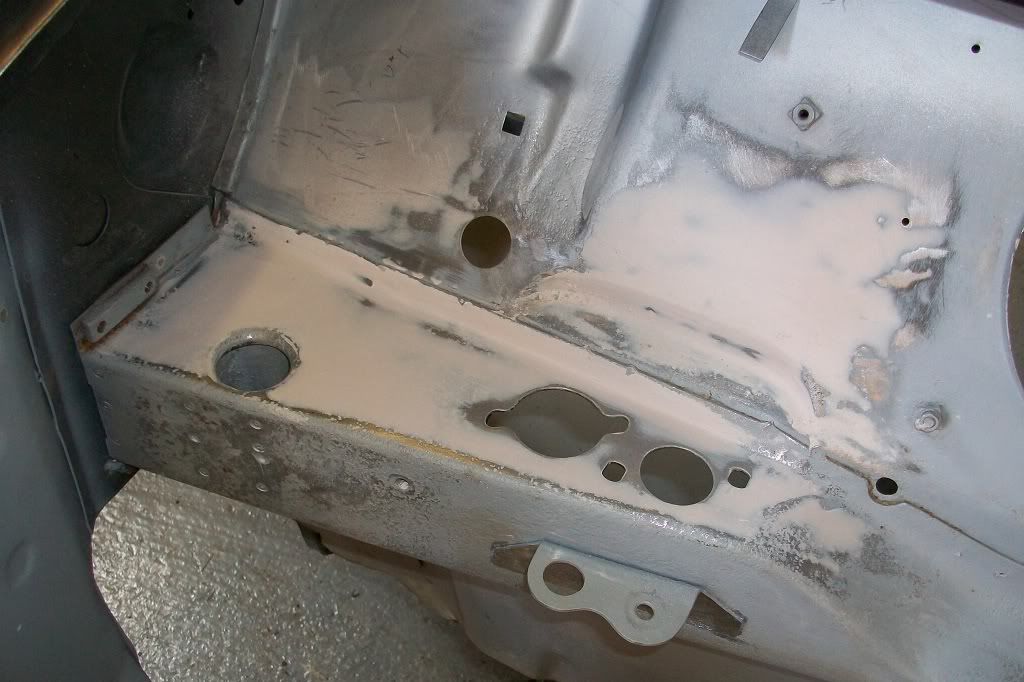
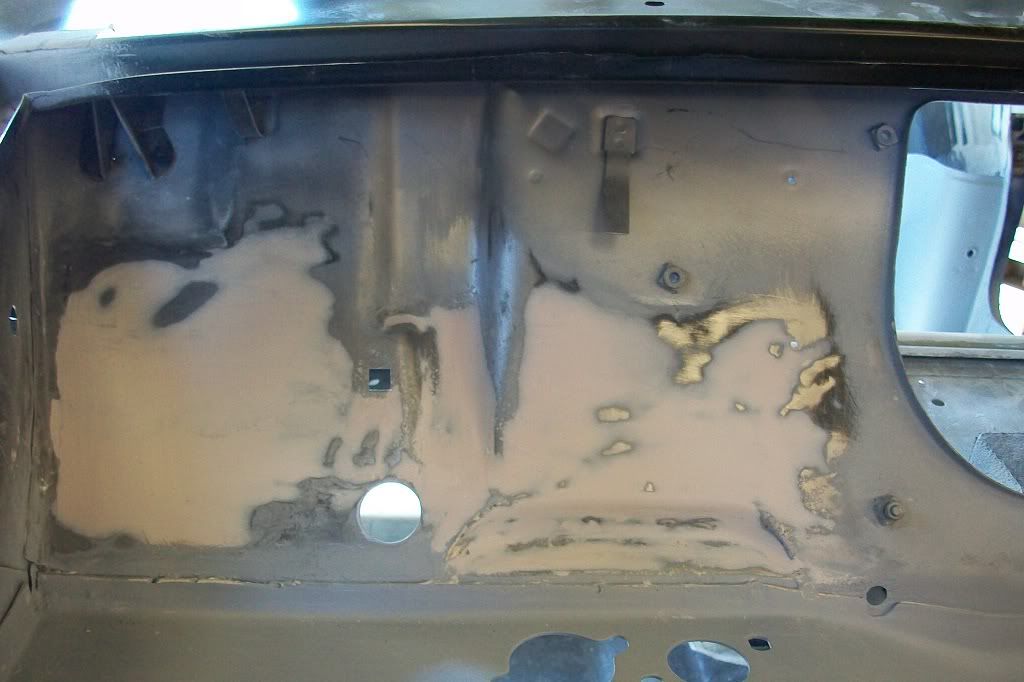
Removed the left hand crossmember support bracket to clean off the rust behind.
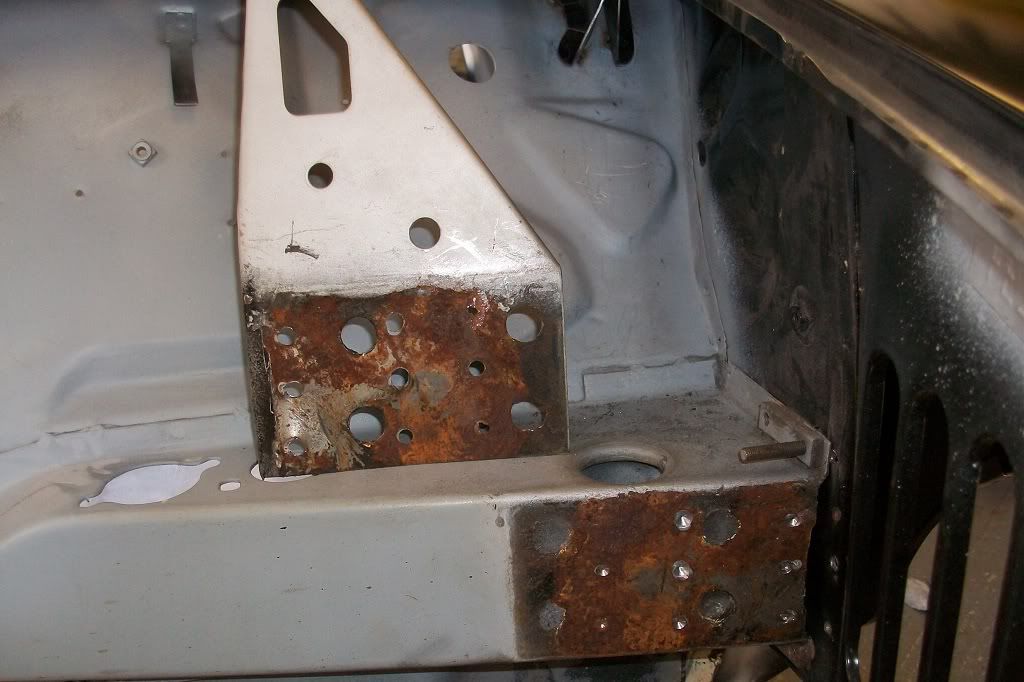
Cleaned and welded back on.
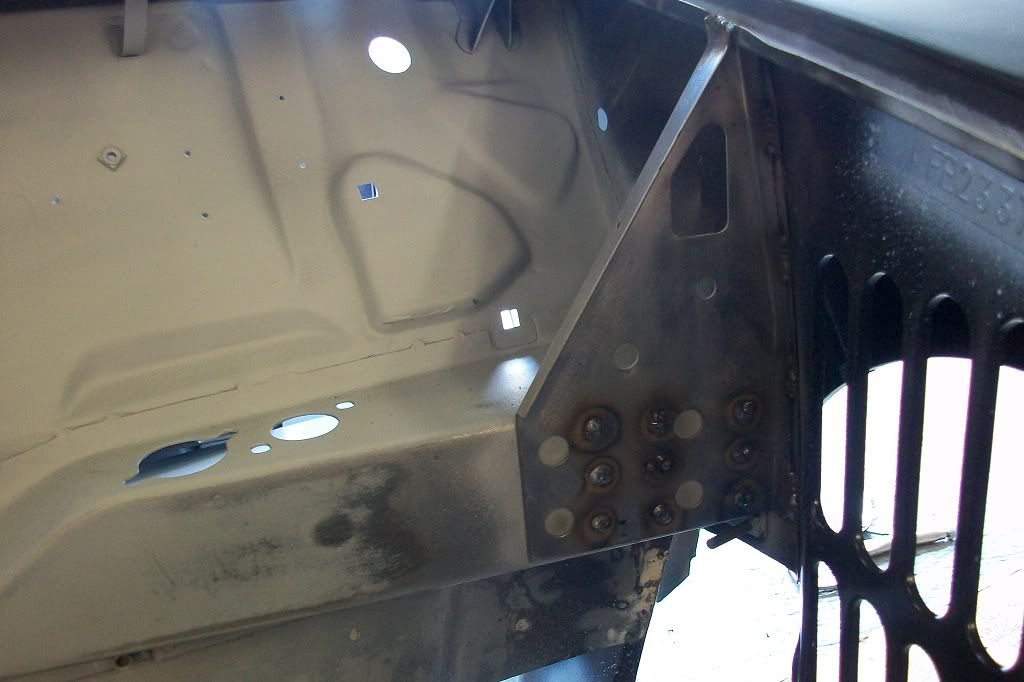
Right hand bracket welded back on.
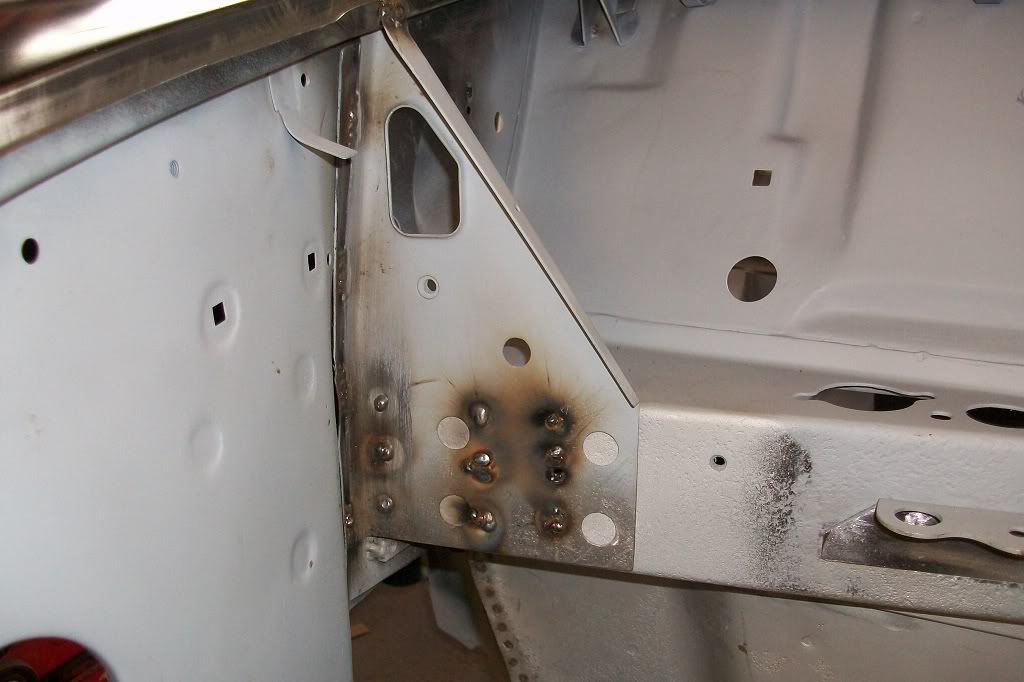
Next I had to add some weld to the drivers side A panel lip as the lip narrowed down too much.
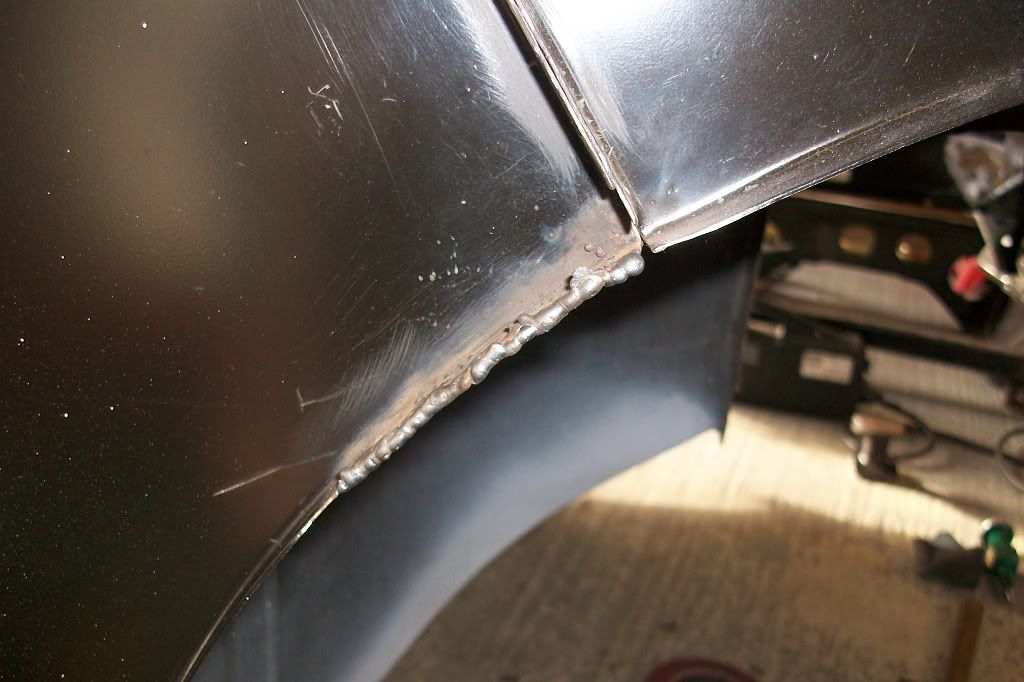
Ground down.
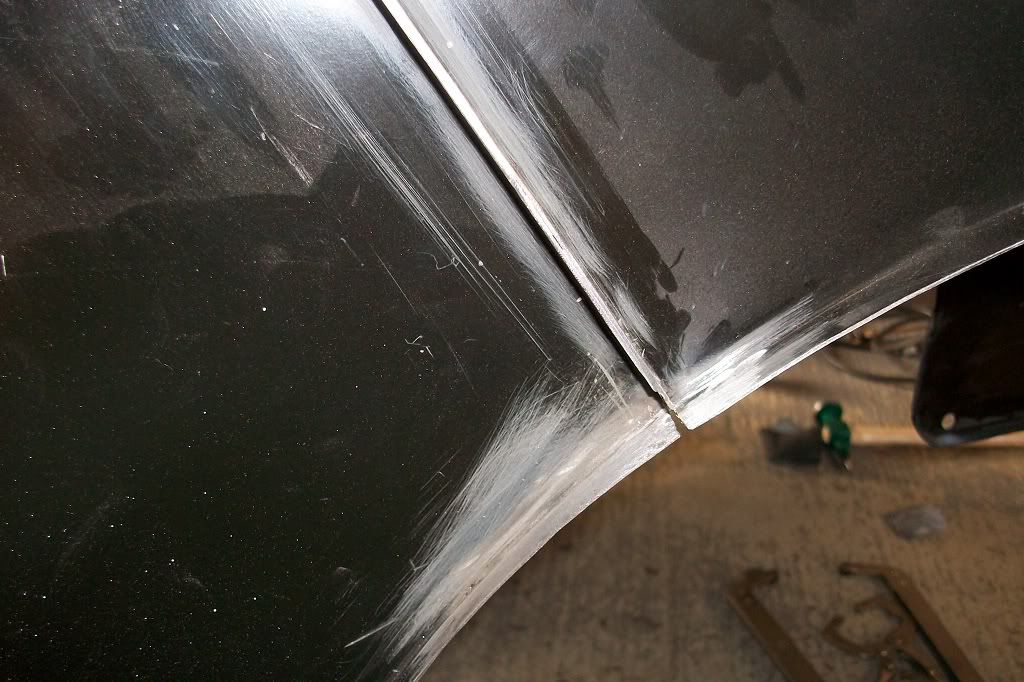
Then made and spot welded on the reinforcing tabs.
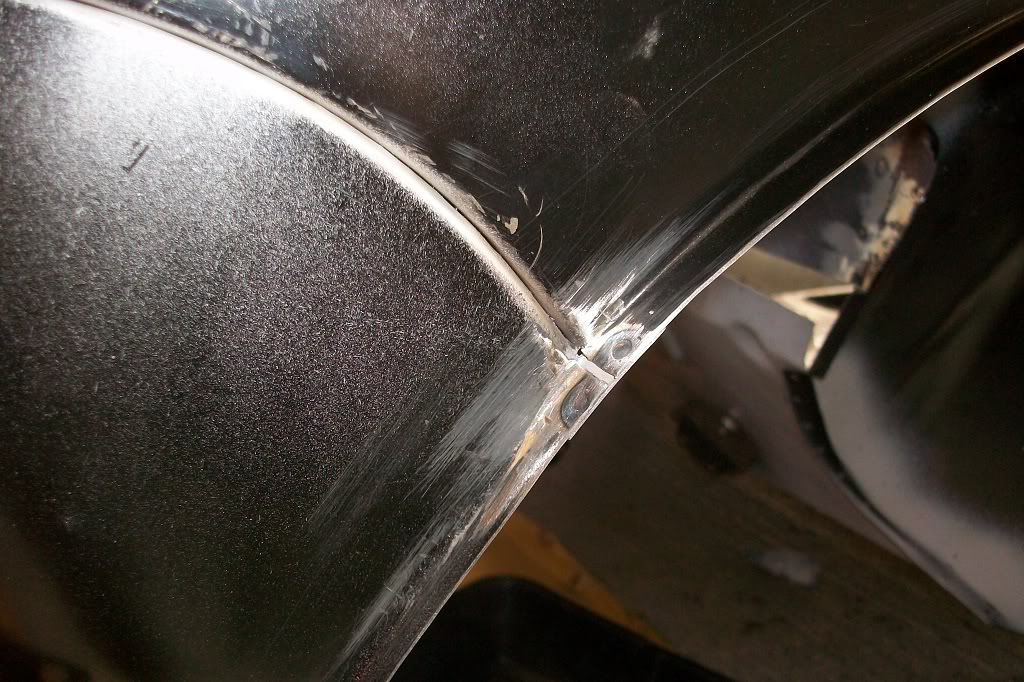
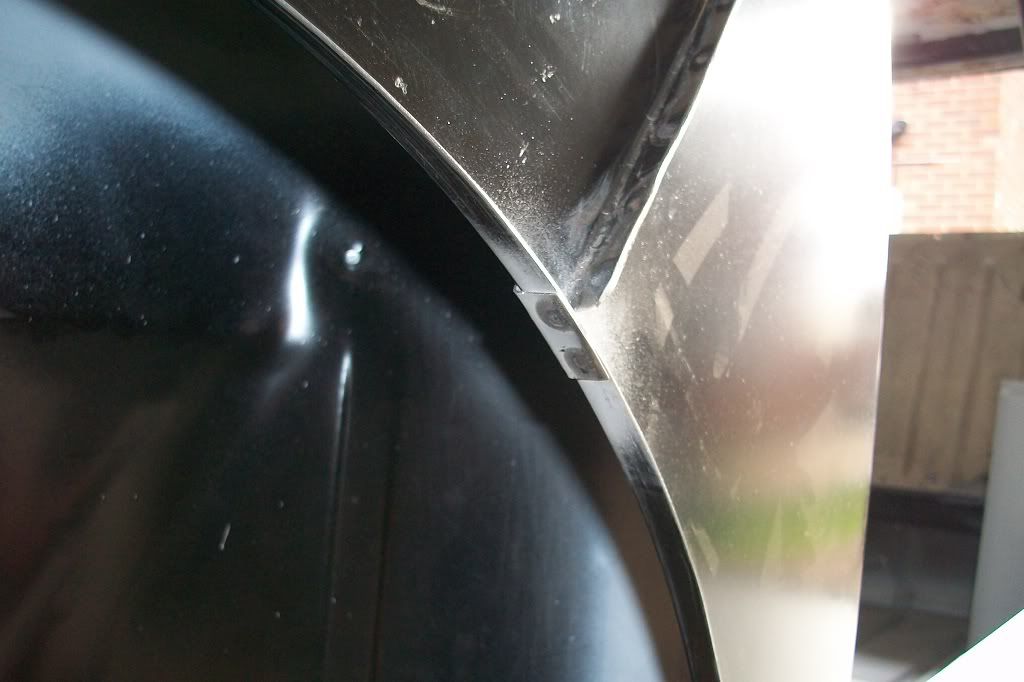
Thats it for this update, thanks for looking.
#95

Posted 15 January 2012 - 09:38 PM
#96

Posted 20 January 2012 - 09:23 PM
Decided to do another update, although this is only for one repair. This is probably my favorite repair so far so I thought I'd show you the complete process.
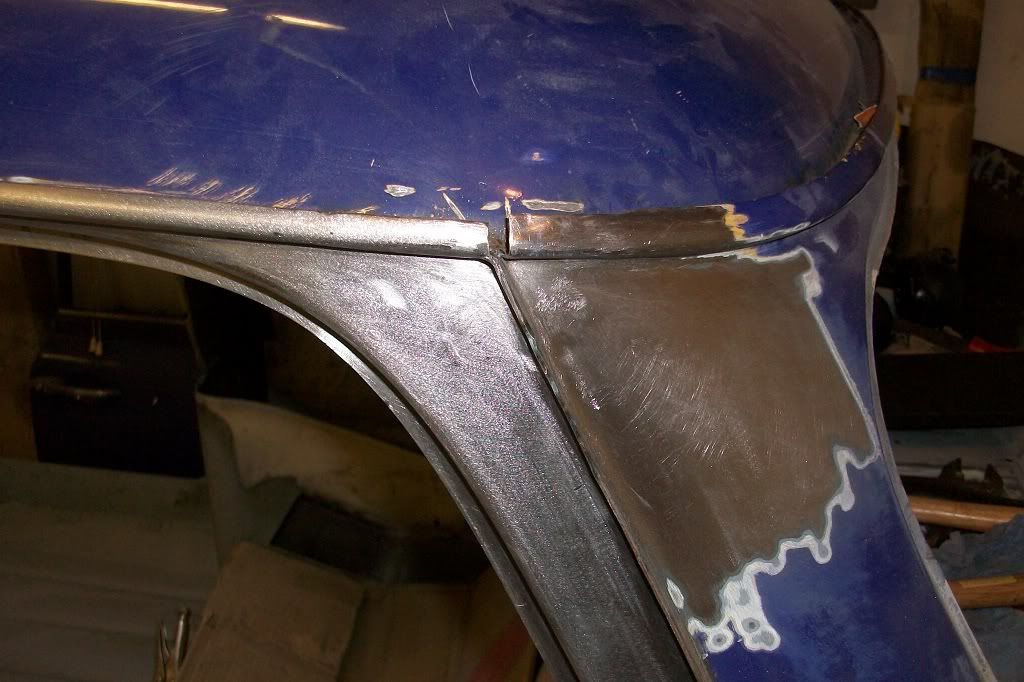
Rear passengers side window rotten at the bottom. Waist rail on inside already removed to be replaced with new.
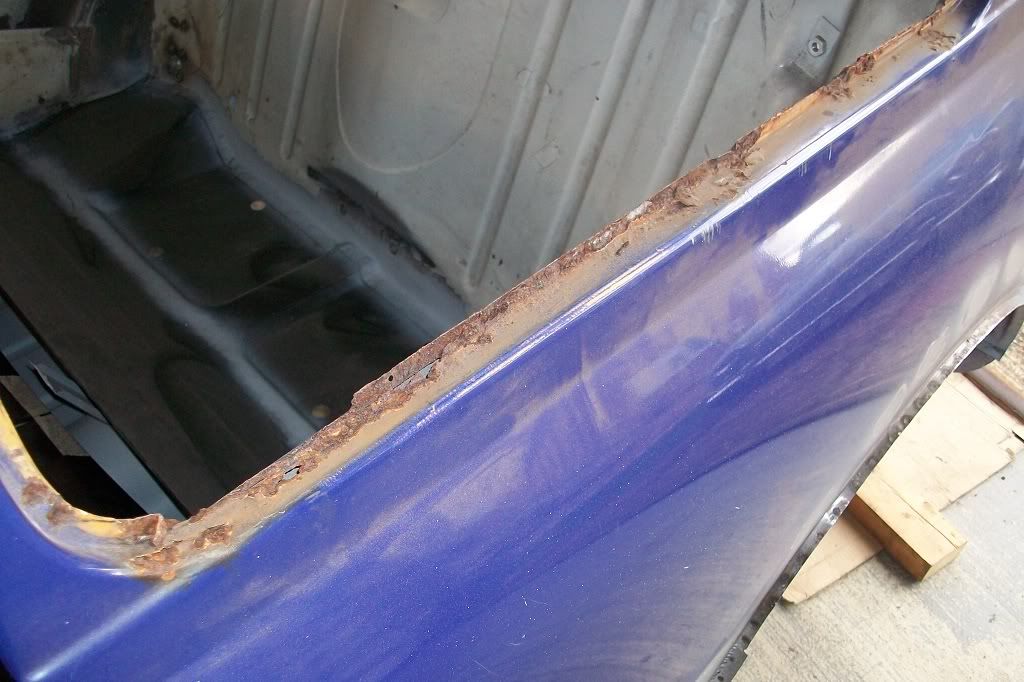
New waist rail clamped in place as a guide, but I won't be fitting this untill a lot later on in the build, so as not to get grinding dust behind it, whilst shell is on it's side again. Bad metal cut out and measurements taken previously marked at various points.
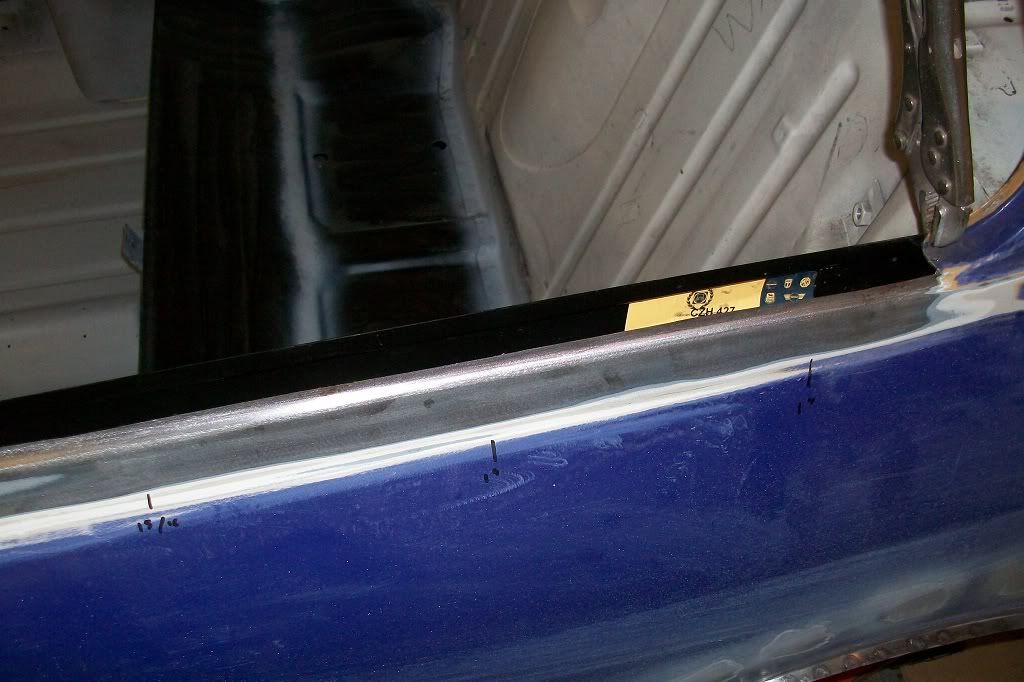
Folded a length of metal in the metal folder, trimmed and clamped in place.
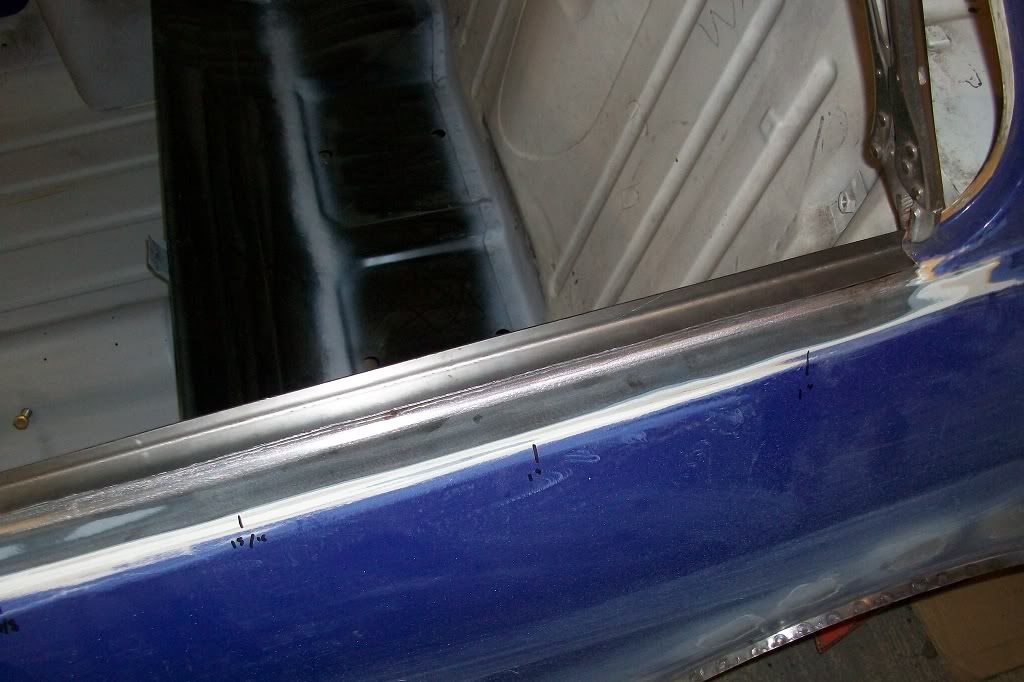
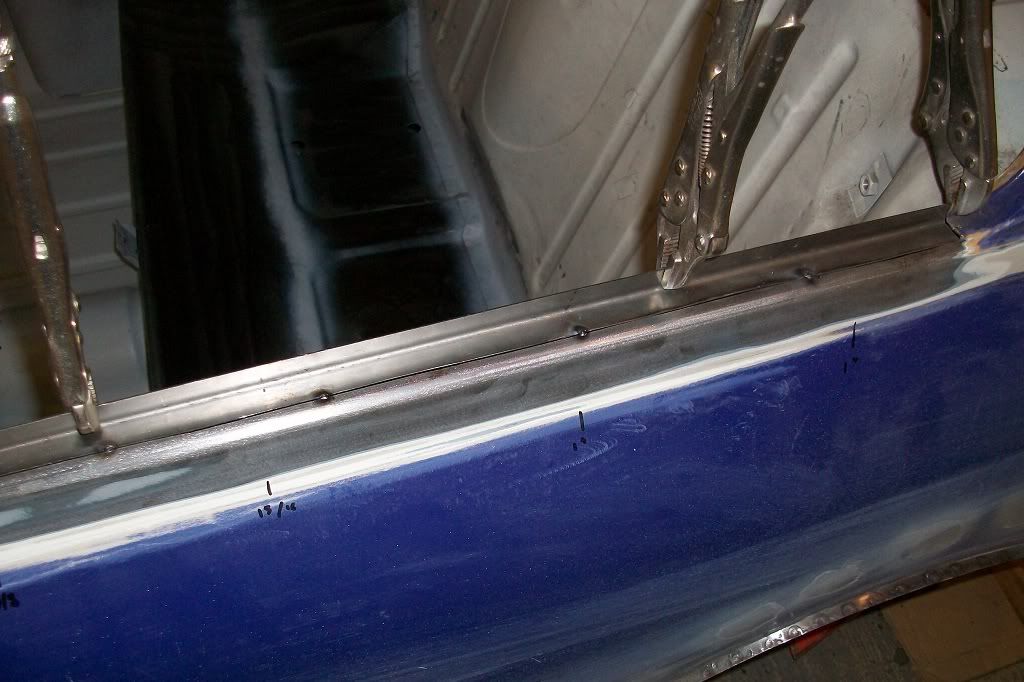
A few tack welds.
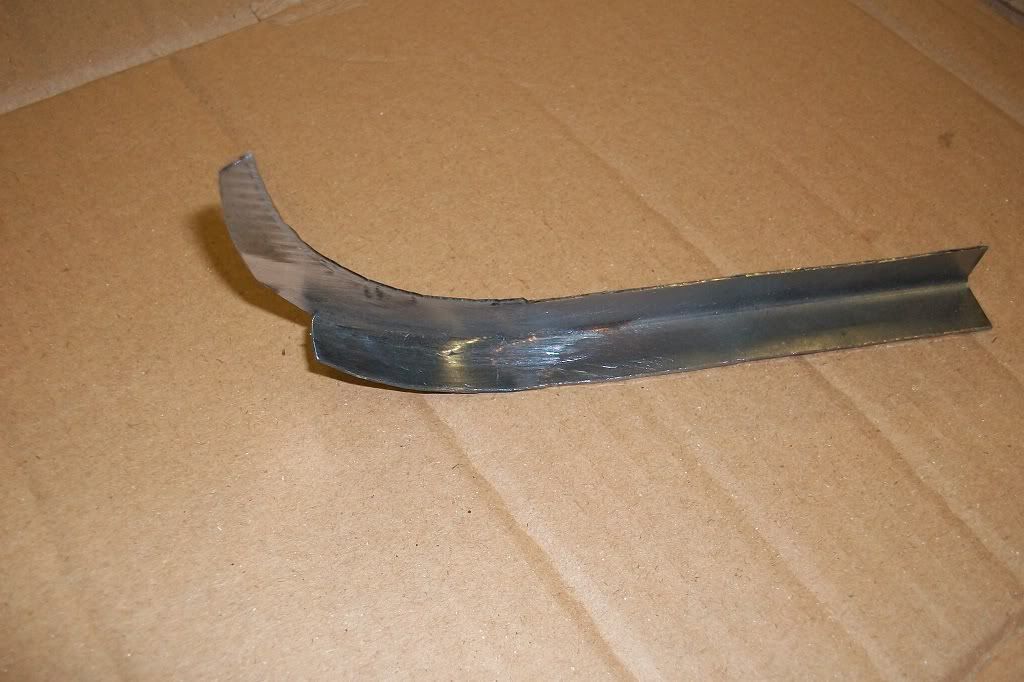
Then made this piece to repair the forward curve at the "B" post.
Welded in and ground down and then used a DA sander to blend together.
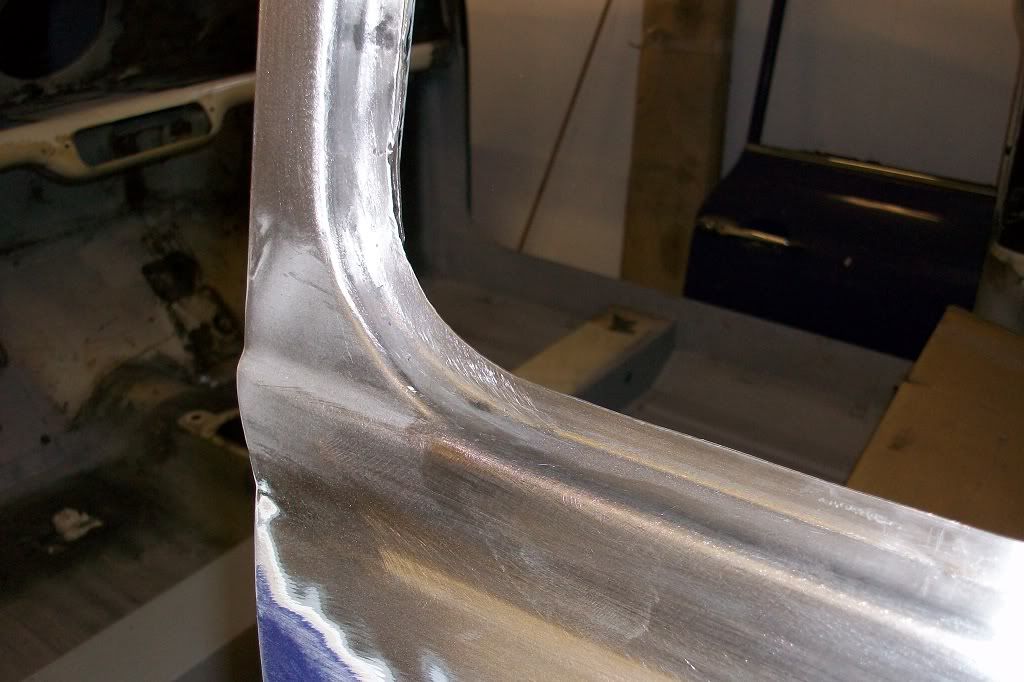
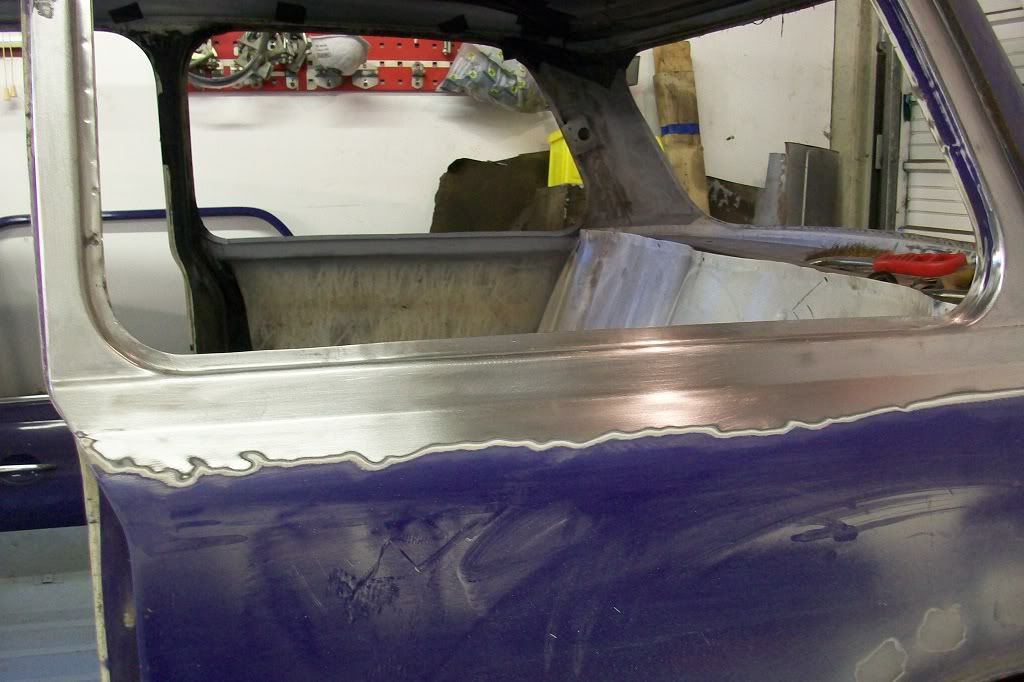
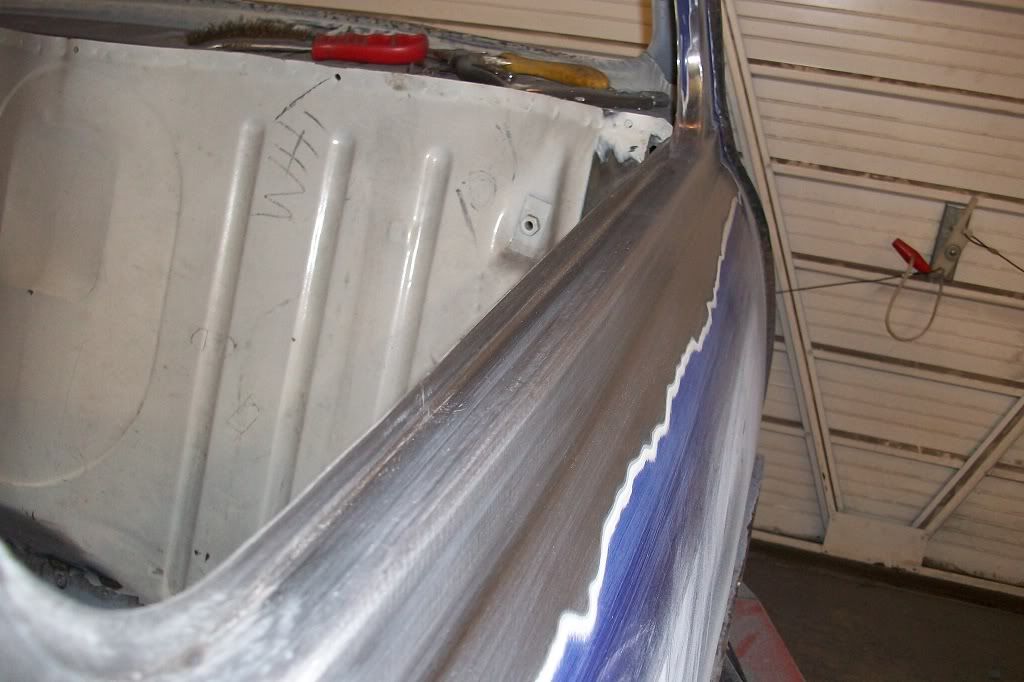
The vertical lip has been left slightly high and will be trimmed down when the waist rail is fitted.
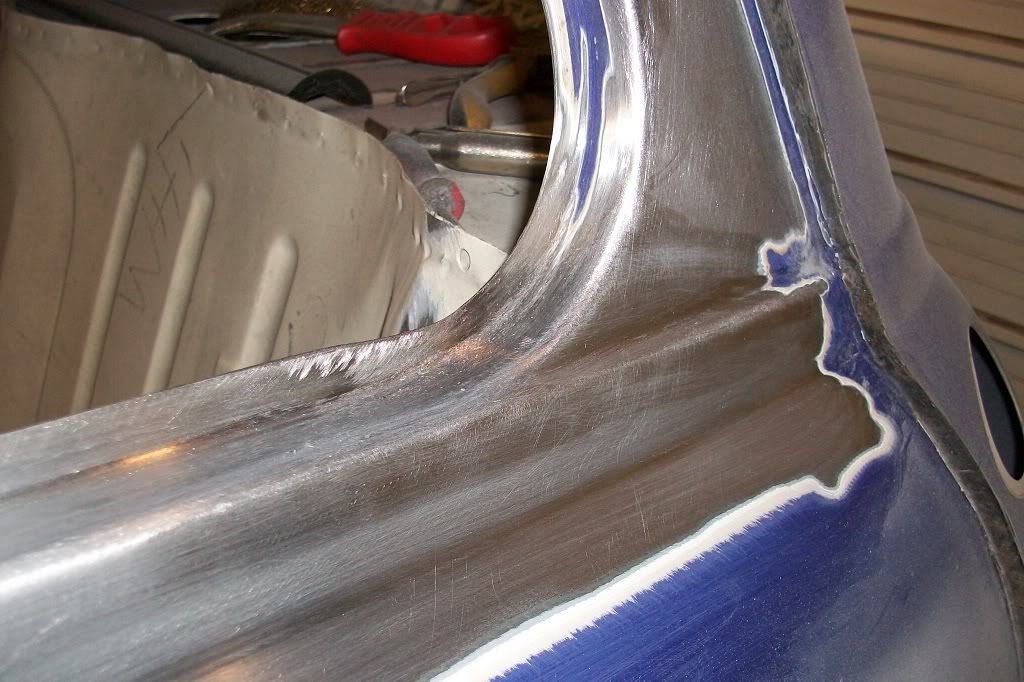
Finally cleaned the inside of the rear quarter down to bare metal to be primed.
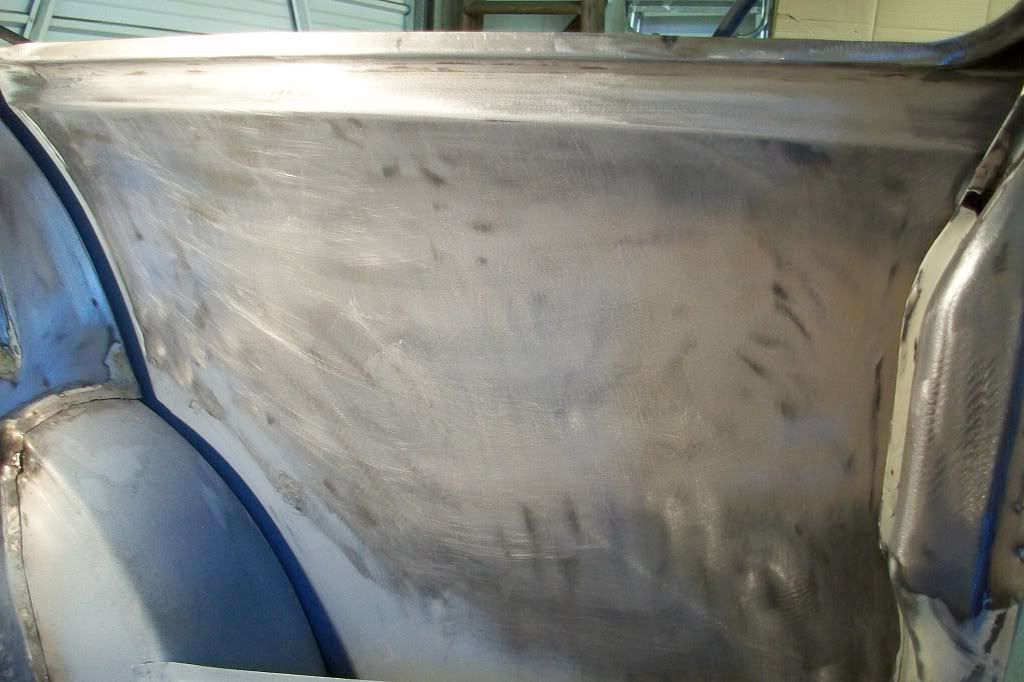
Thanks.
#97

Posted 20 January 2012 - 10:15 PM
Hugh
#98

Posted 21 January 2012 - 08:14 PM
A little more progress. Rear quarter panel cleaned down to bar metal.
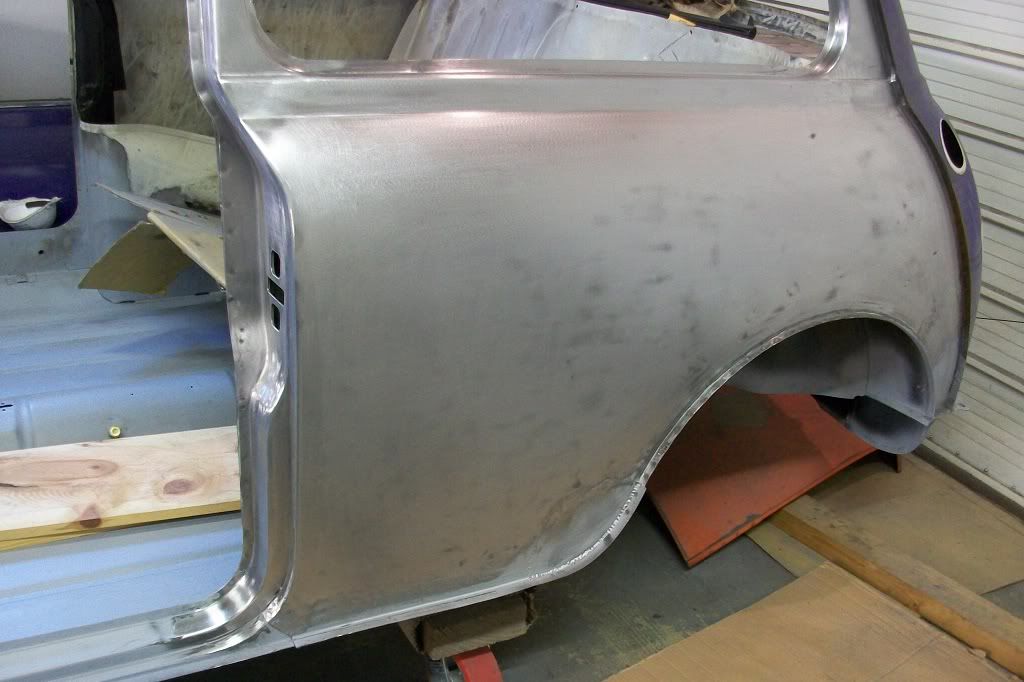
Then, whilst cleaning around the "C" pillar, I found this little hole.
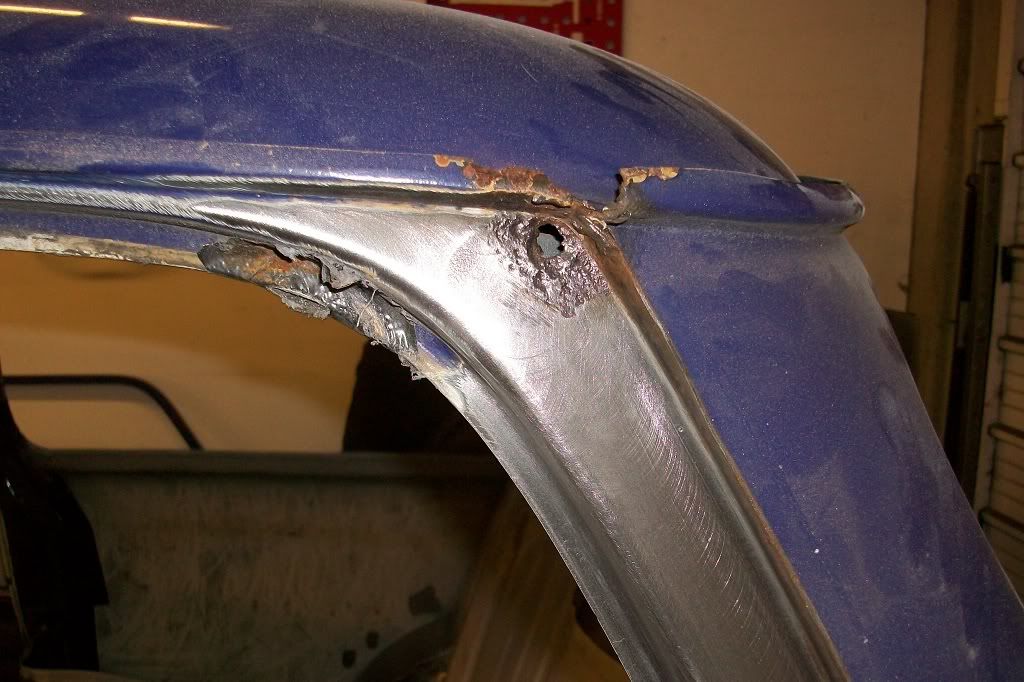
Made another repair piece.
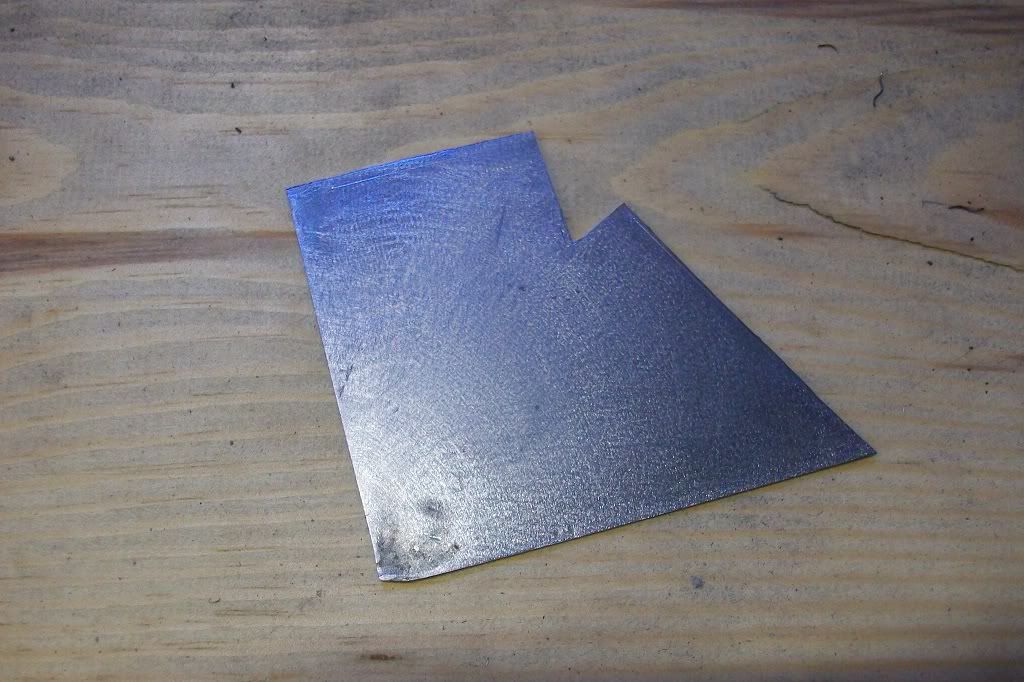
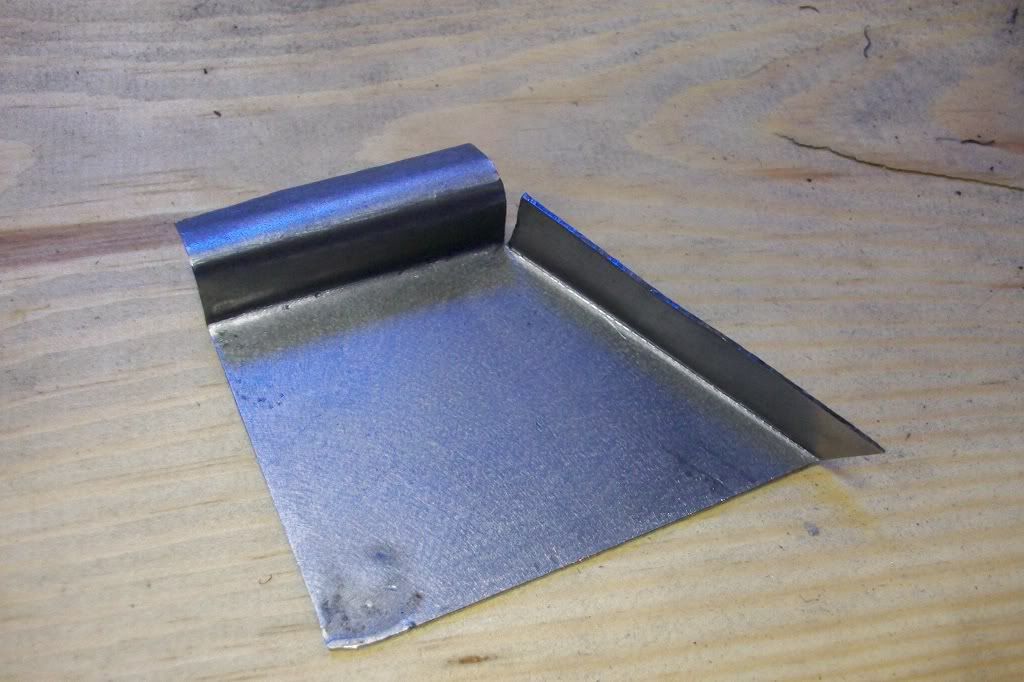
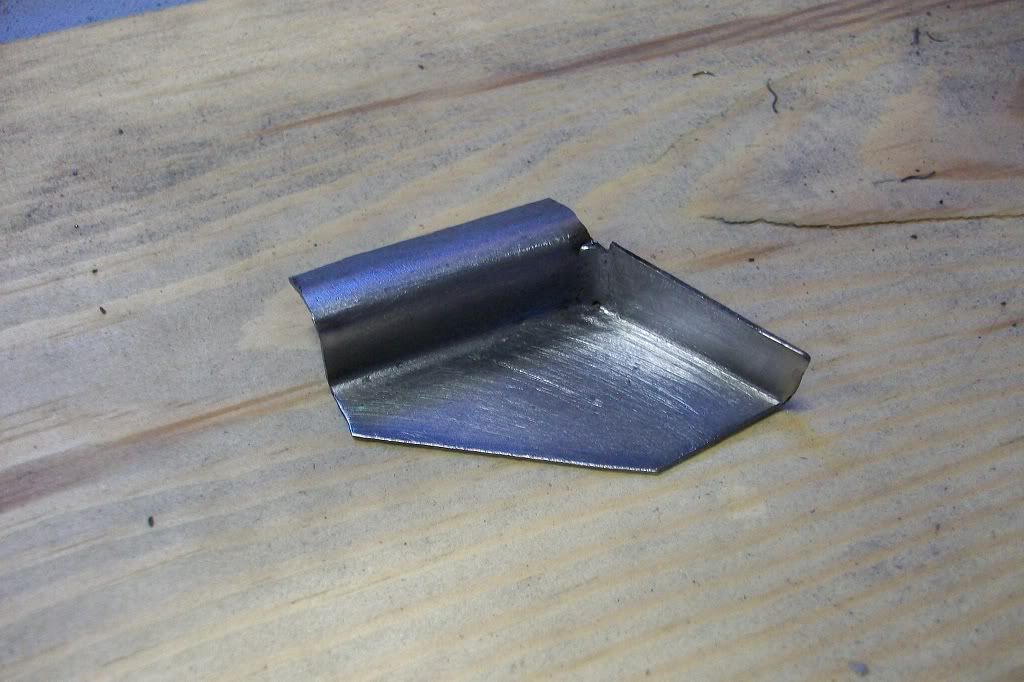
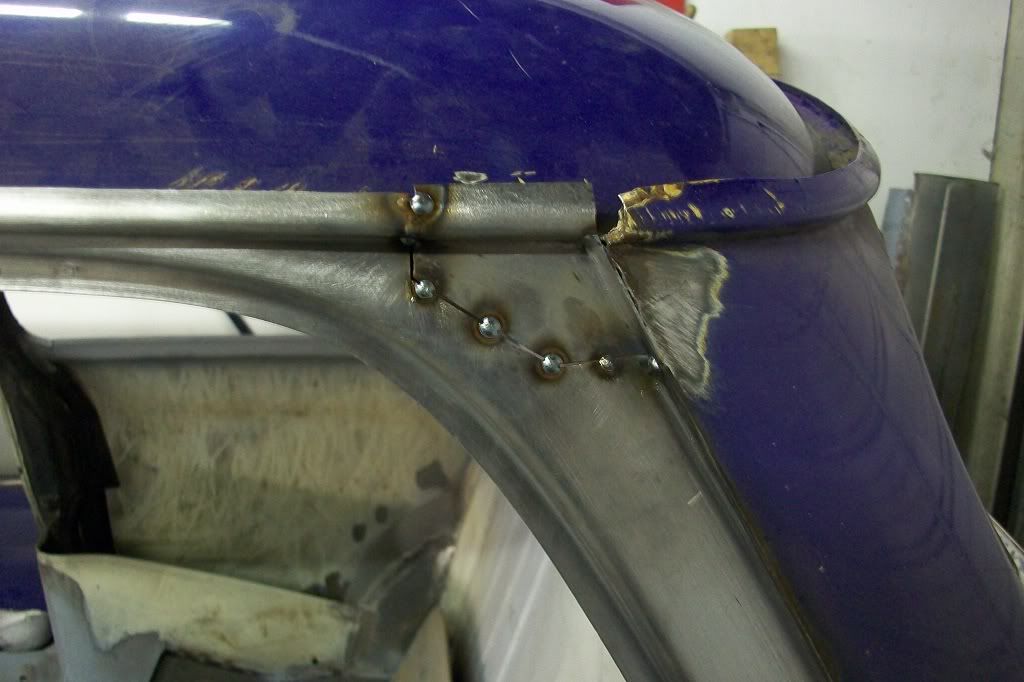
Trimmed and tacked in place.
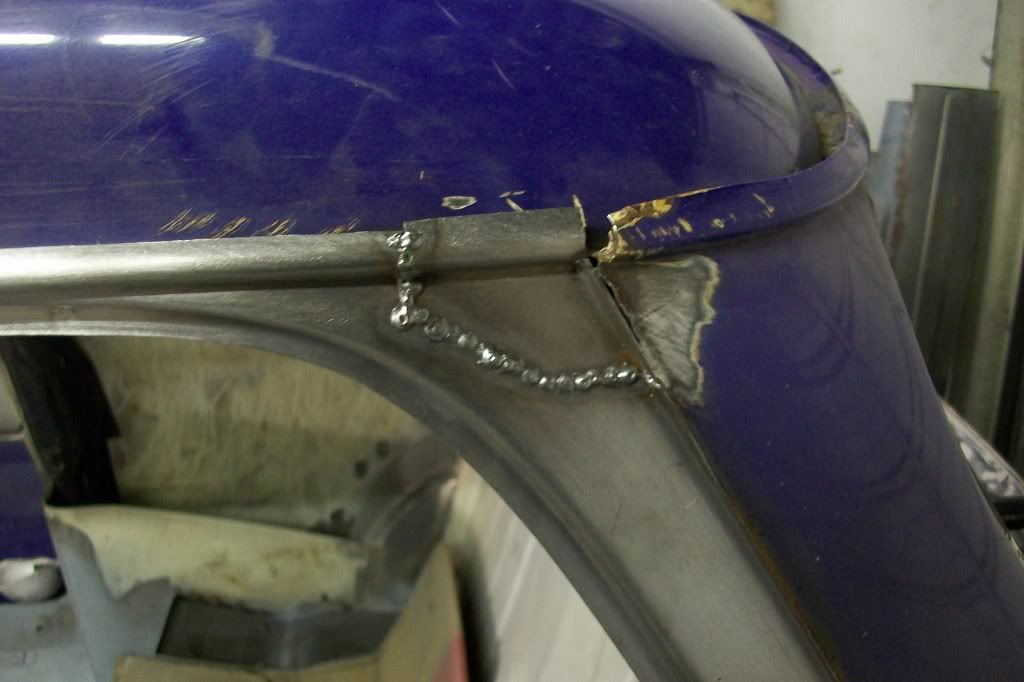
Welded up.
Cleaned down.
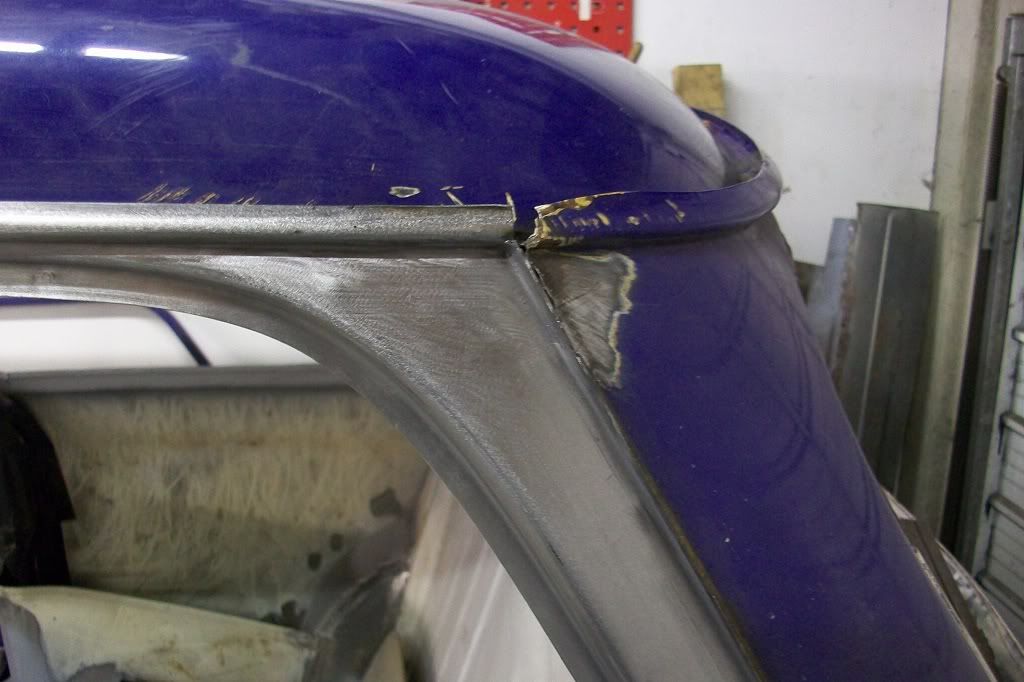
Then had to do the same to the rear panel upper corner.
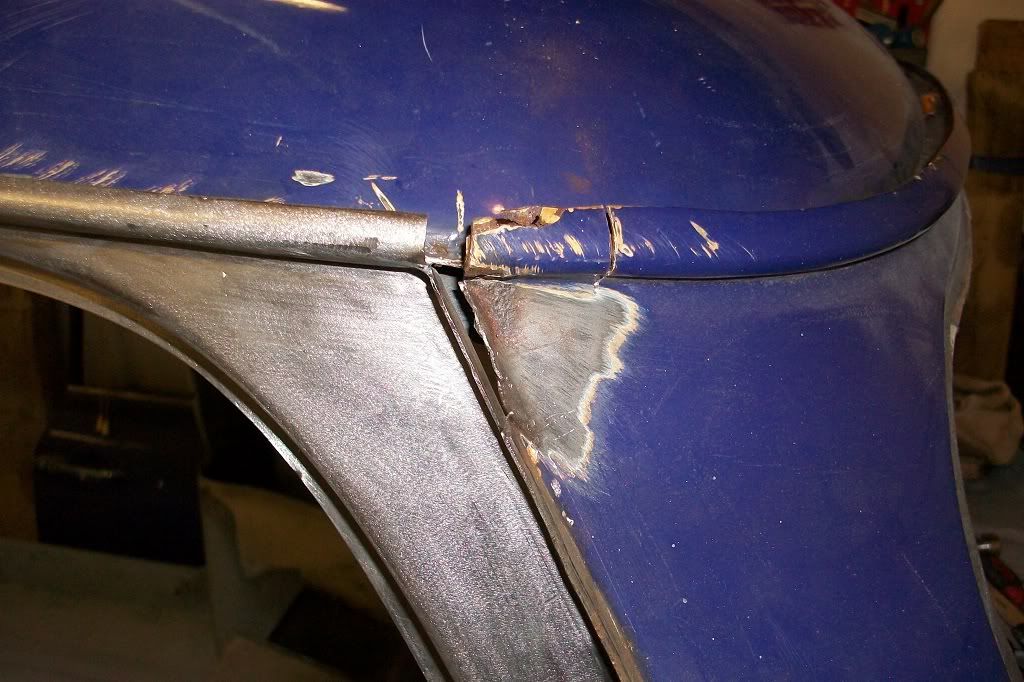
Small piece made and tacked in.
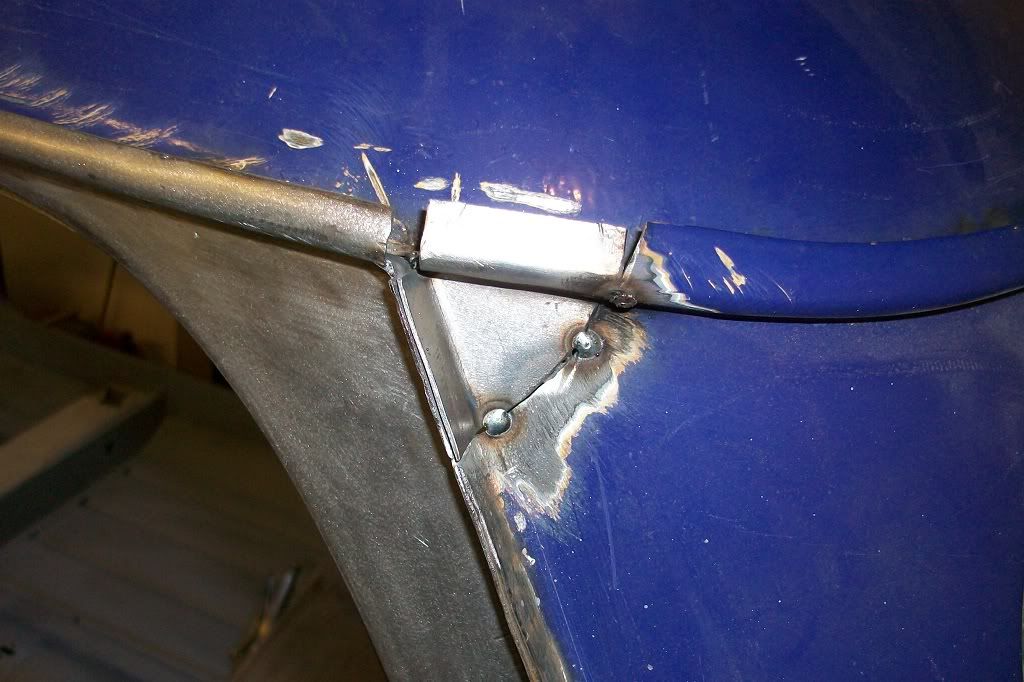
Welded up.
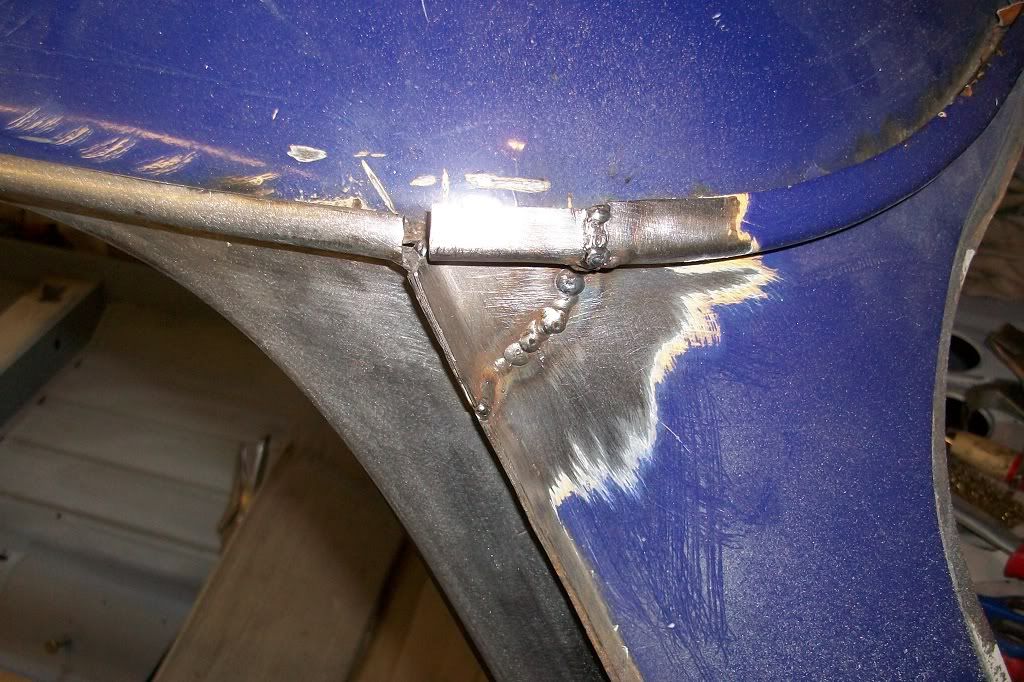
Finally, ground down.
Thanks for looking.
#99

Posted 21 January 2012 - 08:28 PM
Are you planning to go down to bare metal everywhere prr to priming?
Cheers
Matt
#100

Posted 21 January 2012 - 08:43 PM
#101

Posted 21 January 2012 - 09:03 PM
Well as usual, wishing you well and thanking you for showing how it should be done
Hugh
#102

Posted 21 January 2012 - 09:05 PM
#103

Posted 21 January 2012 - 09:40 PM
#104

Posted 21 January 2012 - 09:51 PM
This is just the most amazing project!
#105

Posted 22 January 2012 - 12:07 PM
Andrewo330 thanks, I've had trouble trying to get some of my repairs neat, but the turning point really was the bottom of the rear window repair. I tried different methods, got the gap between the two panels even and tack welded in. Then instead of running seam welds, keep adding tacks between two previous tacks and work from one end to the other. Then go back to the start and repeat again until all gaps are filled. That way you don't build up too much heat. When you grind down, be very gentle, not being too heavy and concentrate on the top of the welds not the surrounding metal. Keep moving along the line so as not to build up too much heat, gradually flatten the angle of the grinder and it will all start to blend together. I then used a DA sander with 80 grit to finish off.
Thanks MR J, I keep finding topics i've missed on here too. Thanks for your comments.
Bean, thanks I tend to use anything that works with a high rate of removal to get it done quicker. Small wire wheels on the drill work well in some areas, sanding discs on a flexible rubber backing in the drill work well, but slow speeds only as they soon break up. I find the best thing for large flat areas to be the stripping and cleaning discs that you mount on an angle grinder. Again be gentle with them and they last longer. See link below to see what I mean.
http://www.abrasives...-And-Strip.aspx
Edited by minifcd, 22 January 2012 - 12:10 PM.
2 user(s) are reading this topic
0 members, 2 guests, 0 anonymous users


