Jump to content


Photo
- - - - -

Leyland Mini 1000 1980 Restoration Project


  • Please log in to reply
393 replies to this topic

#76 minifcd

minifcd

    Mini Mad

  • Members
  • PipPipPipPip
  • 246 posts
  • Location: Stamford

Posted 28 December 2011 - 10:46 PM

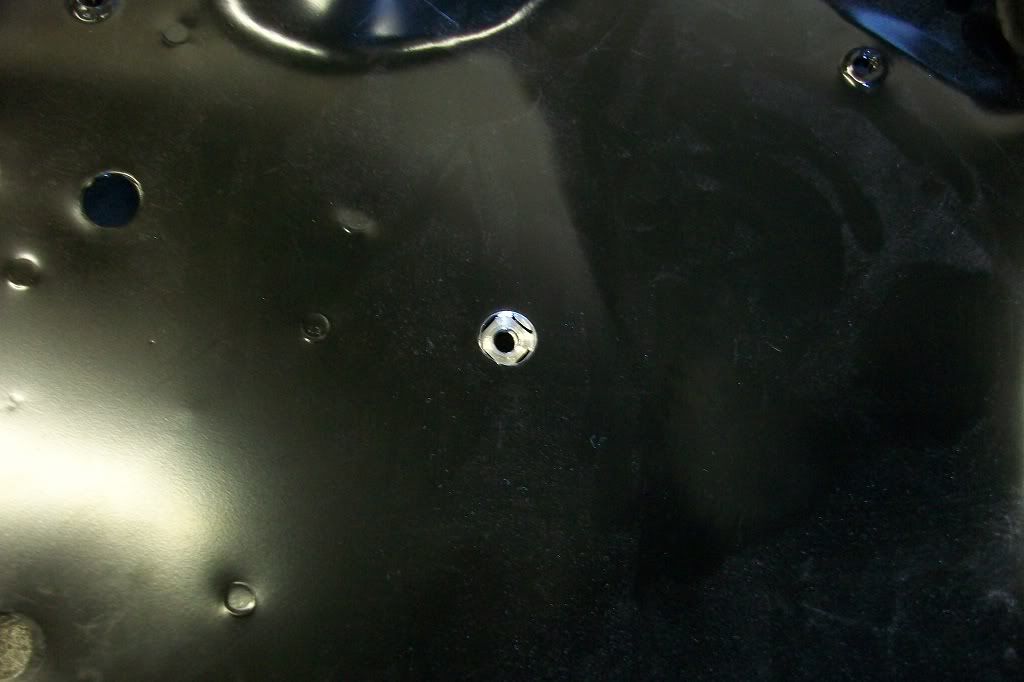
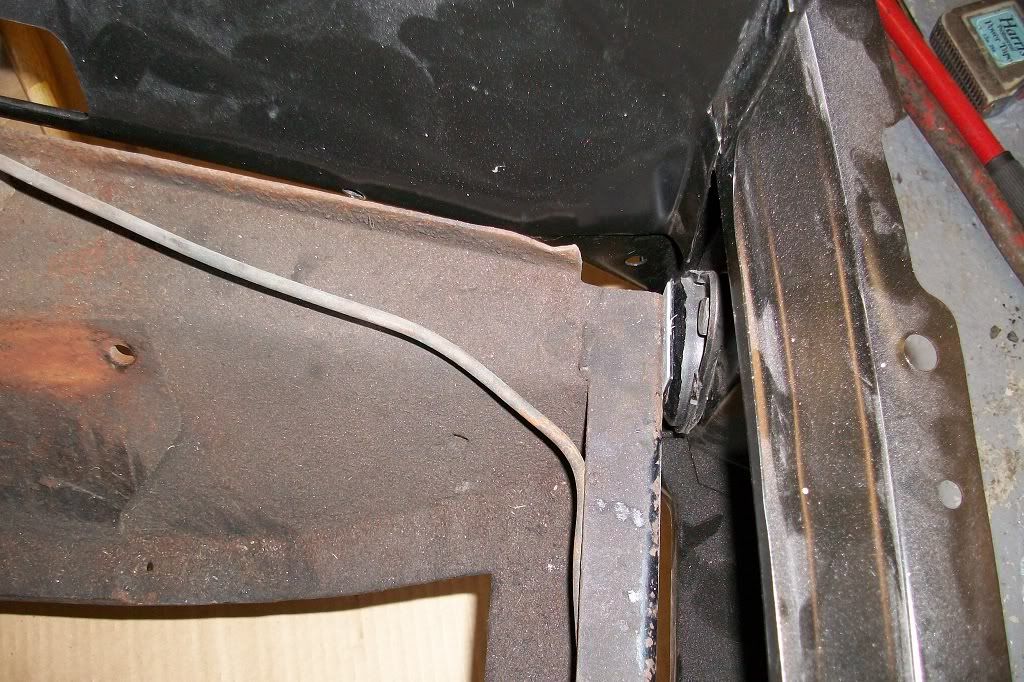
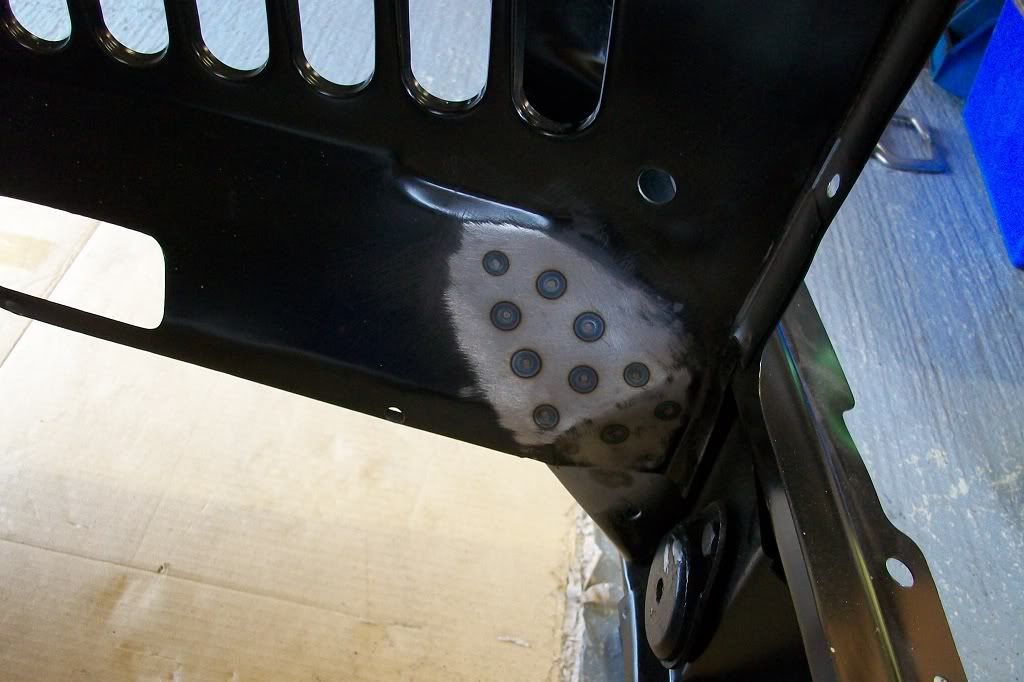
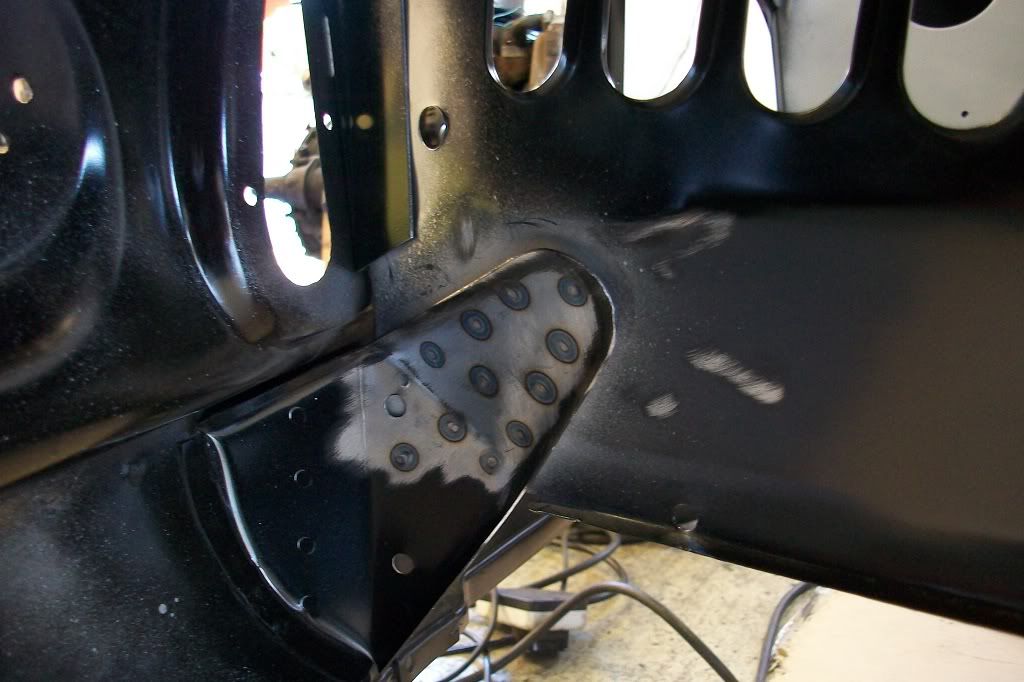
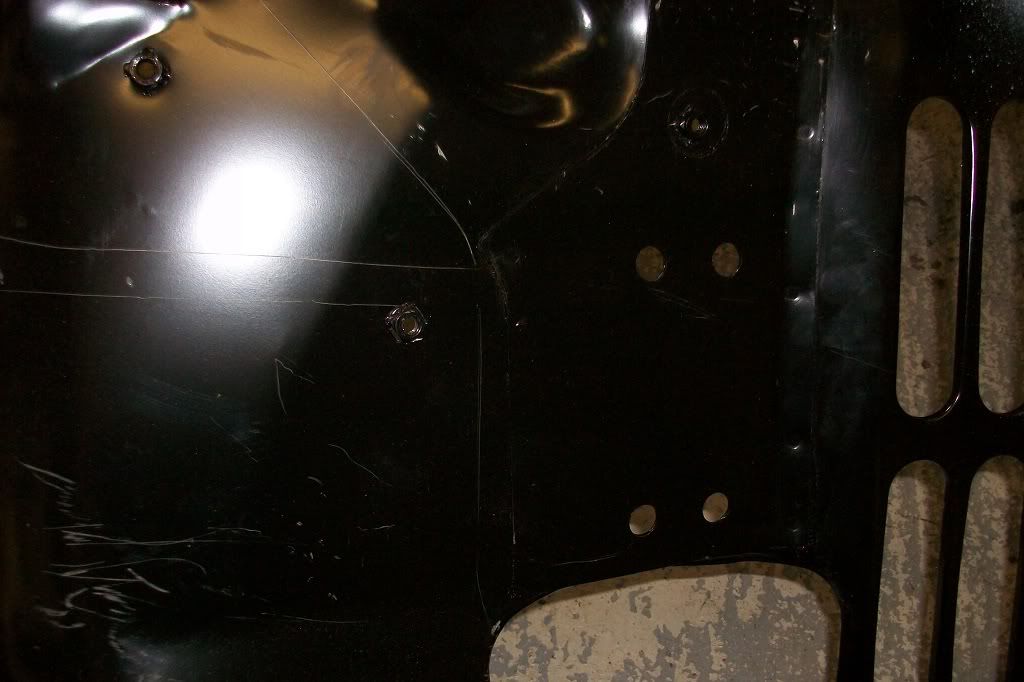
Next update. The next job was fitting the passengers side inner wing, a Heritage panel ALA6279. I offered it up and scored around on the inside where the holes will need drilling for plug welding, but found there was a weld nut hitting the lower dash rail shelf and preventing it from sitting flush.
Posted Image

Drilled it out with a 12mm drill bit with a 6mm pilot on the end.
Posted Image

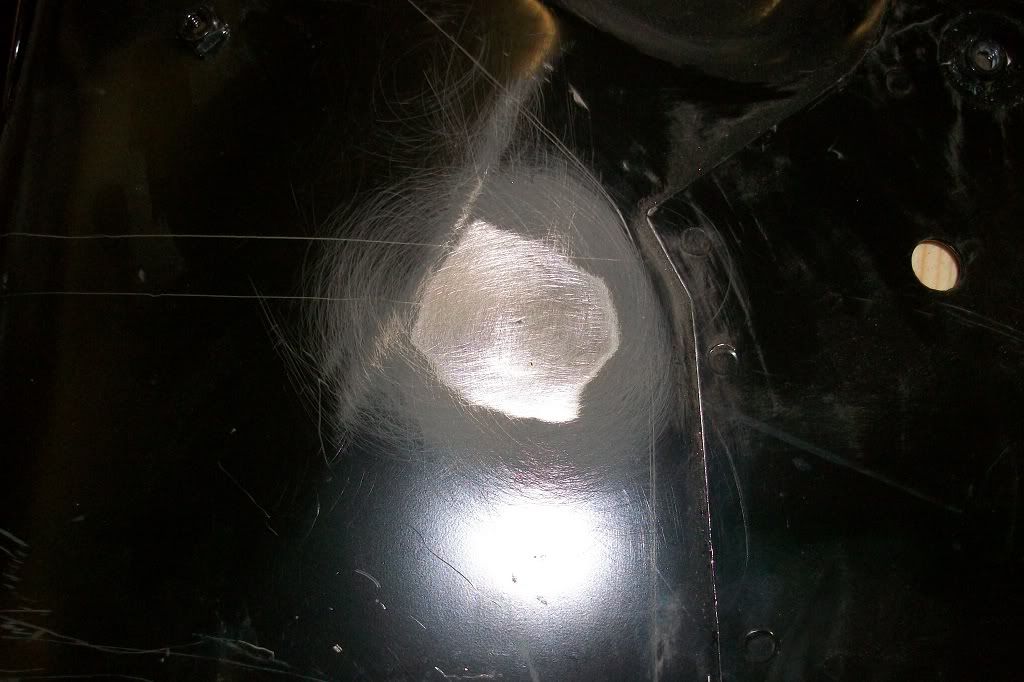
Cut a small disc and welded in.
Posted Image

Then after fitting the panel and checking the door fit, I welded it in.
Posted Image

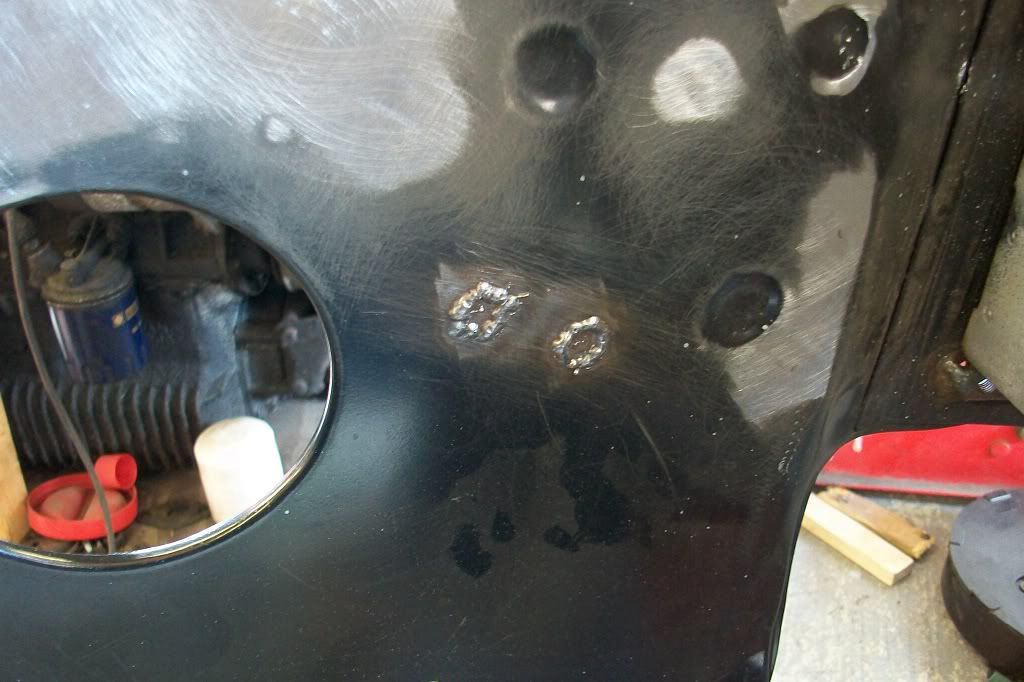
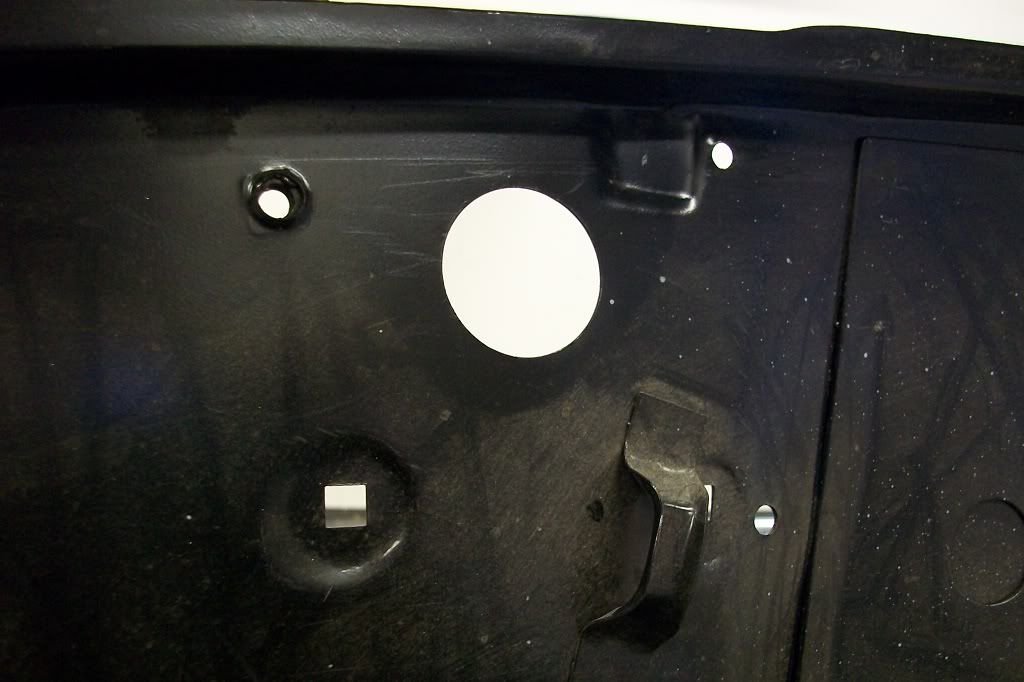
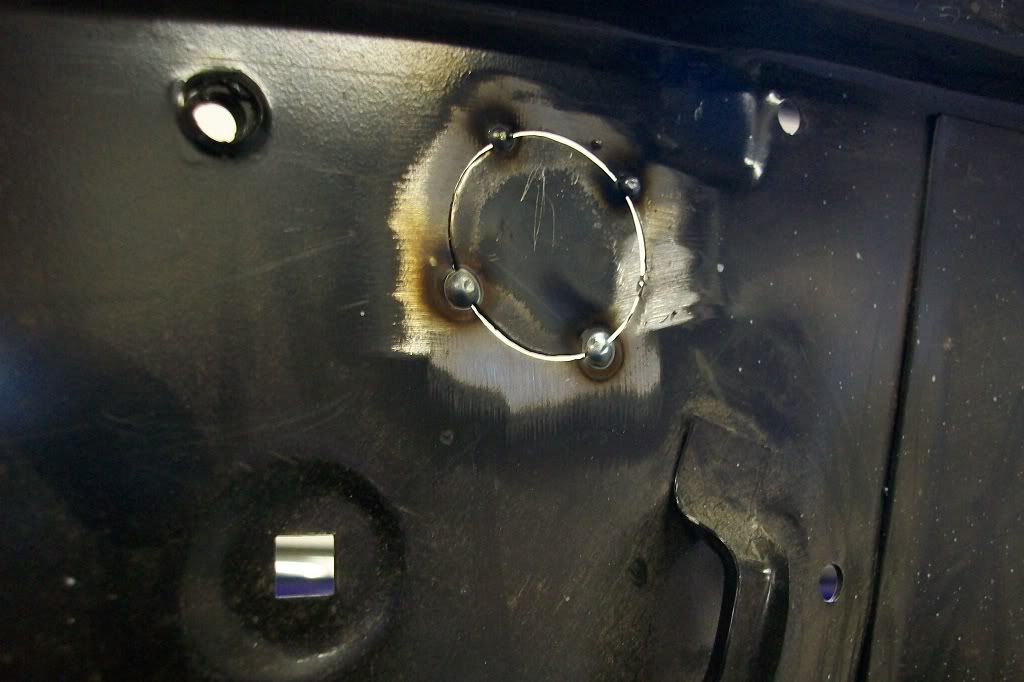
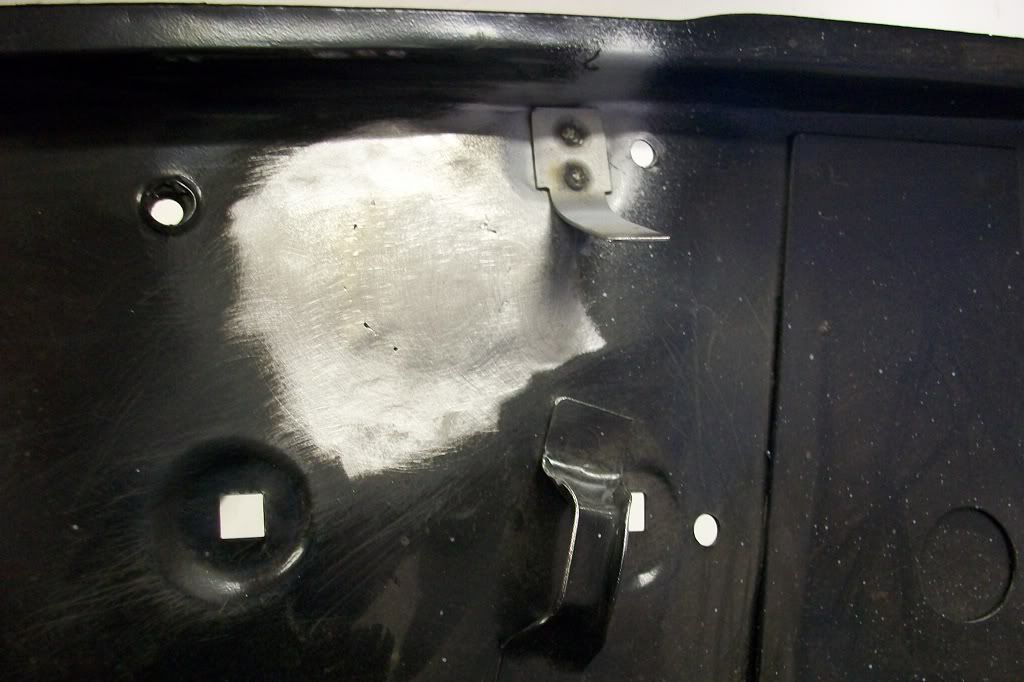
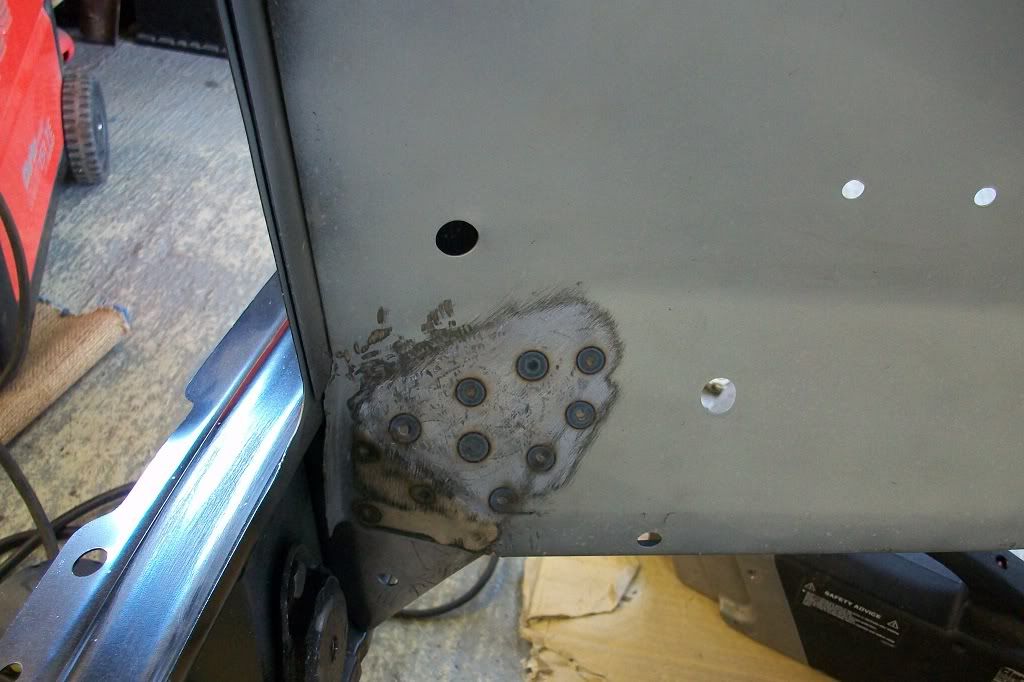
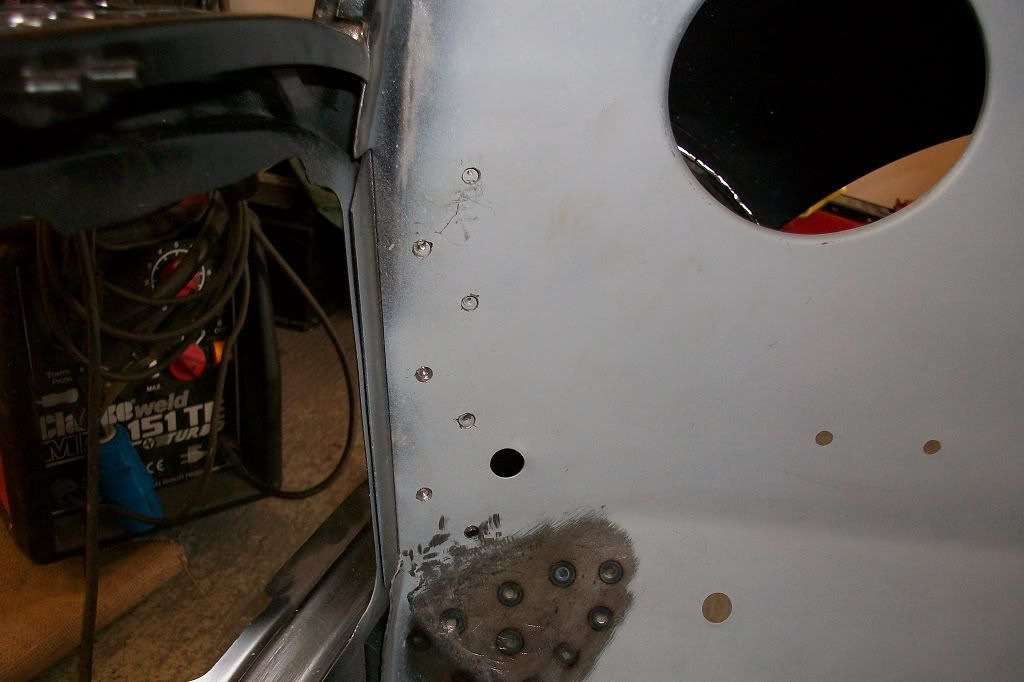
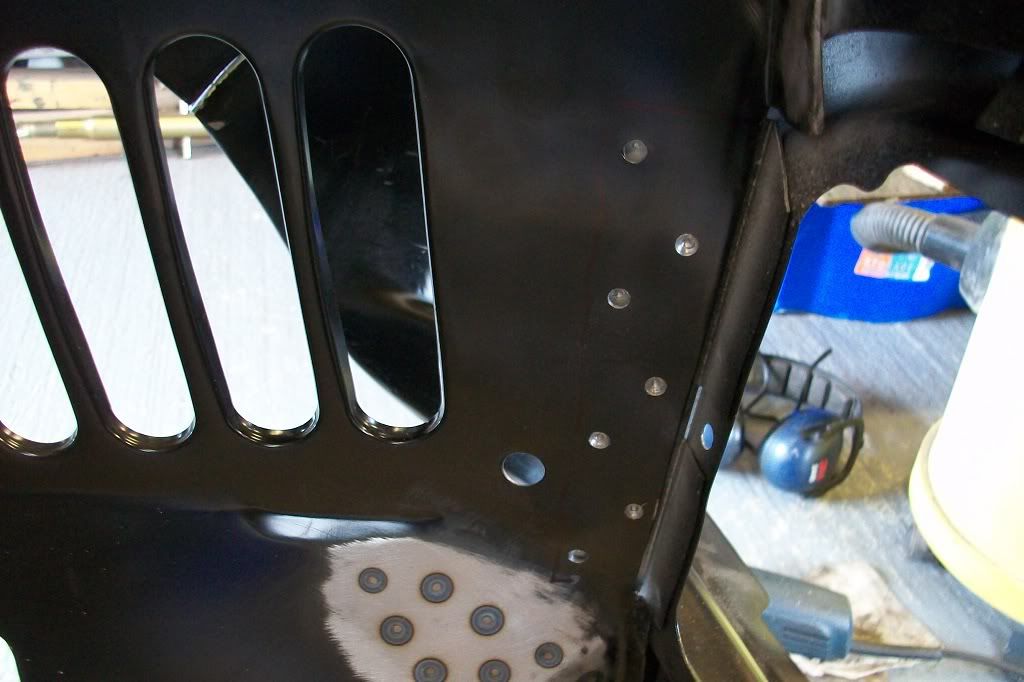
Mini was now put back on its base to fit the front end. Whilst I was welding up holes I decided to blank off this one in the drivers side inner wing as its not needed.
Posted Image

Disc made and tacked in.
Posted Image

Welded and finished.
Posted Image

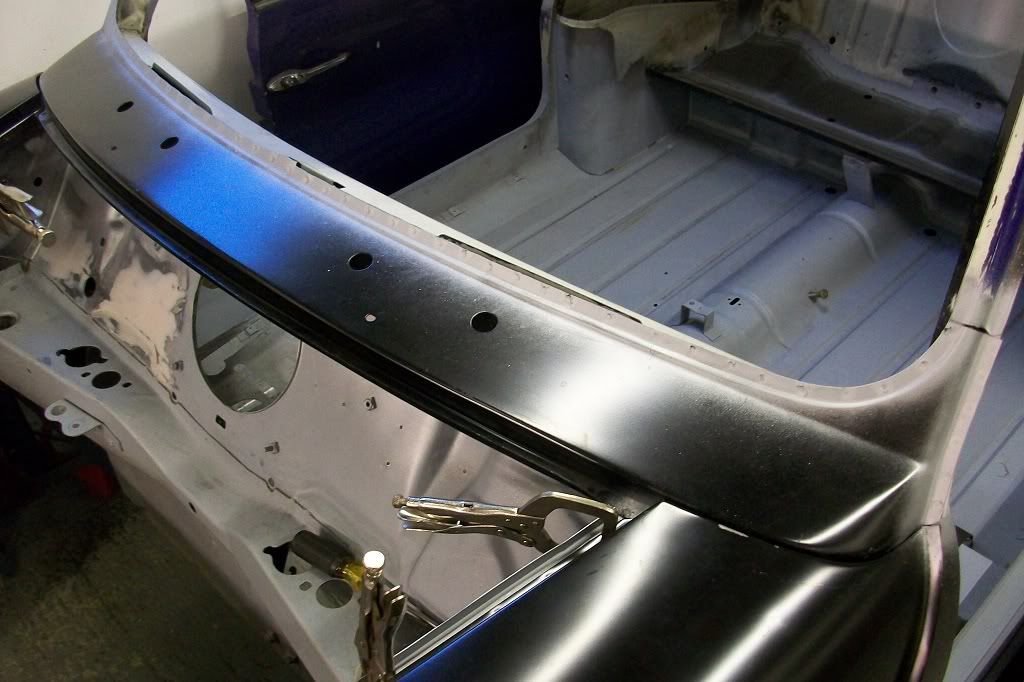
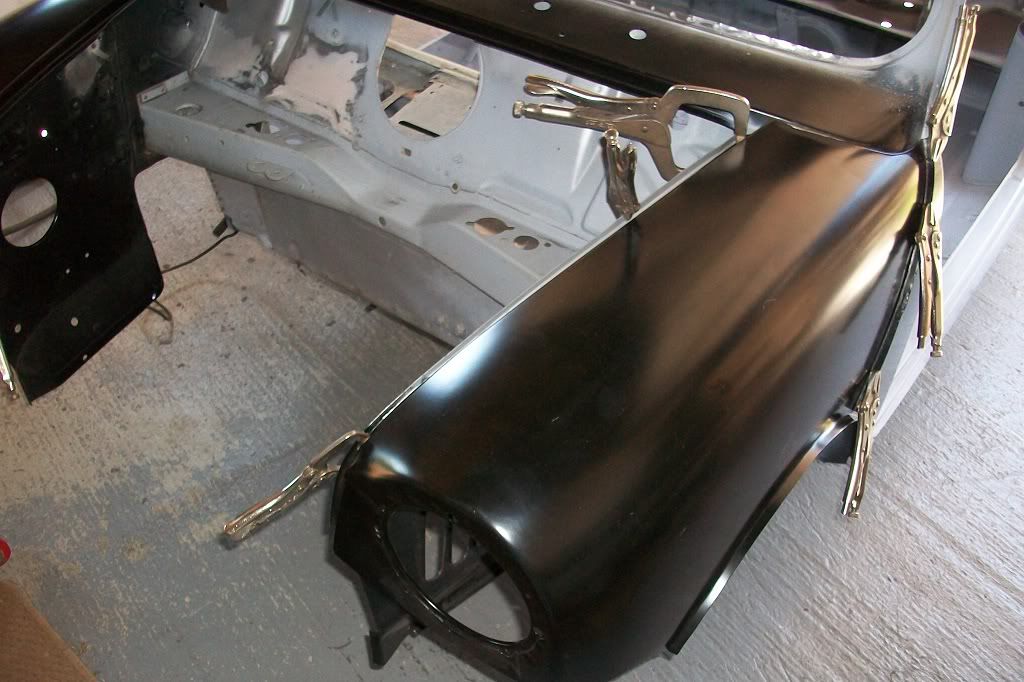
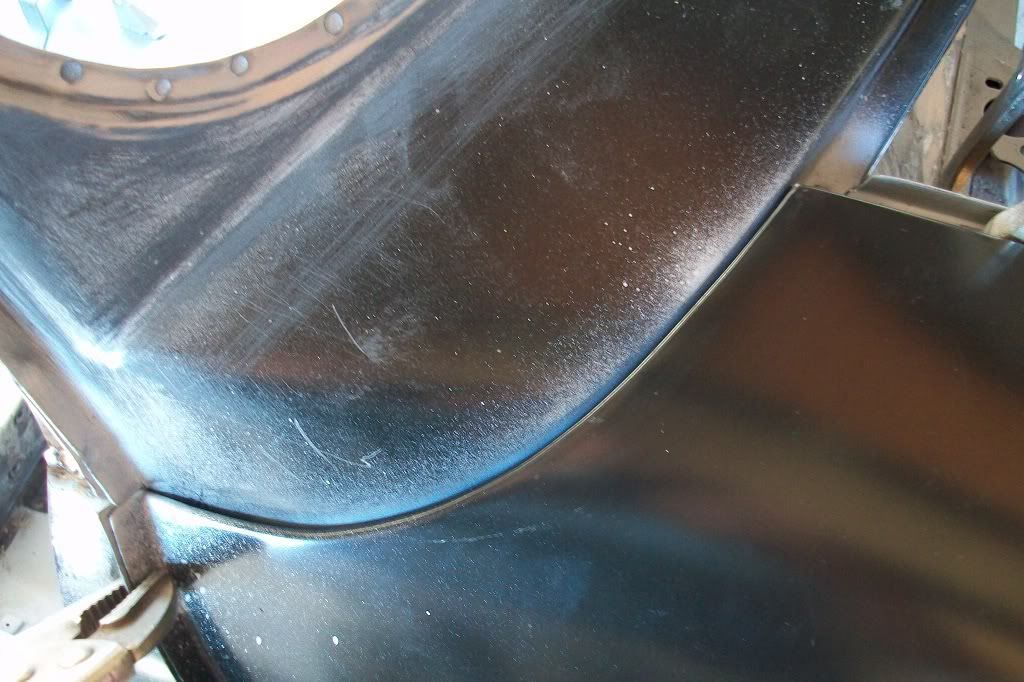
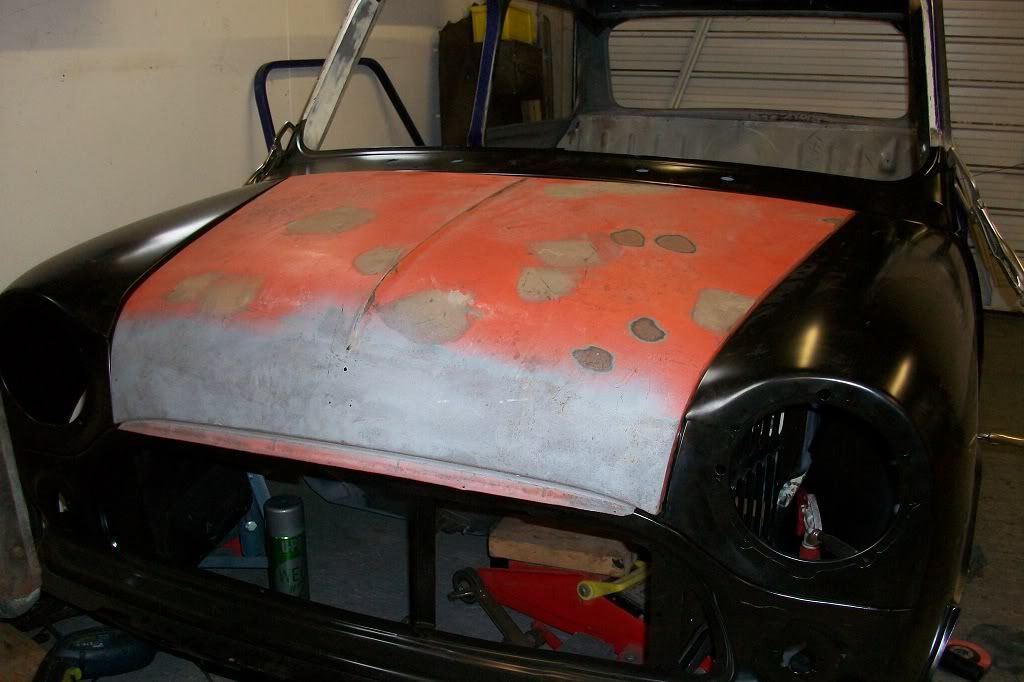
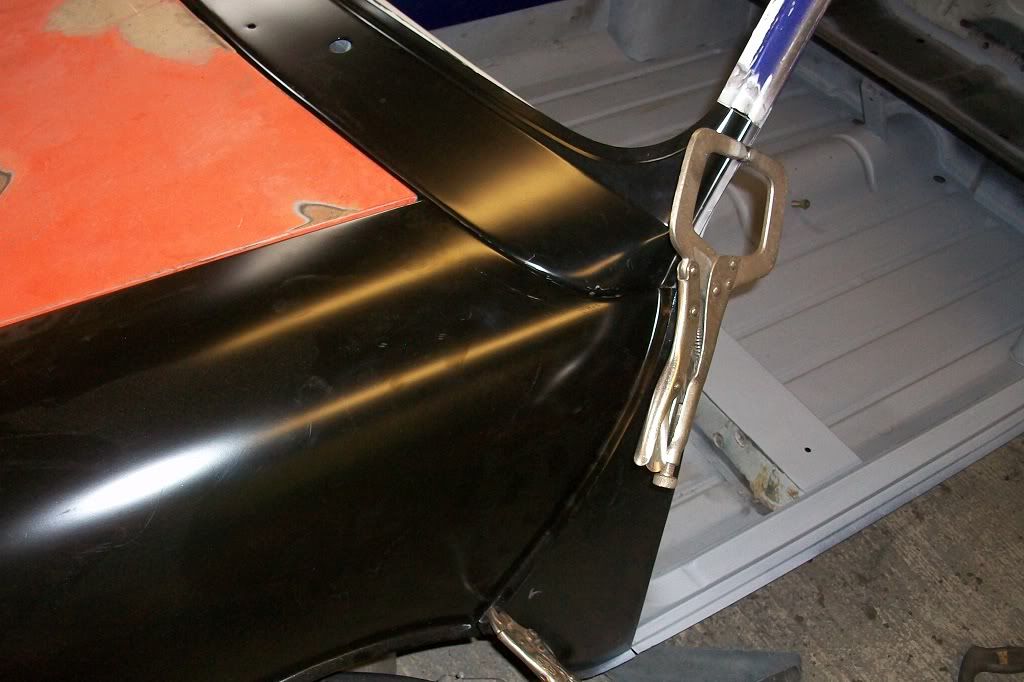
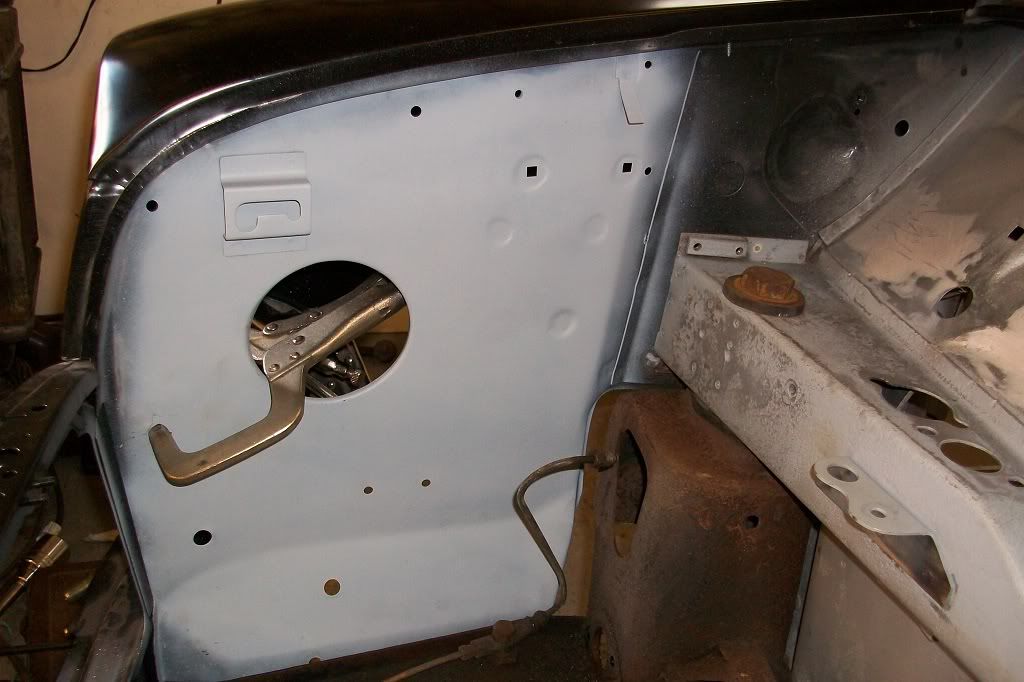
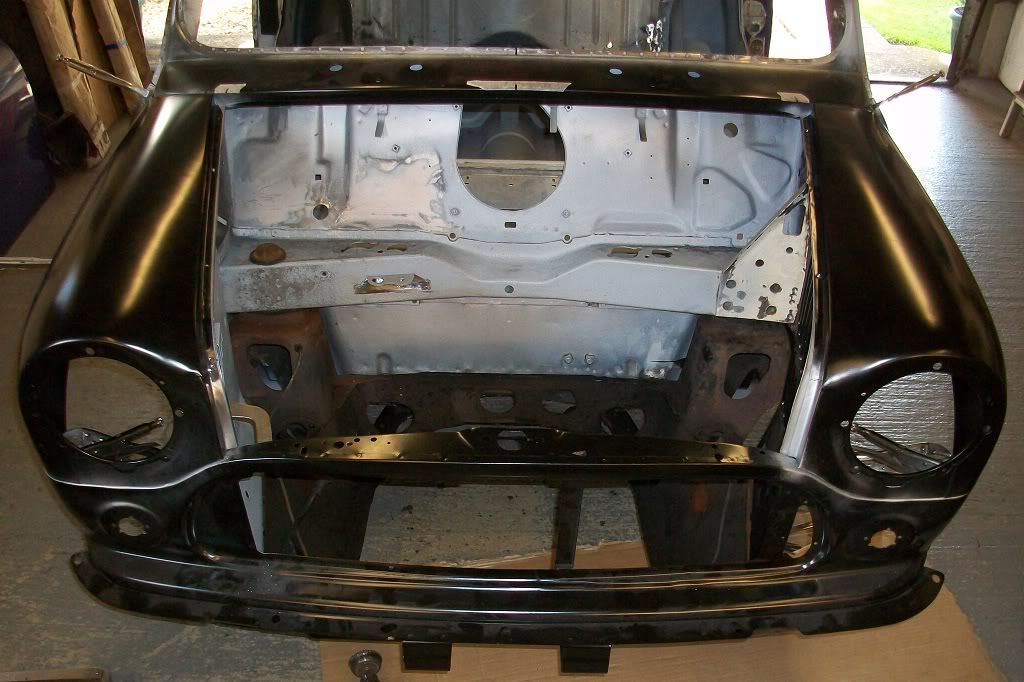
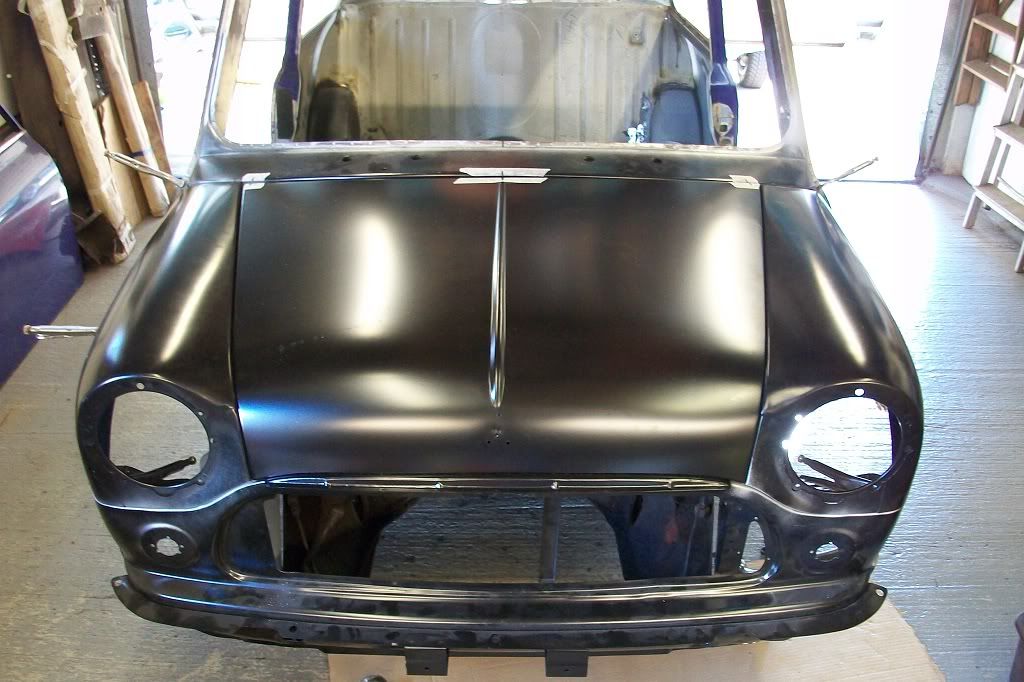
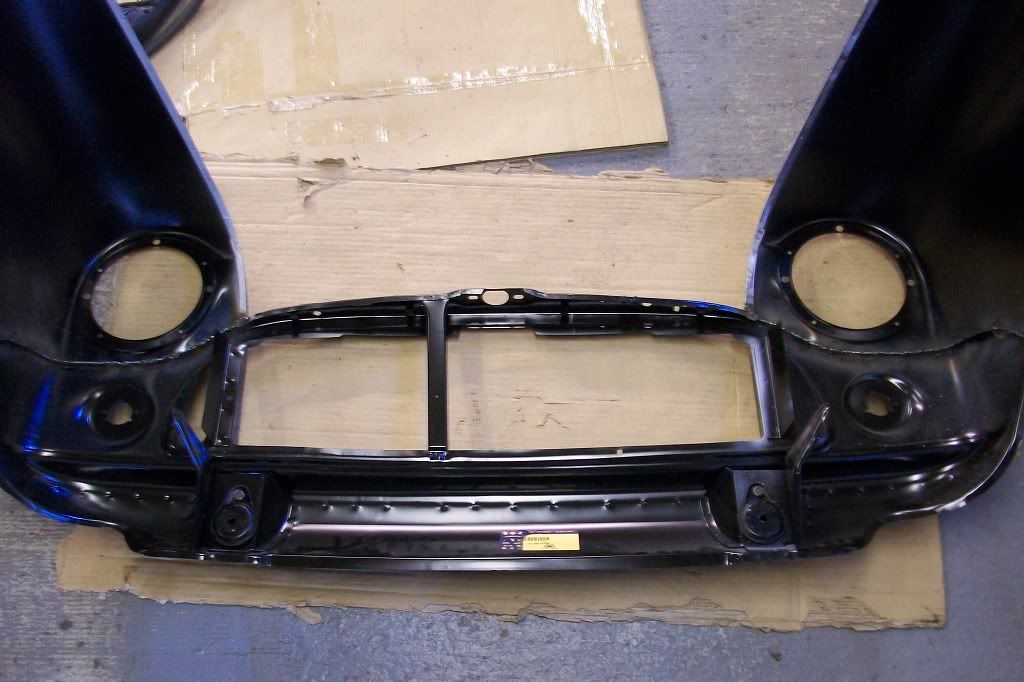
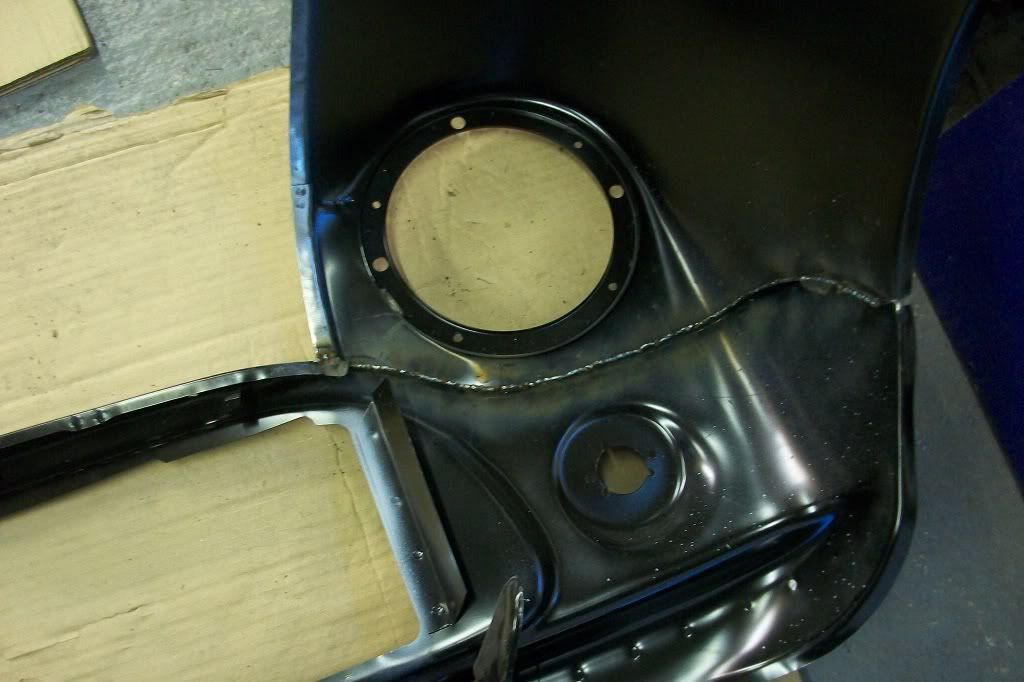
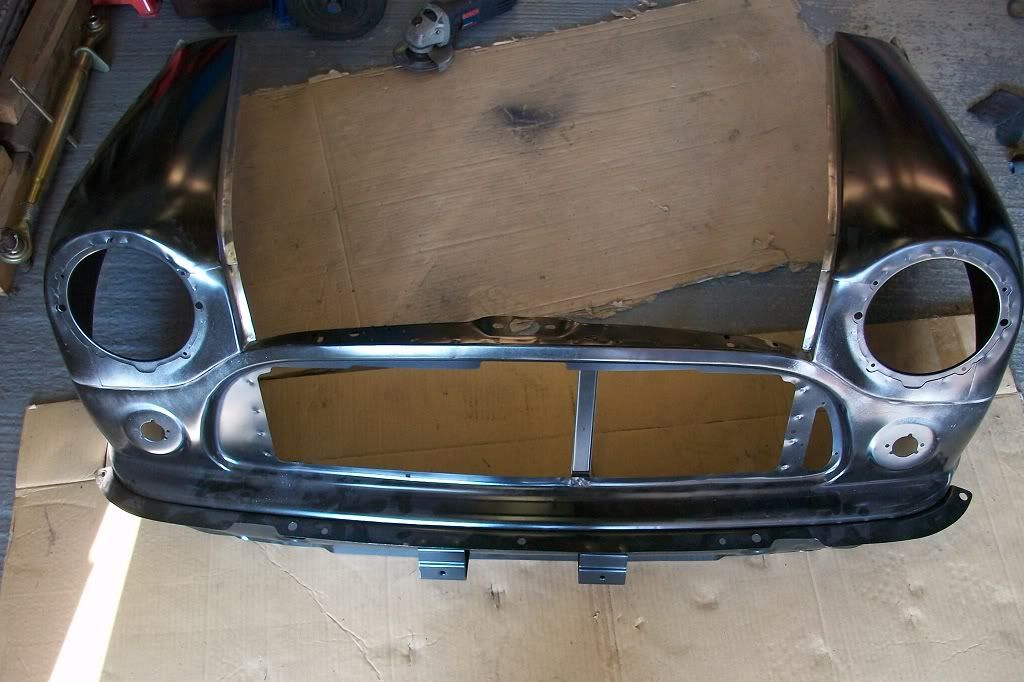
Next I test fitted the entire front end for fit. Scuttle panel, outer wings, front panel and a bonnet and clamped in place with vice grips. Leveled the shell and checked at various points with a spirit level and then checked the front panel for level. Almost spot on! Will need only a slight tweek when welding up.
Posted Image

Posted Image

Posted Image

Thats it for now. Next update, scuttle panel welded in.
Thanks.

#77 minifcd

minifcd

    Mini Mad

  • Members
  • PipPipPipPip
  • 246 posts
  • Location: Stamford

Posted 02 January 2012 - 05:52 PM

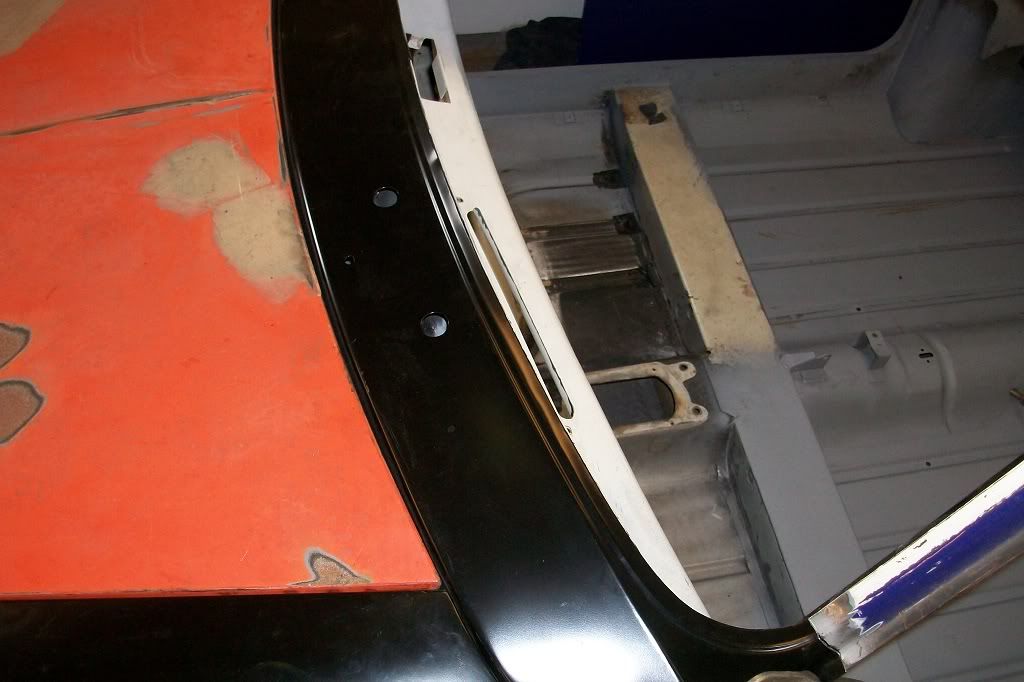
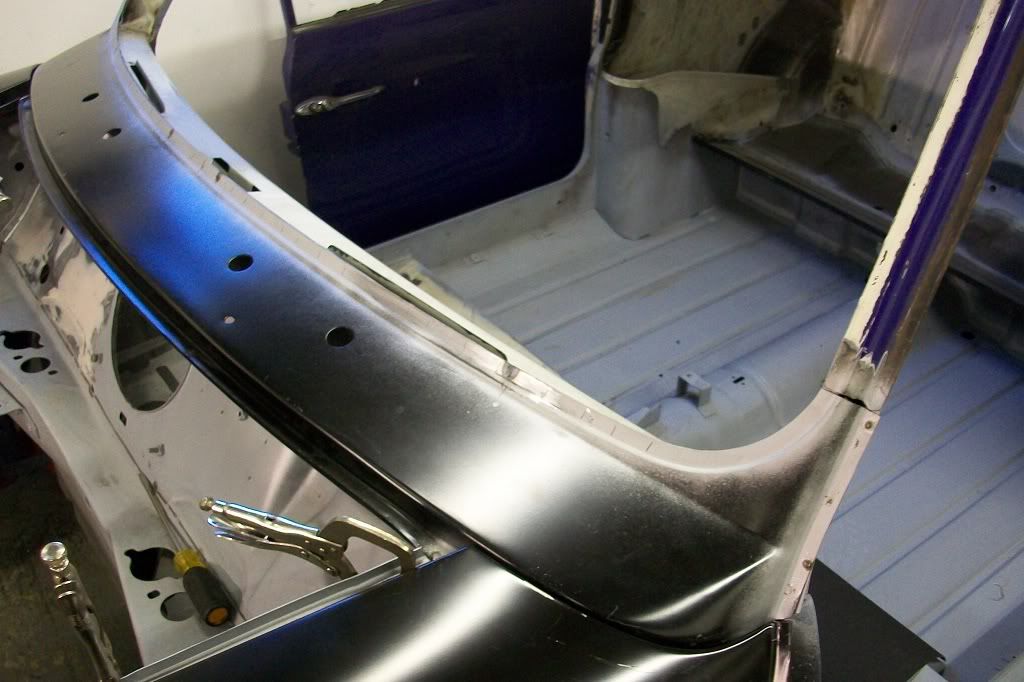
With all the panels test fitted I began to fit the scuttle panel. Again Heritage panel, HMP441001. I cleaned all of the edges where I would be spot welding down to bare metal and primed with zinc rich weld through primer. Then aligned and put a few spot welds in and rechecked the fit.
Posted Image

Then fully spot welded.
Posted Image

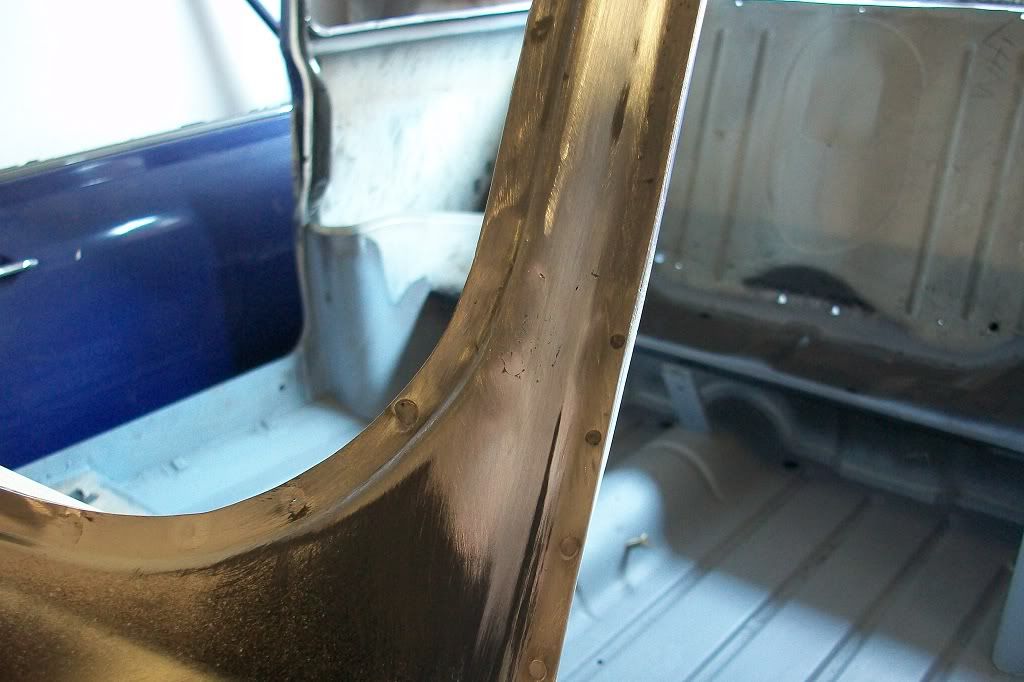
Mig welded the joint in both pillars and ground down.
Posted Image

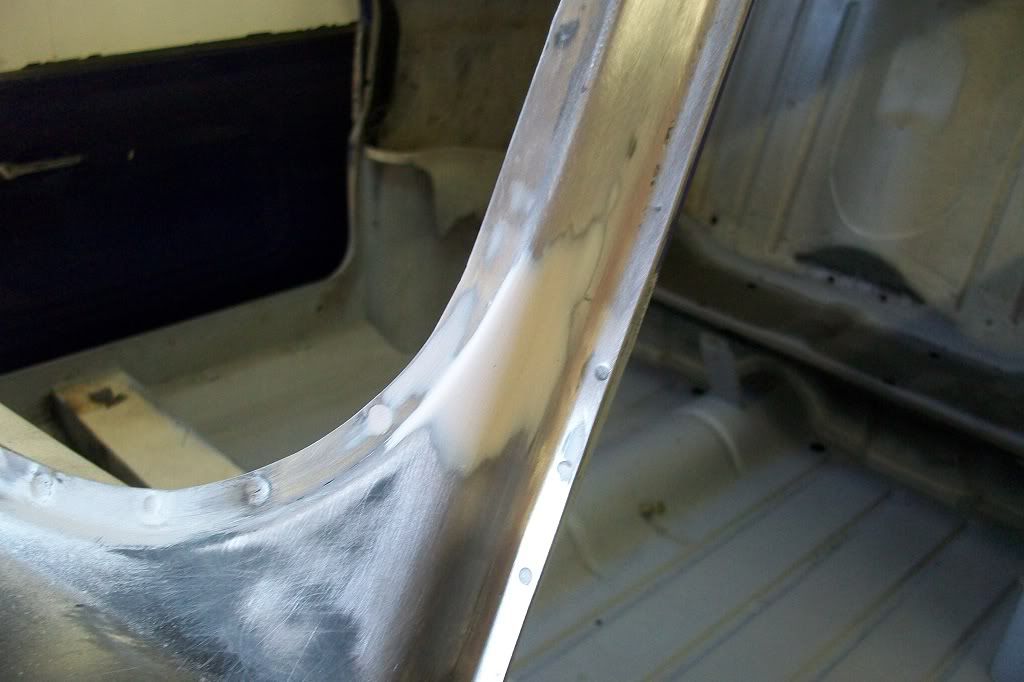
Just needed a slight skim of filler to level up.
Posted Image

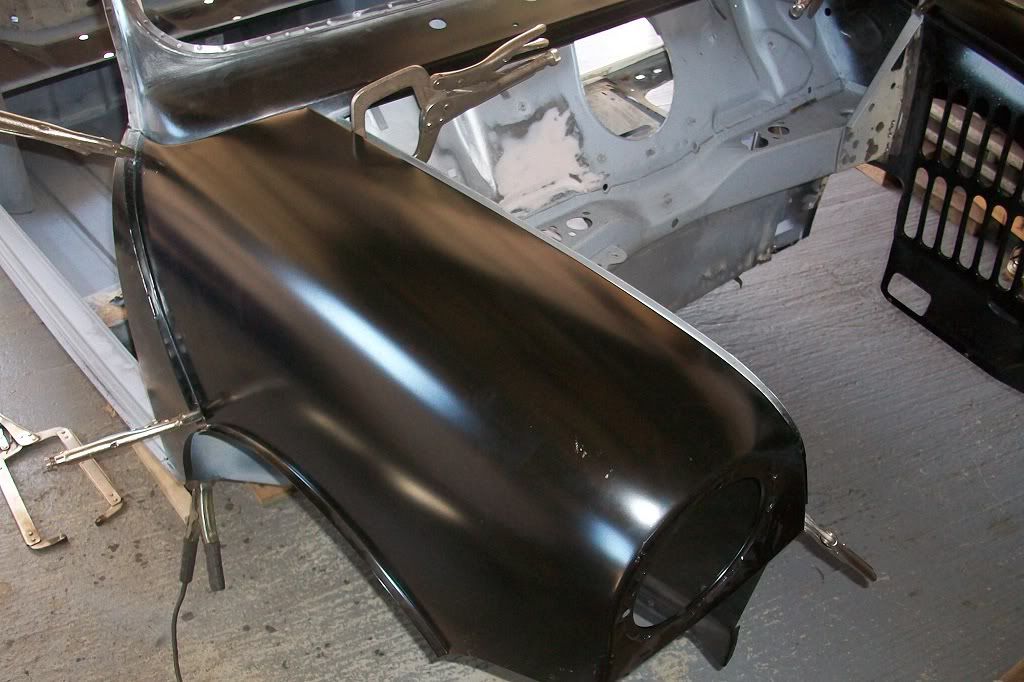
Next I test fitted each wing in turn to get the gaps at the scuttle right and to pull the wings in a bit at the top corner of the bonnet. This took about an hour per side to get them to a point where I was happy with them.
Posted Image

Posted Image

This Is how the gaps turned out before fitting the wings.
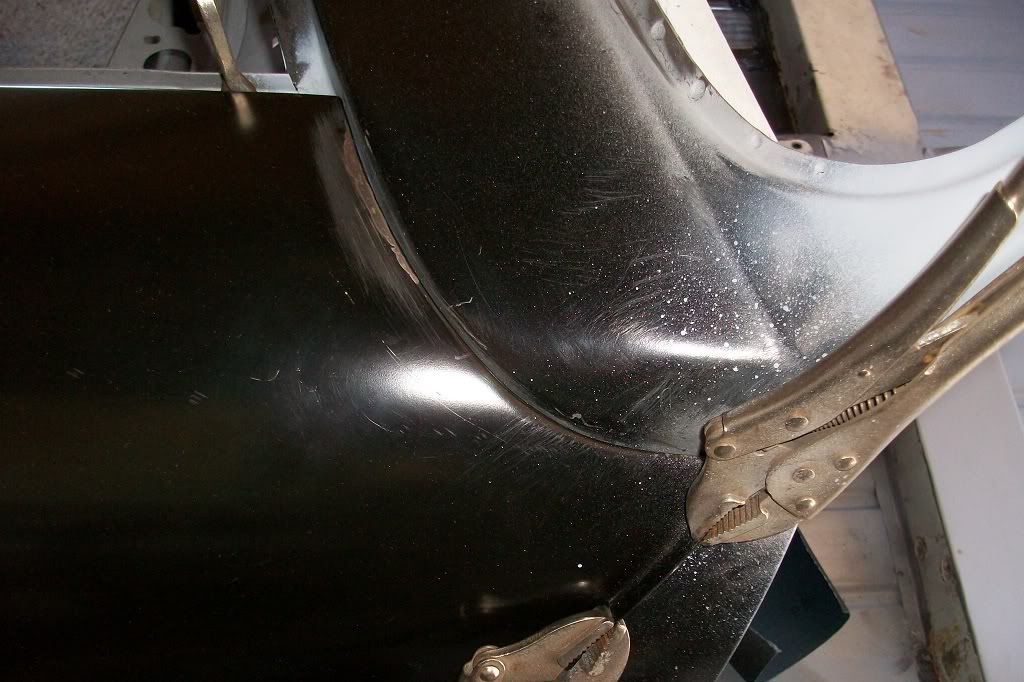
Posted Image

Posted Image

Next job before fitting the wings and whilst I still had easy access to both sides, was to fill some unrequired holes and replace the later bonnet stand bracket with the earlier type. I marked any hole I wasn't sure about although I haven't blanked them all off. These were things I didn't do on my previous project and have regretted since.
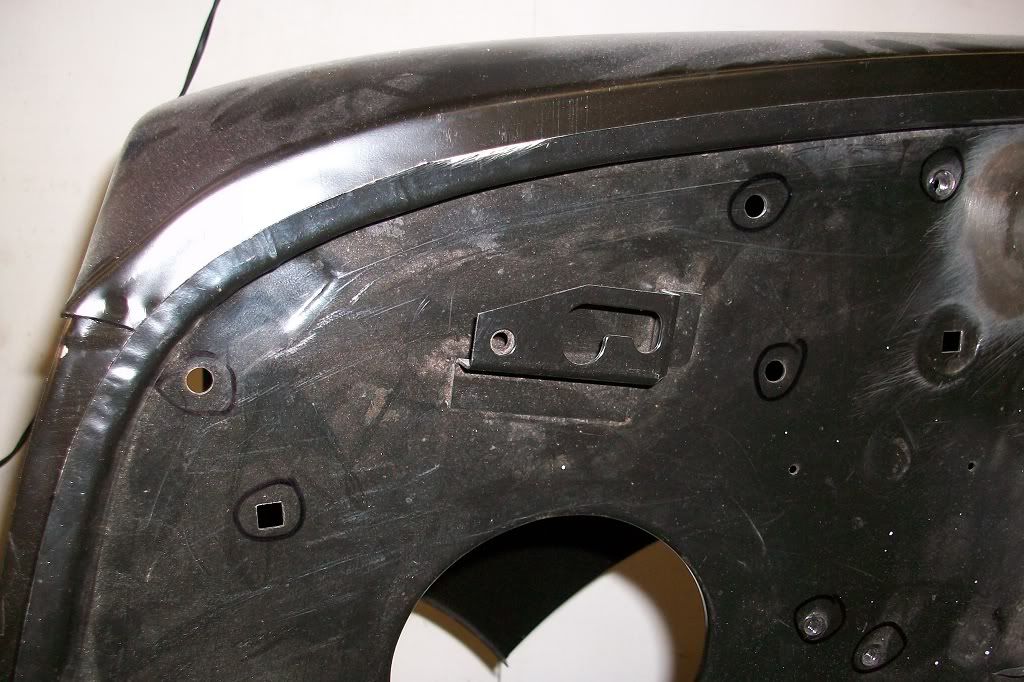
Posted Image

A template was made of the bracket position from the old inner wing and then the bracket was removed, cleaned and spot welded back onto the new wing.
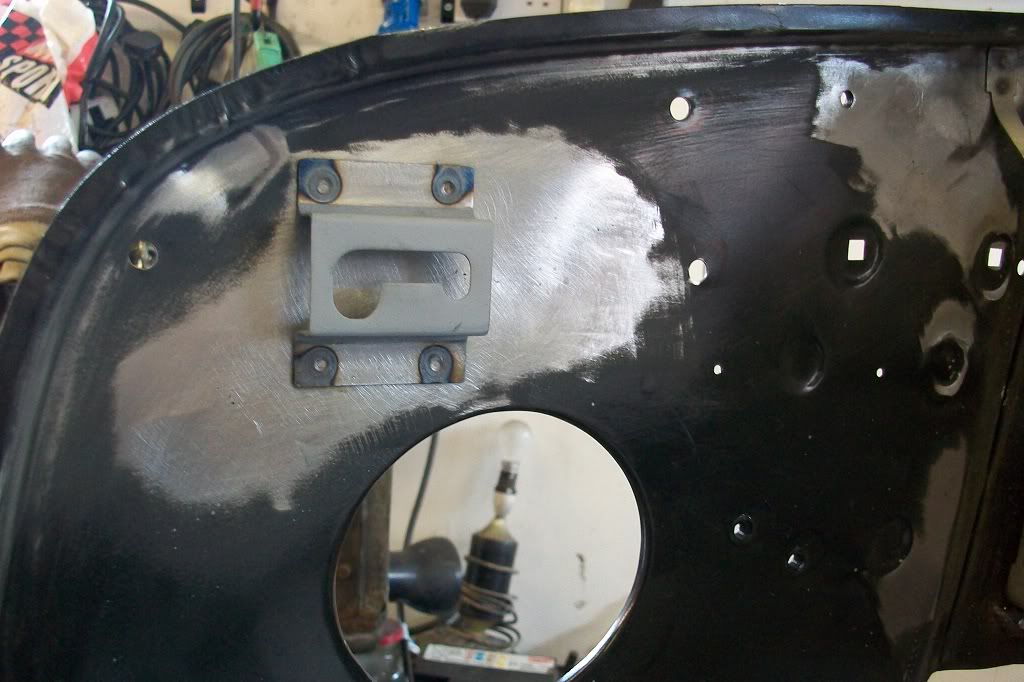
Posted Image

Some holes welded.
Posted Image

The finished inner wing with correct bracket and holes welded up. I also removed the engine ECU bracket supports (see pictures from last post) that looked like small looped handles as these were also not needed. You can also see the wiring harness tag that I added as copied from the old wing.
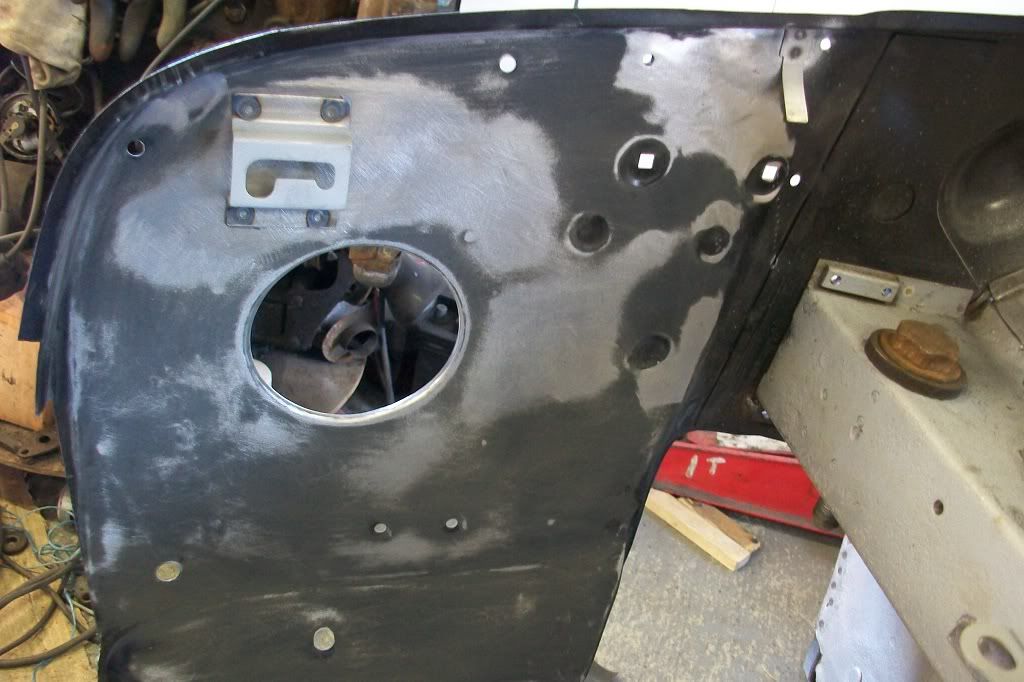
Posted Image

Thats it again so thanks for looking.

Edited by minifcd, 02 January 2012 - 05:56 PM.

#78 123grosso

123grosso

    On The Road

  • Noobies
  • PipPip
  • 36 posts
  • Location: Victoria

Posted 02 January 2012 - 09:38 PM

Great work :D

#79 hughJ

hughJ

    Soldiering Along

  • Members
  • PipPipPipPipPipPipPip
  • 727 posts
  • Location: Highlands, Scotland

Posted 02 January 2012 - 09:50 PM

Wow!! Fitting the wings is going to be is one of my next jobs. This is fantastic. The gaps are astounding. Lovely work. What do you exactly do adjusting (fettling) the wings to get them to fit?
Hugh

#80 TA2DMAC

TA2DMAC

    One Carb Or Two?

  • Members
  • PipPipPipPipPipPipPip
  • 755 posts
  • Location: Detroit
  • Local Club: Michigan MINI Motorin Club

Posted 02 January 2012 - 10:05 PM

Nice work, looking forward to seeing your progress.

#81 minifcd

minifcd

    Mini Mad

  • Members
  • PipPipPipPip
  • 246 posts
  • Location: Stamford

Posted 02 January 2012 - 10:21 PM

Thanks 123grosso and thanks Hugh. They were Heritage wings but the main problem was that along the curved edge that fits up to the scuttle, they sat slightly higher than the scuttle and they needed moving in towards the rear corner of the bonnet, whilst still keeping the fit correct at the A panel. By sorting the high point you kind of solve the other problem as it pushes out towards the bonnet. The curved edge of the wing at the scuttle has a downwards lip. Ideally I wanted to try to stretch the metal here with a cross pein hammer and a block to reduce the curve of the wing, but due to the shape of the wing it was too hard. I had to resort to putting a few cuts in the lip, spreading them slightly and reweld. Then grind down the lip and test fit. Hope that helps.

Thanks TA2DMAC

#82 minifcd

minifcd

    Mini Mad

  • Members
  • PipPipPipPip
  • 246 posts
  • Location: Stamford

Posted 07 January 2012 - 05:47 PM

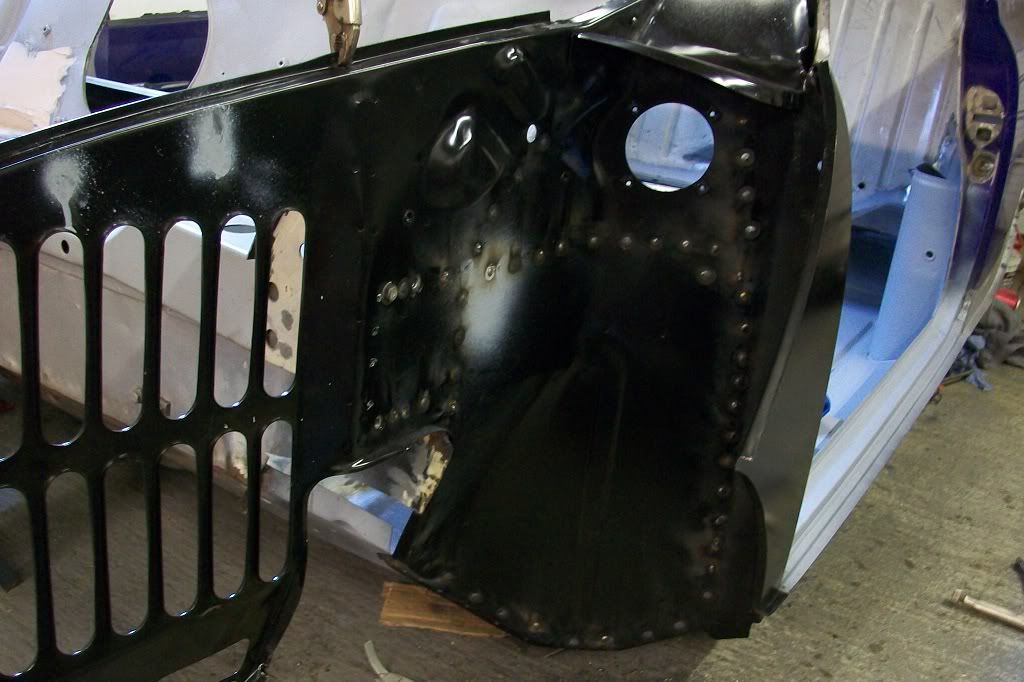
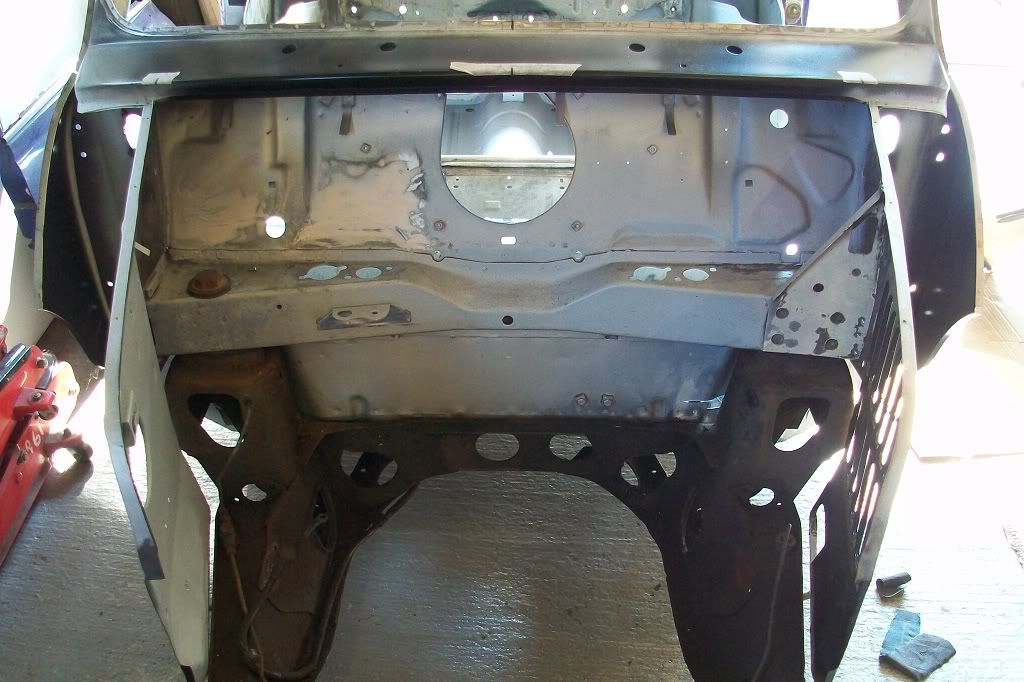
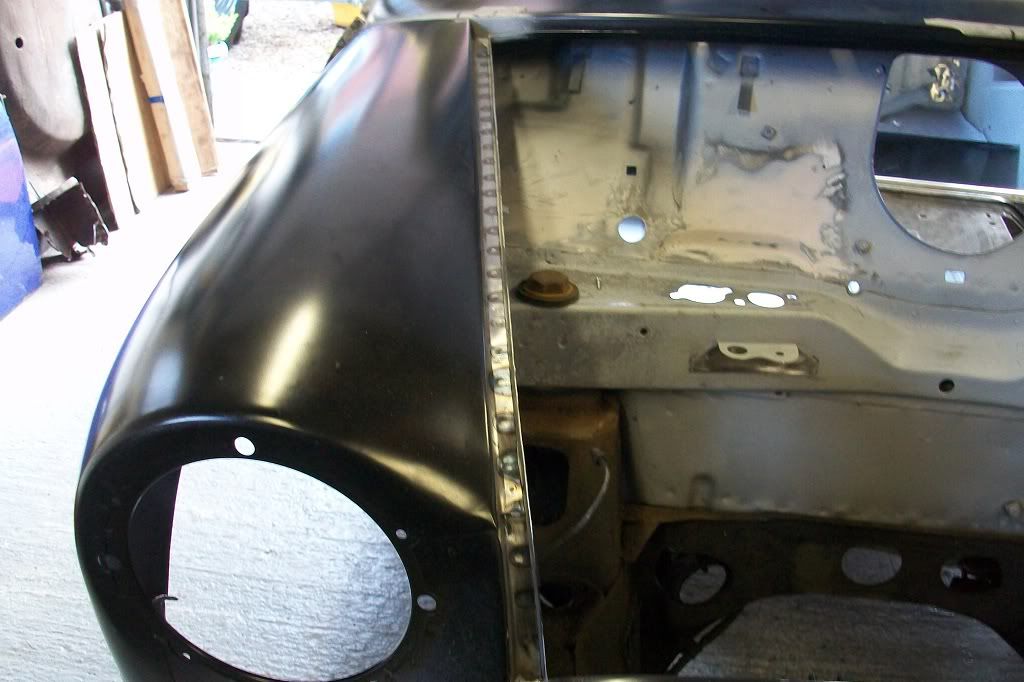
Ok, with the inner wing sorted, the front end was refitted to check alignment before final welding. Here is the drivers side inner wing as it is now.
Posted Image

The wings were temporarily held in place with some self tapping screws whilst everything was checked.
Posted Image

New bonnet checked for fit.
Posted Image

With the subframe fitted, I set the front panel up with just two shims between the subframe and the tear drop mounts.
Posted Image

Then with the front panel and wings still clamped together, I removed the front end to weld together. It's a lot easier than trying to weld inside the wheel arch.
Posted Image

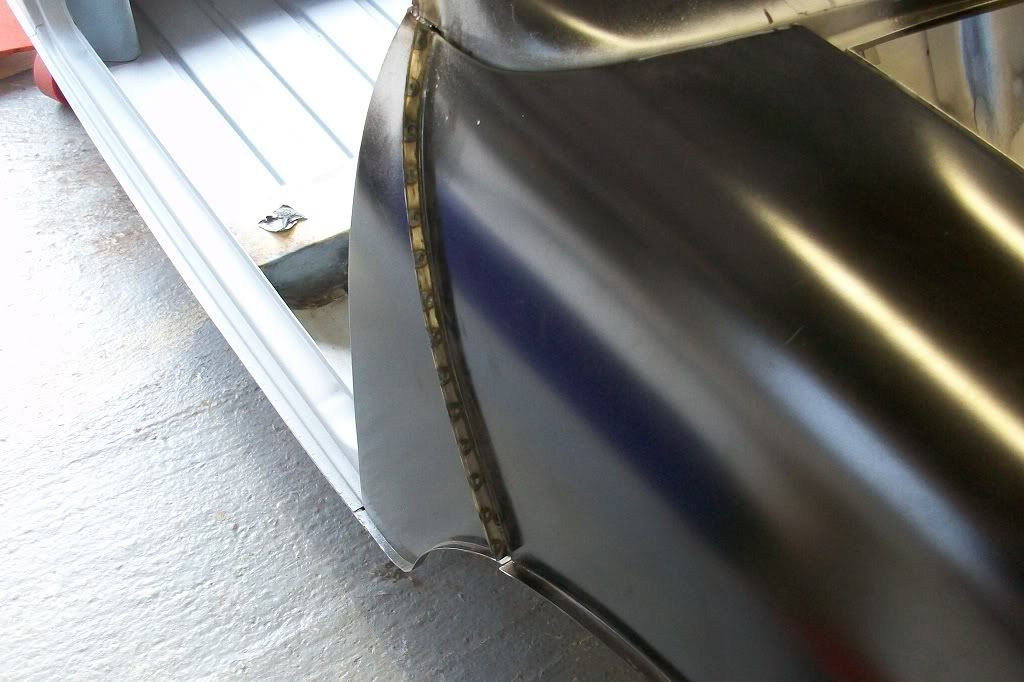
The lips were to small to plug weld and I could not get the spot welder in, so I opted to seam weld along the back.
Posted Image

I then had to clean all of the seams along the top of the inner wings and down the A panels, back to bare metal on both sides and prime with weld through zinc primer. Then do the same on the outer wings to be able to spot weld.
Posted Image

Posted Image

Refit front end and check alignment, again! Then spot weld away and there we are.
Posted Image

Posted Image

Posted Image

Posted Image

Thanks, more to follow.

#83 Leon_mini

Leon_mini

    Mini Mad

  • Members
  • PipPipPipPip
  • 166 posts

Posted 07 January 2012 - 07:48 PM

Wow! Just read the 6 pages!! As said befor REALLY nice and neat work!Alot of heritage panels aswell so i adre say this is going to be more of a show car? Any idea what your going to do with it, i.e colour, spec? Also the lengths you go to get things right, i.e the replacing the bonnect catch :o! And the fabrication of everthing looks really good!

Will be watching for future progress :)

#84 grahama

grahama

    Up Into Fourth

  • Members
  • PipPipPipPipPipPipPipPipPip
  • 2,442 posts
  • Location: Warrington
  • Local Club: None in my area !!

Posted 07 January 2012 - 09:00 PM

Fantastic finish to the front. My question is what you have done with the wing lip that meets the scuttle, the bit you only see from the underneath?? Do you weld that up too, or just use a sealer in that gap/join??

Graham

#85 minifcd

minifcd

    Mini Mad

  • Members
  • PipPipPipPip
  • 246 posts
  • Location: Stamford

Posted 07 January 2012 - 09:15 PM

Thanks Leon_mini, for the moment i'm just trying to get a solid shell built, but the plan is to keep it fairly standard, maybe painted white with a black interior but we'll see.

Hi Graham, that bit has not been welded nor has it any seam sealer at the moment but the plan is to put a few tack welds on the underside when I have the shell back on its side and then it will be seam sealed underneath and some seam sealer wiped in on the top side but the bodyshop at work will perhaps do the top side when they paint it. I found on my last project it needs a weld or two and some sealer as if you push on the wing a little you could hear it creaking.

#86 hughJ

hughJ

    Soldiering Along

  • Members
  • PipPipPipPipPipPipPip
  • 727 posts
  • Location: Highlands, Scotland

Posted 07 January 2012 - 09:26 PM

Thanks for the reply and the explanation. You are just in a different league of metalwork. As I say I am dreading this. Your job there is, as Graham says, fantastic.

Hugh

#87 deebo

deebo

    Stage One Kit Fitted

  • Noobies
  • PipPipPip
  • 61 posts
  • Location: southampton

Posted 08 January 2012 - 03:06 PM

wow ur fabrication is absolutely fantastic! top notch work man :thumbsup:

#88 1977 Loud_Mini

1977 Loud_Mini

    One Carb Or Two?

  • Members
  • PipPipPipPipPipPipPip
  • 896 posts
  • Location: Kings Lynn, Norfolk

Posted 08 January 2012 - 06:00 PM

There is some really brilliant work going into this mini, such a high standard of welding metal work. I have a 1977 Leyland mini and soon i think it will also need some work in various areas. I was wondering, do you just weld on one side when seam welding the floor or do you weld both sides and then clean up the welds?

Evan.

#89 minifcd

minifcd

    Mini Mad

  • Members
  • PipPipPipPip
  • 246 posts
  • Location: Stamford

Posted 08 January 2012 - 10:24 PM

Thanks deebo, your comments or most welcome.

Thanks Evan. I only usually weld the one side, but I do check the other side before grinding down, as you can sometimes get dips and holes where the weld has not quite penetrated. I then add weld to these on the inside where needed and try to grind the inside down first as this has the shallowest weld. Any pin holes can then be welded a bit more with a lower risk of blowing through as you still have the weld built up on the outside to help. Then grind the outside down.

I'll just add these last few photos whilst i'm here.
Posted Image

Posted Image

Posted Image

I drilled these next few ready for plug welding with the MIG.
Posted Image

Posted Image

Thats it, i've got to upload some more photos for the next update so thanks for now.

#90 grahama

grahama

    Up Into Fourth

  • Members
  • PipPipPipPipPipPipPipPipPip
  • 2,442 posts
  • Location: Warrington
  • Local Club: None in my area !!

Posted 08 January 2012 - 10:43 PM

Very nice work Scott. This mild weather is making me think I can get back outside to get my front end on too. But working inside on the hall floor in the warm is much nicer just for now !!


1 user(s) are reading this topic

0 members, 1 guests, 0 anonymous users