Jump to content


Photo
- - - - -

Leyland Mini 1000 1980 Restoration Project


  • Please log in to reply
393 replies to this topic

#46 lawrence

lawrence

    One Carb Or Two?

  • Members
  • PipPipPipPipPipPipPip
  • 1,330 posts

Posted 10 November 2011 - 10:16 PM

This is bloody great, think i may have to stop reading it though, its making my work look a bit medeiveal haha. Keep it up

#47 Davie Boy

Davie Boy

    Passed Test

  • Noobies
  • PipPip
  • 25 posts

Posted 11 November 2011 - 10:57 AM

wow!
Its great to see it all going well with lovely new metal!
ganna be great when its done!
it must feel good looking at it now to when you first started pulling it apart!

#48 minifcd

minifcd

    Mini Mad

  • Members
  • PipPipPipPip
  • 246 posts
  • Location: Stamford

Posted 12 November 2011 - 09:08 PM

Thanks for the comments guys! I forget just how bad it was until I look back at the photos! Sometimes I think I must be crazy trying to restore minis due to the amount of work they need doing to them, but I hate seeing them scrapped and it is satisfying when you see them starting to take shape again! So thanks again guys.

#49 minimissions

minimissions

    Up Into Fourth

  • Members
  • PipPipPipPipPipPipPipPipPip
  • 3,427 posts
  • Location: North West
  • Local Club: M.M.O.C

Posted 12 November 2011 - 09:59 PM

Wow that looks so good buddy, your welding is amazing! such a nice finish. whats your plans for the finished car?

#50 minifcd

minifcd

    Mini Mad

  • Members
  • PipPipPipPip
  • 246 posts
  • Location: Stamford

Posted 15 November 2011 - 10:18 PM

Thanks minimissions, I'm not too sure on plans yet, but want to keep this one fairly original. Just concentrating on getting a shell together first.

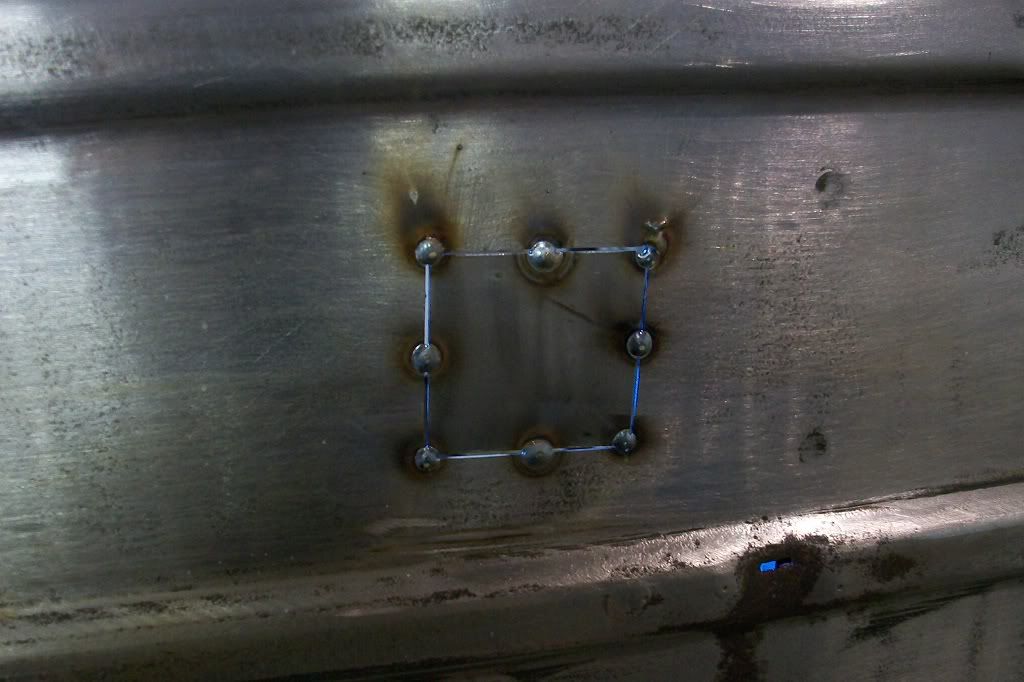
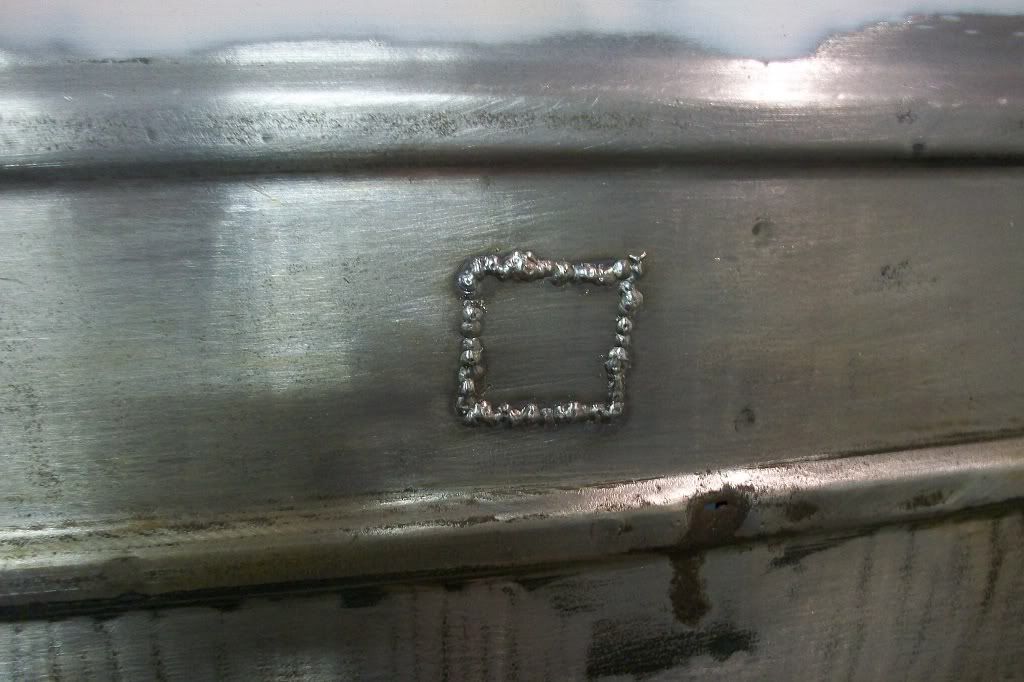
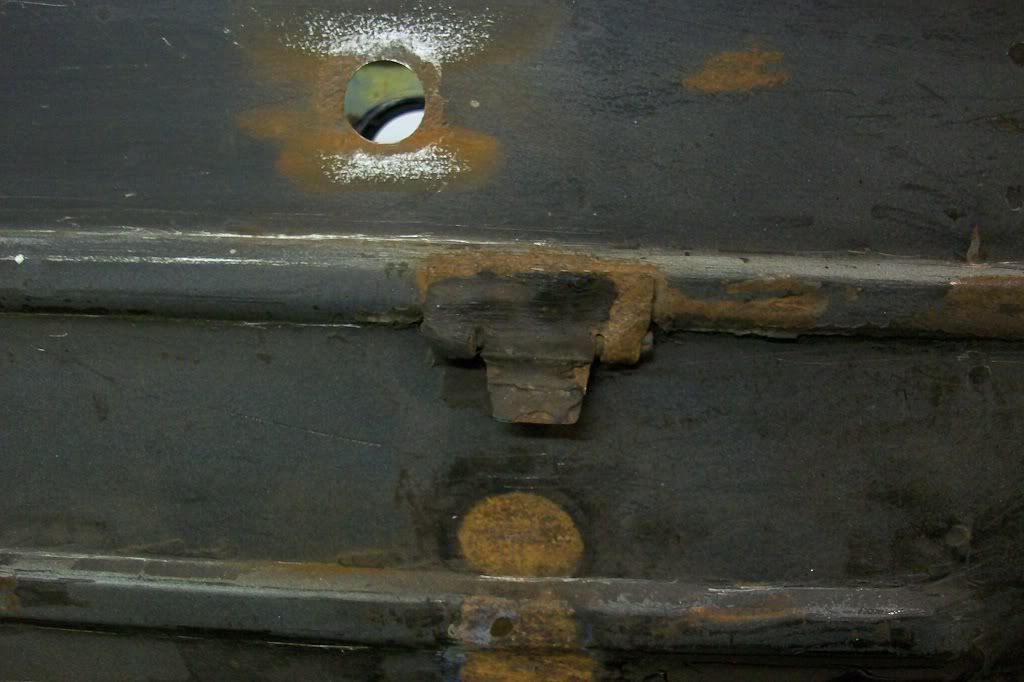
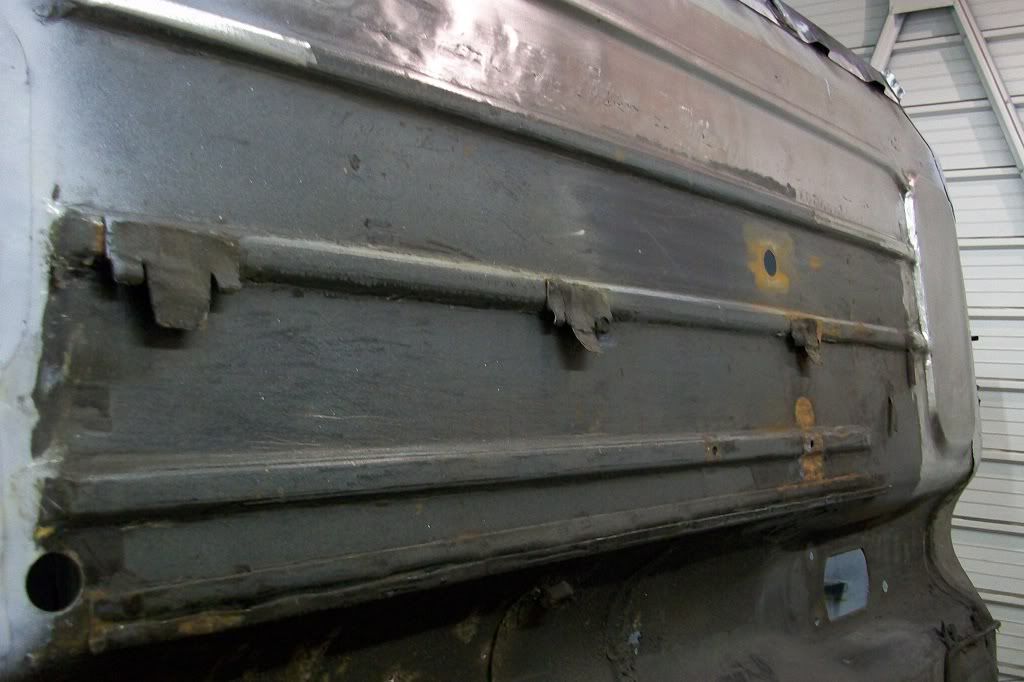
Ok, another update but a bit of a boring one i'm affraid. A few more bits to finish off the right hand half and one of the holes in the floor had some rust around it. As it was not needed a decided to fill this one.
Posted Image

Posted Image

A square was cut and welded in.
Posted Image

Posted Image

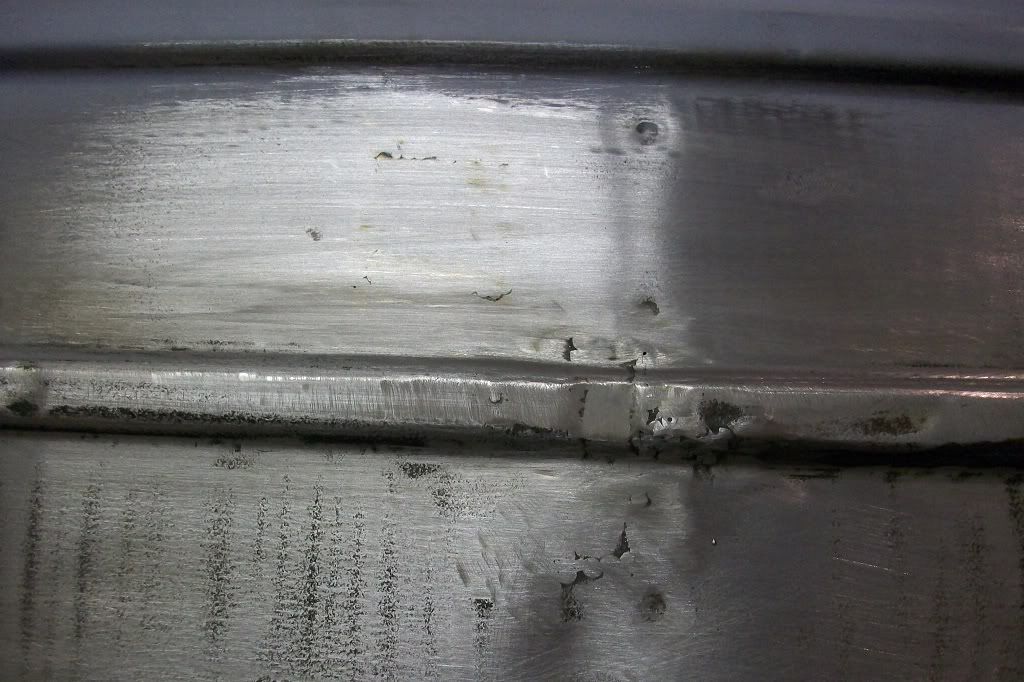
And cleaned up.
Posted Image

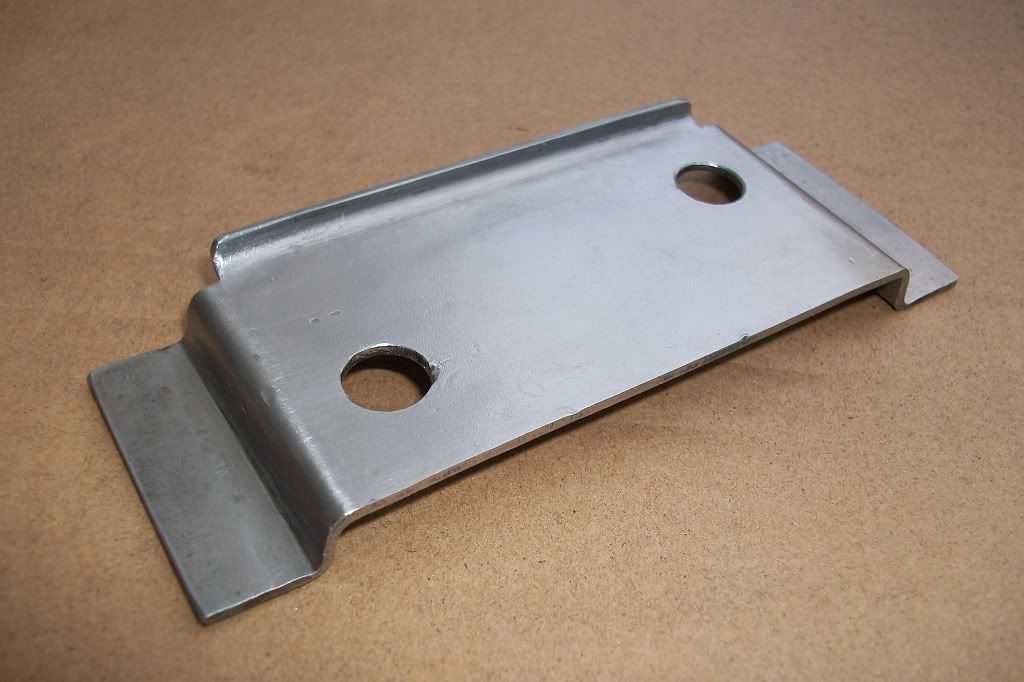
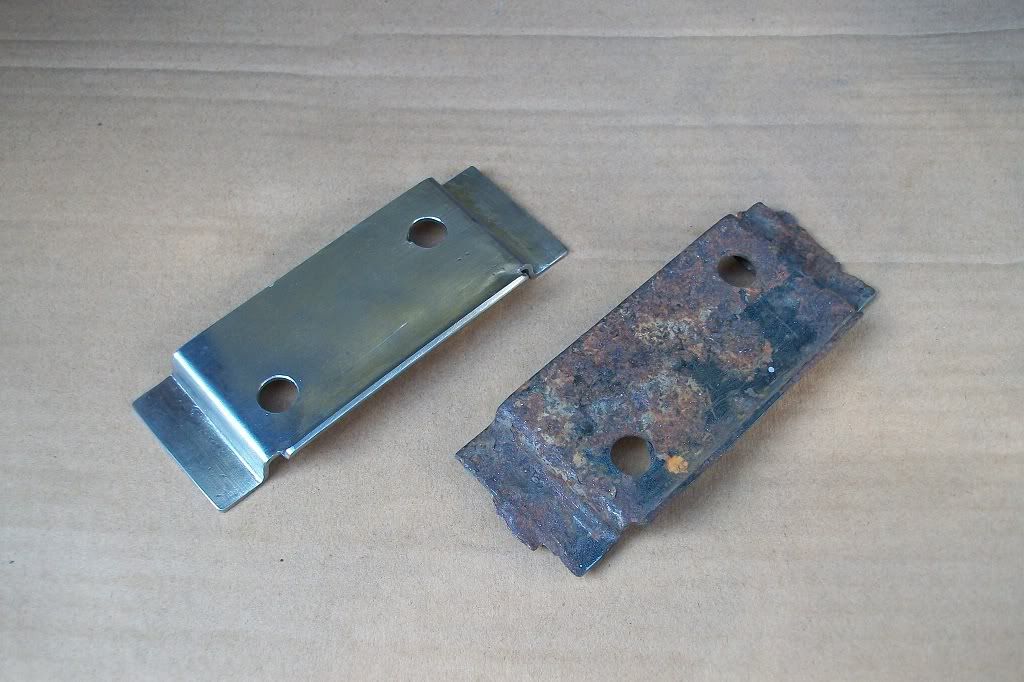
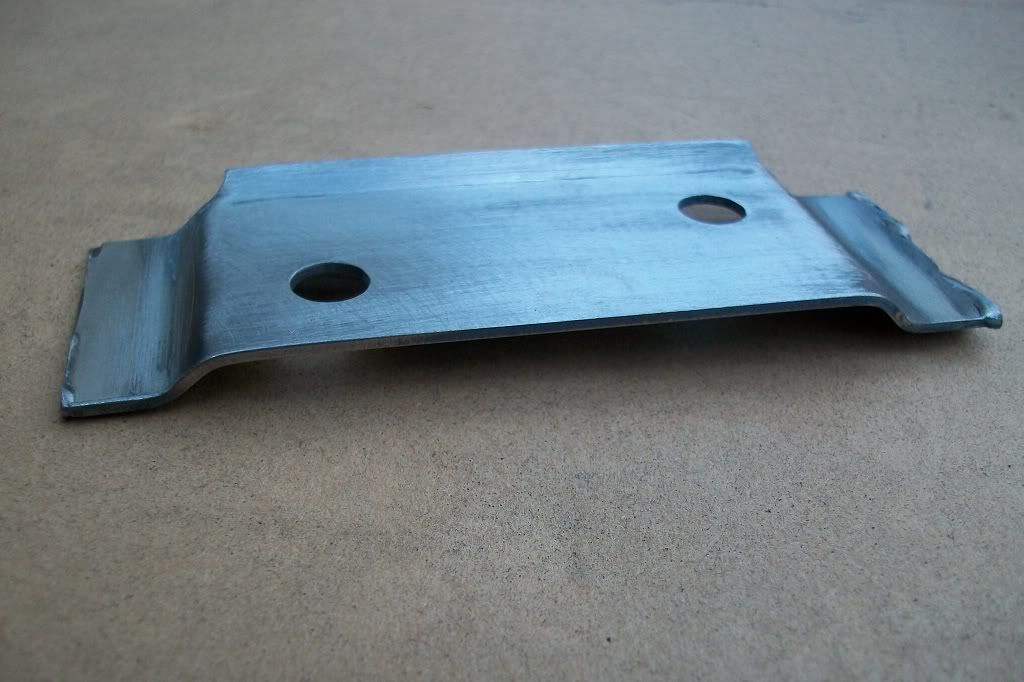
The inner sill came with the front slinging bracket already fitted, but I had to remove it as the join between the inner sill and the foot well panel, ran underneath it. I wasn't quite happy with the shape of it anyway compared to the original and as Heritage ones were on back order at the time I decided to remake it. I flattened out the bracket with a big hammer and refolded it in the vice and am quite pleased with the results.

Slinging bracket removed from inner sill/floor.
Posted Image

Remade bracket.
Posted Image

New bracket compared to original.
Posted Image

The bracket was then welded to the floor.
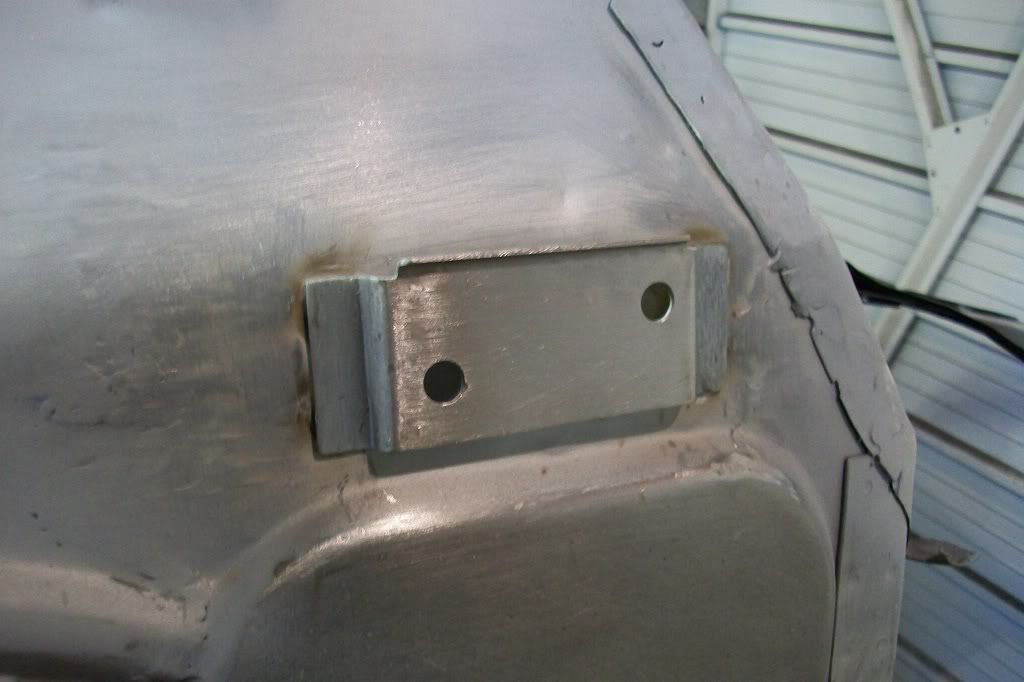
Posted Image

New Heritage fuel and brake pipe multiclip ALA5527 was then welded in place.
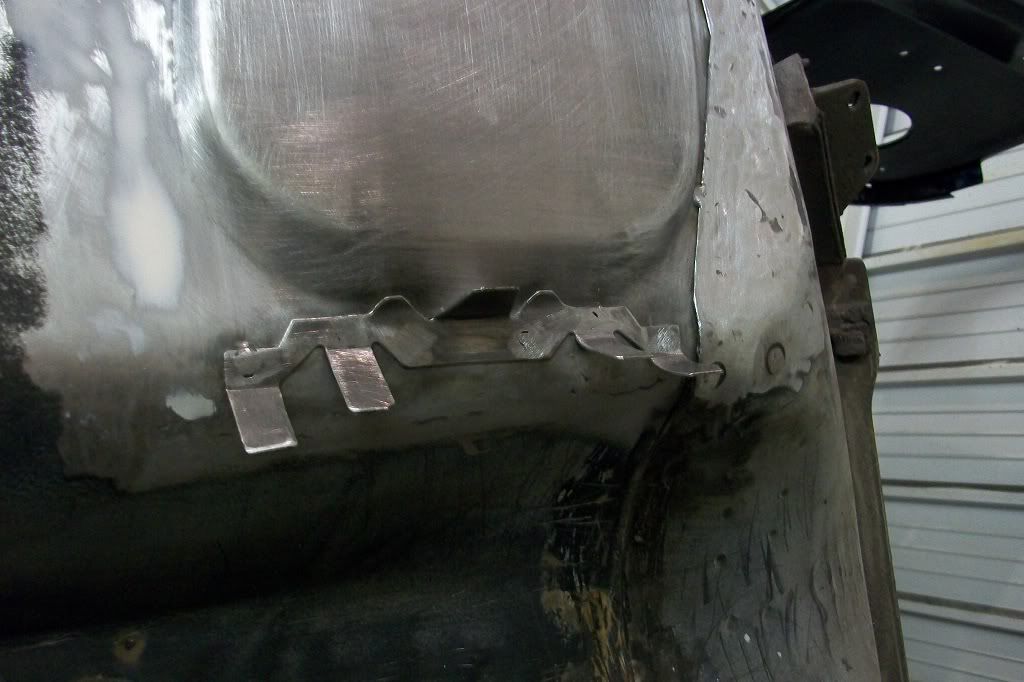
Posted Image

Three Heritage fuel and brake pipe clips ALA5536 were also welded on to replace the rusty old ones.
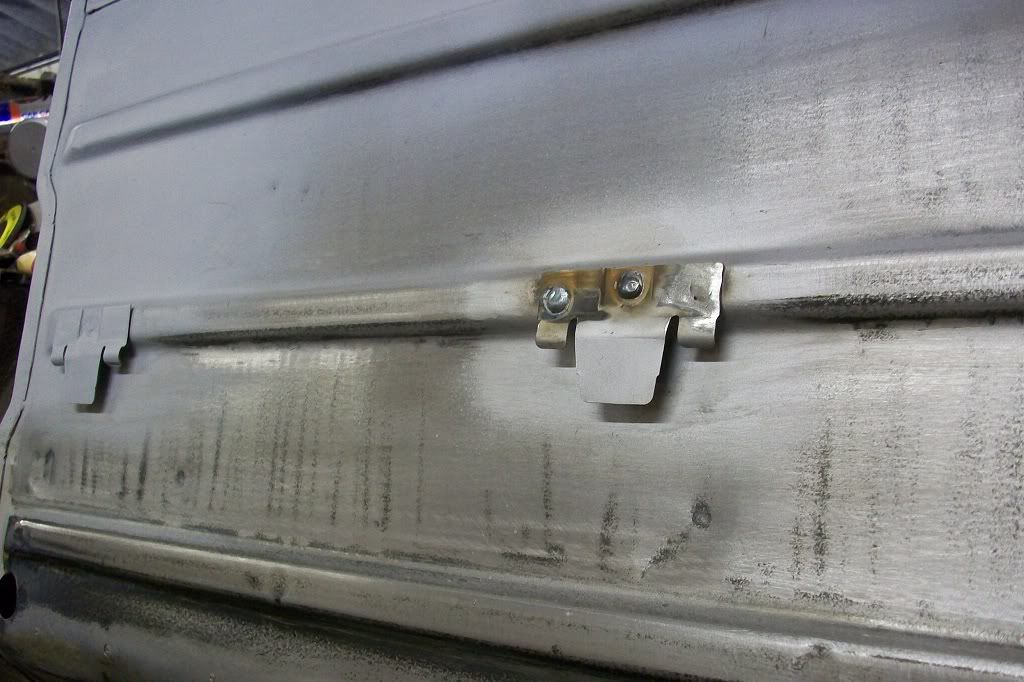
Posted Image

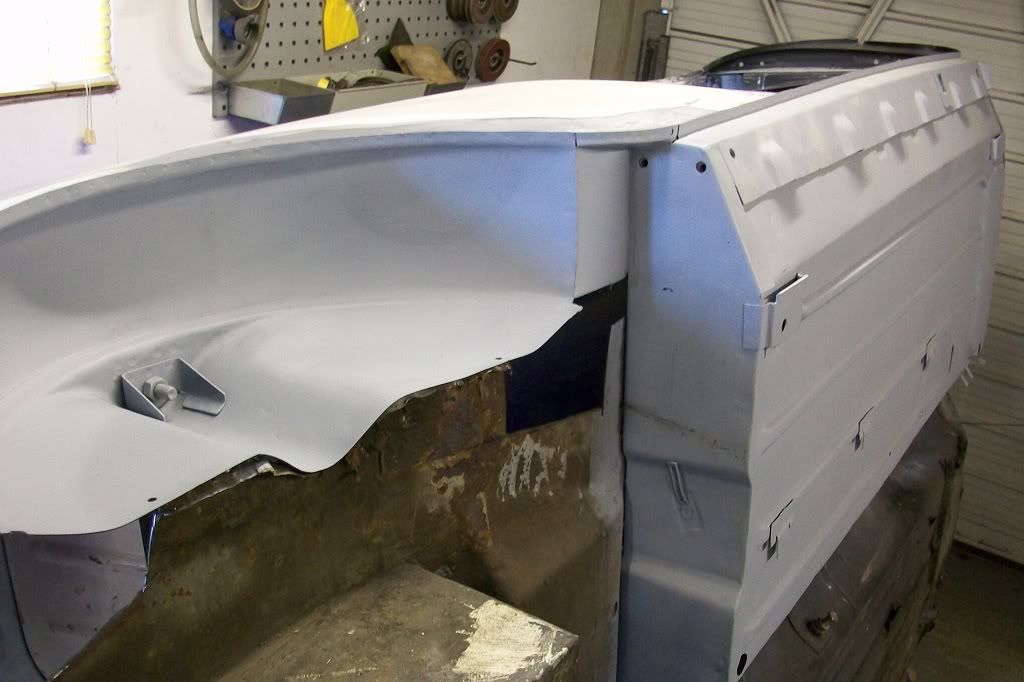
I then removed the right hand rear wheel arch and made a repair piece for the lower corner of the rear quarter panel.
Welded in, cleaned lipped edge of panel down and primed with zinc rich weld through primer.
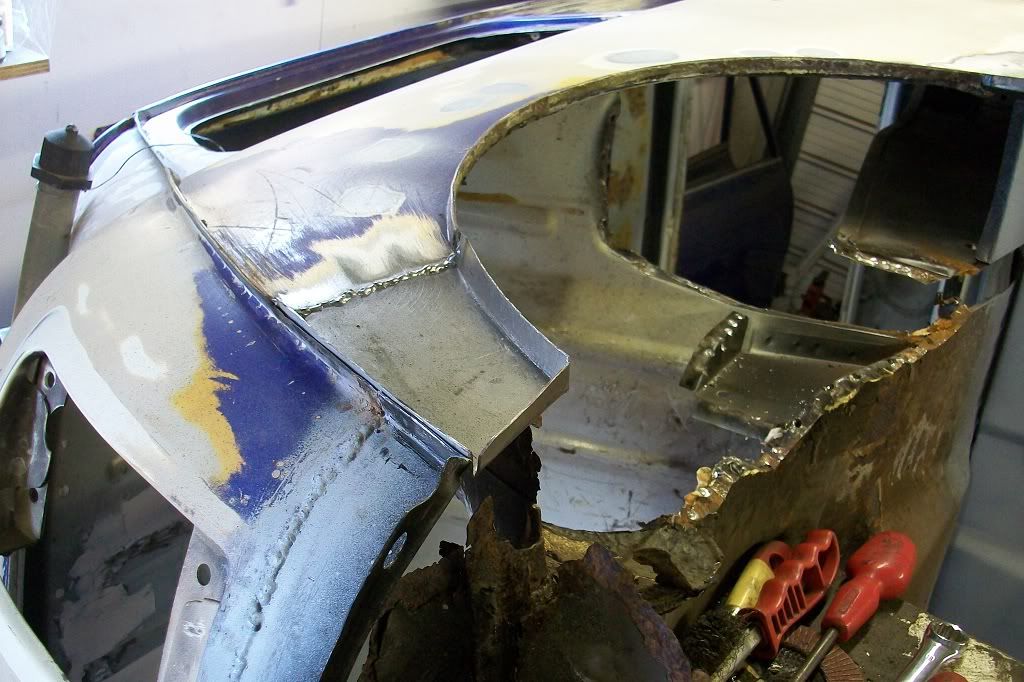
Posted Image

Prepared the new wheel arch (again Heritage 14A9558), drilled for plug welds and zinc primed.
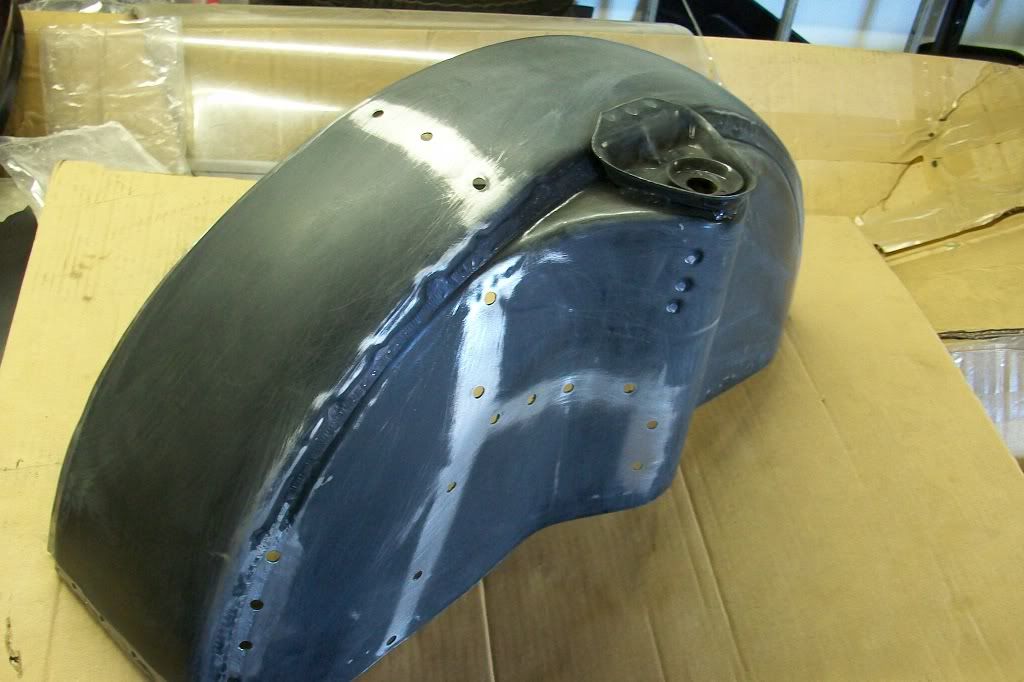
Posted Image

Here you can see the bar I made up before removing the arch to help align the new arch. Bolted through the rear damper hole.
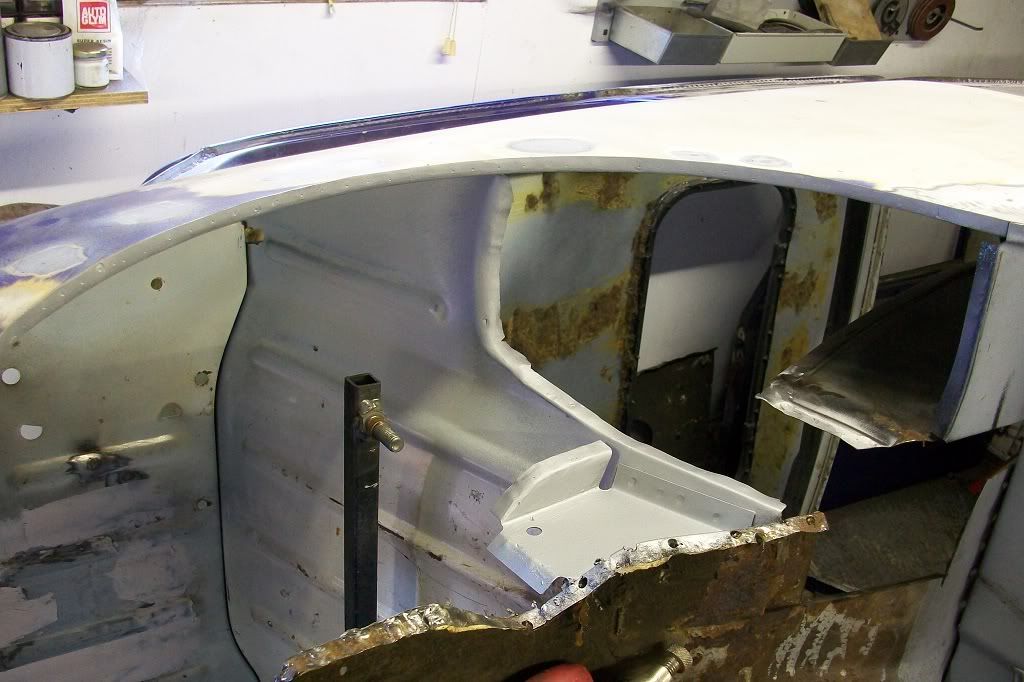
Posted Image

Welded in. You can also see the closing panel welded in at the front of the arch, 14A6611.
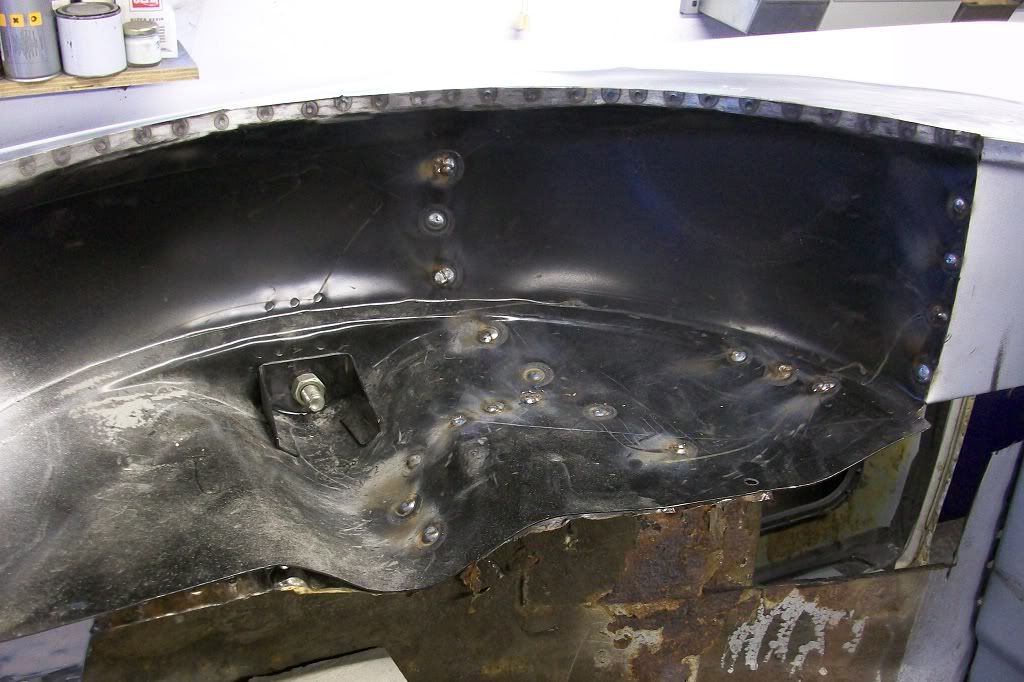
Posted Image

Rear quarter corner repair cleaned up a little.
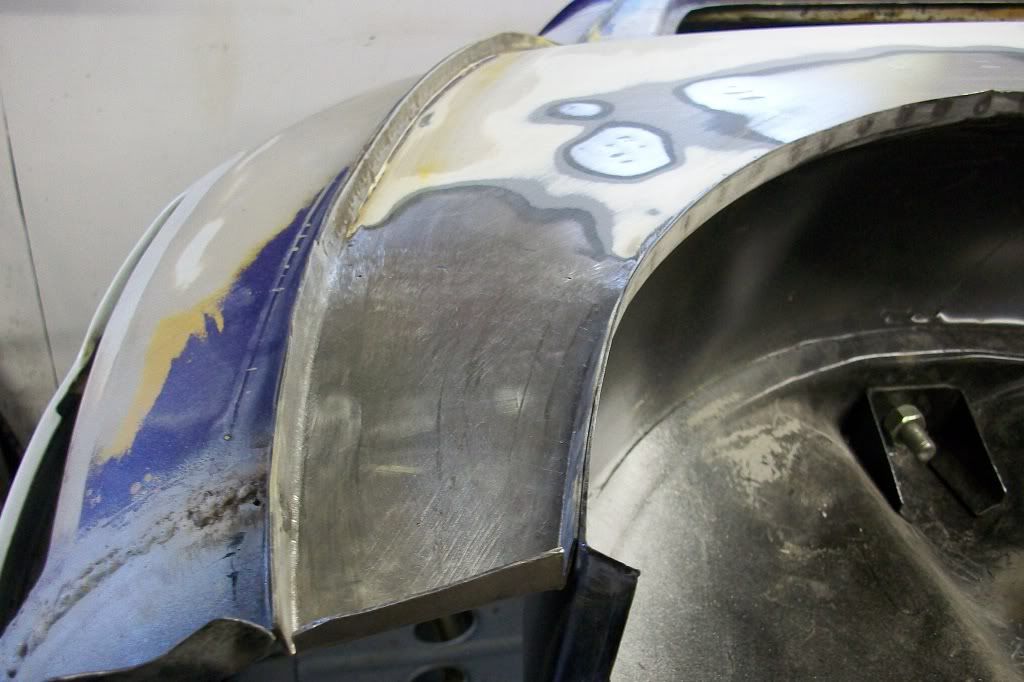
Posted Image

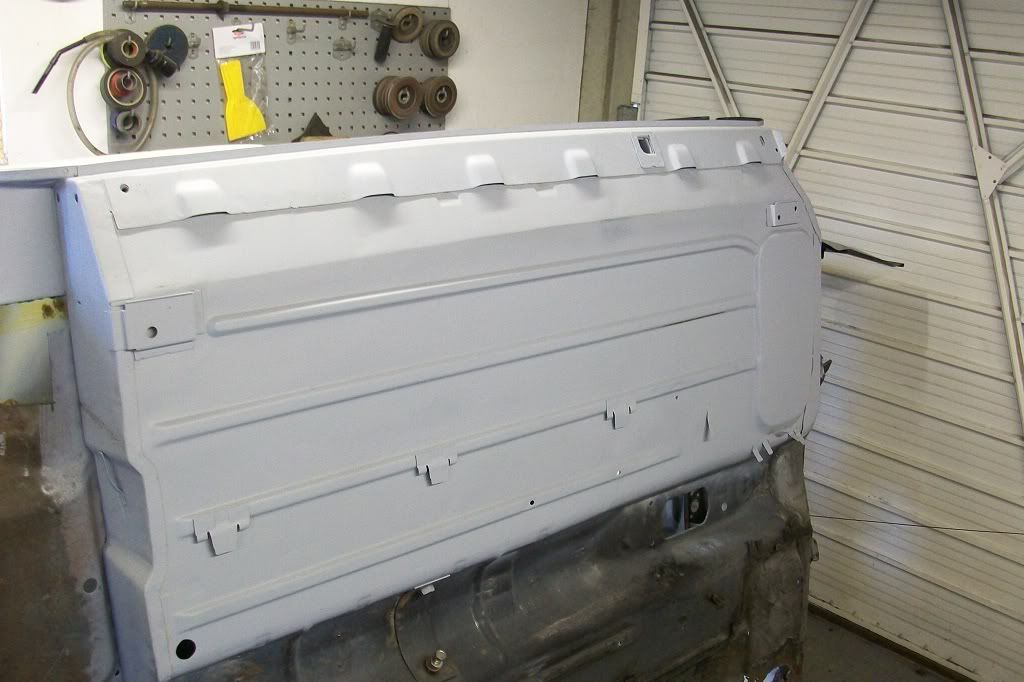
Floor cleaned down to bare metal and etch primed to protect from the damp.
Posted Image

Posted Image

Thats the right side done, sorry I didn't have as many photos of before shots as I thought.

Thanks for looking.

#51 grahama

grahama

    Up Into Fourth

  • Members
  • PipPipPipPipPipPipPipPipPip
  • 2,442 posts
  • Location: Warrington
  • Local Club: None in my area !!

Posted 16 November 2011 - 07:32 AM

Lovely work around the rear arch. Good tip using the bolt on a bar to align it up properly. Looke so much better with some primer on, keep it up

#52 minifcd

minifcd

    Mini Mad

  • Members
  • PipPipPipPip
  • 246 posts
  • Location: Stamford

Posted 17 November 2011 - 07:14 PM

Thanks Graham. Yes the bar actually helps take a lot of the guess work out of fitting the arch, because as well as it keeping the arches the correct distance apart, it also allows some measurements to be taken from bar to seat back, bar to floor etc, to ensure arch is positioned as correctly as possible.

#53 jwb_moto

jwb_moto

    One Carb Or Two?

  • TMF+ Member
  • PipPipPipPipPipPipPip
  • 1,387 posts
  • Local Club: PMOC

Posted 19 November 2011 - 11:38 PM

Cracking work there scott, i think you should put some pics up of your other mini. As i definately think its worth a magazine feature!!!

#54 minifcd

minifcd

    Mini Mad

  • Members
  • PipPipPipPip
  • 246 posts
  • Location: Stamford

Posted 22 November 2011 - 10:08 PM

Thanks James, I may put some pictures up at some point when I get time, or make another thread and link them to this.

Thanks mate.

#55 sonikk4

sonikk4

    Twisted Paint Polisher!!!

  • Admin
  • PipPipPipPipPipPipPipPipPipPipPip
  • 15,975 posts
  • Name: Neil
  • Location: Oxfordshire

Posted 22 November 2011 - 10:15 PM

Scott is this the same car as in your Avatar?? We met at the Stamford car show last year and had a good natter about your mini and Project Erm.

I'm afraid Erm wont be appearing at Stamford now as we are moving done south in January. It would have been nice to have taken him to the show.

Neil

#56 Frik

Frik

    Starting My Mini Up

  • Noobies
  • Pip
  • 3 posts
  • Location: Bergen

Posted 22 November 2011 - 10:56 PM

I get goose bumps. You make it look so damn easy.

#57 minifcd

minifcd

    Mini Mad

  • Members
  • PipPipPipPip
  • 246 posts
  • Location: Stamford

Posted 22 November 2011 - 11:34 PM

Hi Neil, nice to hear from you again. I have been following your progress with Erm since we met. Looks good now its in paint and a nice colour. The mini in my avatar is the one I had at the show, (the first mini) but this is my new project. I currently don't have a thread for the first one but may add one at some point. Have been uploading photos to photobucket, ready for another update on this project. Its so time consuming, selecting and uploading! I'll keep track of Erm as it progresses.

Thanks for the comments Frik and thanks Neil.

#58 minifcd

minifcd

    Mini Mad

  • Members
  • PipPipPipPip
  • 246 posts
  • Location: Stamford

Posted 23 November 2011 - 09:05 PM

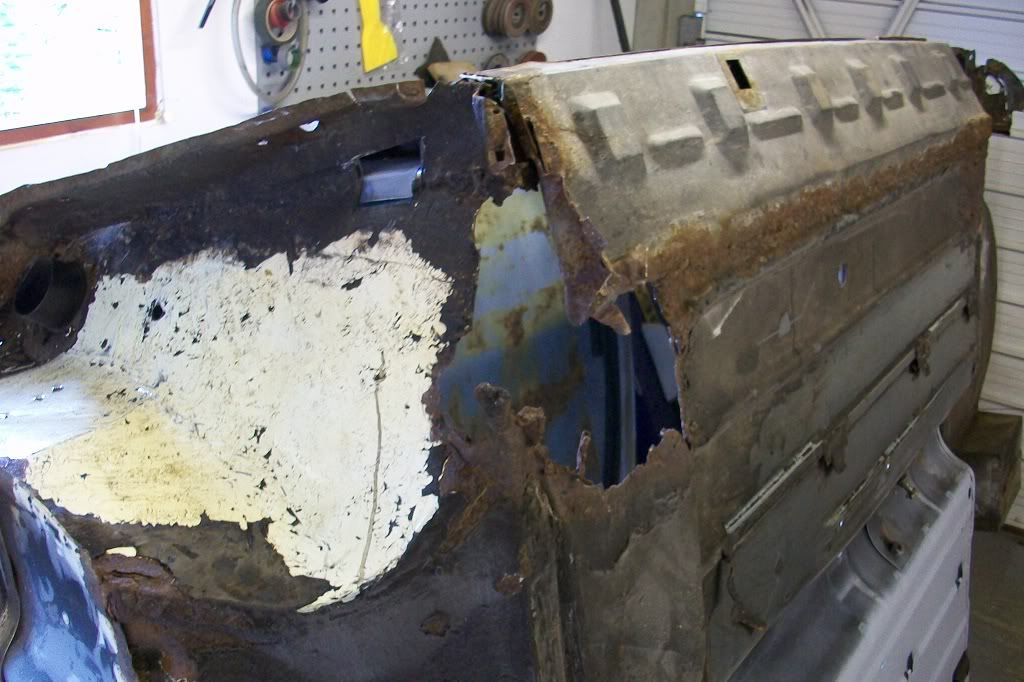
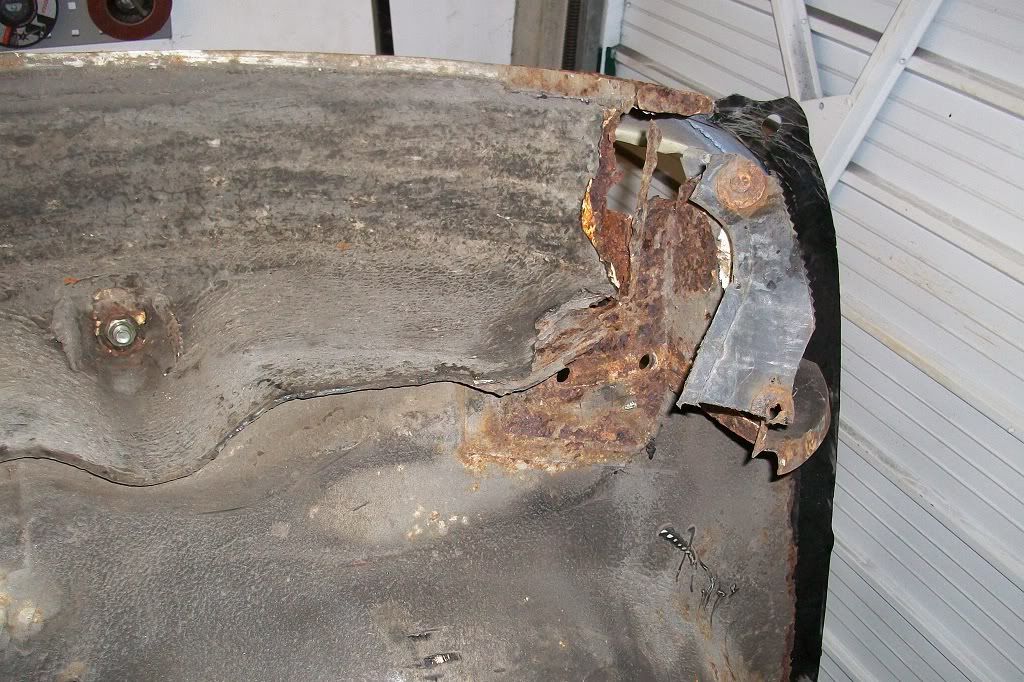
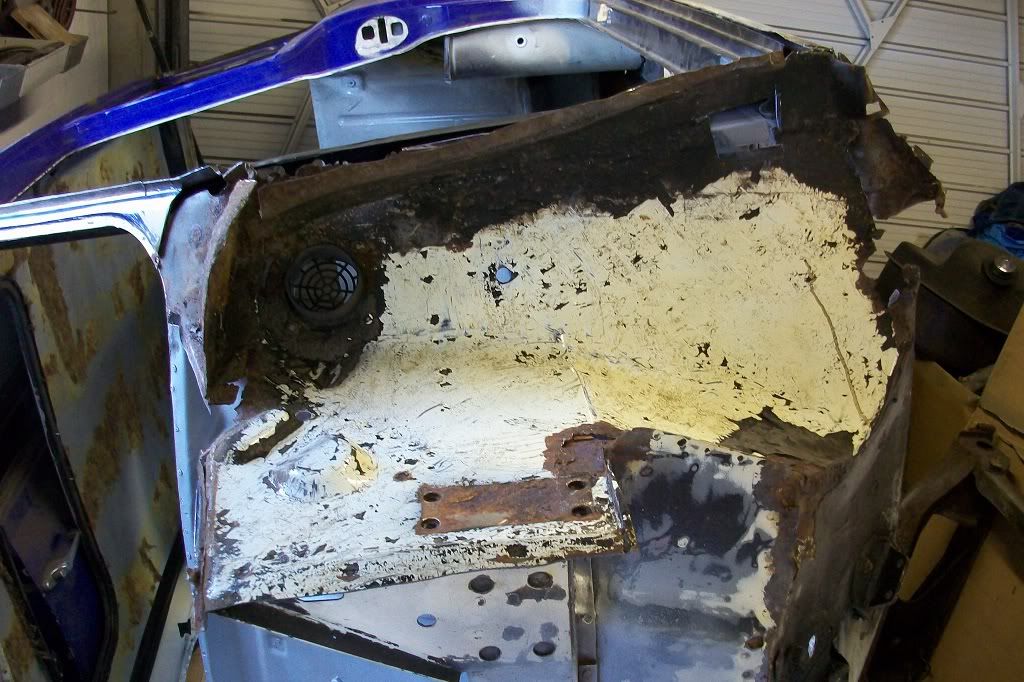
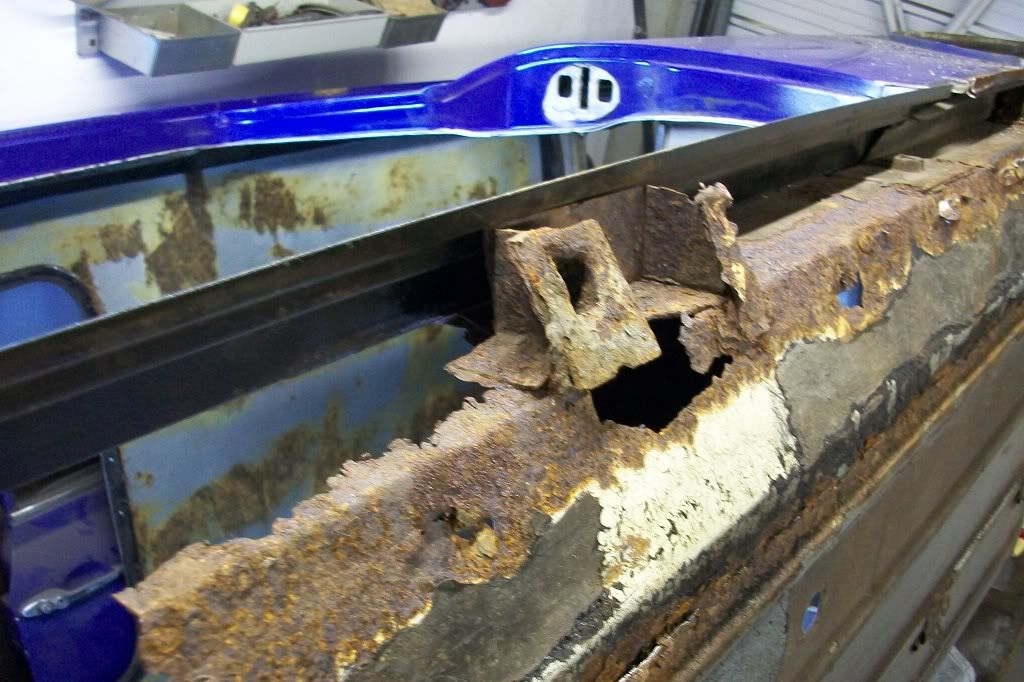
Hello again. With the drivers side done, I turned the mini round and flipped it on its side to see what was needed on the passengers side, and again, not good!
Nice hole in the passengers footwell.
Posted Image

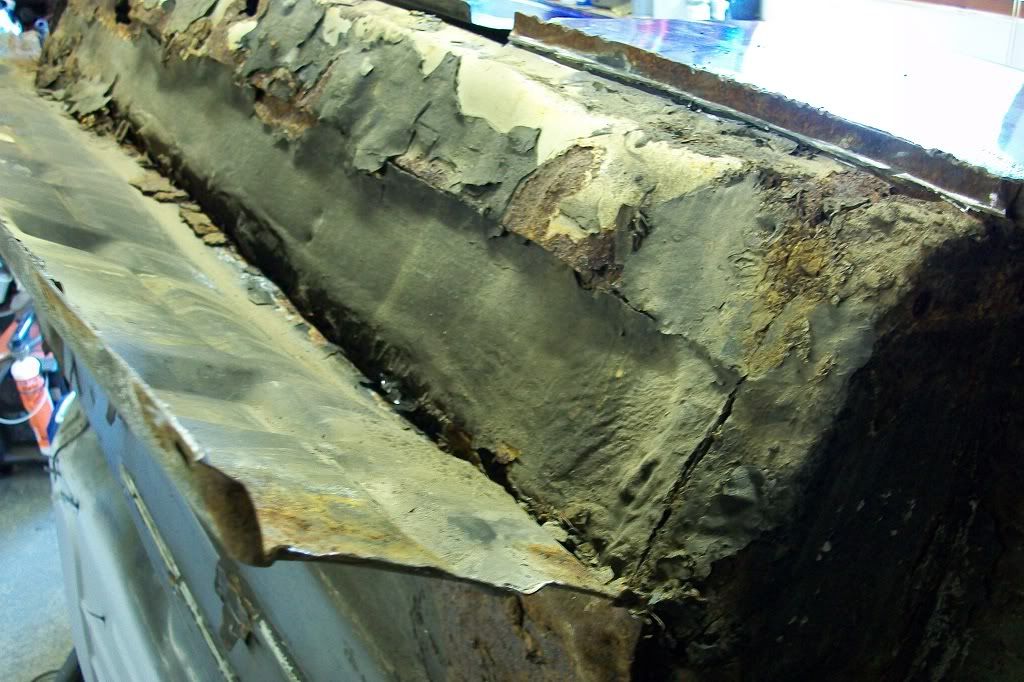
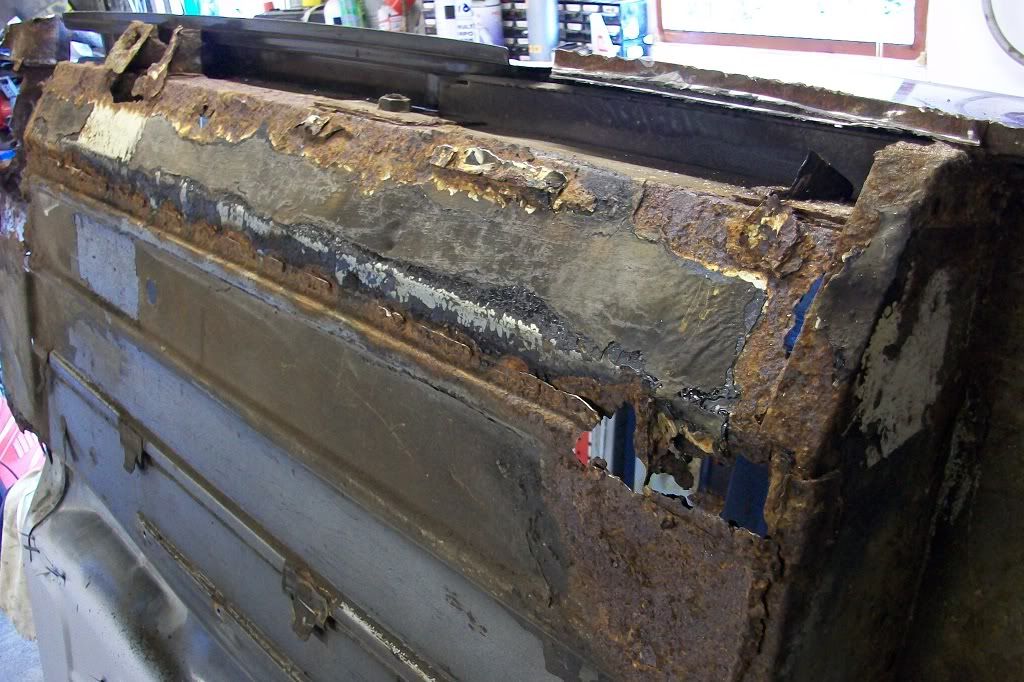
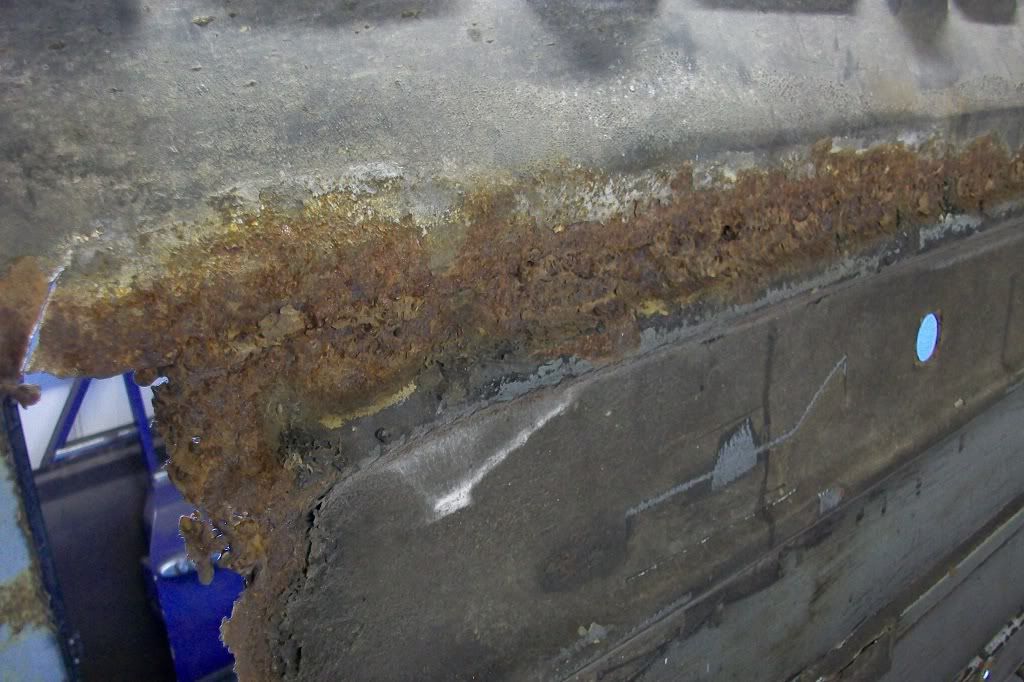
Another oversill with some messy welding.
Posted Image

Posted Image

Posted Image

Posted Image

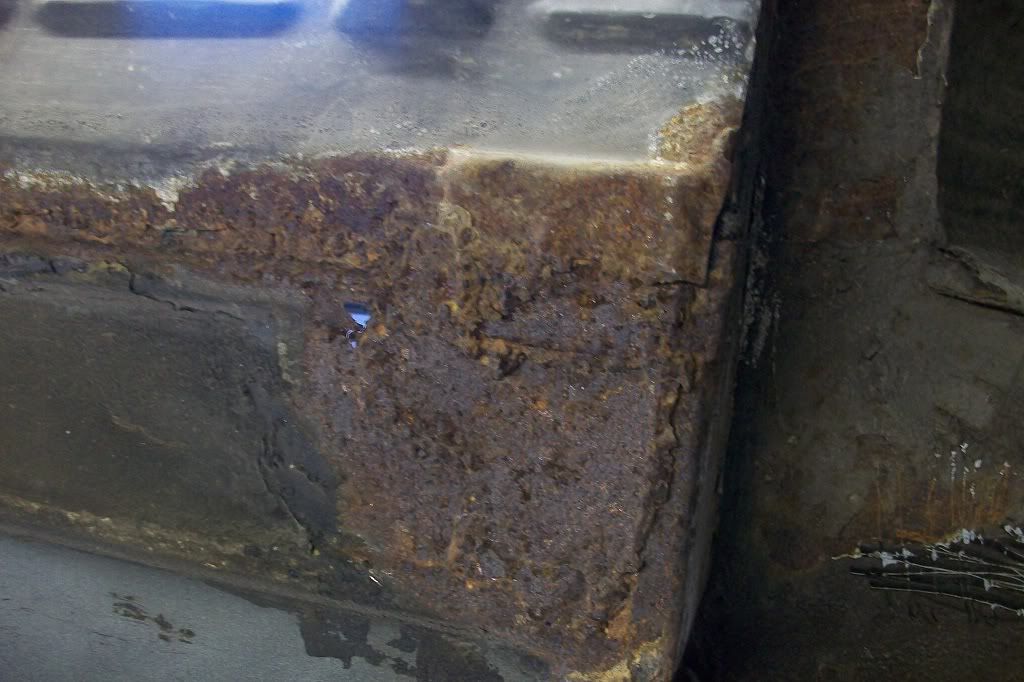
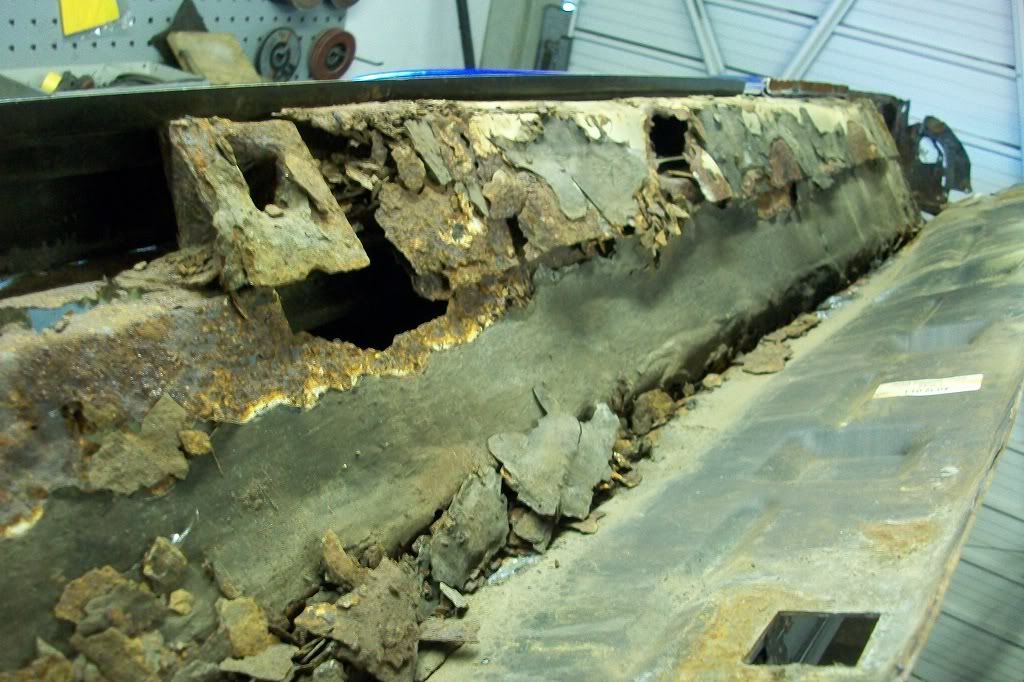
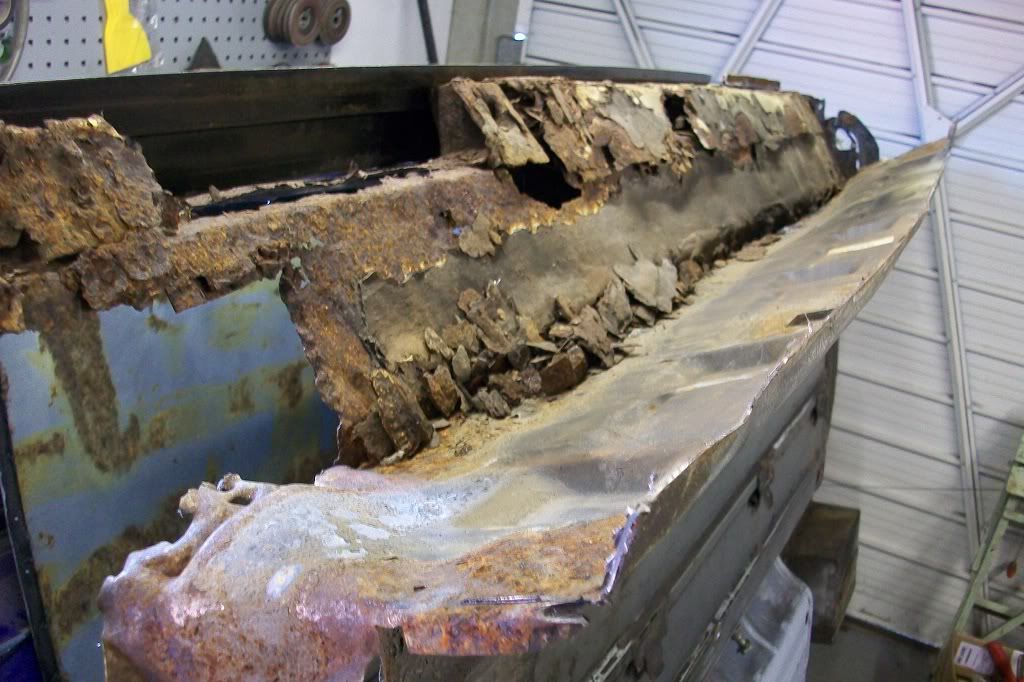
Peeled back the oversill to reveal this!
Posted Image

Posted Image

Posted Image

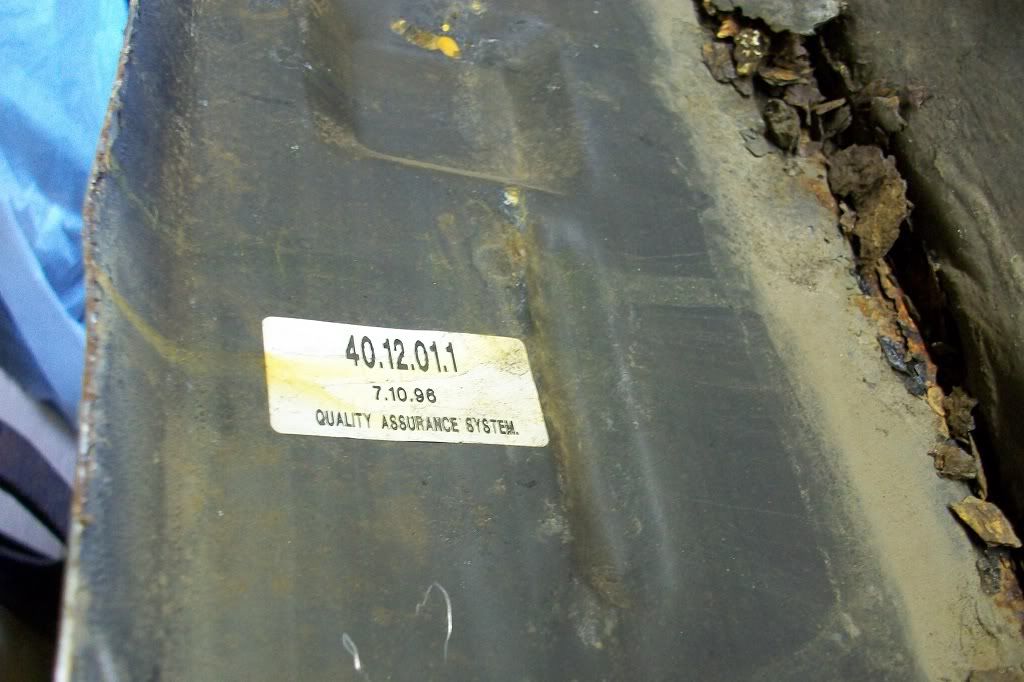
This gives some idea of when they were fitted. Dated 7.10.96 which would be about right as it was last on the road in 1999.
Posted Image

With oversill removed there's not a lot left!
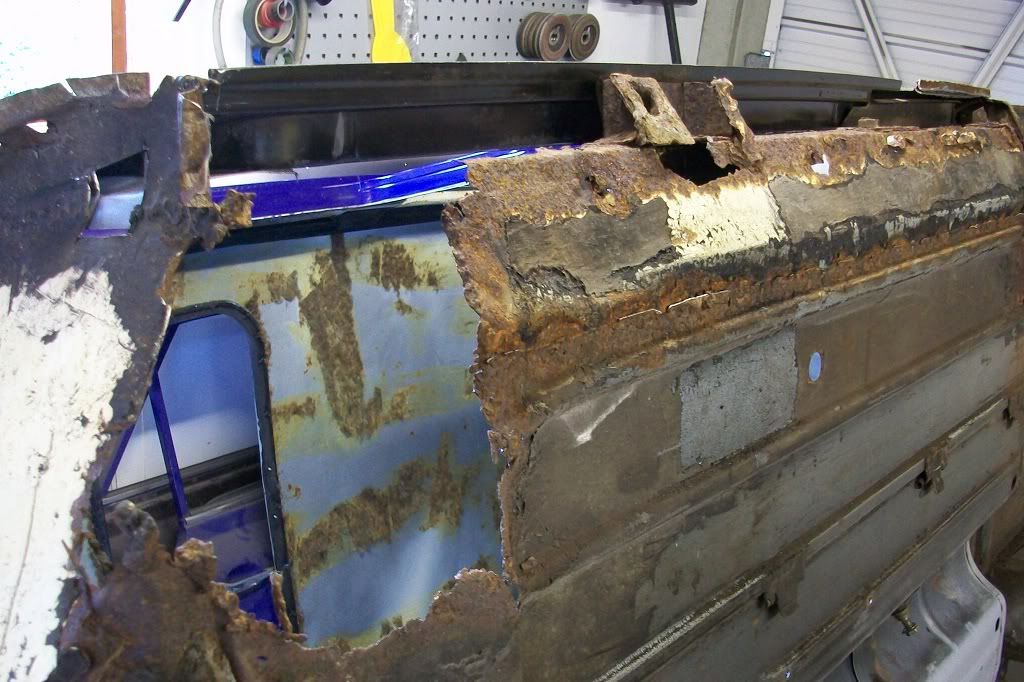
Posted Image

Posted Image

Posted Image

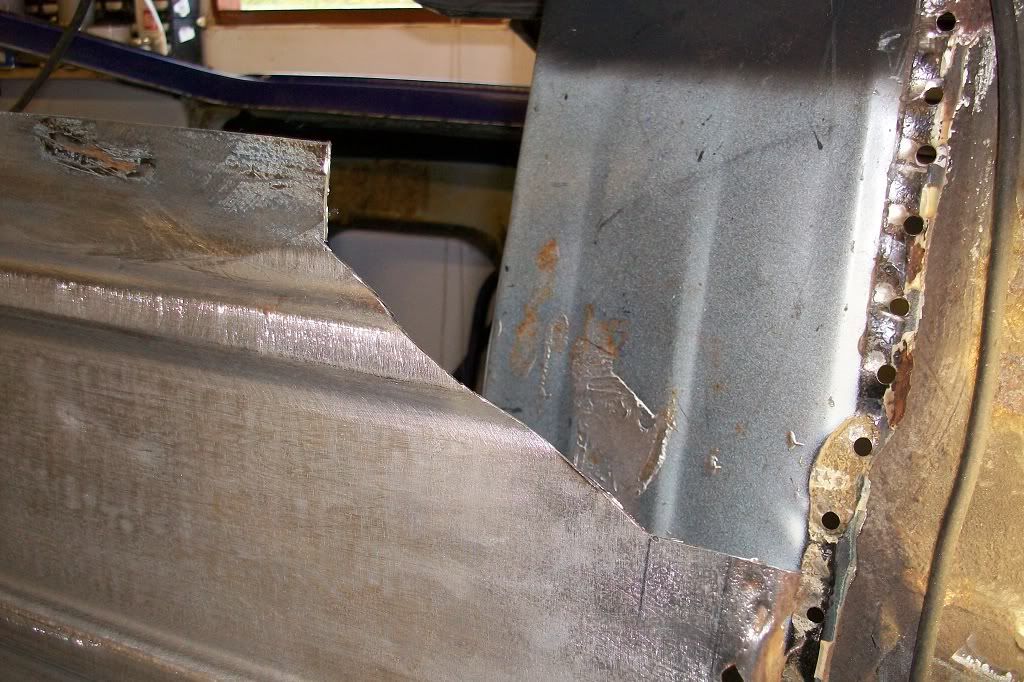
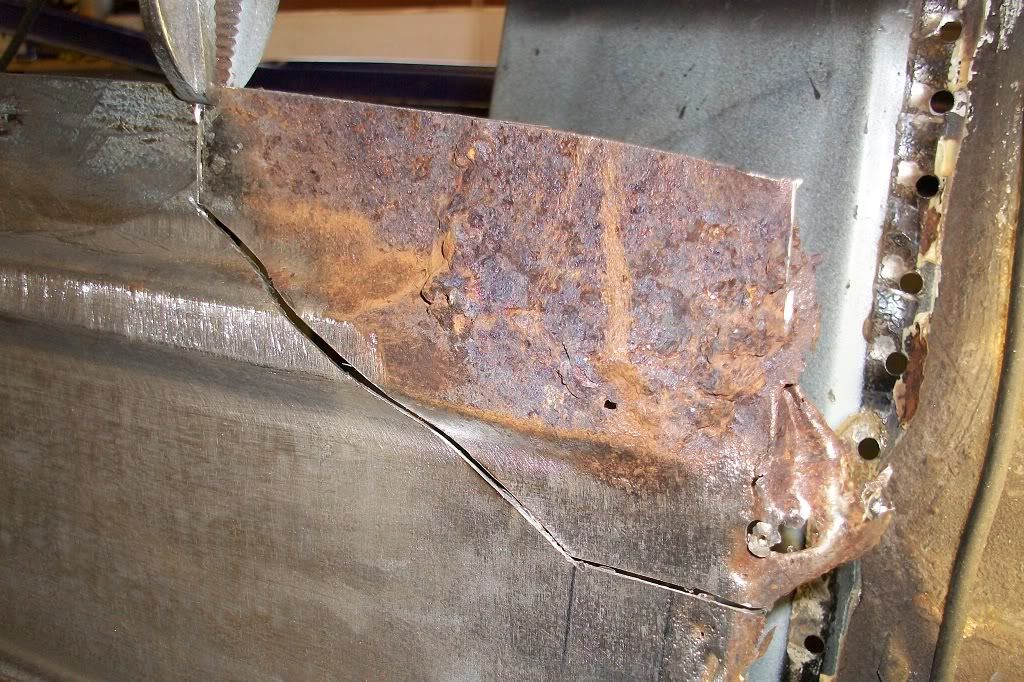
I cut the inner sill/floor out between the first and second grooves, but sorry no picture and found the end of the second groove needed some repairs, so cut it out.
Posted Image

Posted Image

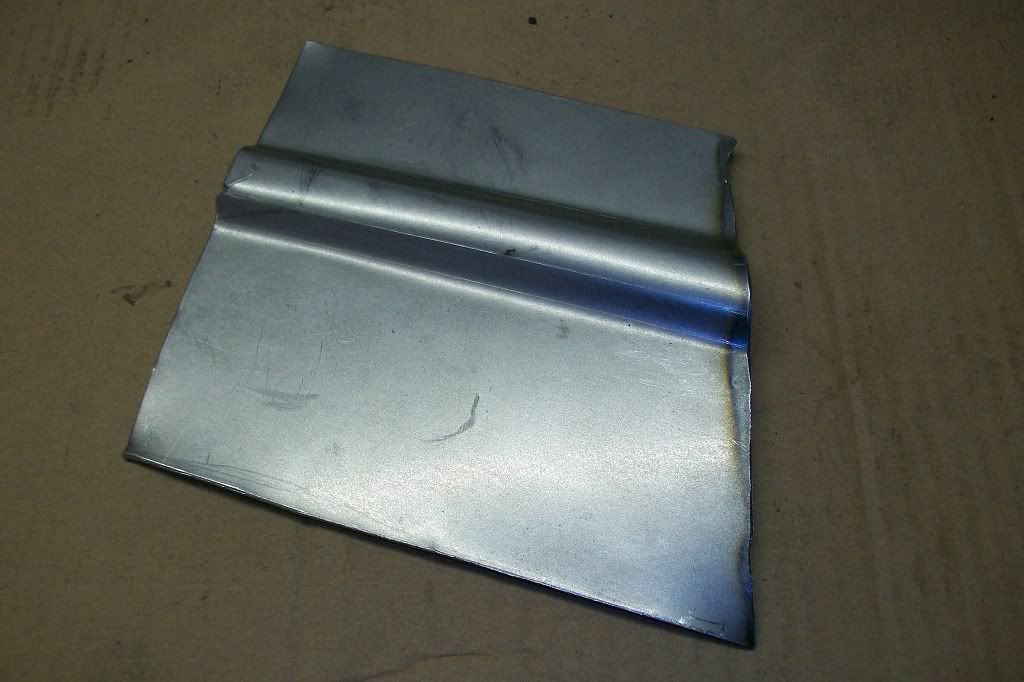
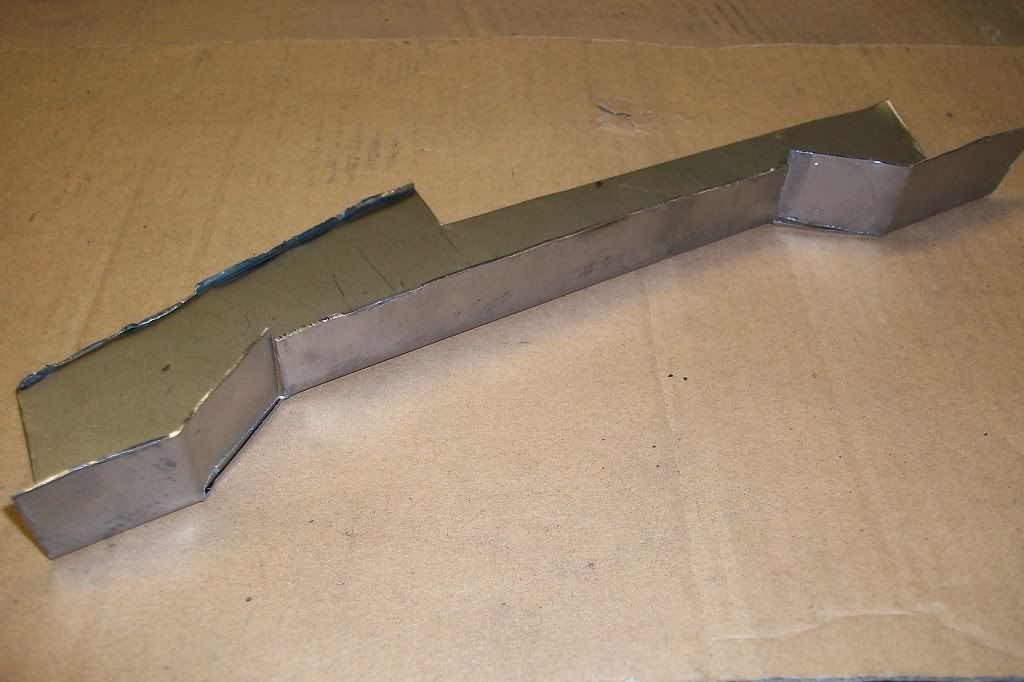
Made this by folding in a vice.
Posted Image

Posted Image

Posted Image

Cut and tacked in place.
Posted Image

Then started on a repair piece for the floor to heal board joint. Will add pictures of that soon.

Thats it for now. Thanks.

Edited by minifcd, 23 November 2011 - 09:14 PM.


#59 minifcd

minifcd

    Mini Mad

  • Members
  • PipPipPipPip
  • 246 posts
  • Location: Stamford

Posted 26 November 2011 - 04:41 PM
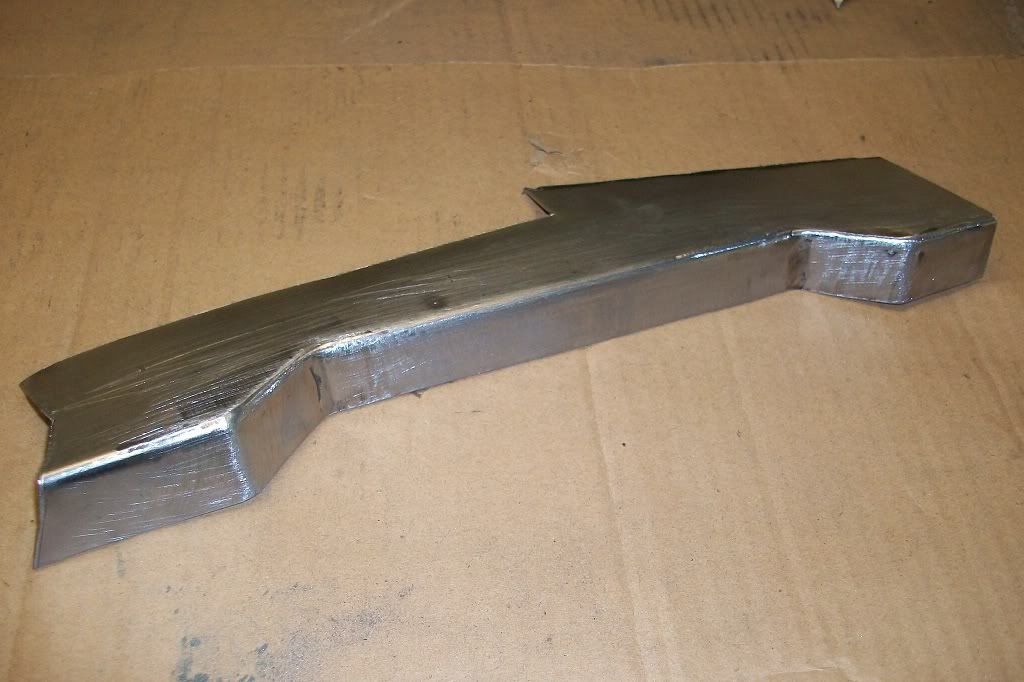
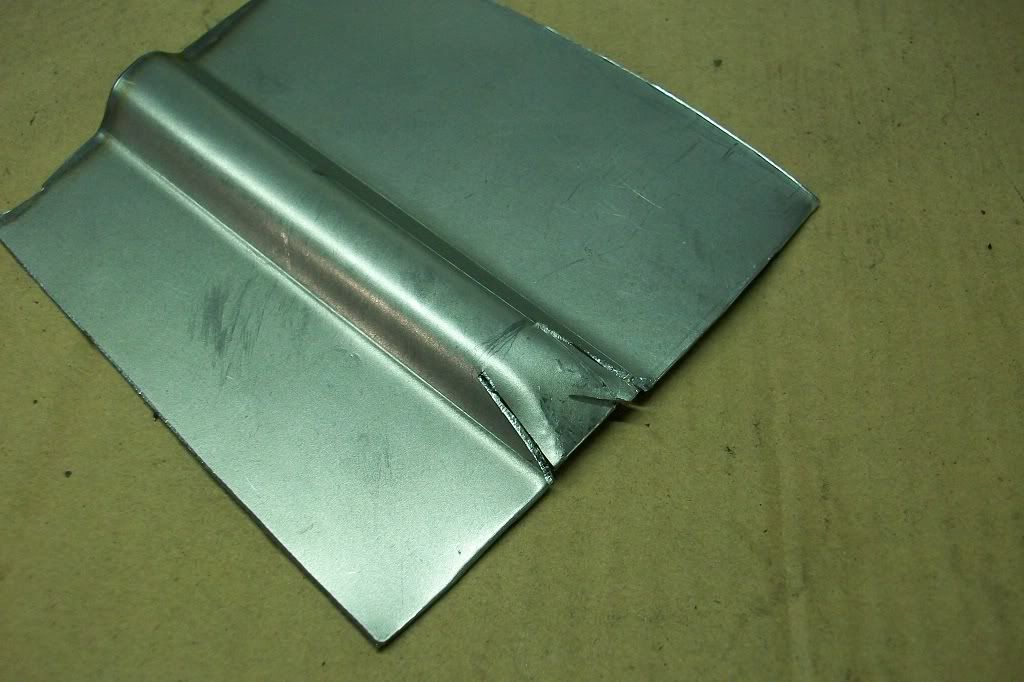
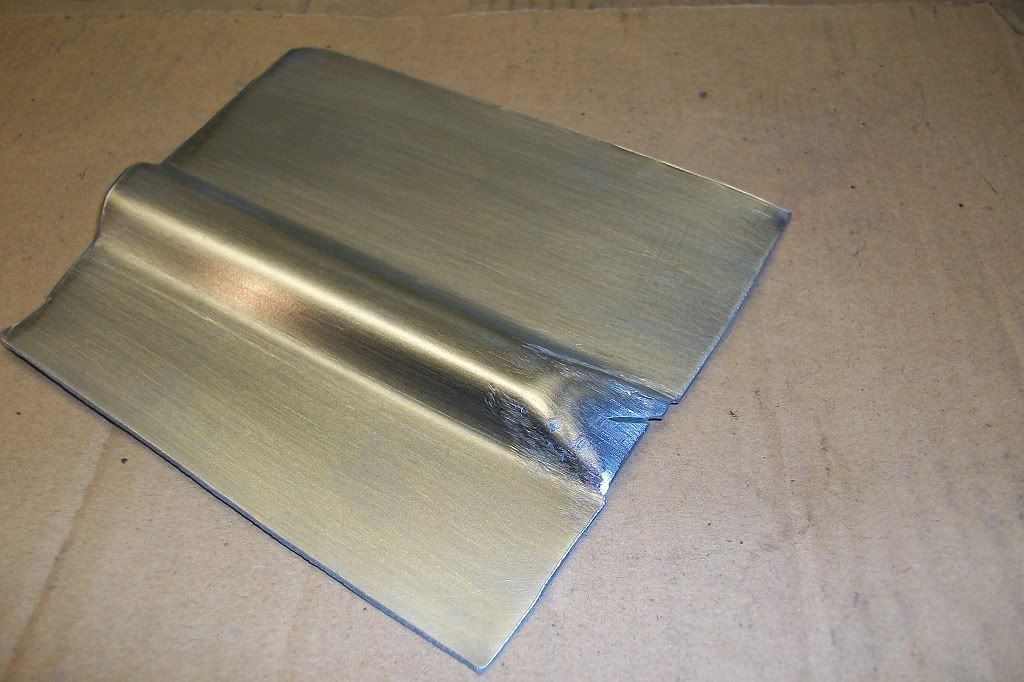
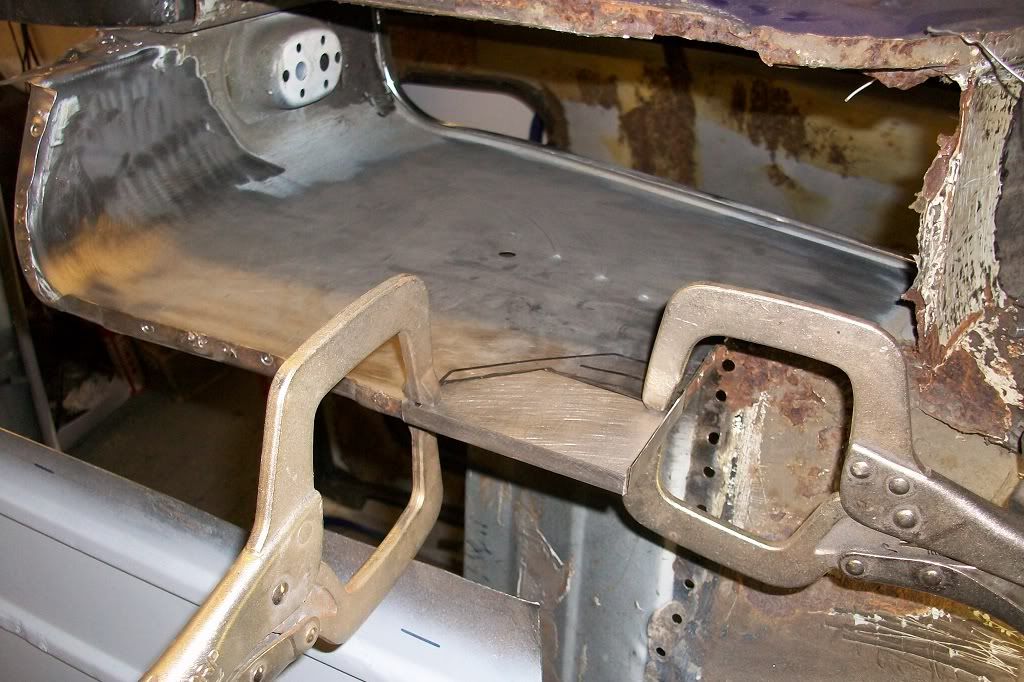
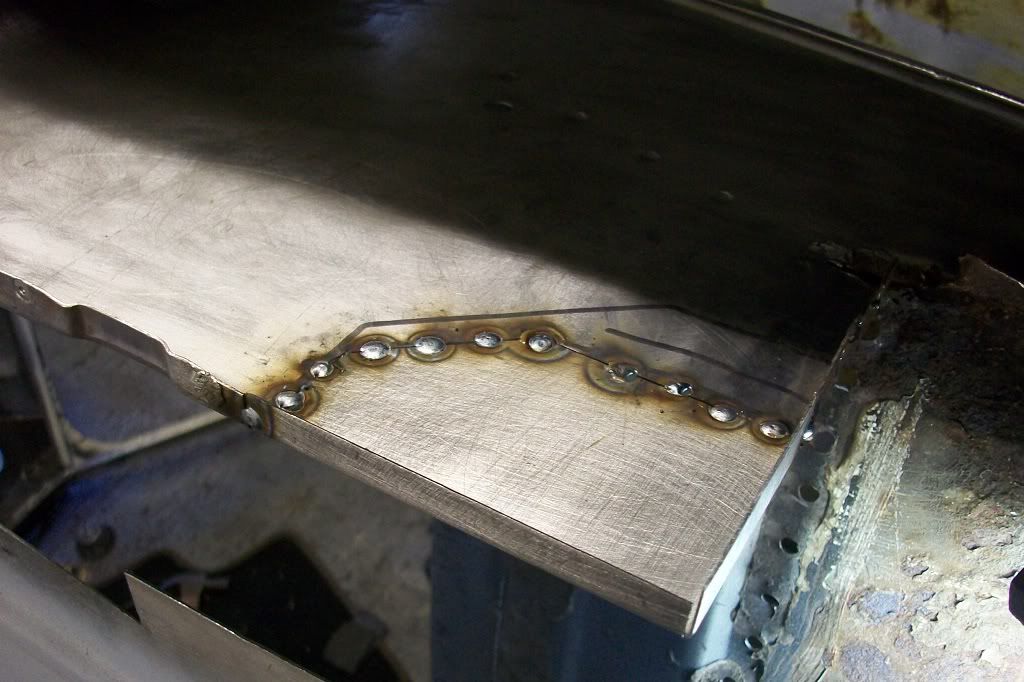
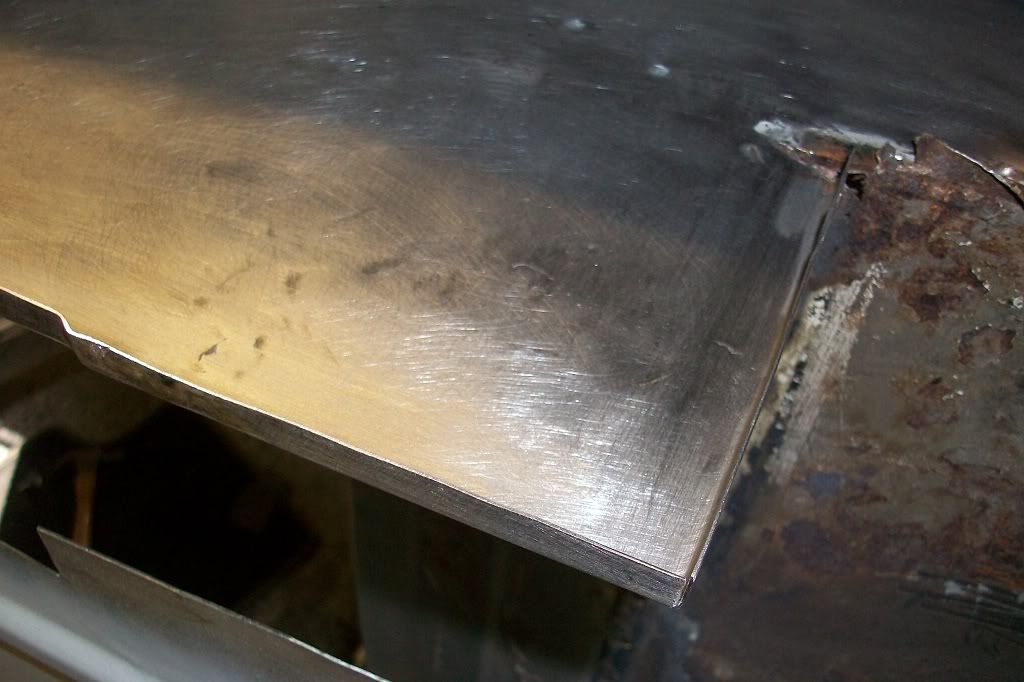
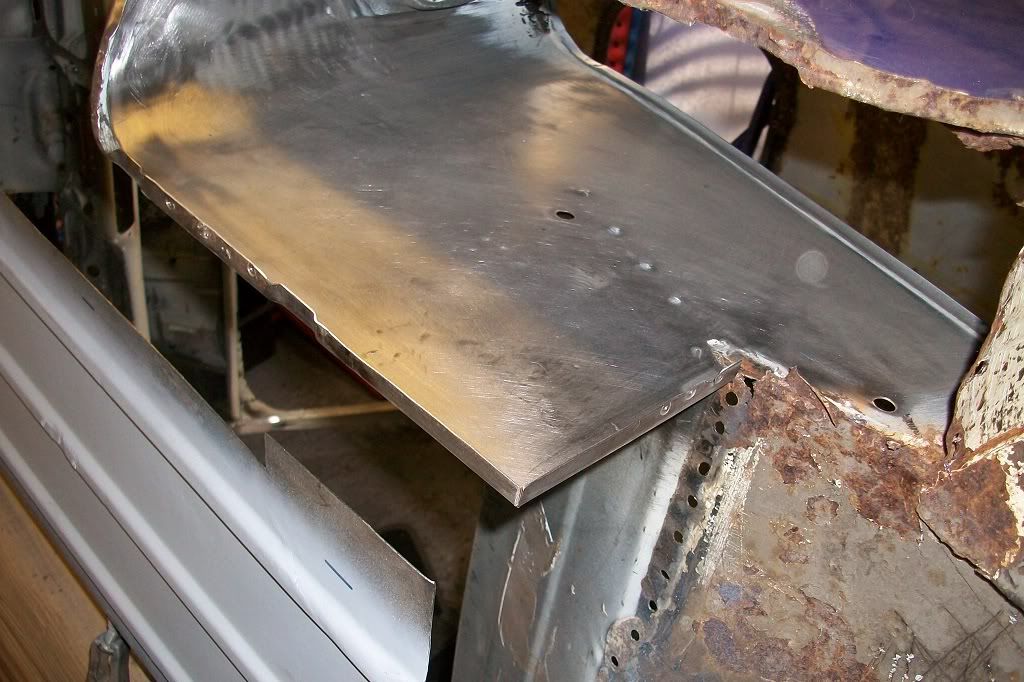
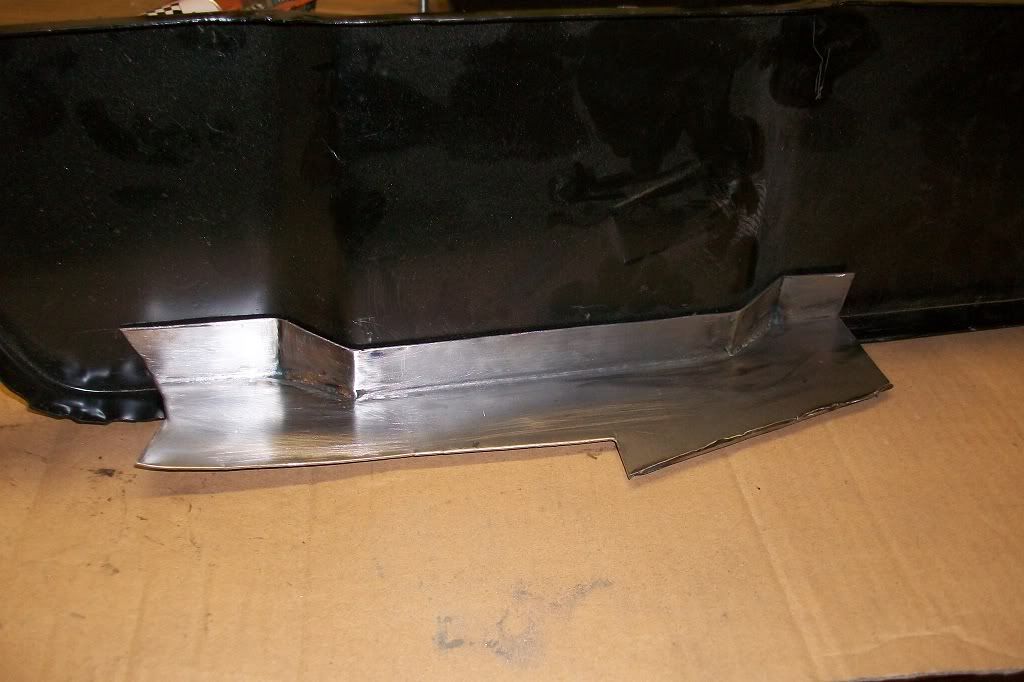
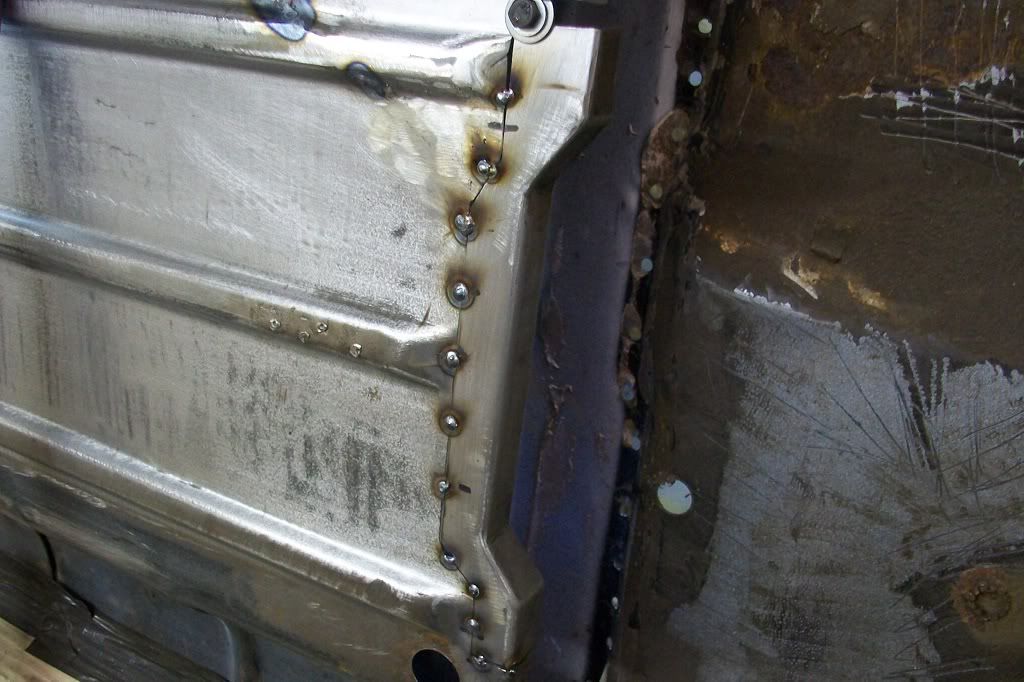
The repair piece for the rear lip of the floor was made from one piece and folded to shape. This had to be made with the impression wider than the original as the new heal board was different, probably made for later cars.
Posted Image

Posted Image

Posted Image

Posted Image

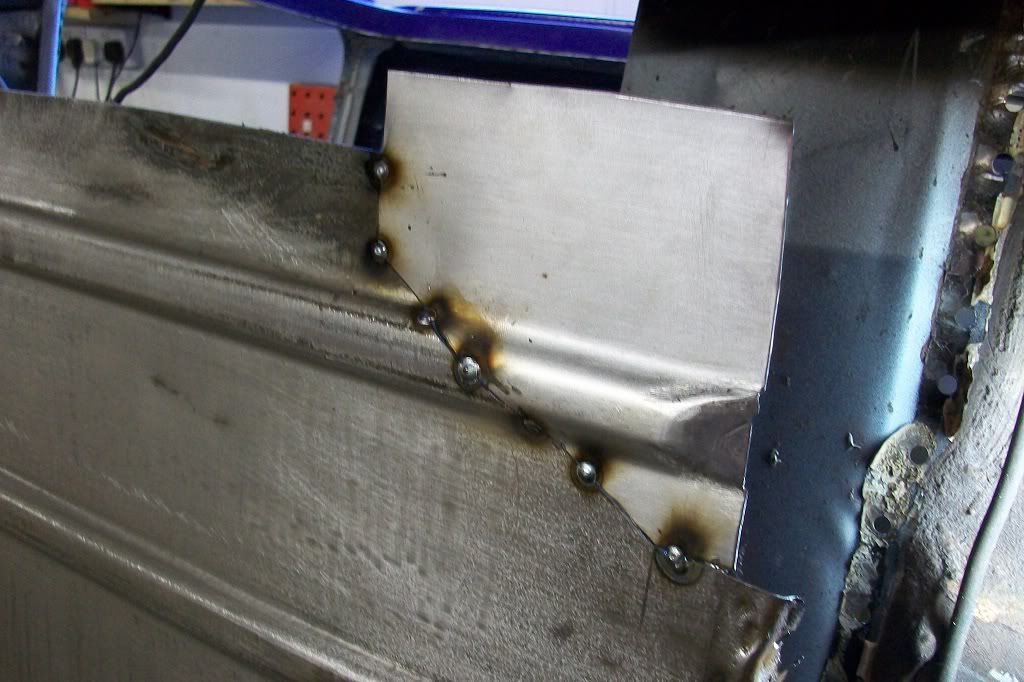
Tested for fit against the new heal board.
Posted Image

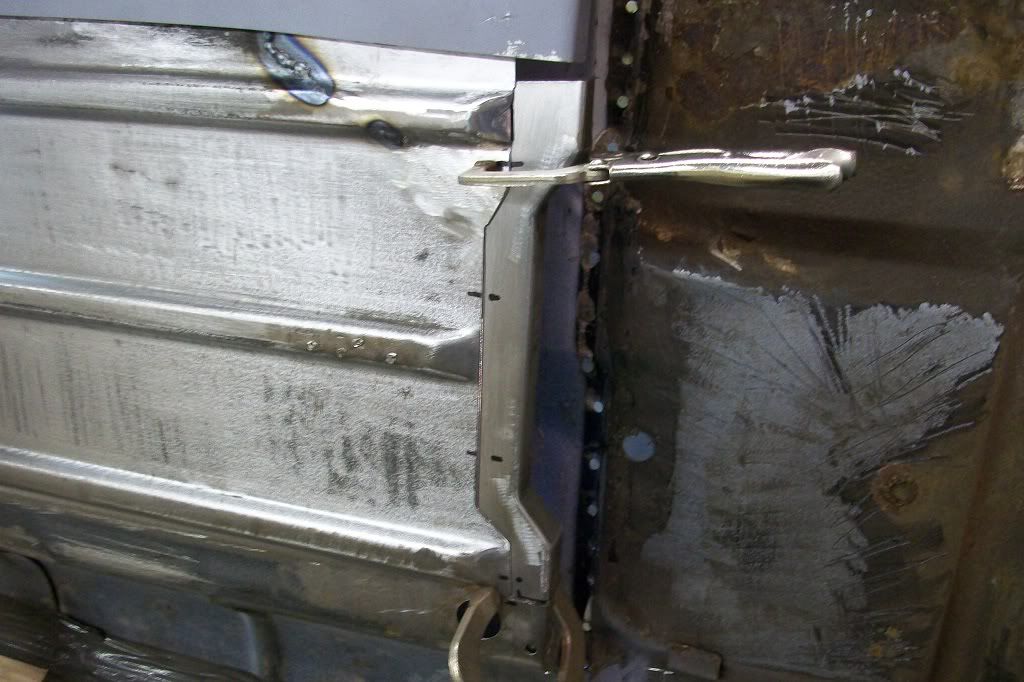
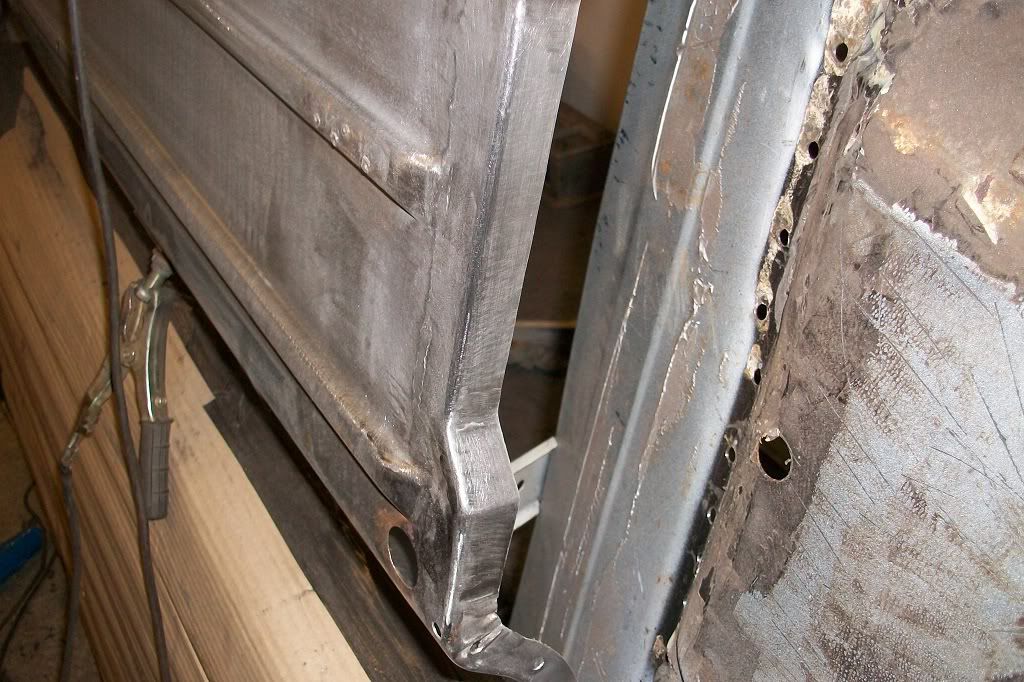
Clamped, tacked and welded in place.
Posted Image

Posted Image

Posted Image

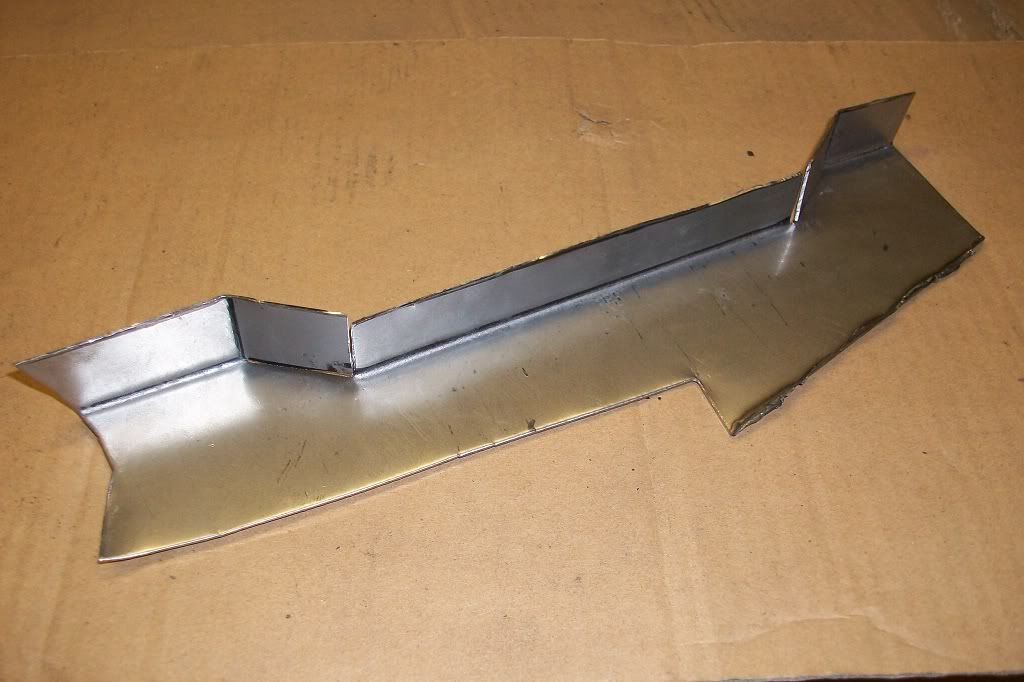
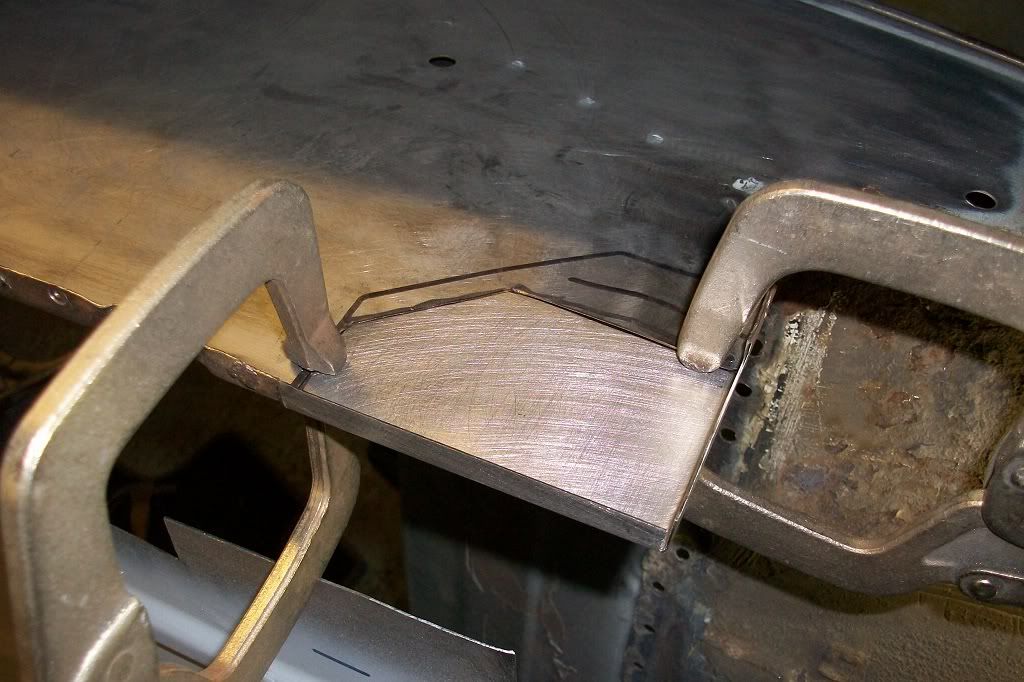
Next the lower rear corner of the companion box needed a repair, so folded a small piece and clamped in place.
Posted Image

Posted Image

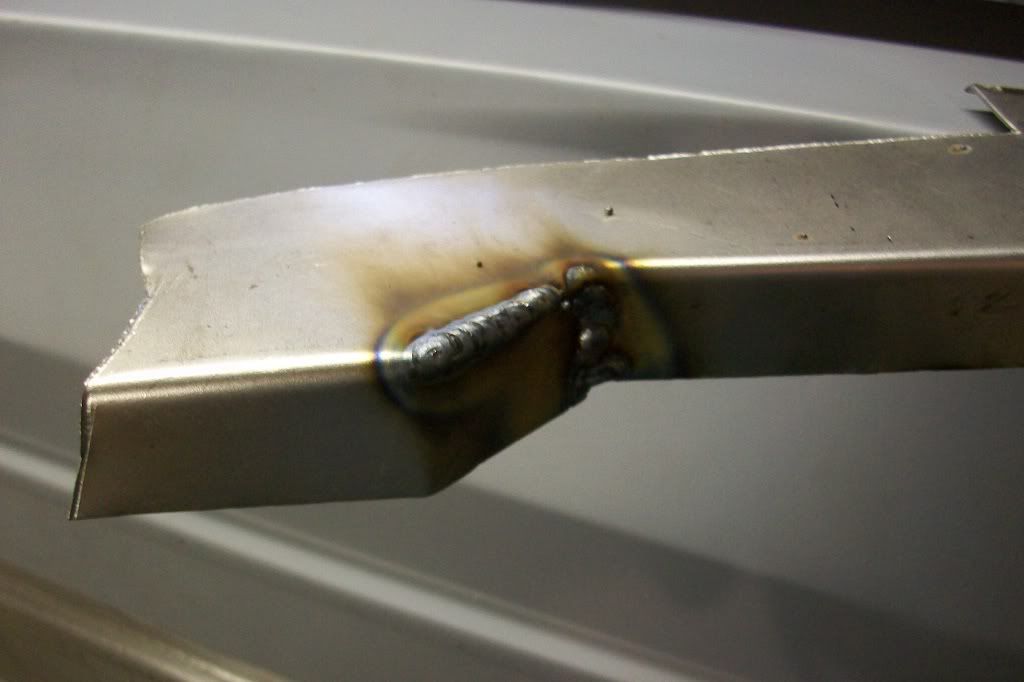
Tacked then fully welded.
Posted Image

Ground down.
Posted Image

The finished piece.
Posted Image

Thanks.

#60 hughJ

hughJ

    Soldiering Along

  • Members
  • PipPipPipPipPipPipPip
  • 727 posts
  • Location: Highlands, Scotland

Posted 26 November 2011 - 04:57 PM

Scott that is amazing fabrication. You are one of these on the Forum that just has the 'hands'. Stunning work.

Hugh


2 user(s) are reading this topic

0 members, 2 guests, 0 anonymous users