Leyland Mini 1000 1980 Restoration Project
#346

Posted 17 June 2013 - 10:41 PM
#347

Posted 17 June 2013 - 11:57 PM
Ahhh yeah life comes first minifcd, but still i appreciate you getting off your ars* and doing something ![]() , only joking
, only joking ![]()
Look forward to the dater-up ![]()
#348

Posted 18 June 2013 - 11:03 PM
Quality, quality work.
Can't wait to see more and get more great ideas to use on mine.
Ben
#349

Posted 28 June 2013 - 09:10 PM
Ok, I've had the week off to get on with this mini and so far have done very little. Spent the start of the week fitting a new steering rack to my first mini due to excessive play in the tie rod. A job that's a lot easier to do when your first putting a mini back together after a respray, as it involves dropping the subframe and engine down enough to get the rack out! Anyway, that's all done now.
Here are the first photos of many I'll be uploading over the next few days showing a few little bits that I've manage to get done.
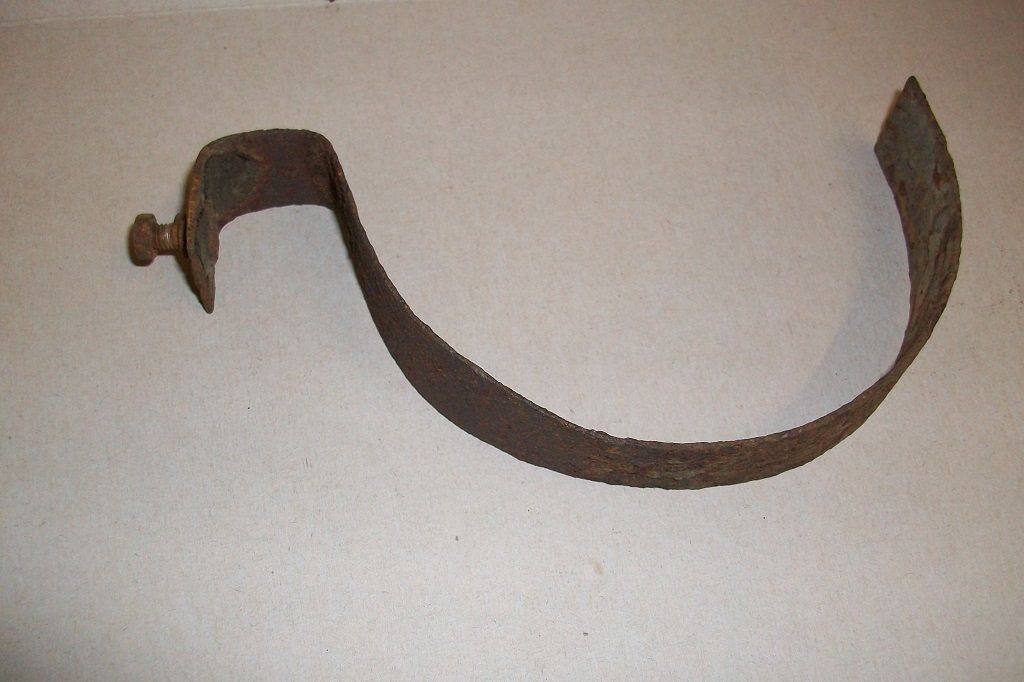
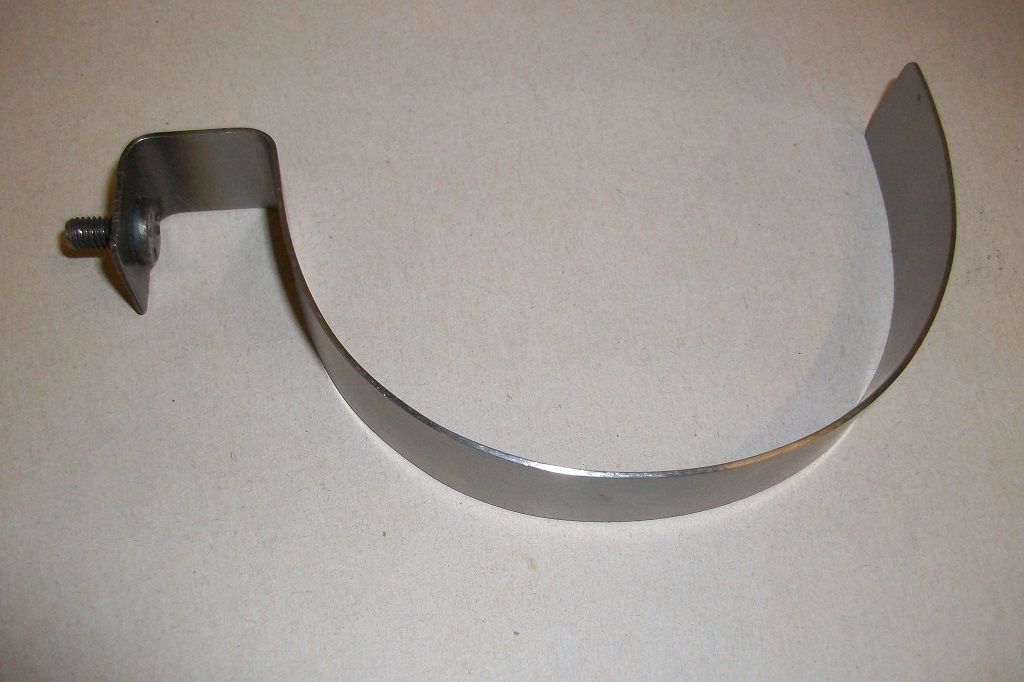
One very rusty drivers side air pipe support bracket that is located in the wheel arch. Appears to be unavailable so decided to make it myself.
Took all the dimensions from the original and made a cardboard template before making this.
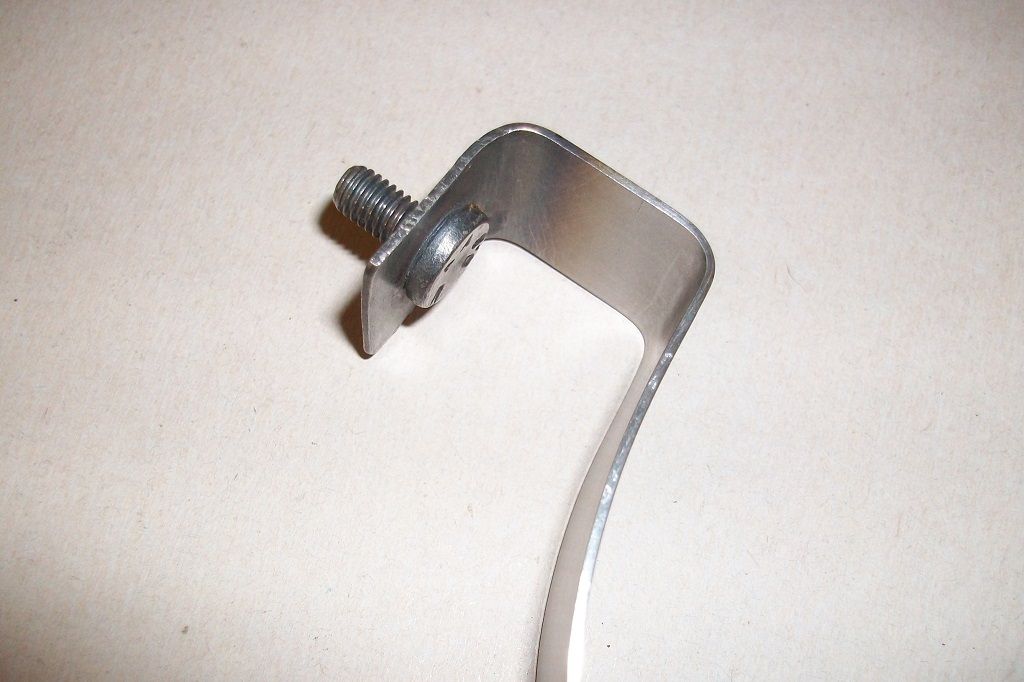
Weld bolt fitted as original although this is an M5 thread instead.
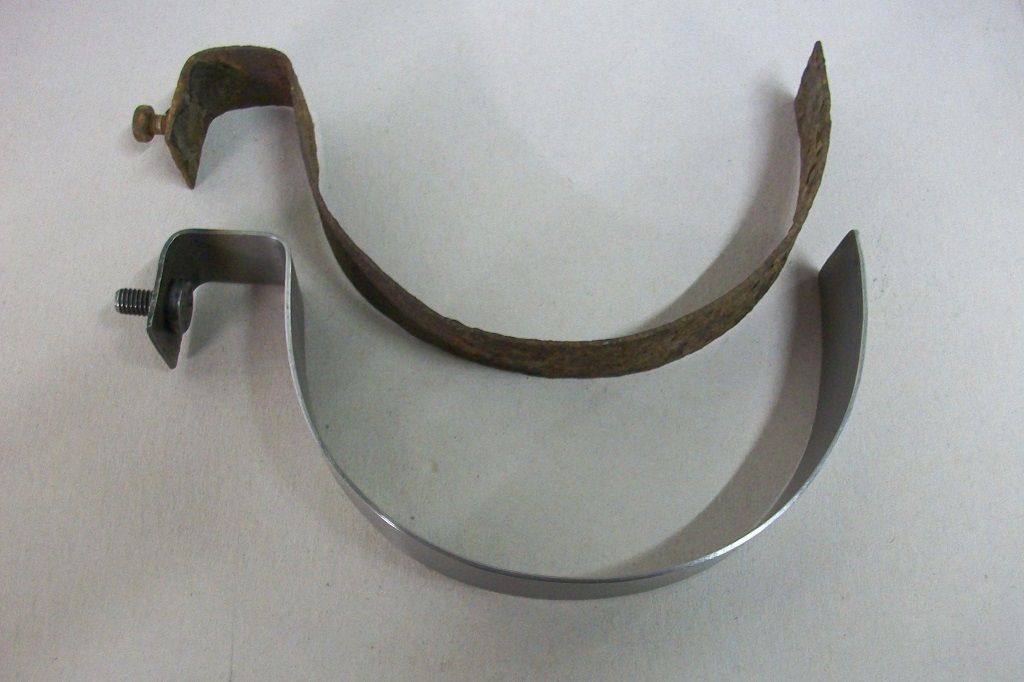
For comparison...
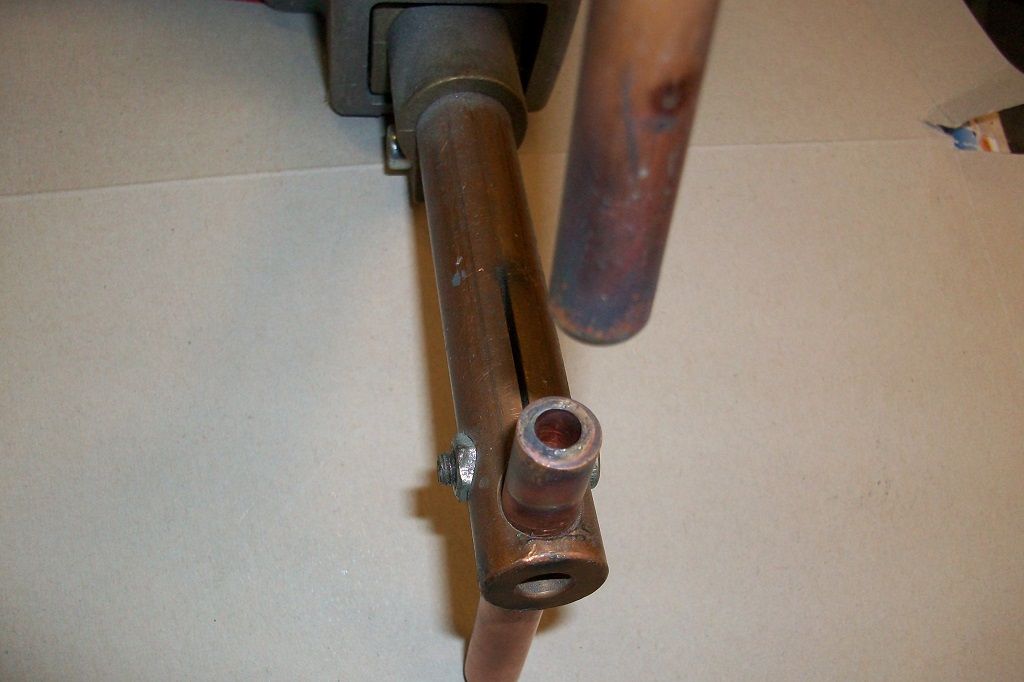
And another modification to my spot welder to be able to weld the bolt on.
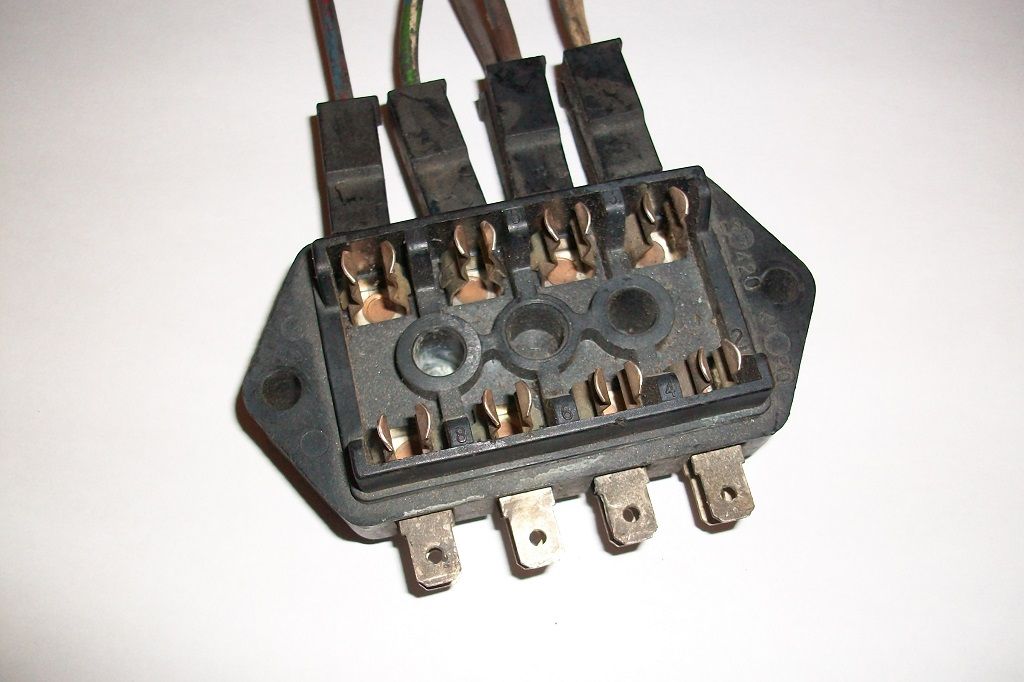
Then had a go at cleaning the fuse box up to salvage it.
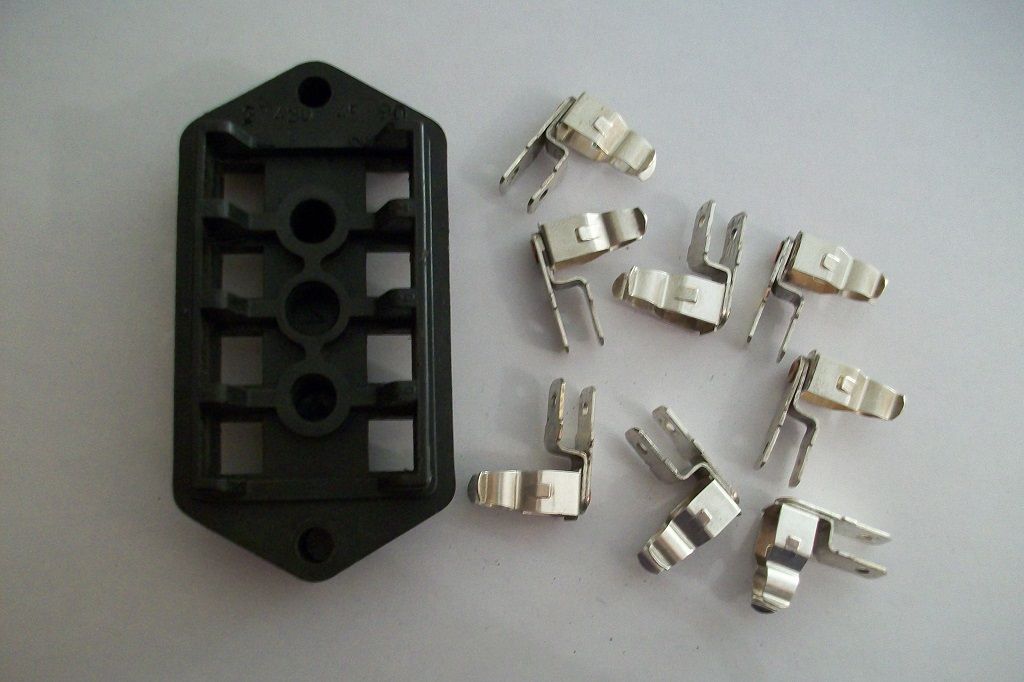
Removed terminals and cleaned with a small brass wire brush.
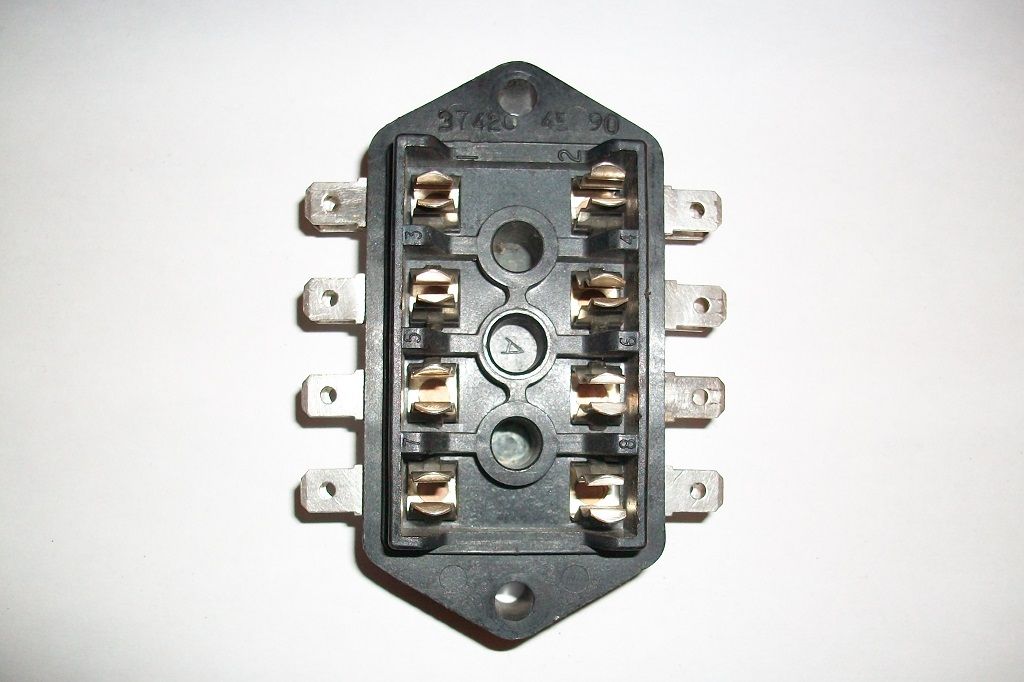
And the finished fuse box...
Saved me a few pounds with both of those! More photos shortly.
#350

Posted 28 June 2013 - 09:12 PM
Nice bracket there Scott. ![]()
#351

Posted 28 June 2013 - 09:31 PM
Wow, such minor work you,ve turned into almost art like objects haha
Is that bracket stainless ? looks nice anywhoo
Glad to see its starting back up again with your great work as always
Cheers
Cliff
#352

Posted 28 June 2013 - 09:42 PM
Thanks Neil and Cliff. No its just regular mild steel and so will be painted. Just trying to get some more photos uploaded with a solution to a problem, that most of you have probably or will probably come across at some point.
Thanks
Scott
#353

Posted 28 June 2013 - 10:36 PM
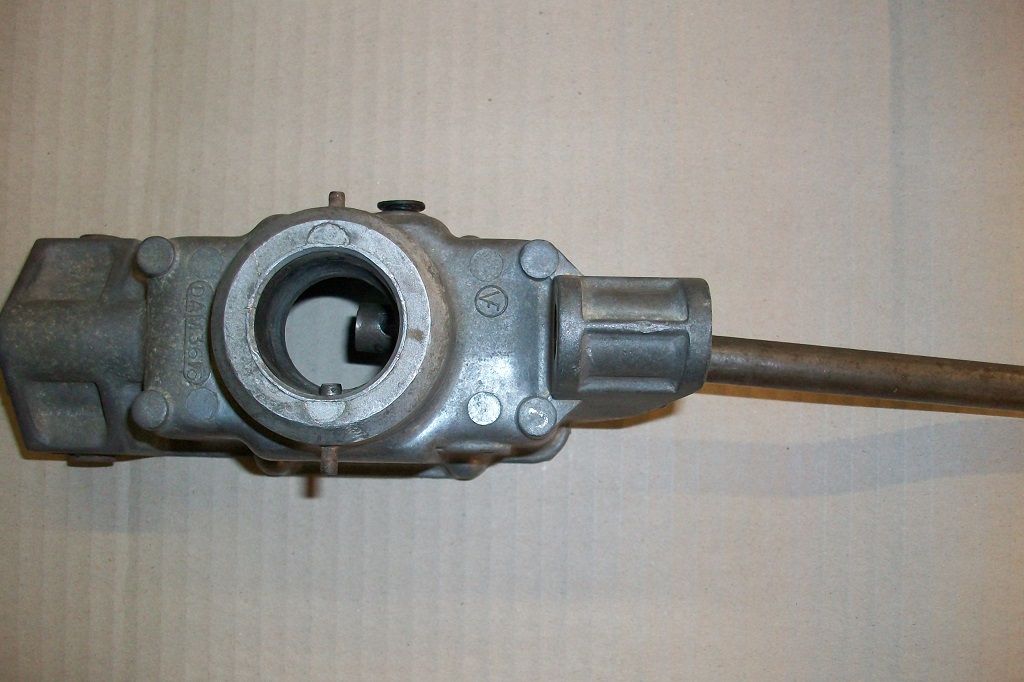
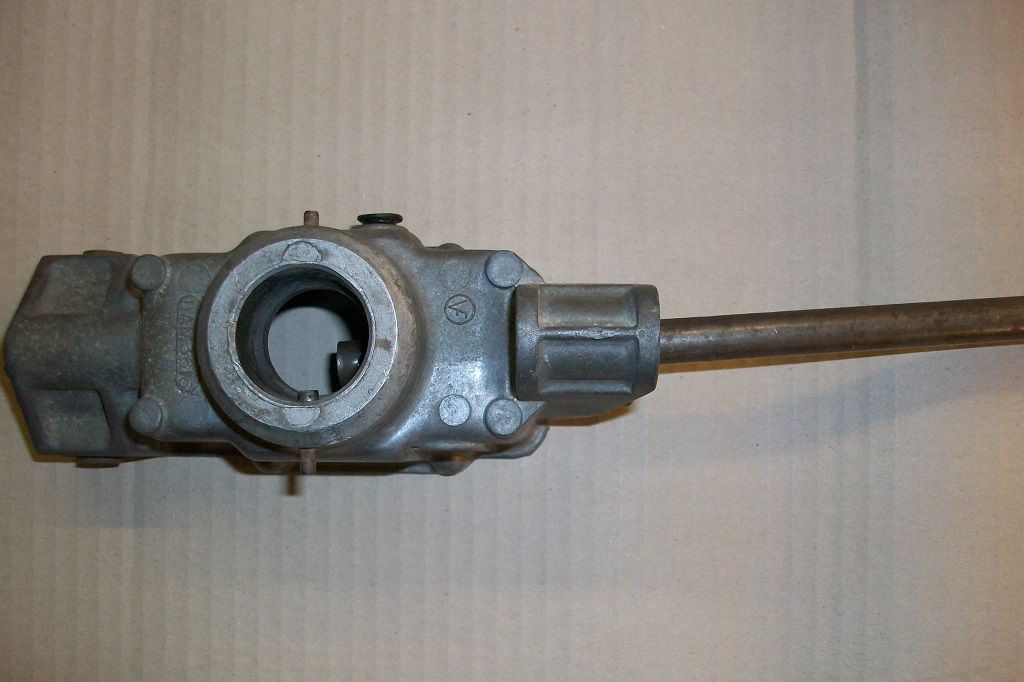
Ok, I suspect a few of you may have come across this problem before, so here's a solution to fix it.
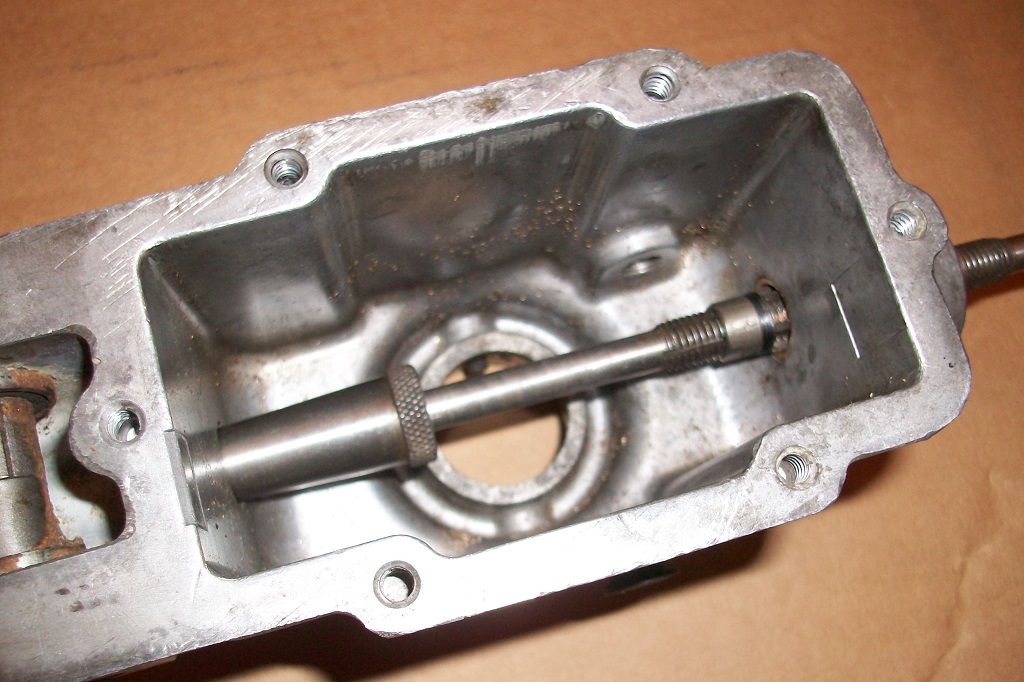
The gear change assembly had excessive play in the selector rod due to two issues. These next two photos show the extent of the play.
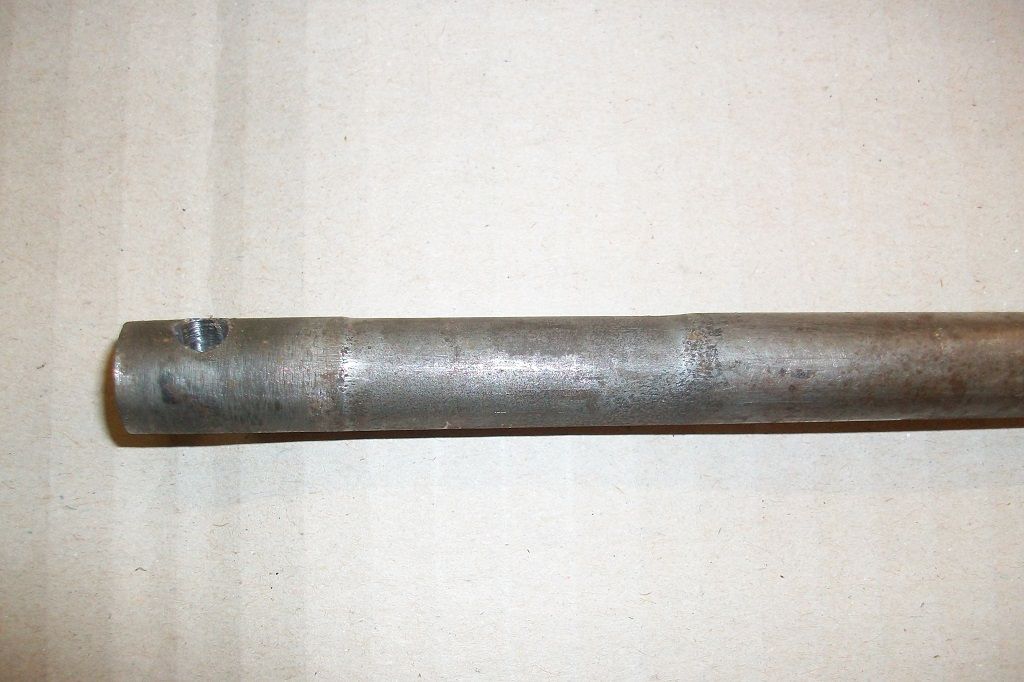
Issue one is an excessively worn shaft.
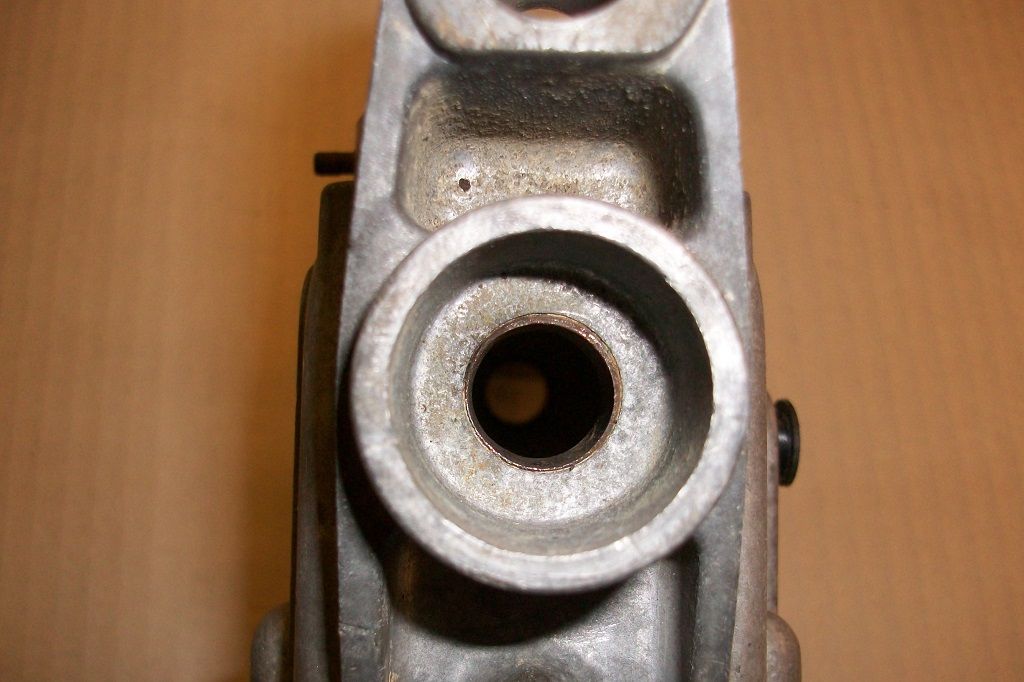
Issue two is a badly worn bush.
To fix I removed what was left of the old bush and found some new bushes from www.bearingboys.co.uk Part Number: AI0810-08 Imperial Plain Oilite Bearing Bush 1/2 x 5/8 x 1/2inch. http://www.bearingbo...1_2inch-42649-p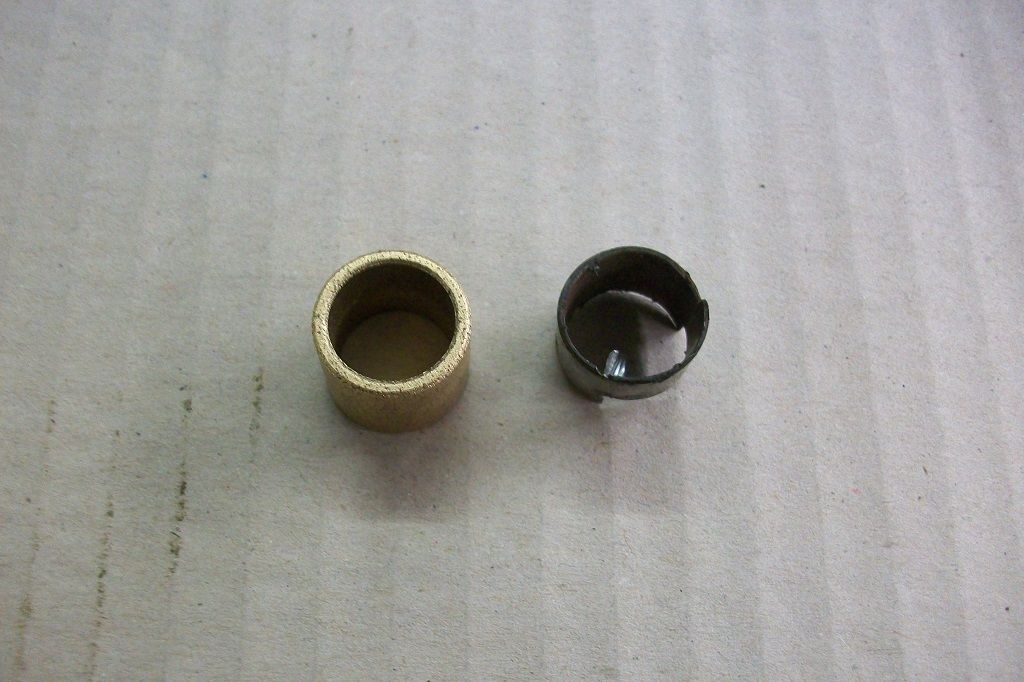
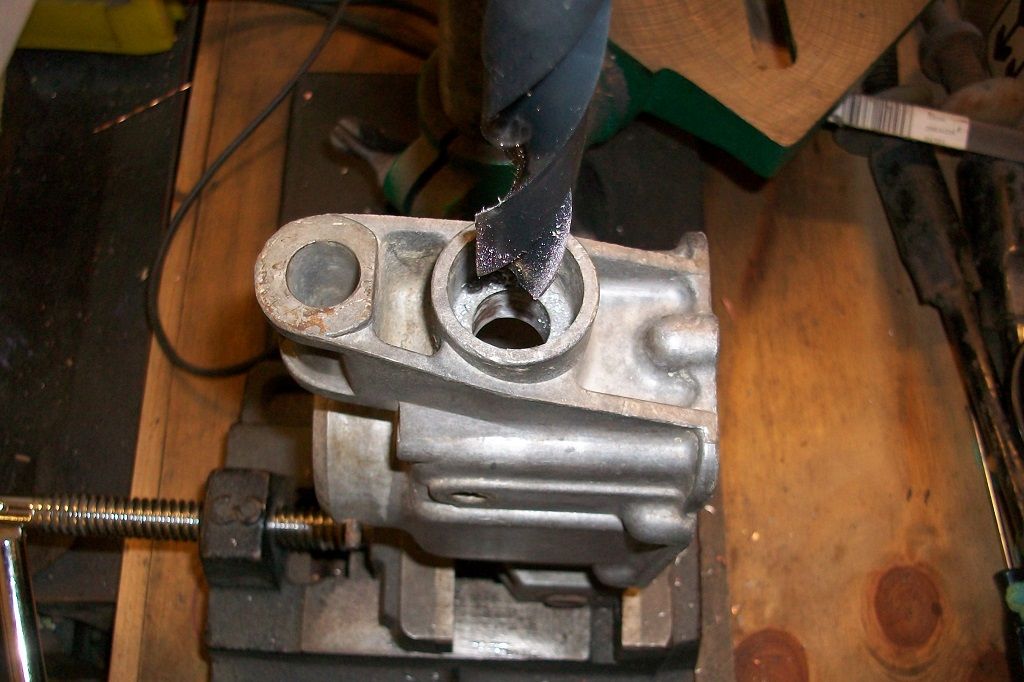
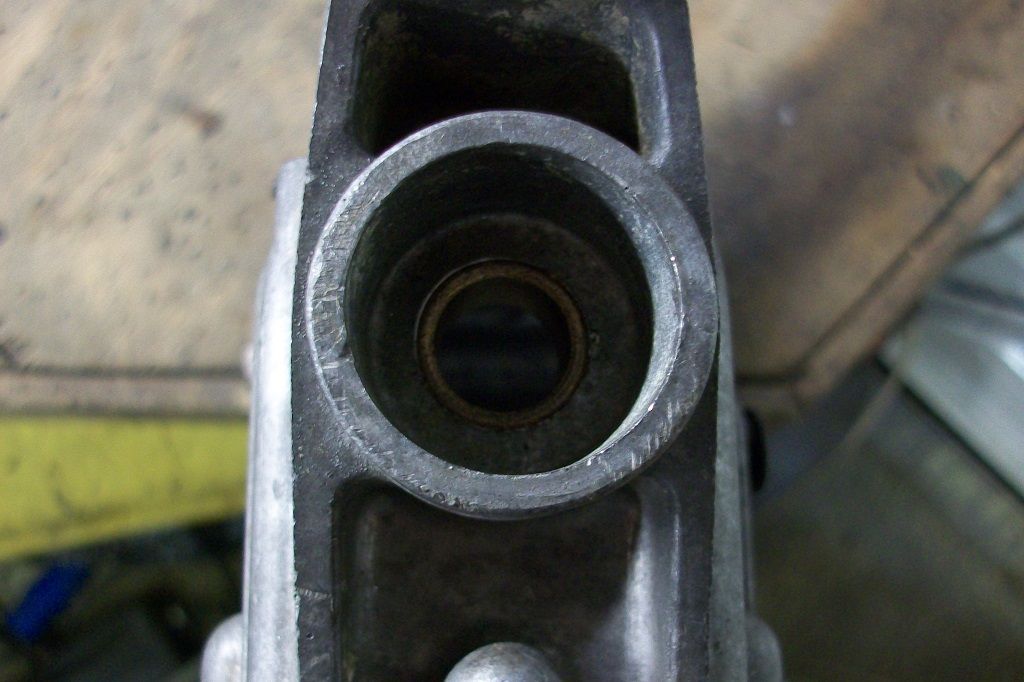
The new bush is slightly larger so the housing needed drilling out to accept it. I used a 16mm drill bit which is the equivalent of 5/8 inch.
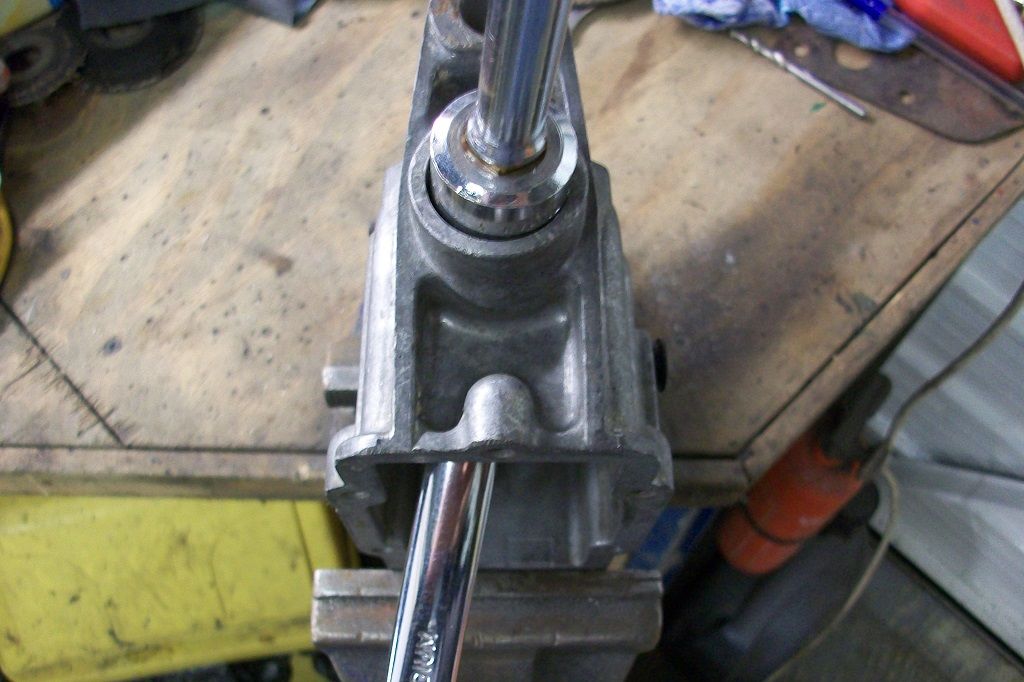
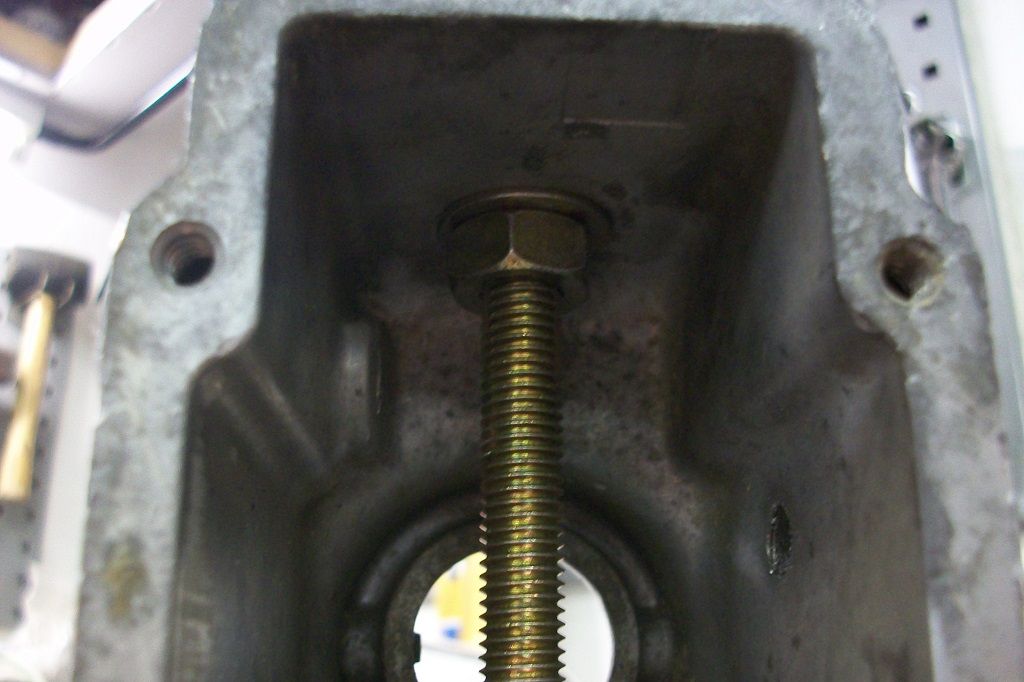
The bush was pulled in using a nut and bolt with two washers.
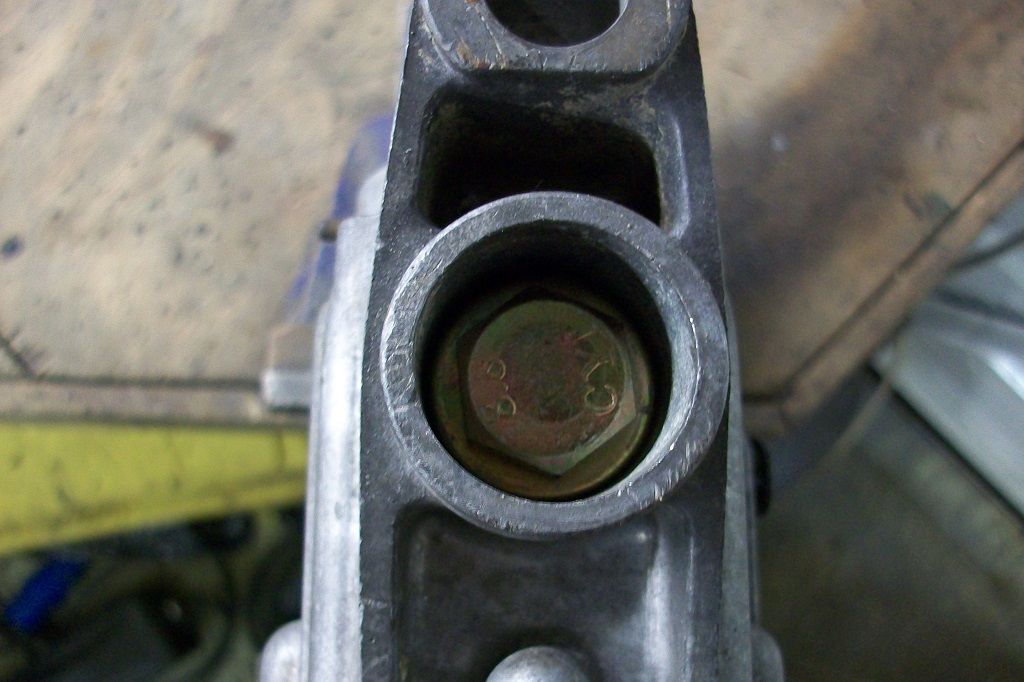
To leave it looking like this.
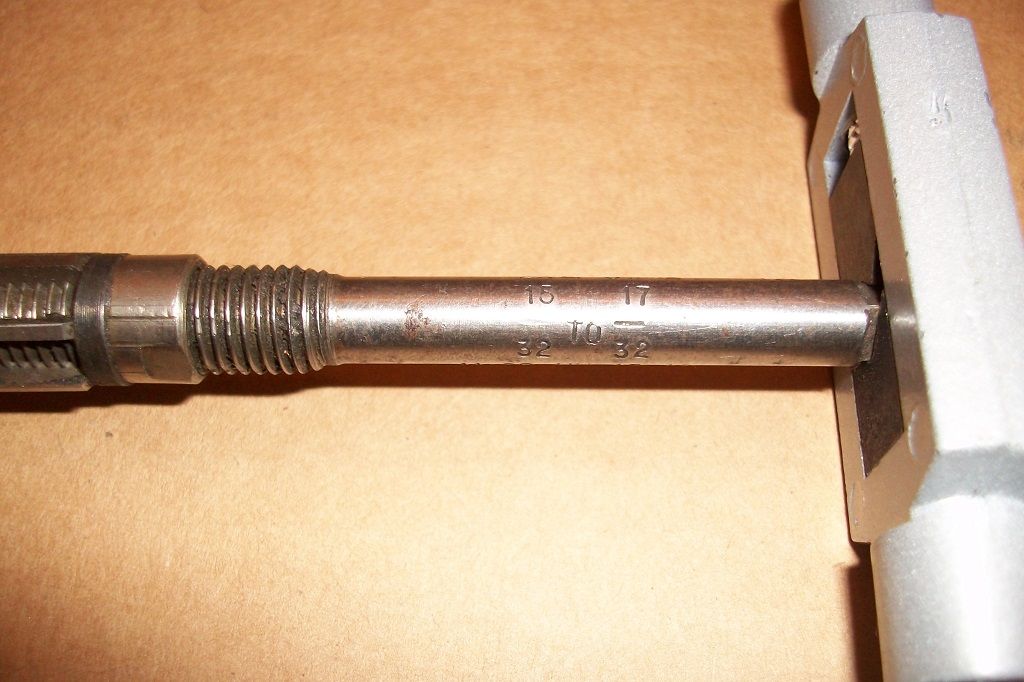
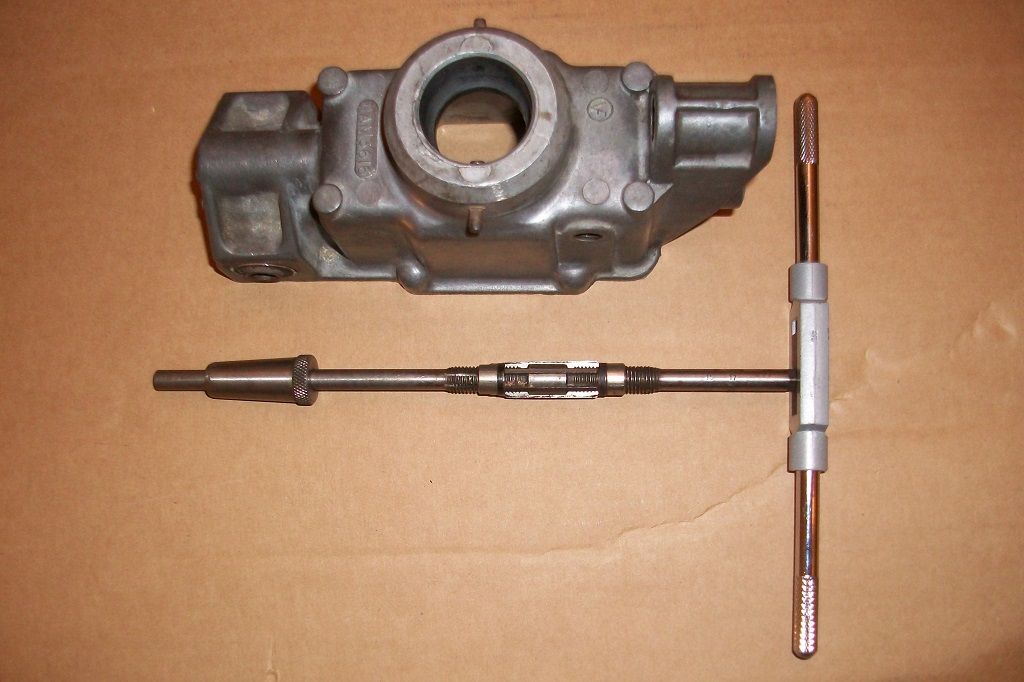
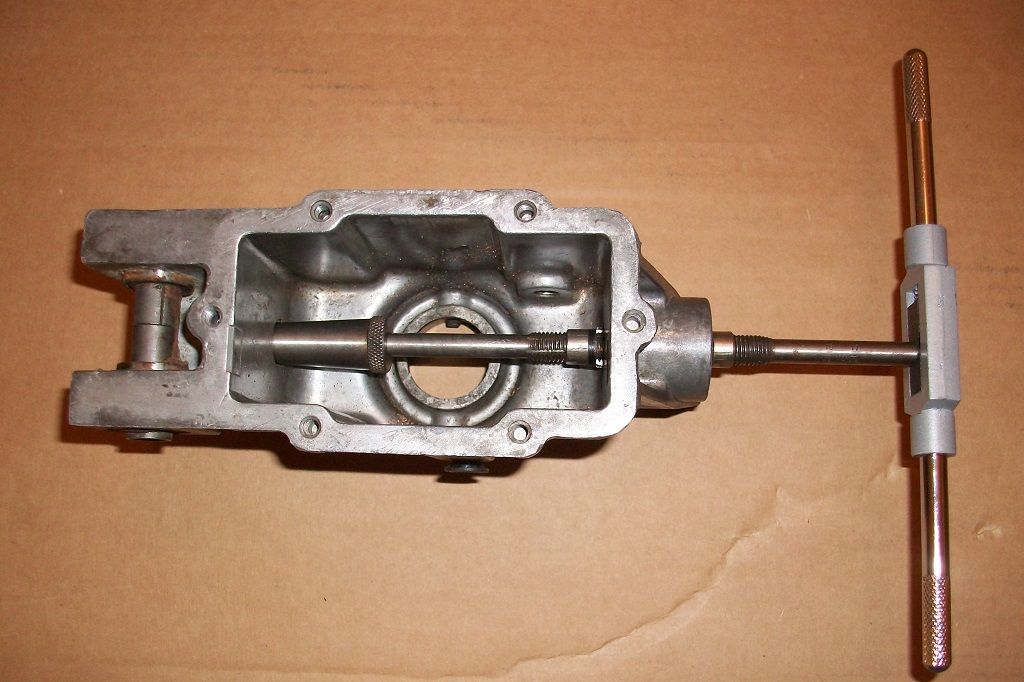
When you press the new bush in it shrinks slightly. So it next had to be reamed back out to 1/2 inch using an adjustable reamer with a guide.
And that's the housing fixed with the new bronze bush. Next the selector shaft. End of part one.
Thanks.
#354

Posted 28 June 2013 - 11:01 PM
Part 2
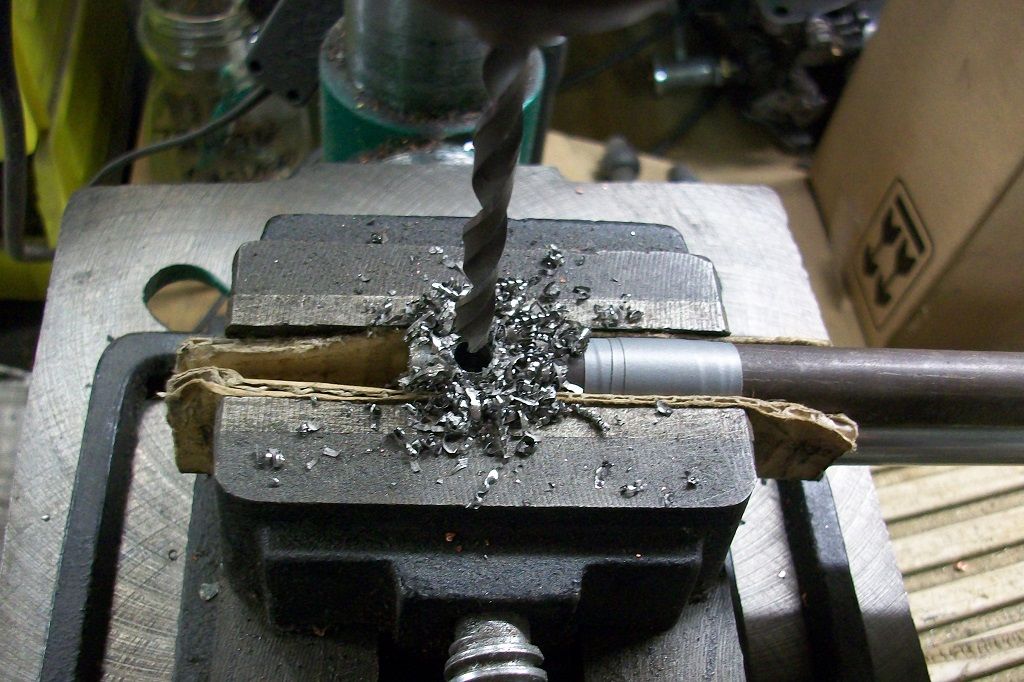
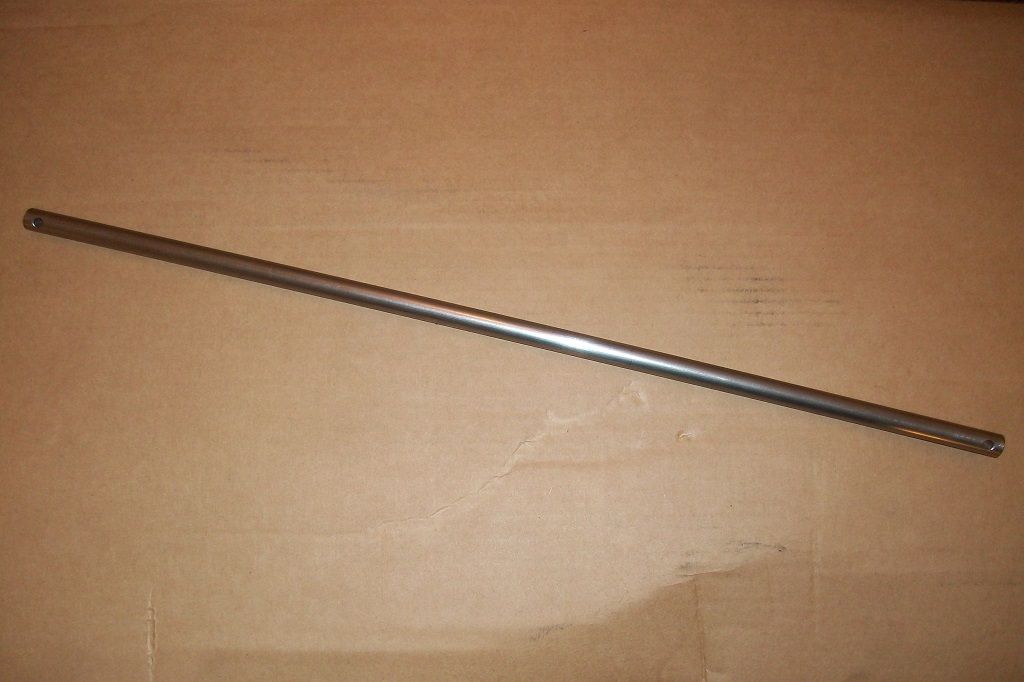
The next thing to sort was the selector rod. For this I bought a meter long length of 1/2 inch Stainless Steel round bar from eBay, cut it to the same length as the original and taped the two together.
I drilled the first hole using the original rod as a guide to drill through. Drill size was 4.5 mm I believe.
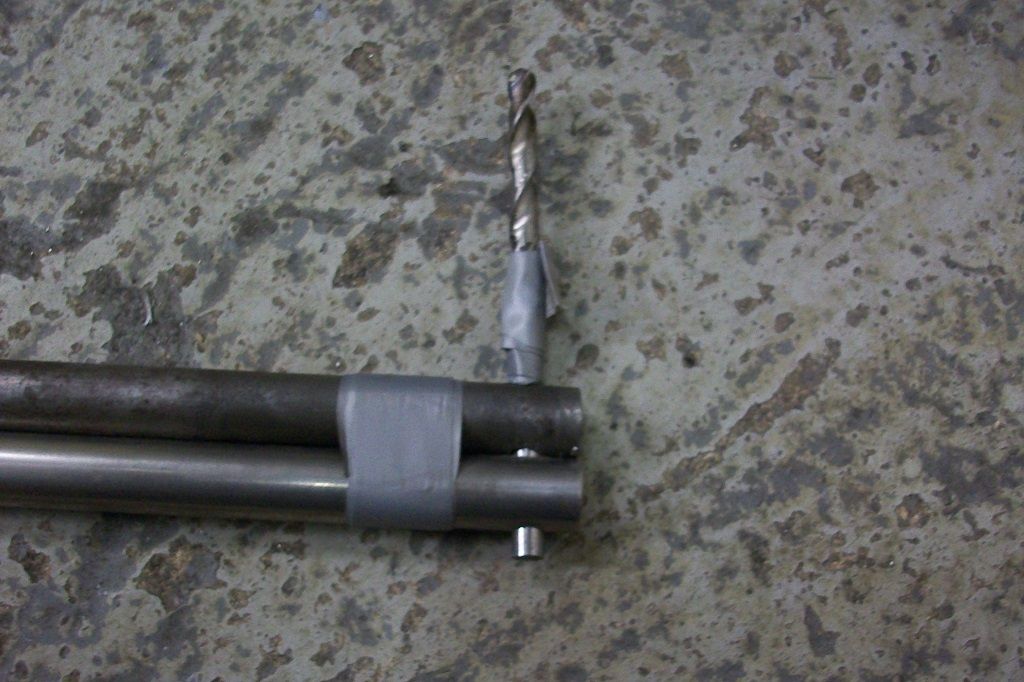
I then turned the rods around in the vice and fitted another 4.5 mm drill bit with tape wrapped around it (to stop it falling through) in the holes just drilled. This was to make sure the second hole to be drilled remained parallel.
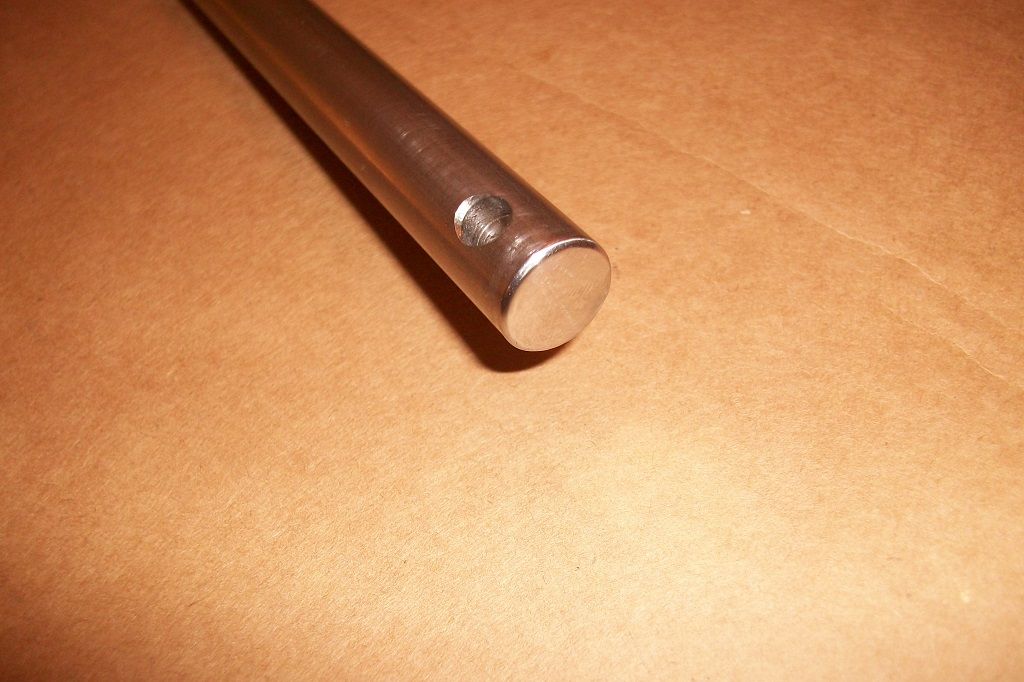
The finished article...
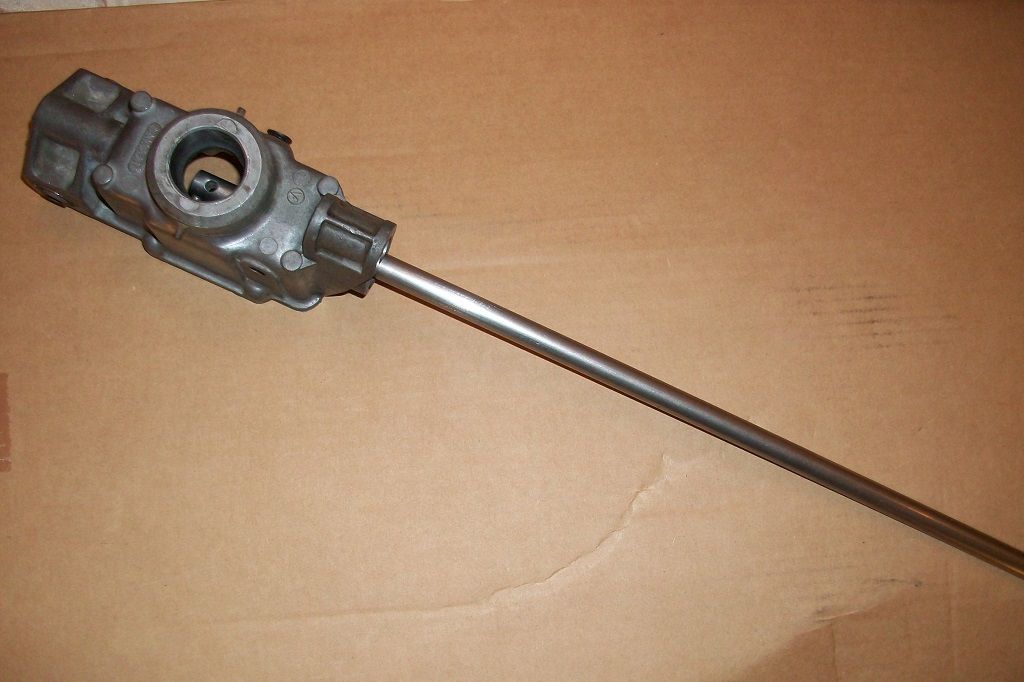
And fitted to the housing. No more play!
The rear bush in the housing had no wear at all and so wasn't replaced.
Thanks for looking.
#355

Posted 29 June 2013 - 03:57 PM
wow, excellent rod change work. didn't even think about this to be honest, but don't remember any play. I do like ur work.
#356

Posted 30 June 2013 - 01:24 AM
impressive, just like being back at school,your attention to detail is frightening......... and great tools ![]()
#357

Posted 30 June 2013 - 08:33 AM
great job,tidy and clean,like the rest of it...me like ![]()
#358

Posted 30 June 2013 - 12:00 PM
I had similar problems finding a vent hose support but managed to find a good one before resorting to making one. I think Somerfords have reproduced them just recently, but far more satisfying (and cheaper) to make your own.
#359

Posted 01 July 2013 - 03:40 PM
Would not think of.
Please keep the posts!!
#360

Posted 02 July 2013 - 08:37 AM
Oh Dear!! Scott, why have you to be so good. I just feel so humbled when I see the standard of your work. Even the cleanliness of your parts is in a different league. That gear linkage repair is quite amazing. Or the fuse box. I just bunged mine in as it was! I just love watching your repairs. Thanks for even taking the time for such good photos. (Yes, even his photos are beyond high standard!)
Kindest wishes, Hugh
3 user(s) are reading this topic
0 members, 2 guests, 0 anonymous users
-
Bing (1)


