Jump to content


Photo
- - - - -

Leyland Mini 1000 1980 Restoration Project


  • Please log in to reply
393 replies to this topic

#331 redhouse53

redhouse53

    Mini Mad

  • Noobies
  • PipPipPipPip
  • 111 posts

Posted 19 December 2012 - 11:14 PM

Just read this start to finish, fantastic!

must update my thread......

#332 Niko-mini1275

Niko-mini1275

    Mini Mad

  • Members
  • PipPipPipPip
  • 175 posts
  • Location: dubrovnik,croatia

Posted 20 December 2012 - 08:55 AM

beautiful work!
attention to details is amazing!
looking forward to see this finished!

#333 okc78

okc78

    Mini Mad

  • Noobies
  • PipPipPipPip
  • 169 posts
  • Location: Gloucestershire
  • Local Club: none so far

Posted 24 December 2012 - 01:14 PM

Thanks alot minifcd thats really helpful. I know the slinging backets are fairly useless and were only used in the factory, although somerfords say they help with strength inside the sill area how much I would have thought is questionable. I think I might have a go at making some if I can resist fitting the floor, I have an M-Machine complete floor including sills so it needs to be done now while I can access it or not at all.
Good idea about the stainless bolts by the way that would finish it off really nicely. I might steal that idea if make the internal brackets.
Cheers Ollie

#334 minifcd

minifcd

    Mini Mad

  • Members
  • PipPipPipPip
  • 246 posts
  • Location: Stamford

Posted 07 January 2013 - 10:50 PM

Hi all. Its now been two and a half months since my last big update and i've still not made much progress. A thankyou to all those who have replied recently. I now need to regain interest in my project again and get a move on as I just can't get back into the swing of it. So here are a few pictures of what I have managed to get done in the past two and a half months. Not much and only boring stuff but its progress I supose!

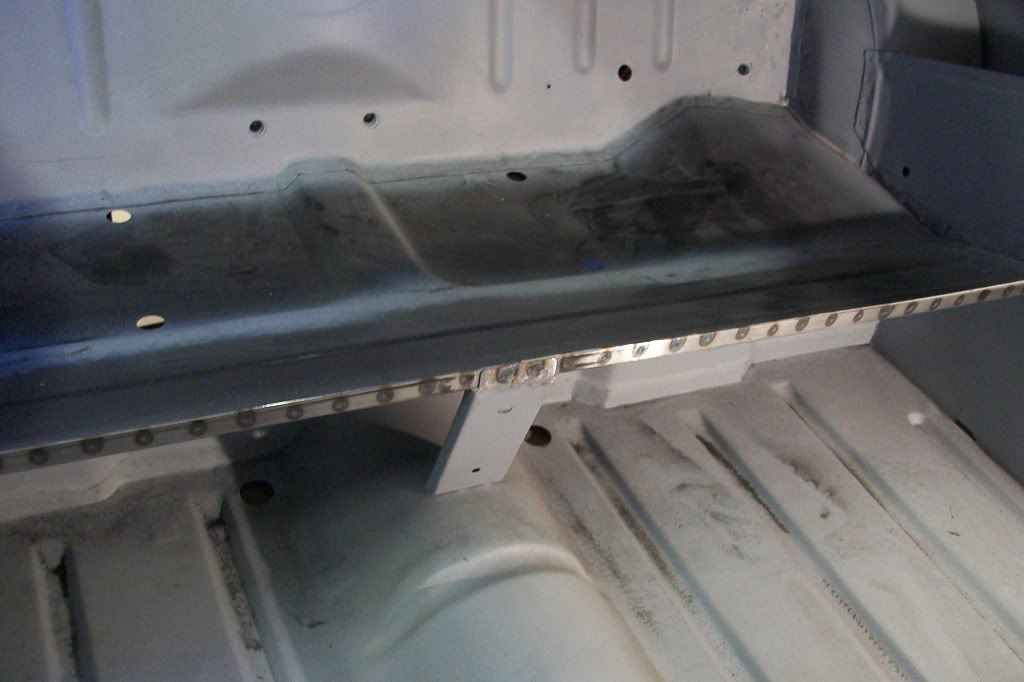
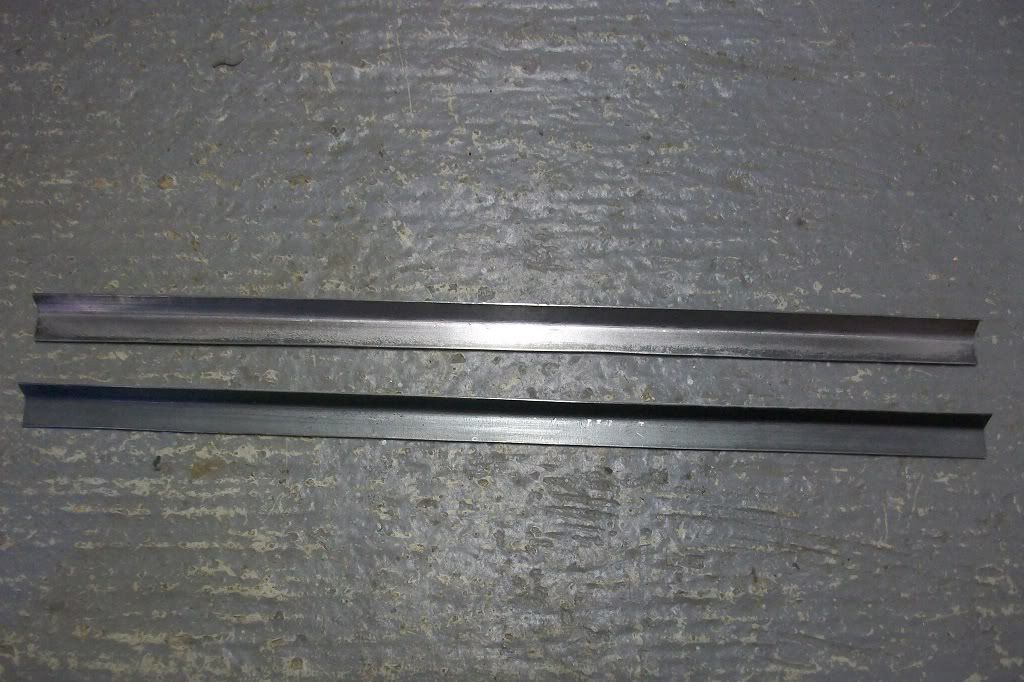
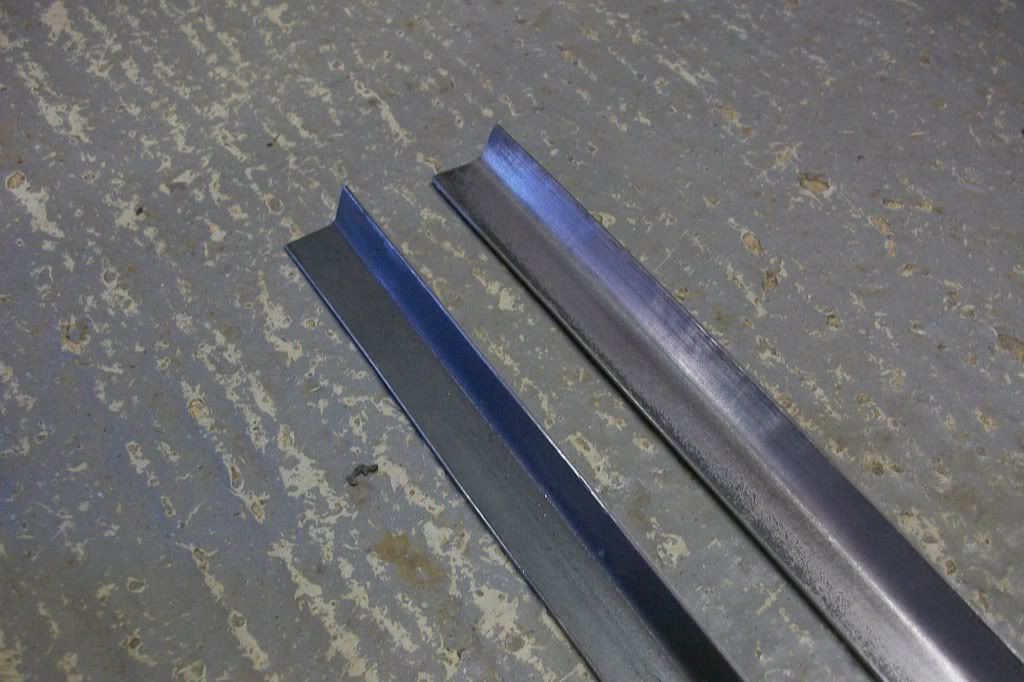
Made these two strips of metal to reinforce the seat front. I had to make them as two pieces, as I didn't have a piece of metal long enough and could only fold upto 600mm in length anyway.
Posted Image

Made from 1.5mm steel and folded to approximately 120 degrees.
Posted Image

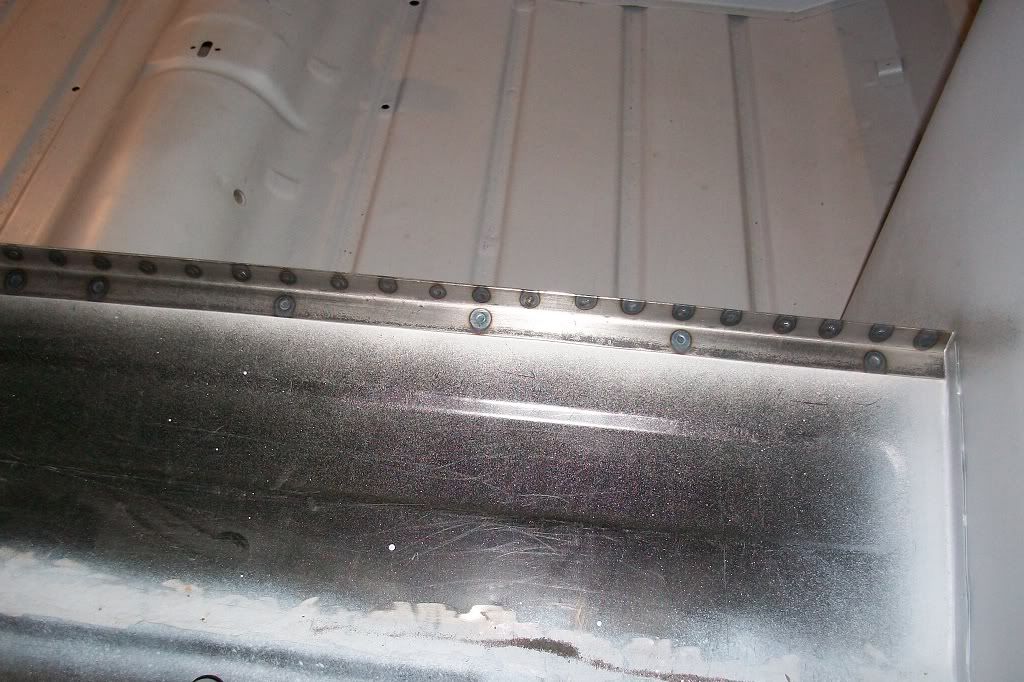
Spot welded on.
Posted Image

Slightly thicker steel than the one that was on the old floor/seat pan, so should be that little bit stronger.
Posted Image

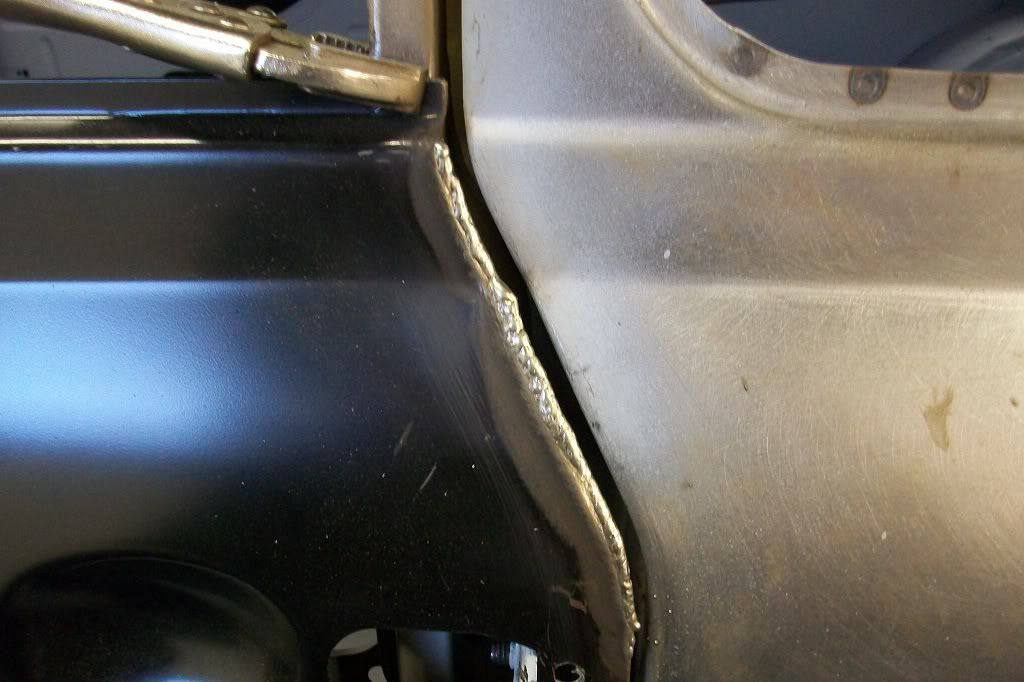
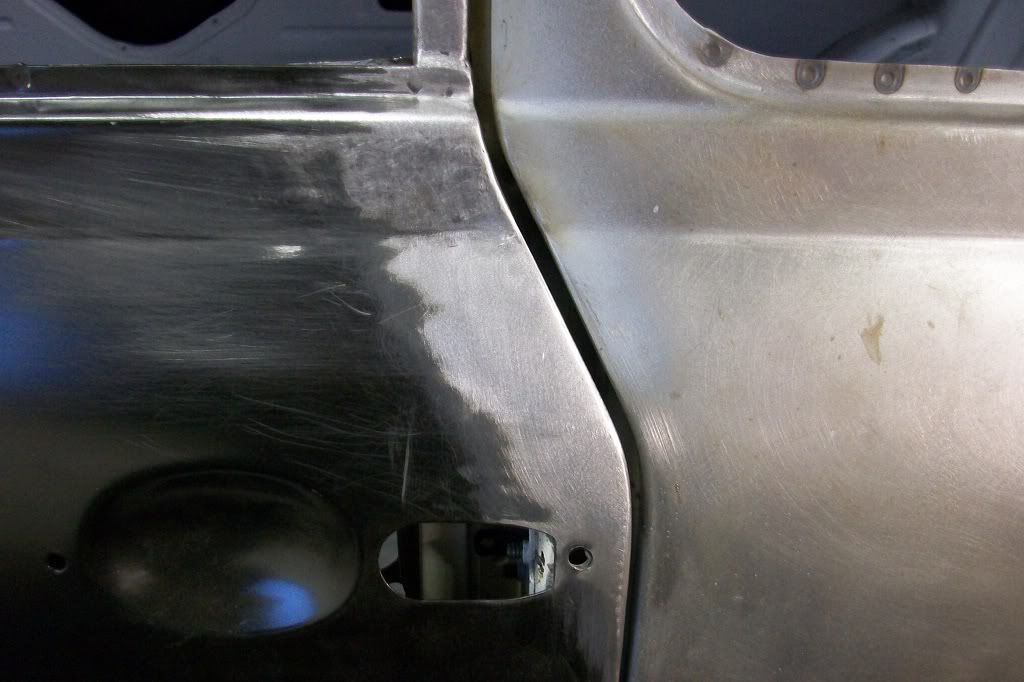
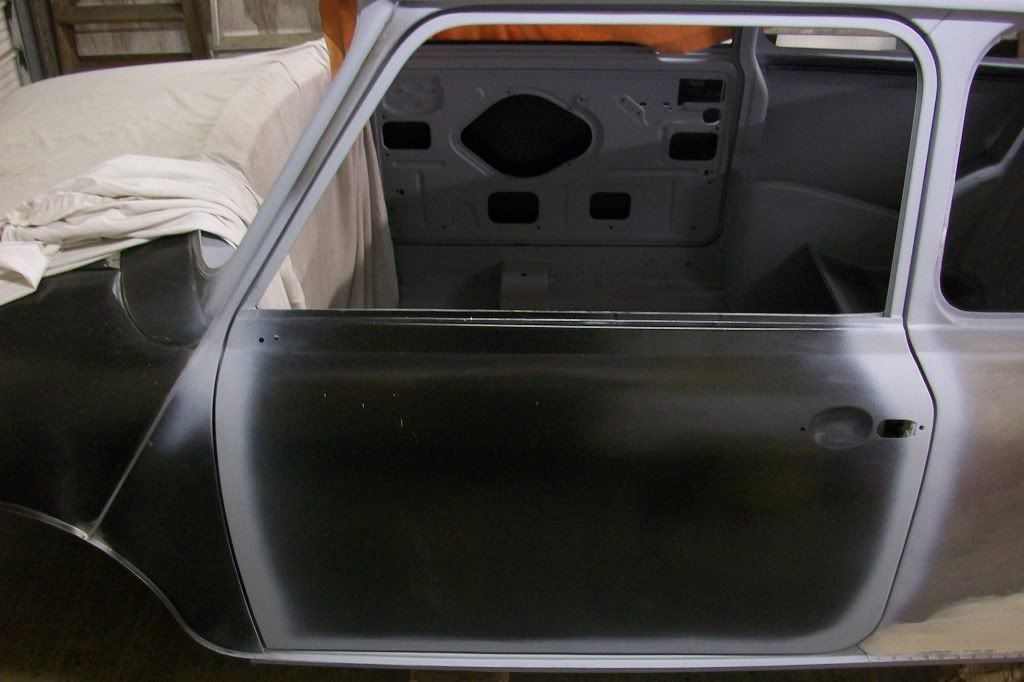
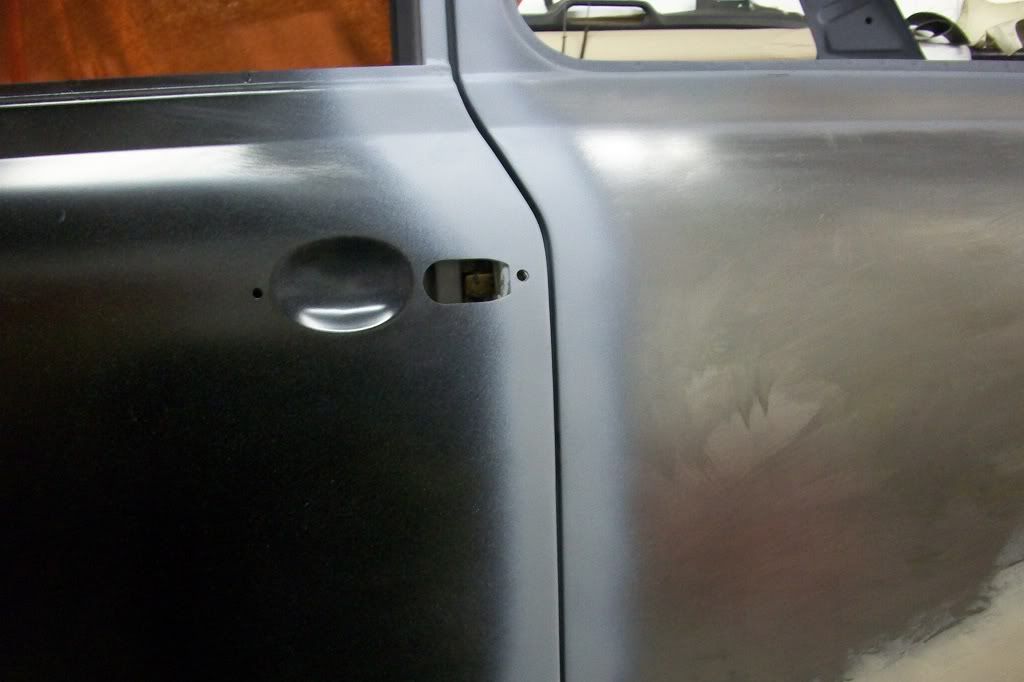
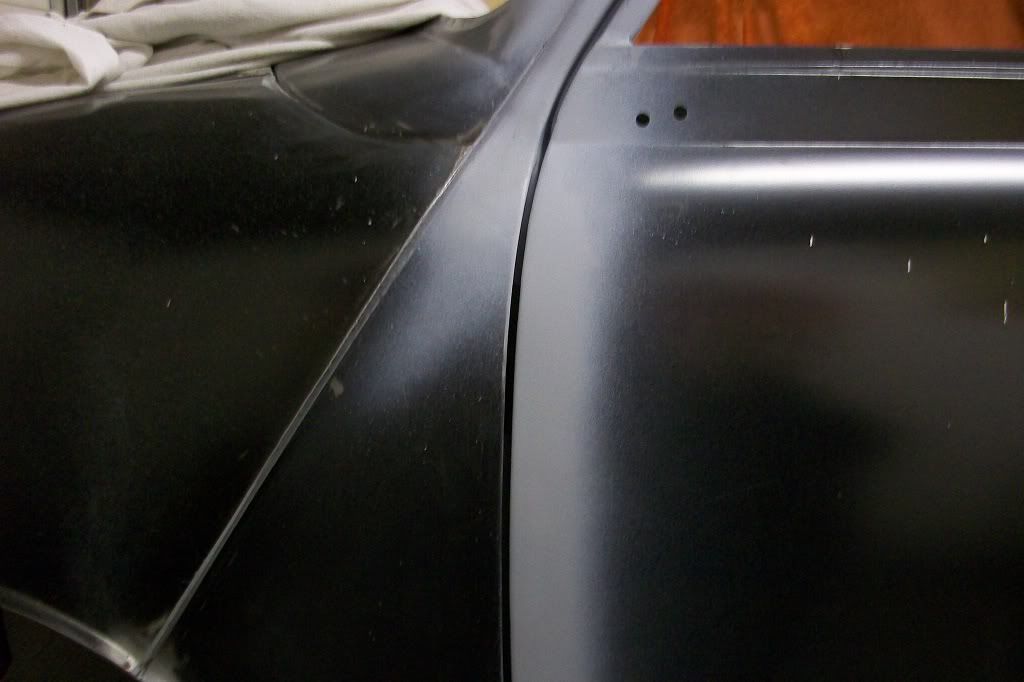
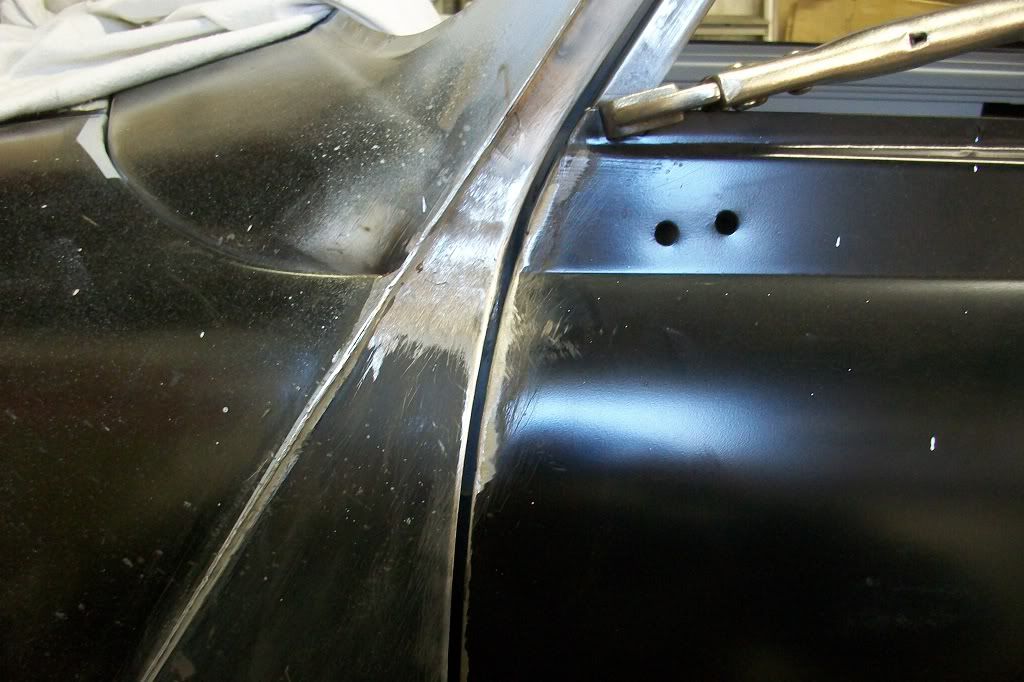
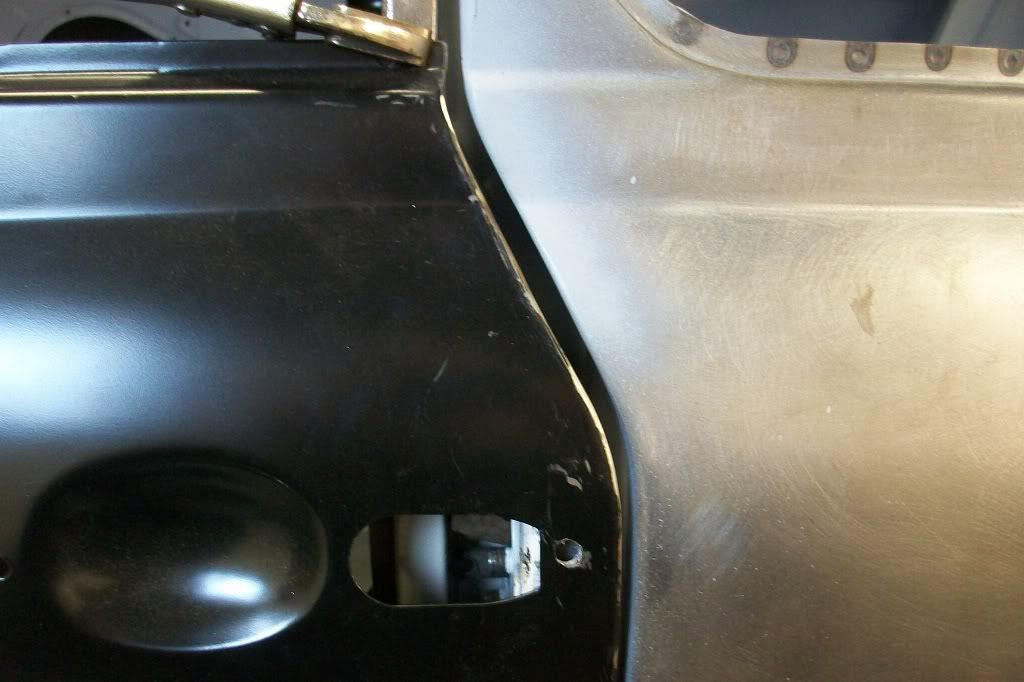
Passenger's A panel and door gap sorted.
Posted Image

Rear edge of the door had a large gap, just like the driver's side.
Posted Image

Built up some weld along the edge.
Posted Image

Ground down.
Posted Image

The finished door and gaps.
Posted Image

Posted Image

Posted Image

Thanks for looking guys. I will have some more interesting stuff to upload shortly when I get time.

#335 rally515

rally515

    Up Into Fourth

  • Members
  • PipPipPipPipPipPipPipPipPip
  • 3,848 posts
  • Location: ask!

Posted 07 January 2013 - 10:56 PM

Almost forgot about this thread :lol: glad to see it's on the move again though
Great gaps you've achieved on the door hmm not looking forward to doing that on mine O_O how hard/time consuming is it ?
Regards
Clifford

#336 minifcd

minifcd

    Mini Mad

  • Members
  • PipPipPipPip
  • 246 posts
  • Location: Stamford

Posted 07 January 2013 - 11:20 PM

Cheers Clifford. Its not hard to sort the gaps. I found welding to be best for the small area I had to sort. Some people use welding rod and weld that to the edge of the door but for what I had, building up weld and then grinding down worked very well. You need to take time on the grinding down though, being very light with the grinder and using files works well too.

#337 Artful Dodger

Artful Dodger

    " I AM THE SPECIAL ONE"

  • Members
  • PipPipPipPipPipPipPipPipPip
  • 4,435 posts
  • Local Club: aint no body got time fo dat

Posted 07 January 2013 - 11:21 PM

Oh, another great build!! Top work!!

And Clifford, it's easy with external hinge doors, Just file the doors till it fits nice!! :D

#338 minimuk

minimuk

    Camshaft & Stage Two Head

  • Members
  • PipPipPipPipPipPipPipPip
  • 1,946 posts
  • Location: Midlands

Posted 07 January 2013 - 11:51 PM

nice work again, like the idea of rear seat edge strenghtening....... ;D
I hope to start again soon on Evy, to much going on at the min

#339 colinu

colinu

    Super Mini Mad

  • TMF+ Member
  • PipPipPipPipPipPip
  • 517 posts
  • Location: Santa Rosa, California USA
  • Local Club: MOASF

Posted 08 January 2013 - 12:42 AM

Seat edge strengthening... I did the same last month when rebuilding the rear seat lip but I was lazy and used a piece of light gauge angle iron :)

#340 Petrol

Petrol

    One Carb Or Two?

  • Members
  • PipPipPipPipPipPipPip
  • 967 posts

Posted 12 January 2013 - 12:13 AM

Just read the whole thread and thanks for posting it. Some top notch fabrication and I have learned loads. Again thanks


Pete

#341 rich2

rich2

    Speeding Along Now

  • Members
  • PipPipPipPipPip
  • 351 posts

Posted 25 February 2013 - 01:17 PM

Hi Scott. I gave your malt vinegar trick a try and was really surprised by the results! Everyone should do this. Sainsburys basics malt vinegar is the best 22p I've ever spent. :)

#342 hughJ

hughJ

    Soldiering Along

  • Members
  • PipPipPipPipPipPipPip
  • 727 posts
  • Location: Highlands, Scotland

Posted 25 February 2013 - 08:38 PM

Scott I haven't looked for a while. Still that same lovely meticulous work. That door gaps are fantastic. Very jealous.

Hugh

#343 minifcd

minifcd

    Mini Mad

  • Members
  • PipPipPipPip
  • 246 posts
  • Location: Stamford

Posted 25 February 2013 - 11:17 PM

Ooh, thats just reminded me Rich. I put a very rusty part in a tub of vinegar back in November and as I haven't done hardly anything since then, i'd better see if there's anything left of it tomorrow!!

Thanks Hugh. Sorry for the lack of updates recently but haven't had any free time. It'll all kick of again soon though and then I can crack on with mini project No.3!

#344 rally515

rally515

    Up Into Fourth

  • Members
  • PipPipPipPipPipPipPipPipPip
  • 3,848 posts
  • Location: ask!

Posted 15 June 2013 - 07:33 PM

Any updates on this ?, miss your  clean work and heritage shine :lol:


Cliff


#345 minifcd

minifcd

    Mini Mad

  • Members
  • PipPipPipPip
  • 246 posts
  • Location: Stamford

Posted 17 June 2013 - 10:21 PM

Hi Cliff. Sorry for the major lack of updates in the last 6 months, but I have had no time to do anything other than cleaning and painting a few small parts. However, I have had a few people ask about updates and so I have got next week off work with the aim to get the shell finished and ready to go for paint. I also have a few other photos of bits and bobs I've done that I'll try to get uploaded soon. Thanks for your interest.


5 user(s) are reading this topic

0 members, 5 guests, 0 anonymous users