Leyland Mini 1000 1980 Restoration Project
#316

Posted 29 September 2012 - 11:24 PM
#317

Posted 01 October 2012 - 07:13 AM
Hugh
#318

Posted 01 October 2012 - 09:43 PM
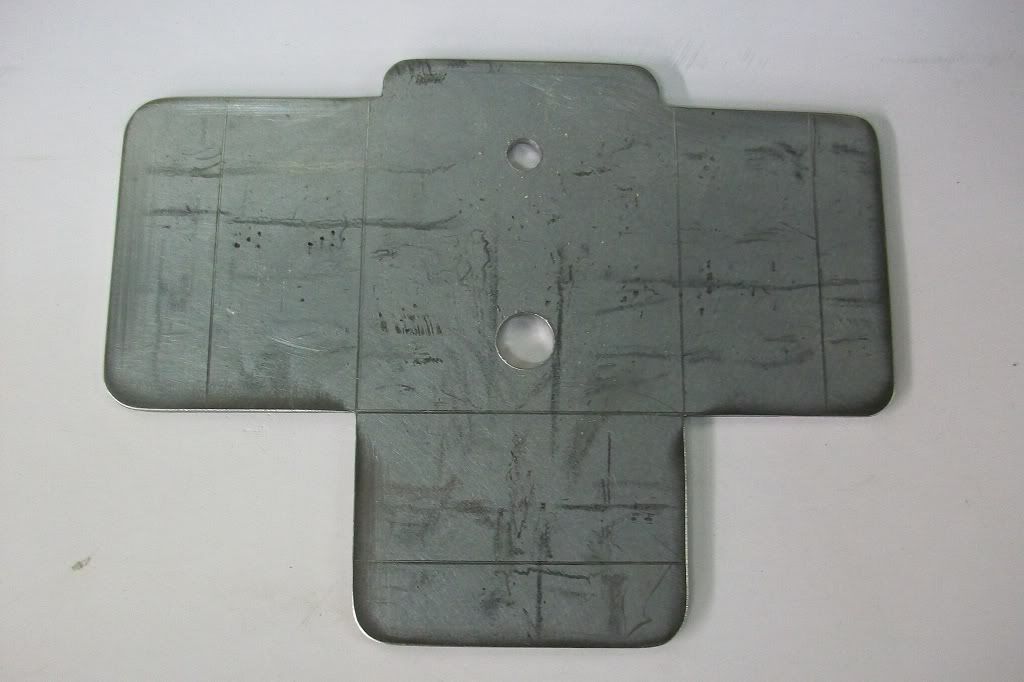
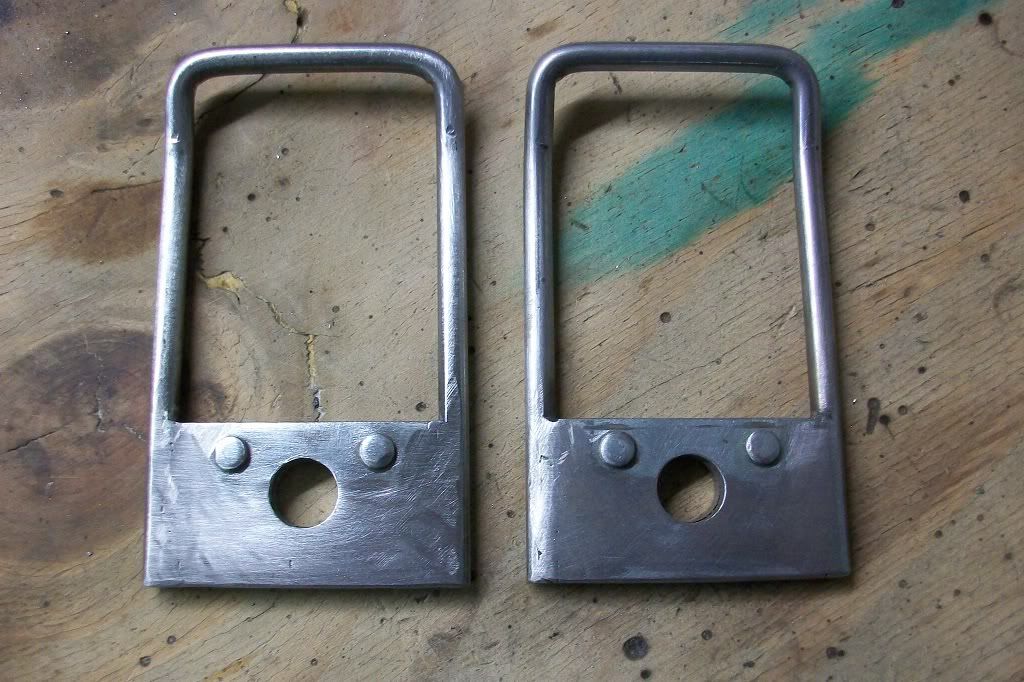
These are possibly the final parts to make and be welded to the shell. They're home made, 3 point, inertia reel, seatbelt mounts as fitted to later minis. They are made to approximate sizes, I'm not sure if they were exactly like these from the factory as I have no measurements to go off, but I made a pair exactly the same as these for my first mini 4 or 5 years ago and they worked very well.
Template drawn out on 2mm Zintec steel.
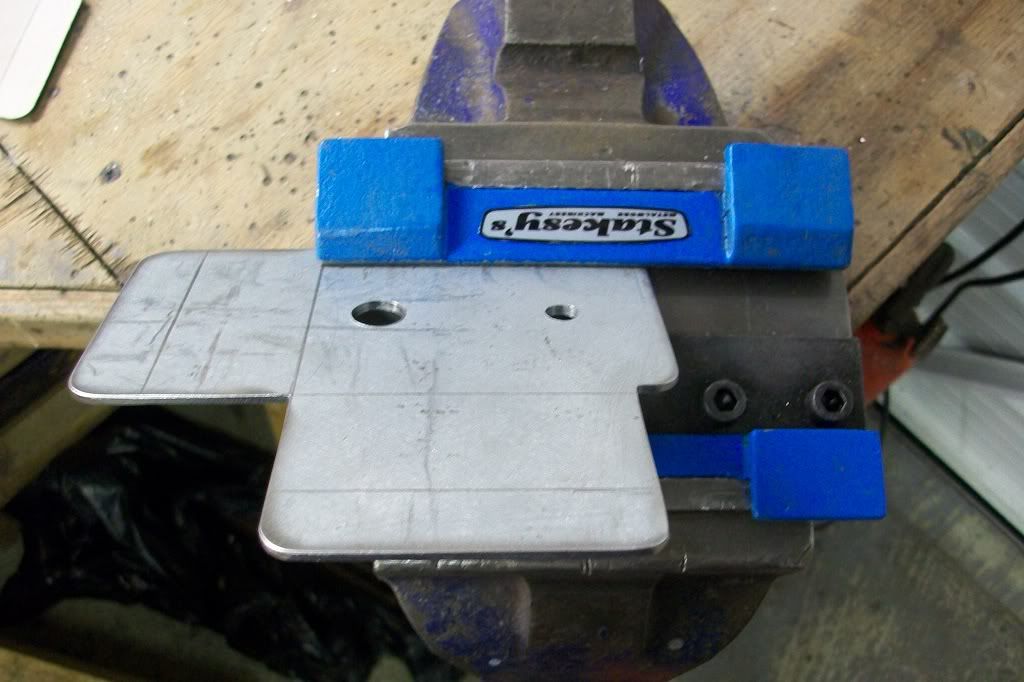
All folded in my new vice mounted metal folder. Much easier and quicker than when I made the last ones years ago using a block of wood and a hammer!
The finished piece.
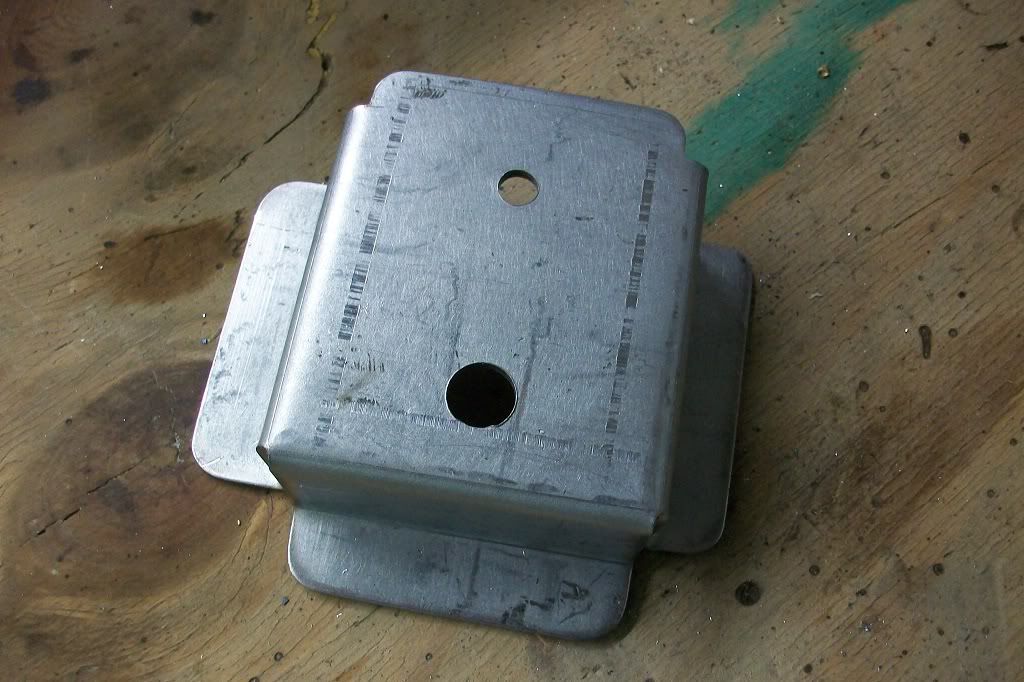
Then there were two! Mirror image of the other. The large lip goes against the companion box.
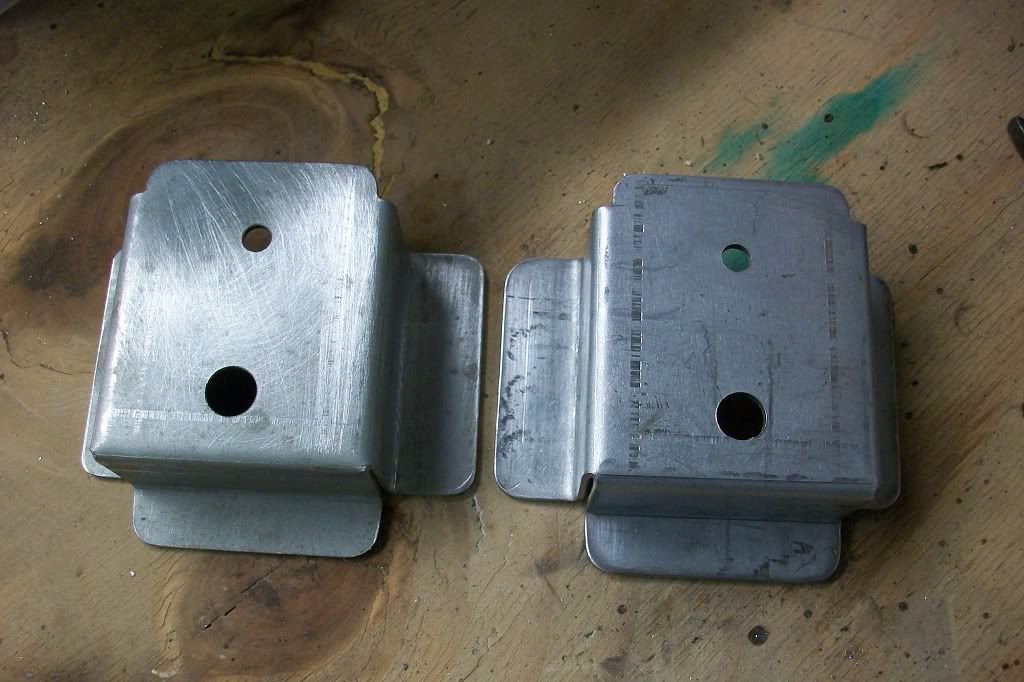
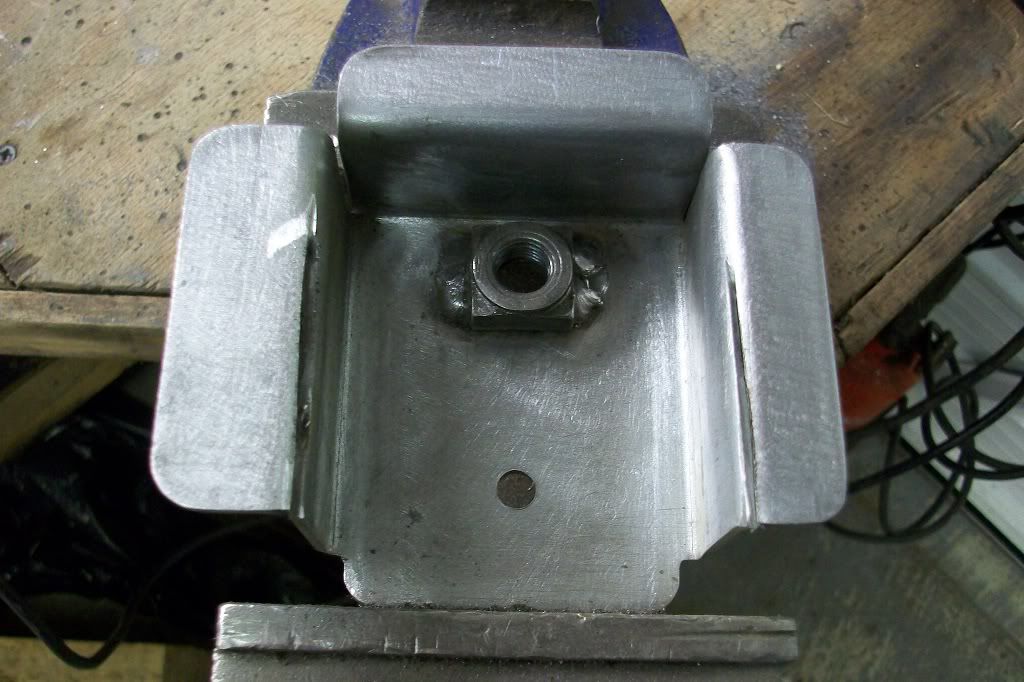
The big drilled hole is 11mm diameter with a square 7/16 UNF weld nut, MIG welded to the back. 7/16 UNF being the thread of the seatbelt bolts.
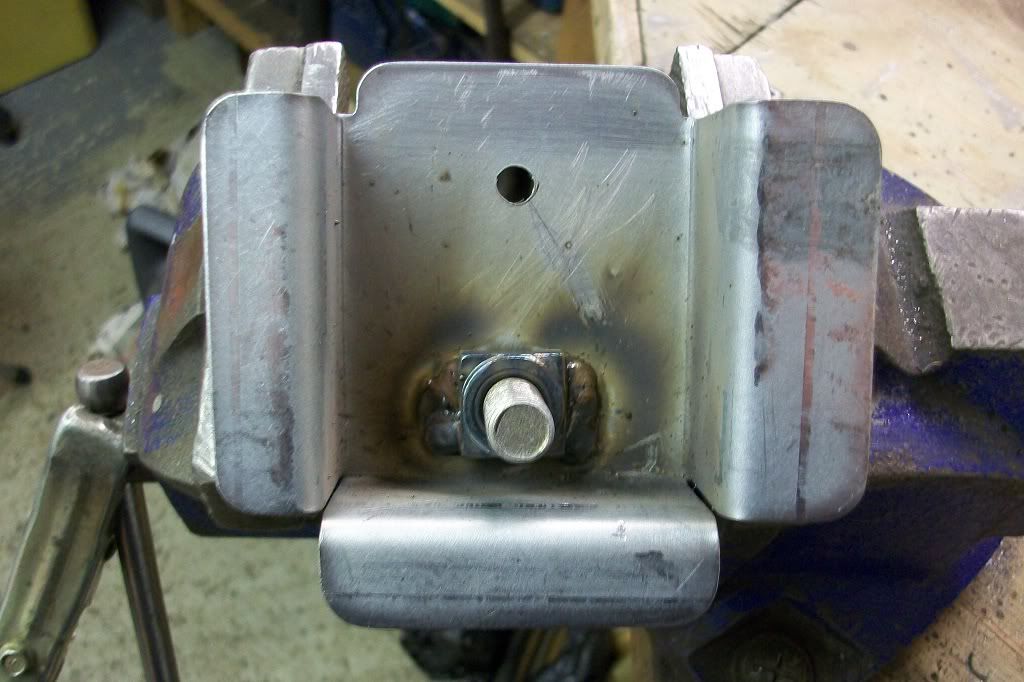
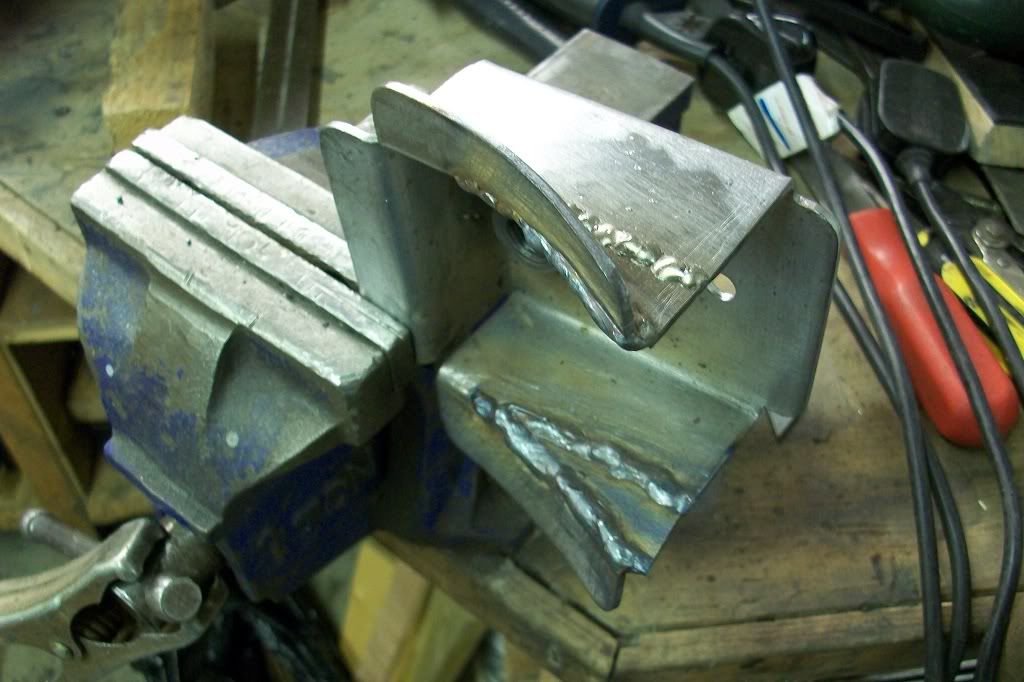
That was the easy part! Now comes the dissection, unfortunately, as the reels need to be vertical and the wheel arches are curved. Two slots cut.
Curved to fit wheel arch and gaps welded back up.
Ground down and ready to fit.
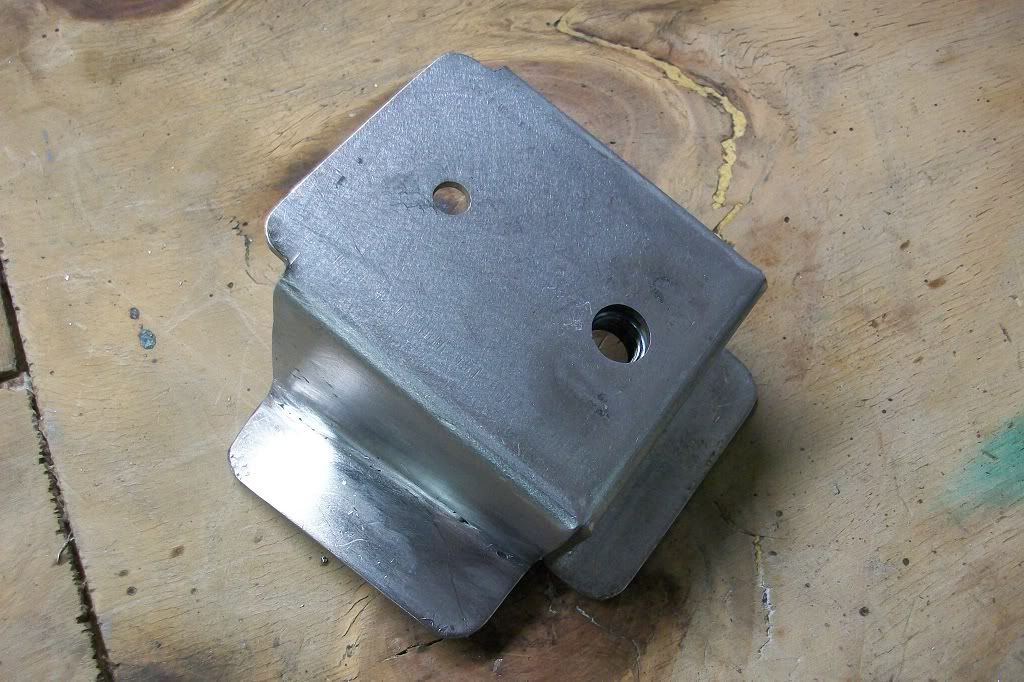
The finished pair.
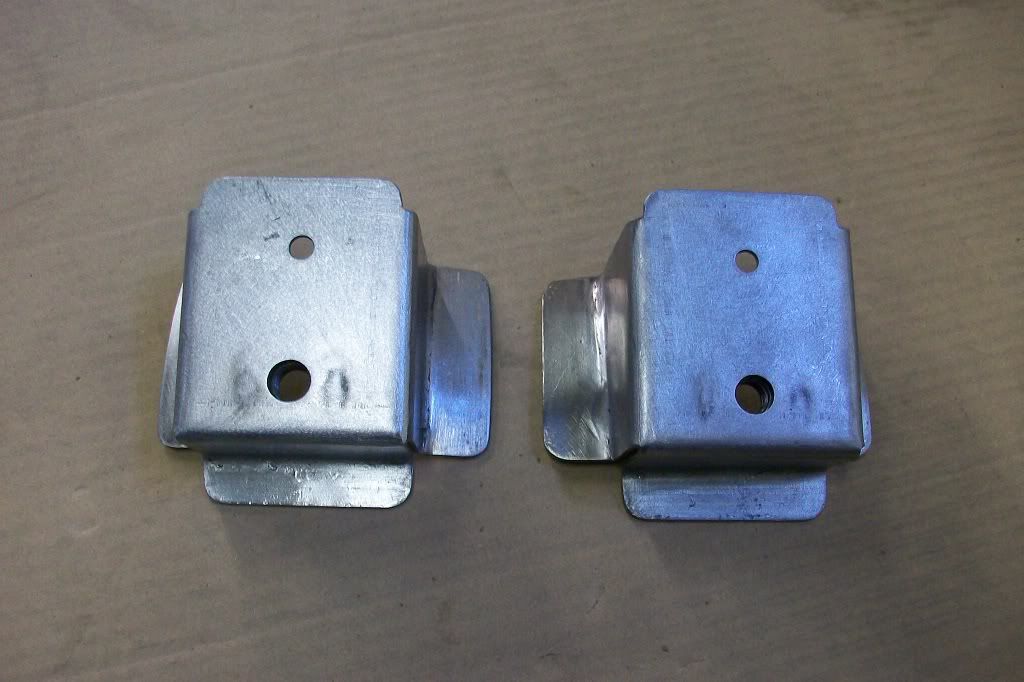
I'll try and get these fitted next weekend and post pics of the spacer/belt guide bracket when i've finished making the second one.
Thanks.
#319

Posted 02 October 2012 - 11:22 AM
Might have to get me some of those.
Cracking work on the brackets.
#320

Posted 02 October 2012 - 03:37 PM
#321

Posted 02 October 2012 - 07:48 PM
http://www.stakesys...._metal_folders/
#322

Posted 02 October 2012 - 10:24 PM
#323

Posted 06 October 2012 - 09:29 PM
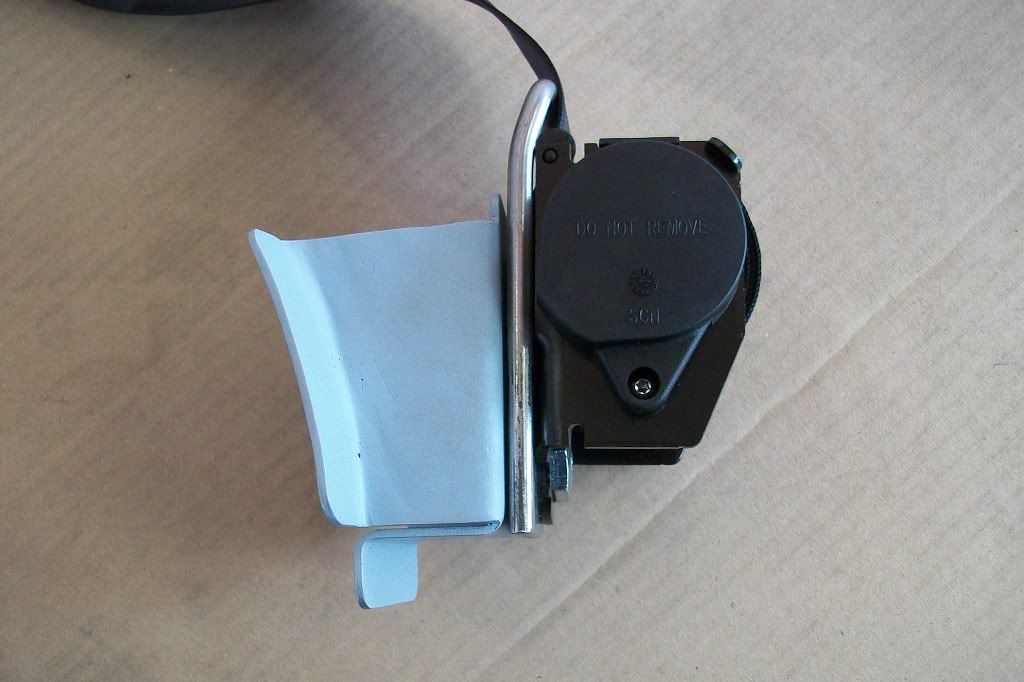
Guide made up from 6mm round bar, welded to one of the spacers that comes in the seat belt kit.
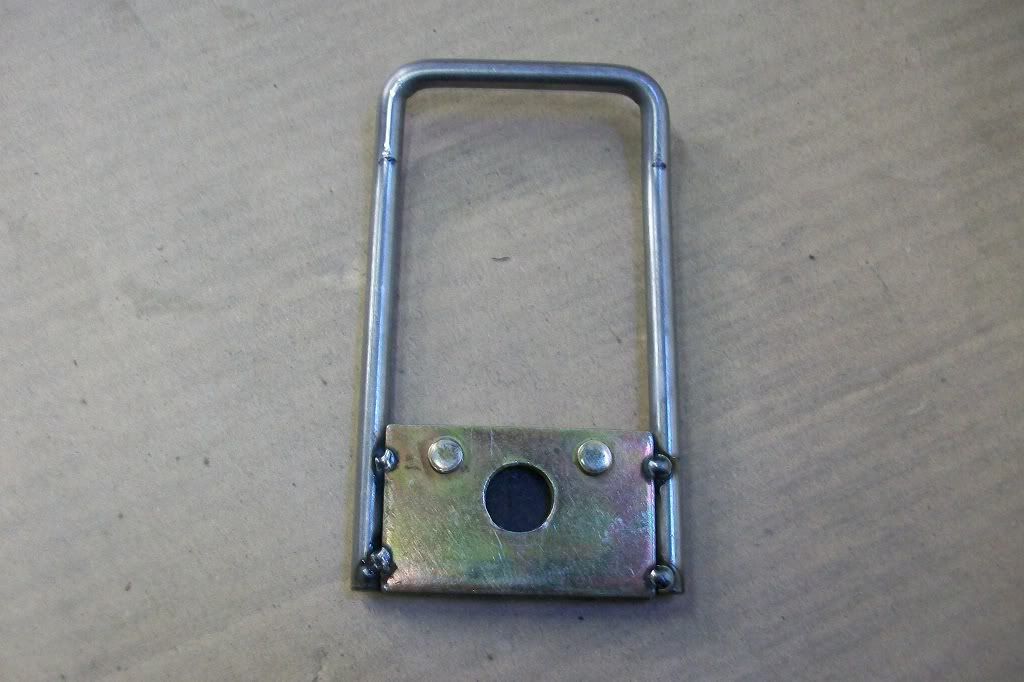
A piece of 3mm bar welded to the back to make up the thickness.
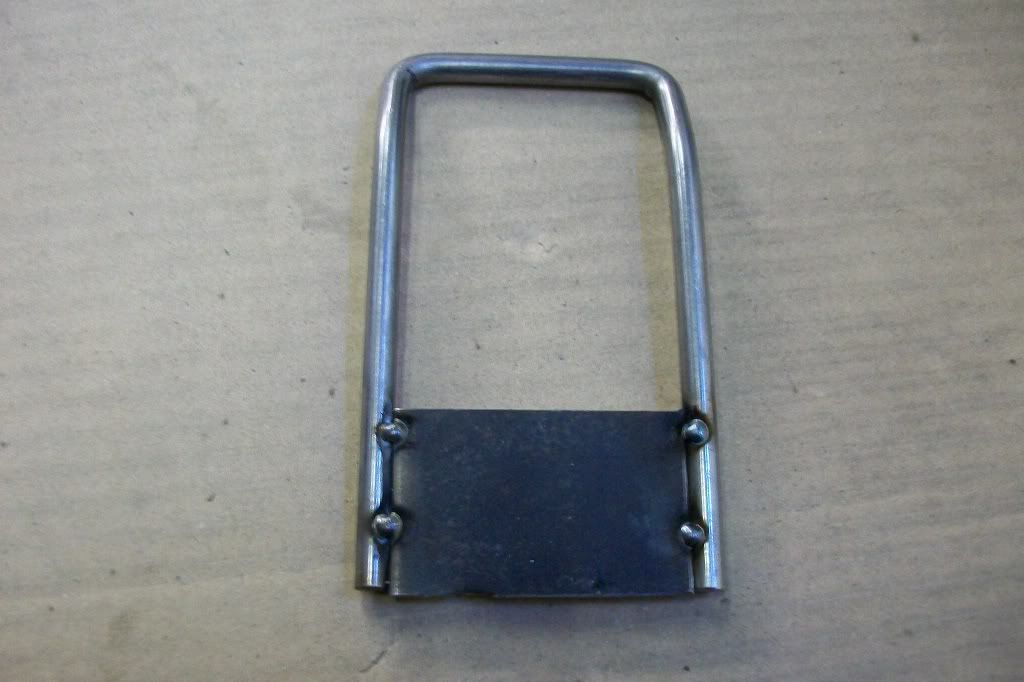
Welded and holes redrilled.
And this is how it will be assembled.
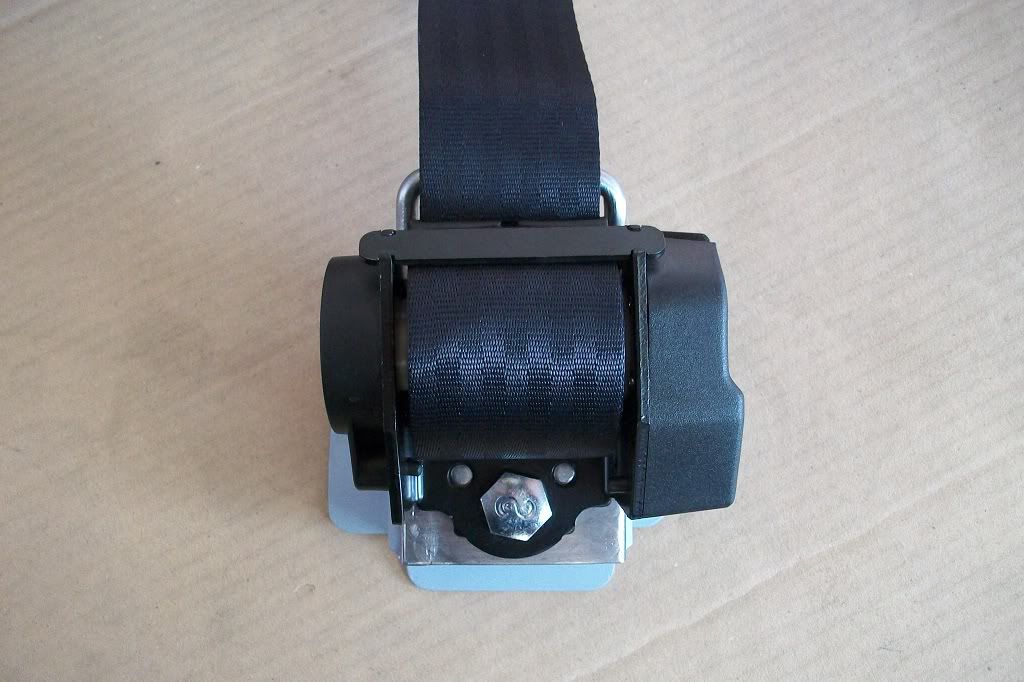
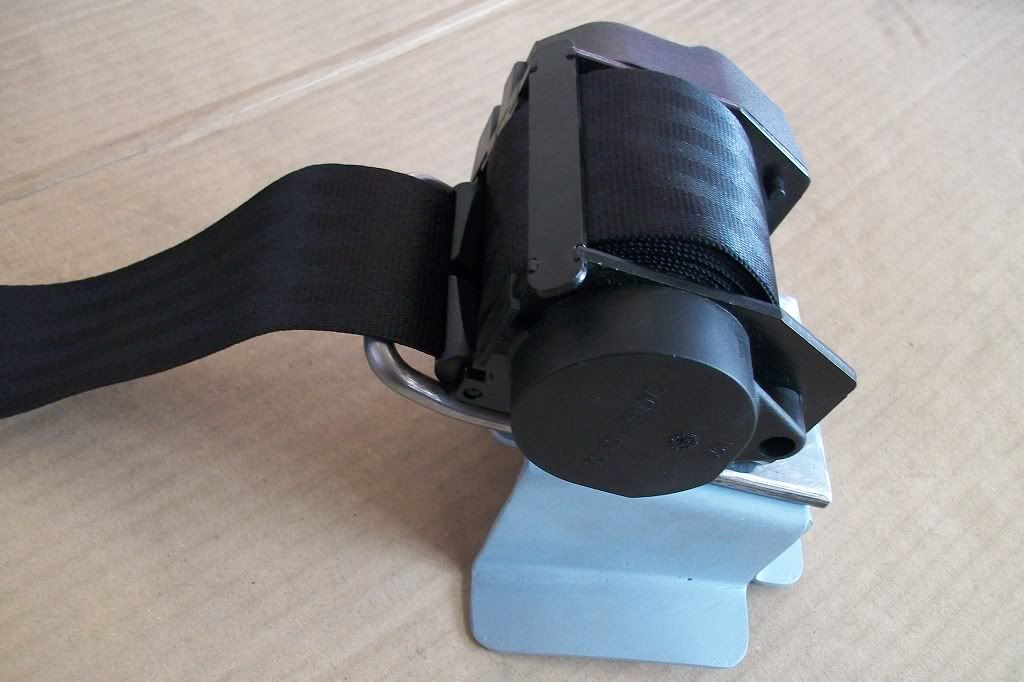
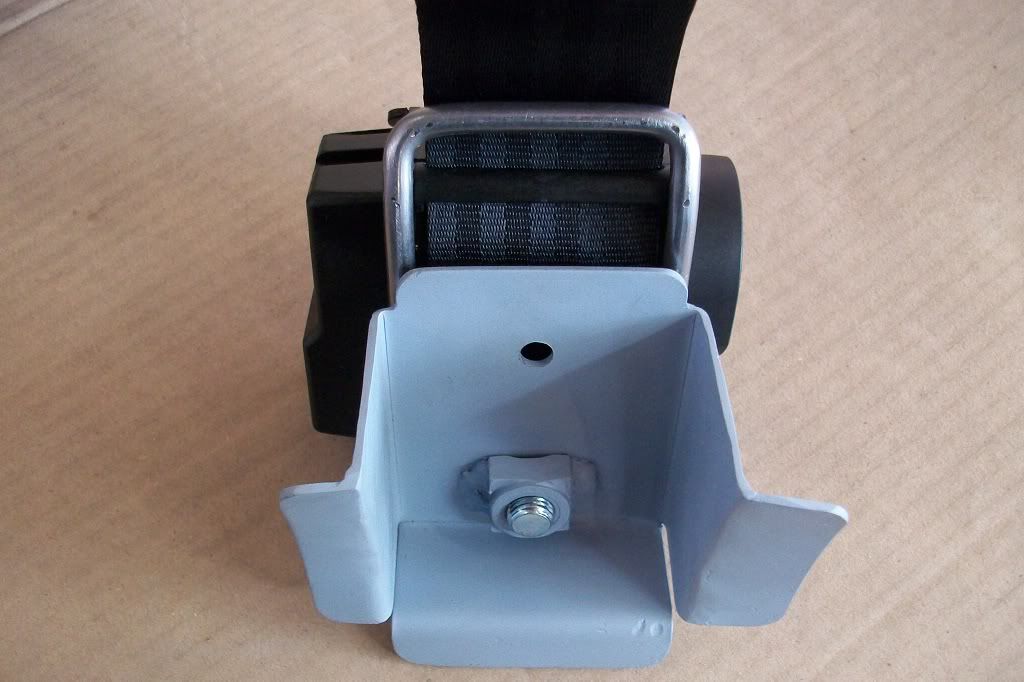
Just need to get them welded in now.
Thanks.
Edited by minifcd, 06 October 2012 - 09:40 PM.
#324

Posted 07 October 2012 - 02:43 AM
Edited by Brams96, 07 October 2012 - 02:43 AM.
#325

Posted 23 October 2012 - 11:08 PM
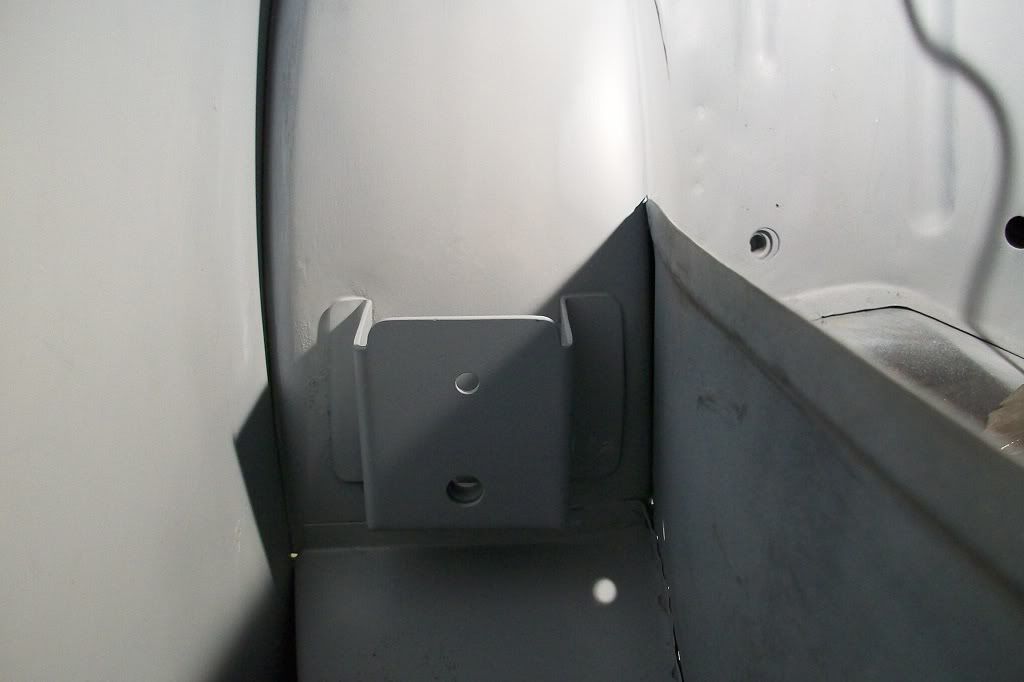
Got the brackets welded in on the arches now.
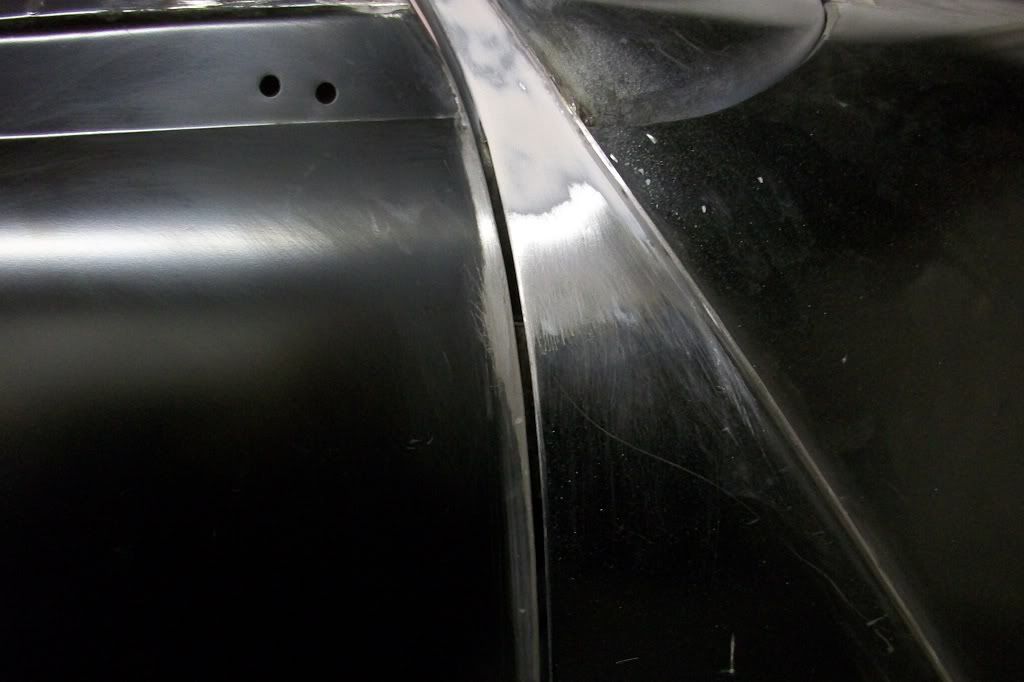
Then set to work sorting the driver's side door gaps. The gap at the top was a bit large and didn't follow the rear quarter.
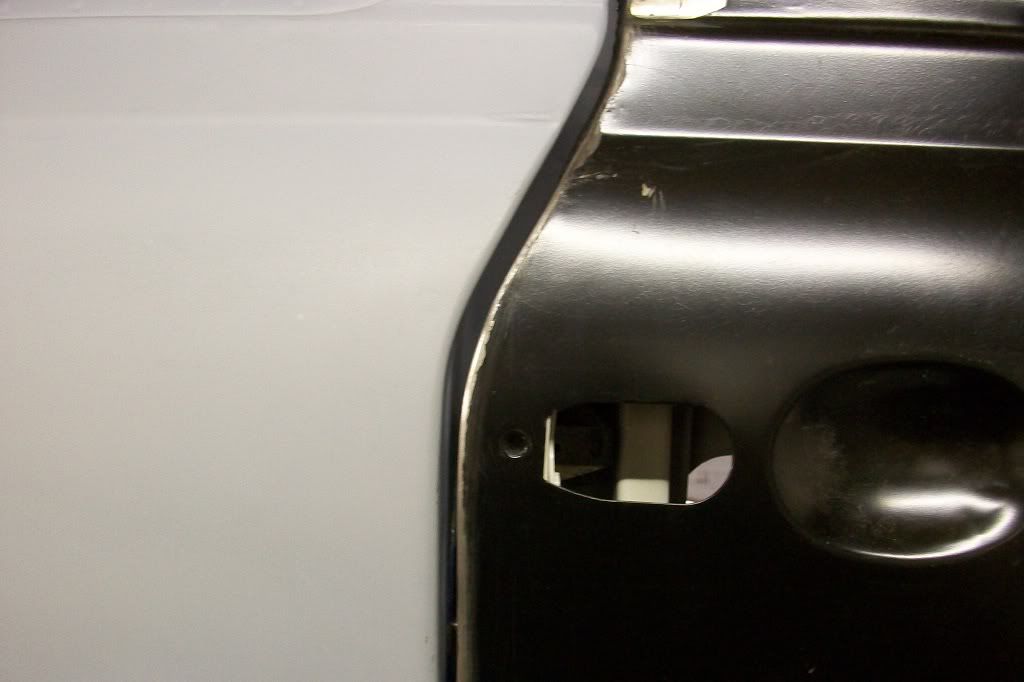
Built up with weld at this point on the door.
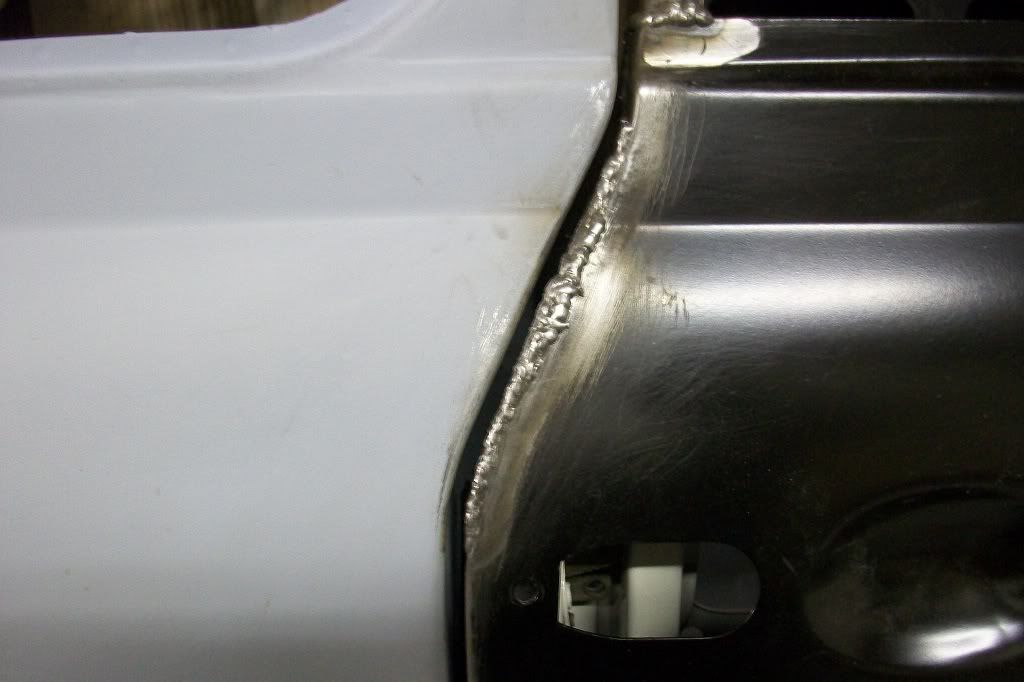
Then cleaned down carefully with the grinder, then various files and the DA sander.
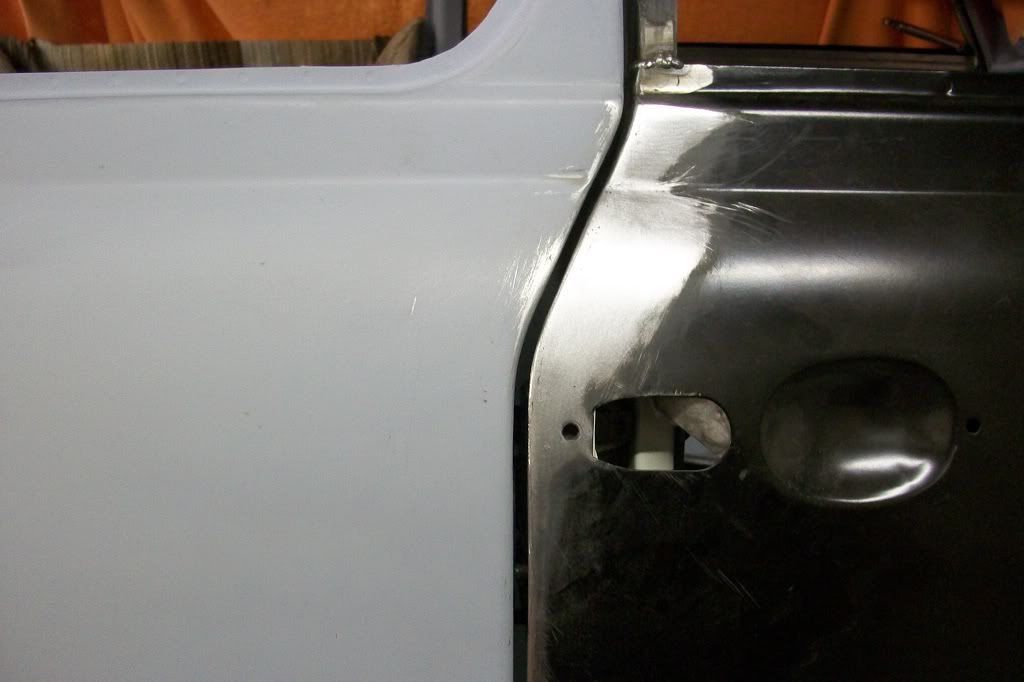
The front of the door had to have a similar job done, but this time I had to take some metal off of the door and reweld. Then add weld to the top of the A panel to get the gap about right.
Then applied a smear of filler to the A piller to scuttle repair.
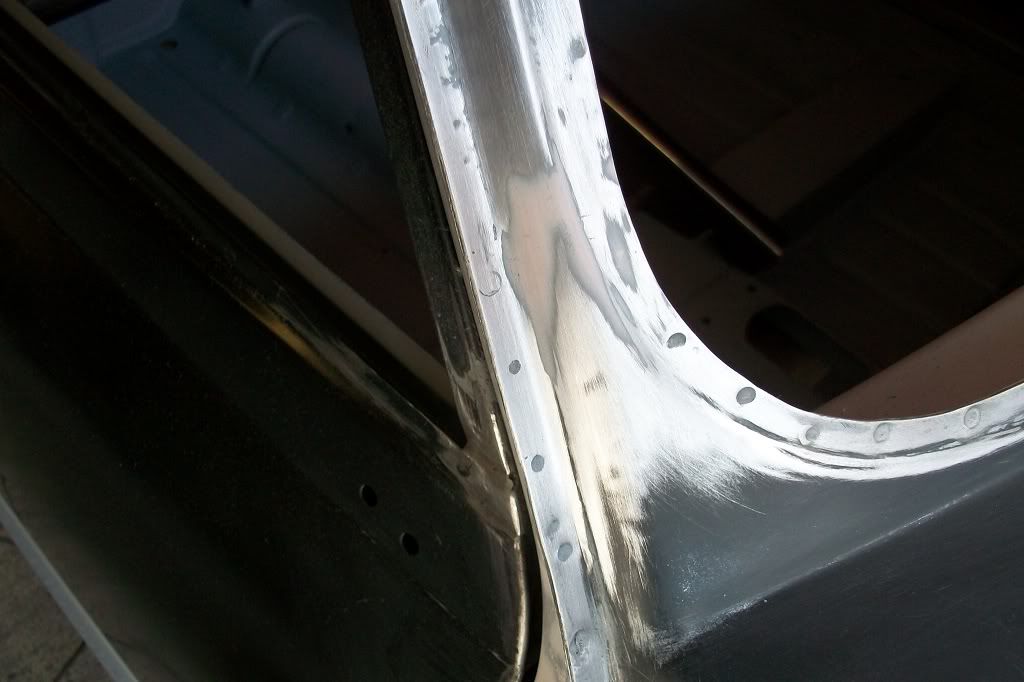
And thats as far as I got. Thanks.
#326

Posted 24 October 2012 - 07:16 AM
#327

Posted 13 December 2012 - 12:42 AM
#328

Posted 13 December 2012 - 05:28 PM
#329

Posted 19 December 2012 - 11:59 AM
Cheers, Ollie
#330

Posted 19 December 2012 - 08:16 PM
Ollie, I just had a look at the thread size I used and they're 5/16 UNF. To be honest, you would probably never screw anything into them anyway, as they were only used in the factory, but that was the thread size on the old rotten ones I removed, so thats what I used again on the new brackets. I think i'm a bit of a perfectionist! You could however screw a nice stainless bolt into each one when the shell is painted, 5/16 UNF x 1/2 inch with a small stainless washer would finish it off nicely!
1 user(s) are reading this topic
0 members, 1 guests, 0 anonymous users


